
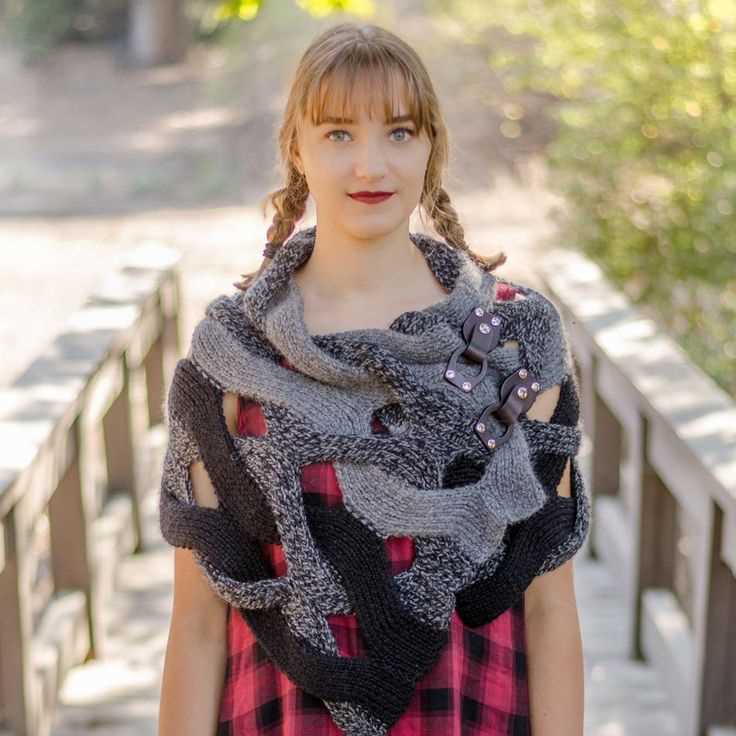
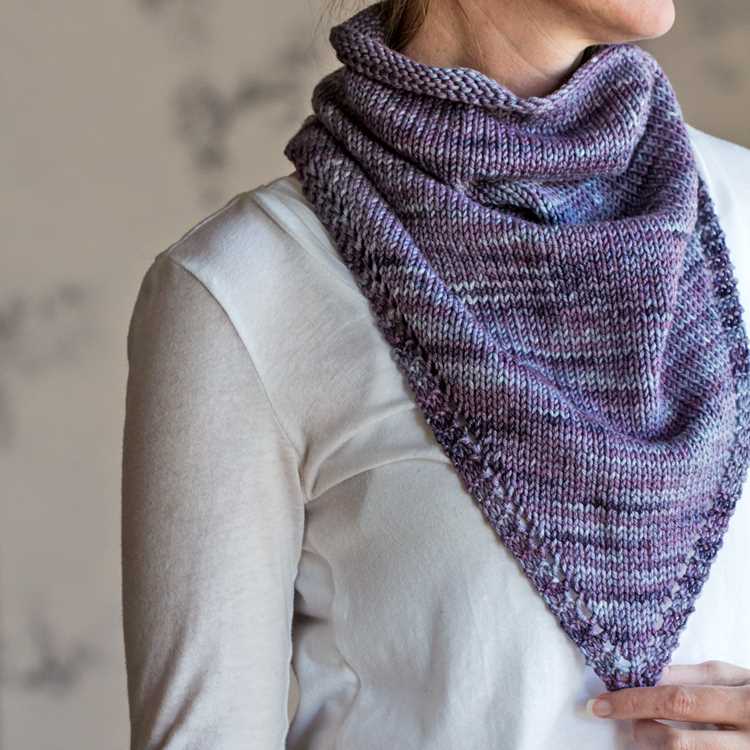
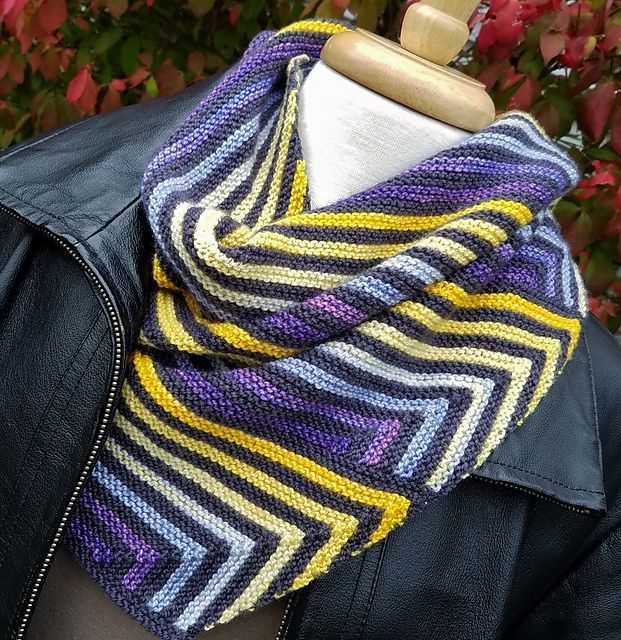
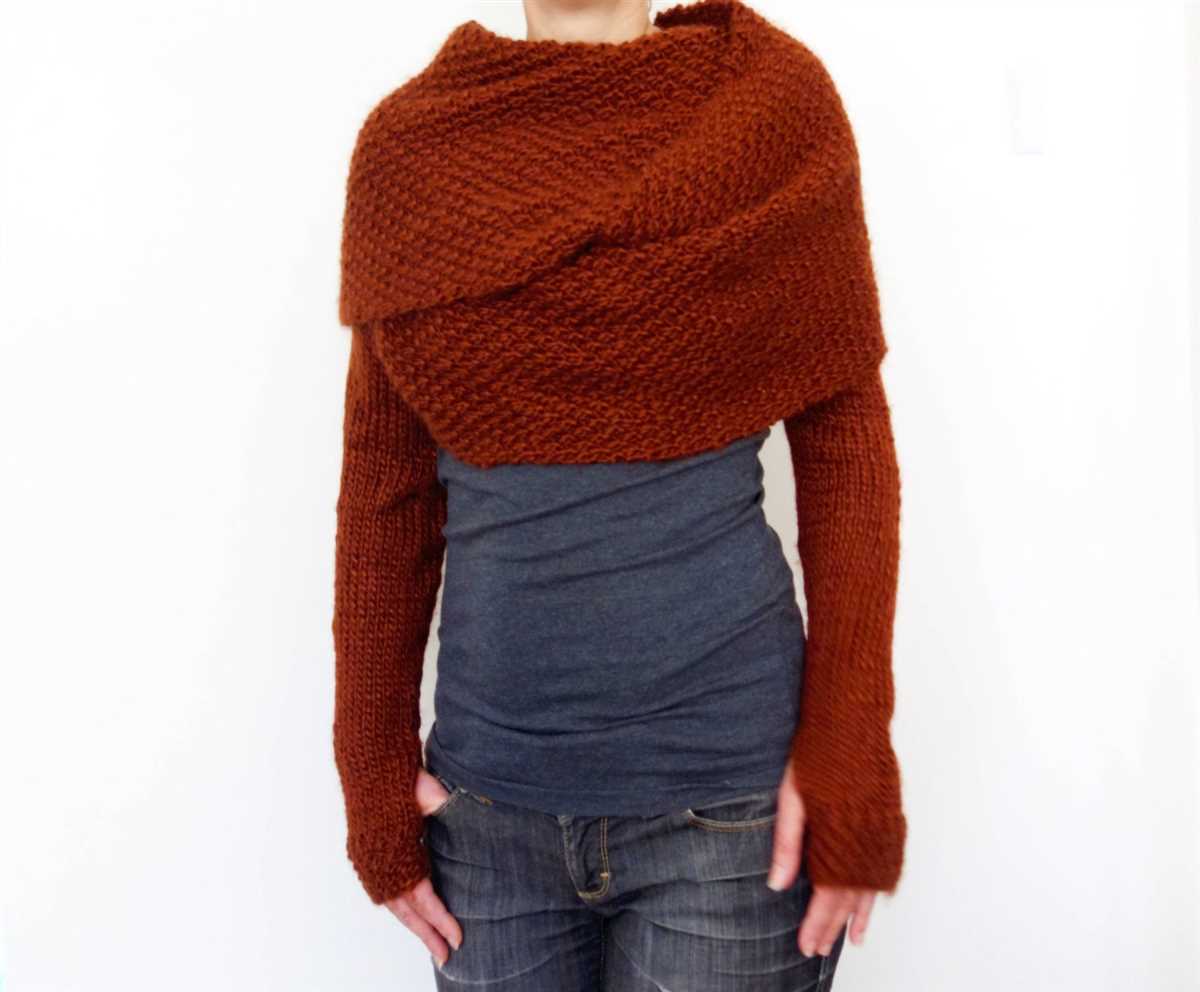
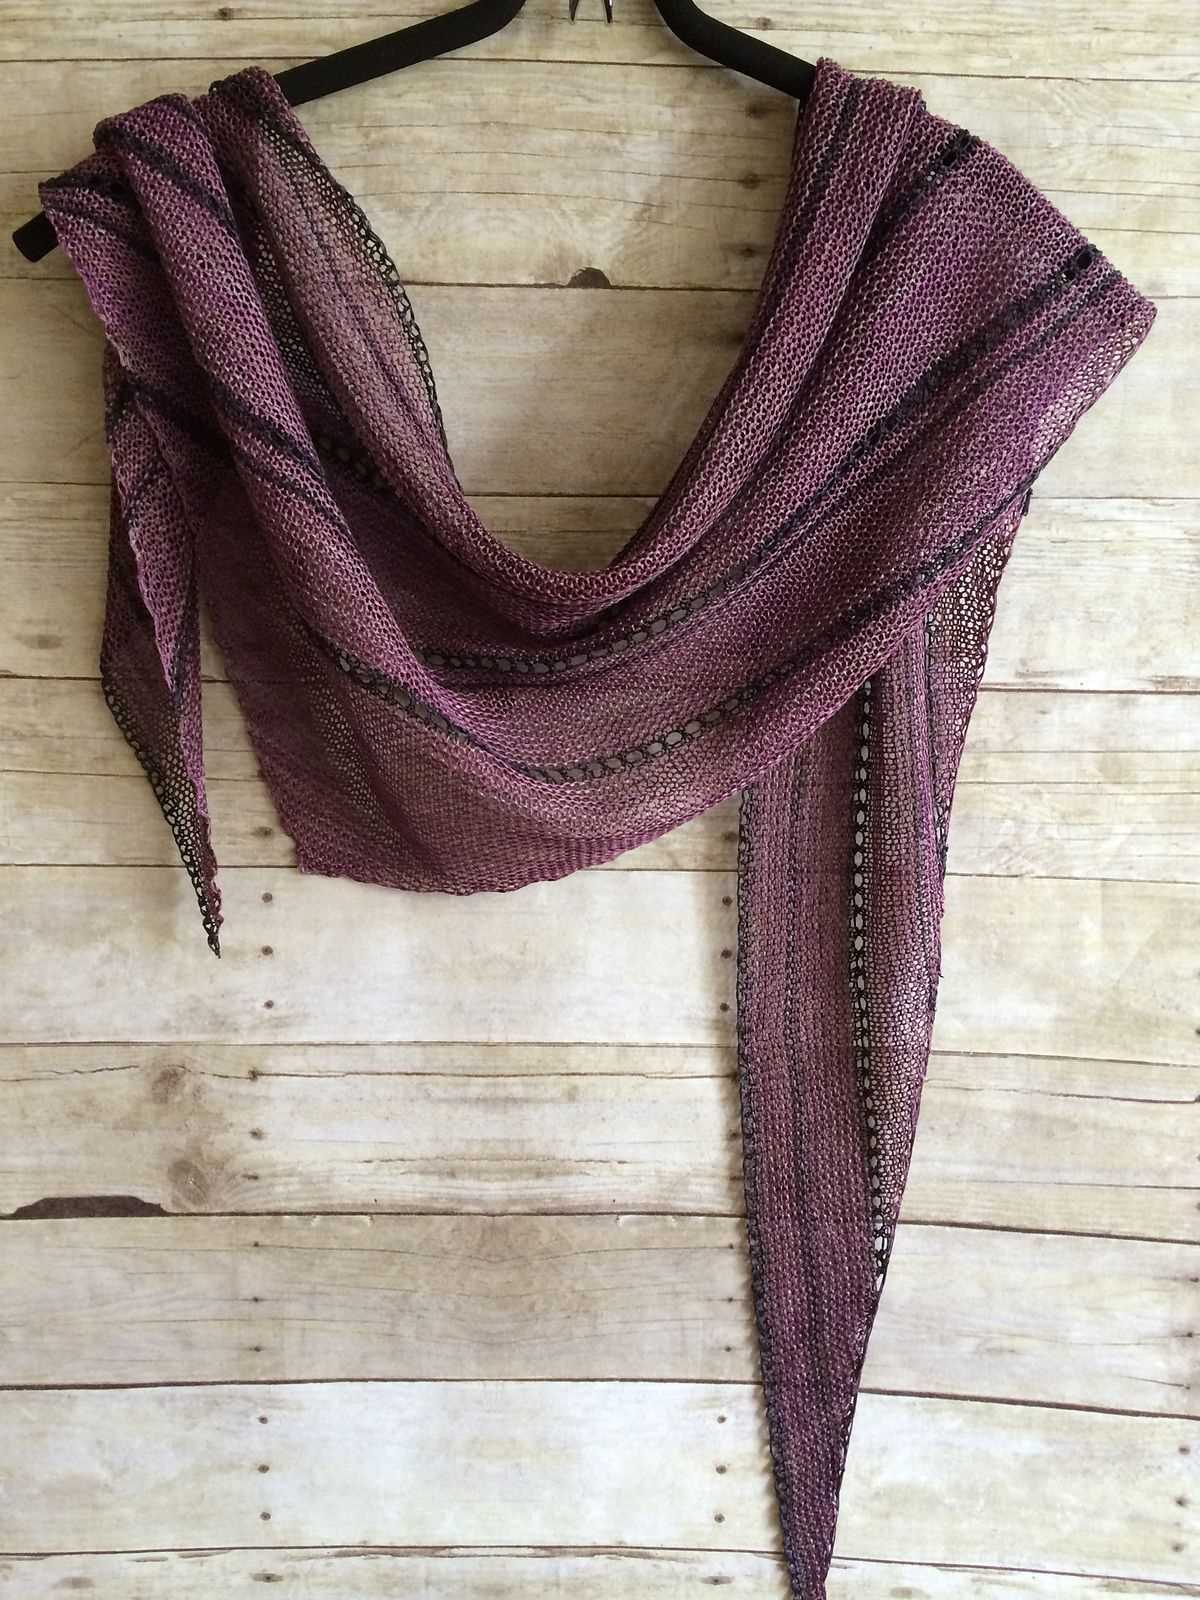
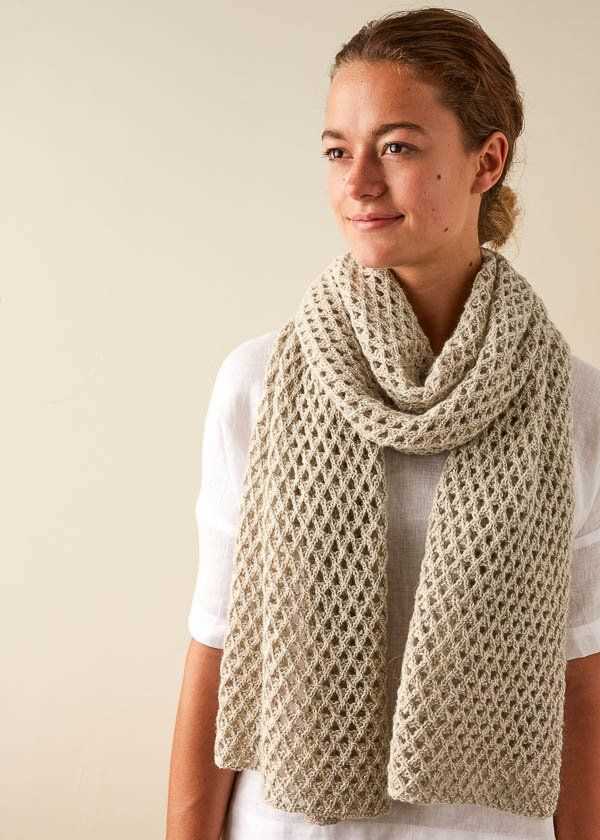
If you’re looking for a stylish and versatile accessory to add to your winter wardrobe, look no further than a wrap scarf. With its long and wide design, a wrap scarf can be worn in multiple ways, making it a must-have accessory for any fashion-conscious individual. Whether you prefer a chunky knit or a delicate lace pattern, there are countless wrap scarf knitting patterns available to suit your personal style and skill level.
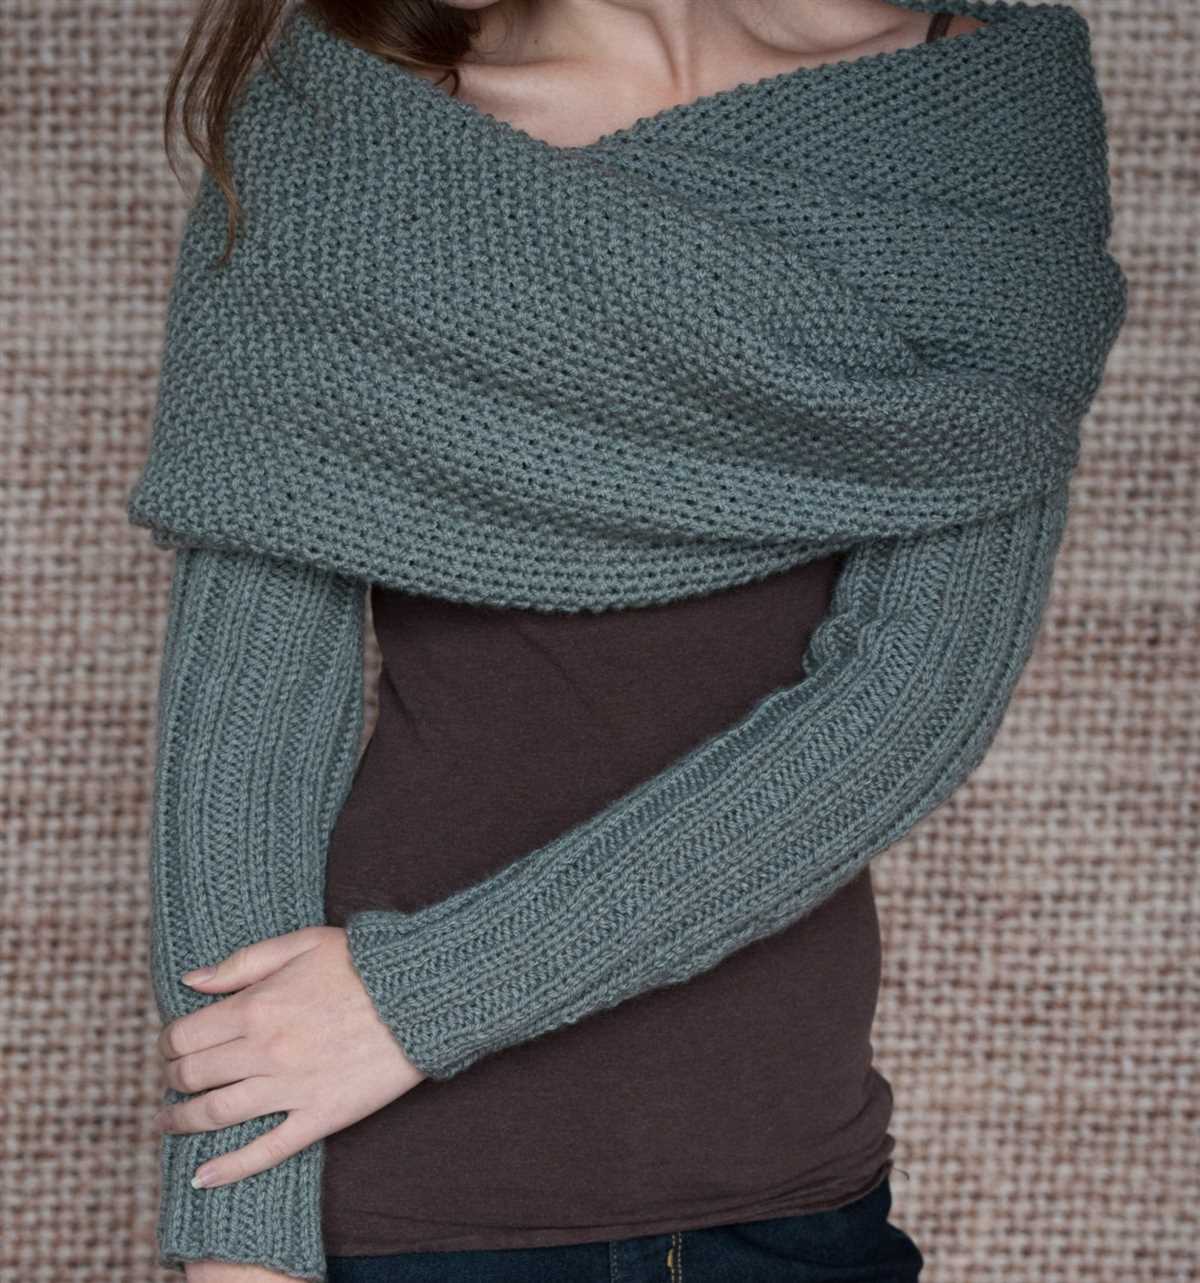
One popular wrap scarf knitting pattern is the garter stitch wrap scarf. This classic pattern is perfect for beginners, as it only requires the basic knit stitch. The resulting scarf features a textured fabric with horizontal ridges, which adds interest and dimension to any outfit. Knitted in a soft and cozy yarn, this garter stitch wrap scarf will keep you warm and stylish all winter long.
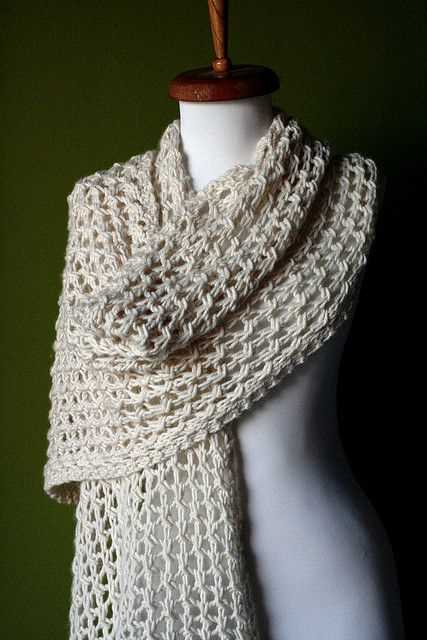
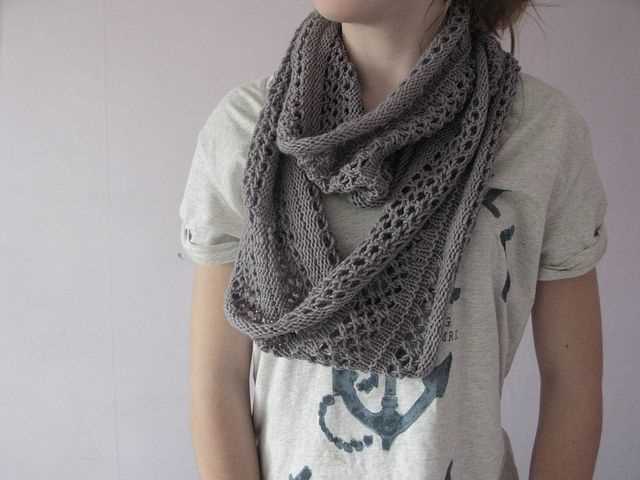
If you’re looking for a more intricate and challenging pattern, you may want to try your hand at a lace wrap scarf. This pattern features delicate lace motifs, which create a beautiful and feminine accessory. Knitted in a fine yarn, a lace wrap scarf is perfect for adding a touch of elegance to any outfit. While this pattern may require some experience with lace knitting techniques, the end result is well worth the effort.
Wrap Scarf Knitting Pattern
Knitting is a popular craft that allows you to create beautiful and cozy accessories, such as scarves. One versatile and trendy option is a wrap scarf. This type of scarf is large enough to wrap around your neck multiple times, providing extra warmth and style.
When it comes to knitting a wrap scarf, there are many patterns to choose from. One classic pattern is the garter stitch, which creates a simple and textured fabric. To create a garter stitch wrap scarf, you will need to know how to knit and purl stitches. With these basic knitting techniques, you can easily create a beautiful wrap scarf by following a straightforward pattern.
To get started, you will need a pair of knitting needles and your choice of yarn. It’s always helpful to check the recommended gauge of the pattern to ensure your scarf turns out the right size. Once you have your materials ready, you can cast on the required number of stitches and begin knitting the garter stitch pattern.
The garter stitch pattern involves knitting every row, creating a fabric with ridges. To add some variation, you can experiment with different yarn colors or add stripes to your scarf. Once you have reached your desired scarf length, you can cast off your stitches and weave in any loose ends. Your wrap scarf is now ready to be worn and enjoyed, or you can gift it to a loved one!
How to Choose the Right Yarn for Your Wrap Scarf
Choosing the right yarn for your wrap scarf is essential to ensure that the final product is comfortable, warm, and stylish. With so many options available, it can be overwhelming to make a decision. However, by considering a few key factors, you can find the perfect yarn for your knitting project.
Type: Start by determining the type of yarn you want to use. Some popular options for wrap scarves include wool, alpaca, cashmere, and acrylic. Wool is known for its warmth and durability, making it a great choice for colder climates. Alpaca is softer and lighter, providing a luxurious feel. Cashmere is a premium choice, offering both warmth and softness. Acrylic is a more affordable option that can still offer warmth and durability.
Color:
Color: Consider the color of the yarn and how it will complement your wardrobe. Neutral tones like black, gray, and cream are versatile choices that can be paired with a variety of outfits. If you want to make a statement, opt for bold and vibrant colors that will add a pop of color to your look. Additionally, consider the season and the overall aesthetic you want to achieve with your wrap scarf.
Weight:
Weight: The weight of the yarn will determine the thickness and drape of your wrap scarf. Bulky or chunky yarns will create a thicker and warmer scarf, perfect for colder weather. Lighter weight yarns will result in a more lightweight and breathable scarf, suitable for transitional seasons or warmer climates. Consider the intended use of your scarf and the climate of your location when choosing the weight of the yarn.
Texture:
Texture: The texture of the yarn will add visual interest to your wrap scarf. Smooth yarns with a consistent texture will create a clean and polished look. On the other hand, textured yarns with variations in thickness or added embellishments can add a unique and playful element to your scarf. Consider the overall style you want to achieve and how the texture of the yarn will contribute to that.
By considering the type, color, weight, and texture of the yarn, you can choose the perfect material for your wrap scarf. Whether you prioritize warmth, style, or versatility, there is a yarn out there that will meet your needs and help you create a beautiful and cozy accessory.
Essential Knitting Tools You Need for the Project
When starting a knitting project, having the right tools is essential to ensure a smooth and successful process. Here are some of the essential knitting tools you will need for your wrap scarf knitting project.
1. Knitting Needles
The most basic tool you will need for knitting is a pair of knitting needles. For a wrap scarf knitting project, you will need long straight knitting needles or circular needles, depending on your preference. Make sure to choose needles that are the appropriate size for your yarn, as this will affect the gauge and the final outcome of your project.
2. Yarn
Of course, you will need yarn for your wrap scarf knitting project. Choose a yarn that is soft, warm, and durable. Consider the fiber content and the weight of the yarn to ensure it is suitable for the drape and warmth you desire for your scarf. There are various colors and textures available, so pick one that matches your style and preferences.
3. Stitch Markers
Stitch markers are small rings or clips that are used to mark specific stitches or sections of your knitting. They come in handy when counting stitches, marking pattern repeats, or reminding you of important points in your project. With a wrap scarf knitting pattern, stitch markers can help you keep track of the pattern repeat and make the knitting process more organized.
4. Tapestry Needle
A tapestry needle, also known as a yarn needle or darning needle, is a large needle with a blunt tip that is used for sewing pieces together and weaving in ends of yarn. This tool is essential for finishing touches on your wrap scarf, such as sewing the ends together or hiding any loose yarn tails.
5. Scissors
A pair of sharp scissors is a must-have tool for any knitting project. You will need them to cut your yarn, trim loose ends, or make any adjustments during the knitting process. It’s best to have a dedicated pair of scissors for your knitting supplies to avoid any damage or dulling of the blades.
With these essential knitting tools, you will be well-equipped to start and complete your wrap scarf knitting project. Remember to choose high-quality materials and tools that are comfortable to work with, as they can greatly contribute to the final result of your knitting masterpiece.
Basic Knitting Stitches You Should Know
When it comes to knitting, mastering a few basic stitches is essential for creating beautiful and intricate patterns. Whether you’re a beginner or an experienced knitter, these stitches will serve as the foundation for your projects and allow you to explore more complex techniques.
1. Knit Stitch: The knit stitch, also known as the garter stitch, is the most basic and commonly used stitch in knitting. It is created by inserting the needle into the front of the stitch and wrapping the yarn around it. This stitch forms a smooth, ridged fabric and is often used for scarves, blankets, and other simple projects.
2. Purl Stitch: The purl stitch is the reverse of the knit stitch and adds texture to knitted fabric. It is created by inserting the needle into the back of the stitch and wrapping the yarn counterclockwise around it. This stitch is often used in combination with the knit stitch to create patterns such as ribbing or seed stitch.
3. Stockinette Stitch: The stockinette stitch is created by alternating rows of knit and purl stitches. When knitting in the round, the stockinette stitch is formed by knitting all stitches in one round and purling all stitches in the next round. This stitch creates a smooth, flat fabric that is commonly used for sweaters, socks, and other garments.
4. Seed Stitch: The seed stitch is a simple yet versatile stitch pattern that creates a textured fabric. It is formed by alternating knit and purl stitches within the same row, and then alternating the stitches in the subsequent rows. The seed stitch is often used for borders, cuffs, and other decorative elements in knitting.
5. Cable Stitch: The cable stitch is a more advanced technique that creates twisted or braided patterns in knitted fabric. It involves crossing a group of stitches over or under another group of stitches to create the desired design. Cable stitches are often used in sweaters, scarves, and other projects to add depth and visual interest.
By mastering these basic knitting stitches, you’ll have a solid foundation to create a wide range of projects, from simple scarves to intricate garments. Experiment with different stitch patterns and techniques to expand your knitting skills and create unique and beautiful pieces.
Step-by-Step Instructions for Casting On
Before you can start knitting your wrap scarf, you need to cast on your stitches. Casting on is the process of creating the initial row of stitches on your knitting needle. Here are step-by-step instructions to help you get started:
1. Make a Slip Knot:
Begin by making a slip knot. To do this, create a loop with your yarn and insert the end through the loop. Pull the tail end of the yarn to tighten the knot around your knitting needle.
2. Hold the Needle and Slip Knot:
Hold the knitting needle with the slip knot in your right hand. Make sure that the working yarn is in your left hand, as you’ll be using it to create the stitches.
3. Insert the Needle into the Slip Knot:

Insert the knitting needle into the slip knot from left to right. Hold the needle with your thumb and index finger to keep it steady.
4. Create the First Stitch:
Using your left hand, bring the yarn over the needle from back to front, creating a loop around the needle. This loop will become your first stitch.
5. Continue Creating Stitches:
Repeat step 4 to create as many stitches as required for your wrap scarf pattern. To keep track of your stitches, you can count them as you go or use a stitch marker.
6. Adjust the Tension:
Make sure to keep the tension of your stitches even as you cast on. It’s important to avoid making the stitches too tight or too loose, as this can affect the overall appearance of your wrap scarf.
Once you’ve cast on all the required stitches, you’re ready to start knitting your wrap scarf pattern. Remember to follow the instructions specific to your pattern as you continue knitting.
Knitting the Body of the Scarf: Stitch Patterns and Tips
Once you have cast on your desired number of stitches for your scarf, it’s time to start knitting the body of the scarf. This is where you can get creative and play around with different stitch patterns to add texture and visual interest to your scarf.
One popular stitch pattern for scarves is the seed stitch. To create the seed stitch, alternate between knitting and purling each stitch across the row. This creates a bumpy texture that is both simple and visually appealing. Another option is the rib stitch, which is created by alternating knit and purl stitches in a specific pattern. The rib stitch adds elasticity to your scarf and gives it a nice, stretchy drape.
When knitting the body of your scarf, it’s important to keep track of your stitch pattern and row count, especially if you plan on adding any design elements or color changes. Using stitch markers can help you easily identify the beginning and end of each pattern repeat. Additionally, keeping good tension on your yarn will ensure that your stitches are consistent in size and appearance.
If you want to get really creative, you can experiment with different color changes or even add in some lace or cable patterns to make your scarf truly unique. Just remember to take your time and read the pattern carefully, as lace and cable patterns can be more complex and require additional attention to detail.
As you continue knitting the body of your scarf, make sure to periodically check your work by laying it flat to see how the stitches are coming along. This will give you an idea of how your finished scarf will look and allow you to make any necessary adjustments or corrections along the way.
In conclusion, knitting the body of the scarf is where you can really have fun and add your personal touch. Whether you choose a simple stitch pattern or go for something more intricate, take your time, stay consistent, and enjoy the process of creating a beautiful scarf that will keep you warm and stylish during the colder months.
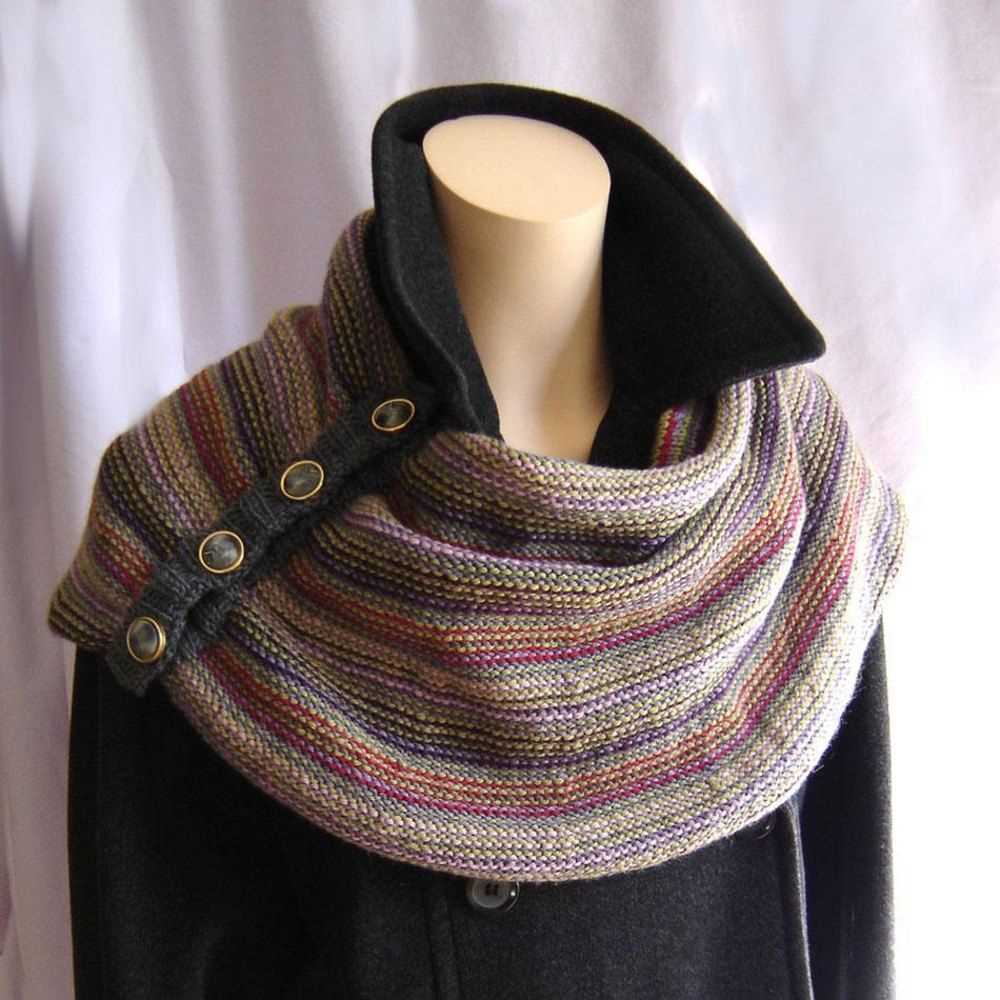
Adding a Decorative Edge to Your Wrap Scarf
When it comes to creating a cozy and fashionable wrap scarf, adding a decorative edge can elevate the overall look and make your design stand out. There are various techniques you can use to achieve a unique and eye-catching edge that complements your scarf pattern.
1. Fringe: One popular option is to add fringe to the ends of your scarf. This can be done by simply cutting several strands of yarn to your desired length and attaching them to the edge. You can experiment with different yarn colors and lengths to create a playful or elegant fringe.
2. Ribbing: Another option is to incorporate ribbing along the edges of your wrap scarf. This can be achieved by alternating knit and purl stitches in a specific pattern. Ribbing adds texture and elasticity to the edge, making it visually appealing and ensuring a snug fit when worn.
3. Lace trim: For a delicate and feminine touch, consider adding a lace trim to your scarf. This can be achieved by knitting a separate lace pattern and sewing it onto the edge of your scarf. Lace trim adds an elegant and intricate detail that can make your wrap scarf truly special.
4. Cable pattern: If you want to add a more intricate design to your scarf edge, incorporating a cable pattern can be a great option. Cable knitting involves crossing stitches over each other, creating a beautiful and textured effect. You can choose a cable pattern that complements your scarf design and create a unique border.
5. Picot edging: A picot edging can add a dainty and decorative finish to your wrap scarf. This involves creating small loops along the edge by making chains with your crochet hook. The loops can be left as is or secured with a small stitch to create a picot effect. This method gives your scarf a delicate and ornamental edging.
By incorporating any of these decorative edge techniques, you can add a personalized touch to your wrap scarf and make it truly one-of-a-kind. Have fun experimenting with different patterns, materials, and colors to create a stunning and fashionable accessory that will keep you warm and stylish throughout the colder months.
How to Increase and Decrease Stitches for Shaping
When knitting a wrap scarf, it is important to know how to increase and decrease stitches to create shaping. This allows you to create different patterns and designs in your scarf while maintaining a consistent width and length. In this guide, we will go over the basics of increasing and decreasing stitches, as well as provide some tips and techniques to help you achieve the desired shaping for your wrap scarf.
Increasing Stitches
Increasing stitches is necessary when you want to add width to your scarf or create specific patterns that require more stitches. There are several ways to increase stitches, but the most common method is the yarn over (yo) increase. To perform a yarn over increase, simply bring the yarn to the front of your work, then wrap it around the right-hand needle and continue knitting the next stitch as usual.
Another method for increasing stitches is the make one (M1) increase. This method involves creating a new stitch by picking up the strand of yarn between two stitches and knitting it. There are different variations of the M1 increase, such as the M1L (make one left) and M1R (make one right), which create slightly different effects when shaping your scarf.
Decreasing Stitches
Decreasing stitches is necessary when you want to taper or shape your wrap scarf, such as at the ends or for creating specific patterns. The most common method for decreasing stitches is the knit two together (k2tog) decrease. To perform a k2tog decrease, simply insert your right-hand needle into the next two stitches on the left-hand needle as if to knit, then knit them together as one stitch.
Another popular method for decreasing stitches is the slip, slip, knit (SSK) decrease. To perform an SSK decrease, slip the next two stitches from the left-hand needle to the right-hand needle as if to knit, then insert the left-hand needle into the front of these stitches and knit them together. This decrease creates a left-leaning slant and is often used for shaping the end of a scarf or creating decorative patterns.
Conclusion
Increasing and decreasing stitches is an essential skill for shaping a wrap scarf. By using techniques like yarn overs and make one increases, as well as knit two together and slip, slip, knit decreases, you can create beautiful patterns and designs in your scarf. Experiment with different combinations of these techniques to achieve the desired shaping and add visual interest to your wrap scarf. Remember to practice and take your time to ensure accurate stitch placement and tension for a polished finished product.
Creating a Buttonhole for a Versatile Wrap Scarf
A wrap scarf is a versatile accessory that can be worn in different ways to complement various outfits. One way to enhance the functionality of a wrap scarf is by adding a buttonhole. A buttonhole allows you to secure the ends of the scarf together, creating a more structured and tailored look.
To create a buttonhole for your wrap scarf, you will need a few basic knitting skills and materials. First, determine where you want the buttonhole to be placed on your scarf. Typically, it is best to position the buttonhole near one end of the scarf, so it can easily be fastened when worn.
- Step 1: With your knitting needle, count the number of stitches you wish to skip to create the buttonhole. This will depend on the size of your button and how tightly you want it to fit.
- Step 2: On the row where you want to create the buttonhole, start knitting as usual until you reach the desired stitch.
- Step 3: To create the buttonhole, simply bind off the specified number of stitches. This will create a small gap through which the button can be inserted.
- Step 4: Continue knitting the rest of the row as usual.
Once you have created the buttonhole, you can now attach a button to the opposite end of the wrap scarf. Choose a button that complements the color and style of your scarf. Sew the button securely onto the scarf, making sure it lines up with the buttonhole.
Now, when you wear your wrap scarf, you can easily fasten it by inserting the button through the buttonhole. This adds versatility to your scarf, allowing you to drape it in different ways or secure it in place for a more tailored look. With a buttonhole, your wrap scarf becomes a stylish and functional accessory that can be worn for any occasion.
Finishing Touches: Blocking and Weaving in Ends
Once you have completed knitting your wrap scarf, it’s time to give it those finishing touches to make it look polished and professional. Blocking and weaving in ends are two important steps that will help enhance the final appearance of your knitted piece.
Blocking: Blocking is the process of gently reshaping and stretching your knitted item to even out the stitches and give it a smooth and professional finish. To block your wrap scarf, you will need to lay it flat on a clean, dry surface and pin it in place using rust-proof T-pins or blocking wires. Gently stretch the scarf to the desired dimensions, making sure to maintain the same width throughout. Allow the scarf to dry completely before unpinning, as this will help the fibers set in their new shape.
Weaving in Ends: Weaving in ends is an important step to secure and hide any loose yarn tails from the cast on, bind off, and color changes. Using a tapestry needle, carefully thread the loose ends through the stitches on the wrong side of the scarf. Make sure to weave in the ends in different directions to ensure they don’t come loose. Trim any excess yarn, leaving a small tail to prevent unraveling.
By blocking your wrap scarf, you can achieve an even and professional look, while weaving in the ends will create a clean and tidy finish. These final steps will elevate the overall appearance of your knitted piece, making it ready to be worn or gifted with pride. Don’t skip these finishing touches, as they can make a world of difference in the final outcome of your project.
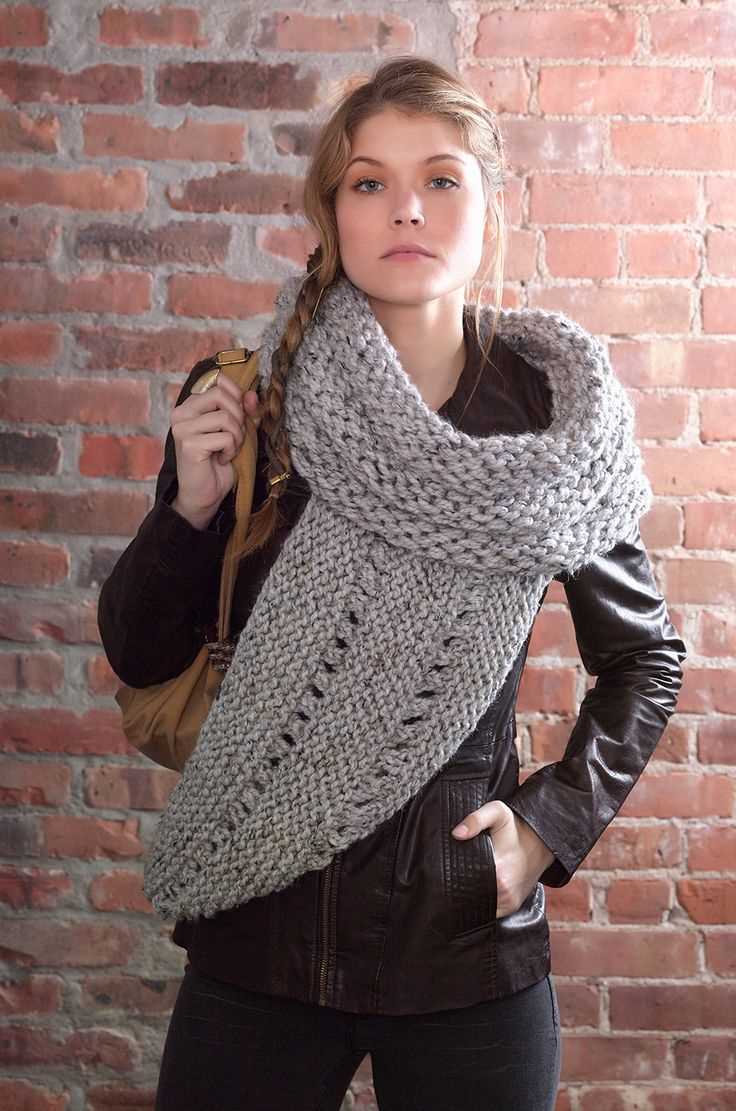
Different Ways to Wear and Style Your Wrap Scarf
A wrap scarf is a versatile accessory that can add style and warmth to any outfit. Whether you are dressing up for a formal event or heading out for a casual day, there are many different ways to wear and style your wrap scarf. Here are some ideas to inspire you.
1. Classic Wrap
One of the most common ways to wear a wrap scarf is to simply drape it around your neck and let it hang loosely. This style is perfect for adding a touch of elegance to a simple outfit, and it works well with both dressy and casual attire. To achieve the classic wrap look, fold the scarf in half lengthwise, place it around your neck, and pull the loose ends through the loop created by the fold.
2. Belted Wrap
Another stylish way to wear a wrap scarf is to use a belt to secure it in place. This creates a more structured and polished look, and is especially great for adding shape to oversized or flowy garments. Simply wrap the scarf around your neck, leaving one end longer than the other, and secure it with a belt around your waist. You can experiment with different belt styles and widths to create different looks.
3. Shoulder Wrap
If you are looking for a more unique and dramatic way to wear your wrap scarf, try wearing it as a shoulder wrap. This style is perfect for chilly evenings or formal occasions, and can instantly elevate any outfit. To achieve this look, drape the scarf over one shoulder and let it hang down the opposite side. You can secure it in place with a brooch or pin for an extra touch of glamour.
4. Head Wrap
Not only can a wrap scarf be worn around the neck, but it can also be used as a stylish head accessory. This is perfect for protecting your hair on windy days or adding a bohemian touch to your outfit. To wear your wrap scarf as a head wrap, simply fold it into a wide band and tie it around your head, making sure to cover your hairline. You can leave the ends hanging down or tuck them in for a more polished look.
These are just a few ideas for how to wear and style your wrap scarf. Don’t be afraid to get creative and experiment with different wrapping techniques to find the look that suits you best. With a little bit of practice, you’ll be able to effortlessly elevate any outfit with your wrap scarf.
Troubleshooting: Common Knitting Mistakes and Fixes
Knitting can be a relaxing and enjoyable hobby, but sometimes mistakes happen. Whether you’re a beginner or an experienced knitter, it’s important to know how to troubleshoot common knitting mistakes and find solutions to fix them. Here are some common knitting mistakes and their corresponding fixes:
1. Dropped Stitch
A dropped stitch is a common mistake and can be easily fixed. If you notice a stitch has slipped off your needle, place a stitch marker or safety pin through the stitch to prevent further unraveling. Then, use a crochet hook or the tip of your knitting needle to pick up the dropped stitch and put it back on your needle in the correct orientation. Make sure to tighten the stitch to match the tension of the surrounding stitches.
2. Uneven Tension
Uneven tension can make your knitting look sloppy and uneven. To fix this issue, you can try adjusting the tension of your yarn as you knit. You can also try using a smaller or larger knitting needle to achieve a more even tension. Practice and experience will also help improve your tension over time.
3. Twisted Stitches
Twisted stitches are often the result of accidentally knitting into the back loop rather than the front loop of a stitch. To fix this, you can use a crochet hook or the tip of your knitting needle to untwist the stitch and then put it back on your needle in the correct orientation. It’s important to fix twisted stitches as you come across them to ensure a neat and even final result.
4. Holes in Your Knitting
If you find small holes in your knitting, it may be due to unintentional yarn overs or dropped stitches. To fix this, carefully examine your knitting and identify the areas with holes. You can then use a crochet hook or the tip of your knitting needle to pick up the dropped stitch or close the yarn over and secure it in the correct position.
Remember, mistakes are part of the learning process in knitting. Don’t get discouraged if you make a mistake – they can often be fixed with a little patience and practice. Keep these common knitting mistakes and their fixes in mind, and you’ll be well-prepared to tackle any issues that may arise during your knitting projects.
Inspiration and Variation Ideas for Your Next Wrap Scarf Project
Now that you have mastered the basic wrap scarf knitting pattern, it’s time to get creative and explore different inspiration and variation ideas for your next project. Here are some suggestions to get you started:
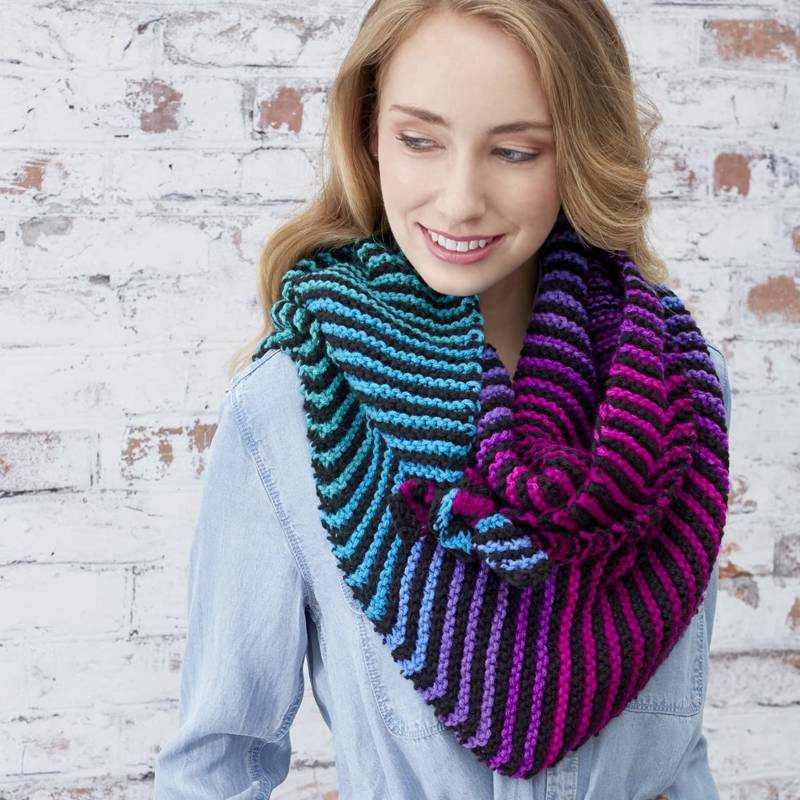
1. Color Exploration
Experiment with different color combinations to create unique and eye-catching wrap scarves. Consider using a gradient effect by gradually transitioning from one color to another. Alternatively, you can opt for bold contrasting colors to make a statement piece.
2. Stitch Patterns
Try incorporating different stitch patterns into your wrap scarf design to add texture and visual interest. Cable stitches, lace stitches, and seed stitch are just a few examples of the many possibilities. Combine multiple stitch patterns for a more intricate look.
3. Embellishments
Add embellishments to your wrap scarf to give it a personalized touch. You can sew on buttons, attach pom poms or tassels, or even incorporate beads into your knitting. Be creative and let your imagination run wild!
4. Length and Width
Experiment with different lengths and widths to alter the look and functionality of your wrap scarf. A shorter and narrower scarf can be worn as a stylish accessory, while a longer and wider one can provide extra warmth and versatility.
5. Yarn Selection
Explore different types of yarns to achieve different effects. Consider using a fuzzy yarn for added texture, a chunky yarn for a cozy and warm scarf, or a lightweight yarn for a more delicate and airy feel.
Remember, knitting is all about expressing your creativity and making something unique. Don’t be afraid to experiment and have fun with your wrap scarf projects. Happy knitting!
Q&A:
What is a wrap scarf knitting pattern?
A wrap scarf knitting pattern is a set of instructions and guidelines on how to knit a wrap scarf. It includes information such as the type of yarn to be used, the size of knitting needles, and the specific stitches and techniques to be used.
What materials are needed for a wrap scarf knitting pattern?
The materials needed for a wrap scarf knitting pattern typically include yarn, knitting needles, and a tape measure. The specific type of yarn and size of knitting needles may vary depending on the desired final product and personal preference.
Are wrap scarf knitting patterns suitable for beginners?
Yes, wrap scarf knitting patterns can be suitable for beginners. However, it is important to choose a pattern that is labeled as “beginner-friendly” or “easy” to ensure that the instructions are clear and easy to follow. It may also be helpful to start with a simpler pattern that uses basic stitches.
Can different yarns be used with a wrap scarf knitting pattern?
Yes, different yarns can be used with a wrap scarf knitting pattern. However, it is important to consider that different yarns will result in different final products. The thickness, texture, and color of the yarn can all affect the appearance and feel of the finished scarf.
Where can I find wrap scarf knitting patterns?
Wrap scarf knitting patterns can be found in various places, including knitting books, online knitting communities, and knitting pattern websites. Some websites offer both free and paid patterns, allowing you to choose the option that best suits your needs and budget.
What is a wrap scarf knitting pattern?
A wrap scarf knitting pattern is a set of instructions that guides you on how to knit a scarf that can be wrapped around your neck or body. It usually includes information on the type of yarn and needle size to use, as well as the specific stitches and techniques required to create the desired design.
Are wrap scarf knitting patterns suitable for beginners?
Yes, there are wrap scarf knitting patterns available for beginners. These patterns typically use basic stitches and techniques, making them easier to follow for those who are new to knitting. However, it’s always a good idea to check the difficulty level of the pattern before starting to ensure it matches your skill level.