
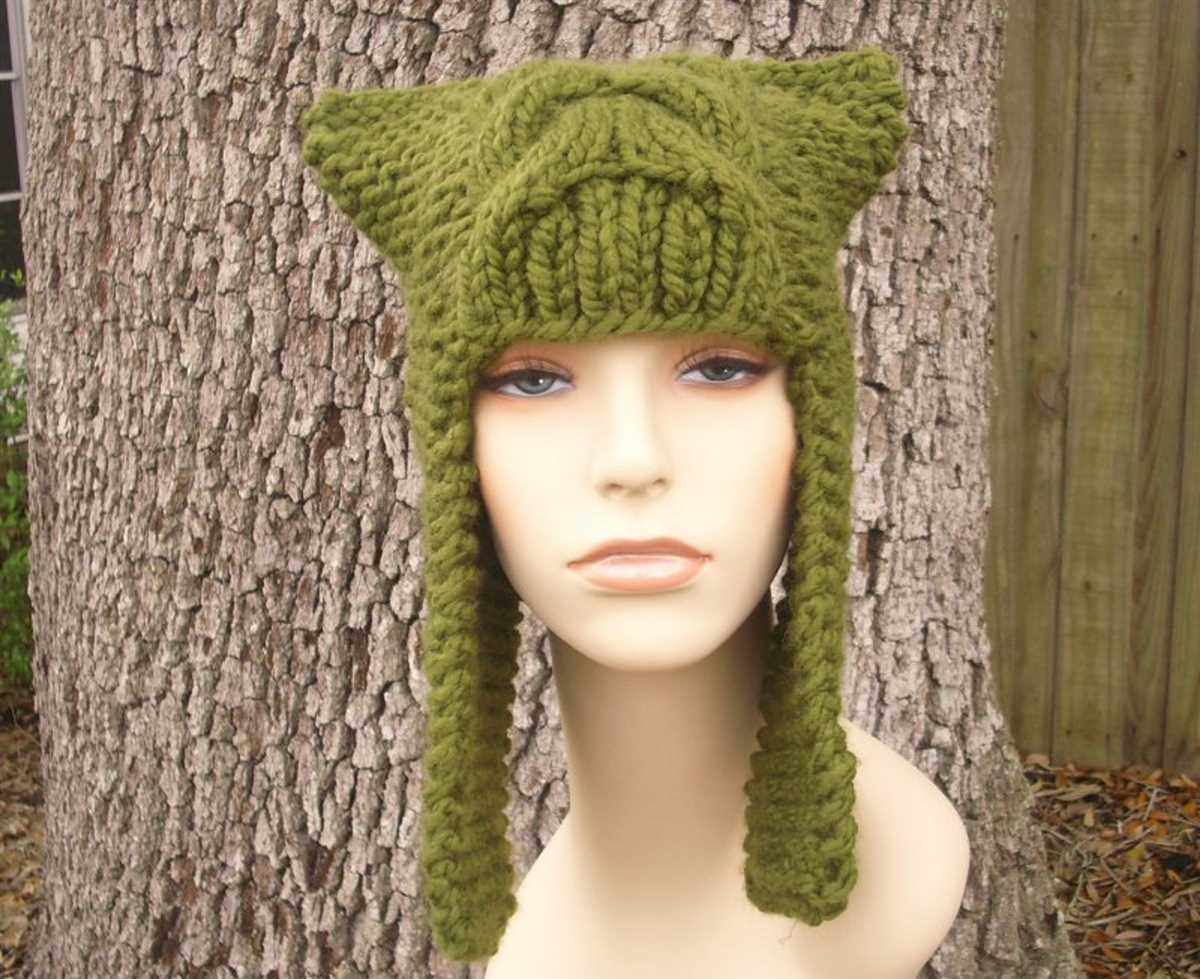
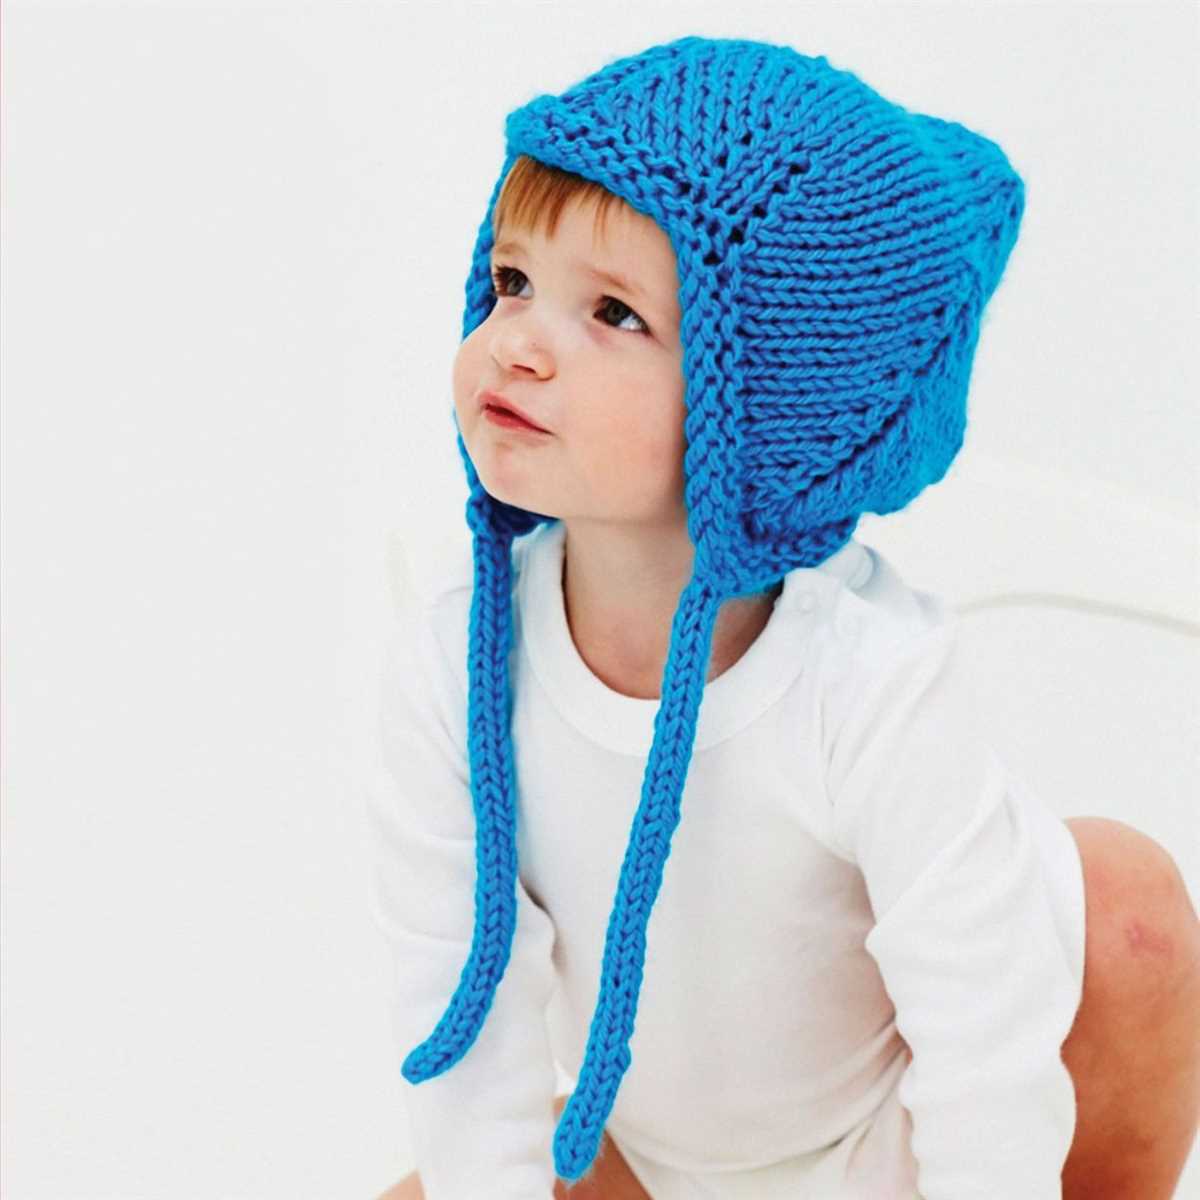
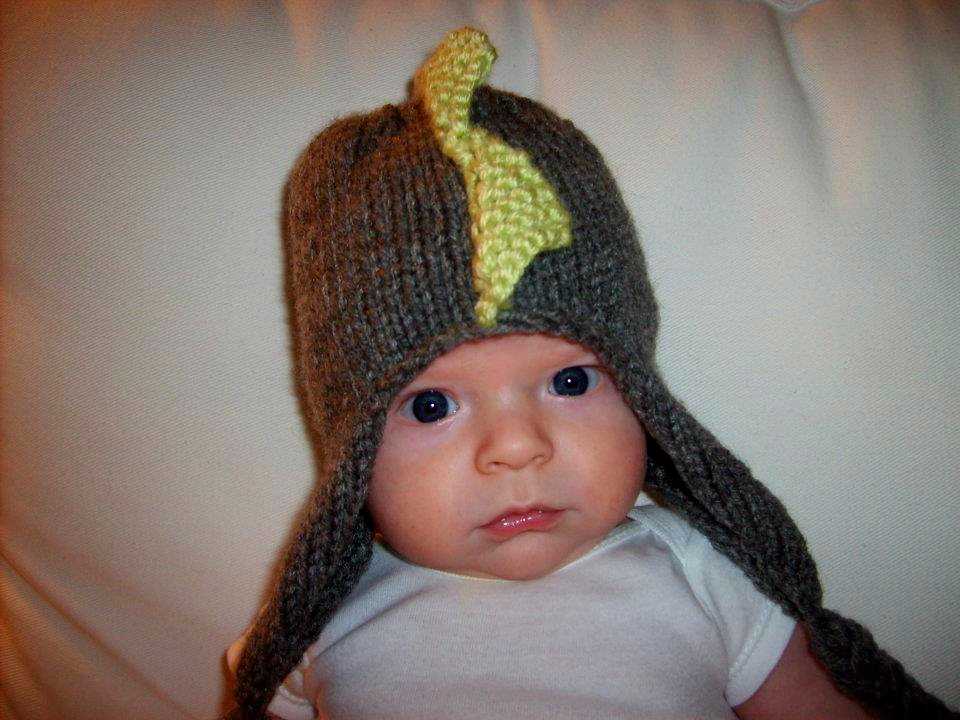
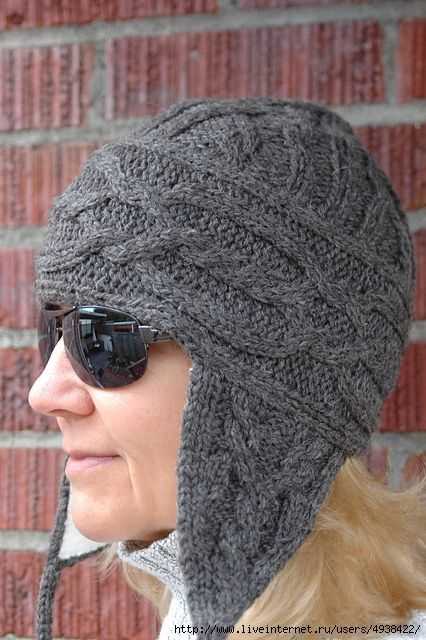
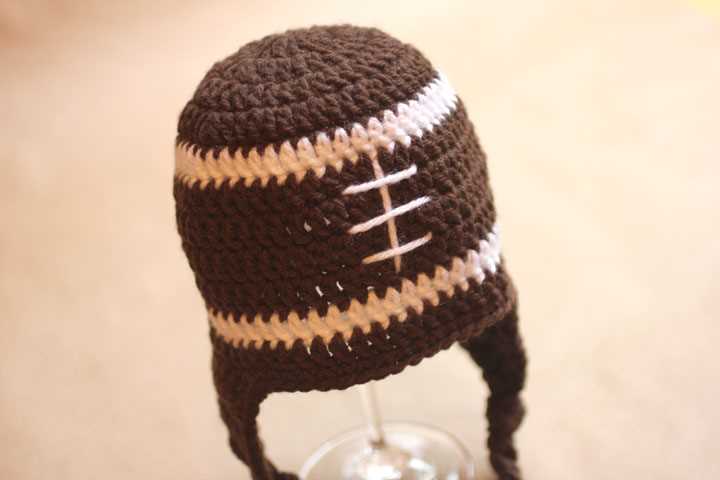
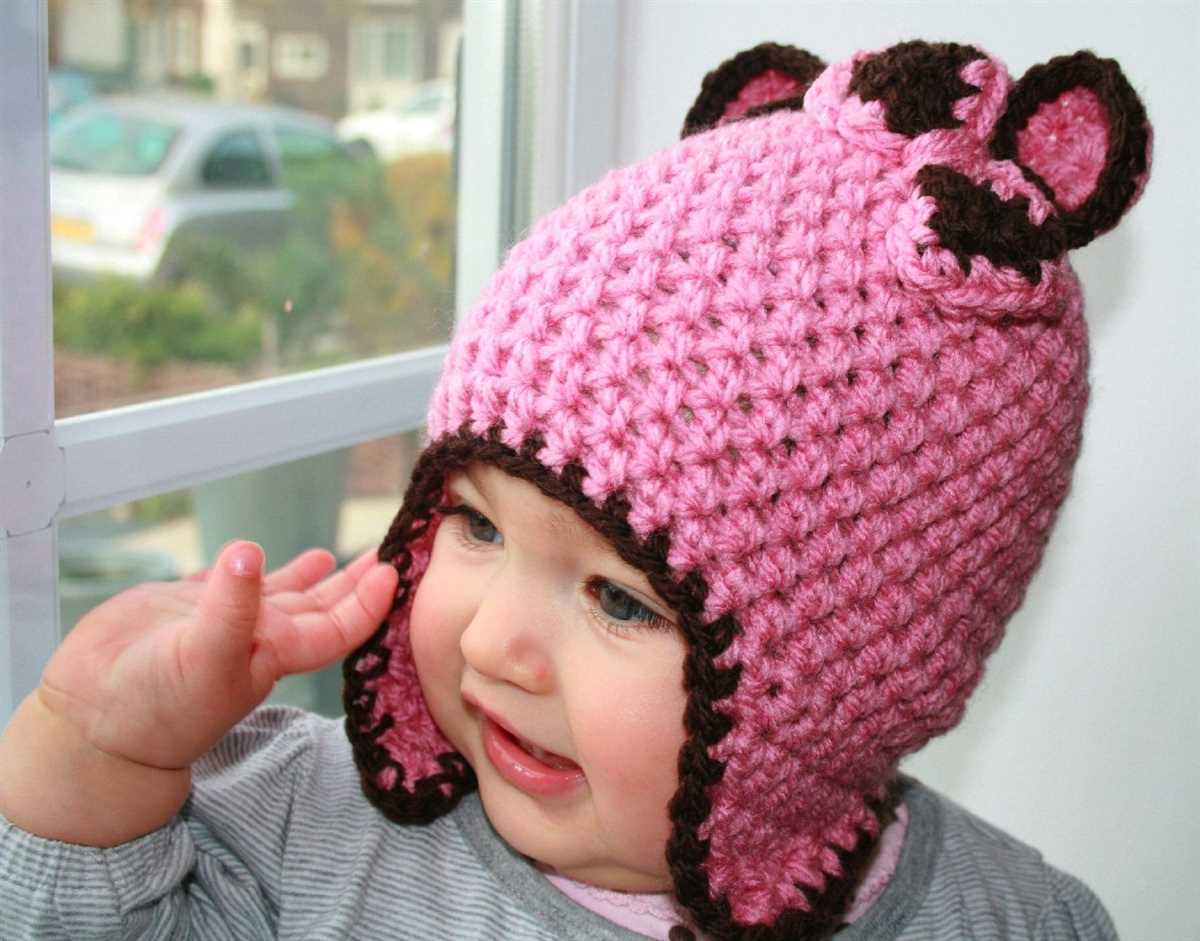
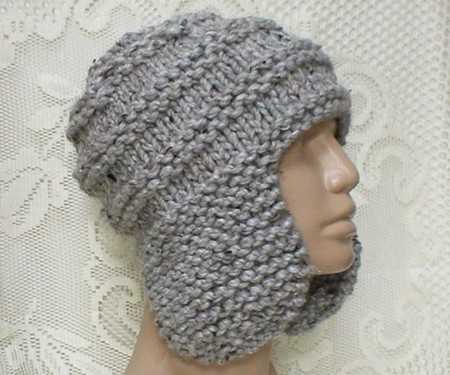
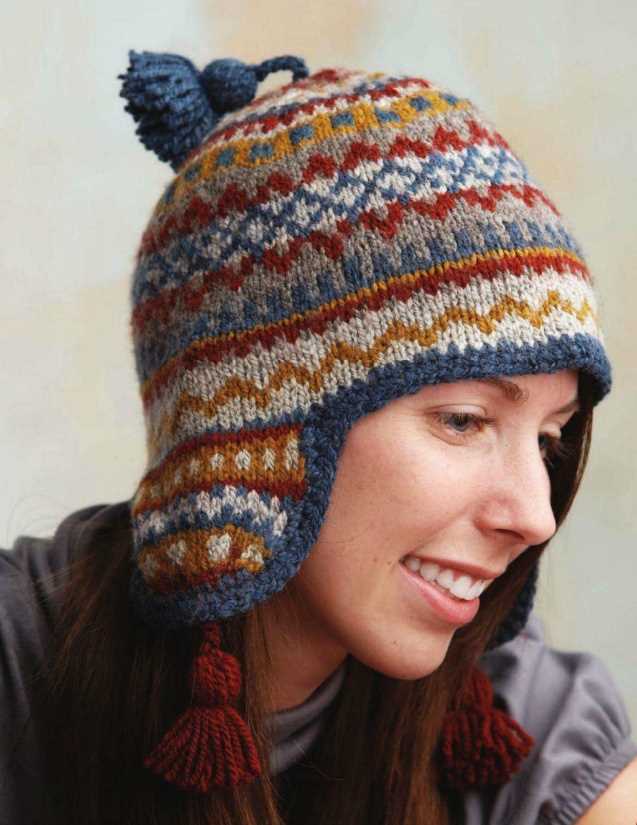
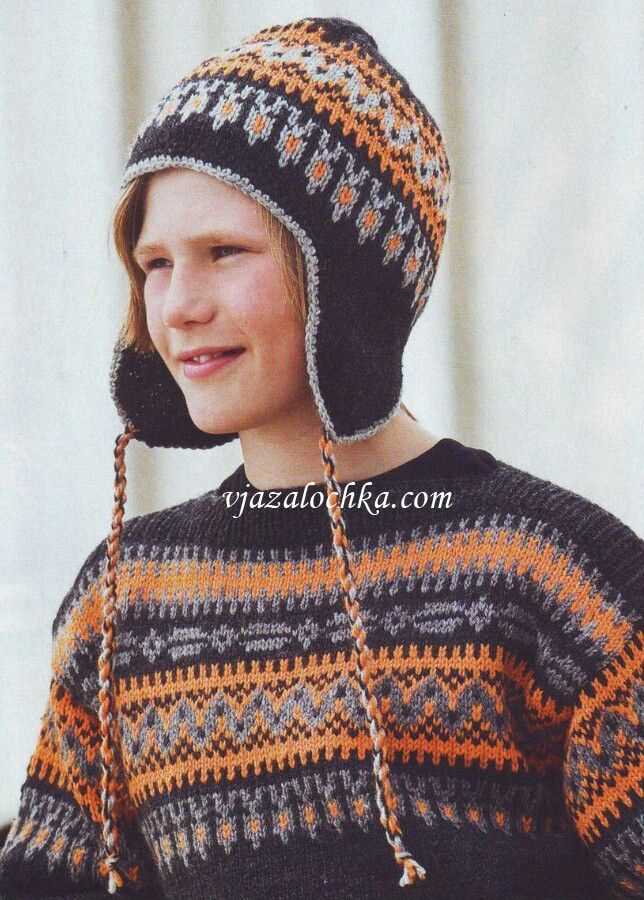
If you’re looking for a cozy and stylish hat to keep your ears warm during the winter months, then look no further than a men’s earflap hat. Earflap hats are not only functional, but they also add a unique touch to any outfit. Whether you’re hitting the slopes or just staying warm on a chilly day, a knitted earflap hat is the perfect accessory.
Knitting your own earflap hat allows you to customize the design and fit to your preferences. You can choose from a variety of yarns, colors, and stitch patterns to create a hat that is truly one-of-a-kind. Plus, knitting is a relaxing and enjoyable hobby that can help reduce stress and improve focus.
In this article, we will provide you with a mens earflap hat knitting pattern that is suitable for knitters of all skill levels. Whether you’re a beginner or an experienced knitter, you’ll be able to follow this pattern and create a hat that you’ll be proud to wear. So grab your knitting needles and let’s get started!
Mens Earflap Hat Knitting Pattern
If you’re looking for a warm and stylish hat that is perfect for cold winter days, then the Mens Earflap Hat Knitting Pattern is just what you need. This pattern is designed specifically for men and features earflaps to provide extra warmth and protection from the elements.
The pattern includes step-by-step instructions and a list of materials you will need to complete the hat. You can choose from a variety of yarn colors and textures to customize the hat to your liking. Whether you prefer a classic solid color or a bold, multi-colored design, this pattern allows you to get creative and make a hat that suits your personal style.
To begin, cast on the required number of stitches and work in a rib stitch pattern for the brim of the hat. Then, transition to a stockinette stitch for the body of the hat. The earflaps are knit separately and attached to the sides of the hat using a simple sewing technique.
This pattern is suitable for intermediate knitters who are comfortable with basic knitting techniques such as casting on, knitting, purling, and decreasing stitches. It also includes instructions for measuring your head circumference to ensure a proper fit. Once you have completed the hat, you can enjoy the satisfaction of creating a handmade accessory that is both functional and fashionable.
So why wait? Grab your knitting needles and get started on the Mens Earflap Hat Knitting Pattern today. Stay warm and stylish all winter long with this cozy and practical hat.
Materials Needed
Before you start knitting your mens earflap hat, it’s important to gather all the necessary materials. Here is a list of what you will need:
- Yarn: Choose a yarn that is suitable for cold weather, such as a bulky or chunky weight yarn. The amount of yarn needed will depend on the size of the hat and the stitch pattern you choose.
- Knitting needles: You will need a set of circular needles or double-pointed needles in the size recommended for your chosen yarn. Make sure the needles are long enough to accommodate the number of stitches you will be casting on.
- Cable needle: If you are planning to knit a hat with a cabled pattern, you will need a cable needle to hold and cross the stitches.
- Tapestry needle: This needle will be used for weaving in the loose ends of yarn and finishing touches.
- Stitch markers: These will help you keep track of specific points in your knitting, such as the beginning of a round or where a stitch pattern changes.
- Measuring tape: This will come in handy for measuring gauge and for ensuring the hat fits properly.
Having all these materials ready will make the knitting process much smoother and more enjoyable. Make sure to check the pattern for any additional materials that may be required.
Choosing the Right Yarn
When it comes to knitting a mens earflap hat, choosing the right yarn is essential for both the comfort and the appearance of the finished product. There are several factors to consider when selecting yarn for this project.
Warmth: One of the main purposes of an earflap hat is to keep the wearer warm, so it is important to choose a yarn with good insulation properties. Look for yarns that are made of natural fibers such as wool or alpaca, as these materials are known for their excellent insulation capabilities.
Durability: Since a mens earflap hat is likely to be worn frequently during cold weather, it is important to choose a yarn that is durable and can withstand regular use. Opt for yarns that have been treated to be more resistant to wear and tear, or look for yarns made from stronger fibers such as acrylic or nylon.
Softness: Comfort is another important factor to consider when choosing yarn for an earflap hat. Look for yarns that are soft to the touch and gentle on the skin. Many yarns that are specifically marketed for hat knitting will have a soft and cozy texture.
Appearance: Lastly, consider the appearance of the yarn and how it will contribute to the overall look of the earflap hat. Decide whether you want a solid color or a variegated yarn, and consider the thickness and texture of the yarn as well. Keep in mind that a thicker yarn will knit up faster, while a finer yarn will create a more intricate and detailed pattern.
By considering these factors and choosing the right yarn for your mens earflap hat knitting project, you can ensure that the finished hat will be warm, durable, comfortable, and visually appealing.
Selecting the Proper Needles
When knitting a mens earflap hat, it is essential to select the proper needles to achieve the desired size and stitch tension. The choice of needles can greatly influence the outcome of the project, so it is important to consider a few factors when making a selection.
Needle Size: One of the first things to consider is the needle size. This will determine the overall size and gauge of the knitted fabric. For a mens earflap hat, it is recommended to use medium to large-sized needles, such as US size 8 or 9 (5.0mm or 5.5mm). These sizes can help achieve a balanced tension and create a hat that fits comfortably.
Material: The material of the needles can also impact the knitting process and final result. There are various options available, including metal, wood, and plastic. Metal needles, such as aluminum or stainless steel, are known for their smoothness and durability, making them a popular choice for many knitters. Wood needles, on the other hand, offer a warmer feel and quieter knitting experience. Plastic needles can be lighter and more flexible, making them a suitable option for knitters with hand or wrist pain.
These are just a few factors to consider when selecting needles for a mens earflap hat knitting project. Ultimately, personal preference and the desired outcome will play a significant role in the decision-making process. It is recommended to try different needle sizes and materials to find the ones that work best for you and your knitting style.
Gauge and Measurements
Before starting your knitting project, it is important to understand the concept of gauge and take accurate measurements. Gauge refers to the number of stitches and rows in a specified measurement, typically 4 inches or 10 centimeters. It helps ensure that your knitted piece will turn out the correct size and fit as intended. To determine gauge, it is recommended to knit a swatch using the specified yarn and needle size mentioned in the knitting pattern.
When knitting a mens earflap hat, it is crucial to measure the circumference of the head accurately. Use a measuring tape to measure around the widest part of the head, just above the ears. This measurement will determine the size of the hat. Additionally, it is important to measure the length from the base of the ear to the crown of the head to ensure proper coverage.
Recommended Gauge and Measurements:
- Gauge: 20 stitches and 24 rows = 4 inches/10 centimeters
- Head circumference: 22-24 inches (56-61 centimeters)
- Ear to crown length: 7-8 inches (18-20 centimeters)
By following the recommended gauge and taking accurate measurements, you can be confident that your mens earflap hat will have the perfect fit and provide the desired warmth and comfort. Remember to always check the gauge and adjust your knitting tension if needed to achieve the correct size.
Instructions for Ribbing
Follow these instructions to create the ribbing for your men’s earflap hat:
Step 1: Cast On
To begin, cast on the required number of stitches onto your knitting needle. The ribbing usually requires a multiple of 2 stitches. You can cast on using the long-tail cast-on method or any other suitable method.
Step 2: Knit the Ribbing
Once the stitches are cast on, begin knitting the ribbing. The ribbing pattern typically consists of alternating knit stitches and purl stitches. Repeat the pattern until you reach your desired ribbing length.
Note: Remember to keep the tension even while knitting the ribbing to ensure a neat and stretchy finish.
Step 3: Switch to Main Hat Pattern
After completing the ribbing, switch to the main hat pattern as specified in the instructions. The ribbing provides a snug and flexible band that helps keep the hat in place comfortably.
With these instructions, you can create a ribbed band for your men’s earflap hat. Enjoy the process and bring warmth and style to your winter wardrobe!
Knitting the Body of the Hat
Once you have completed the earflaps of the hat, it’s time to move on to knitting the body. Take your chosen yarn and needles and begin the next section of the pattern.
To begin, cast on the required number of stitches onto your needles. This will vary depending on the size of the hat you are making and the desired fit. It’s always a good idea to check the pattern or measurement guidelines to ensure you cast on the correct number of stitches.
Row 1: Knit every stitch across the row.
Row 2: Purl every stitch across the row.
Repeat rows 1 and 2 for the desired length of the hat’s body. This will typically be specified in the pattern or can be adjusted to suit your preference.
Tip: If you want a slouchy or longer hat, you can continue knitting the body for more rows. If you prefer a shorter hat, you can finish after fewer rows.
Once you have reached the desired length, you can start shaping the top of the hat. This usually involves decreasing stitches in a specific pattern to create the desired shape. Follow the pattern instructions carefully to ensure you achieve the correct shape.
Tip: Keep track of your progress by using stitch markers or making notes on the pattern. This can help you stay organized and ensure you don’t make any mistakes along the way.
Continue knitting the top of the hat until you have decreased enough stitches to close the top. This will usually involve cinching the remaining stitches together using a tapestry needle or knitting them together. Again, refer to the pattern for specific instructions on how to finish the top of the hat.
Once you have completed the top, you can bind off the remaining stitches and weave in any loose ends. Give the hat a gentle blocking, if desired, to smooth out the stitches and provide a more polished look.
Now your mens earflap hat is ready to be worn or gifted! Enjoy the process of knitting and the satisfaction of creating a cozy and stylish accessory.
Creating the Earflaps
Once you have completed knitting the main body of the hat, it’s time to add the earflaps. The earflaps will provide extra warmth and protection for the wearer, making this hat perfect for cold weather. To create the earflaps, you will need to pick up stitches along the edge of the hat and work in a separate section.
Step 1: Pick up stitches
To start, fold the hat in half to locate the center back. Count a few stitches to either side of the center back and use a knitting needle or crochet hook to pick up stitches along the edge of the hat. The number of stitches you pick up will depend on the size of the hat and your preferred earflap length.
Step 2: Begin working in rows
Once you have picked up the desired number of stitches, use a new ball of yarn to start working in rows. You can join the yarn at the beginning of the picked up stitches and secure it with a knot. Begin knitting or purling in the established stitch pattern to create the earflap.
Step 3: Shaping the earflap
As you work the rows, you will need to shape the earflap to fit the head. To do this, you can decrease stitches at the beginning and end of each row. Decrease by knitting or purling two stitches together, or by using other decrease stitches such as slip, slip, knit (SSK) or knit two together (K2tog). Continue shaping the earflap until you reach the desired length.
Step 4: Repeat for the other earflap
Once you have completed the first earflap, repeat the process on the other side of the hat to create the second earflap. Make sure to match the number of stitches picked up and the shaping on both sides for a symmetrical look.
Step 5: Finishing
After both earflaps are completed, you can finish off the hat by binding off the stitches. Weave in any loose ends and block the hat if necessary to give it a polished look. Your earflap hat is now ready to be worn and enjoyed!
Shaping the Crown
Once you’ve finished knitting the earflap hat up to the desired length, it’s time to shape the crown. This is where the hat starts to take its final form and fit snugly on the wearer’s head.
To shape the crown, you will need to decrease stitches gradually. The most common way to do this is by evenly distributing the decreases across several rounds. This ensures that the crown tapers smoothly and doesn’t have any abrupt changes in size.
Decreasing Stitches
Start by dividing the stitches on your knitting needles into a certain number of sections. You can use stitch markers or simply count the stitches to create even sections. For example, if you have 80 stitches, you can divide them into 8 sections of 10 stitches each.
On the next round, you will start decreasing stitches at regular intervals within each section. There are several ways to do this, such as knitting two stitches together (k2tog), slipping one stitch knitwise, knitting the next stitch, and then passing the slipped stitch over (ssk). Choose a decrease method that you are comfortable with and suits the pattern you are using.
Continue decreasing stitches in each section on every round, until you have only a few stitches left. At this point, you can either cut the yarn, leaving a long tail for sewing, and thread it through the remaining stitches to gather the crown closed, or you can finish off with a top knot or pom-pom for added style.
Finishing Touches
After shaping the crown, take a moment to carefully weave in any loose ends and trim them neatly. This will give your hat a polished look and prevent any unraveling or snags.
You can also add some final touches to personalize your hat. Consider attaching a decorative button, sewing on a fabric patch, or adding a braided or knitted cord to tie under the chin for extra security and warmth.
With the crown shaped and the finishing touches complete, your earflap hat is now ready to be worn and enjoyed! Whether you made it for yourself or as a gift, this cozy and stylish accessory will keep you or your loved one warm and fashionable throughout the winter season.
Finishing Touches
Once you have completed knitting your mens earflap hat, it’s time to add some finishing touches to make it truly stand out. Here are a few suggestions to complete your hat:
1. Pick the Perfect Pom Pom
No winter hat is complete without a pom pom on top. Choose a thick and fluffy pom pom in a color that complements your hat. Sew it securely to the top of the hat to add a playful touch.
2. Add a Button Detail
If you want to add a touch of sophistication to your hat, consider sewing on a button detail. Pick a button that matches the color scheme of your hat and sew it onto the side flap. This subtle addition can elevate your hat’s style.
3. Attach Braided Ties
To ensure your hat stays in place, attach braided ties to the earflaps. Knit or crochet braids using a contrasting or complementary color to add texture and functionality to your hat. Tie the braids under the chin to keep the hat snug.
4. Embellish with Embroidery
If you’re feeling crafty, you can add some embroidery to your hat for a personal touch. Use colorful yarn and simple stitches to create patterns or designs on the brim or the front of the hat. Be creative and make your hat truly unique.
5. Personalize with a Leather Patch
Add a touch of rustic charm to your hat by attaching a leather patch. You can find pre-made patches in various shapes and sizes at craft stores or online. Use fabric glue or sew the patch onto the front of the hat, incorporating your initials or a simple design.
By adding these finishing touches, you can turn a simple mens earflap hat into a stylish and unique accessory that will keep you warm and fashionable throughout the winter season.
Tips and Tricks
When knitting a men’s earflap hat, there are a few tips and tricks that can help you achieve the best results. Whether you are an experienced knitter or a beginner, these tips can come in handy.
Choosing the Right Yarn
One of the first things to consider when knitting a men’s earflap hat is the choice of yarn. It is important to select a yarn that is warm, durable, and soft. Look for yarns that have a high wool content, as wool provides excellent insulation and warmth. Additionally, consider the weight of the yarn, as heavier yarns will create a thicker and warmer hat.
Following the Pattern
When working with a knitting pattern, it is important to carefully read and follow the instructions. Pay close attention to the gauge, as this will ensure that your hat turns out the correct size. Take your time to understand the pattern before starting, and make sure to mark your progress as you go along to avoid any mistakes.
Using Circular Needles
Using circular needles can be beneficial when knitting a men’s earflap hat, as they provide a more seamless and comfortable knitting experience. Circular needles also allow for easier manipulation of the stitches, especially when working with a large number of stitches. Additionally, using circular needles eliminates the need for seams, creating a smoother and more professional-looking finished hat.
Adding Earflaps
When adding earflaps to your men’s hat, it is important to carefully follow the pattern instructions. Make sure to measure the head circumference and ear length accurately to ensure that the earflaps fit properly. Use stitch markers to keep track of the placement of the earflaps, and take your time to seam them securely to the body of the hat.
Finishing Techniques
To give your men’s earflap hat a polished finish, pay attention to the details. Use a tapestry needle to weave in any loose ends, making sure to secure them tightly. Consider blocking your hat to even out the stitches and give it a more professional appearance. Lastly, don’t forget to add any desired embellishments, such as buttons or pom-poms, to personalize your hat.
Variations and Customizations
If you’re looking to put your own personal touch on your mens earflap hat, there are many variations and customizations you can make. Here are a few ideas to get you started:
Color Choices
One way to customize your mens earflap hat is by choosing your own color scheme. You can create a hat that matches your favorite sports team or uses your favorite colors. This allows for endless possibilities and helps make your hat truly one-of-a-kind.
Pattern Alterations
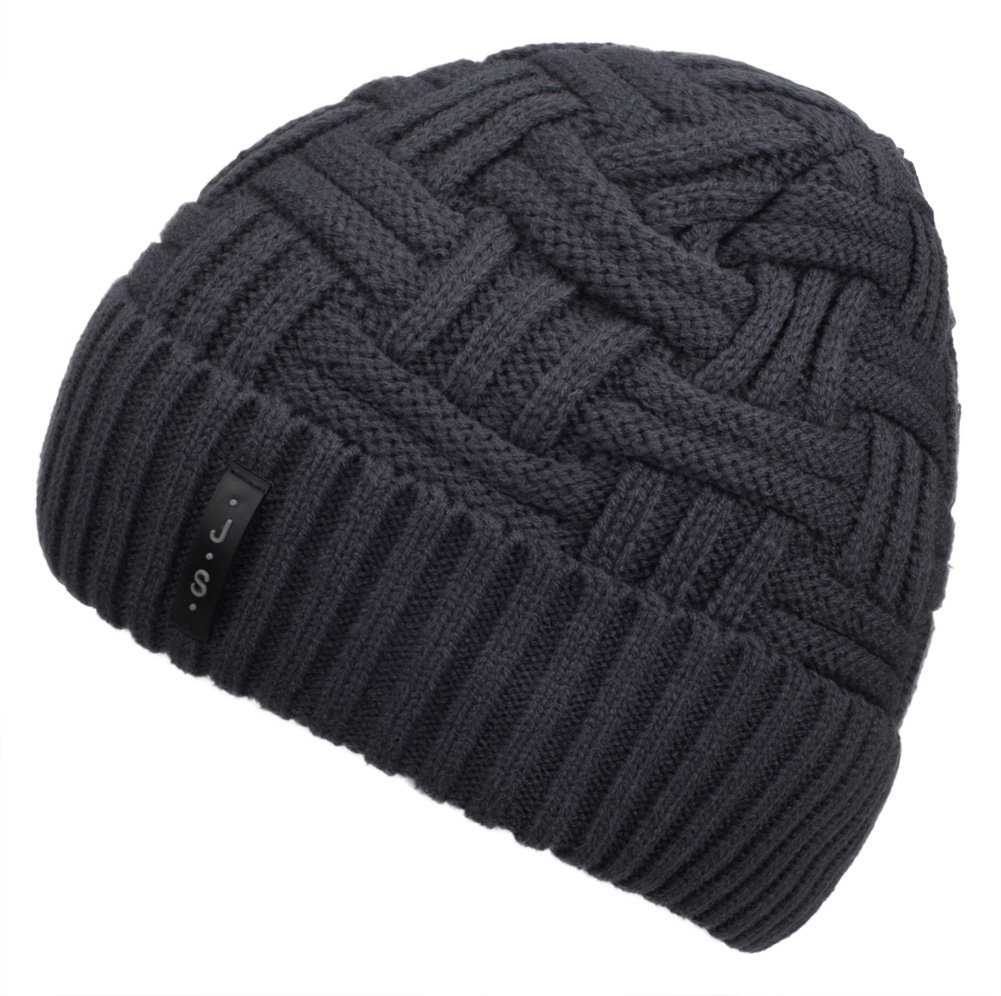
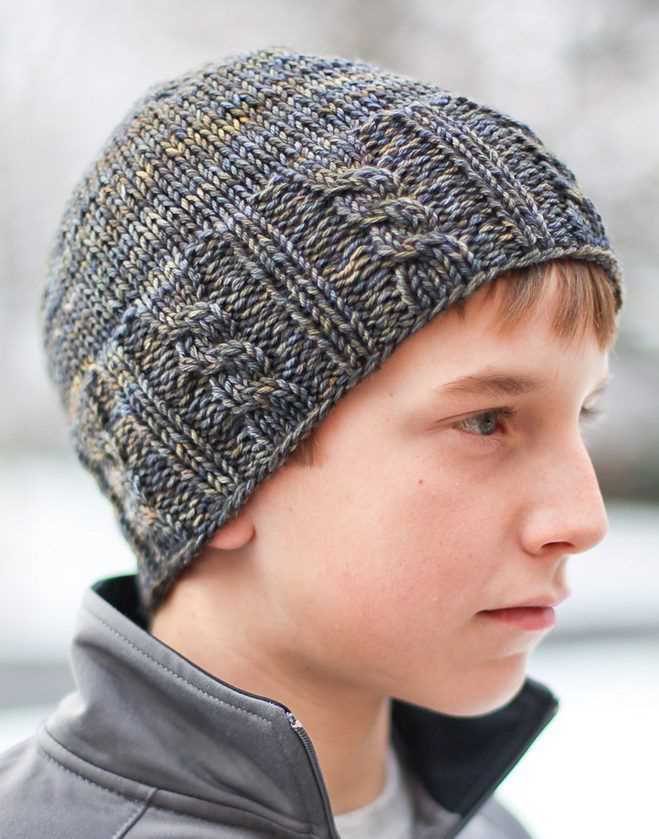
If you’re an experienced knitter and want to take your mens earflap hat to the next level, you can experiment with different pattern alterations. Whether it’s changing the stitch pattern, adding cables or texture, or even incorporating fair isle or intarsia techniques, these alterations can help elevate your hat design and make it unique to you.
Embroidery or Appliques
To add an extra touch of flair, consider adding embroidery or appliques to your mens earflap hat. This can be as simple as adding your initials or a small design, or you can get more creative and add larger motifs or patterns. This customization option allows you to showcase your creativity and make your hat stand out from the rest.
Additional Details
There are also several additional details you can add to your mens earflap hat to make it your own. This can include adding buttons or toggles to secure the flaps, adding a pom pom or tassel to the top, or even inserting a wire or elastic cord to help shape the brim. These small details can make a big difference in the overall look and functionality of your hat.
With so many variations and customizations available, you can truly make your mens earflap hat unique to your personal style and preferences. Get creative and have fun experimenting with different options to create a hat that is perfect for you.
Frequently Asked Questions (FAQs)
Here are the answers to some commonly asked questions about knitting a mens earflap hat:
1. Can I adjust the size of the hat?
Yes, the pattern provides instructions for adjusting the size of the hat. You can modify the number of cast on stitches and the length of the hat to fit your desired size.
2. What type of yarn should I use?
You can use any type of yarn that matches the recommended gauge provided in the pattern. Worsted weight yarn is a popular choice for this hat pattern.
3. Can I use circular needles instead of double-pointed needles?
Yes, you can use circular needles instead of double-pointed needles if you prefer. Simply follow the instructions for knitting in the round using circular needles instead of switching to double-pointed needles.
4. How long does it typically take to knit this hat?
The time it takes to knit the hat will vary depending on your knitting speed and experience level. On average, it can take several hours to complete.
5. Can I customize the design of the hat?
Yes, you can customize the design of the hat by adding different stitch patterns, colorwork, or embellishments. Feel free to get creative and make the hat unique to your style.
6. Can I sell the hats I make using this pattern?
Yes, you can sell the hats you make using this pattern. However, please give credit to the original pattern designer in your listings or descriptions.
Summary
Knitting a mens earflap hat is a fun and rewarding project. With this pattern, you can create a cozy and stylish hat for yourself or as a gift. By following the instructions and making any desired adjustments, you can customize the hat to fit your preferences. Remember to have fun, experiment with different designs, and enjoy the process of knitting!