
Crafting your own sweater knitting pattern is not only a great way to personalize your wardrobe, but it also allows you to create a one-of-a-kind garment that fits perfectly. Whether you are a seasoned knitter looking to challenge yourself or a beginner eager to learn a new skill, making a sweater knitting pattern is a rewarding and creative project.
Before you start, it’s important to gather all the necessary materials. You will need a set of knitting needles in the appropriate size for your yarn, a skein or two of yarn in your desired color and weight, and any additional notions like stitch markers or a tape measure. Once you have your supplies ready, you can begin designing your sweater.
When creating a sweater knitting pattern, there are several key elements to consider. First, you’ll need to decide on the style and fit of your sweater. Will it be loose and oversized, or more fitted? Next, you’ll need to take accurate body measurements to ensure a proper fit. This includes the bust, waist, hips, and arm circumference. It’s also important to consider your desired length and sleeve style.
After you have determined the style and measurements, you can start working on the actual pattern. Begin by making a gauge swatch, which is a small sample of knitting that allows you to determine the number of stitches and rows per inch. This step is crucial to ensure the correct sizing of your sweater. Once you have the gauge, you can calculate the number of stitches needed for each section of your sweater, such as the front, back, and sleeves.
In conclusion, by following these steps and taking the time to plan and calculate your sweater knitting pattern, you can create a beautiful and customized garment that you’ll be proud to wear. Don’t be afraid to experiment with different designs, colors, and stitch patterns to make your sweater truly unique. Happy knitting!
How to Make a Sweater Knitting Pattern
Creating your own sweater knitting pattern can be a fun and rewarding project. Whether you’re an experienced knitter or just starting out, designing your own sweater allows you to customize it to your exact specifications and style. Follow these steps to create your own unique sweater knitting pattern.
1. Choose your yarn and needles
Start by selecting the type of yarn you want to use for your sweater. Consider the fiber content, weight, and color of the yarn. Next, choose the appropriate needles based on the recommended gauge for your selected yarn. The needle size will affect the overall size and drape of your sweater, so make sure to swatch and adjust as necessary.
2. Take measurements
Measure your body to determine the desired fit of your sweater. Take accurate measurements of your bust, waist, hips, sleeve length, and desired sweater length. Use these measurements as a guide when determining the number of stitches and rows necessary for each section of your sweater.
3. Plan your design
Decide on the style and design elements you want to incorporate into your sweater. Consider the type of neckline, sleeve style, and any stitch patterns or colorwork you want to include. Sketch out your design or create a written plan detailing the construction and stitch patterns for each section of your sweater.
4. Calculate the stitch count
Using your measurements, calculate the number of stitches needed for each section of your sweater. Determine the stitch gauge by knitting a swatch and measuring the number of stitches per inch. Multiply the stitch gauge by the desired measurements to determine the stitch count for each section. Make sure to include any necessary increases or decreases for shaping.
5. Create a swatch and gauge
Knit a swatch using your chosen yarn and needles to determine your stitch and row gauge. This will ensure that your sweater will be the correct size and fit. Measure the number of stitches and rows in your swatch and adjust your pattern if necessary to achieve the desired gauge.
6. Begin knitting your sweater
With your pattern and gauge determined, you can now start knitting your sweater. Follow your pattern, working each section according to your design and stitch count calculations. Take your time and pay attention to the details, ensuring that each stitch and row is accurate.
By following these steps, you’ll be able to create a personalized and well-fitting sweater knitting pattern. Remember to experiment and have fun with your design, making it uniquely yours.
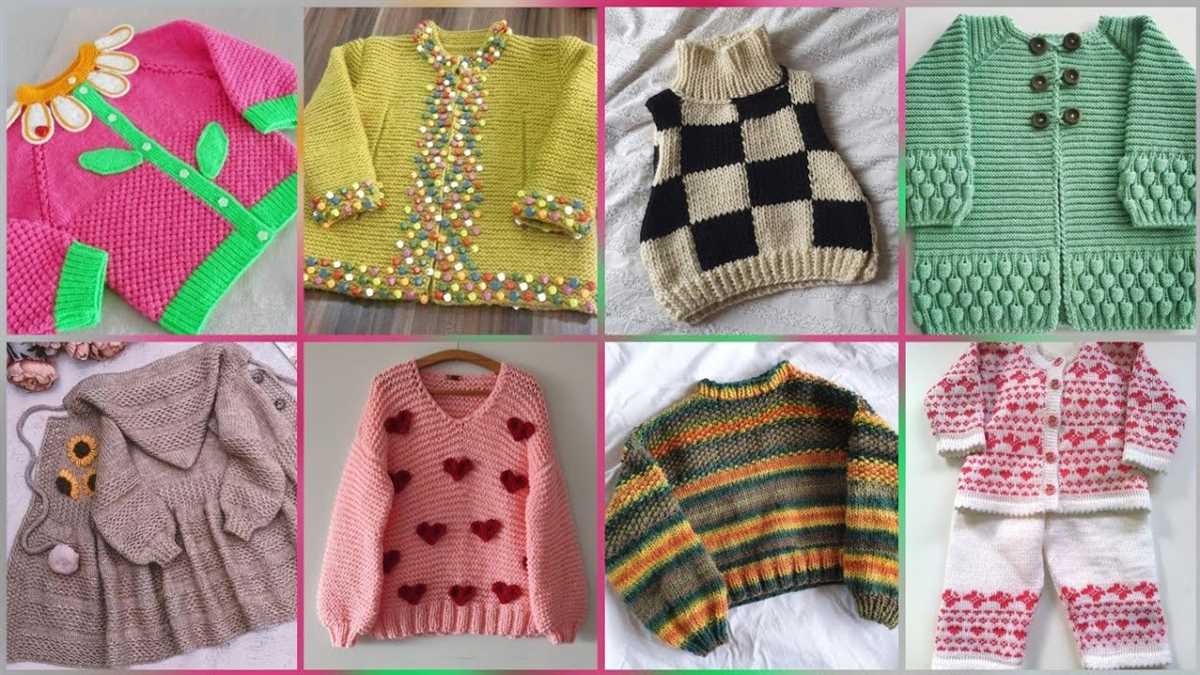
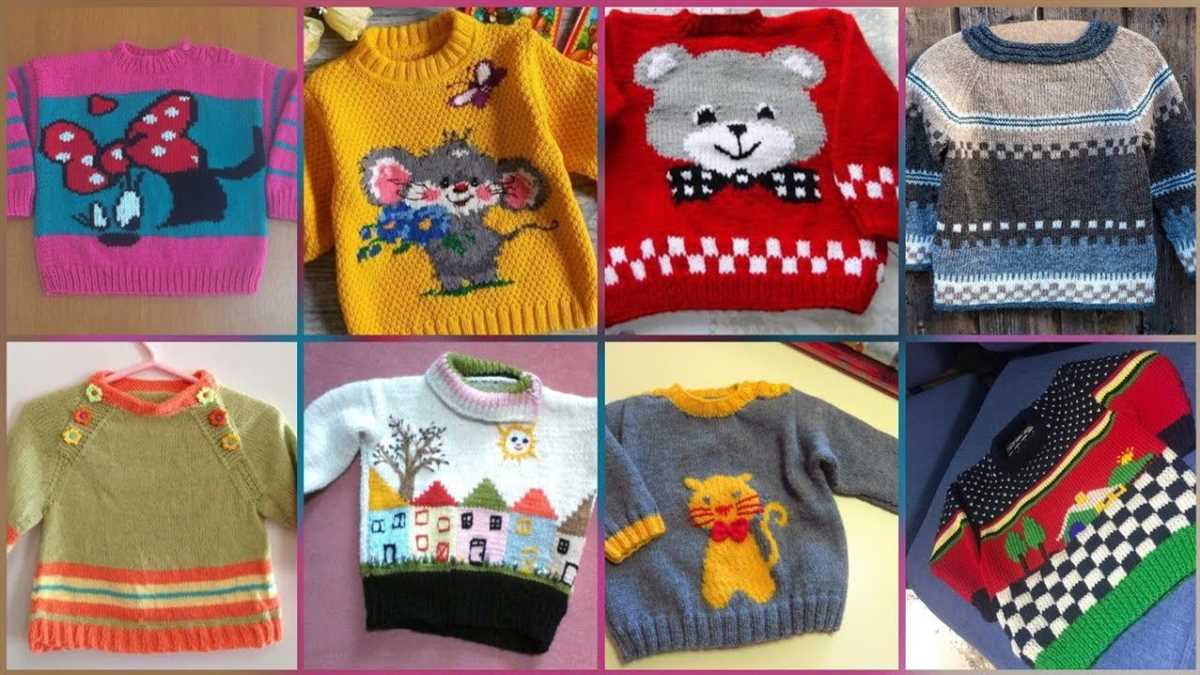
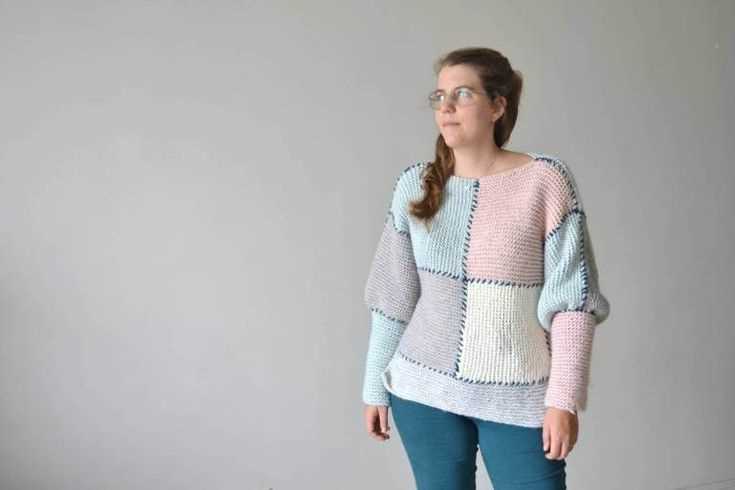
Choose the Type of Sweater
When it comes to making a sweater knitting pattern, the first step is to choose the type of sweater you want to create. There are several different styles and designs to choose from, each with its own unique look and level of difficulty. It’s important to consider factors such as your knitting skill level, the amount of time you’re willing to invest, and the intended purpose of the sweater.
Pullover: A pullover sweater is a classic and versatile option. It is a one-piece garment that is pulled over the head and does not have any buttons or closures. Pullovers are a popular choice for casual and everyday wear, and they are relatively easy to knit. They can be made with different stitch patterns, necklines, and sleeve lengths to suit your personal style.
Cardigan: A cardigan sweater is a great choice if you prefer a garment that can be easily undone and worn open. Cardigans have front openings with buttons or other closures, allowing you to adjust the level of warmth and style. They can be made with different stitch patterns and embellishments, such as cables or lace, to add interest and texture.
Vest: If you’re looking for a sleeveless option or a layering piece, a vest sweater might be the right choice for you. Vests can be knitted in a variety of styles, from simple and basic to more intricate designs. They can be worn over shirts or blouses, adding an extra layer of warmth and style to your outfit.
In addition to these main types of sweaters, there are also other variations such as turtlenecks, hoodies, and oversized sweaters. Once you’ve decided on the type of sweater you want to make, you can move on to selecting the appropriate yarn, needles, and sizing for your knitting pattern.
Gather Materials and Tools
Before you can begin knitting your sweater, it’s important to gather all the necessary materials and tools. Here is a list of items you will need:
- Yarn: Choose a yarn that suits your desired sweater design and color. Make sure to check the yarn label for recommended needle size and yardage needed.
- Knitting Needles: You will need a pair of knitting needles in the recommended size for your chosen yarn. Circular needles may be needed if you plan to knit the sweater in the round.
- Tape Measure: Use a tape measure to accurately measure your body and determine the appropriate size for your sweater.
- Stitch Markers: These small plastic or metal rings are used to mark specific stitches or sections in your knitting pattern.
- Tapestry Needle: A tapestry needle is used for weaving in loose ends and sewing up seams.
- Scissors: A pair of sharp scissors is essential for cutting yarn and trimming any excess.
- Stitch Holders: These are used to hold stitches that need to be set aside temporarily, such as sleeve stitches.
- Row Counter: A row counter is a helpful tool for keeping track of your progress and counting rows.
Once you have gathered all these materials and tools, you will be ready to start knitting your sweater. Make sure to read through the knitting pattern and familiarize yourself with any specific instructions or techniques before beginning.
Take Accurate Measurements
Before starting a knitting project, it is crucial to take accurate measurements of the recipient. This will ensure that the sweater will have the perfect fit and be comfortable to wear. The key measurements to take include the bust/chest, waist, hips, arm length, back length, and shoulder width.
To measure the bust/chest, wrap the measuring tape around the fullest part of the chest, and make sure it is snug but not too tight. For the waist measurement, wrap the tape around the narrowest part of the waist. The hip measurement should be taken at the widest part of the hips. Arm length can be measured from the shoulder to the wrist, making sure to bend the arm slightly when taking the measurement. The back length can be measured from the base of the neck to the desired sweater length. Lastly, the shoulder width can be measured from the shoulder bone to the other shoulder bone across the back.
It is important to note that these measurements should be taken while the person is wearing well-fitting clothes, as bulky or loose clothing may affect the accuracy of the measurements.
Once the measurements are obtained, it is helpful to jot them down and create a simple chart or table to keep track. This will make it easier to refer back to the measurements while following the knitting pattern. Taking accurate measurements is the first step towards creating a well-fitting and flattering sweater, so it should not be rushed or overlooked.
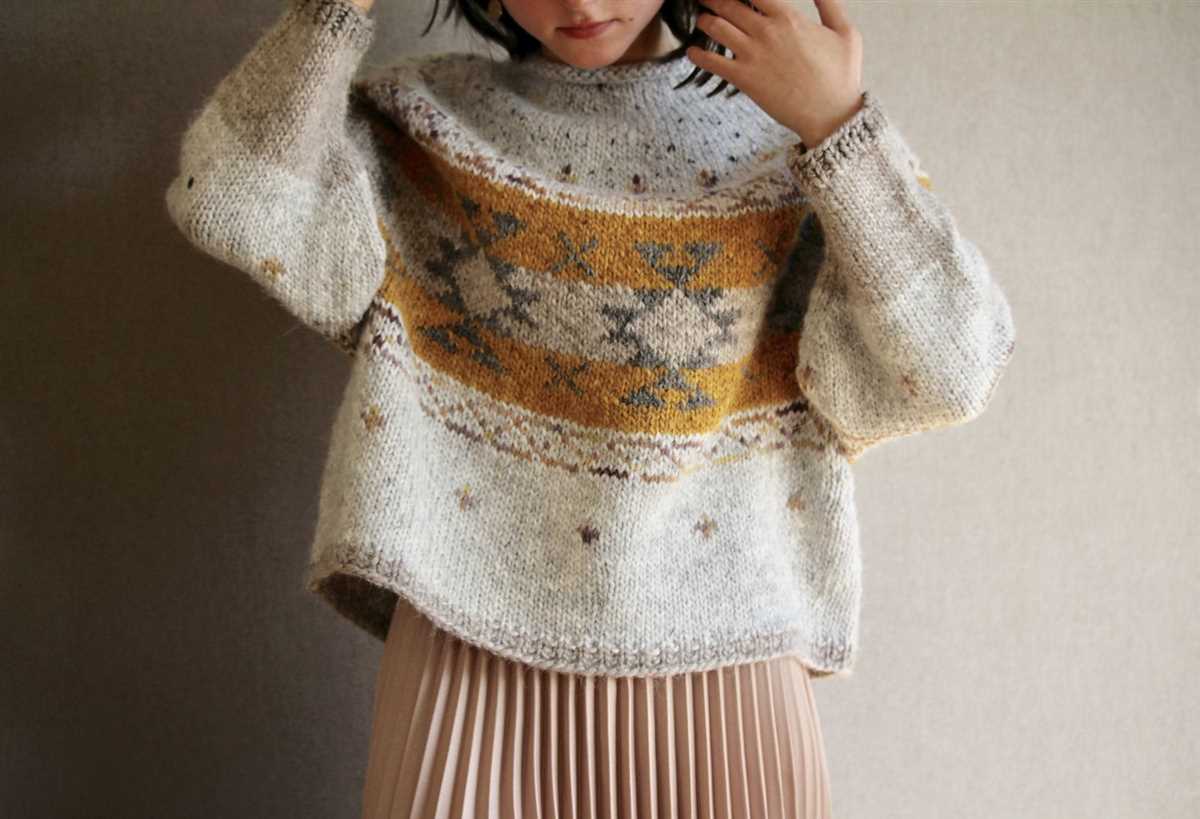
Select the Right Yarn
Choosing the right yarn for your sweater knitting pattern is crucial for achieving the desired outcome. The right yarn can make a significant difference in the overall look, feel, and fit of your sweater. When selecting yarn, consider the fiber content, weight, and texture to ensure it meets your needs.
Fiber Content: The fiber content of the yarn will determine the characteristics of your finished sweater. There are various options to choose from, including wool, cotton, acrylic, cashmere, and blends. Each fiber has its own qualities and benefits. Wool is known for its warmth, elasticity, and durability, while cotton is lightweight and breathable. Acrylic is an affordable and low-maintenance option, while cashmere offers luxury and softness. Consider your personal preferences and the intended use of the sweater when choosing the fiber content.
Weight: The weight of the yarn will determine the thickness and drape of your sweater. Yarns are categorized into different weights, such as fingering, sport, worsted, and bulky. Fingering weight yarn is thin and ideal for lightweight sweaters, while bulky weight yarn is thick and suitable for cozy, winter garments. Consider the season and climate you will be wearing the sweater in when selecting the yarn weight.
Texture: The texture of the yarn can add interest and visual appeal to your sweater. Yarns come in a variety of textures, such as smooth, fluffy, boucle, and tweed. Smooth yarns create clean and even stitches, while fluffy yarns add volume and softness. Boucle yarns have loops and provide a textured look, while tweed yarns have flecks of contrasting colors. Consider the desired aesthetic and level of detail in your sweater when selecting the yarn texture.
By carefully considering the fiber content, weight, and texture of the yarn, you can select the right yarn for your sweater knitting pattern and create a garment that meets your expectations. Take the time to explore different options and feel the yarn in person to ensure it is suitable for your project. With the right yarn, you can bring your sweater design to life and enjoy the process of knitting it.
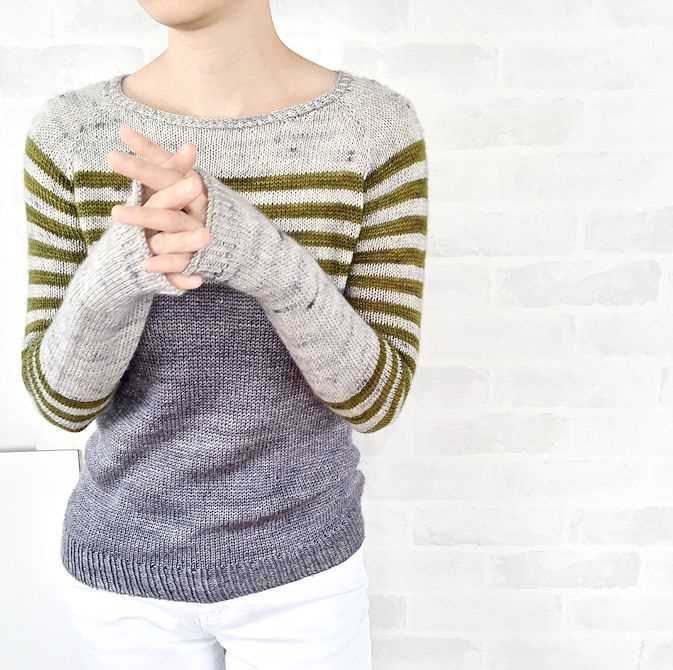
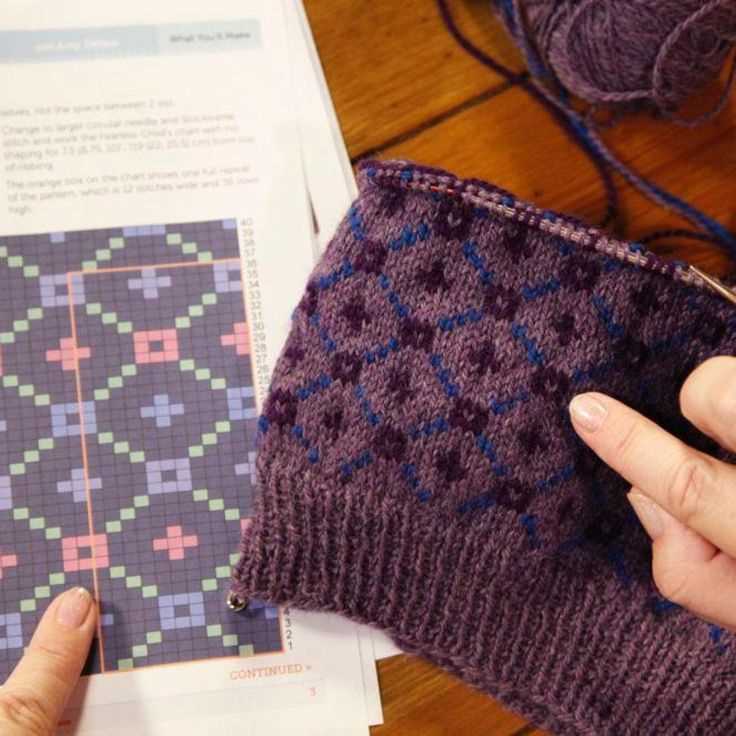
Decide on the Design and Stitch Pattern
Before beginning to create a knitting pattern for a sweater, it is important to decide on the design and stitch pattern that you want to use. This will help you visualize the final product and determine the level of difficulty of the project.
One way to decide on the design is to sketch out your desired sweater on paper. Consider factors such as the neckline, sleeve length, and overall fit. You can also browse through knitting pattern books or websites for inspiration.
Once you have a design in mind, it is time to choose the stitch pattern. There are countless options to choose from, including basic stitches such as stockinette or garter stitch, as well as more complex patterns like cables or lace. Consider the skill level of the knitter and the desired look of the sweater.
Making a swatch of the stitch pattern is recommended before starting the actual sweater. This will help you determine the gauge and ensure that the chosen stitch pattern works well with the yarn you have selected. It also allows you to see how the stitch pattern will look on a larger scale.
- Make sure to measure your swatch accurately and calculate the number of stitches and rows per inch.
- Keep in mind that different stitch patterns may affect the overall sizing and drape of the finished sweater.
- Consider sampling different stitch patterns to see which one looks and feels best.
Remember that the design and stitch pattern you choose will ultimately determine the look and feel of the finished sweater. Take your time to choose the right combination and don’t be afraid to try out different ideas before settling on the final design.
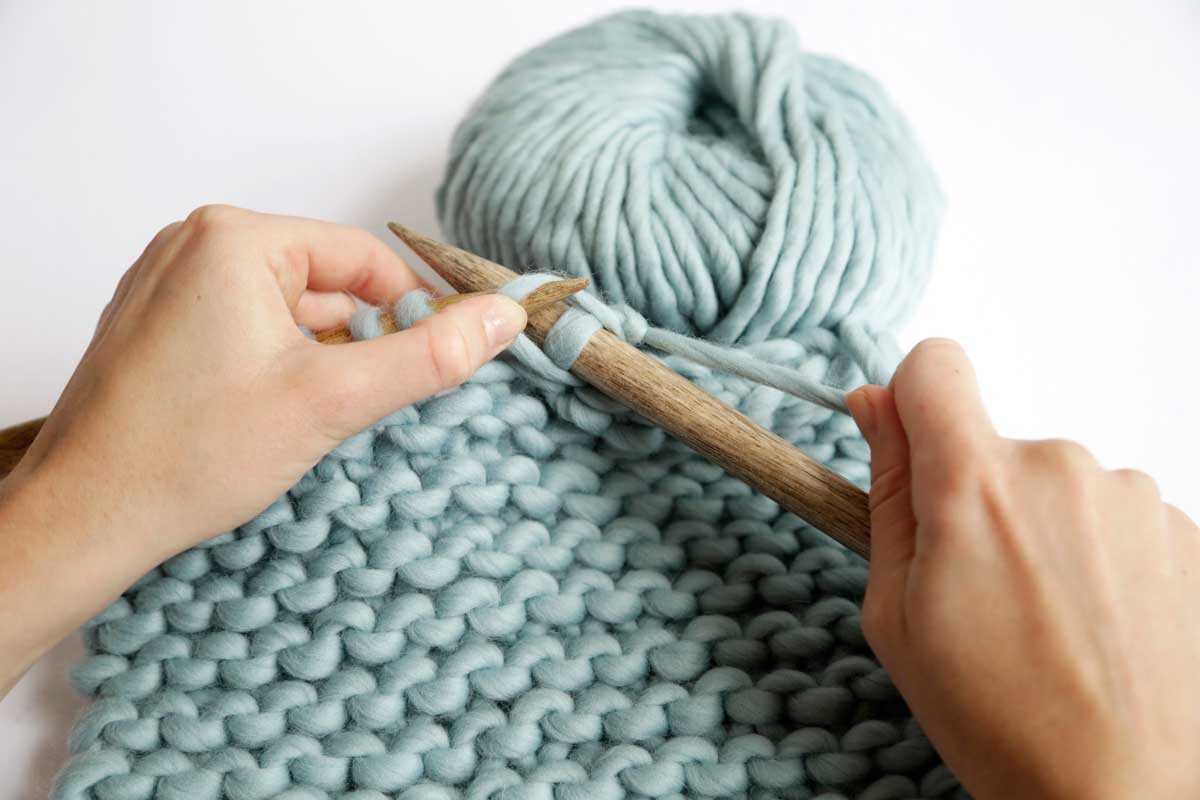
Create a Gauge Swatch
Before beginning your sweater knitting project, it is important to create a gauge swatch. A gauge swatch is a small sample of knitting that allows you to measure the number of stitches and rows in a given measurement. This will help ensure that your sweater turns out the correct size and fits properly.
To create a gauge swatch, start by selecting the yarn and needles you plan to use for your sweater. It is essential to use the same materials and tools that you will use for the actual project. This will help ensure that your gauge swatch accurately represents the tension and drape of the final piece.
Once you have gathered your materials, cast on a few more stitches than the recommended gauge for your sweater pattern. For example, if the pattern recommends a gauge of 20 stitches per 4 inches, cast on around 25 stitches. Then, begin knitting in the pattern stitch specified in your sweater pattern, such as stockinette stitch or ribbing.
Continue knitting until your swatch measures at least 4 inches in both width and height. It is important to avoid stretching or blocking the swatch during this process, as this can alter the measurements. After completing the swatch, bind off your stitches and block the swatch by gently washing and drying it according to the yarn’s care instructions.
Calculate and Adjust the Stitch Count
When creating a sweater knitting pattern, one important step is to calculate and adjust the stitch count. This is necessary in order to achieve the desired size and fit of the finished garment.
First, measure your gauge by knitting a swatch using the same needles and yarn that you plan to use for the sweater. Measure the number of stitches and rows per inch in your swatch. This will serve as a reference for adjusting the stitch count in your pattern.
Once you have your gauge, determine the measurements for the sweater you want to make. This includes the chest circumference, sleeve length, and sweater length. Use these measurements and your gauge to calculate the number of stitches you will need for each section of the sweater.
For example, if your gauge is 5 stitches per inch and you want to make a sweater with a chest circumference of 40 inches, you would need 200 stitches for the body of the sweater. If you want to add ribbing at the hem, you may need to adjust the stitch count to a multiple of the ribbing pattern.
It is important to keep in mind that different stitch patterns may require different adjustments to the stitch count. If you are using a cable or lace pattern, for example, you may need to add or subtract stitches to accommodate the pattern repeat.
Once you have calculated the stitch count for each section of the sweater, make sure to adjust the number of stitches in each row to maintain the correct stitch count throughout the pattern. This may involve decreasing or increasing stitches at specific points in the pattern, such as at the armholes or neckline.
Overall, calculating and adjusting the stitch count is an essential part of creating a sweater knitting pattern that will result in a well-fitting and properly proportioned garment.
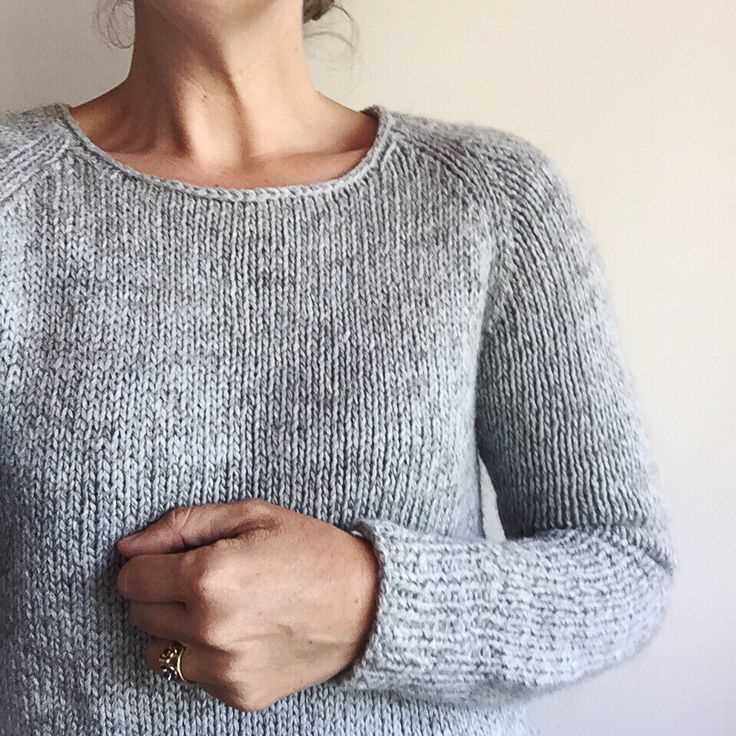
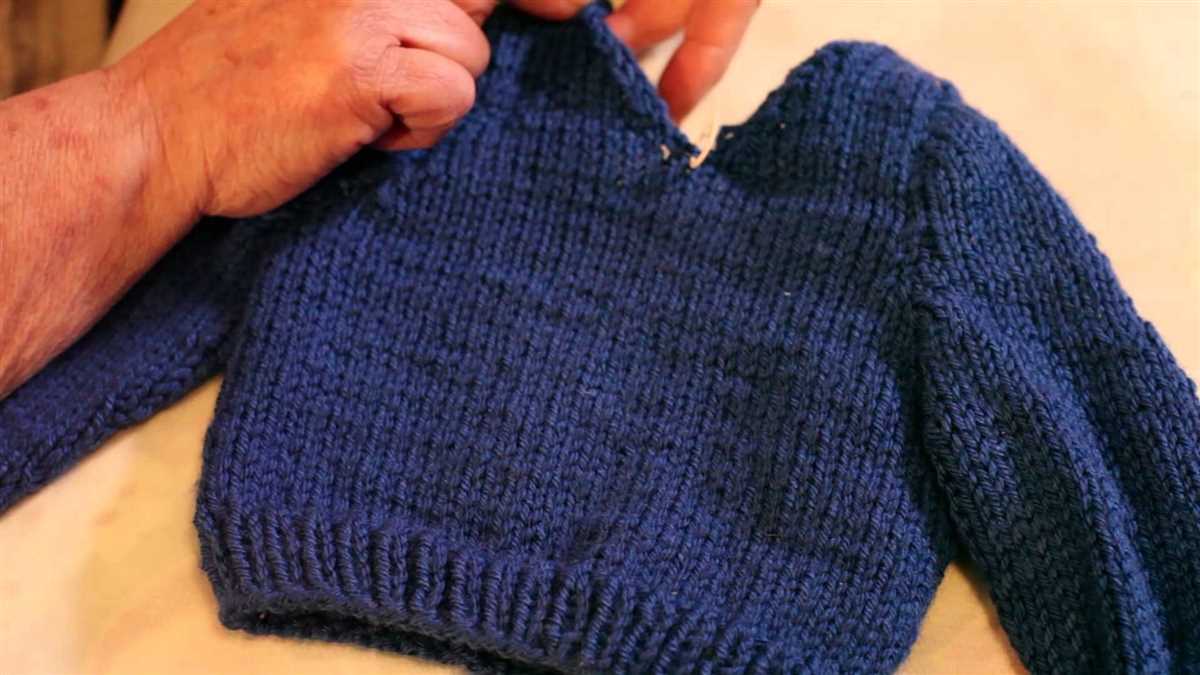
Start Knitting the Sweater
Once you have gathered all your materials and selected the knitting pattern for your sweater, it’s time to start knitting! Follow these steps to begin creating your cozy and stylish sweater.
1. Casting on
Begin by casting on the required number of stitches as directed in your knitting pattern. This will create the foundation row for your sweater. Use a knitting needle size appropriate for the yarn weight you have chosen.
2. Knitting the body
Once you have cast on, you can start knitting the body of the sweater. Follow the pattern instructions for the required stitch pattern, shaping, and any additional details such as cables or colorwork. Remember to mark any shaping points with stitch markers to keep track of your progress.
If the pattern calls for any increases or decreases, make sure to execute them correctly to achieve the desired fit and shape of the sweater. Stay attentive to the pattern and count your stitches regularly to ensure accuracy.
3. Knitting the sleeves
After completing the body of the sweater, it’s time to move on to the sleeves. The pattern will guide you through the necessary stitches and shaping for the sleeves. Consider using double-pointed needles or circular needles if required by the pattern.
Pay attention to any stitch markers, decreases, or increases indicated in the pattern. Be mindful of maintaining the correct gauge and tension throughout the sleeve knitting process to ensure a consistent fit with the rest of the sweater.
4. Finishing touches
Once you have completed knitting the body and sleeves, it’s time to finish off your sweater. Follow the pattern instructions for any remaining details such as collar shaping, ribbing, or button bands. Remember to weave in any loose ends and block your finished sweater to give it a polished look.
With these steps, you are well on your way to creating a beautiful knitted sweater. Enjoy the process, and don’t be afraid to customize the pattern to make it uniquely yours. Happy knitting!
Shape the Sleeves and Neckline
Once you have completed the body of the sweater, it’s time to move on to shaping the sleeves and neckline. This step is crucial in creating a well-fitting and comfortable sweater that flatters your body.
To shape the sleeves, you will start by decreasing stitches gradually to create a tapered effect. This will give your sleeves a more tailored look. Begin by dividing the sleeve stitches evenly onto double-pointed needles or circular needles. Then, follow the knitting pattern instructions to decrease the required number of stitches at regular intervals. This can be achieved by knitting two stitches together, known as k2tog, or by using any other decrease method specified in the pattern.
When shaping the neckline, you will typically have to bind off stitches in the center to create a V-neck or scoop neck shape. Start by placing the center stitches onto a stitch holder or a spare piece of yarn. Then, continue working the remaining stitches on each side of the neckline, following the pattern instructions. Once you have completed the required decreases and shaping, you can join the yarn again and start knitting the two sides separately.
Remember to always consult the knitting pattern you are using for detailed instructions on how to shape the sleeves and neckline. Every pattern may have specific techniques and stitch counts that need to be followed. Pay close attention to the gauge and measurements provided in the pattern to ensure a proper fit.
By carefully shaping the sleeves and neckline, you can create a sweater that not only looks stylish but also feels comfortable to wear. Take your time and follow the pattern instructions meticulously to achieve the desired results.
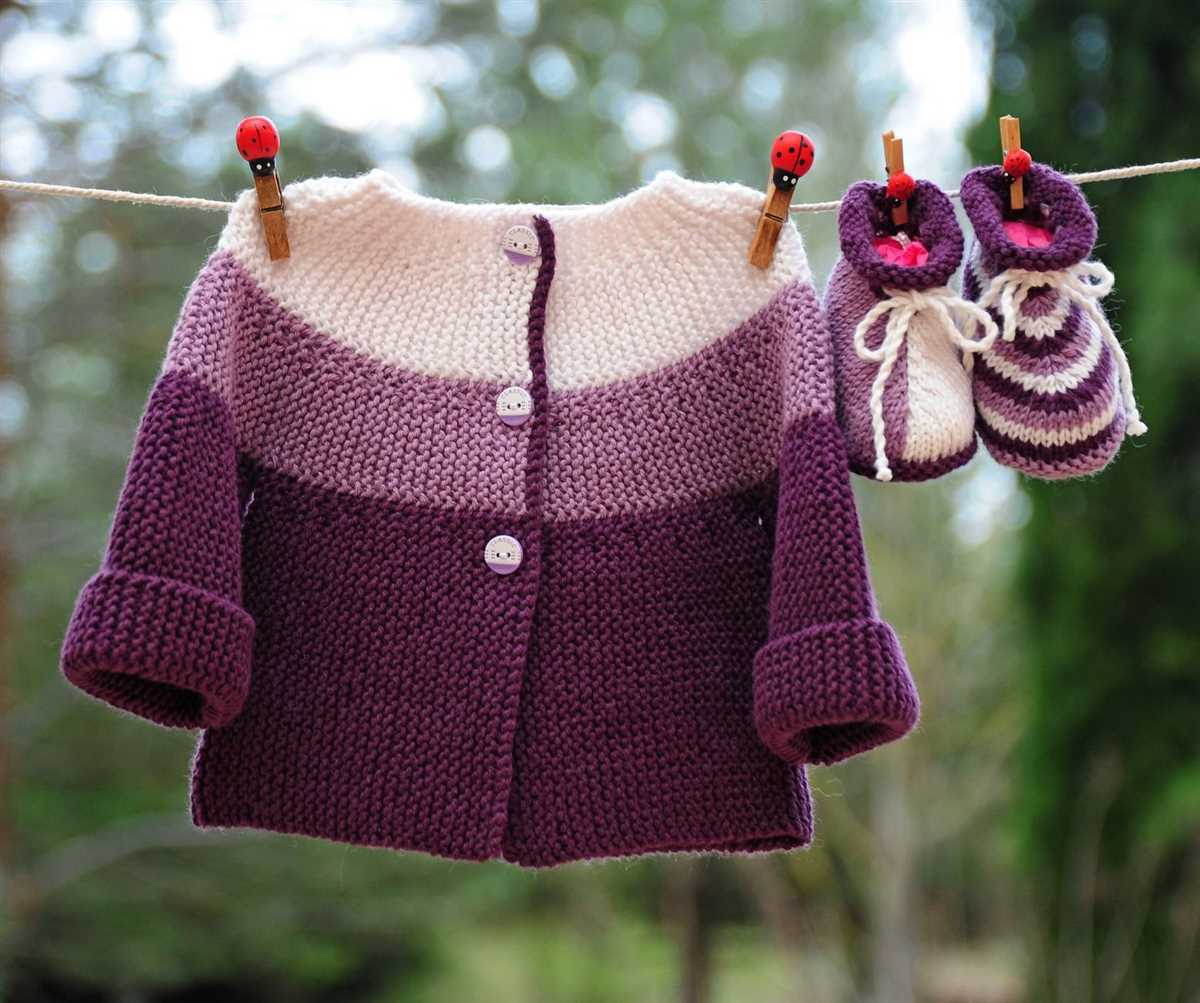
Finish and Assemble the Sweater
Once you have finished knitting all the pieces of the sweater, it’s time to assemble them and add the finishing touches. Follow these steps to complete your sweater:
- Block the pieces: Before assembling the sweater, it’s important to block each knitted piece. Blocking helps to even out the stitches and make the pieces easier to sew together. Lay the pieces flat on a blocking board or a towel, shape them to the correct measurements, and pin them in place. Lightly mist the pieces with water and let them dry completely.
- Seam the pieces: Start by seaming the shoulders together using the mattress stitch. Lay the front and back pieces flat with their right sides facing each other. Use a tapestry needle and matching yarn to sew the pieces together, following the vertical stitches along the edges. Repeat the same process to seam the sides of the sweater.
- Add the neckline: To create the neckline, pick up and knit stitches along the neck edge using a circular needle. Work in your desired neckline pattern, such as ribbing or a simple bind-off, for a neat finish.
- Attach the sleeves: Seam the sleeves onto the armholes using the same mattress stitch technique. Start by pinning the sleeves to the armholes, aligning the stitches. Seam the sleeves from the cuff to the underarm, and then continue seaming along the side seams to create a smooth transition.
- Finish the edges: To give your sweater a polished look, finish the edges with ribbing, garter stitch, or any other desired edging pattern. Work the chosen pattern along the hemline, cuffs, and any other exposed edges.
- Weave in ends: Finally, weave in any loose yarn ends using a tapestry needle. Make sure to secure the ends properly to prevent unraveling.
With these steps completed, your sweater is now finished and ready to be worn or gifted. Take pride in your hand-knitted creation and enjoy the warmth and comfort it provides!