
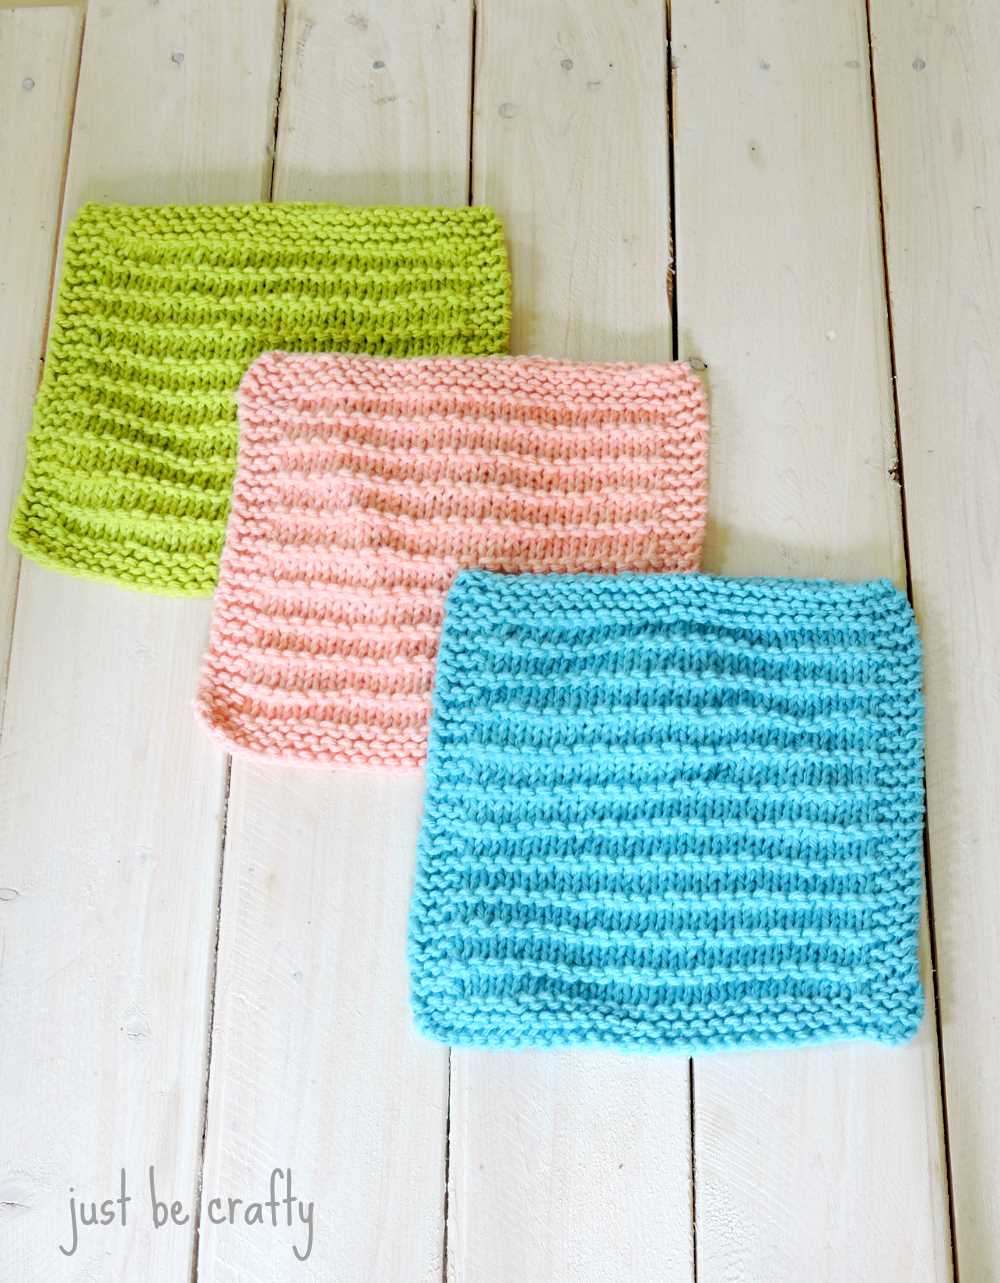
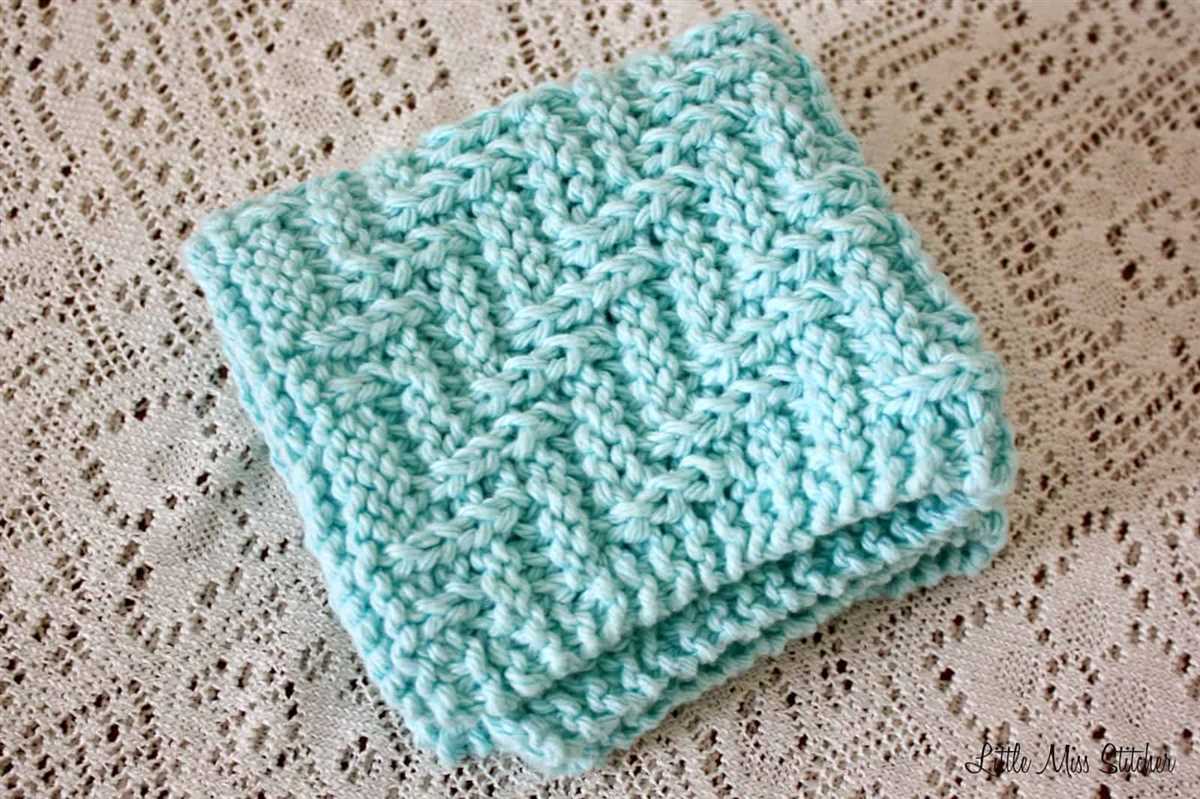
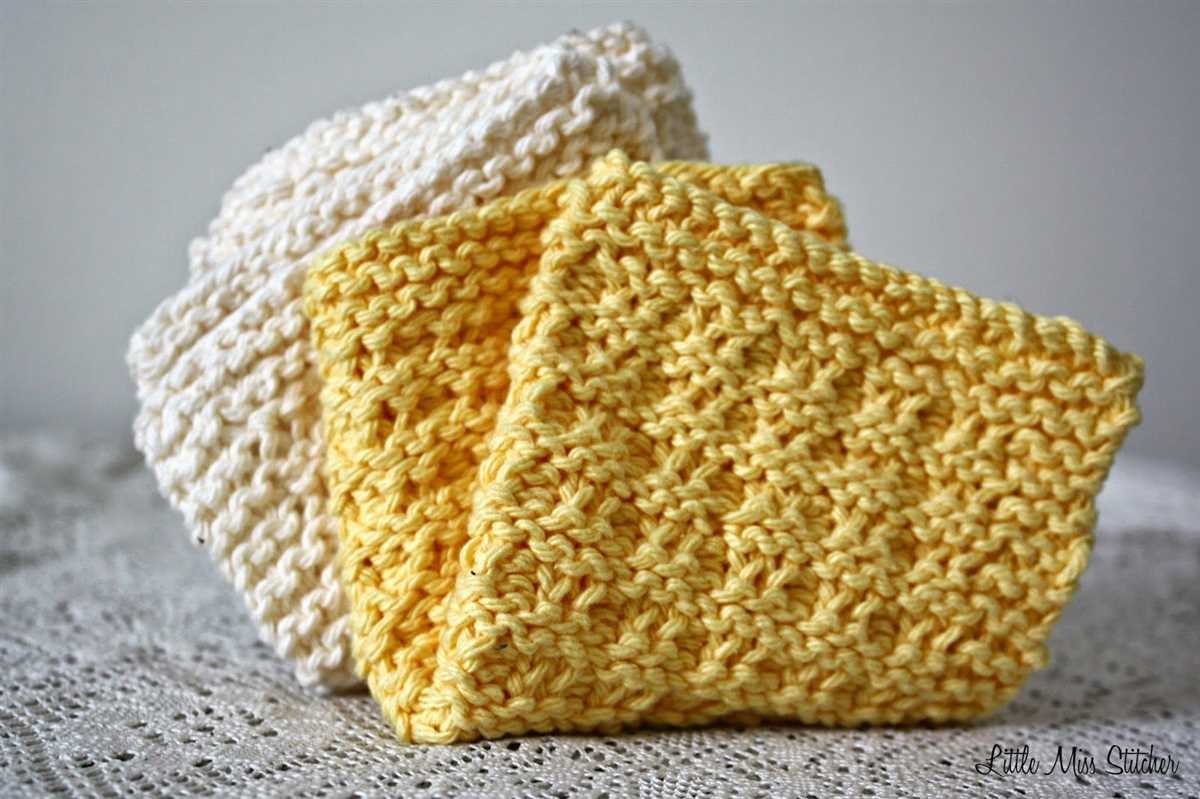
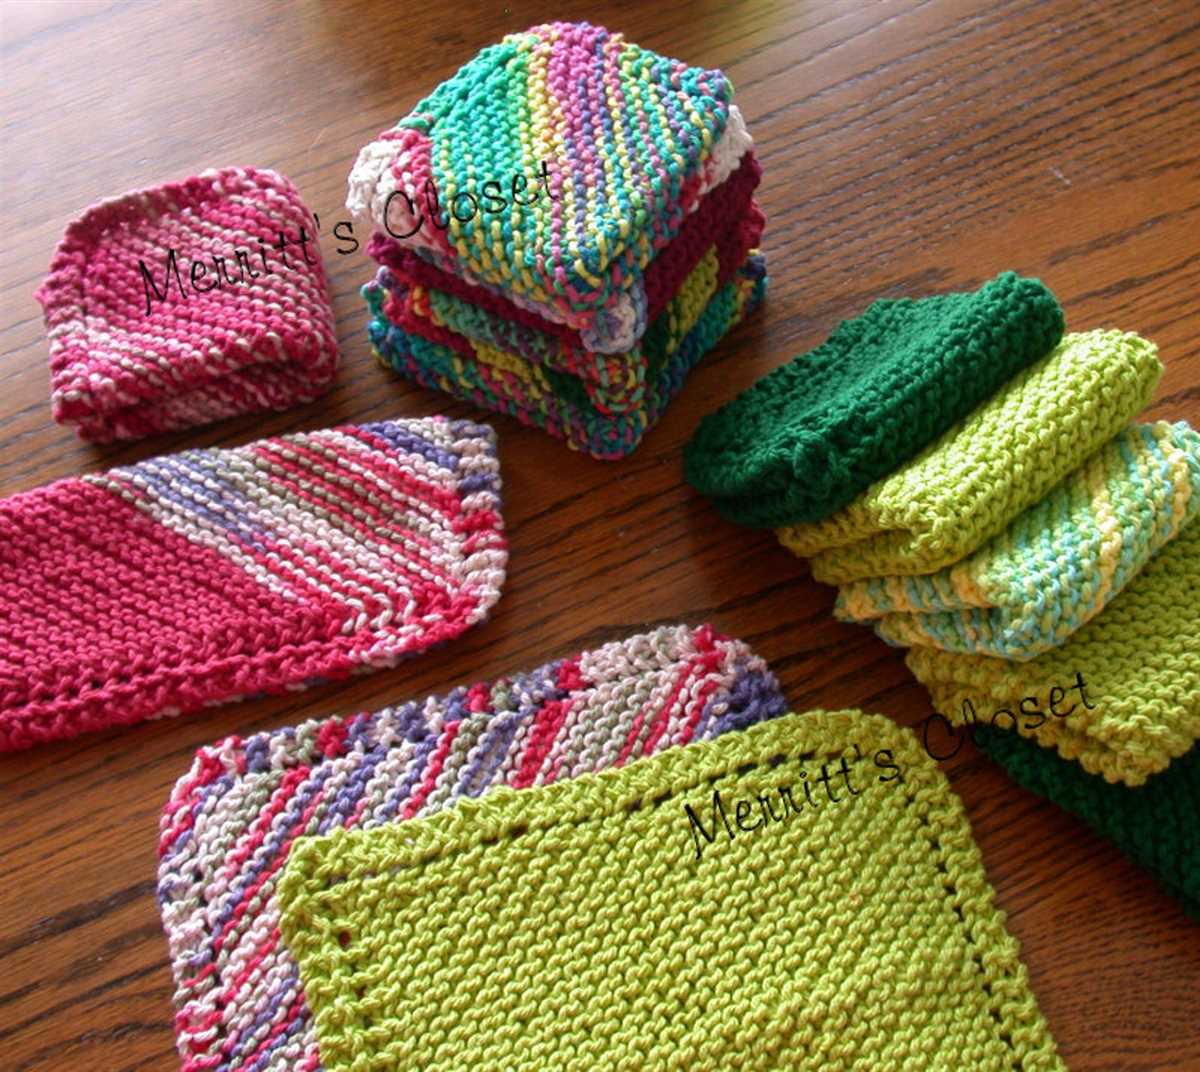
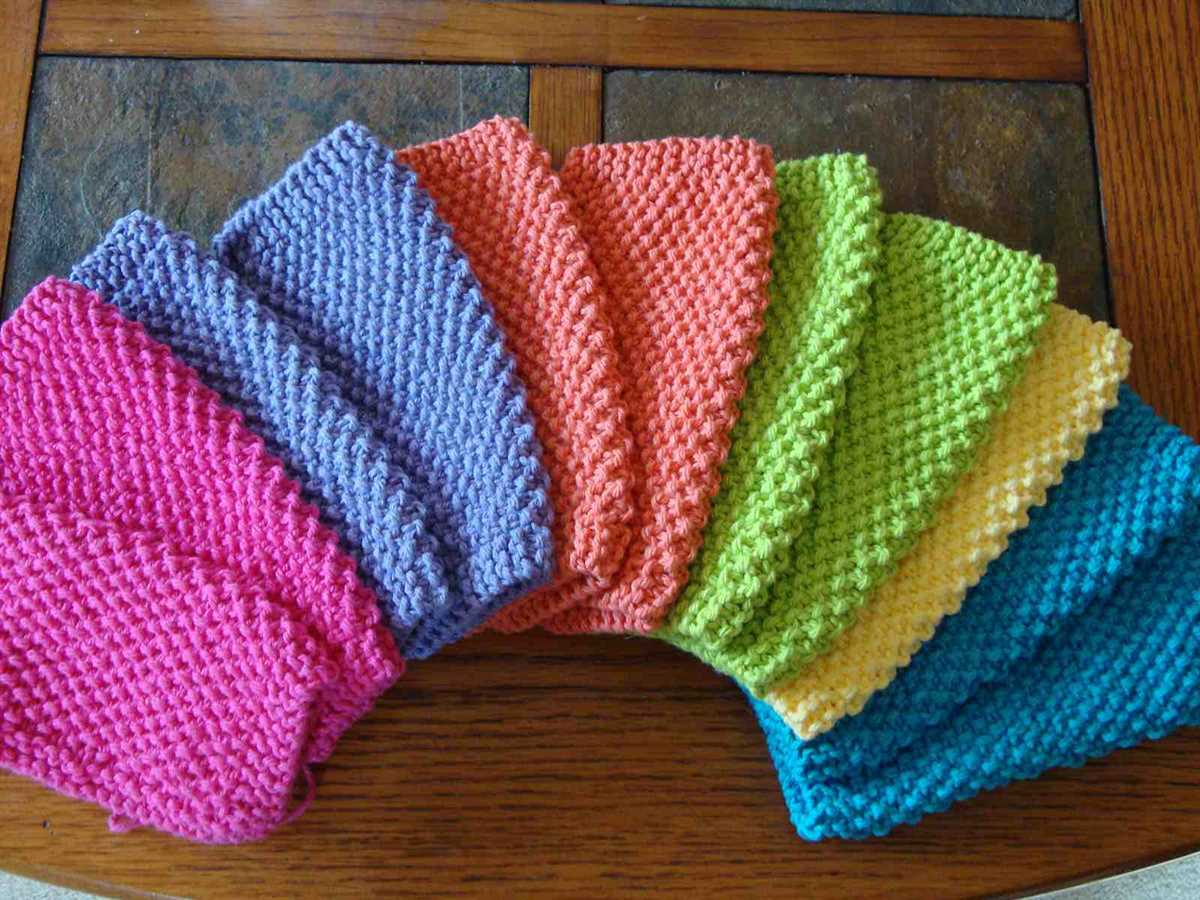
Knitting dishcloths is a fun and practical way to practice your knitting skills. Dishcloths are quick and easy to knit, making them a perfect project for beginners or knitters looking for a quick and satisfying project. If you’re new to knitting or just want a simple pattern to relax with, this is the perfect pattern for you!
This dishcloth pattern is the easiest pattern you can find, making it great for beginners. With just a few basic stitches and a simple repeat, you’ll be able to create a useful and beautiful dishcloth in no time. The pattern uses a combination of knit and purl stitches, making it a great way to practice your knitting skills and get comfortable with different techniques.
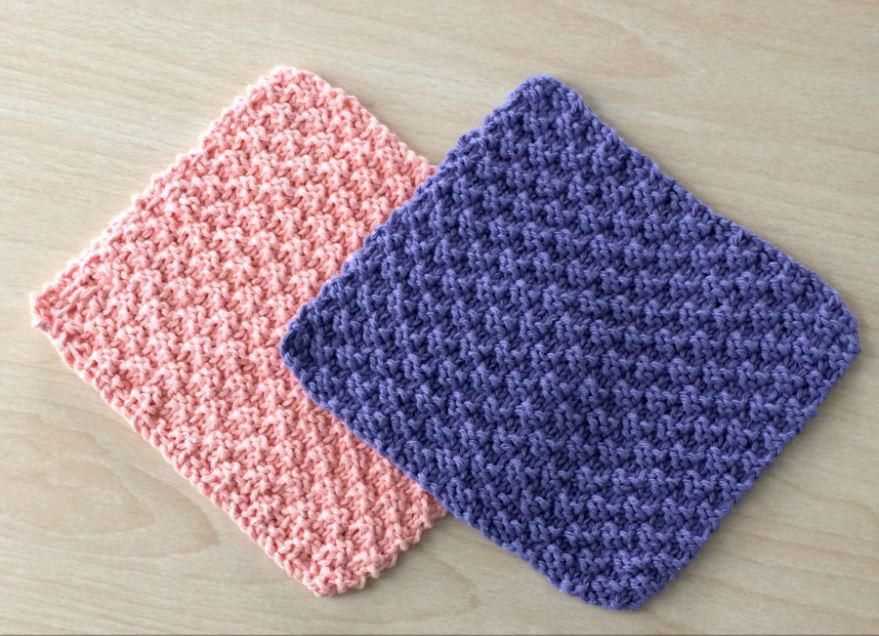
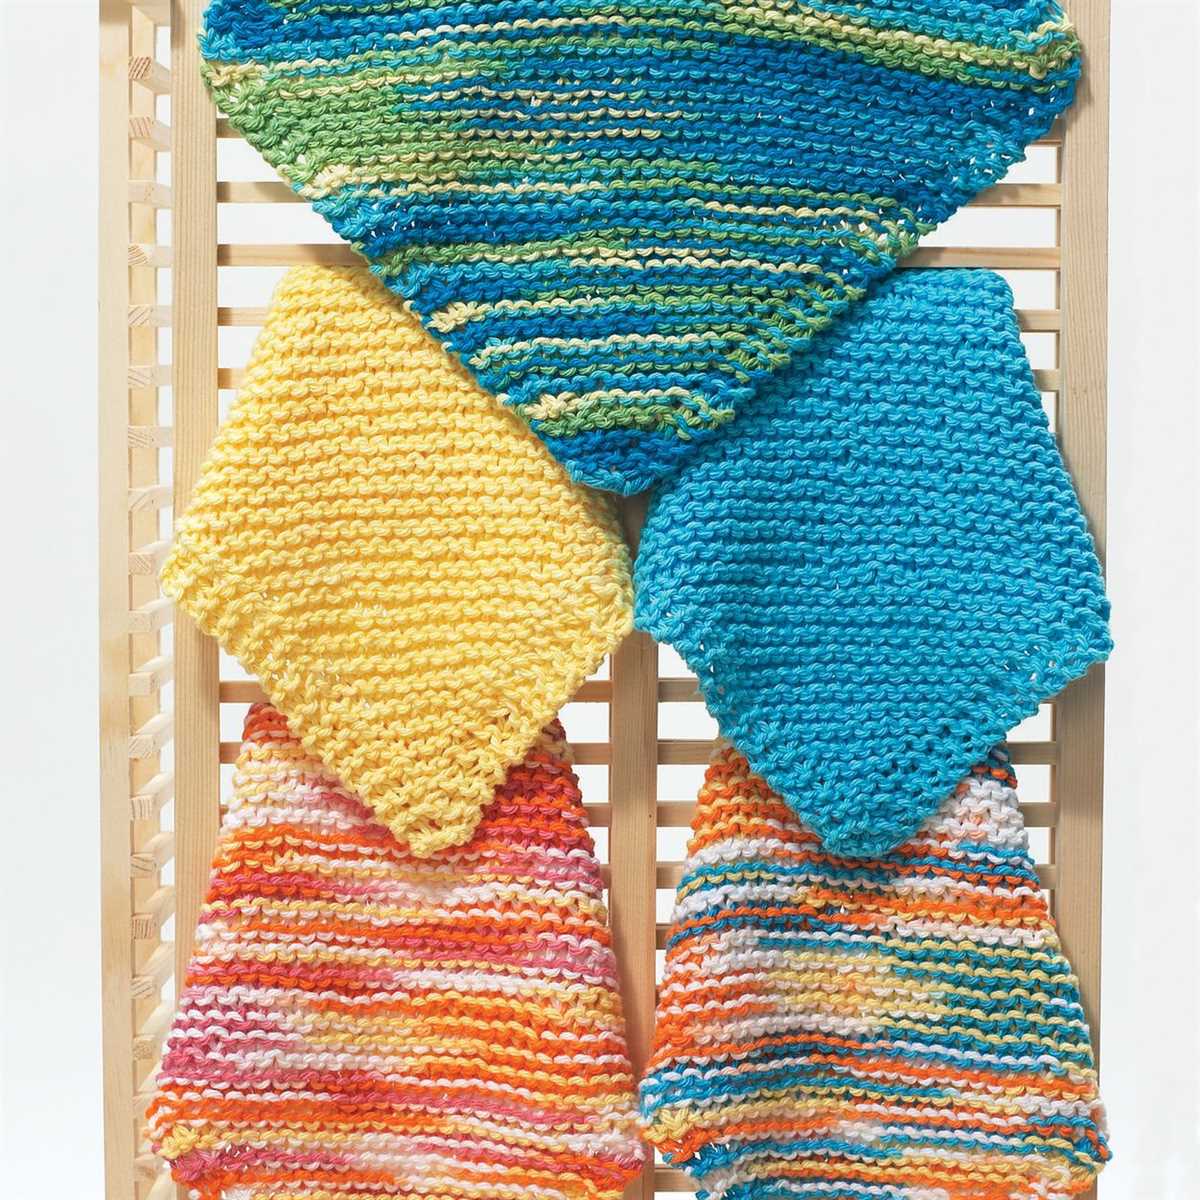
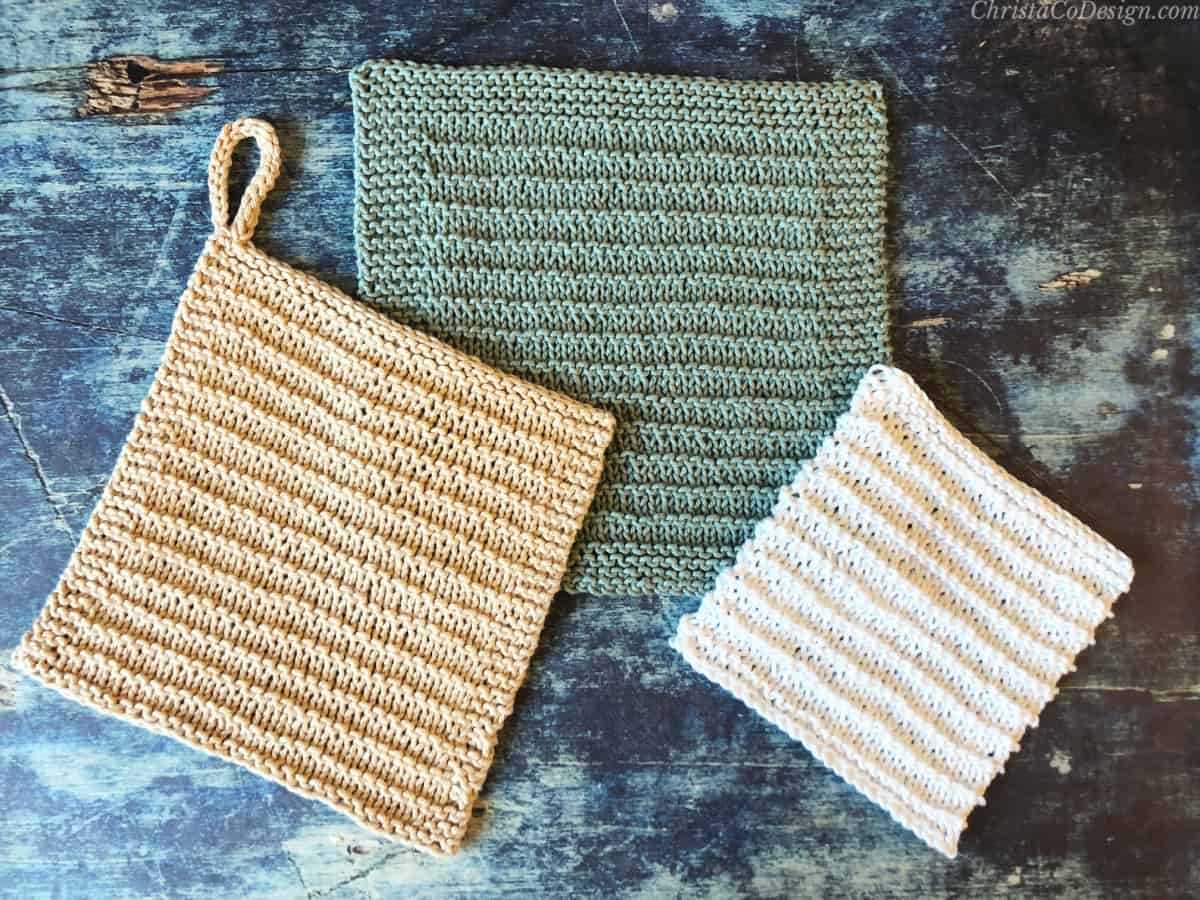
The best part about this pattern is that it can be easily customized to fit your personal style and preferences. You can choose any color of yarn you like and experiment with different stitch patterns or textures. Whether you prefer a classic design or something more modern, this pattern can be adapted to suit your taste.
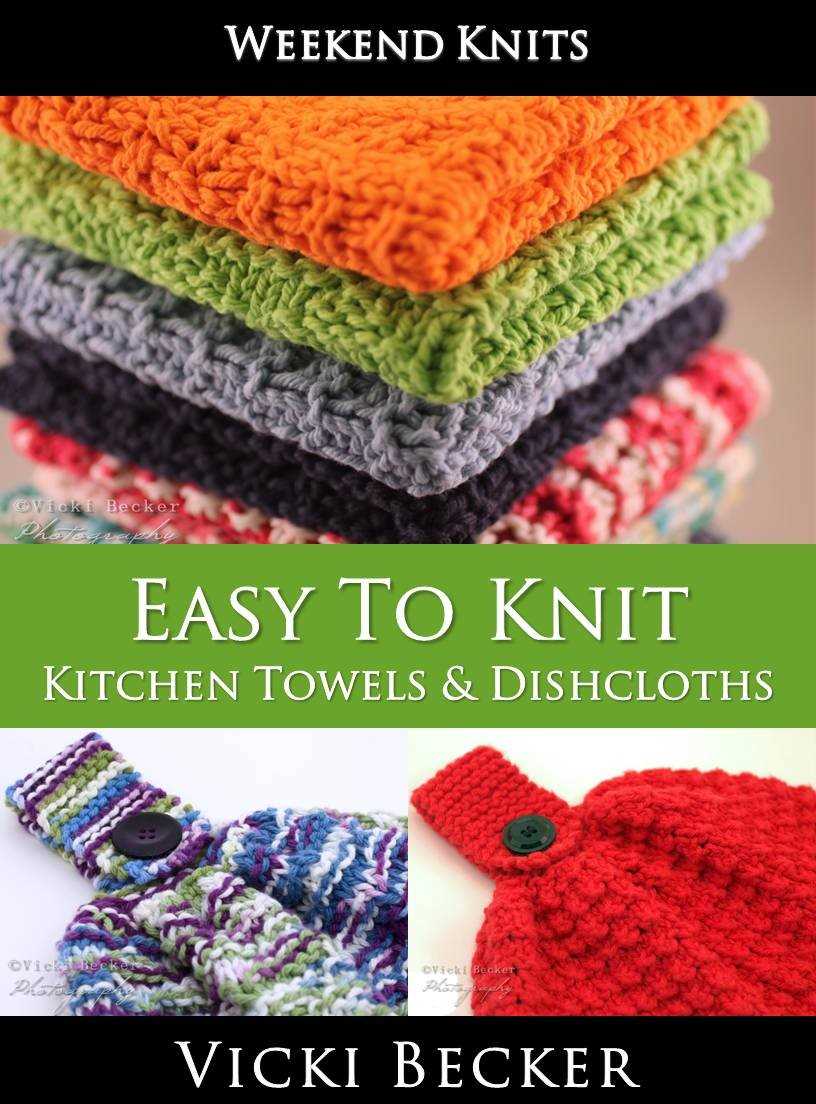
Easiest Knit Dishcloth Pattern

Looking for a quick and easy knitting project? Look no further than the easiest knit dishcloth pattern! Whether you’re a beginner knitter or an experienced one, this pattern is perfect for everyone. With just a few basic stitches and minimal materials, you’ll have a functional and stylish dishcloth in no time.
To get started, you’ll need some cotton yarn and knitting needles. Choose a yarn color that matches your kitchen or add a pop of color to brighten up your dishwashing routine. The choice is yours! As for the needle size, a size 7 or 8 should do the trick.
Once you have your materials ready, cast on around 40 stitches. This will give you a good size for a dishcloth. If you prefer a smaller or larger dishcloth, adjust the number of stitches accordingly.
The pattern itself is incredibly simple. Knit every row until your dishcloth reaches your desired length. Easy, right? If you want to add a bit of texture, you can also incorporate a garter stitch by knitting every row. This will create a bumpy texture that is great for scrubbing dishes.
When you’re happy with the size of your dishcloth, bind off and weave in any loose ends. Trim off any excess yarn, and your dishcloth is ready to use. It’s that simple!
Not only is this dishcloth pattern easy to knit, but it’s also a useful and practical item to have in your kitchen. It makes for a great gift as well. So grab your yarn and knitting needles, and give the easiest knit dishcloth pattern a try. Your kitchen will thank you!
Choosing the right yarn and needle size
When it comes to knitting dishcloths, choosing the right yarn and needle size is essential to ensure that your project turns out just the way you want it. The yarn you select will determine the final texture, absorbency, and durability of the dishcloth, while the needle size will affect the overall size and stitch definition.
Yarn: For a dishcloth, it’s best to choose a yarn that is absorbent, durable, and easy to care for. Cotton yarn is a popular choice for dishcloths as it is highly absorbent and can withstand frequent use and washing. Look for a cotton yarn that is soft to the touch and has good stitch definition. Some popular cotton yarn brands include Lily Sugar ‘n Cream and Bernat Handicrafter Cotton.
Needle size: The needle size you use will determine the gauge or tension of your knitting. For a dishcloth, it’s best to use a needle size that will give you a tight fabric with good stitch definition. Generally, a needle size between US 6 (4mm) and US 8 (5mm) works well for knitting dishcloths, but you can adjust the needle size depending on the desired outcome. If you want a denser fabric, use a smaller needle size, and if you prefer a more open and drapey fabric, use a larger needle size.
When choosing your yarn and needle size, keep in mind the pattern you will be working with. Some patterns may specify a particular yarn weight or needle size, so be sure to check the pattern instructions before making your selection. Additionally, consider the size and shape of the dishcloth you want to knit. If you prefer larger dishcloths, you may need to use a larger needle size to achieve the desired dimensions.
Overall, taking the time to choose the right yarn and needle size for your dishcloth project will greatly enhance the final result. Consider the characteristics you want in your dishcloth and experiment with different yarns and needle sizes until you find the perfect combination that meets your needs and preferences.
Casting on stitches
When starting a knitting project, one of the first things you will need to do is cast on stitches. Casting on is the process of creating the first row of stitches on your knitting needle. It is an essential skill to master, as it determines the size and shape of your project.
There are several methods for casting on stitches, but one of the easiest and most common methods is the knitted cast on. To do this, begin by making a slip knot on your needle. Hold the needle with the slip knot in your right hand, and insert the left needle into the slip knot from left to right. This will create a loop around the left needle.
Next, insert the right needle into the loop from left to right. Wrap the working yarn around the right needle, bringing it over and back to the front. Pull the wrapped yarn through the loop, creating a new stitch on the right needle. Repeat this process until you have cast on the desired number of stitches.
Another popular method for casting on stitches is the long tail cast on. To do this, estimate the amount of yarn you will need for each stitch, plus an additional length for the tail. Make a slip knot at the end of this length, and hold it on the needle with your thumb and forefinger. With the tail held at the back and the working yarn in front, insert the right needle into the slip knot from left to right.
Moving the right needle behind the working yarn, bring it forward and through the loop on the left needle. Bring the loop on the left needle over the right needle, creating a new stitch. Repeat this process until you have cast on the desired number of stitches.
The cast on stitches form the foundation of your knitting project, so it is important to take your time and ensure that they are even and not too tight or too loose. Once you have cast on your stitches, you are ready to begin knitting!
Basic Knit Stitch
One of the most fundamental stitches in knitting is the basic knit stitch. It is the foundation of many knitting patterns and is essential for beginners to learn. The basic knit stitch creates a smooth and even fabric without any holes or gaps.
To start the basic knit stitch, you will need a pair of knitting needles and a ball of yarn. Begin by making a slipknot and placing it on one of the needles. Hold the needle with the slipknot in your right hand, and insert the empty needle into the slipknot from the left to right. The empty needle should now be in your left hand with the slipknot on it.
Hold the yarn with your right hand and wrap it counterclockwise around the empty needle. Insert the tip of the empty needle into the first stitch on the left needle from front to back. Slide the right needle under the left needle, catching the yarn with it, and pull it through the stitch, sliding it off the left needle. You have just completed one knit stitch!
Repeat these steps for each stitch until you have reached the end of the row. Then, turn your work and start again from the beginning. The basic knit stitch is a simple and repetitive motion, making it easy to memorize and perfect with practice.
The basic knit stitch can be used to create a variety of patterns, including the easiest knit dishcloth pattern. Once you have mastered the basic knit stitch, you can explore more complex stitches and patterns to expand your knitting skills.
Knitting the first row
When starting to knit a dishcloth using the easiest knit dishcloth pattern, the first row is crucial in setting the foundation for the entire project. The first row sets the tone for the rest of the knitting process and ensures that the subsequent rows align properly.
Before beginning the first row, it is essential to have the necessary materials at hand, including knitting needles and yarn. Choosing the right needle size and yarn weight is important to achieve the desired texture and thickness for the dishcloth. Once the materials are prepared, it is time to start knitting.
Step 1: Cast on stitches
- Start by making a slipknot at the end of the yarn. Insert one knitting needle into the slipknot.
- Hold the other needle in your opposite hand and use it to form a loop around the yarn.
- Pull the loop through the slipknot to create the first stitch on the needle. Repeat this process until you have the desired number of stitches.
- Ensure that the stitches are evenly spaced along the needle and not too tight or too loose.
Step 2: Begin knitting the first row
- Hold the needle with the cast-on stitches in your right hand and the empty needle in your left hand.
- Insert the empty needle into the first stitch from left to right, going under the right needle.
- Using the yarn attached to the slipknot, wrap it around the right needle counterclockwise, forming a loop.
- Pull the loop through the first stitch, transferring it to the right needle.
- Continue this process for each stitch, ensuring that the tension is consistent.
By following these steps, the first row of the dishcloth will be completed, setting the foundation for the rest of the project. It is important to maintain focus and attention to detail during the first row to ensure a seamless knitting experience. Once the first row is completed, the knitting process can continue according to the pattern instructions.
Creating the dishcloth pattern
When it comes to creating the easiest knit dishcloth pattern, simplicity is key. The pattern should be straightforward, easy to follow, and require minimal knitting skills. To start, gather the necessary materials, which include knitting needles, yarn, and a pair of scissors. Choose a soft, absorbent cotton yarn in your preferred color to ensure that the dishcloth is both functional and aesthetically pleasing.
Begin by casting on the required number of stitches. This number will depend on the size of the dishcloth you want to create. For a standard dishcloth, a cast-on of 40 stitches is typically suitable. Use the long-tail cast-on method or any other technique you are comfortable with.
Once the stitches are cast on, it’s time to start knitting. The easiest pattern for a dishcloth is often a simple garter stitch. To achieve this, knit every row until the desired length is reached, making sure to leave a few extra rows for the dishcloth to fold over neatly. This straightforward stitch pattern creates a textured, durable fabric that is perfect for cleaning and washing dishes.
After knitting the desired number of rows, it’s time to bind off the stitches. Use a basic bind-off method, such as the knit-two-together bind-off, to secure the edges of the dishcloth. Trim the excess yarn, leaving a tail for weaving in later.
Once the knitting is complete, weave in any loose ends for a clean finish. This can be done using a tapestry needle, threading the tail through the stitches at the back of the dishcloth. Trim any excess yarn, taking care not to cut the stitches.
The final step is to give the dishcloth a gentle blocking to ensure it retains its shape. This can be done by dampening the dishcloth with water and shaping it into a square or rectangle. Lay it flat on a towel, stretching it slightly if needed, and allow it to dry completely.
In just a few simple steps, you can create your own easy knit dishcloth pattern. Whether you’re a beginner knitter or an experienced one looking for a quick and satisfying project, this pattern is sure to deliver a functional and stylish dishcloth.
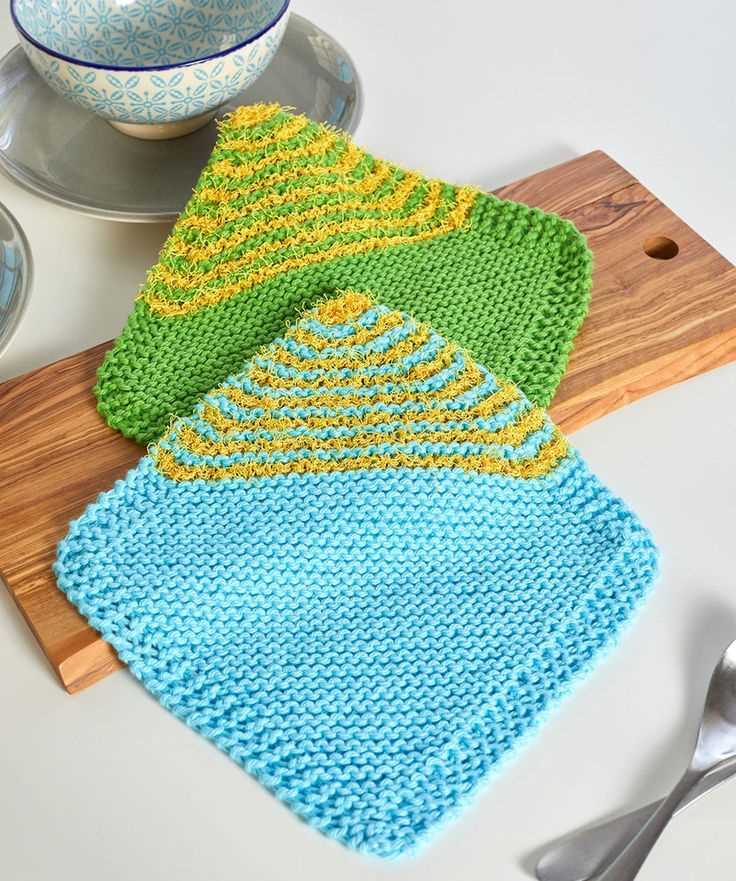
Changing yarn colors
If you want to add some visual interest to your knitted dishcloth, changing yarn colors can be a great way to achieve it. Whether you want to create stripes, color blocks, or intricate patterns, changing yarn colors allows you to be creative and experiment with different combinations.
When changing yarn colors in a knitted dishcloth, there are a few methods you can use. One common method is the intarsia technique, where you use separate balls or bobbins of yarn for each color section. This allows you to knit each section with a different color, and the yarns are twisted at the color changes to avoid holes.
Intarsia Technique
In the intarsia technique, you start with a new color by simply dropping the old color and picking up the new one. To avoid gaps or holes at the color changes, you can twist the yarns on the wrong side of the work. To do this, bring the new color over and under the old color and continue knitting.
Another method for changing yarn colors is the stranded knitting technique, also known as Fair Isle knitting. In this technique, you carry both colors of yarn throughout the pattern and switch between them as needed. However, stranded knitting can create a thicker fabric, so it’s important to keep an even tension to ensure the dishcloth lies flat.
Whichever method you choose, changing yarn colors can add a beautiful visual element to your knitted dishcloth. It gives you the opportunity to personalize your project and create unique designs. So don’t be afraid to play with colors and let your creativity shine through!
Knitting the last row
As you approach the end of your dishcloth, it’s time to knit the last row. This final row will complete your project and give it a finished edge. Here are some steps to follow when knitting the last row:
- Continue knitting in the stitch pattern: If you’ve been following a specific stitch pattern throughout your dishcloth, make sure to continue knitting in that pattern for the last row. This will ensure a consistent look and match the rest of the dishcloth.
- Watch your tension: It’s important to maintain consistent tension while knitting the last row. Keep your stitches neither too tight nor too loose to avoid an uneven and messy edge.
- Weave in loose ends: Before finishing the last row, make sure to weave in any loose ends you may have from changing colors or joining new yarn. This will prevent them from unraveling and secure them neatly into your work.
- Bind off: Once you’ve completed the last row, it’s time to bind off your stitches. Use the appropriate bind off method for your project to create a clean and secure edge. This will ensure that your dishcloth doesn’t unravel or lose its shape over time.
- Block your dishcloth: After knitting the last row and binding off, consider blocking your dishcloth to give it a professional finish. Blocking involves wetting your work and then shaping and drying it to the desired dimensions. This step can help even out any inconsistencies in your stitches and make your dishcloth look more polished.
By following these steps, you can successfully knit the last row of your dishcloth and complete your project with a neat and professional-looking edge. Enjoy using your newly finished dishcloth for all your kitchen needs!
Binding off
Once you have completed your knitted dishcloth, the final step is to bind off your stitches. Binding off is the process of securing the stitches in place so that they don’t come undone. It creates a neat and finished edge to your dishcloth.
To bind off, you will start by knitting two stitches as usual. Then, using your left needle, lift the first stitch over the second stitch and off the needle. This effectively binds off one stitch. Repeat this process of knitting one stitch and binding off the previous stitch until you have reached the end of the row.
After binding off the last stitch, you can cut the yarn, leaving a tail of about 6 inches. Take the tail of yarn and weave it through the remaining stitches on the needle, removing them from the needle as you go. This secures the stitches and prevents them from unraveling.
Once you have woven the tail through all the stitches, gently pull it tight to close up any gaps. Finally, weave the end of the yarn tail back into the knitted fabric to hide it. Congratulations, you have successfully bound off your dishcloth!
Blocking the dishcloth
Blocking is an important step in the process of knitting a dishcloth. It helps to give the dishcloth its final shape and size, and also enhances the stitch definition. Here is a simple guide to blocking your dishcloth:
1. Wet blocking:
- Fill a basin or sink with lukewarm water and add a small amount of mild detergent.
- Gently place the dishcloth in the water and let it soak for about 15 minutes.
- Drain the water and gently squeeze out the excess moisture from the dishcloth.
- Lay a clean towel on a flat surface and place the dishcloth on top of it.
- Roll the towel with the dishcloth inside, starting from one end to the other, to remove more moisture.
- Unroll the towel and lay the dishcloth flat on a blocking mat or a clean, dry towel.
- Using rustproof T-pins, pin the edges of the dishcloth to the desired shape and size.
- Leave the dishcloth to dry completely. This may take a day or two, depending on the thickness of the yarn.
2. Steam blocking:
- Fill a steam iron or garment steamer with water and set it to the appropriate heat setting for your yarn.
- Hold the iron or steamer a few inches away from the dishcloth and steam it, moving the iron or steamer back and forth over the surface.
- Be careful not to touch the dishcloth with the iron or steamer, as this can damage the yarn.
- Once the dishcloth is evenly steamed, remove the heat source and let it cool down.
- Lay the dishcloth flat on a blocking mat or a clean, dry towel.
- Using rustproof T-pins, pin the edges of the dishcloth to the desired shape and size.
- Leave the dishcloth to dry completely.
Blocking your dishcloth may seem like an extra step, but it can make a big difference in the final appearance of your project. It helps to even out stitches and give the dishcloth a professional finish. So, take the time to block your dishcloth, and you will be rewarded with a beautifully finished piece!
Care Instructions

Proper care and maintenance of your knitted dishcloth will ensure that it lasts for a long time and continues to look its best. Here are some important care instructions to follow:
- Hand-wash: It is recommended to hand-wash your knitted dishcloth to prevent any damage or shrinkage. Use mild detergent and lukewarm water to gently clean the cloth. Avoid using bleach or harsh chemicals as they can deteriorate the fabric.
- Drying: After washing, squeeze out excess water from the dishcloth gently without wringing or twisting it. Lay it flat on a clean towel or hang it up to air dry. Avoid using a machine dryer as it can cause the cloth to lose its shape.
- Storage: When not in use, store your knitted dishcloth in a dry and well-ventilated area. Avoid storing it in a damp or humid place as it can promote the growth of mold or mildew.
- Avoid harsh surfaces: While using the dishcloth, avoid scrubbing it on rough or abrasive surfaces as it can cause the fabric to fray or pills to form. Opt for gentler surfaces like ceramic or non-stick cookware to extend the longevity of the cloth.
- Replace when necessary: Over time, knitted dishcloths may lose their shape or become worn out. It’s important to regularly inspect your cloth for any signs of damage and replace it when necessary to maintain hygiene and effectiveness.
By following these care instructions, you can ensure that your knitted dishcloth remains in good condition and continues to serve its purpose effectively. Enjoy using your handmade dishcloth and take pride in preserving its quality!
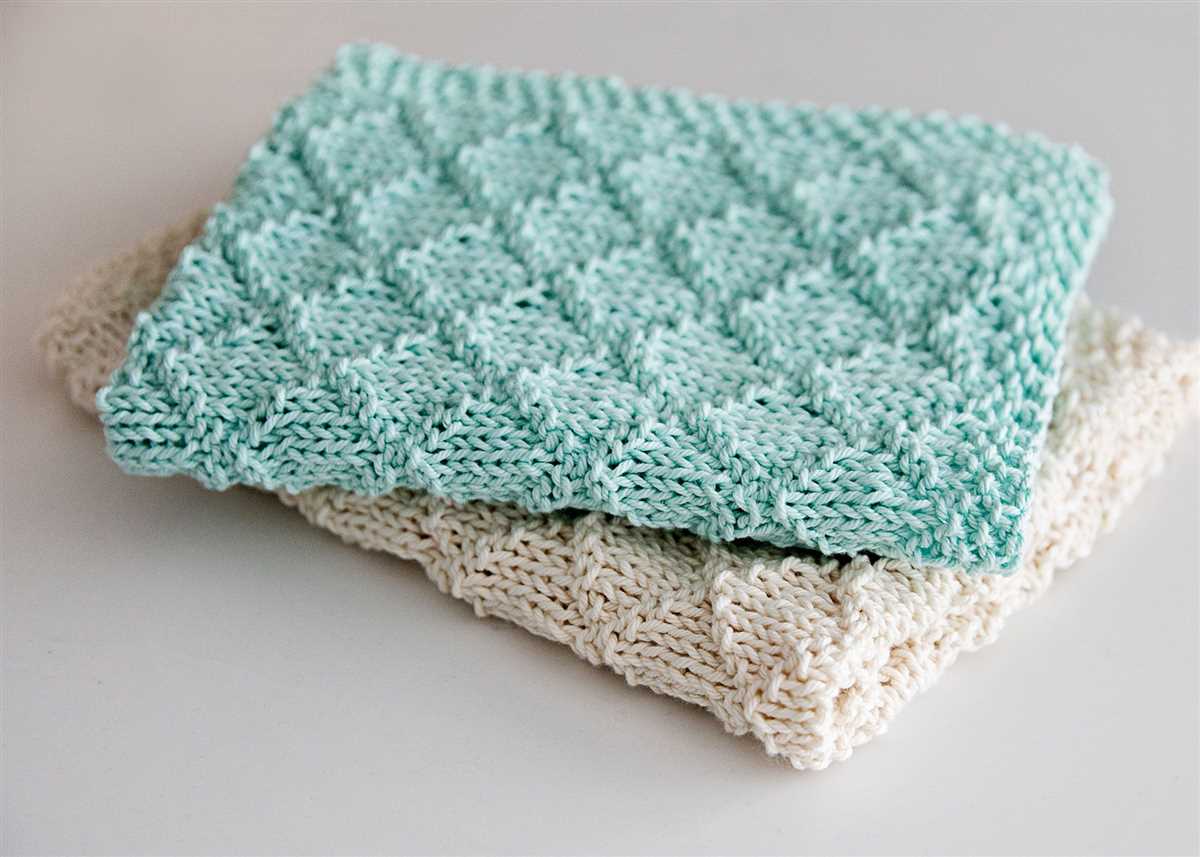
Alternative stitch patterns for dishcloths
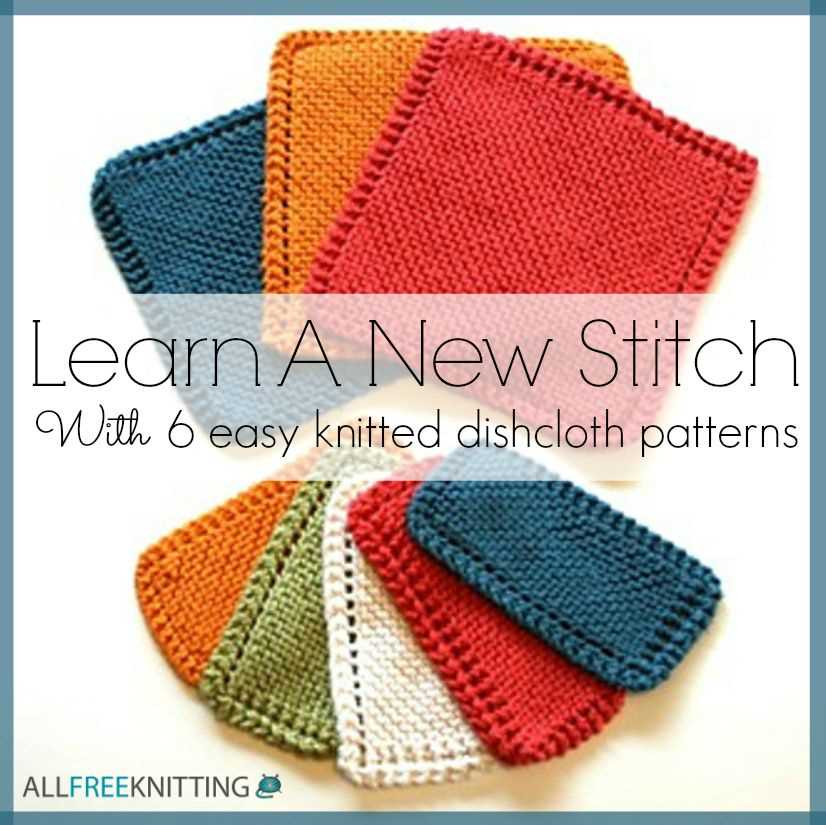
While the garter stitch is a classic and easy stitch pattern for dishcloths, there are plenty of other options to explore. Here are a few alternative stitch patterns you can try for your dishcloth knitting projects:
1. Seed stitch
The seed stitch is a simple but textured stitch pattern that adds a bit of interest to your dishcloths. It is created by alternating knit and purl stitches in every row. The result is a fabric with small bumps that resemble seeds. The seed stitch is great for scrubbing and cleaning dishes due to its texture.
2. Basketweave stitch
The basketweave stitch is another textured pattern that can add an interesting look to your dishcloths. It involves groups of knit and purl stitches that create a woven-like effect. The basketweave stitch is perfect for dishcloths as it provides extra scrubbing power while still being simple to knit.
3. Waffle stitch

The waffle stitch creates a fabric with a raised, waffle-like texture. It is achieved by knitting and purling in a specific pattern that creates small squares or honeycomb-like shapes. The waffle stitch is both visually appealing and functional, making it ideal for dishcloths. The raised texture helps to increase absorbency and scrubbing power.
There are many other stitch patterns to explore, such as the bamboo stitch, linen stitch, and moss stitch. Each stitch pattern offers its own unique texture and look to your dishcloths. Feel free to experiment and try different stitch patterns to find the one that suits your preferences and needs.
By using alternative stitch patterns, you can create a variety of beautiful and functional dishcloths. Whether you prefer a simple garter stitch or want to experiment with different textures, there is a stitch pattern out there for you. Happy knitting!