
Knitting is becoming increasingly popular as a way to create handmade, personalized items. It is a versatile craft that allows you to make clothing, accessories, and home decor items. If you are a beginner knitter looking for a simple project to start with, a men’s scarf is a great option.
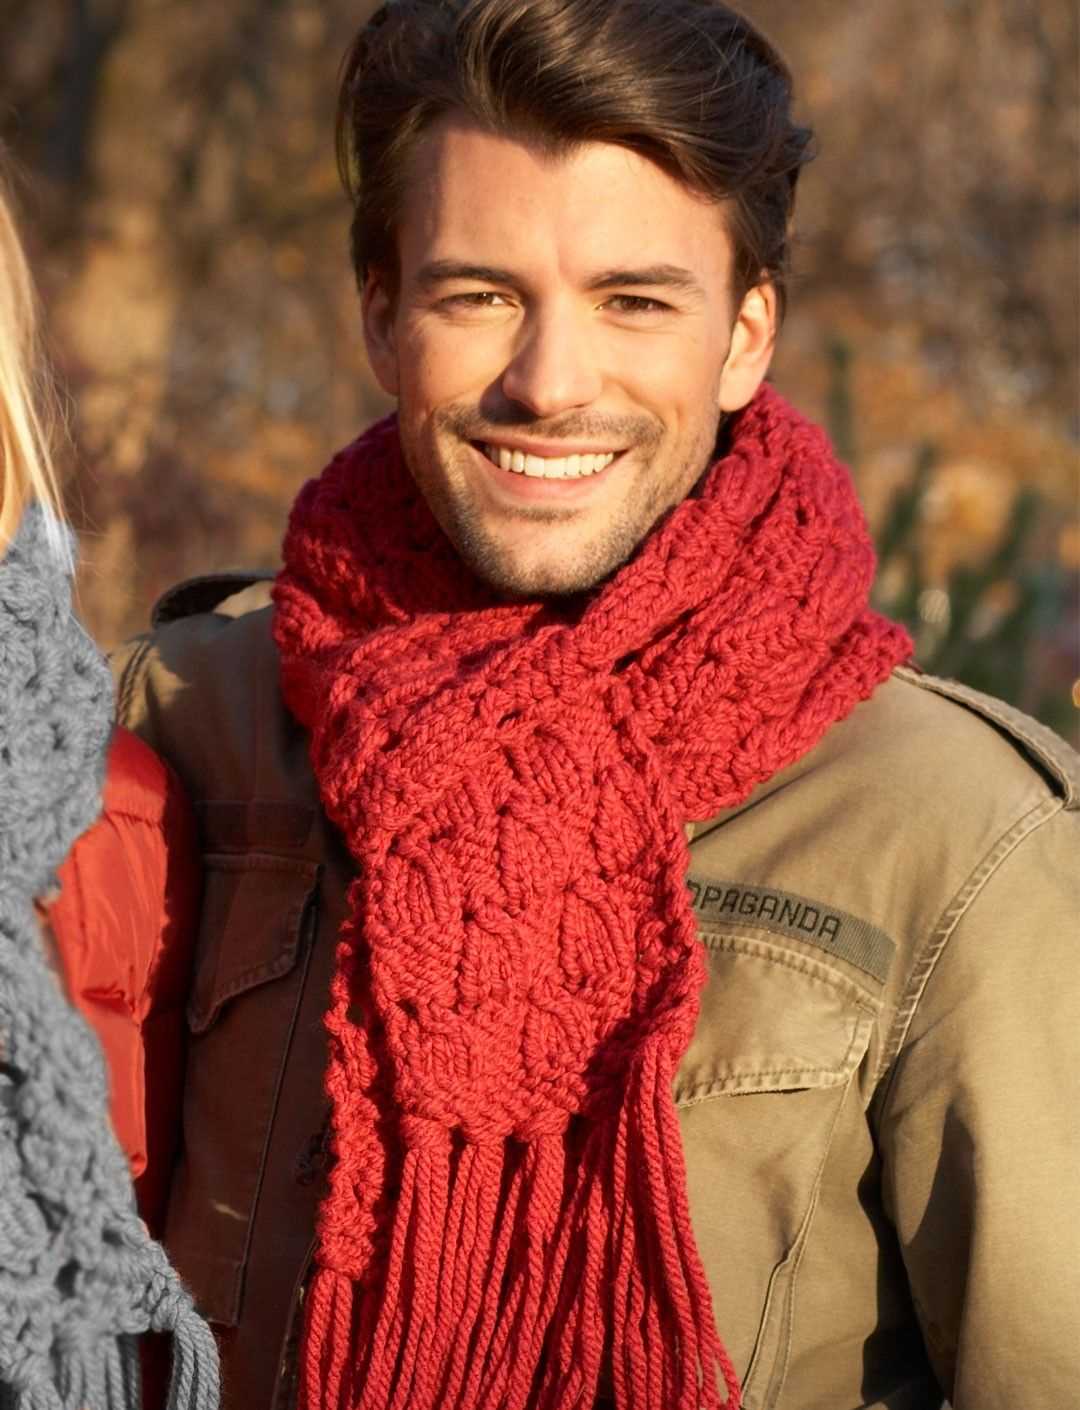
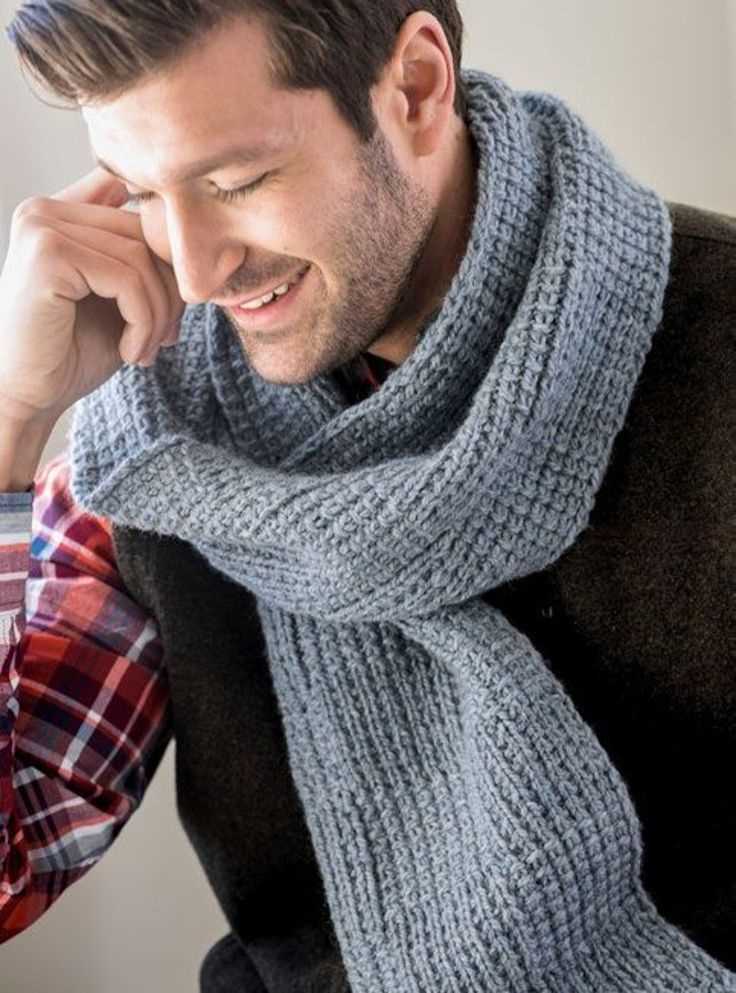
A men’s scarf is a classic accessory that is not only practical but also stylish. It can keep you warm during the colder months and add a touch of elegance to your outfit. Plus, it makes for a great gift for the men in your life.
When it comes to knitting a men’s scarf, simplicity is key. You want a pattern that is easy to follow but still produces a beautiful result. Fortunately, there are plenty of simple men’s scarf knitting patterns available for beginners.
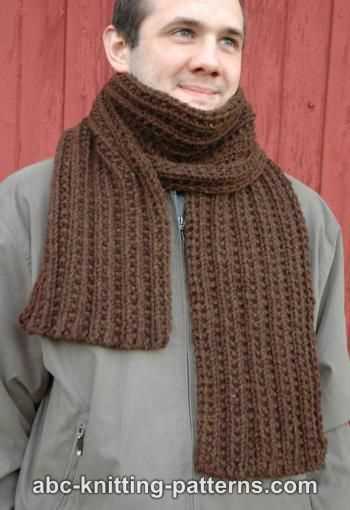
One such pattern is a basic garter stitch scarf. The garter stitch involves knitting every row, creating a squishy, textured fabric. This pattern is perfect for beginners as it only requires you to know how to knit and purl. By using a bulky weight yarn, you can create a warm and cozy scarf in no time.
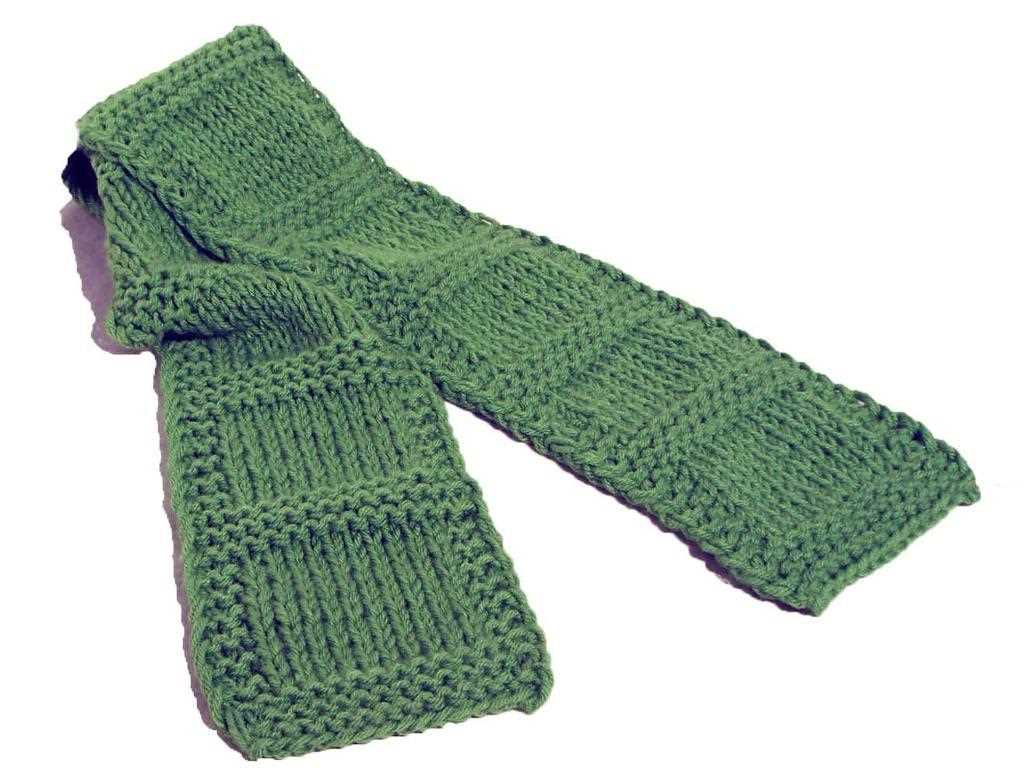
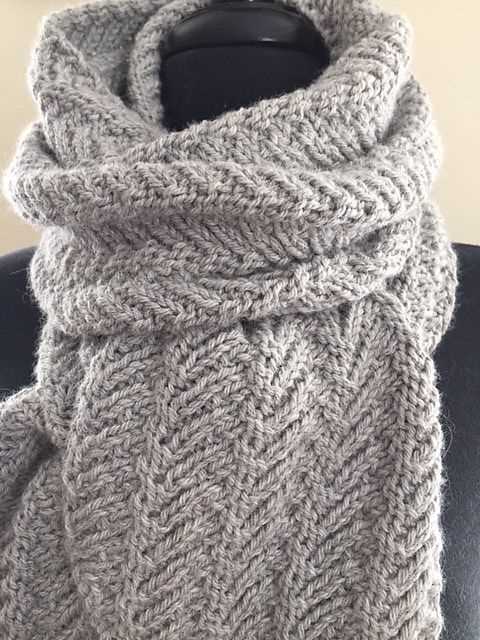
Simple Mens Scarf Knitting Pattern
Knitting a scarf for a man can be a great gift idea, and with this simple knitting pattern, you can create a stylish and cozy accessory that any man would love to wear. This pattern is perfect for beginners, as it uses basic knitting stitches and techniques.
To get started, you will need a pair of knitting needles and some yarn in the color of your choice. Worsted weight yarn is a good option for this pattern, as it provides a nice balance of warmth and drape. You can also experiment with different colors to create a unique and personalized scarf.
Materials:
- Size 8 (5mm) knitting needles
- Approximately 250 yards of worsted weight yarn
- Tapestry needle for weaving in ends
Instructions:
- Cast on 30 stitches.
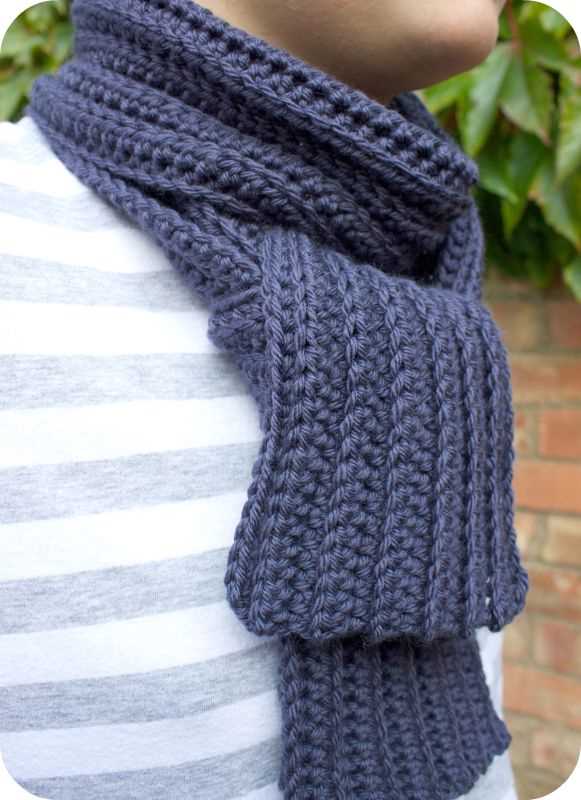
- Knit every row until the scarf measures your desired length. You can knit in a simple garter stitch for a classic look, or experiment with different stitch patterns like ribbing or seed stitch for added texture.
- Once the scarf is the desired length, bind off all stitches.
- Weave in any loose ends with a tapestry needle.
This simple mens scarf knitting pattern is easy to customize to your liking. You can make it wider or narrower by adjusting the number of stitches you cast on, and you can also make it longer or shorter by knitting more or fewer rows. Feel free to get creative with your yarn choices and stitch patterns to make a scarf that is truly unique and special.
Benefits of Knitting Your Own Scarf
Knitting your own scarf can be a fulfilling and rewarding experience. Not only does it allow you to create a unique and personalized accessory, but it also offers a range of other benefits.
1. Creativity and Self-Expression: Knitting your own scarf gives you the opportunity to showcase your creativity and express your personal style. You can choose from a wide variety of patterns, colors, and yarns to create a scarf that is truly one-of-a-kind.
2. Relaxation and Stress Relief: Knitting has been proven to have a calming effect on the mind and body. It can help reduce stress, anxiety, and even lower blood pressure. Knitting your own scarf provides a therapeutic and meditative experience, allowing you to focus on the present moment and find inner peace.
3. Sense of Accomplishment: Completing a knitting project, such as a scarf, can give you a great sense of accomplishment. Seeing your creation come to life and being able to wear it with pride provides a boost to your self-esteem and confidence.
4. Cost Savings: Knitting your own scarf can be a more cost-effective option compared to buying one from a store. You have the freedom to choose affordable yarn options and can potentially save money in the long run, especially if you continue to knit other accessories or garments.
5. Customization and Perfect Fit: When you knit your own scarf, you have the power to customize it to your exact preferences. You can determine the length, width, and design elements to ensure it fits you perfectly and meets your specific needs.
6. Mindfulness and Mind-Body Connection: Knitting requires focus and concentration, which can promote mindfulness and enhance the mind-body connection. It can help improve cognitive function, memory, and attention skills.
7. Meaningful Handmade Gift: Knitting a scarf as a gift for a loved one adds an extra layer of meaning and thoughtfulness. Handmade gifts are often cherished and treasured, as they represent the time, effort, and care that went into creating them.
In conclusion, knitting your own scarf offers numerous benefits, ranging from creative expression to relaxation and stress relief. It allows you to customize and personalize your scarf while also providing a sense of accomplishment and cost savings. So why not grab some knitting needles and yarn, and start your scarf knitting journey today?
Choosing the Right Yarn for Your Scarf Project

When it comes to knitting a scarf, choosing the right yarn is crucial for achieving the desired result. The type of yarn you select can greatly impact the overall look and feel of your finished scarf. Here are some considerations to keep in mind when choosing the yarn for your project:
1. Fiber Content
The first thing to consider is the fiber content of the yarn. Different fibers have different qualities and characteristics. For example, wool yarn is known for its warmth and durability, making it a popular choice for scarves. Acrylic yarn, on the other hand, tends to be more affordable and easier to care for. Other options include cotton, silk, and blends of different fibers. Think about the qualities you want in your scarf and choose a yarn that aligns with those needs.
2. Weight and Thickness
The weight and thickness of the yarn will determine the overall look and feel of your scarf. Thicker yarns will create a chunkier and warmer scarf, while thinner yarns will result in a lighter and more delicate scarf. Consider the climate in which the scarf will be worn and the desired aesthetic, and choose a yarn weight that suits both.
3. Color and Pattern
Another important consideration is the color and pattern of the yarn. Solid colored yarns can create a classic and timeless look, while variegated or self-striping yarns can add visual interest and complexity to your scarf. Consider the wearer’s personal style and preferences, as well as the purpose of the scarf, when choosing the color and pattern of your yarn.
4. Budget
Finally, consider your budget when selecting the yarn for your scarf project. Yarn prices can vary greatly depending on the fiber content and brand. Set a budget for your project and choose a yarn that fits within that budget.
In conclusion, choosing the right yarn for your scarf project involves considering the fiber content, weight and thickness, color and pattern, and budget. By carefully considering these factors, you can ensure that your finished scarf is not only beautiful but also functional and suited to the wearer’s needs.
Essential Knitting Tools for Scarf Making
When it comes to knitting scarves, having the right tools is essential to ensure a smooth and enjoyable knitting experience. Whether you are a beginner or an experienced knitter, here are some must-have knitting tools that will help you create beautiful scarves.
Needles:
The type of needles you choose will depend on your knitting style and preference. Straight needles are a popular choice for scarf making, as they are easy to use and come in various sizes. Circular needles are also a good option if you prefer knitting in the round or want to make a wider scarf. Make sure to choose needles that are comfortable to hold and durable.
Yarn:
Choosing the right yarn is crucial for the outcome of your scarf. Look for yarn that is soft, warm, and easy to work with. A DK or worsted weight yarn is a good choice for scarves, as it provides the right amount of warmth and drapes nicely. Consider the color and texture of the yarn as well, as this will impact the overall look of your scarf.
Scissors:
A good pair of scissors is essential for cutting yarn and shaping your scarf. Look for sharp, small scissors that can easily fit into your knitting bag. Having a separate pair of scissors dedicated to knitting will ensure that they are always available when you need them.
Tape Measure:
A tape measure is an essential tool for measuring the length and width of your scarf. This will help ensure that your scarf turns out to be the desired size. Look for a flexible tape measure that is easy to read and can be easily carried in your knitting bag.
Stitch Markers:
Stitch markers are useful for keeping track of your stitches and pattern repeats. They can be attached to your needles or slipped onto the stitches themselves. These markers come in various sizes and shapes, and it’s important to choose ones that are compatible with the size of your needles and won’t snag on your yarn.
Tapestry Needle:
A tapestry needle is used for weaving in loose ends and finishing touches on your scarf. Look for a needle with a large eye and a blunt point that won’t split your yarn. Having a tapestry needle in your knitting kit will ensure that your scarf looks neat and professional.
By having these essential knitting tools on hand, you’ll be well-equipped to create beautiful scarves that you can enjoy or give as thoughtful handmade gifts.
Understanding Basic Knitting Stitches for Your Scarf
Knitting a scarf is a great way to showcase your knitting skills while also creating a functional and stylish accessory. Whether you’re a beginner or an experienced knitter, understanding the basic knitting stitches is crucial in creating a beautiful and well-made scarf.
One of the most important stitches to learn is the knit stitch. This stitch is the building block of knitting and is used in countless patterns. To knit a stitch, insert the right-hand needle into the stitch on the left-hand needle. Wrap the yarn around the right-hand needle from back to front, then pull the stitch through. This creates a new stitch on the right-hand needle.
Another essential stitch is the purl stitch. This stitch creates a bumpy texture and is often used in combination with the knit stitch to create various patterns. To purl a stitch, insert the right-hand needle into the stitch on the left-hand needle from right to left. Wrap the yarn around the right-hand needle from front to back, then pull the stitch through. This creates a new stitch with the yarn in front of the work.
Once you have mastered the knit and purl stitches, you can explore more advanced stitches to add texture and visual interest to your scarf. Some popular options include the seed stitch, which alternates between knit and purl stitches within a row, and the rib stitch, which creates columns of knit and purl stitches. These stitches can help create a more intricate and unique design for your scarf.
By understanding and practicing these basic knitting stitches, you can create a beautiful scarf that is not only cozy but also showcases your knitting skills. With a little patience and practice, you’ll be able to tackle more complex knitting patterns and create stunning scarves that are truly one-of-a-kind.
Step-by-Step Guide to Casting On for Your Scarf
Before you can begin knitting your scarf, you need to cast on your stitches. Casting on is the process of creating the first row of stitches on your knitting needle, and it sets the foundation for your scarf project. Follow these steps to cast on for your scarf:
- Gather your materials: You will need a pair of knitting needles in the appropriate size for your yarn, and the yarn you have chosen for your scarf.
- Make a slipknot: Begin by making a slipknot on your knitting needle. Hold the yarn in your right hand, leaving a tail of about 6 inches. Cross the working end of the yarn over the tail to form a loop, and then pull the working end through the loop to create a slipknot.
- Insert the needle: Insert your knitting needle into the slipknot and pull the working end of the yarn to tighten the slipknot around the needle. Hold the needle with the slipknot in your right hand and the working end of the yarn in your left hand.
- Make a loop: With your left hand, bring the working end of the yarn from back to front, creating a loop around your left thumb and index finger.
- Insert the needle: Insert the needle from left to right under the front strand of the loop on your left thumb, and then bring the needle over the back strand of the loop. The loop should now be caught on the needle.
- Tighten the stitch: Using your right hand, pull the needle and the working end of the yarn gently to tighten the stitch on the needle. Make sure not to pull too tightly, as you want to keep your stitches loose and even.
- Repeat: Repeat steps 4 to 6 until you have cast on the desired number of stitches for your scarf. Count the stitches on your needle periodically to ensure you have the correct number.
Once you have successfully cast on all your stitches, you are ready to start knitting your scarf! The cast-on row will serve as the foundation for your knitting, and you can now move on to the next steps in the pattern.
Knitting the Body of Your Scarf

Once you have mastered the basic knitting techniques and have cast on your desired number of stitches, you are ready to start knitting the body of your scarf. In this section, we will guide you through the basic steps to follow.
1. Knit the first row: Begin by knitting every stitch on the first row. Hold the working yarn in your right hand and insert the right needle into the first stitch on the left needle. Wrap the yarn around the right needle counterclockwise and pull it through the stitch, sliding the old stitch off the left needle. Repeat this process across all the stitches on the left needle.
2. Continue knitting in rows: After completing the first row, turn your work and start knitting the second row. This time, you will purl every stitch. Insert the right needle into the first stitch on the left needle from right to left, bring the working yarn to the front of your work, wrap the yarn counterclockwise around the right needle, and pull it through the stitch, sliding the old stitch off the left needle. Repeat this process across all the stitches on the left needle.
3. Alternate knitting and purling: To create the traditional stockinette stitch pattern, continue alternating between knitting and purling each row. Knit the knit stitches and purl the purl stitches, working in the stitch pattern established in the previous rows. This will create a smooth and even texture on one side of your scarf.
4. Repeat until desired length: Keep knitting in the stockinette stitch pattern, repeating the knit and purl rows until your scarf reaches the desired length. Make sure to periodically check the length by laying it flat and measuring from end to end.
5. Bind off: Finally, once your scarf has reached the desired length, it’s time to bind off. Knit the first two stitches, then insert the left needle into the first stitch on the right needle. Lift this stitch over the second stitch and off the right needle. Continue to knit one more stitch and repeat the process of lifting one stitch over the other until you have only one stitch left on the right needle. Cut the yarn, leaving a tail, and thread it through the last stitch to secure it.
Following these steps will help you knit the body of your scarf with ease. Remember to take your time and enjoy the process. Happy knitting!
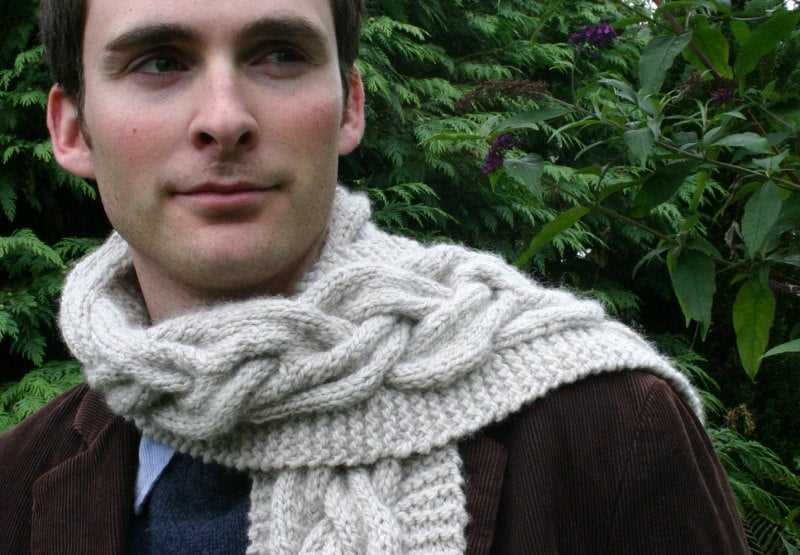
Adding a decorative pattern to your Scarf
Creating a scarf with a decorative pattern can elevate its style and make it a unique accessory. There are various knitting techniques and patterns you can experiment with to add a personal touch to your scarf.
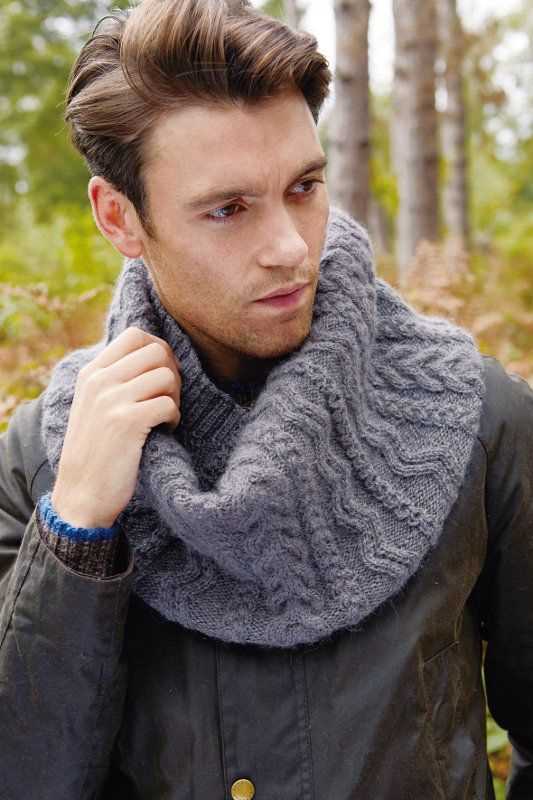
1. Cable Knit: Cable knit patterns create a twist and texture in the fabric. They can be simple or complex, depending on the number of stitches and rows involved. You can create a cable pattern by crossing stitches over each other, usually in groups of two or four.
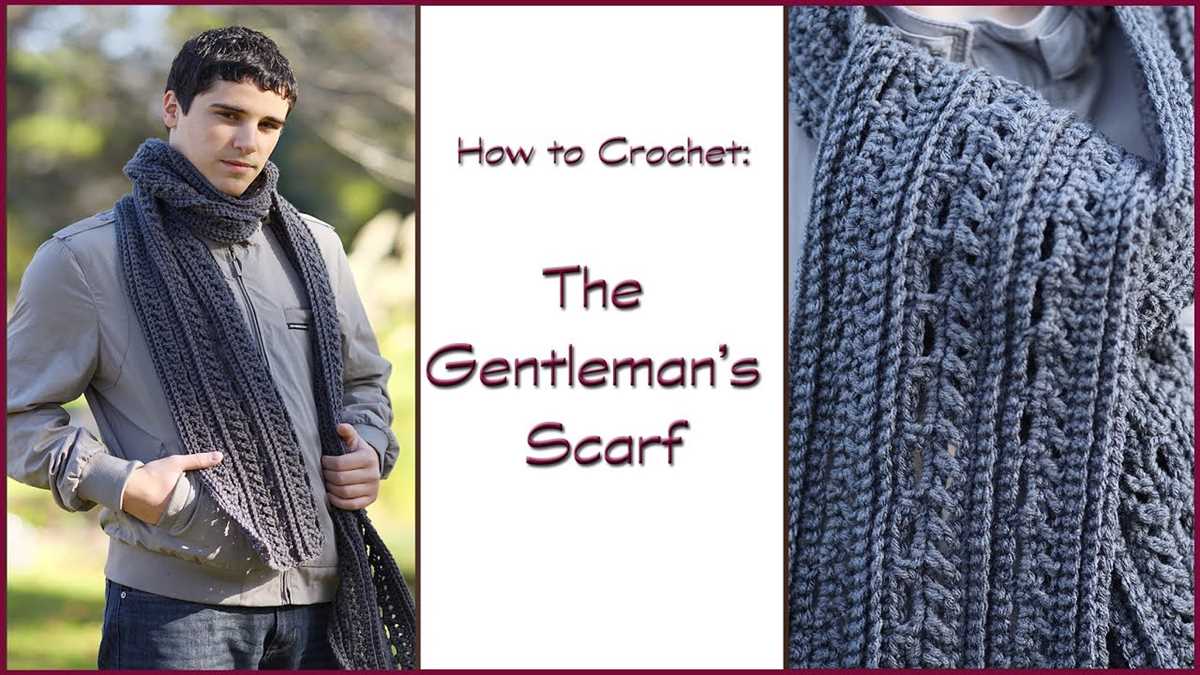
2. Lace Pattern: Lace knitting patterns create delicate and airy designs. They often involve yarn overs and decreases to form intricate patterns. Lace patterns can range from simple eyelets to intricate floral motifs. They are perfect for adding a feminine touch to your scarf.
3. Fair Isle: Fair Isle knitting involves using multiple colors in a stranded knitting technique. This creates beautiful geometric patterns and motifs. Fair Isle patterns can be as simple as stripes or more intricate, with traditional motifs like snowflakes or hearts.
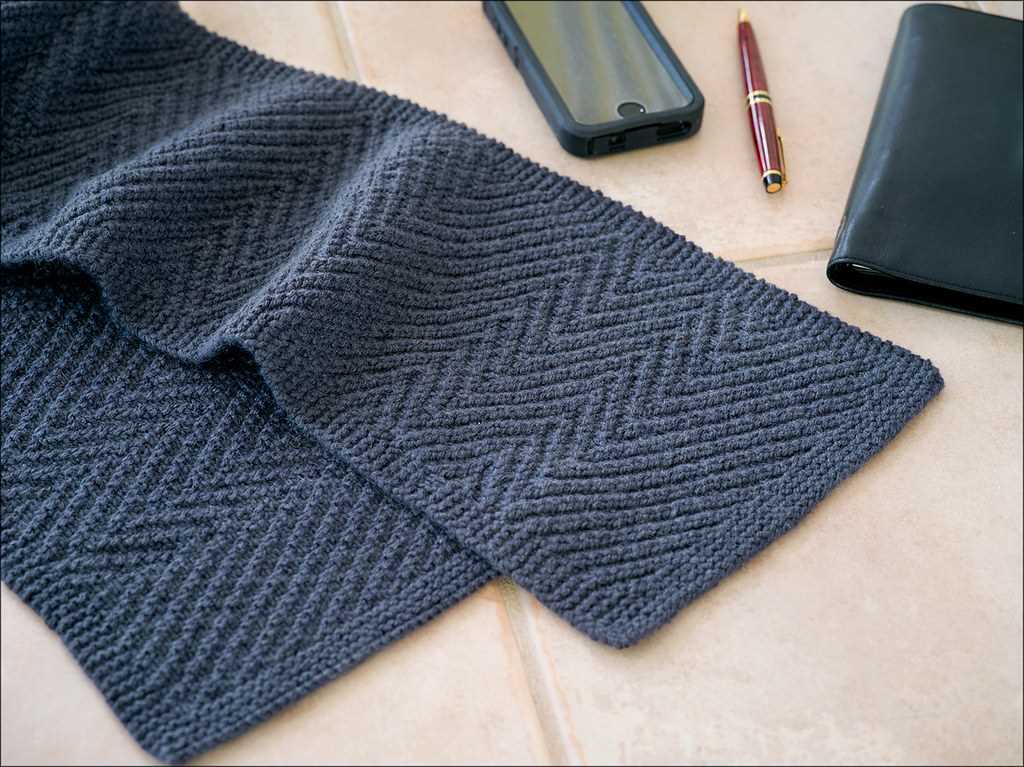
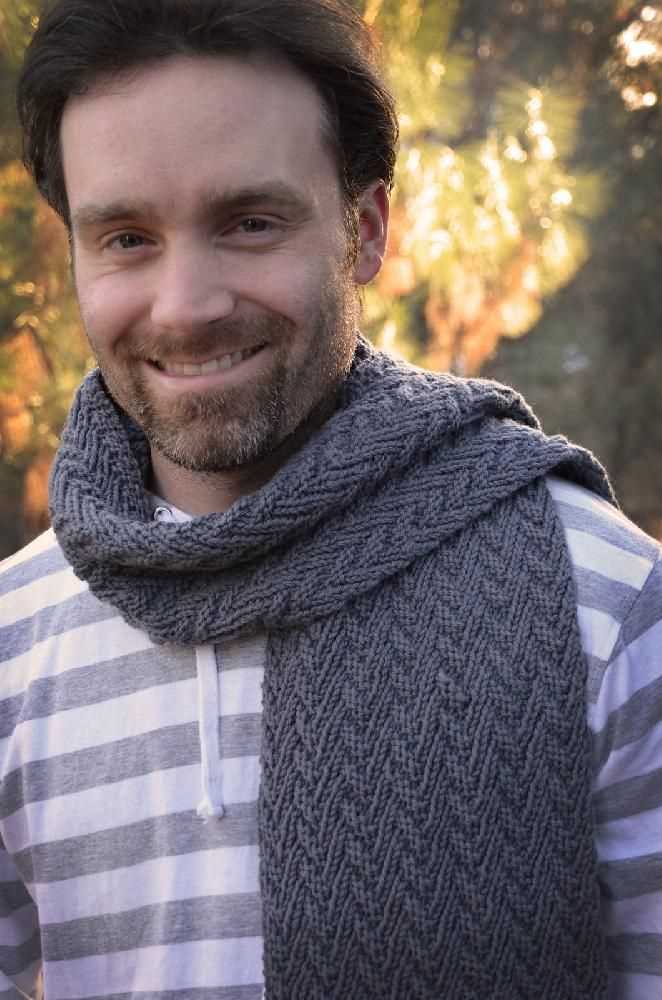
4. Chevron Stitch: Chevron stitches create a zigzag pattern that adds dynamic movement to your scarf. They are created by alternating increase and decrease stitches diagonally. Chevron stitches can be used to make vertical or horizontal zigzags, depending on the direction of the stitches.
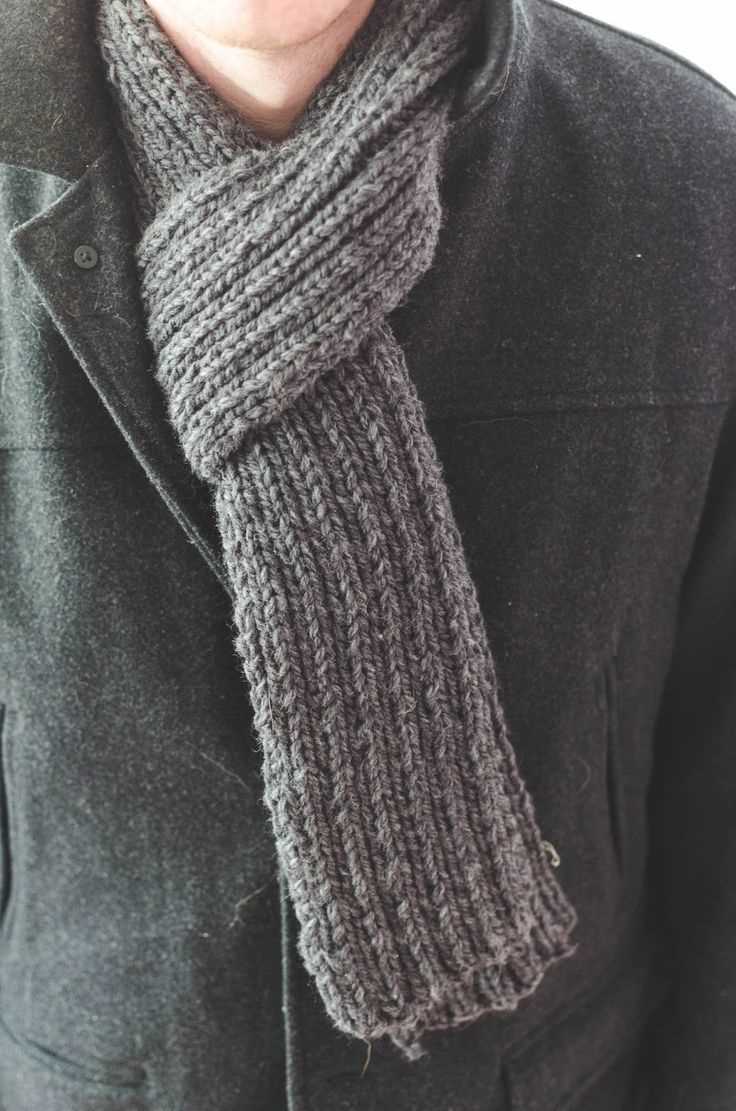
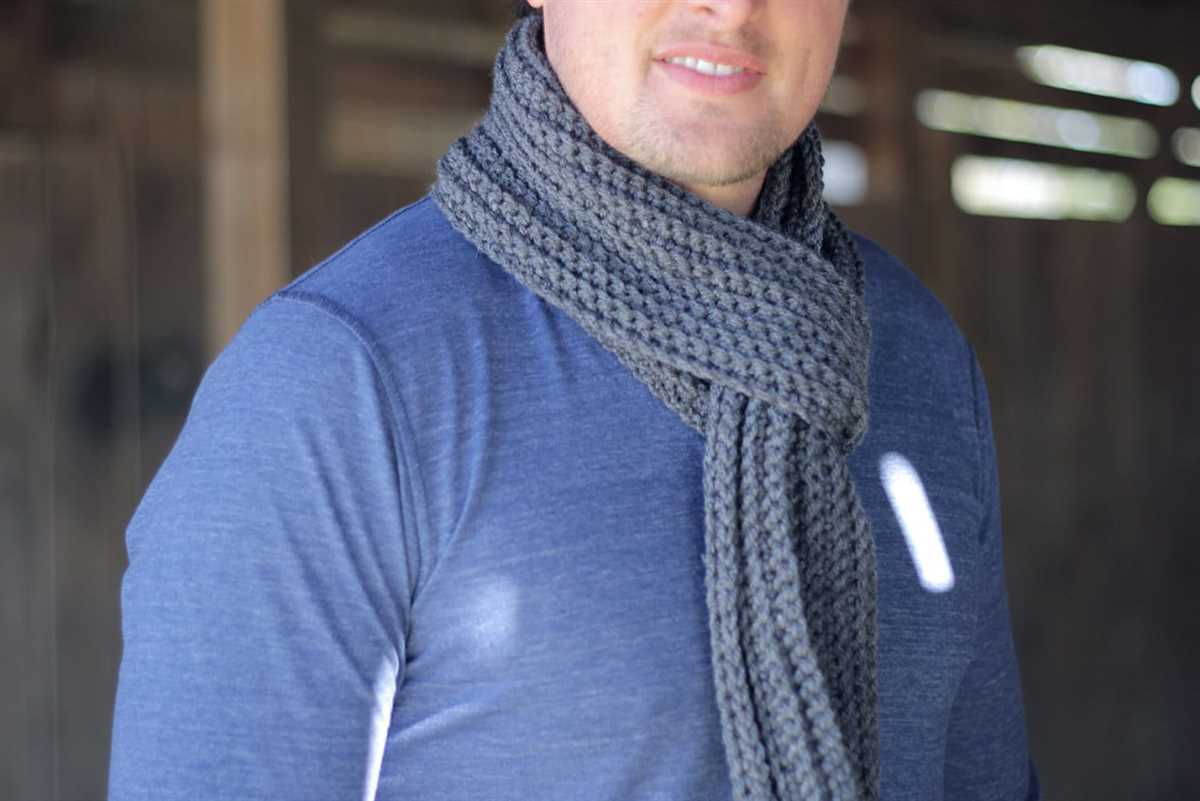
5. Ribbing: Ribbing is a classic knitting pattern often used for cuffs, hems, and scarves. It creates a stretchy and textured fabric. Ribbing can be done in different variations, such as 1×1 ribbing (alternating knit and purl stitches) or 2×2 ribbing (alternating two knit stitches and two purl stitches).
When adding a decorative pattern to your scarf, it’s essential to choose yarn colors that complement each other and highlight the pattern’s details. You can also experiment with different yarn weights and textures to achieve different effects. Whether you prefer a simple cable pattern or an intricate lace design, adding a decorative pattern to your scarf will make it a standout accessory.
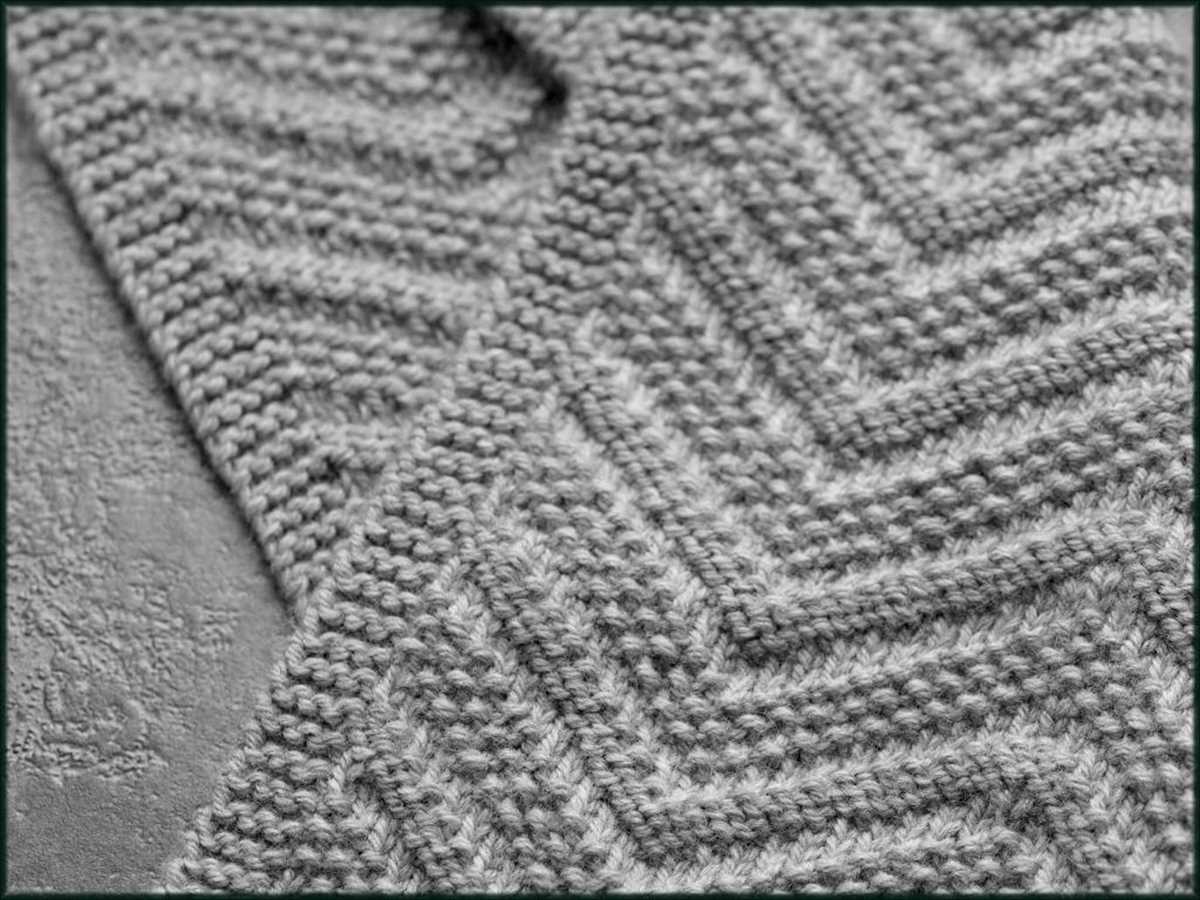
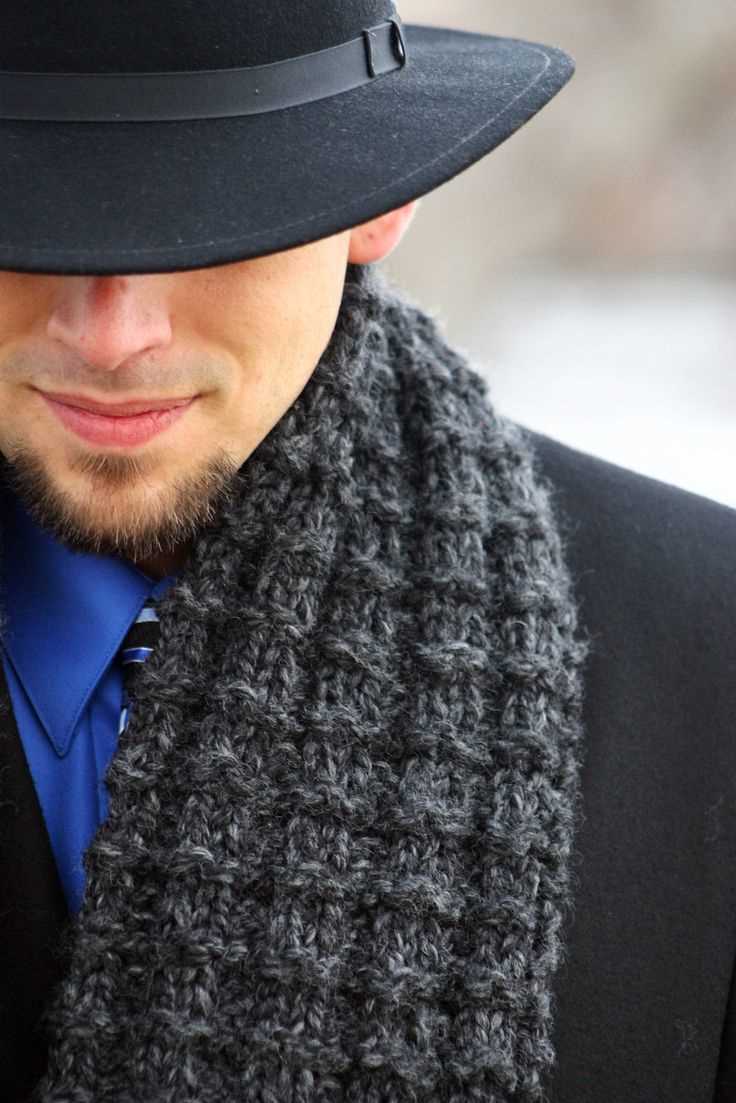
Creating a Ribbed or Textured Stitch for Your Scarf
When knitting a scarf, you have plenty of options for adding texture and visual interest to your project. One popular technique is creating a ribbed or textured stitch pattern. This can be achieved by alternating knit and purl stitches in a specific pattern, creating a raised and recessed effect on the fabric.
To create a ribbed stitch pattern, you can start with a simple 2×2 rib. This means that you will knit two stitches, then purl two stitches, and repeat this pattern for the entire row. On the next row, you will continue knitting the knitted stitches and purling the purled stitches, creating a ribbed effect. This pattern is great for beginners as it is easy to memorize and creates a stretchy and elastic fabric.
If you want to add more complexity to your scarf, you can experiment with different ribbed stitch patterns. For example, a 1×1 rib features alternating knit and purl stitches in a 1-to-1 ratio. This pattern creates a tighter and denser rib than the 2×2 rib, making it suitable for winter accessories where warmth is a priority.
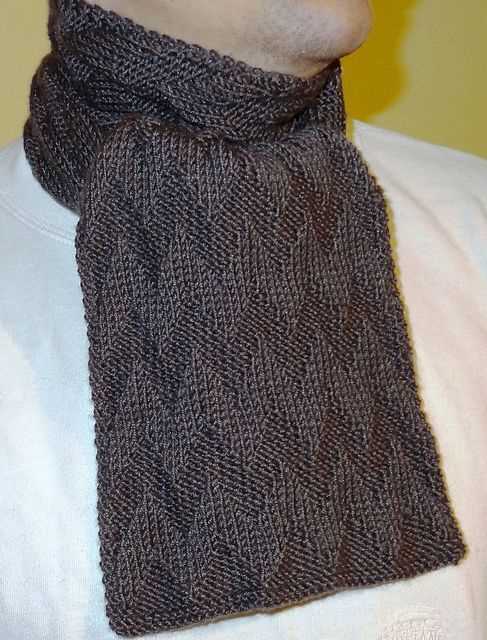
Another option is the seed stitch, which involves alternating knit and purl stitches within each row, but changing the order of the stitches on the next row. For example, if you knit the first stitch on one row, you will purl it on the next row. This creates a textured fabric that resembles scattered seeds.
When choosing a ribbed or textured stitch pattern for your scarf, consider the yarn you are using and the final look you want to achieve. Thicker yarn and larger needles will create a more pronounced texture, while finer yarn and smaller needles will create a more delicate texture. Experiment with different stitch patterns and yarn combinations to create a scarf that is both functional and visually appealing.
Finishing your Scarf with a Bind-Off Method
Once you have completed knitting your mens scarf using the simple pattern, it’s time to finish it off with a bind-off method. The bind-off method is used to secure the stitches and create a neat edge for your scarf. There are several bind-off methods you can choose from, depending on the look and stretchiness you desire for your finished scarf.
The basic bind-off method: The basic bind-off method is simple and creates a firm edge. To bind off, knit the first 2 stitches. Insert the left needle into the first stitch on the right needle and lift it over the second stitch and off the right needle. Knit the next stitch and repeat the process of lifting the previous stitch over the current one. Continue this process until you have one stitch remaining on the right needle. Cut the yarn, leaving a long tail, and pull it through the last stitch to secure it.
The stretchy bind-off method: If you prefer a stretchier edge for your scarf, you can use the stretchy bind-off method. This method is great for scarves that need some extra give, especially if they will be worn wrapped around the neck. To use the stretchy bind-off method, knit the first 2 stitches. Insert the left needle into the first stitch on the right needle and lift it over the second stitch and off the right needle. Knit the next stitch and then insert the left needle into the first stitch on the right needle. Instead of lifting it over the second stitch, slip it onto the left needle. Knit the next stitch and repeat the process of slipping the previous stitch onto the left needle. Continue this process until you have one stitch remaining on the right needle. Cut the yarn, leaving a long tail, and pull it through the last stitch to secure it.
Blocking your scarf: Once you have finished binding off, you may choose to block your scarf to give it a polished and even look. Blocking involves wetting the scarf and shaping it to the desired dimensions. To block your scarf, fill a basin with lukewarm water and add a small amount of wool wash or mild detergent. Place the scarf in the water and gently agitate it to ensure it is evenly soaked. Remove the scarf from the water and squeeze out the excess moisture. Lay the scarf flat on a towel and gently shape it to the desired dimensions. Allow the scarf to dry completely before wearing or storing.
Washing and Caring for Your Handmade Scarf
Once you have completed knitting your scarf, it is important to properly care for it to ensure its longevity. Here are some tips on washing and caring for your handmade scarf:
Washing:
- Check the yarn label for any specific washing instructions. Some yarns may require hand washing, while others may be machine washable. Following the instructions will help to avoid any damage to your scarf.
- If hand washing, use cool or lukewarm water and a gentle detergent specifically designed for delicate items.
- Gently agitate the scarf in the water, avoiding any harsh rubbing or twisting, to avoid stretching or distorting the shape.
- Rinse the scarf thoroughly in cool water to remove any soap residue.
- Remove excess water from the scarf by rolling it in a clean towel and pressing gently. Avoid wringing or twisting, as this can damage the fibers.
Drying and Storing:
- Lay the scarf flat on a clean towel or drying rack to air dry. Avoid hanging it, as this can cause stretching.
- Reshape the scarf while it is damp to ensure it retains its original shape. Smooth out any wrinkles or folds.
- Avoid direct sunlight or heat sources, as they can cause fading or damage to the yarn.
- When storing, fold the scarf neatly and place it in a dry and moth-free environment. Avoid storing it in a tightly sealed plastic bag, as this can trap moisture and promote mold growth.
- Consider using acid-free tissue paper or a cotton fabric bag to protect the scarf from dust and debris.
In conclusion, taking proper care of your handmade scarf will help to maintain its quality and beautiful appearance for years to come. By following these washing and caring instructions, you can continue enjoying your cozy and stylish accessory throughout the seasons.