
If you’re looking to stay warm and stylish this winter, knitting your own mittens can be a great option. Not only will you have a one-of-a-kind accessory, but you’ll also be able to customize the fit and design to your liking. Whether you’re an experienced knitter or just starting out, there are plenty of beginner-friendly knitting patterns available to help you create the perfect pair of mittens.
One of the great things about knitting patterns for mittens is that they can be easily adjusted to fit different hand sizes. Many patterns provide instructions for multiple sizes, so you can make mittens for everyone in the family. Additionally, the wide variety of yarns available means you can create mittens in any color or texture you desire, from classic neutrals to bold, vibrant hues.
When choosing a knitting pattern for mittens, it’s important to consider your skill level and knitting preferences. Some patterns may use more advanced techniques, such as cables or colorwork, while others may be simpler and more straightforward. It’s also essential to pay attention to the recommended materials and gauge to ensure your finished mittens will be the right size and shape.
Why knitting mittens is a great winter project
Knitting mittens is a wonderful winter project to undertake for several reasons. Firstly, in colder climates, mittens are an essential accessory for keeping hands warm and protected from frostbite. By knitting your own mittens, you have the opportunity to customize them to fit your hands perfectly and choose the warmest, coziest yarn to ensure maximum insulation.
Another reason why knitting mittens is a great winter project is that it allows you to exercise your creativity. With countless knitting patterns available online and in books, you can choose from a wide variety of designs, colors, and textures to create unique and personalized mittens. You can experiment with different stitches and techniques, adding intricate patterns or simple stripes to make your mittens truly one-of-a-kind.
Moreover, knitting mittens provides a sense of accomplishment and satisfaction. As you work on your project, you can see your mittens taking shape, stitch by stitch. The process of creating something with your own hands can be incredibly rewarding and can boost your self-esteem. Once you finish knitting your mittens, you can proudly wear them or gift them to loved ones, knowing that you put your time, effort, and skill into making a special item.
Furthermore, knitting mittens can be a relaxing and therapeutic activity. The repetitive motion of knitting can help reduce stress and anxiety, allowing you to unwind and focus on the present moment. It can serve as a form of meditation, promoting mindfulness and a sense of calm. Knitting your mittens can also be a social activity if you join a knitting club or take part in knitting circles, where you can meet like-minded individuals and share tips, patterns, and stories.
In summary, knitting mittens in the winter is a great project that offers practicality, creativity, a sense of achievement, and relaxation. It allows you to make personalized and warm accessories while enjoying the meditative and social aspects of knitting. So, grab your needles, choose your favorite yarn, and start knitting your perfect pair of mittens to keep you cozy throughout the chilly winter months.
Choosing the right yarn for your mittens
When it comes to knitting mittens, it is important to choose the right yarn for your project. The type of yarn you choose can greatly affect the look, feel, and durability of your mittens. Here are some factors to consider when selecting yarn for your mittens.
Type of Yarn
There are many different types of yarn available for knitting mittens, including wool, acrylic, alpaca, and blends. Each type of yarn has its own unique properties, so it’s important to choose one that suits your needs. Wool yarn, for example, is known for its warmth and durability, making it a great choice for mittens. Acrylic yarn, on the other hand, is often less expensive and easier to care for, but may not provide the same level of warmth as wool. Alpaca yarn is known for its softness and warmth, while blends offer a combination of different materials and properties.
Weight of Yarn
The weight of the yarn refers to its thickness or thinness. When choosing yarn for mittens, consider the weight that is appropriate for the pattern you are following and the climate you will be wearing the mittens in. Thicker yarns, such as bulky or chunky weight, will create warmer and thicker mittens, while thinner yarns, such as fingering or sport weight, will create lighter and more delicate mittens. It’s important to match the weight of the yarn to the pattern to ensure the finished product turns out as intended.
Color and Texture
Another important factor to consider when choosing yarn for mittens is the color and texture. The color of the yarn can greatly impact the overall look of the mittens, so choose a color that complements your wardrobe or personal style. Additionally, consider the texture of the yarn. Some yarns have a smooth and soft texture, while others may have a more textured or fuzzy appearance. Consider how the texture will affect the comfort and appearance of the mittens.
- Consider the type of yarn that suits your needs, such as wool, acrylic, alpaca, or blends
- Choose the appropriate weight of yarn for your pattern and climate
- Consider the color and texture of the yarn to achieve the desired look and feel of the mittens
Essential knitting techniques for mittens
When it comes to knitting mittens, there are a few essential techniques that every knitter should know. These techniques will help you create a pair of cozy and well-fitting mittens that are perfect for adults. Whether you are a beginner or an experienced knitter, mastering these techniques will allow you to create beautiful mittens that will keep your hands warm during the cold winter months.
One of the first techniques you need to master for knitting mittens is how to cast on stitches. This is the foundation of your mitten and will determine the size and fit. You can use the long-tail cast on method or the provisional cast on method, depending on your preference. It’s important to cast on the correct number of stitches to ensure a snug fit on the hand.
The next essential technique is knitting in the round. Mittens are typically knit in the round to create a seamless tube shape. To knit in the round, you can use either double-pointed needles or circular needles, depending on your preference. This technique requires you to join the stitches in a circle and knit all the rounds without turning the work. It’s important to keep an even tension and avoid any gaps between the stitches.
Once you have knit the main body of the mitten, you will need to shape the thumb gusset. This is where the thumb will sit and allows for better movement and fit. To create the thumb gusset, you will need to increase stitches at specific points in the knitting. This can be done using various increase methods such as yarn overs or make one stitches. It’s important to follow the pattern instructions carefully to ensure the thumb gusset is shaped correctly.
After shaping the thumb gusset, you will need to place the thumb stitches on hold and continue knitting the hand of the mitten. This involves knitting in the round without the thumb stitches, creating a seamless tube shape. Once the desired length of the mitten is reached, you will need to decrease stitches gradually to shape the top of the mitten. This can be done using various decrease methods such as knit two together or slip-slip-knit stitches. It’s important to follow the pattern instructions carefully to ensure a neat and even decrease.
Finally, you will need to close the top of the mitten using the bind-off technique. This involves carefully slipping the stitches off the needles and securing them so that they do not unravel. You can use a traditional bind-off method or a stretchy bind-off if you prefer a looser fit around the wrist. Once the top of the mitten is bound off, you can weave in any loose ends and seam up any remaining gaps for a polished finish.
In conclusion, mastering these essential knitting techniques will allow you to create beautiful and functional mittens for adults. From casting on to shaping the thumb gusset and closing the top, each technique plays a crucial role in creating a well-fitting and cozy pair of mittens. With practice and patience, you’ll be able to knit mittens that are not only stylish but also keep your hands warm during the colder months.
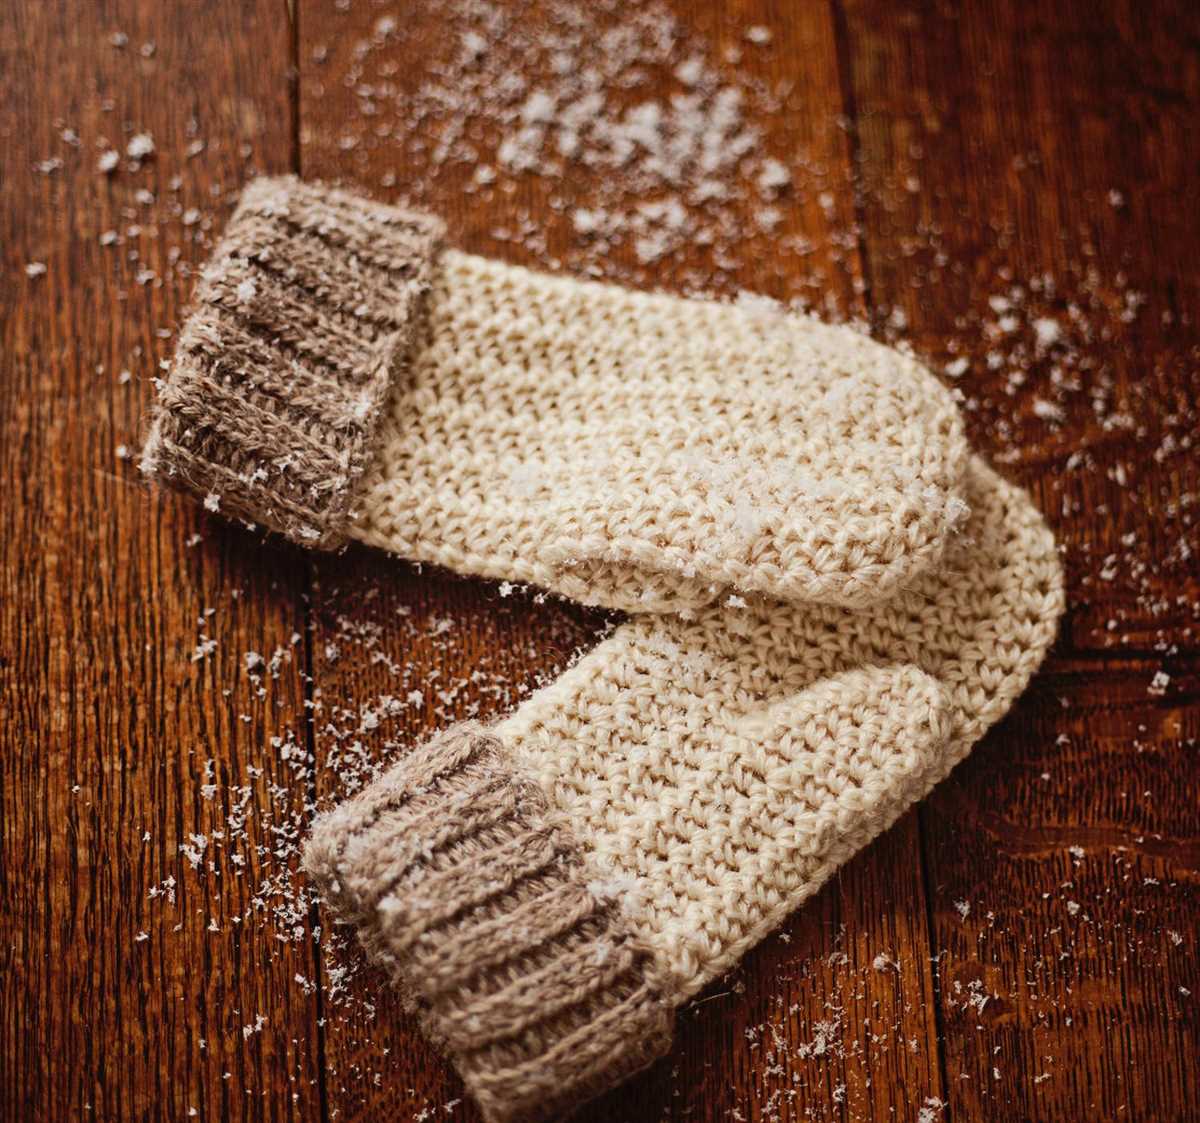
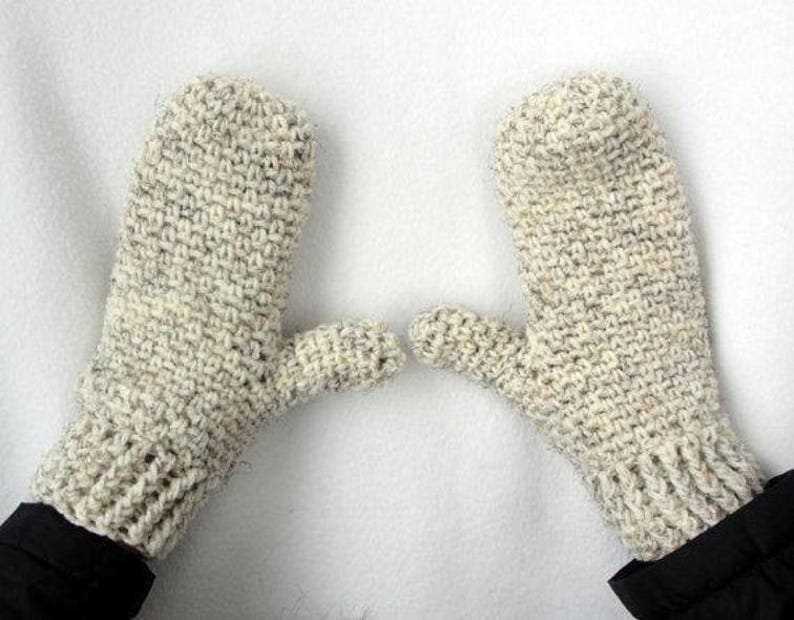
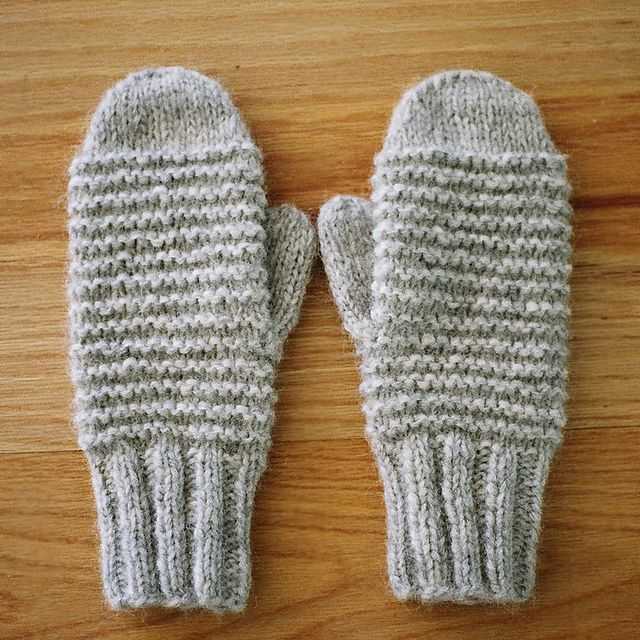
Simple mitten pattern for beginners
If you’re new to knitting and want to try making your own mittens, this simple mitten pattern is perfect for beginners. With easy-to-follow instructions and basic stitches, you’ll have a cozy pair of mittens in no time.
Materials:
- Worsted weight yarn
- Size 8 (5mm) knitting needles
- Tapestry needle
- Scissors
Instructions:
- Cast on 32 stitches.
- Knit every row until the piece measures 6 inches.
- Next row: Knit 15 stitches, place marker, knit 2 stitches, place marker, knit remaining 15 stitches.
- Continue knitting in stockinette stitch (knit one row, purl one row) until the piece measures 8 inches from the beginning.
- Next row: Knit to first marker, slip marker, knit 2 stitches, slip marker, knit to end of row.
- Continue knitting in stockinette stitch for 2 more inches.
- Next row: Knit to first marker, slip marker, knit 2 stitches together, slip marker, knit to end of row.
- Continue decreasing 1 stitch before and after the middle 2 stitches every other row until 8 stitches remain.
- Break yarn, leaving a long tail. Thread tail through tapestry needle and slip stitches onto the needle. Pull tight to close the top of the mitten.
- Repeat steps 1-9 to make the second mitten.
And that’s it! You’ve completed your simple mitten pattern for beginners. Feel free to experiment with different yarn colors and stitch patterns to make your mittens unique. Happy knitting!
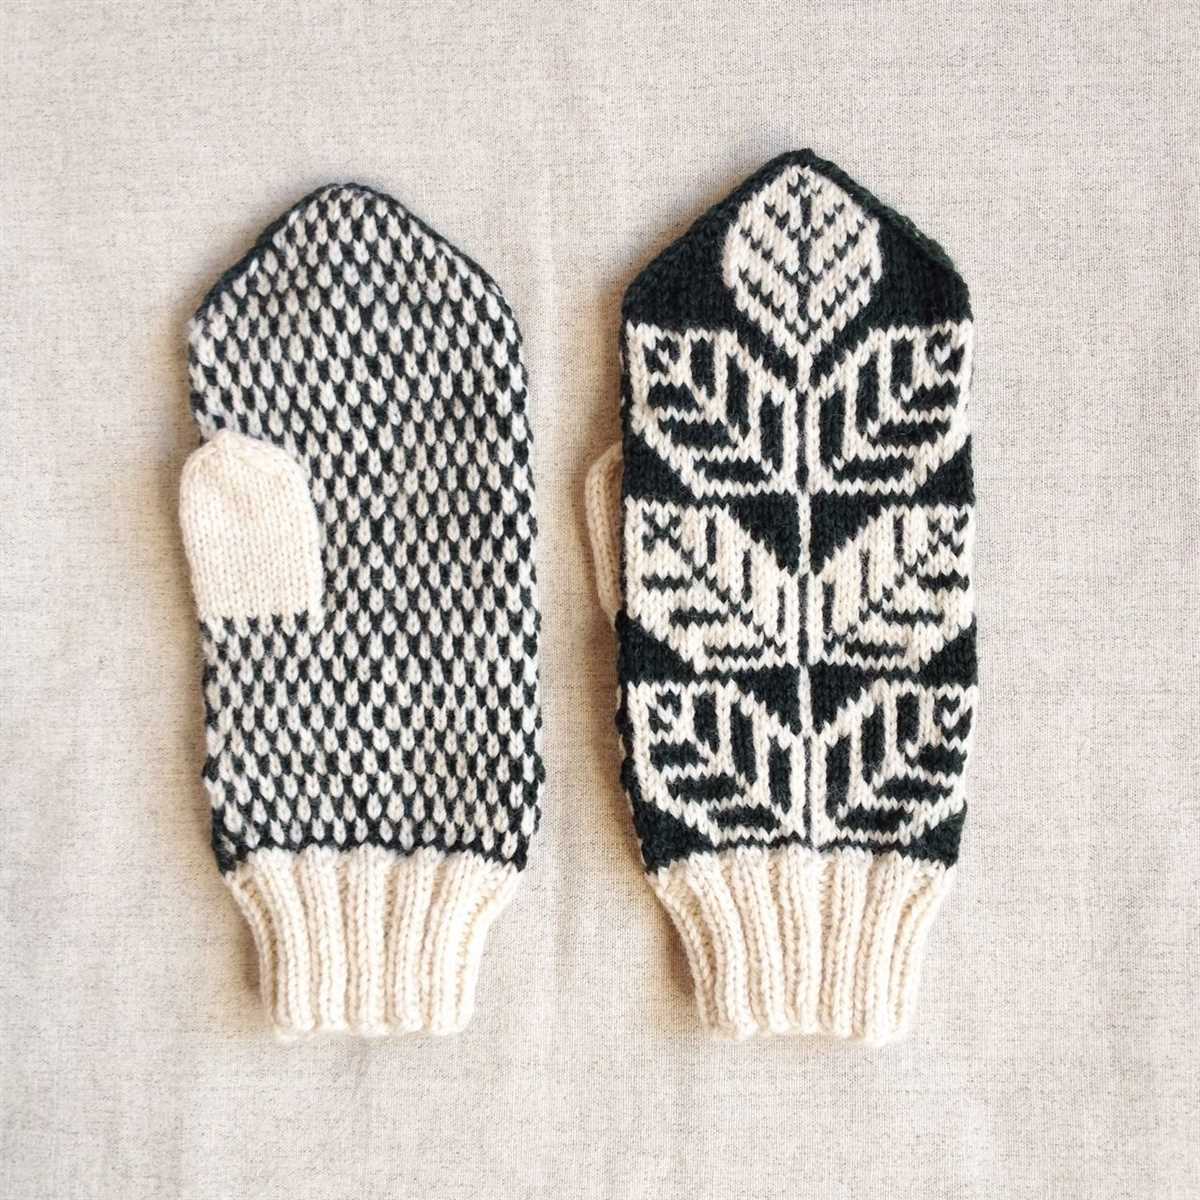
Knitting Patterns for Colorwork Mittens
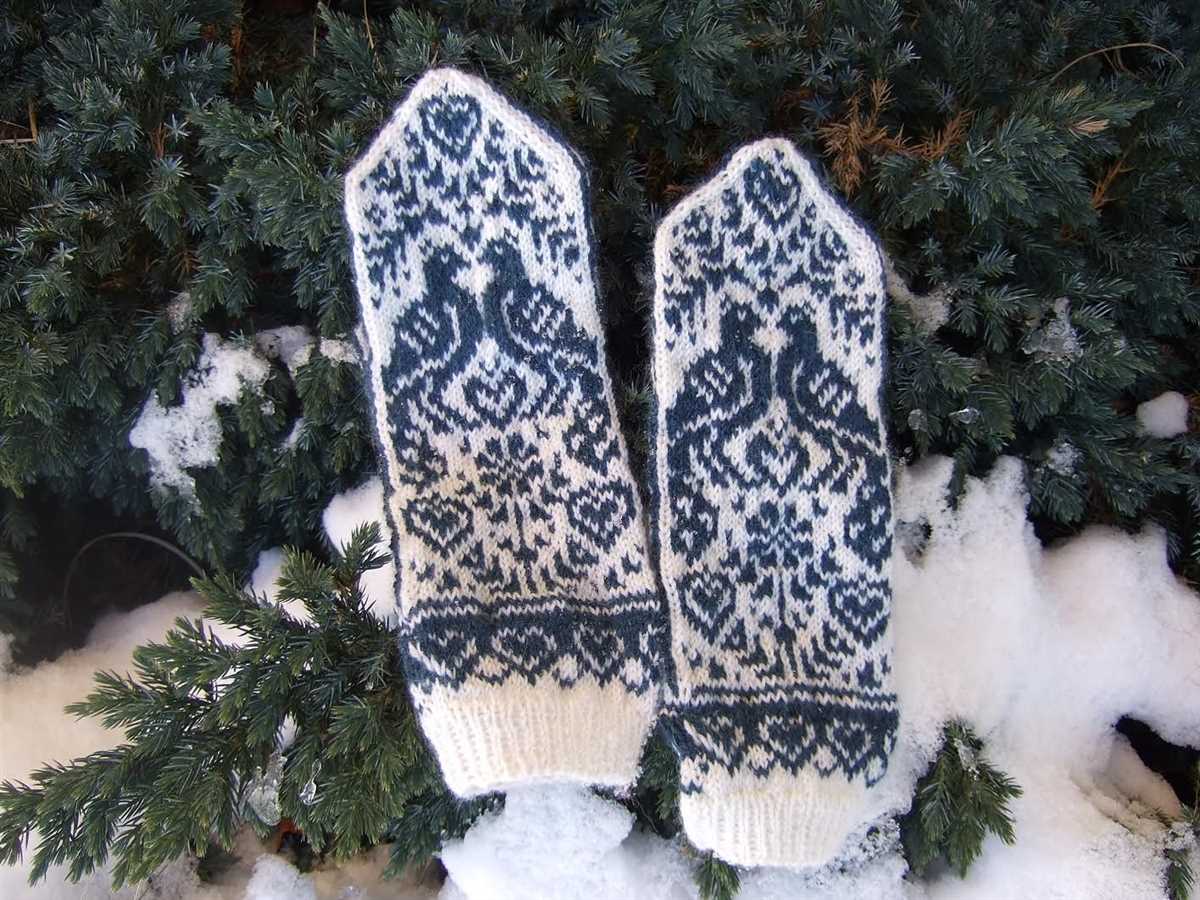
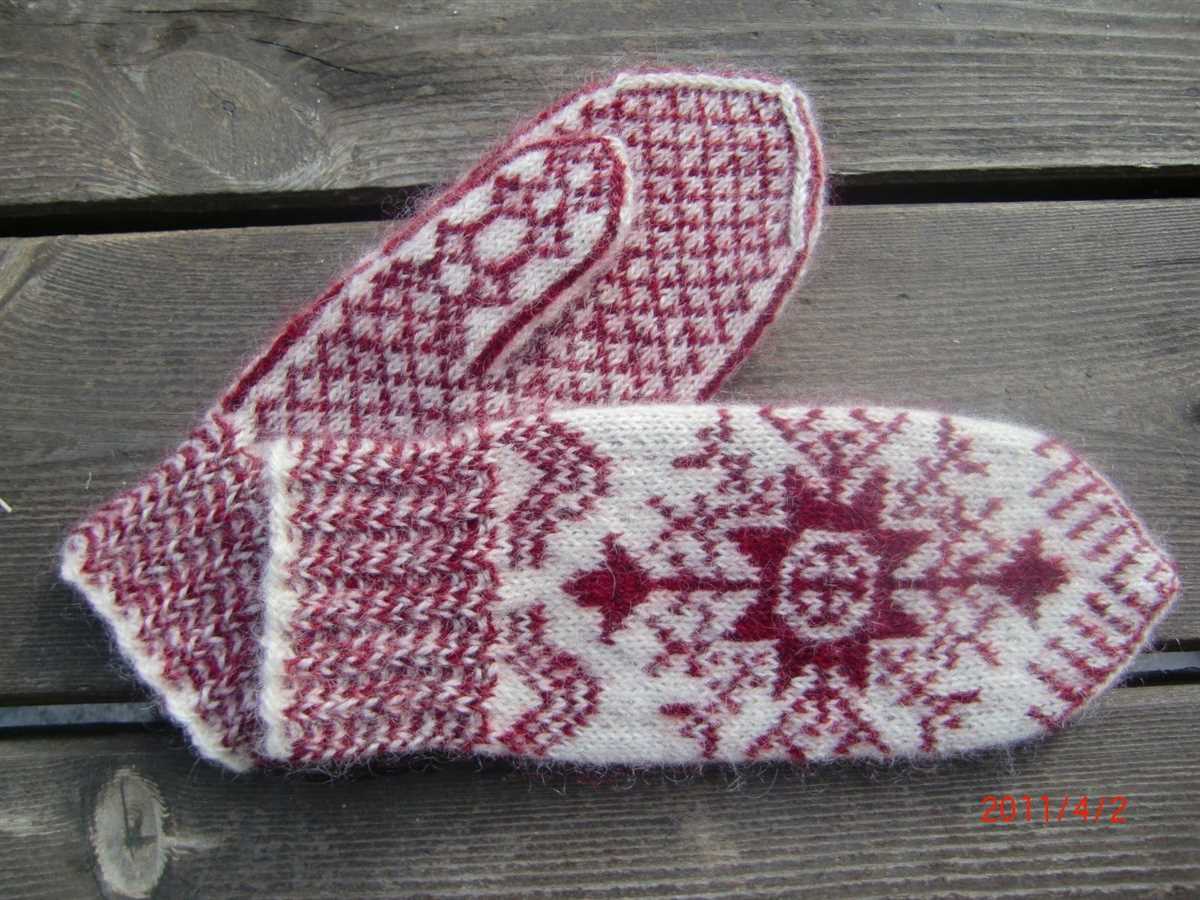
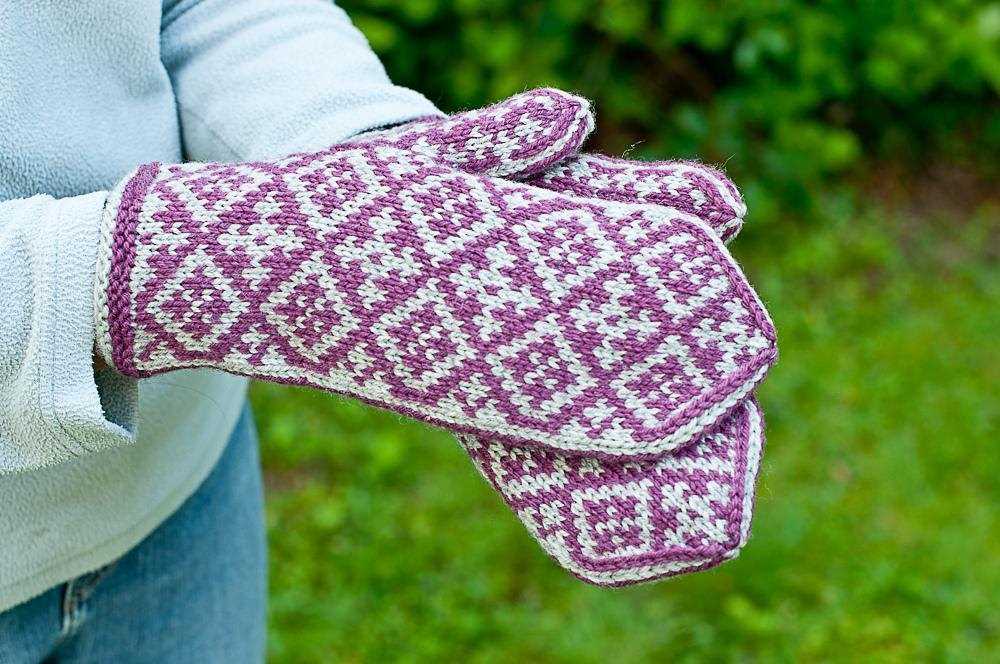
If you’re looking for a fun and challenging knitting project, colorwork mittens are a great option. Colorwork, also known as stranded knitting, involves working with multiple colors in each row to create beautiful and intricate designs. The end result is a pair of cozy and stylish mittens that are sure to keep your hands warm during the colder months.
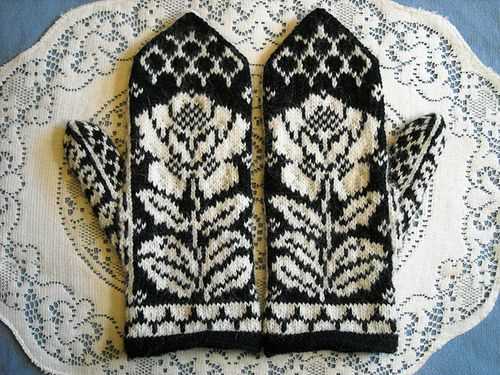
There are many knitting patterns available for colorwork mittens, ranging from simple geometric designs to more intricate fair isle patterns. One popular pattern is the “Norwegian Selbu Mittens,” which features a traditional Nordic pattern with stars and snowflakes. Another option is the “Estonian Roositud Mittens,” which incorporates floral motifs and delicate patterning.
When working on colorwork mittens, it’s important to pay attention to gauge and tension. Remember to check your gauge before starting the project, as using the wrong needle size can affect the fit and size of the mittens. Additionally, it’s important to keep a consistent tension when working with multiple colors to ensure that the design is even and symmetrical.
Materials Needed
- Yarn in multiple colors
- Knitting needles in the appropriate size
- Tapestry needle
- Stitch markers
- Scissors
Instructions
- Start by casting on the desired number of stitches, using a long-tail cast on method.
- Begin the colorwork pattern, following the chart or written instructions provided in the pattern.
- Continue knitting in the colorwork pattern until the desired length is reached.
- Shape the top of the mitten by decreasing stitches in a specified manner, as indicated in the pattern.
- Finish off the mitten by weaving in any loose ends and blocking to shape.
- Repeat the entire process to make a second mitten.
Colorwork mittens are a great way to showcase your knitting skills and create a unique accessory for yourself or as a gift. With a variety of patterns and colors to choose from, you’re sure to find a design that suits your style. So grab your needles and start knitting your own pair of beautiful colorwork mittens today!
How to Customize Your Mitten Pattern
If you’re an avid knitter and want to add a personal touch to your mitten patterns, customization is the way to go. By making a few adjustments to your basic mitten pattern, you can create unique and one-of-a-kind mittens that perfectly fit your hand and style. Here are some tips on how to customize your mitten pattern.
1. Adjusting the Size
Start by measuring your hand circumference and length to ensure the mittens will fit you perfectly. Take note of these measurements and compare them to the pattern’s recommended sizes. If your measurements are different, you may need to adjust the number of stitches or rows in the pattern. You can increase or decrease the number of stitches by adding or subtracting them evenly across the hand section of the pattern.
2. Adding or Modifying Stitch Patterns
To add a unique touch to your mittens, consider incorporating different stitch patterns. You can substitute some or all of the stitches in the pattern with your desired stitch pattern. For example, instead of plain stockinette stitch, you can use ribbing, cables, or lace patterns. Be sure to modify the stitch count accordingly to maintain the correct sizing.
3. Adding Embellishments
To further personalize your mittens, you can add embellishments such as buttons, bows, or embroidery. You can sew on a decorative button or stitch a small bow at the cuff of the mitten. Embroidery can also be added to create intricate designs or monograms. Use your creativity to make your mittens truly unique and reflective of your style.
Tips for adding extra warmth to your mittens

When the weather gets cold, it’s important to keep your hands warm and protected. While mittens are a great choice for keeping your hands cozy, there are a few tips you can follow to add even more warmth to your mittens.
1. Wool insulation
One of the best ways to add extra warmth to your mittens is by lining them with wool insulation. Wool is a natural insulator and can help to trap heat and keep your hands warm even in the coldest temperatures. You can purchase wool insulation at most craft stores or online, and simply sew it into the lining of your mittens to add an extra layer of warmth.
2. Layered construction
Another tip for adding extra warmth to your mittens is to use a layered construction technique. By knitting or sewing multiple layers together, you can create pockets of insulation that will help to keep your hands warm. You can achieve this by knitting the outer layer of your mittens slightly larger than the inner layer, and then sewing them together along the edges. This will create a pocket of air between the layers, which will act as an additional barrier against the cold.
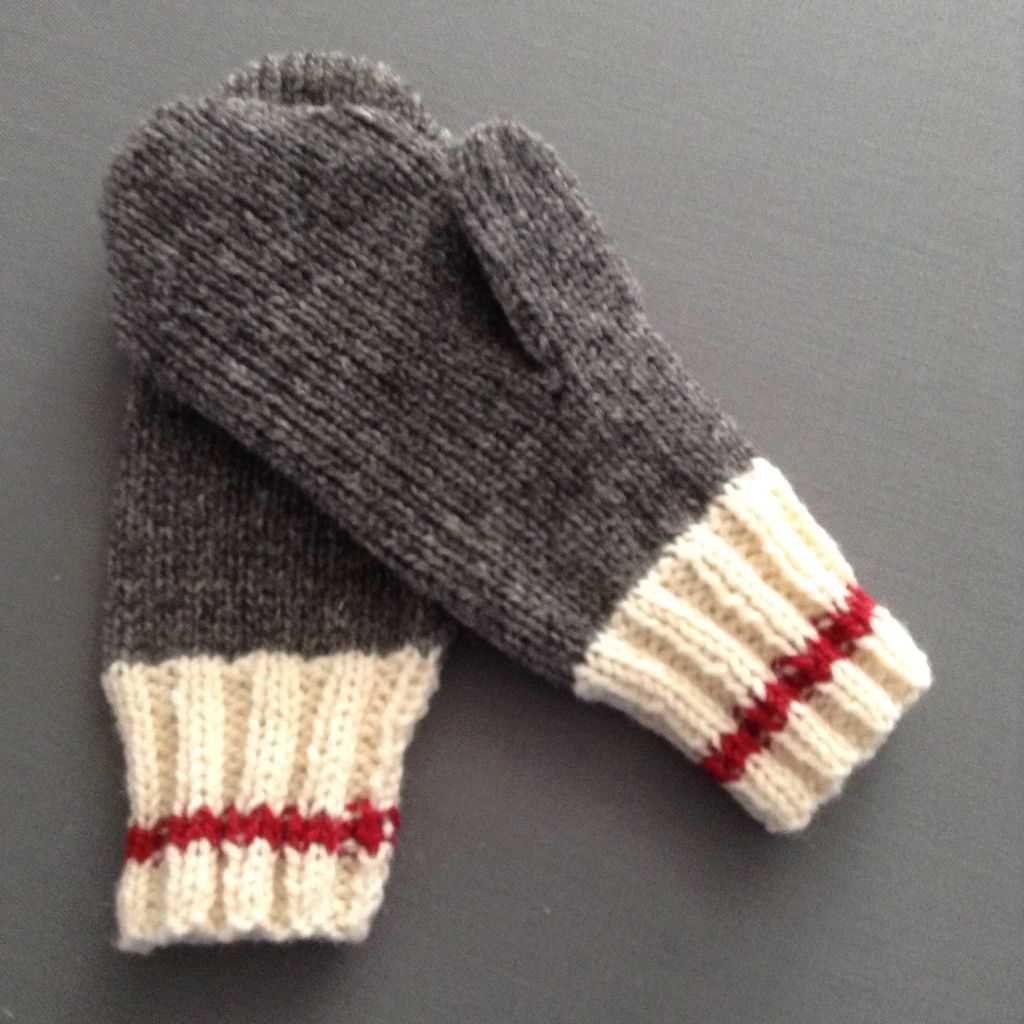
3. Cuff extensions
If you’re really looking to keep your hands warm, consider adding cuff extensions to your mittens. These are long, ribbed cuffs that extend up your forearm, providing extra coverage and insulation. You can easily add cuff extensions to your mittens by knitting a separate ribbed cuff and then sewing it onto the bottom of your mittens. This will not only add extra warmth, but also help to keep out any cold drafts.
4. Windproof materials
One final tip for adding extra warmth to your mittens is to use windproof materials. Wind can quickly make your hands feel even colder, so by using a windproof fabric for the outer shell of your mittens, you can help to block out the cold air. Look for materials like fleece or Gore-Tex that have windproof properties, or consider applying a windproof coating to your existing mittens for added protection.
With these tips, you can ensure that your mittens provide maximum warmth and protection for your hands in even the coldest of temperatures. Stay warm and cozy all winter long!
How to add decorative details to your mittens
Adding decorative details to your mittens is a fun and creative way to personalize your winter accessories. Whether you’re an experienced knitter or just starting out, there are many different techniques you can use to enhance the look of your mittens. Here are a few ideas to get you started:
1. Embroidery
Embroidery is a popular technique that can be used to add intricate designs and patterns to your mittens. You can use different colored yarns to create beautiful flowers, animals, or geometric shapes. Start by sketching out your design on a piece of paper, then transfer it onto your mittens using a water-soluble fabric marker. Use a tapestry needle to stitch over your design, following the outlines and filling in the details. Once you’re finished, gently wash your mittens to remove any remaining marker lines.
2. Fair Isle knitting
Fair Isle knitting is a technique that involves working with multiple colors in each row to create beautiful patterns. To add Fair Isle details to your mittens, choose a contrasting color of yarn and incorporate it into your knitting. You can create stripes, polka dots, or more intricate designs depending on your skill level. Be sure to keep your tension even to ensure that your pattern comes out clearly. Fair Isle knitting can take some practice, so start with a small project like mittens to get the hang of it.
3. Beading
Adding beads to your mittens can give them a touch of elegance and sparkle. You can sew individual beads onto your knitted fabric, or you can incorporate them into your knitting using a technique called bead knitting. To sew on beads, use a thin needle and thread and stitch each bead onto your mittens individually. If you want to try bead knitting, pre-string your beads onto your yarn before you start knitting. When you reach the stitch where you want to add a bead, slide it up to the working needle and knit it together with the stitch. The beads will be evenly distributed throughout your knitting.
These are just a few ideas to inspire you to add decorative details to your mittens. Get creative and experiment with different techniques to make your mittens truly unique!
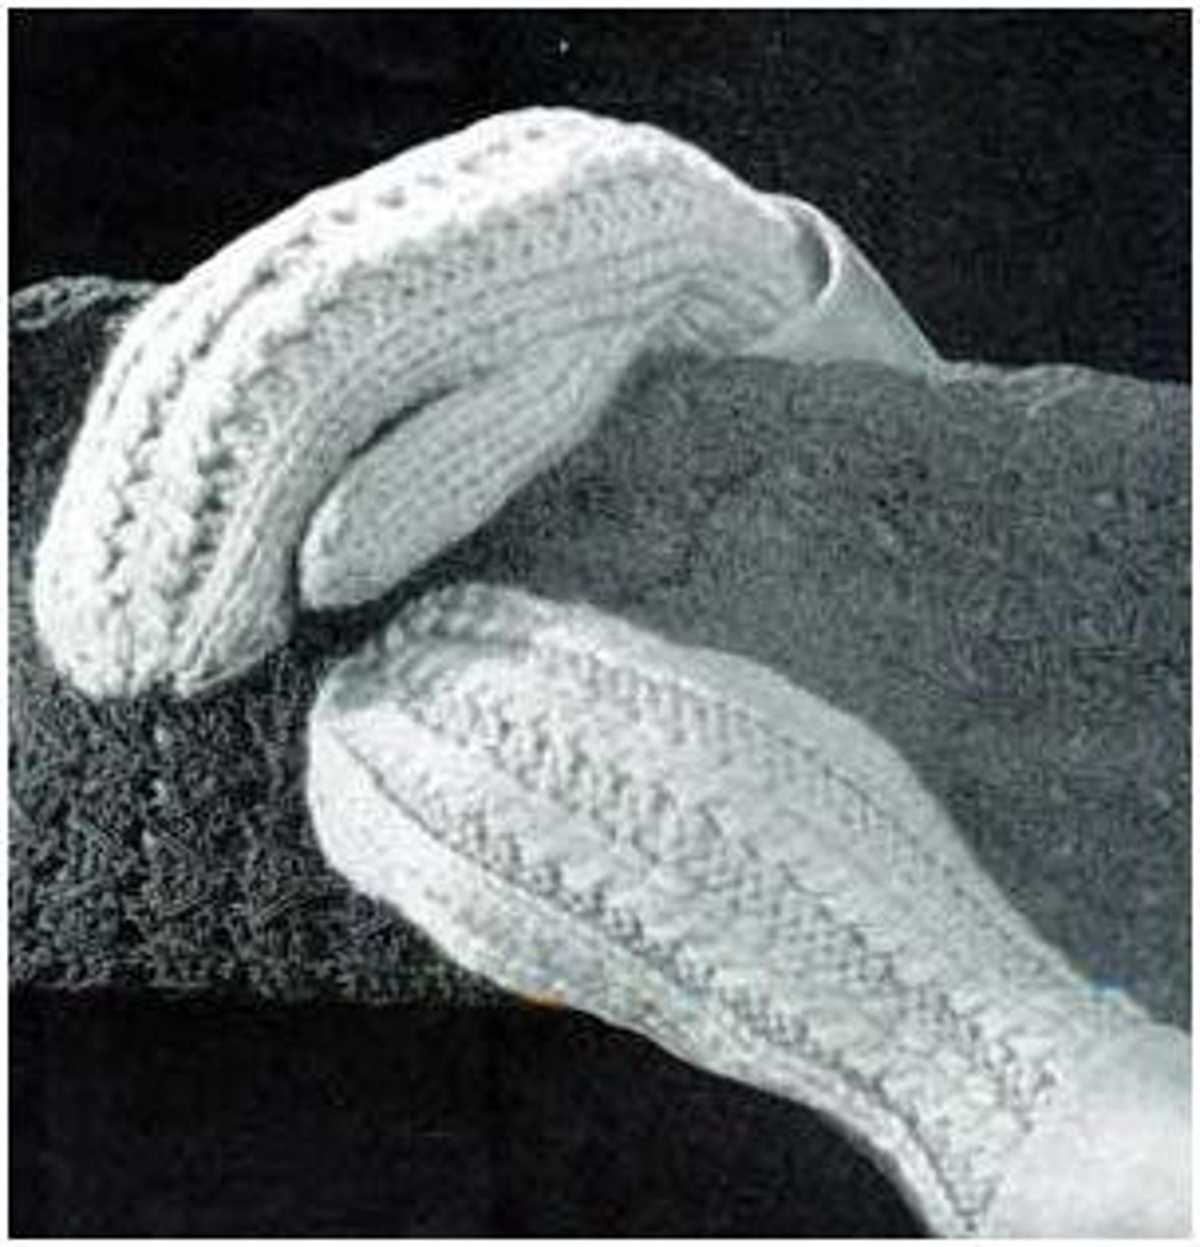
Knitting patterns for fingerless mittens
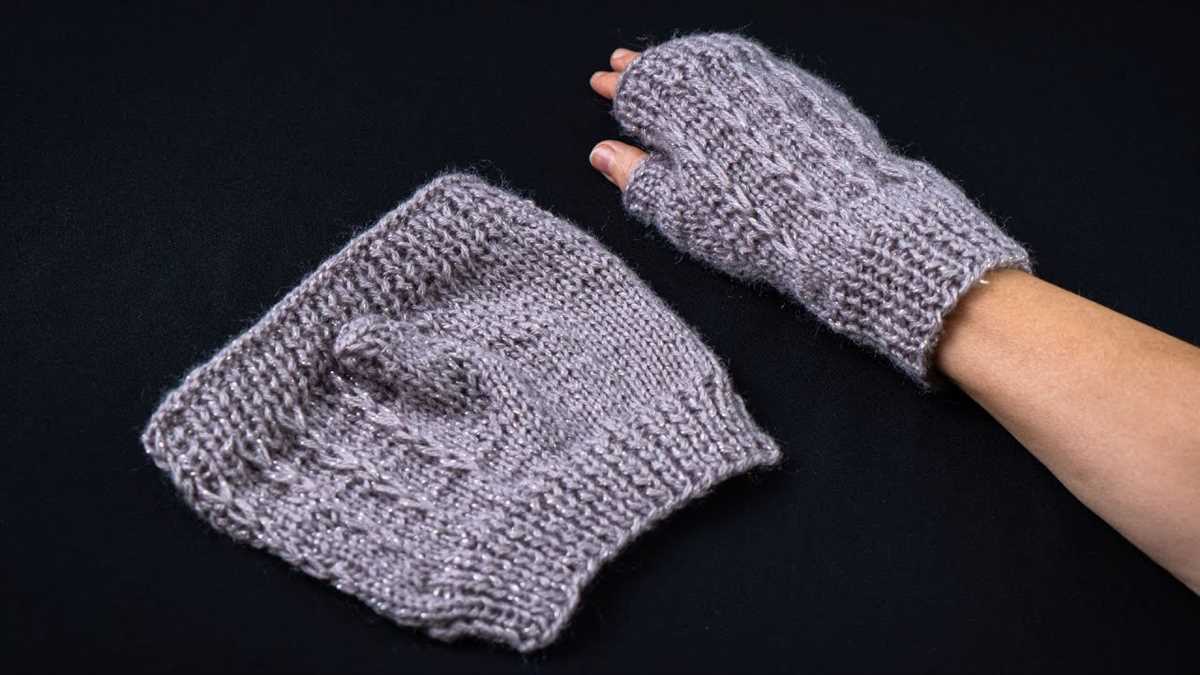
Fingerless mittens are a popular accessory in the knitting world. They keep your hands warm while allowing your fingers to be free for tasks such as typing or using your phone. There are many knitting patterns available for fingerless mittens, ranging from simple designs to more intricate ones.
One popular knitting pattern for fingerless mittens is the ribbed cuff design. This pattern starts with a ribbed cuff, which can be knitted in a basic 2×2 rib or a more decorative rib pattern. The body of the mittens can be knitted in either stockinette stitch or a textured stitch pattern, depending on the desired look. The top of the mittens can be finished with a simple bind off or a decorative edging, such as a picot bind off.
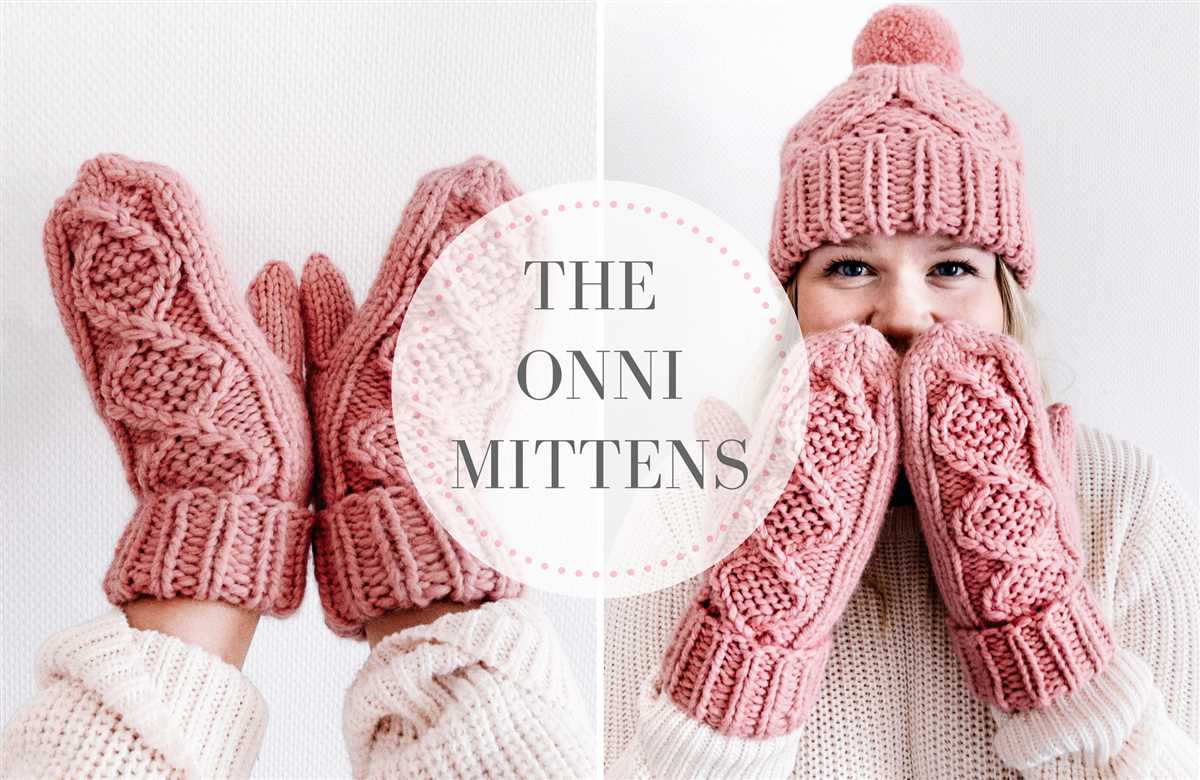
Another popular knitting pattern for fingerless mittens is the cable design. This pattern features intricate cable stitches that create a beautiful texture on the mittens. The cables can be knitted vertically or horizontally, and can be combined with other stitch patterns, such as ribbing or seed stitch, for added interest. The cable design requires some experience with knitting cables, but the end result is well worth the effort.
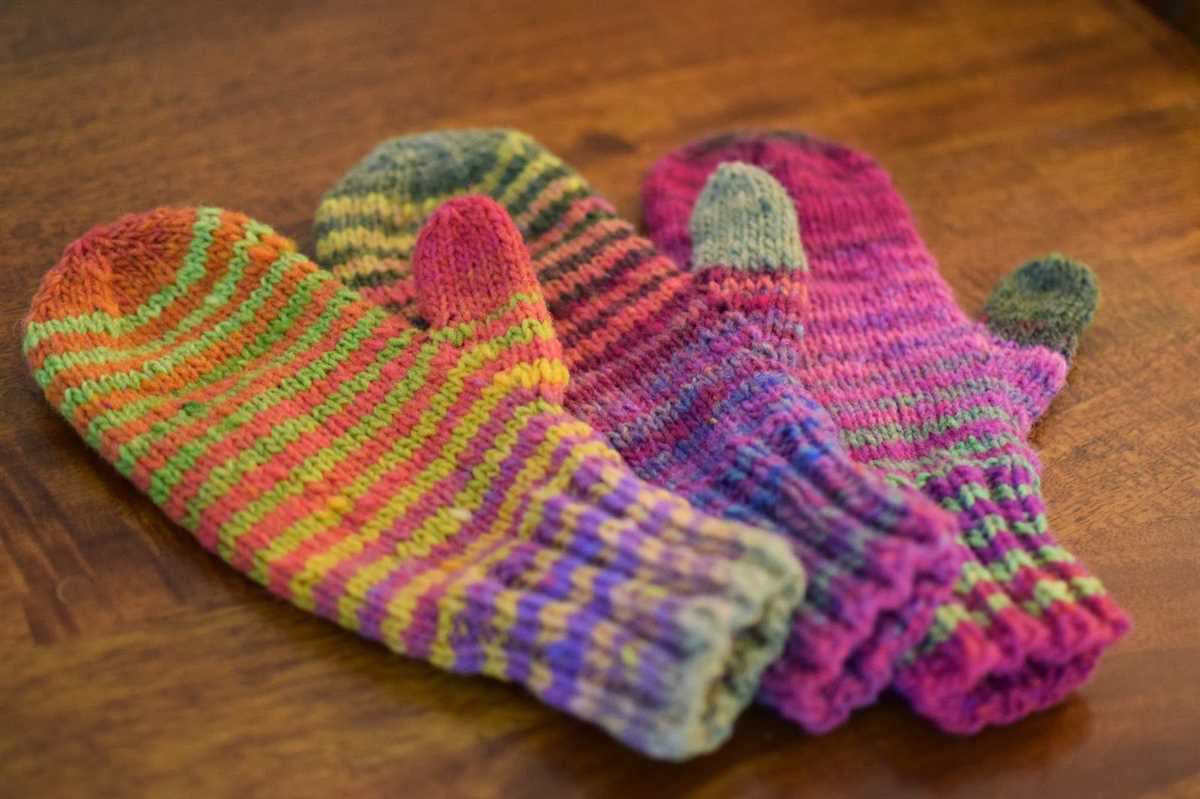
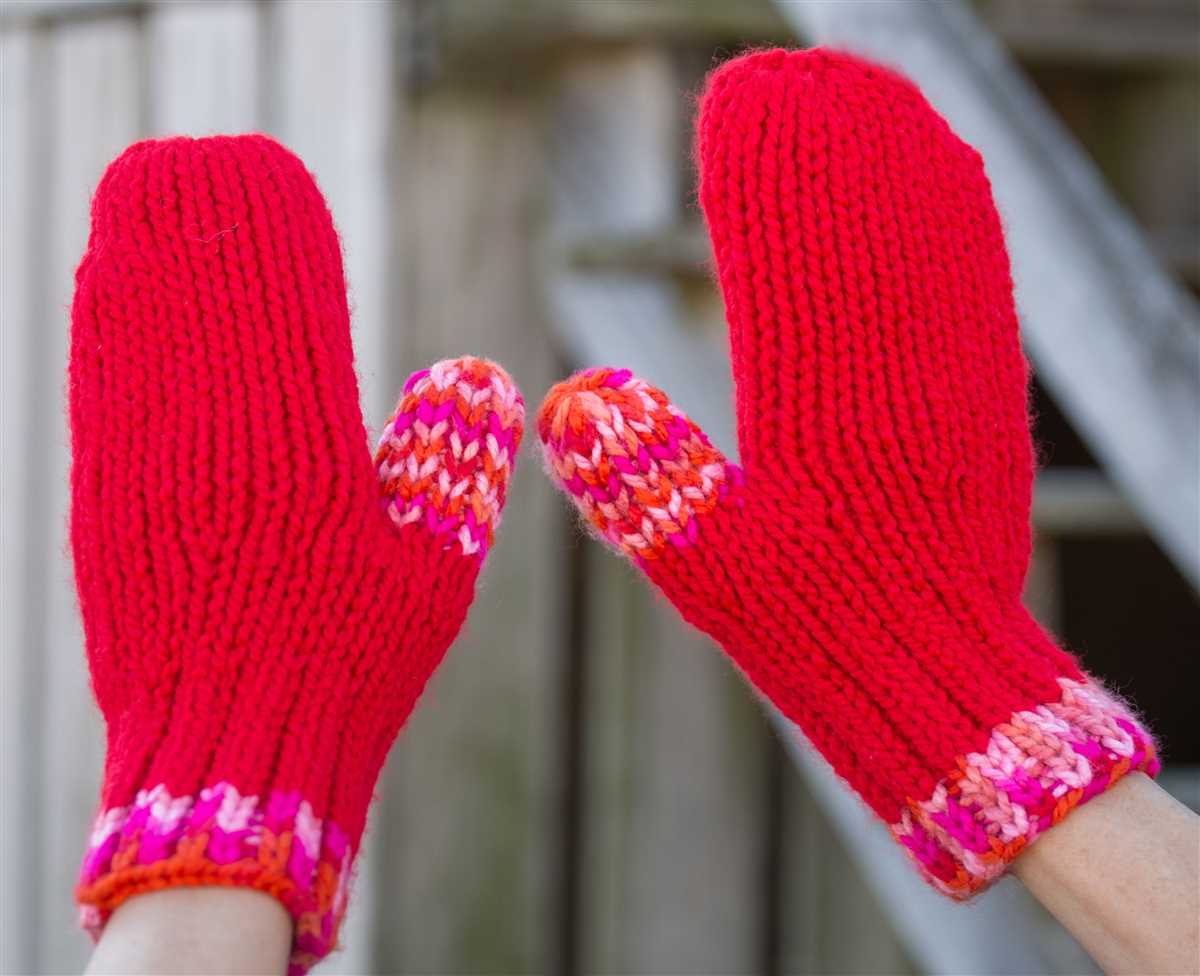
If you prefer a more colorful and playful look, you can try knitting striped fingerless mittens. This pattern involves knitting alternating stripes of different colors, creating a fun and vibrant accessory. You can choose to knit the stripes in a regular stripe pattern, or experiment with different widths and color combinations. Striped fingerless mittens are a great way to use up leftover yarn from other projects and add a pop of color to your winter wardrobe.
In conclusion, there are numerous knitting patterns available for fingerless mittens, catering to different skill levels and design preferences. Whether you prefer a simple ribbed cuff design, an intricate cable design, or a playful striped design, there is a knitting pattern out there for you. So grab your knitting needles and yarn, and start creating your own cozy and stylish fingerless mittens!
How to properly care for your knit mittens
Knit mittens are not only a cozy and fashionable accessory, but they also require proper care to ensure their longevity. By following a few simple steps, you can keep your mittens looking great and in good condition for years to come.
1. Hand wash your mittens: Most knit mittens are made from delicate yarns that can be easily damaged in a washing machine. To avoid this, it’s best to hand wash them. Fill a sink or basin with lukewarm water and add a small amount of mild detergent. Gently agitate the mittens in the water, then rinse them thoroughly. Avoid wringing or twisting the mittens, as this can cause them to lose their shape.
2. Dry them flat: After washing, lay your mittens flat on a clean towel or drying rack to air dry. Reshape them if necessary, making sure to smooth out any wrinkles or stretching. It’s important to avoid hanging the mittens to dry, as this can cause them to stretch and lose their shape.
3. Store them properly: When you’re not wearing your mittens, it’s important to store them properly to avoid any damage. Fold them neatly and place them in a drawer or a box, away from direct sunlight and any potential snagging hazards. Avoid storing them in damp or humid areas, as this can cause mildew or mold to develop.
4. Handle with care: Knit mittens are generally more delicate than other types of gloves, so it’s important to handle them with care. Avoid pulling on loose threads or snagging them on sharp objects. If you notice any loose stitches or snags, gently hand-sew them back into place to prevent further damage.
5. Avoid excessive stretching: When putting on or taking off your mittens, avoid pulling them too forcefully. Excessive stretching can cause the yarn to lose its elasticity and shape. Instead, ease your hands into the mittens gently, and when removing them, carefully slide them off without tugging.
By following these simple care tips, you can enjoy your knit mittens for years to come. With proper care, they will not only keep your hands warm, but also remain a stylish and durable accessory in your wardrobe.
Where to Find More Knitting Patterns for Mittens
Whether you’re a beginner looking for simple mitten patterns or an experienced knitter looking for a challenge, there are many resources available online where you can find a wide variety of knitting patterns for mittens. Here are some popular websites and platforms where you can discover more knitting patterns:
- Ravelry: Ravelry is a popular online community for knitters and crocheters, offering a vast library of knitting patterns. You can find numerous mitten patterns for adults, including different styles and skill levels.
- Knitty: Knitty is an online magazine that regularly publishes knitting patterns, including mittens. They feature patterns for all skill levels, and you can browse their archives for a variety of mitten designs.
- Pinterest: Pinterest is a great platform to discover and save knitting patterns. You can search for specific keywords like “knitting patterns mittens for adults” to find a plethora of creative and inspiring designs.
- Knitting Blogs: Many knitting bloggers share their own mitten patterns and tutorials on their websites. You can explore different blogs and subscribe to their newsletters for regular updates on new patterns.
Remember to check the description and ratings of patterns before starting a project to ensure they are suitable for your skill level and preferences. Additionally, consider supporting independent designers by purchasing their patterns on platforms like Etsy or LoveCrafts.
Whether you prefer intricate cables, fair isle colorwork, or simple textured stitches, the options for knitting patterns for mittens are endless. Explore different sources for patterns, experiment with various yarns and techniques, and enjoy the process of creating unique and cozy mittens for yourself or your loved ones.