
Halloween is a time of spooky decorations, creative costumes, and delicious treats. And what better way to add a touch of seasonal magic to your home than by knitting your own Halloween ghost decorations? With this knitting pattern, you can create adorable little ghosts that will add a touch of whimsy to any Halloween display or party.
This knitting pattern is perfect for both beginners and experienced knitters alike. All you need are some basic knitting skills and a few simple materials to create these charming little ghosts. Whether you’re knitting them to decorate your home or to give as gifts, these ghostly creations are sure to be a hit.
The pattern includes step-by-step instructions and helpful tips to guide you through the knitting process. You’ll learn how to cast on, knit, purl, and sew the pieces together to create the finished ghost. And with the ability to customize the size and color of your ghosts, you can get as creative as you like with your knitting.
So, grab your knitting needles and get ready to bring a touch of Halloween magic to your home this year. With this Halloween ghost knitting pattern, you’ll be able to create spooky and cute decorations that will delight both kids and adults alike.
Halloween Ghost Knitting Pattern
If you’re looking for a fun and spooky knitting project for Halloween, then this Halloween ghost knitting pattern is perfect for you. With just a few simple steps, you can create an adorable ghost decoration that will add a touch of Halloween spirit to your home.
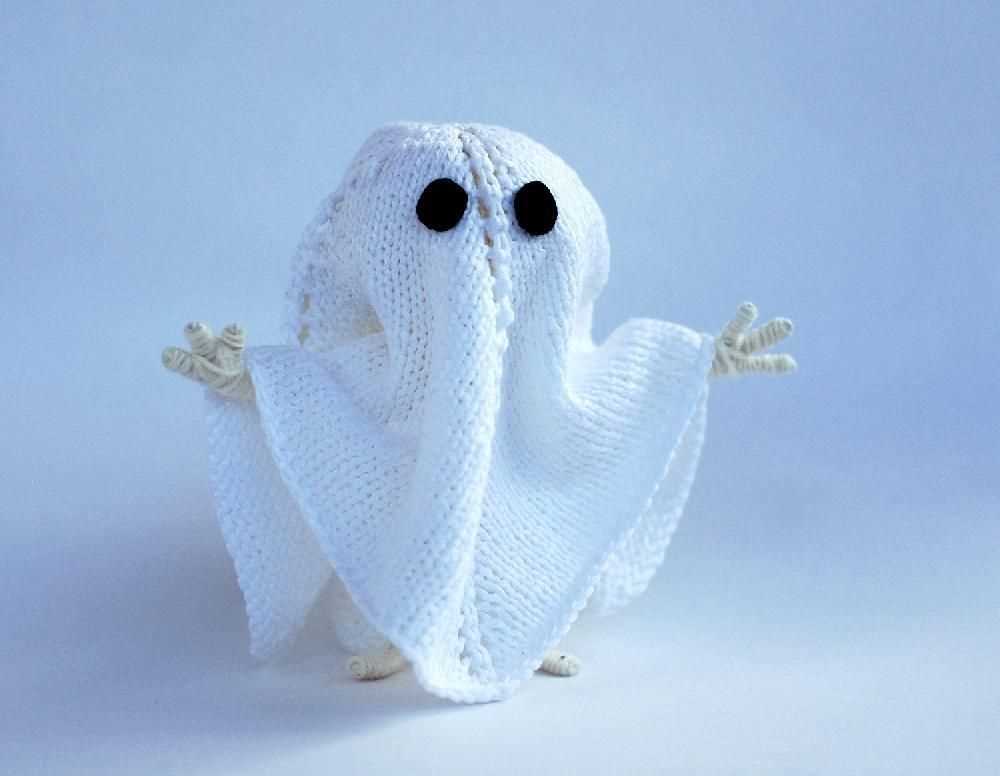
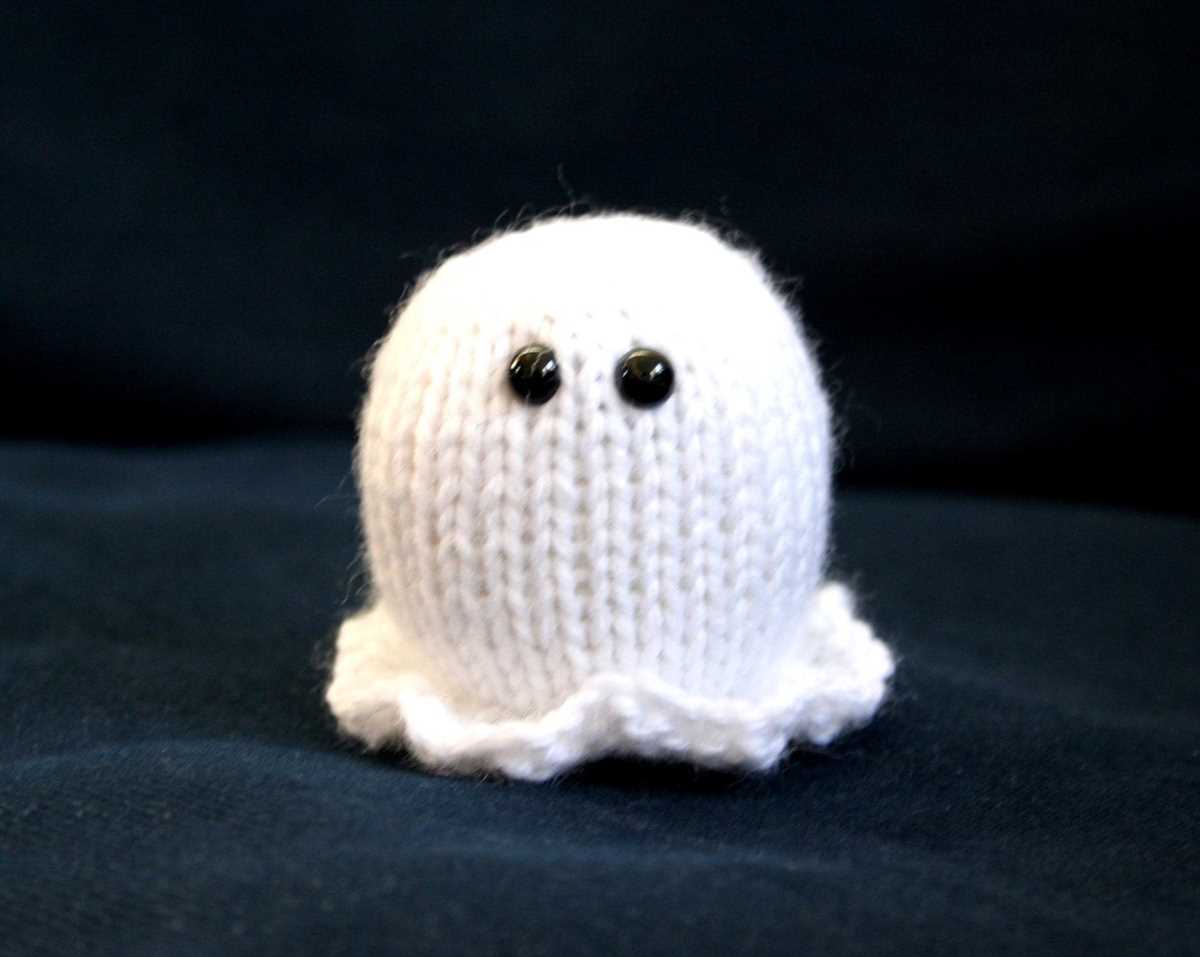
This knitting pattern is suitable for beginners, so even if you’re new to knitting, you can easily make this cute ghost. The pattern requires basic knitting techniques, such as casting on, knitting, purling, and decreasing. The finished ghost measures approximately 6 inches tall, making it a great size for hanging or displaying on a shelf.
To get started, you will need some basic knitting supplies, including yarn in white and black, knitting needles in a suitable size for your yarn, a tapestry needle for sewing, and some stuffing to fill the ghost. You can also personalize your ghost by adding other embellishments, such as googly eyes or a little hat. The choice is yours!
The pattern begins with knitting the body of the ghost, which is done in simple stockinette stitch. After knitting the body, you’ll shape the head and add facial features using black yarn. The ghost is then stuffed and sewn together to create its final shape.
If you’re looking for a fun and festive Halloween knitting project, give this Halloween ghost pattern a try. It’s a quick and enjoyable knit that will add a spooky charm to your Halloween decorations!
Choosing the Right Yarn and Needles
When it comes to knitting Halloween ghost patterns, selecting the right yarn and needles is crucial to achieving the desired outcome. The right combination of these two elements can greatly enhance the overall look and feel of the finished ghost.
Yarn
For a Halloween ghost, it is best to choose a yarn that has a fuzzy or fluffy texture to mimic the appearance of a ghost’s ethereal form. Yarns made from mohair or angora blends are perfect for this purpose, as they provide the desired fluffiness and softness. The yarn should be lightweight and preferably in a white or off-white color to give the ghost a classic look. It is also important to consider the quality of the yarn to ensure it is durable and will not easily fray or shed.
Needles
When it comes to needle selection, it is important to choose the right size and material to achieve the desired gauge. For a Halloween ghost pattern, it is recommended to use a set of double-pointed needles or circular needles in a size appropriate for the chosen yarn. The needle material should be smooth to prevent snagging and allow for easy movement of the stitches. The size of the needles will depend on the desired tension and the thickness of the chosen yarn. It may be necessary to experiment with different sizes to achieve the desired result.
By carefully selecting the right yarn and needles, knitters can ensure that their Halloween ghost pattern comes to life in the most spooky and adorable way possible.
Getting Started with the Basic Ghost Shape
Knitting your own Halloween ghost can be a fun and creative project. To get started, you’ll need some basic knitting skills and a few supplies. Here’s a step-by-step guide to help you create the basic ghost shape.
Materials:
- White yarn
- Knitting needles (size appropriate for your yarn)
- Yarn needle
- Scissors
- Black yarn or embroidery floss
- Stuffing material (polyester fiberfill or wool)
Step 1: Cast On
To begin, cast on a small number of stitches, around 10-20 depending on the size you want your ghost to be. Use a long-tail cast-on method or your preferred cast-on method.
Step 2: Knit Rows
Once you have cast on, knit each row in garter stitch (knit every stitch). Continue knitting until your piece measures the desired length for the body of your ghost.
Step 3: Decrease Stitches
To shape the top of the ghost, you’ll need to decrease stitches. Start by knitting 2 stitches together at the beginning of each row until you have a smaller number of stitches left. This will create a tapered effect.
Step 4: Bind Off
When you have decreased enough stitches, bind off all the remaining stitches. Cut the yarn, leaving a long tail for sewing.
Step 5: Sew and Stuff
Using the long tail and a yarn needle, sew the bottom of the ghost closed. Leave a small opening at the top for stuffing. Stuff the ghost with polyester fiberfill or wool, making it as firm or as soft as you like.
And there you have it – the basic ghost shape! From here, you can add additional features like eyes, a mouth, or even some spooky decorations. Get creative and have fun knitting your own Halloween ghost!
Adding the Ghost’s Face
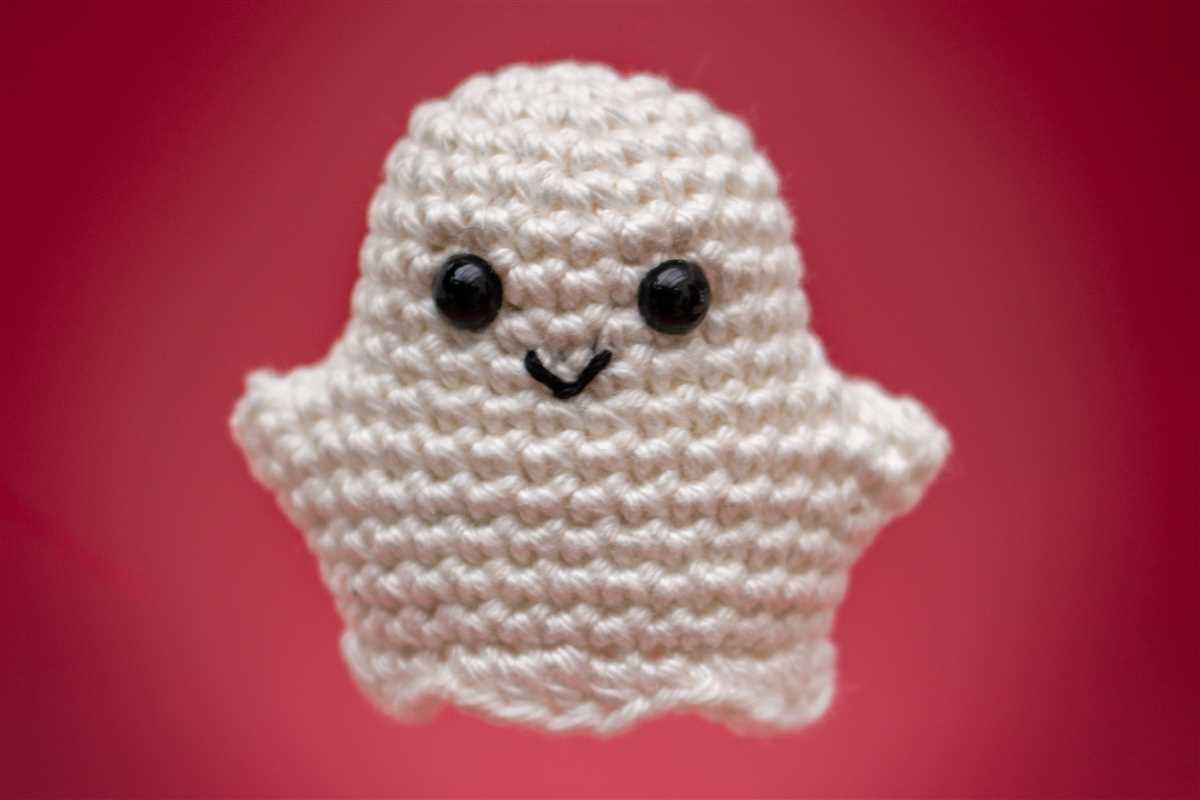
Now that you have finished knitting your Halloween ghost, it’s time to add the face to give it a spooky and playful look. Adding the face is an essential step in making your ghost come to life and gives it personality.
To start, gather the materials you need for the face. You will need black yarn or embroidery thread, a tapestry needle, and a pair of small scissors. Cut a length of black yarn or thread and thread it through the tapestry needle.
Now, decide where you want to place the ghost’s eyes. A traditional ghost face usually has two eyes placed close together. Bring the needle through the back of the ghost’s head where you want the first eye to be, and make a small stitch or knot to secure the yarn in place. Continue making stitches or knots to create the shape of the eye, making sure to leave enough space for the other eye. Repeat the process for the second eye, and make any adjustments if needed.
Next, it’s time to create the ghost’s mouth. Take the needle and thread and bring it through the back of the ghost’s head where you want the mouth to be. Start by making a small stitch or knot to secure the yarn in place, and then create the shape of the mouth by making stitches or knots. You can choose to make a smiley mouth, a frown, or a spooky crooked mouth – it’s all up to your creativity and preference.
Once you are satisfied with the placement and shape of the eyes and mouth, it’s time to secure the yarn in place. Carefully weave the needle and thread through the stitches on the back of the ghost’s head to hide the loose ends. Make sure to secure the yarn tightly so that the face doesn’t unravel.
Congratulations! You have successfully added the face to your Halloween ghost knitting pattern. Now, your ghost is ready to spook and delight everyone on Halloween!
Shaping the Ghost’s Body
When knitting the body of the ghost, it’s important to follow the pattern instructions carefully to achieve the desired shape. The pattern may instruct you to start with a certain number of stitches and gradually increase or decrease the number of stitches to shape the body.
One common technique used to shape the body is called “decreasing.” Decreasing involves knitting or purling two stitches together to reduce the number of stitches on the needle. This creates a narrower section of knitting and allows you to create the tapering shape of the ghost’s body.
The pattern may also include instructions for shaping the head and the bottom of the ghost’s body. For the head, you may be instructed to decrease at regular intervals to create a rounded shape. Meanwhile, for the bottom of the ghost’s body, the pattern may instruct you to increase the number of stitches, creating a wider, flared shape.
The key to achieving the desired shape of the ghost’s body is to pay close attention to the pattern instructions and take your time with the shaping techniques. It can be helpful to use stitch markers to keep track of where you need to increase or decrease stitches, and to regularly measure your work to ensure you are on track.
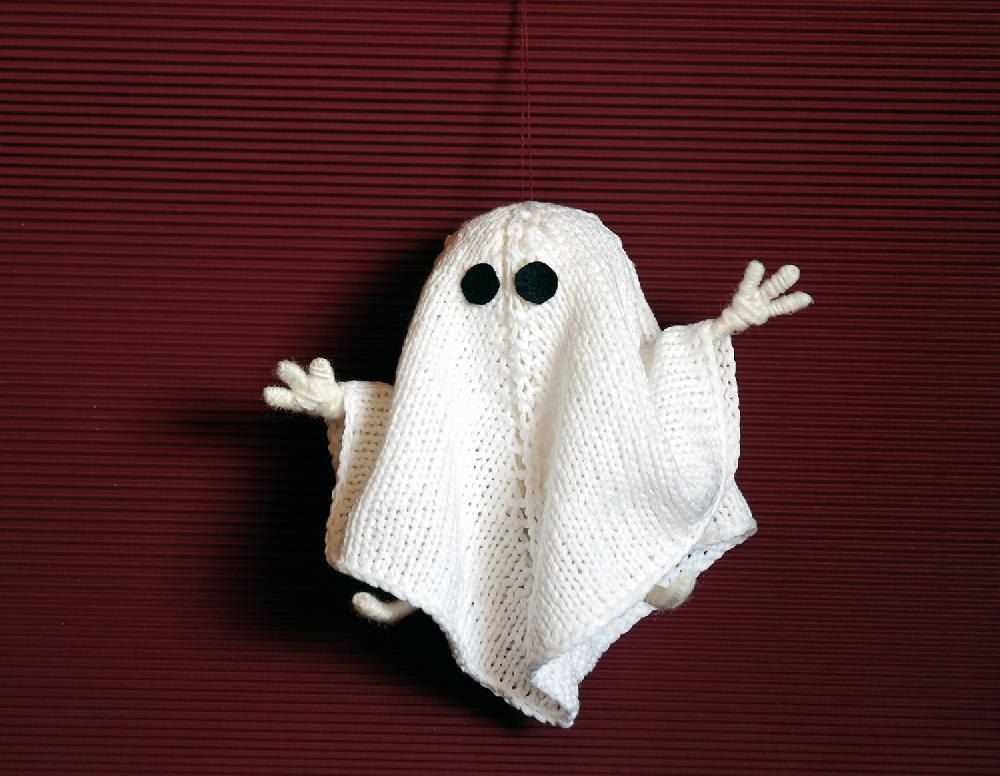
Creating the Arms for the Ghost
When it comes to creating the arms for your Halloween ghost knitting pattern, you have a few options. One option is to simply leave the arms off altogether, giving your ghost a more whimsical and ethereal appearance. However, if you want to add a bit more personality and dimension to your ghost, you can easily knit arms to attach to the body.
To create the arms, you will need to choose a yarn color that matches or complements the body of your ghost. It’s best to use a slightly thinner yarn for the arms, as this will create a more delicate and realistic look. Begin by casting on a small number of stitches, such as 6 to 8, depending on the desired length of the arms. Knit in a simple stockinette stitch for a few rows, and then gradually decrease the number of stitches to create a tapered effect.
Optional:
- If you want to add a bit more detail to the arms, you can also create fingers by knitting a few extra rows and then decreasing stitches to create a point at the end. This can be accomplished by knitting 2 stitches together at regular intervals until you reach the desired number of stitches.
- Another option is to create separate hands or mittens for the ghost’s arms. To do this, simply knit a small square or rectangle, leaving a small opening for the arm to attach. You can then sew the opening closed once the arm is attached to the body.
Once you have finished knitting the arms, you can attach them to the body of your ghost by sewing them in place with a yarn needle. Be sure to securely fasten the arms so they don’t come loose with wear or play.
Finishing the Ghost’s Legs
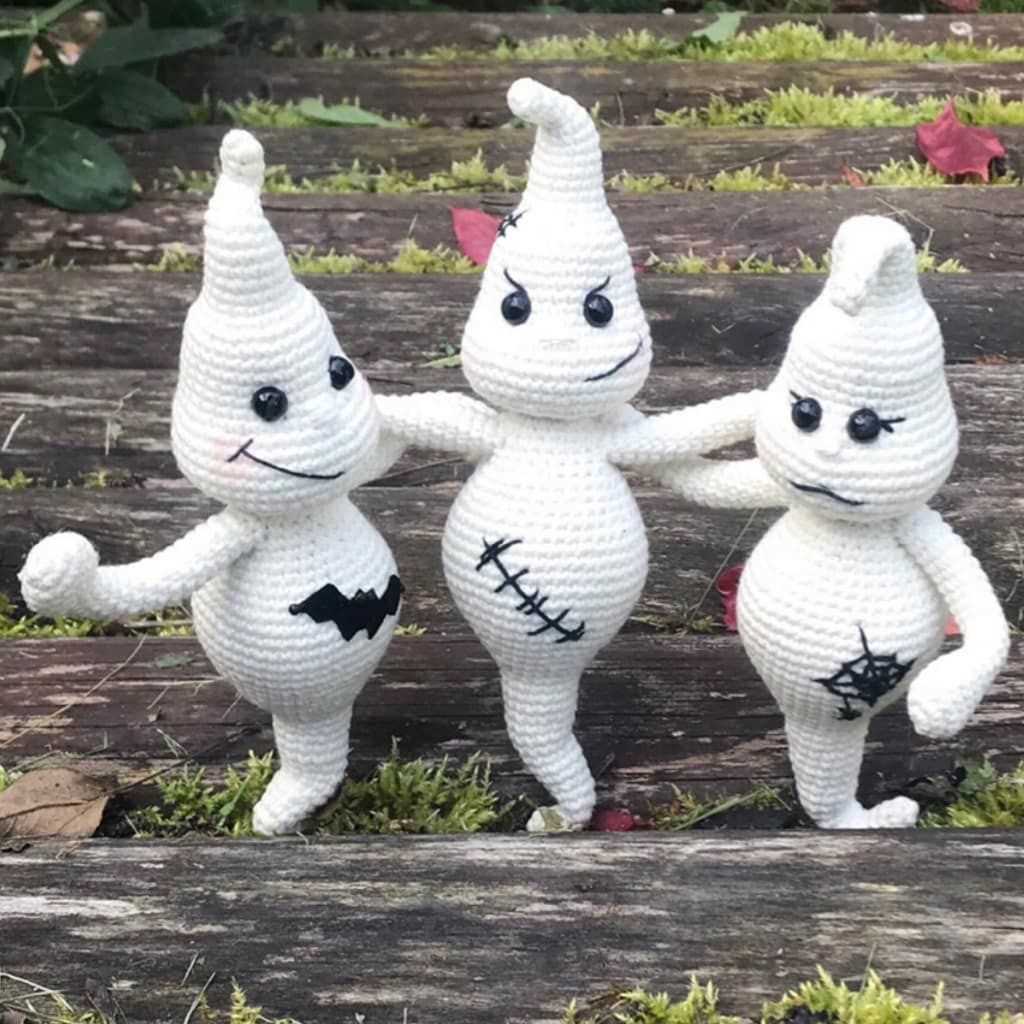
When it comes to finishing the legs of the Halloween ghost knitting pattern, there are a few steps to follow to ensure your ghost looks spooky and complete. Firstly, carefully stuff both legs with polyester fiberfill to give them a round and plump shape. Make sure to stuff them evenly, so they are symmetrical.
Next, using a tapestry needle and a length of yarn in the same color as the legs, sew up the opening at the top of each leg. This will help secure the stuffing inside and prevent it from coming out. Be sure to make tight and neat stitches to ensure a tidy finish.
Once both legs are stuffed and sewn up, you can proceed to attach them to the body of the ghost. Position the legs so they are evenly spaced and symmetrical, and use pins to hold them in place. Then, using your tapestry needle and yarn, sew the legs to the bottom of the ghost’s body. This will give the ghost stability and make it look like it’s floating off the ground.
After the legs are securely attached, you can add any additional details or embellishments to personalize your ghost. You might want to add little knitted shoes or boots, or maybe even give your ghost a pop of color by sewing on some felt patches. Get creative and have fun with it!
Joining the Ghost’s Body Parts
Once you have finished knitting the individual body parts of the Halloween ghost, it’s time to assemble them and bring your ghost to life! The process of joining the ghost’s body parts is crucial in creating a seamless and cohesive finished product.
First, start by positioning the knitted head onto the body. Use a tapestry needle and matching yarn to carefully sew the head to the neck opening of the body. Make sure to attach the head securely, ensuring it won’t come loose during use.
Next, it’s time to attach the arms to the body. Decide on the desired arm placement and use the same sewing technique as with the head. Thread the tapestry needle with the matching yarn and sew the arms onto the ghost’s body, taking care to align them symmetricallу.
Now that the head and arms are securely attached, you can move on to adding the finishing touches. To create the ghost’s face, use a combination of embroidery and knitting techniques. Use black yarn to embroider the eyes and mouth onto the face, or you can also opt to knit small pieces and sew them on.
Lastly, don’t forget about the ghost’s adorable little feet! Sew the knitted feet to the bottom of the body, making sure they are evenly positioned. This will give your ghost a cute and complete look.
Once you have finished joining all the body parts, you can enjoy your newly created Halloween ghost knitting project. Display it as a decoration for the spooky season or give it as a unique handmade gift. Either way, your ghost is sure to bring a touch of Halloween magic wherever it goes!
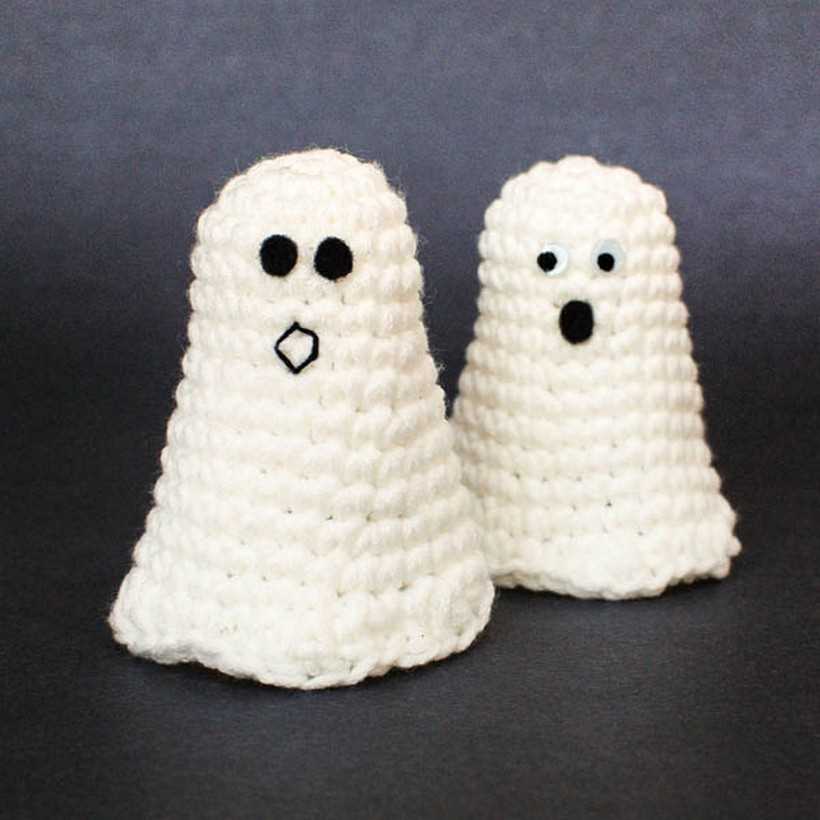
Adding Extra Details to the Ghost
If you want to make your Halloween ghost knitting pattern even more spooky and fun, you can add some extra details to it. Here are some ideas:
1. Embroidered Eyes and Mouth
Add some character to your ghost by embroidering its eyes and mouth. You can use black yarn or thread to create a simple triangle shape for the eyes and a curved line for the mouth. This will give your ghost a friendly or mischievous expression, depending on how you shape the features.
2. Tattered Edges
To make your ghost look even more ghostly, you can create tattered edges at the bottom of its body. Once you finish knitting the body, leave a few stitches undone at the end of each row. Then, carefully unravel these stitches to create a frayed effect. This will give your ghost a worn and ethereal look.
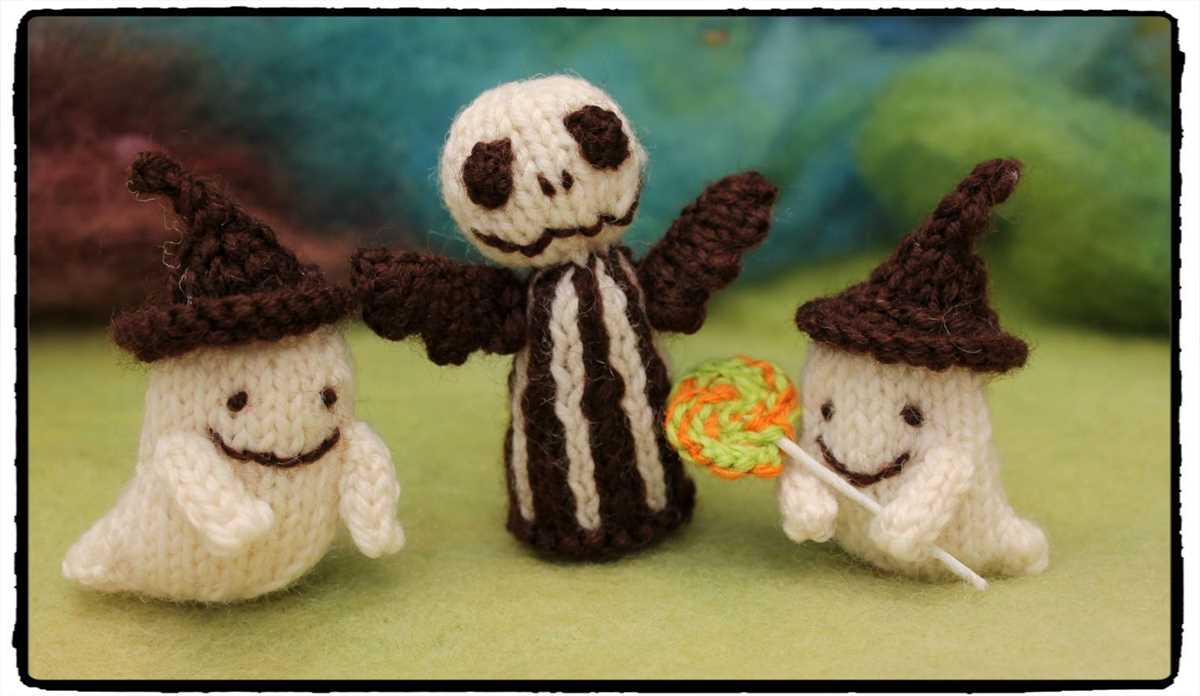
3. Mini Halloween Accessories
Give your ghost some Halloween flair by adding tiny accessories. You can knit a small pumpkin, bat, or witch’s hat and attach it to your ghost’s body. This will add a playful touch to your Halloween decoration. You can also use small buttons or beads to create eyes or embellish your ghost’s clothing.
4. Glow-in-the-dark Yarn
If you really want your ghost to stand out in the dark, consider using glow-in-the-dark yarn for its body. This special yarn will absorb light during the day and emit a subtle glow at night, giving your ghost an eerie and supernatural appearance. It will add an extra element of spookiness to your Halloween decorations.
By adding these extra details to your Halloween ghost knitting pattern, you can create a unique and personalized decoration that will be a hit at your Halloween party or in your home. Let your creativity shine and have fun with your knitting project!
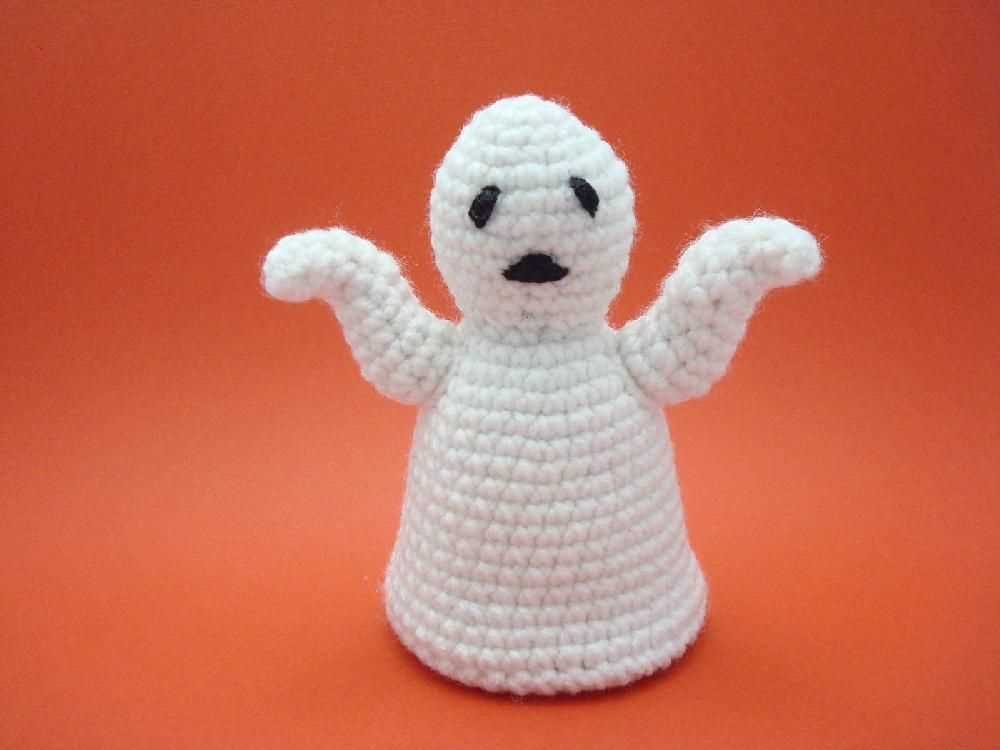
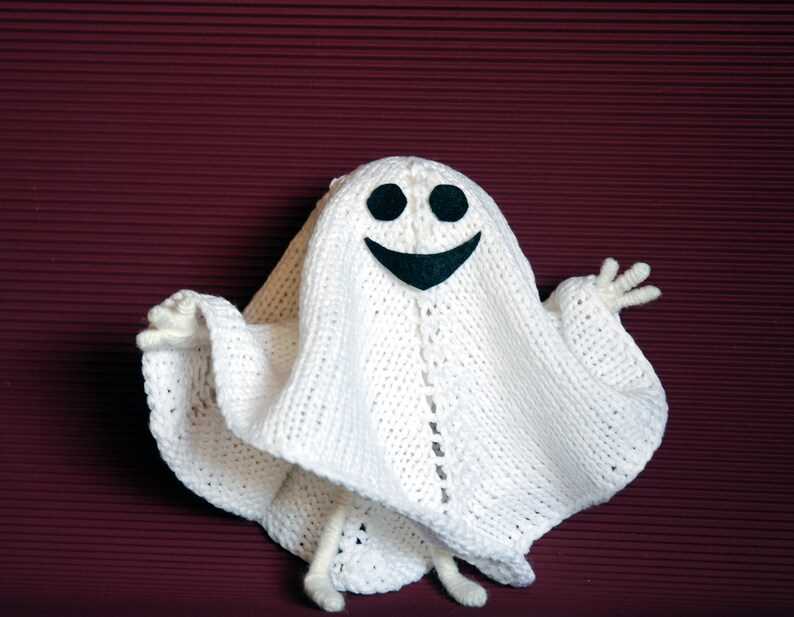
Blocking and Finishing Touches
Once you have finished knitting your Halloween ghost, it’s time to give it the finishing touches. First and foremost, you will need to block your ghost to ensure that it maintains its shape and doesn’t curl up. To block your ghost, gently soak it in lukewarm water with a mild detergent, then rinse it thoroughly and squeeze out the excess water. Lay it flat on a clean towel and shape it into the desired form, making sure to pin any stretched areas in place. Allow it to dry completely.
Next, it’s time to add some details to your ghost. You can use embroidery floss or yarn to stitch on the eyes and mouth, giving your ghost a spooky expression. You can create a traditional ghost face with two large eyes and an open-mouthed smile, or get creative and design your own unique expression. Use small, tight stitches to secure the yarn in place.
Once you are satisfied with the face, you can add additional details such as a bow tie or a hat to give your ghost some extra personality. You can knit or crochet these accessories separately and sew them onto the ghost, or you can even use fabric scraps or ribbons for a different texture. Get creative and experiment with different colors and materials to make your ghost truly one-of-a-kind.
Finally, give your ghost a final inspection to make sure all the ends are securely woven in and any loose threads are trimmed. This will give your ghost a polished look and prevent any unraveling. Once you have completed these finishing touches, your Halloween ghost is ready to be displayed or gifted to a fellow Halloween enthusiast. Enjoy your finished creation and have a spooktacular Halloween!
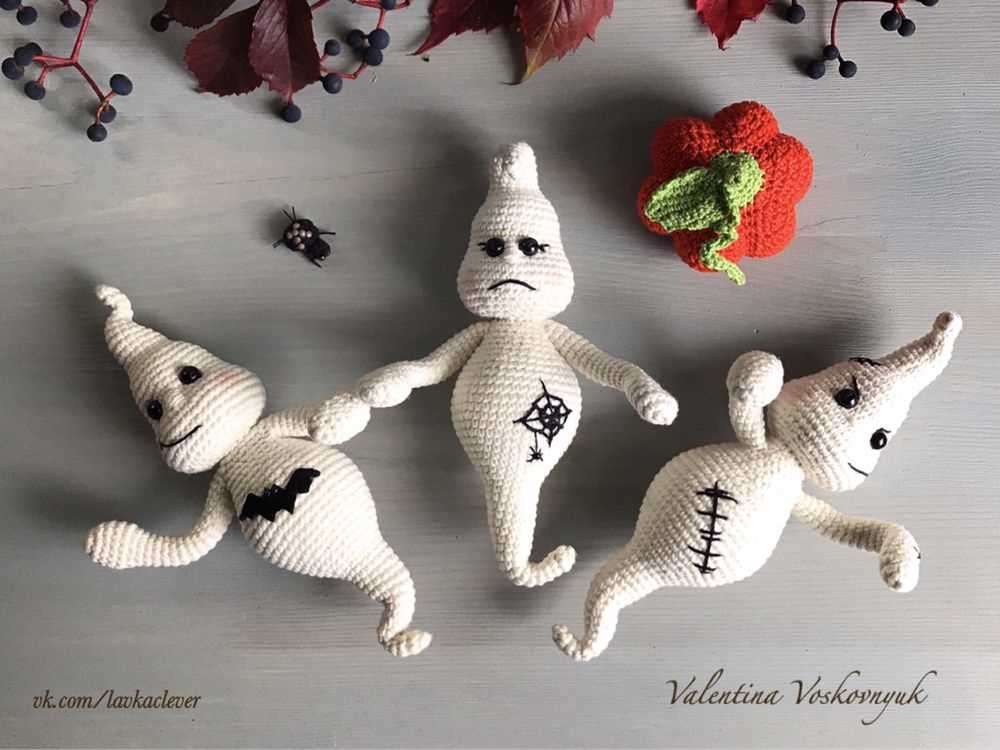
Making Multiple Ghosts and Variation Ideas

Once you have mastered the Halloween ghost knitting pattern, you can start making multiple ghosts to create a spooky collection. These little ghosts make great decorations for Halloween parties or can be given as gifts. Here are some tips on how to make multiple ghosts efficiently:
-
Plan your materials: Make sure you have enough yarn in the desired colors for all the ghosts you want to make. You can choose to make each ghost in a different color or stick to classic white. Also, make sure you have enough stuffing to fill all the ghosts.
-
Create an assembly line: To save time, make the different parts of the ghost in bulk. Knit all the bodies first, then the heads, and finally the arms. This will help you develop a rhythm and complete the ghosts faster.
-
Use stitch markers: Use stitch markers to keep track of where you are in the pattern. This will help ensure that all your ghosts have consistent shaping and size.
-
Add variation: While the classic white ghost is always a favorite, you can experiment with different variations to add more personality to your ghost collection. You can try using different colored yarn for the bodies, or even adding small accessories like tiny hats or bows.
Remember to have fun with your knitting and get creative with the different ghosts you make. Each one will have its own unique personality and charm. Happy knitting!
Showcasing Your Finished Halloween Ghosts
After putting your creative skills to work and completing your Halloween ghost knitting project, it’s time to showcase your finished creations! Whether you plan on displaying them in your home, giving them as gifts, or selling them at craft fairs, there are many ways to show off your handiwork.
One option is to create a spooky Halloween-themed display in your home. Set up a small table with a black tablecloth and arrange your ghostly knitted creations in an eye-catching manner. You can use props such as twigs, small pumpkins, or fake spiderwebs to add an extra touch of Halloween spirit. Take some photos of your display and share them on social media to inspire others with your creativity.
If you’re giving your Halloween ghosts as gifts, consider attaching a small tag or card that describes the inspiration behind your designs and the time and effort you put into knitting them. This personal touch will make the gift even more special and show your recipients how much you care.
Another option is to sell your knitted Halloween ghosts at craft fairs or online platforms. Set up a booth or create an attractive online listing with high-quality photos and detailed descriptions of each ghost. Highlight the unique features of your designs and emphasize the care and attention to detail that went into making them. Consider offering customization options or bundling different ghost designs together to attract potential buyers.
Lastly, don’t forget to share your finished Halloween ghosts with the knitting community. Join online forums or social media groups dedicated to knitting and post pictures of your creations. Sharing your work not only helps you connect with fellow knitters but also serves as a source of inspiration for others who may be looking for Halloween knitting projects.
Remember, the most important thing when showcasing your finished Halloween ghosts is to be proud of your achievements and share your passion for knitting with others. Use these ideas as a starting point and let your creativity shine!