
If you’re new to sweater knitting and looking for a beginner-friendly project, you’re in the right place! Knitting a sweater can seem like a daunting task, but with the right pattern and some basic skills, you’ll be able to create a beautiful and cozy sweater in no time.
When choosing a beginner sweater knitting pattern, it’s important to look for a design that is simple and straightforward, with clear instructions and minimal shaping. This will help you build your confidence and ensure that you enjoy the process from start to finish.
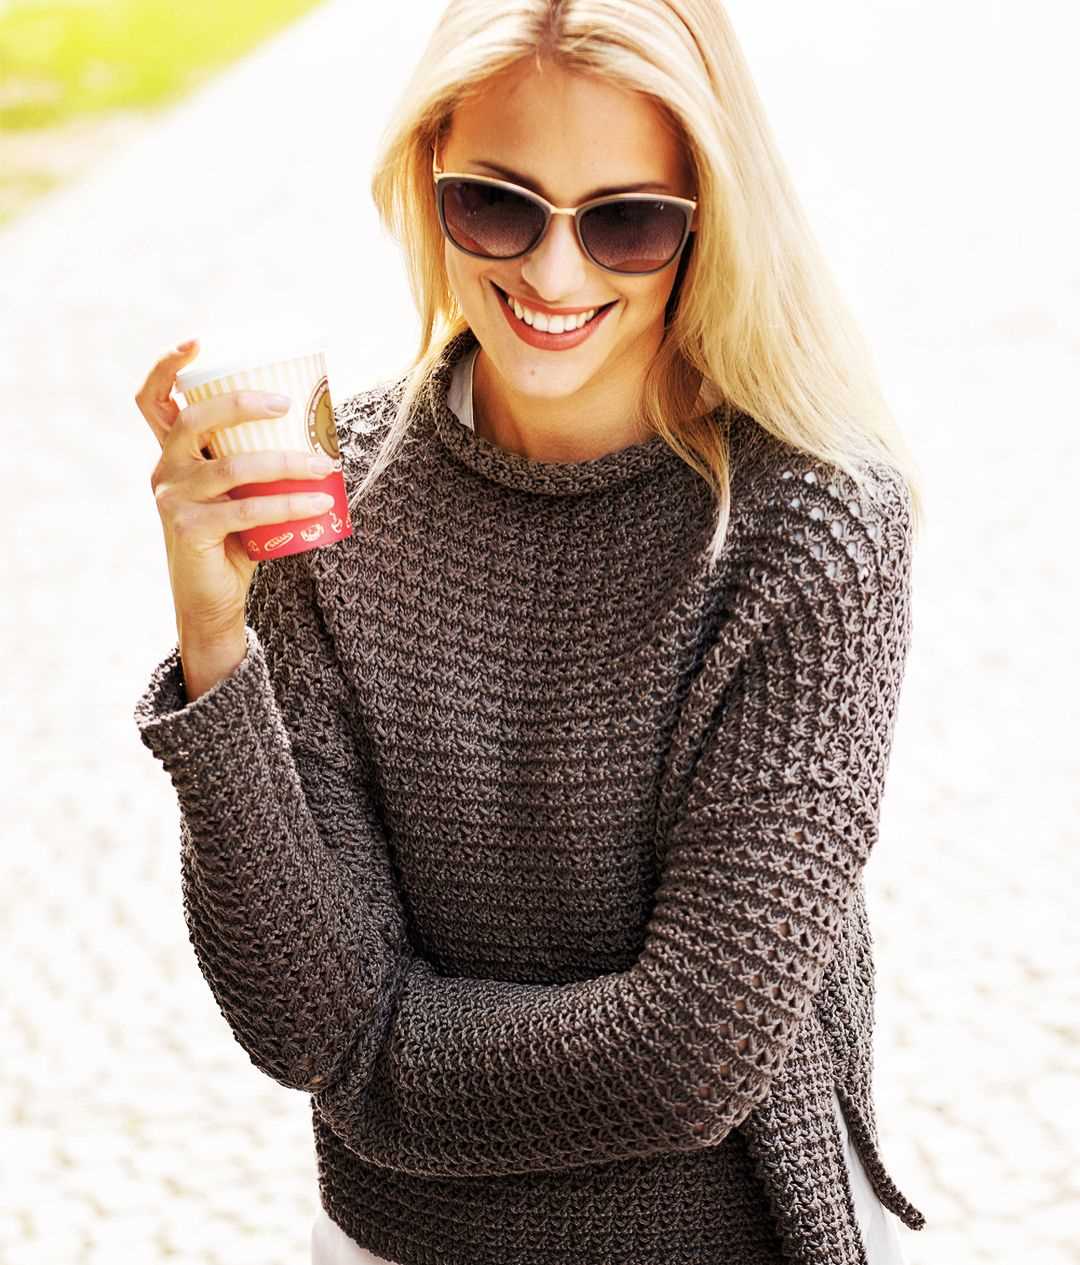
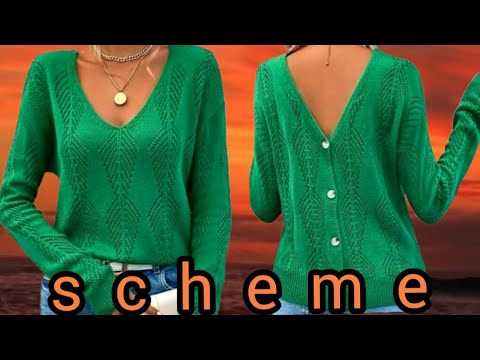
One of the best beginner sweater knitting patterns is the classic crew neck pullover. This timeless design features a basic stockinette stitch, making it perfect for beginners. It’s also a great project for practicing techniques like knitting in the round and shaping the neckline.
To make your sweater even easier to knit, look for a pattern that uses a thick and cozy yarn. This will not only make the knitting process quicker but also create a warm and snuggly garment that you’ll love to wear. Consider using a soft, bulky yarn like merino wool or alpaca for maximum comfort.
Choosing the right yarn and needles
When starting a knitting project, one of the first decisions you need to make is choosing the right yarn and needles. The yarn and needle choice will greatly affect the outcome of your knitting, including the texture, drape, and overall appearance of the finished garment. Here are some factors to consider when making these decisions:
Yarn Fiber
The type of fiber used in the yarn will determine the characteristics of the finished sweater. Common yarn fibers include wool, acrylic, cotton, and blends. Wool is known for its warmth and elasticity, making it a popular choice for sweaters. Acrylic is a synthetic fiber that is often affordable and easy to care for. Cotton is breathable and lightweight, making it suitable for warmer climates. Consider the climate and the desired characteristics of your sweater when choosing the yarn fiber.
Yarn Weight
Another important factor to consider is the weight of the yarn. Yarn weight refers to the thickness of the yarn strand and is classified into various categories such as lace, fingering, sport, worsted, and bulky. The weight of the yarn will affect the size and density of your stitches. For beginners, it is recommended to choose a medium-weight yarn such as worsted or aran, as they are easier to work with and provide good stitch definition.
Needle Size
Choosing the right needle size is crucial to achieve the correct gauge in your knitting. The gauge refers to the number of stitches and rows per inch of knitted fabric. The pattern you choose will specify the gauge needed for the project. To achieve the correct gauge, you may need to adjust the needle size up or down. It’s always a good idea to make a gauge swatch before starting your project to ensure the right fit and tension.
Final Thoughts
When choosing the yarn and needles for your beginner sweater knitting project, consider factors such as yarn fiber, yarn weight, and needle size. Take into account the desired characteristics of your sweater, the climate, and the recommended gauge. By selecting the right yarn and needles, you’ll set yourself up for success and create a beautiful, well-fitting sweater.
Understanding basic knitting stitches
In order to knit a sweater, it’s important to have a good understanding of the basic knitting stitches. These stitches form the foundation of any knitting project and mastering them will make it easier to tackle more complex patterns in the future.
One of the most basic stitches in knitting is the knit stitch. This stitch is created by inserting the right-hand needle into the first stitch on the left-hand needle, wrapping the yarn around the right-hand needle, and pulling it through the stitch. The knit stitch creates a smooth and even fabric and is often used for the main body of a sweater.
Another important stitch to learn is the purl stitch. This stitch is created by inserting the right-hand needle into the first stitch on the left-hand needle from back to front, wrapping the yarn around the right-hand needle, and pulling it through the stitch. The purl stitch creates a bumpy texture and is often used for ribbing, cuffs, and other textured elements in a sweater.
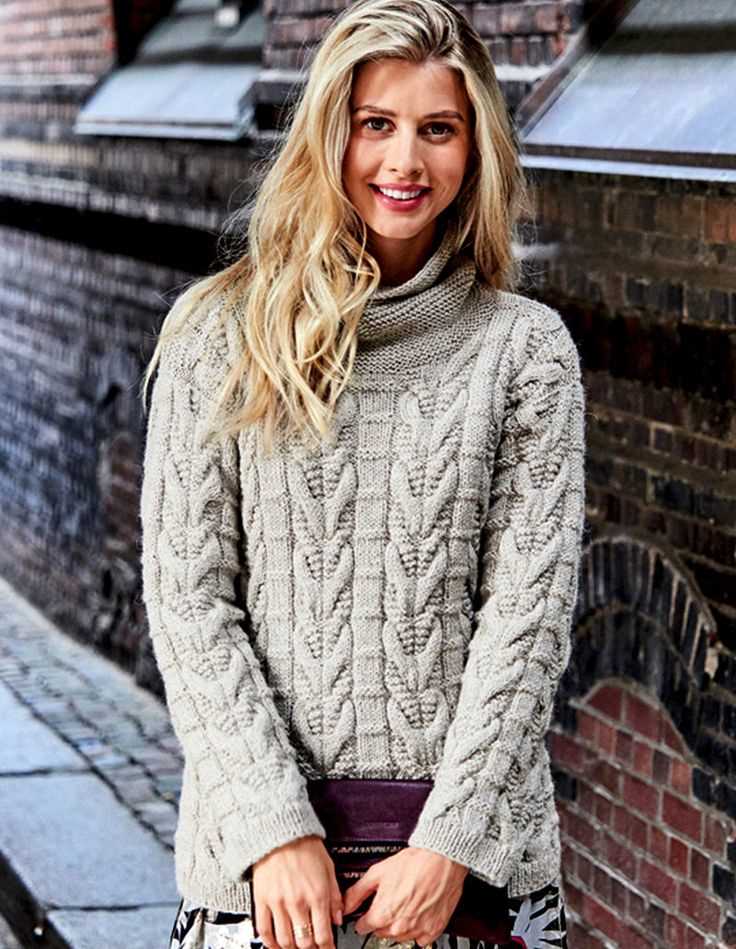
Once you have mastered the knit and purl stitches, you can start combining them to create various stitch patterns. For example, the stockinette stitch is created by knitting one row and purling the next row. This creates a smooth and flat fabric with a distinct knit side and purl side. Other popular stitch patterns include the seed stitch, which alternates between knit and purl stitches in a checkerboard pattern, and the garter stitch, which is created by knitting every row. These stitch patterns can add texture and visual interest to your sweater.
When learning the basic knitting stitches, it’s important to practice them regularly to develop muscle memory and speed. Start with simple projects like scarves or dishcloths to practice your stitches before moving on to more complex patterns like a sweater. Remember to also pay attention to your tension, as loose or tight stitches can affect the fit and appearance of your finished sweater. With practice and patience, you’ll soon be ready to take on the challenge of knitting your first sweater.
Getting familiar with knitting patterns
Knitting patterns are instructions that guide you through the process of creating a knitted item. They provide you with all the necessary information, such as yarn choice, needle size, stitch patterns, and shaping techniques, to successfully complete a project. Beginners who are just starting out with knitting might find knitting patterns overwhelming at first, but with some practice and understanding, they can become an invaluable tool for creating beautiful and unique pieces.
Understanding the terminology: Knitting patterns often use specific terminology and abbreviations to describe different techniques. It’s important to familiarize yourself with these terms before starting a project. Common abbreviations include “k” for knit, “p” for purl, “st” for stitch, and “inc” for increase. By understanding these abbreviations, you’ll be able to follow the pattern more easily.
Choosing the right pattern: When picking a knitting pattern, it’s essential to consider your skill level and experience. As a beginner, it’s best to start with simple patterns that incorporate basic stitches and minimal shaping. Look for patterns with clear instructions and diagrams that can help you visualize the steps. Websites, books, and knitting communities are great sources for finding beginner-friendly patterns.
Getting organized: Before diving into a knitting project, take the time to read through the pattern carefully. Make sure you understand all the instructions and have the necessary materials, including yarn, needles, stitch markers, and any additional supplies mentioned in the pattern. It’s also helpful to create a swatch to test your gauge and ensure your finished project will be the correct size.
Following the pattern: Once you’re ready to start knitting, it’s essential to follow the pattern closely. Pay attention to any specific instructions regarding stitch counts, repeats, or changes in stitch pattern. It can be helpful to use a row or stitch counter to keep track of your progress and avoid mistakes. If you come across any unfamiliar techniques or stitches, don’t hesitate to search for tutorials or ask for help from more experienced knitters.
Customizing your project: As you gain confidence in your knitting skills, don’t be afraid to personalize or modify a pattern to suit your preferences. You can experiment with different yarns, colors, stitch patterns, or even add embellishments. Just remember to always make notes of the changes you make, so you can recreate them in the future or share them with others who might be interested in your modifications.
Essential Techniques for Sweater Knitting
When it comes to knitting a sweater, there are several essential techniques that every beginner should be familiar with. These techniques will not only help you create a beautiful and well-fitting sweater, but they will also build your confidence and skill level as a knitter. Here are some of the key techniques to master:
1. Casting On
Before you can begin knitting your sweater, you need to cast on your stitches. There are several methods for casting on, including the long tail cast on, the cable cast on, and the knitted cast on. Each method has its own advantages and creates a slightly different edge. Practice different casting on methods to find the one that works best for you.
2. Knit and Purl Stitches
Knit and purl stitches are the foundation of most knitting projects, including sweaters. Mastering these basic stitches will allow you to create a variety of textures and patterns in your sweater. Practice knitting and purling until you can easily switch between the two stitches without mistakes.
3. Increases and Decreases
Increases and decreases are essential for shaping your sweater. Different types of increases, such as knit front and back (kfb) or make one (M1), can be used to add stitches, while decreases like knit two together (k2tog) or slip slip knit (ssk) can be used to decrease stitches. Understanding how to work these increases and decreases will help you create the shape and fit you desire in your sweater.
4. Seaming
Most sweaters are knit in separate pieces and then seamed together. Learning how to sew your pieces together neatly and securely is an important skill for sweater knitting. There are several seaming techniques to choose from, including mattress stitch, whipstitch, and backstitch. Experiment with different seaming methods to find the one that produces the best results for your sweater.
5. Blocking
Blocking is the final step in sweater knitting, and it can make a significant difference in the overall appearance and fit of your sweater. Blocking involves wetting your finished sweater and then gently reshaping and drying it to the correct dimensions. This helps to even out stitches, smooth any irregularities, and ensure that your sweater fits properly. Follow the blocking instructions for your chosen yarn to achieve the best results.
By mastering these essential techniques, you will be well on your way to knitting your first sweater. Remember to take your time, practice regularly, and don’t be afraid to experiment and try new techniques. With perseverance and dedication, you will soon have a beautiful handmade sweater that you can be proud of.
Picking the right size for your sweater
When it comes to knitting a sweater, one of the most important steps is picking the right size. This ensures that your finished sweater will fit you perfectly and be comfortable to wear. Choosing the wrong size can result in a too tight or too loose fit, which can be disappointing after putting in all the time and effort to knit the sweater.
Firstly, it is essential to take accurate measurements of your body to determine which size to knit. You will need to measure your bust, waist, and hip circumference, as well as your arm length and shoulder width. Most sweater patterns will include a size chart that corresponds to these measurements, allowing you to choose the size that best matches your body.
It is also important to consider the ease of the sweater. Ease refers to the difference between your body measurements and the finished measurements of the sweater. Positive ease means the finished sweater will be larger than your body measurements, while negative ease means it will be smaller. Different sweaters may require different amounts of ease depending on the style and intended fit.
When deciding on the size and ease, it can be helpful to try on similar sweaters or garments that you already own and like the fit of. This can give you an idea of how much ease you prefer and guide your decision-making process. It is also worth considering the type of yarn you will be using and how it will drape on your body.
Ultimately, selecting the right size for your sweater involves a combination of accurate measurements, consideration of the desired ease, and personal preference. Taking the time to choose the correct size will result in a sweater that you love and will enjoy wearing for years to come.
Step-by-step instructions for casting on and creating the ribbing:
Before you begin knitting your beginner sweater, it’s important to understand how to cast on and create the ribbing, which will form the bottom edge of the sweater. The ribbing adds elasticity and structure to the sweater, making it a great starting point for beginners.
Casting On:
To start, you will need to cast on the desired number of stitches onto your knitting needles. The most common method for casting on is the long-tail cast on. Here’s how to do it:
- Hold the knitting needle in your dominant hand, with the tail end of the yarn in your other hand.
- Make a slipknot by creating a loop with the yarn and pulling the end through. Place the slipknot on the knitting needle.
- Hold the needle with the slipknot in your non-dominant hand and the needle without the slipknot in your dominant hand.
- Position both needles so that the slipknot is at the bottom and the working yarn is at the top.
- Insert the needle without the slipknot under the loop of the slipknot and over the tail end of the yarn.
- With your dominant hand, pull the yarn through the loop, creating a new stitch on the knitting needle.
- Repeat steps 5 and 6 until you have cast on the desired number of stitches.
Ribbing:
Once you have cast on the required number of stitches, it’s time to create the ribbing. The ribbing pattern is typically a series of knit and purl stitches, alternating to create a textured effect. Here’s how to knit the ribbing:
- Hold your knitting needle with the cast-on stitches in your dominant hand, and the empty needle in your non-dominant hand.
- Start by knitting the first stitch. Insert the empty needle from left to right into the front of the first stitch on the needle with the stitches.
- Wrap the yarn under and over the tip of the empty needle, pulling it through the first stitch and creating a new stitch on the empty needle. Slip the old stitch off the other needle.
- Next, purl the next stitch. Insert the empty needle from right to left into the front of the second stitch on the needle with the stitches.
- Wrap the yarn over and under the tip of the empty needle, pulling it through the second stitch and creating a new stitch on the empty needle. Slip the old stitch off the other needle.
- Continue alternating between knitting and purling stitches until you reach the end of the row.
- Repeat the knit and purl stitches until you have completed the desired length for your ribbing.
Once you have mastered casting on and creating the ribbing, you are ready to move on to the main body of your beginner sweater. Happy knitting!
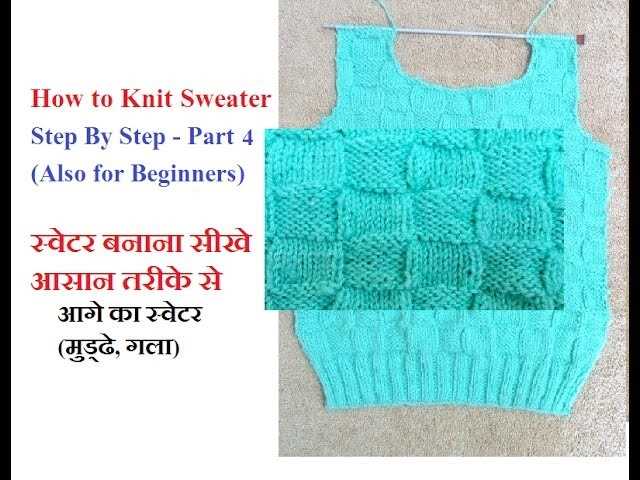
Knitting the body of the sweater
Once you have finished knitting the sleeves, it’s time to move on to the body of the sweater. This is where you will create the main part of the garment that will cover your torso. The body is usually worked in one piece, starting from the bottom and working your way up to the armholes.
To begin, you will need to cast on the required number of stitches for your size. Make sure to keep track of your stitch count and any pattern repeats if you are using a pattern. You can use circular needles for this part of the sweater, as they will allow you to knit in the round and avoid seaming later on.
As you work your way up, you may need to incorporate shaping techniques to create a more flattering fit. This can include increasing or decreasing stitches at certain intervals to create waist shaping or to accommodate the bust. Make sure to follow the instructions provided in your pattern or use a guide for basic shaping techniques.
Once you have reached the desired length for the body, you can start working on the armholes. This involves binding off a certain number of stitches on each side to create an opening for the sleeves. Again, follow the instructions in your pattern or use a guide to ensure accuracy.
After completing the armholes, you can continue knitting the body until you reach the desired length for the sweater. This will vary depending on your personal preference and the style of the sweater you are knitting. Finally, bind off all the stitches and weave in any loose ends to finish off the body of the sweater.
Creating the neckline and shaping the shoulders
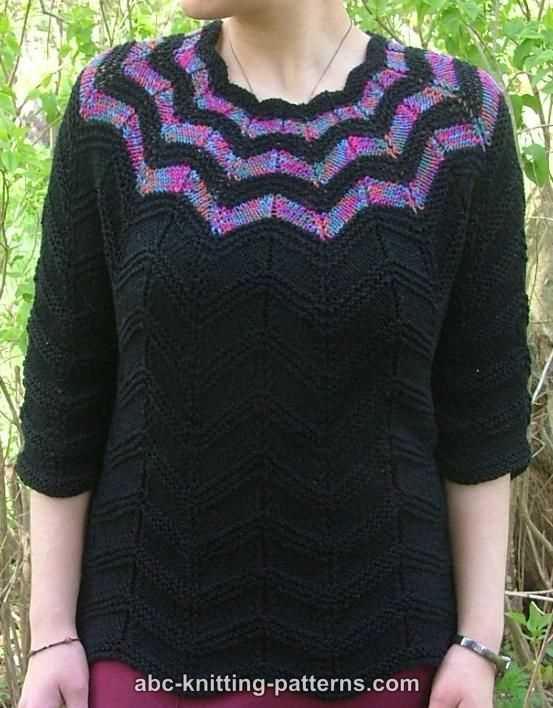
When knitting a sweater, one of the important steps in the process is creating the neckline and shaping the shoulders. The neckline can greatly affect the overall look and fit of the sweater, so it’s important to get it right. There are several different ways to create a neckline, depending on the desired style and function of the sweater.
One common method is to use short rows to shape the neckline. This involves knitting a certain number of stitches and then turning the work before reaching the end of the row. By doing this multiple times, it creates a curved shape that follows the natural curve of the neck. This technique is often used for sweaters with a more relaxed, casual fit.
Another method for shaping the neckline is to use decreases. This involves knitting two stitches together at regular intervals to reduce the number of stitches and create a shaping effect. Decreases can be placed strategically to create different neckline shapes, such as a V-neck or a crew neck. This method is often used for sweaters with a more tailored, structured fit.
Once the neckline is shaped, it’s important to also shape the shoulders. This involves decreasing stitches gradually to create a slope from the neckline to the shoulder. This ensures that the sweater fits comfortably and doesn’t sag or bunch up at the shoulders. The number and frequency of the decreases can vary depending on the desired fit and style of the sweater.
Overall, creating the neckline and shaping the shoulders is an important step in knitting a sweater. It requires careful attention to detail and precision to achieve the desired fit and style. Whether using short rows or decreases, it’s important to follow the pattern instructions and make any necessary adjustments along the way to ensure a well-fitting and aesthetically pleasing final product.
Knitting the sleeves and joining them to the body
After completing the body of the sweater, it’s time to move on to knitting the sleeves and joining them to the body. This step is crucial as it brings the entire sweater together and gives it its final shape.
To begin, you will need to cast on the required number of stitches for the sleeves. The pattern will specify the exact number based on your size. It’s important to use the same type of yarn and needle size that you used for the body to ensure consistency in the overall look and feel of the sweater.
Once you have cast on the stitches, you can start working in the pattern specified for the sleeves. This might involve various stitch patterns, decreases, or increases, depending on the design. It’s important to follow the instructions carefully to create the desired shape and fit.
After completing the required number of rows or rounds for the sleeves, it’s time to join them to the body. To do this, you will need to hold the sleeves and body together, right sides facing each other, and carefully align the stitches. You can use stitch markers to help keep track of the alignment and ensure that the sleeves are evenly distributed around the body.
Once everything is aligned, you can start joining the stitches using a technique such as mattress stitch or a three-needle bind off. These methods create a seamless join that is both sturdy and aesthetically pleasing. Make sure to weave in any loose ends as you go along to minimize finishing work later on.
When the sleeves are successfully joined to the body, you’ll have a complete sweater ready for the final finishing touches. This includes blocking the garment to give it its final shape and size, weaving in any remaining ends, and adding any desired embellishments or finishing details. With these steps, you’ll have a beautiful sweater that you can proudly wear or give as a thoughtful handmade gift.
Add the finishing touches: cuffs, hem, and neckline finish
Once you have completed the main body of your sweater, it’s time to add the finishing touches to give it a polished and professional look. This includes working on the cuffs, hem, and neckline finish. These details can make a big difference in the overall appearance and fit of the sweater.
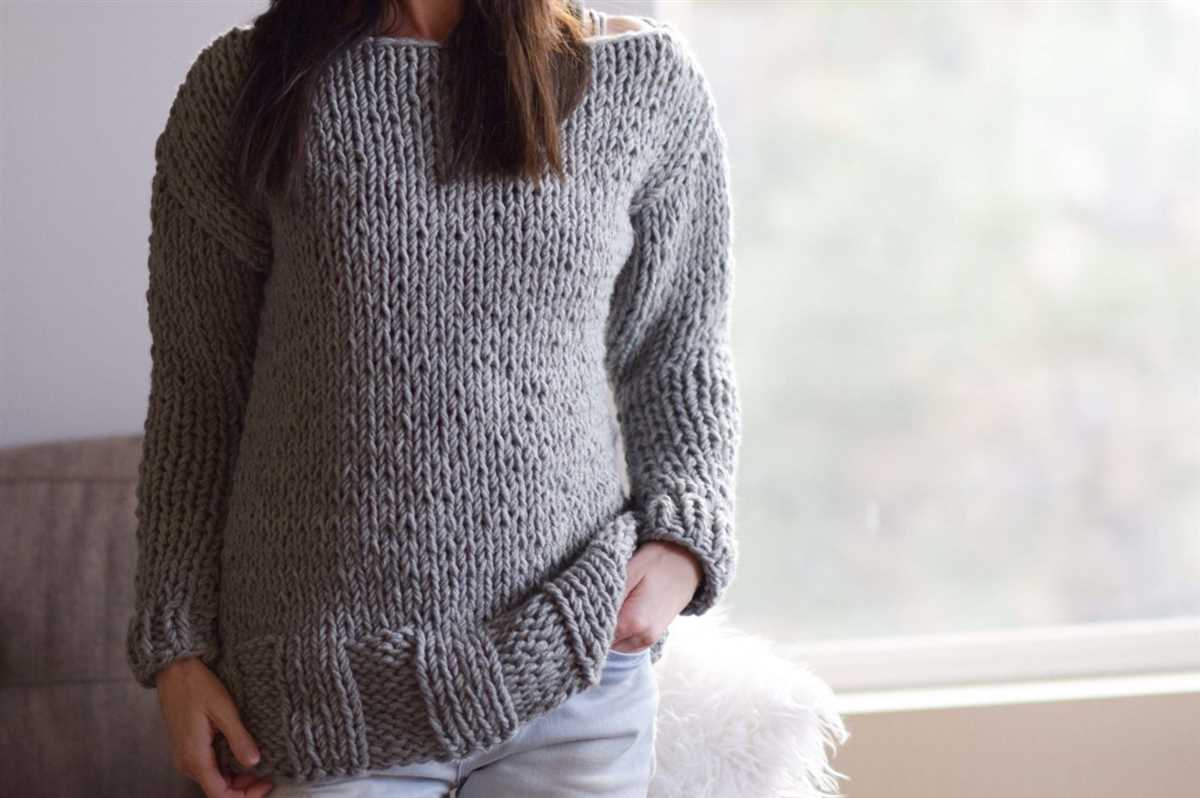
Cuffs: The cuffs are the edges of the sleeves that fit snugly around the wrists. To create well-fitting cuffs, you can use a ribbing technique such as k1, p1 (knit one, purl one) or k2, p2. This creates a stretchy and snug cuff that will stay in place and provide a stylish look. The length of the cuffs can vary depending on your preference, but most patterns usually recommend a length between 1-3 inches.
Hem: The hem is the bottom edge of the sweater. Similar to the cuffs, you can use a ribbing technique to create a neat and attractive hem. The most common options include k1, p1 or k2, p2 ribbing, but you can also experiment with other stitch patterns to add some texture and interest to the hem. The length of the hem can vary depending on the style and design of the sweater, but it is usually slightly longer than the cuffs.
Neckline finish: The neckline finish is an essential part of the sweater, as it frames your face and adds a stylish touch. There are several options for finishing the neckline, such as knitting a ribbed collar or a rolled collar. You can also opt for a simple bind-off for a clean and minimalistic look. The choice of neckline finish largely depends on your personal preference and the design of the sweater.
Overall, paying attention to the cuffs, hem, and neckline finish can greatly enhance the final appearance and fit of your beginner sweater. Take your time to carefully work on these details, following the instructions of a reliable knitting pattern, and you’ll be rewarded with a beautiful, well-fitting sweater that you can proudly wear.
Blocking and Seaming Your Finished Sweater
Once you have completed knitting your sweater, the next step is to block and seam it to give it a finished look. Blocking involves shaping and setting the fibers of the garment by wetting it and then laying it out flat to dry. This process helps to even out any uneven stitches and gives the sweater a crisp and polished appearance.
To block your finished sweater, start by filling a basin or sink with lukewarm water and adding a small amount of gentle detergent. Gently submerge the sweater in the water, making sure it is completely saturated. Allow it to soak for about 20 minutes, then carefully remove it from the water and squeeze out the excess moisture without wringing or twisting the fabric. Lay the sweater flat on a clean towel, reshaping it as necessary to ensure it retains its proper dimensions. Leave it to air dry, preferably on a flat surface or a drying rack.
Once the sweater is dry, it is time to seam it together. This involves joining the various pieces of the sweater, such as the front and back panels, and the sleeves. To do this, you will need a tapestry needle and matching yarn or thread. Start by aligning the edges of the pieces to be seamed and securing them in place with pins or stitch markers. Begin stitching the pieces together using a whip stitch or mattress stitch, depending on the desired finish. Make sure to weave in any loose ends as you go along to prevent them from unraveling.
Seaming can be a time-consuming and intricate process, but it is essential for achieving a professional-looking sweater. Take your time and pay attention to details to ensure neat and even seams. Once you have seamed all the pieces together, give the sweater a final check to make sure everything is aligned and secure. You can then proceed to add any finishing touches, such as sewing on buttons or adding a ribbed neckline. With blocking and seaming complete, your beginner sweater is now ready to be worn and enjoyed!
Troubleshooting common sweater knitting issues
Knitting a sweater can be a fun and rewarding project, but it can also come with its fair share of challenges. Here are some common issues that beginner knitters may encounter while knitting a sweater, along with some tips on how to troubleshoot them:
1. Uneven tension
Uneven tension occurs when the stitches in your sweater are not all the same size or tightness. This can lead to a finished sweater that appears lumpy or ill-fitting. To troubleshoot this issue, try the following:
- Practice consistent tension by knitting a swatch before starting your sweater. This will help you get a feel for the yarn and the stitch pattern, allowing you to adjust your tension if necessary.
- Pay attention to your knitting technique. Make sure you’re holding the yarn consistently and applying the same amount of tension to each stitch. If you notice that your tension is inconsistent, you may need to adjust your technique.
- If your tension is consistently loose or tight, you may need to switch to a different needle size. Experiment with different needle sizes until you find one that gives you the desired tension.
2. Twisted or tangled yarn
Twisted or tangled yarn can make knitting a sweater a frustrating experience. Here are some tips for untangling your yarn and preventing tangles in the first place:
- If you notice that your yarn is twisted or tangled, take a moment to carefully untangle it before continuing to knit. This can save you time and frustration in the long run.
- When knitting from multiple skeins or balls of yarn, make sure to keep them separate and untangled. You can use yarn bowls or yarn holders to keep your yarn organized and prevent tangling.
- Avoid knitting with yarn that has excessive knots or ties. These can easily become tangled and create frustrations while knitting. If you encounter a knot or tie in your yarn, untangle it carefully or consider cutting it out and rejoining the yarn.
3. Wrong gauge
Knitting a sweater with the wrong gauge can result in a finished garment that is either too small or too large. To troubleshoot this issue, follow these steps:
- Always knit a gauge swatch before starting your sweater. This will help you determine if your tension matches the pattern’s gauge requirements.
- If your gauge swatch doesn’t match the pattern’s gauge, try using a different needle size. A smaller needle size will result in more stitches per inch, while a larger needle size will result in fewer stitches per inch.
- If you’re still having trouble achieving the correct gauge, you may need to switch to a different yarn weight or adjust the pattern to accommodate your gauge.
Remember, knitting a sweater is a journey, and it’s completely normal to encounter challenges along the way. The key is to stay patient and persistent, and don’t hesitate to seek help or advice from more experienced knitters. With practice and troubleshooting, you’ll be well on your way to knitting beautiful sweaters!