
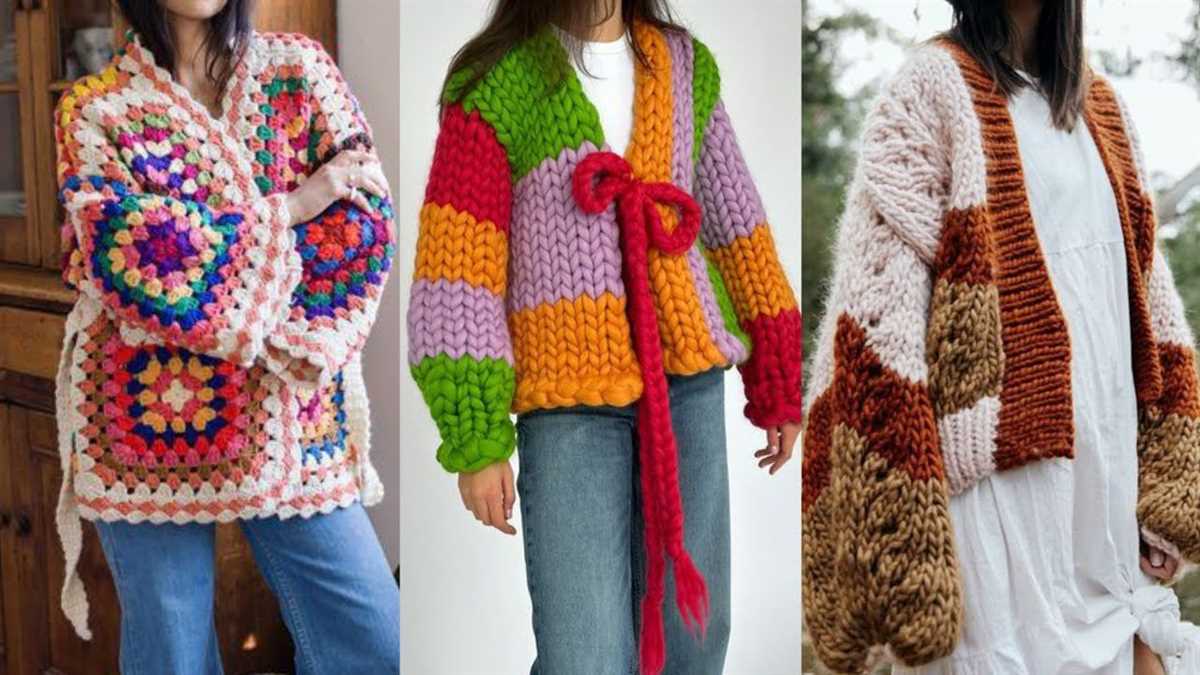
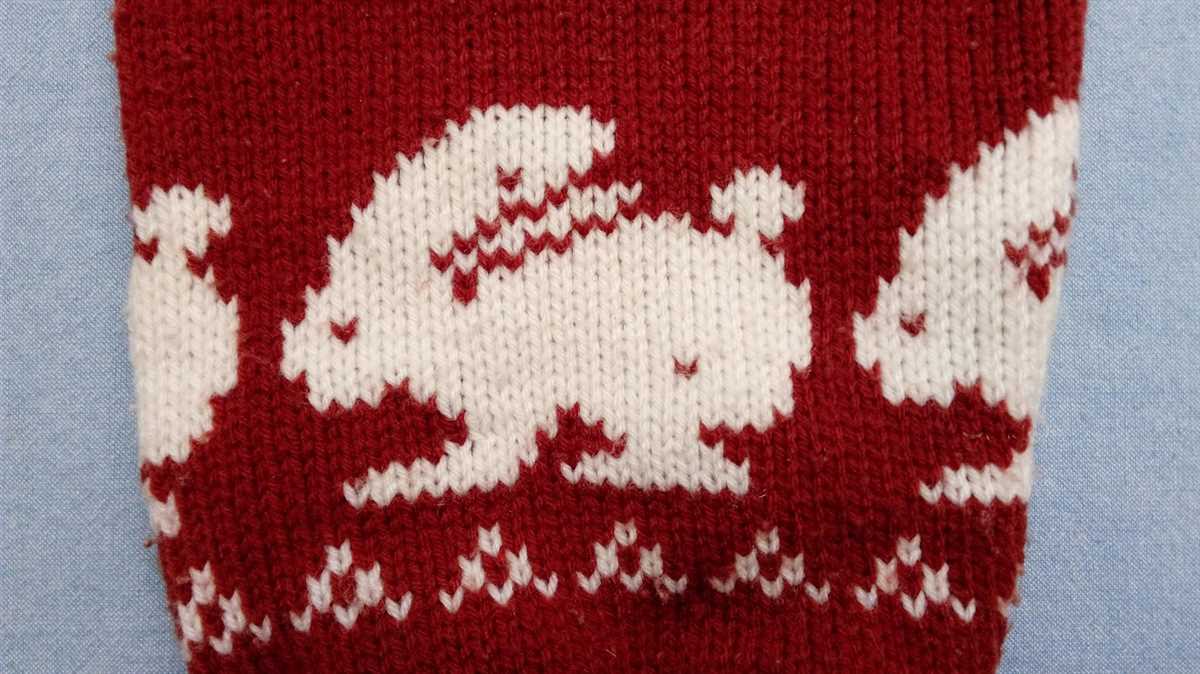
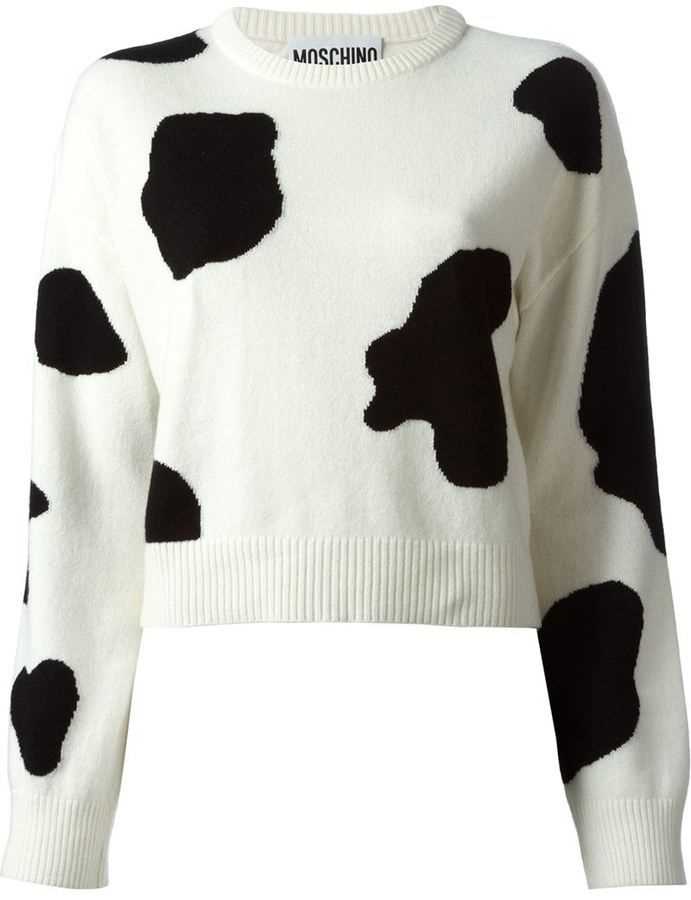
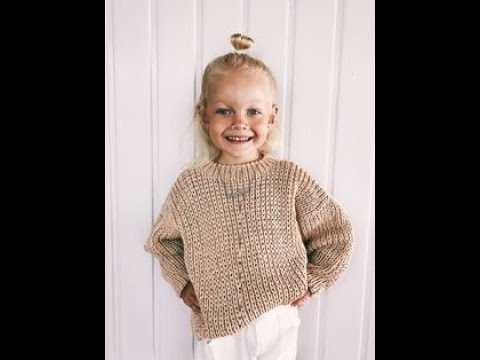
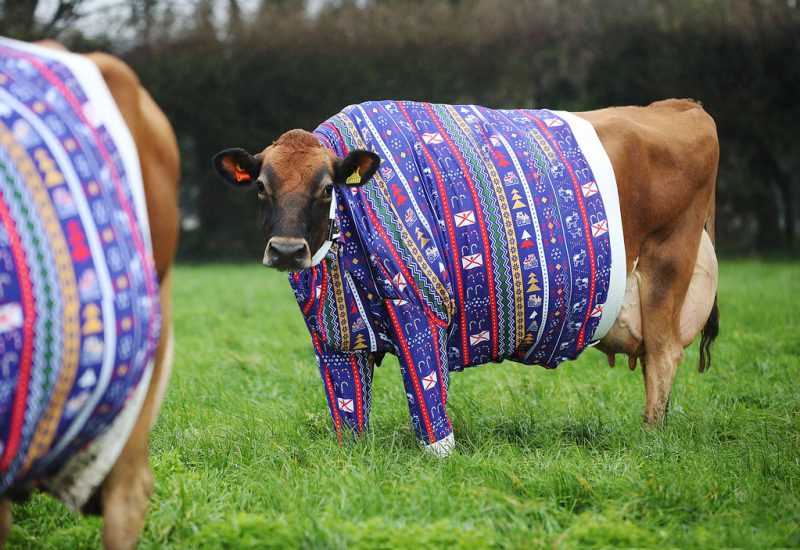
If you’re a knitting enthusiast looking for a fun and quirky project, look no further! The cow sweater knitting pattern is perfect for adding some whimsy to your wardrobe or making an adorable gift for someone special. This pattern features an adorable cow motif that will make you smile every time you wear it. Whether you’re a beginner or an experienced knitter, this pattern is a great way to challenge your skills and create something truly unique.
The cow sweater knitting pattern is not only cute but also practical. Made from soft and cozy yarn, this sweater will keep you warm and stylish during the colder months. The pattern is customizable, allowing you to choose your favorite colors and adjust the fit to suit your preferences. With detailed instructions and step-by-step illustrations, even novice knitters can tackle this project with confidence.
Knitting your own cow sweater is a great way to express your creativity and showcase your unique style. This project is also a wonderful opportunity to practice different knitting techniques, such as colorwork, shaping, and seaming. The finished sweater is sure to be a conversation starter and a cherished addition to your handmade wardrobe.
Cow Sweater Knitting Pattern
If you’re a fan of cows and love to knit, then this cow sweater knitting pattern is perfect for you! Whether you want to make a cozy sweater for yourself or a cute gift for a cow-loving friend, this pattern is sure to bring a smile to your face. The design features a delightful cow motif that will add a touch of whimsy to your wardrobe.
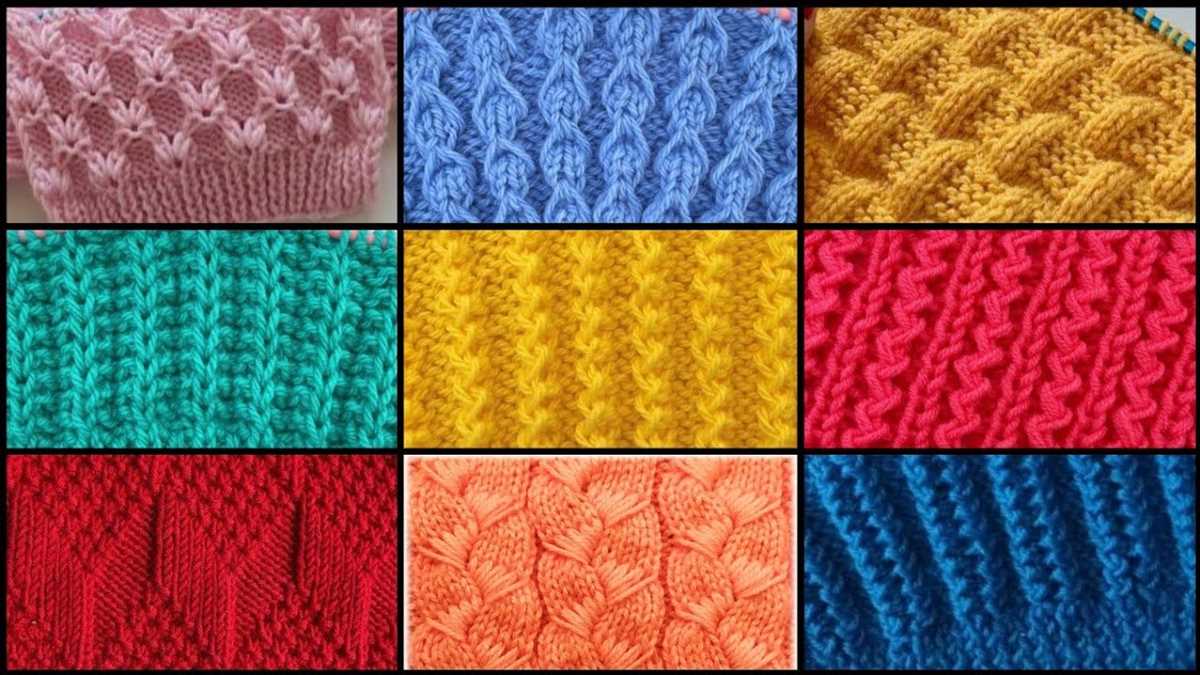
To create this cow sweater, you will need basic knitting skills and some experience with colorwork. The pattern uses a combination of knit and purl stitches, as well as stranded colorwork techniques to create the cow design. You will also need a set of double-pointed needles or a circular needle, depending on your preference.
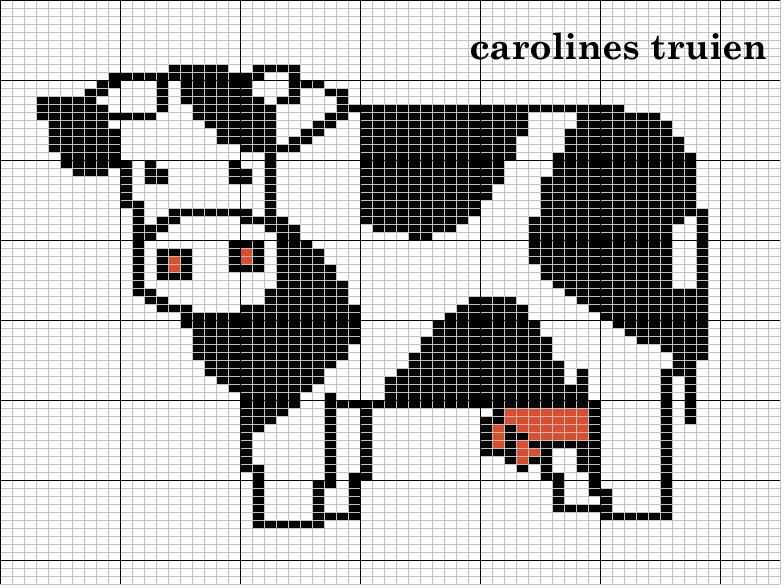
The pattern begins with the ribbing for the collar, followed by the body and sleeves. Then, the cow motif is charted and knitted using the stranded colorwork technique. The pattern provides detailed instructions and a chart for the cow design, making it easy to follow along.
One of the great things about this cow sweater knitting pattern is that it allows you to unleash your creativity. You can customize the colors of the cow’s spots and the background to match your preference or to reflect the colors of your favorite cow breed. The pattern also includes instructions for different sizes, so you can make a sweater that fits you perfectly.
Once you finish knitting the sweater, you can add some additional details, such as embroidered eyes, to bring the cow to life. Whether you wear it on a chilly day or show it off to your knitting friends, this cow sweater is sure to be a unique and eye-catching addition to your wardrobe.
Choosing the right yarn for your cow sweater
When it comes to knitting your own cow sweater, one of the most important decisions you’ll make is choosing the right yarn. The yarn you select will not only determine the overall look and feel of your sweater, but also affect its warmth, durability, and ease of care. Here are some factors to consider when selecting the perfect yarn for your cow sweater.
Fiber Content
First and foremost, you’ll want to consider the fiber content of your yarn. For a cow sweater, it’s best to choose a yarn that is soft and comfortable against the skin. Natural fibers such as merino wool, alpaca, or cashmere are excellent choices, as they provide warmth without being itchy. If you prefer a vegan option, there are also many synthetic yarns available that mimic the softness and warmth of natural fibers.
Weight
The weight of the yarn is another important factor to consider. A cow sweater is typically a bulky or chunky knit, which means you’ll want to choose a yarn that is thick and substantial. Worsted or bulky weight yarns will work well for this project, as they will create a cozy and warm sweater that knits up quickly. However, keep in mind that the weight of the yarn will also affect the drape and overall look of your finished sweater, so choose accordingly.
Color and Pattern
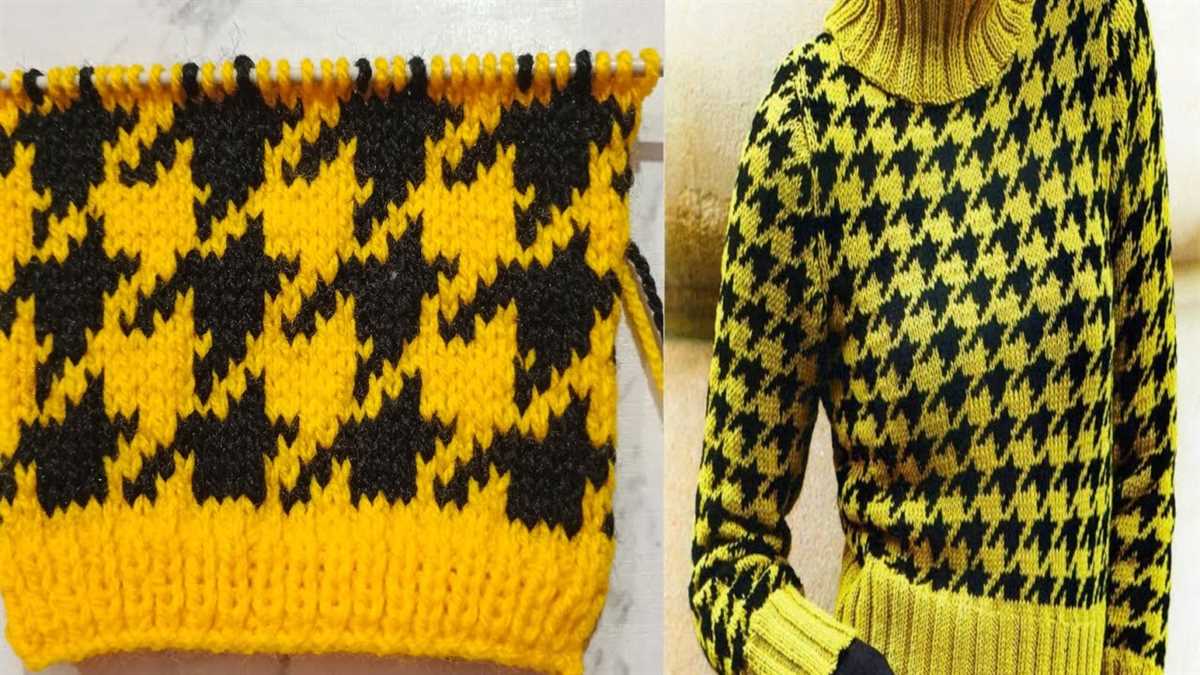
When selecting yarn for your cow sweater, don’t forget to consider the color and pattern you want to create. A cow sweater can be a great opportunity to play with different colors and textures, so choose a yarn that comes in a variety of shades. You can opt for a traditional black and white cow pattern, or get creative with colorful spots and stripes. The choice is yours, but make sure the yarn you choose can achieve the desired effect.
Care Instructions
Finally, don’t forget to check the care instructions of the yarn you choose. Depending on the fiber content, some yarns may require special care such as hand washing or laying flat to dry. Consider your lifestyle and how much time you’re willing to spend on maintaining your cow sweater. If you prefer low-maintenance options, look for machine washable and durable yarns that can withstand regular wear and tear.
- Consider the fiber content of the yarn.
- Choose a yarn that is soft and comfortable against the skin.
- Opt for a bulky or chunky weight yarn.
- Select yarn with a variety of colors to create the desired pattern.
- Check the care instructions of the yarn.
Understanding the necessary knitting skills
When it comes to knitting a cow sweater, there are a few specific skills that are essential to ensure a successful project. Whether you’re a beginner or an experienced knitter, understanding these skills will help you create a beautiful and cozy sweater for your cow.
Casting on: The first step in any knitting project is casting on. This is the process of creating the initial row of stitches on your knitting needle. There are several methods to cast on, such as the long-tail cast on or the knitted cast on. Whichever method you choose, make sure to cast on the appropriate number of stitches for your desired size of cow sweater.
Knit and purl stitches: The basic knit and purl stitches are the building blocks of most knitting patterns. In order to create the texture and patterns in your cow sweater, you will need to know how to knit and purl. Knitting is the process of inserting the right needle into the stitch on the left needle and pulling the yarn through, while purling is the process of inserting the right needle into the stitch from the back and pulling the yarn through.
Increasing and decreasing: In order to shape your cow sweater, you will need to know how to increase and decrease stitches. Increasing involves adding stitches to your row, usually by knitting or purling into the front and back of a stitch. Decreasing involves removing stitches from your row, usually by knitting or purling two stitches together. These techniques will allow you to create the desired shape and fit of your cow sweater.
Seaming and finishing: Once you have completed all the necessary knitting, it’s time to seam and finish your cow sweater. This involves sewing or grafting the different pieces of the sweater together, such as the front and back panels, the sleeves, and the collar. It’s important to pay attention to the instructions and measurements provided in the pattern to ensure a seamless and professional-looking finish.
Blocking: To give your cow sweater its final shape and enhance the stitch definition, blocking is an important step. This involves wetting or steaming the finished sweater and then gently stretching and shaping it to the desired dimensions. Blocking helps to even out any irregularities in your knitting and gives the sweater a polished and professional appearance.
By understanding and mastering these essential knitting skills, you will be well-equipped to take on the challenge of knitting a cozy and adorable cow sweater. So grab your knitting needles and get ready to create a unique and delightful garment for your cow friend!
Obtaining the cow sweater knitting pattern
If you are looking to knit a cow sweater, you will need to obtain the knitting pattern first. There are several ways to obtain this pattern, depending on your preferences and resources.
1. Purchase online: One of the easiest ways to get the cow sweater knitting pattern is to purchase it online. Many websites and online platforms offer a wide range of knitting patterns for various designs, including cow sweaters. Simply search for “cow sweater knitting pattern” on your preferred platform and browse through the options available. Once you find the pattern you like, you can purchase and download it instantly.
2. Visit local yarn stores: Another option is to visit your local yarn stores. Yarn stores often have knitting pattern books and magazines available for purchase. They may have a section dedicated to animal-themed patterns, where you can find the cow sweater pattern you are looking for. Additionally, the staff at these stores can provide guidance and recommendations based on your knitting skill level and preferences.
3. Join knitting communities: Joining knitting communities, either online or in your local area, can be a great way to connect with fellow knitters and share resources. There are numerous online forums, social media groups, and knitting clubs where members share knitting patterns and resources. By joining these communities, you can ask for the cow sweater knitting pattern or see if anyone is willing to share it with you.
4. Attend knitting workshops or classes: If you enjoy hands-on learning and prefer guidance from an instructor, attending knitting workshops or classes can be a great option. Many knitting workshops and classes offer specific projects, including animal-themed sweaters. By participating in these workshops, you can learn the necessary knitting techniques and obtain the cow sweater knitting pattern from the instructor.
Once you have obtained the cow sweater knitting pattern, you can start gathering the necessary materials and begin knitting your unique and adorable cow sweater. With the pattern in hand, you will have step-by-step instructions to guide you through the knitting process and create a one-of-a-kind sweater for yourself or your loved ones.
Gathering the required knitting tools
Before you start knitting your cow sweater, it’s important to gather all the necessary tools. Having everything you need on hand will make the process easier and more enjoyable. Here are some essential knitting tools you’ll need:
- Knitting needles: Choose the appropriate size needles for your chosen yarn weight. Circular or straight needles can both work, depending on your preferred knitting style.
- Yarn: Select a yarn color and weight that you like for your cow sweater. Make sure to buy enough yarn to complete the project, taking into account any pattern repeats or alternative sizes.
- Tape measure: This tool will help you measure your gauge and ensure that your sweater fits properly.
- Stitch markers: Markers can be helpful for indicating where certain sections begin or end in the pattern.
- Tapestry needles: These large-eye needles are used for sewing in loose ends and seaming pieces together.
- Scissors: Have a pair of sharp scissors specifically for cutting yarn.
- Row counter: If you prefer to keep track of your rows, a row counter can be helpful.
Once you have gathered all of these knitting tools, you’ll be well-prepared to start knitting your cow sweater. Make sure everything is easily accessible and organized before diving into the project. With the right tools at your disposal, you’ll be on your way to creating a cozy and adorable cow sweater in no time!
Understanding the knitting abbreviations used in the pattern

When reading a knitting pattern, it’s important to understand the abbreviations used as they provide concise instructions that save space and make the pattern easier to follow. The abbreviations used in the cow sweater knitting pattern may seem confusing at first, but with a little practice and knowledge, they become second nature.
Here are some commonly used knitting abbreviations in the pattern:
- CO – Cast On
- K – Knit
- P – Purl
- YO – Yarn Over
- K2tog – Knit two stitches together
- P2tog – Purl two stitches together
- St st – Stockinette Stitch
- RS – Right Side
- WS – Wrong Side
- Inc – Increase (by knitting into the front and back of a stitch)
- Dec – Decrease (by knitting two stitches together)
It’s also important to understand any special stitches or techniques used in the pattern, such as cables or lace. These may be indicated by their own abbreviations or symbols, and the pattern will usually include instructions or a key explaining how to work them.
Remember to refer to the pattern’s key or legend for any unfamiliar abbreviations or symbols used in the pattern. Additionally, it’s always helpful to keep a knitting abbreviation reference guide on hand for easy access.
Casting on stitches for the cow sweater
When starting to knit a cow sweater, the first step is to cast on the desired number of stitches. The number of stitches will depend on the size of the sweater and the gauge of your knitting needles and yarn. It’s recommended to follow a knitting pattern or consult a knitting reference guide for the specific number of stitches needed for your project.
One common method for casting on stitches is the long-tail cast on. This is a versatile cast on method that creates a neat and elastic edge. To begin, leave a tail of yarn that’s approximately three times the width of the project. Make a slipknot and place it on the knitting needle, holding the tail in your right hand and the working yarn in your left hand.
Step 1: Hold the needle with the slipknot in your right hand, and insert the tip of the needle into the loop on your left thumb.
Step 2: With your left hand, bring the working yarn over the needle, from front to back.
Step 3: Use your right hand to bring the needle tip over the working yarn and back through the loop on your thumb.
Step 4: Release the loop from your thumb and tighten the stitch by pulling gently on the working yarn.
Repeat these steps until you have cast on the required number of stitches for your cow sweater. It’s important to maintain an even tension throughout the casting on process to ensure that the edge of your sweater is consistent and not too tight or too loose.
Once you have finished casting on, you can proceed to the next steps of the knitting pattern, such as knitting the first row or starting the ribbing. Remember to refer to your pattern for specific instructions on how to proceed with your cow sweater project.
Knitting the body of the cow sweater
Once you have finished knitting the cow sweater’s collar and sleeves, it’s time to move on to the body. This is where the real fun begins! The body of the sweater is typically worked in the round, using circular knitting needles. This allows for a seamless construction and a more comfortable fit.
To start, you will need to cast on the required number of stitches for your size. Refer to the pattern for the specific stitch count. It’s important to keep track of your stitches, as mistakes can easily throw off the pattern and affect the overall fit of the sweater.
With your stitches cast on, join the round and place a stitch marker to mark the beginning of the round. This will help you keep track of your progress as you work. Depending on the pattern, you may need to work a few rounds of ribbing or a specific stitch pattern before moving on to the main body.
Once you have completed any initial pattern requirements, continue working in the round until you reach the desired length for the body of the sweater. This may involve following a specific stitch pattern or simply knitting every round for a basic stockinette stitch. Remember to check the pattern for any shaping instructions, such as decreases or increases.
As you near the end of the body, you may also need to incorporate any additional pattern details, such as color changes or stitch motifs. Follow the instructions carefully to ensure the finished sweater matches the intended design.
Once you have completed the body of the cow sweater, you can move on to the final steps of the pattern, which typically involve working the ribbing for the hem and binding off. Then, it’s time to sew in any loose ends, block your sweater to shape, and proudly showcase your adorable cow creation!
Shaping the armholes and neckline
After completing the body of the cow sweater, you will now move on to shaping the armholes and neckline. This is an important step as it determines the fit and style of the sweater.
To shape the armholes, you will begin by binding off a certain number of stitches at each side of the sweater. This creates the opening for the arms and allows for ease of movement. The number of stitches to bind off will depend on your pattern and the size of the sweater. You may need to decrease stitches before binding off to create a smooth curve.
Next, you will shape the neckline. This can be done in different ways, depending on the design of the sweater. One common method is to continue binding off stitches at the center of the sweater, creating a V-shape. This creates a flattering neckline and allows for easy insertion of the head. Alternatively, you can shape the neckline with decreases, creating a rounded or square shape. The choice of neckline shape depends on your personal preference and the overall design of the sweater.
Once the armholes and neckline have been shaped, you will continue knitting the remaining stitches to complete the sweater. This may involve knitting straight rows or working in pattern as specified by the pattern instructions. Be sure to follow the pattern carefully to achieve the desired shape and fit.
Knitting the sleeves for the cow sweater
Knitting the sleeves for the cow sweater is an essential step in completing this adorable and cozy garment. The sleeves add warmth, comfort, and style to the sweater, making it perfect for chilly days or lounging around at home. Whether you’re an experienced knitter or a beginner, following the pattern and carefully knitting the sleeves will result in a finished product that will bring a smile to your face.
Pattern: The cow sweater knitting pattern usually includes instructions for knitting the sleeves. It will provide you with the necessary measurements, stitch counts, and any specific stitch patterns or techniques to follow. Make sure to read the pattern carefully and have all the required materials and tools ready before starting.
Choosing the yarn: When knitting the sleeves for the cow sweater, it’s important to choose a yarn that complements the overall design. Opt for a soft and cozy yarn that will keep you warm and provide a comfortable fit. Consider the color scheme of the sweater and choose a yarn color that will enhance the cow pattern or create a pleasant contrast.
Tip: If you’re looking for a more playful touch, you can experiment with different yarn colors for the sleeves, creating a striped or color-blocked effect.
Knitting techniques: The sleeves of the cow sweater are usually knitted in the round using double-pointed needles or a circular needle with the magic loop method. This technique allows you to knit the sleeves seamlessly, avoiding any unsightly seams. Follow the instructions in the pattern for the cast-on, stitch counts, and any specific stitch patterns or increases you may need to make.
- Knit in the round for the desired length, following any stitch patterns indicated in the pattern.
- Shape the sleeve by decreasing stitches at regular intervals, as directed by the pattern. This will create a comfortable fit and taper the sleeve toward the cuff.
- Continue knitting until you reach the desired length for the sleeve cuff.
- Carefully bind off the stitches to complete the sleeve.
Once both sleeves are complete, you can attach them to the body of the cow sweater using the recommended seaming technique or by picking up stitches and knitting them together with the body. Take your time and pay attention to detail to ensure a seamless and professional-looking finish.
With the sleeves knitted and attached, your cow sweater is now ready for wearing or gifting to someone special. Enjoy the cozy warmth and charm of the cow design, and take pride in your knitting skills!
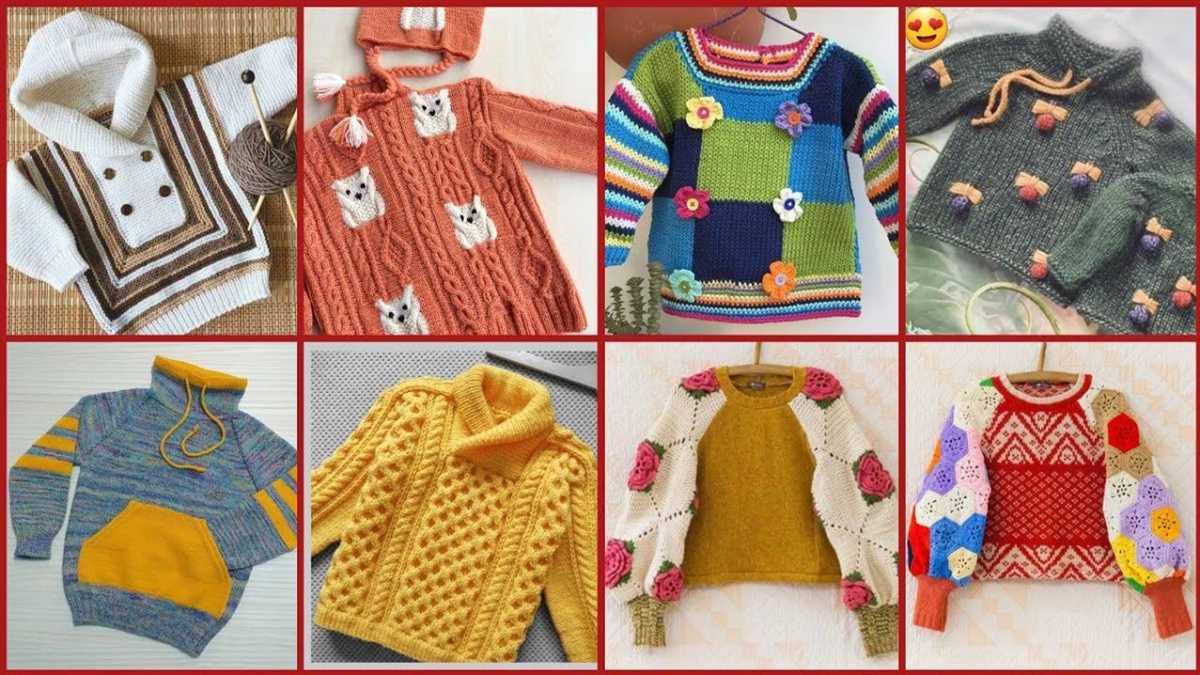
Finishing touches: adding cow details
Now that you have completed knitting the main body of your cow sweater, it’s time to add some adorable cow details that will bring the design to life. These finishing touches will enhance the overall look of your sweater and make it truly unique. Here are some ideas for adding cow details:
1. Cow spots:
To create the classic cow pattern, you can use duplicate stitch or embroidered stitches to add spots to your sweater. Choose a contrasting color of yarn that complements the main color of your sweater. Using a yarn needle, carefully stitch spots onto the body of the sweater in a random or organized pattern. This will give your sweater a playful and whimsical touch.
2. Cow ears:
To make your sweater truly resemble a cow, consider adding cute cow ears to the hood or neckline. You can knit or crochet small ear shapes using the same yarn as your sweater or an alternative color if you prefer. Attach the ears to the top of the hood or along the neckline using a yarn needle and some thread. This will instantly transform your sweater into a cow-themed masterpiece.
3. Cow face elements:
To bring even more personality to your cow sweater, you can add some cow face elements such as eyes, a nose, and a mouth. These can be created using embroidery techniques or by attaching small buttons or beads. Use your creativity to design the face of your cow sweater and bring it to life. You can even experiment with different facial expressions to add extra charm to your design.
Remember to have fun with the process and make it your own. Adding these cow details will add a delightful touch to your finished sweater, and you’ll be proud to wear your handmade creation.
Blocking and assembling the cow sweater
After completing all the knitting sections of the cow sweater, the next step is to block the pieces. Blocking is an essential process in knitting as it helps to shape and size the garment properly. To block the cow sweater, start by filling a basin or sink with lukewarm water and add a small amount of wool wash. Gently submerge each knitted piece in the water and let it soak for about 15 minutes.
Once the pieces have soaked, carefully remove them from the water and squeeze out the excess moisture. Lay each piece flat on clean towels and shape them to the correct dimensions. Use pins to secure the edges and ensure they stay flat and square. Allow the pieces to air dry completely before proceeding to the next step.
After blocking, it’s time to assemble the cow sweater. Start by sewing the shoulder seams together using a tapestry needle and a matching yarn. Make sure to align the pieces properly and create a strong, secure seam. Next, sew the side seams from the bottom hem up to the armholes, again using a tapestry needle and matching yarn.
Once the sides are sewn, it’s time to attach the sleeves. Pin the sleeves into the armholes, making sure to match the stitches at the seam. Use the same yarn and a tapestry needle to sew the sleeves to the body, being careful not to twist or pull the fabric. Finally, sew the sleeve seams from the underarm to the wrist, ensuring a smooth and seamless finish.
With the cow sweater fully assembled, it’s time to add any finishing touches such as ribbing or a collar. Follow the pattern instructions for these final steps, making sure to take your time and pay attention to detail. And voila! Your cow sweater is complete and ready to be worn or gifted to a lucky recipient.
Tips and Tricks for a Successful Cow Sweater Knitting Project

Knitting a cow sweater can be a fun and rewarding project. However, it’s important to keep a few tips and tricks in mind to ensure that your project turns out just how you envision it. Here are some helpful suggestions to consider:
- Choose the right yarn: When selecting yarn for your cow sweater, opt for something soft and durable. Wool blends or acrylic yarns tend to work well for this type of project.
- Use appropriate knitting needles: The size of your knitting needles can greatly impact the outcome of your sweater. Be sure to use the recommended needle size for your chosen yarn to achieve the correct gauge.
- Follow the pattern carefully: Cow sweater knitting patterns can be complex, so it’s important to read and understand the instructions before you begin. Make sure to follow the pattern step-by-step to avoid any mistakes or confusion.
- Keep track of your progress: Marking your rows or using stitch markers can help you stay on track and easily identify when to switch colors or increase/decrease stitches.
- Practice fair isle knitting techniques: If your cow sweater pattern includes colorwork or fair isle knitting, it’s helpful to practice these techniques on a small swatch beforehand to ensure you’re comfortable with the skill.
- Pay attention to tension: Maintaining consistent tension throughout your knitting is crucial for a uniform and professional-looking finish. Take breaks when needed and make sure to check your tension regularly as you go along.
- Block your finished project: Once you’ve completed your cow sweater, blocking it will help to even out the stitches and give it a polished look. Follow the blocking instructions provided with your yarn to achieve the best results.
With these tips and tricks in mind, you’re now well equipped to take on your cow sweater knitting project. Remember to enjoy the process and don’t be afraid to ask for help or seek out additional resources if needed. Happy knitting!