
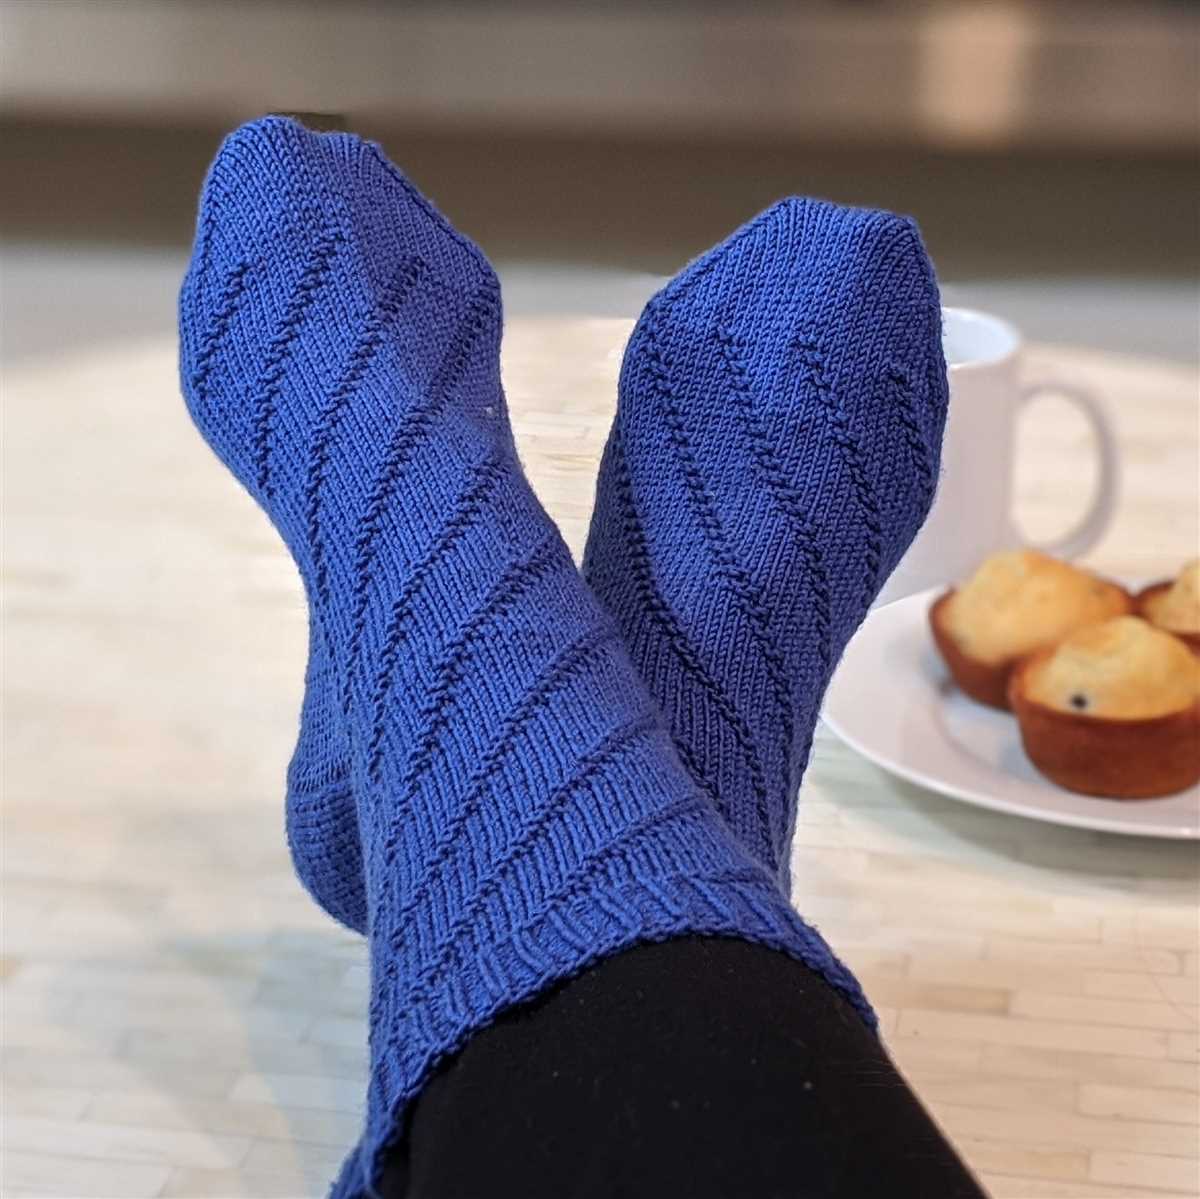
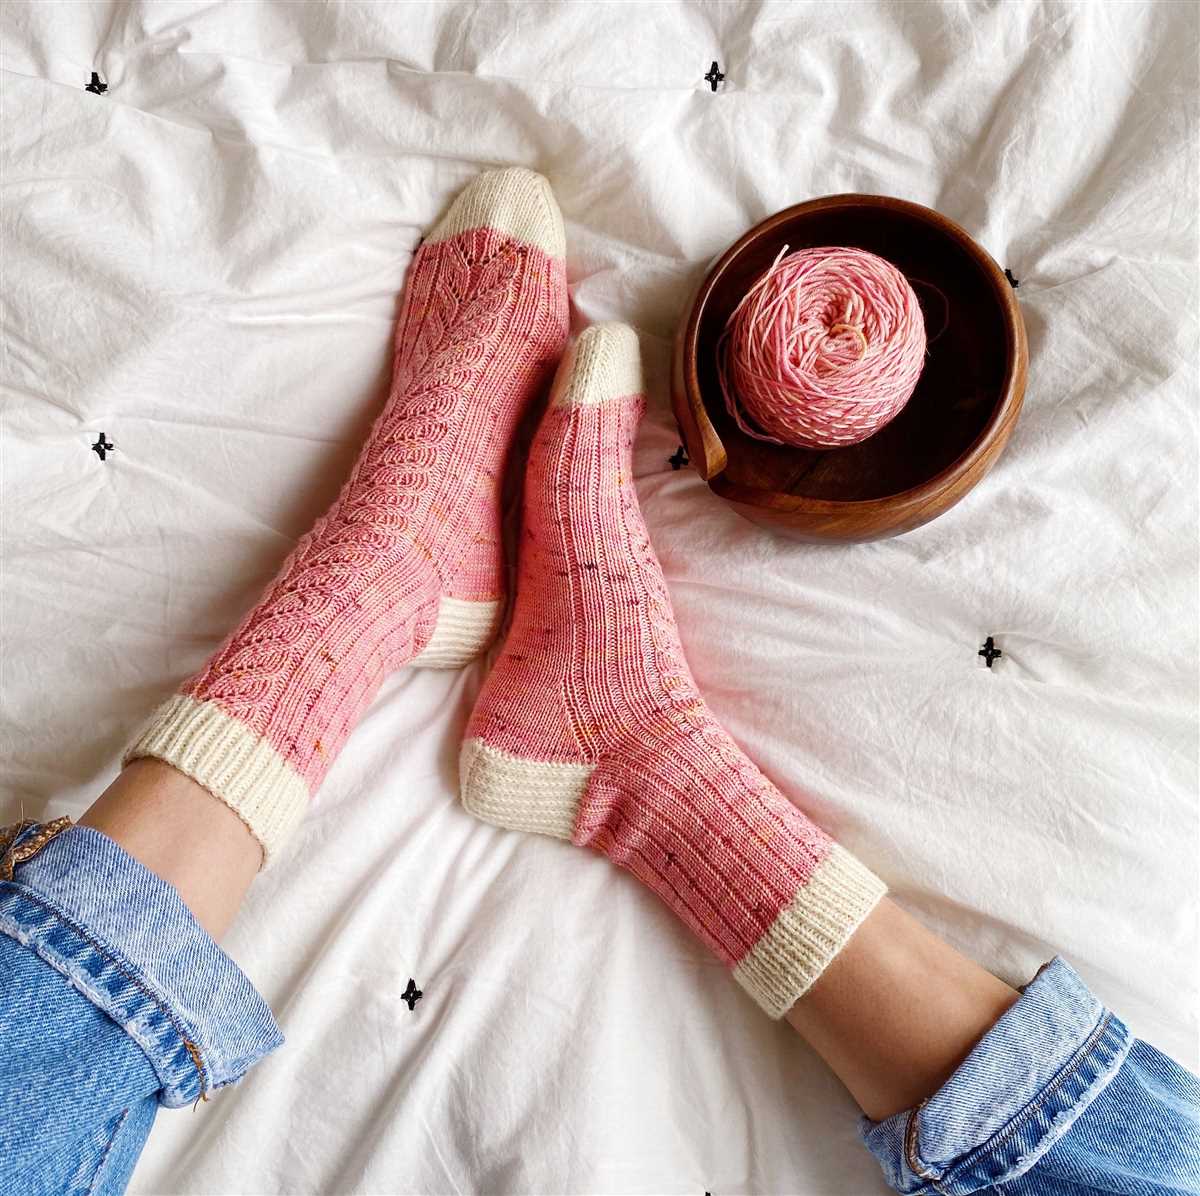
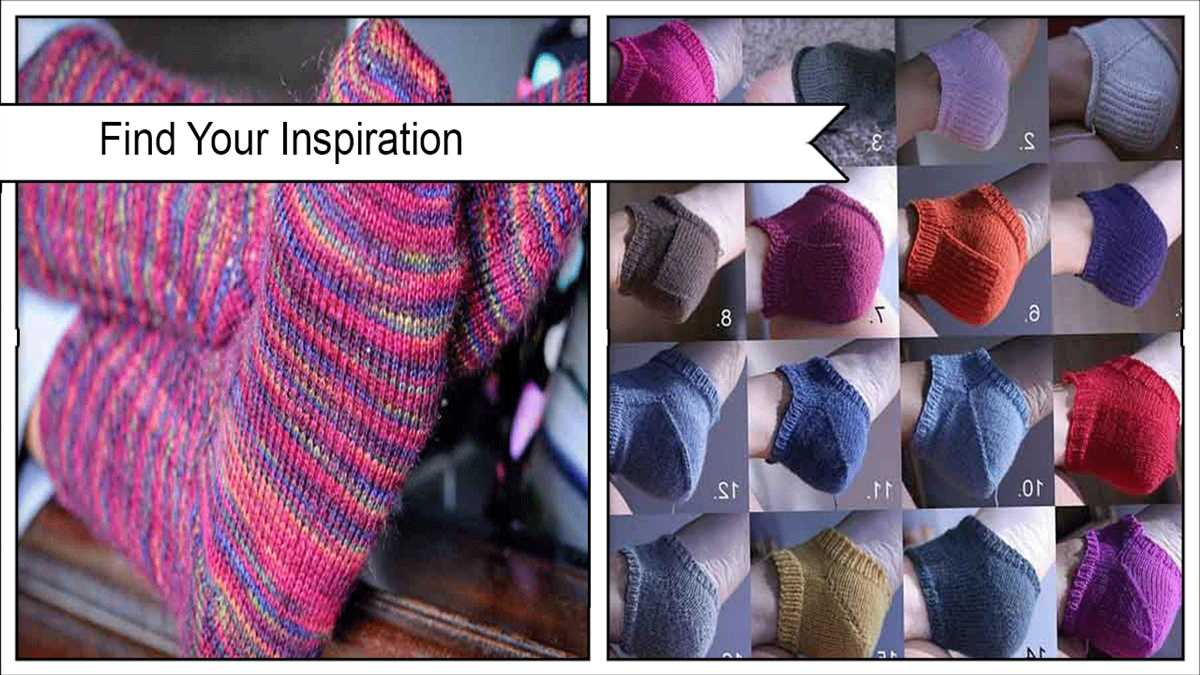
Knitting socks is a wonderful way to keep your feet warm and cozy during the colder months, and it’s also a great way to show off your creativity. With a basic understanding of knitting techniques, you can easily create your own beautiful socks. In this article, we will provide you with an easy knitted sock pattern that is perfect for beginners. Whether you’re new to knitting or an experienced knitter looking for a quick and satisfying project, this pattern is for you.
One of the great things about knitting socks is that you can customize them to fit your feet perfectly. You can easily adjust the size, length, and width to ensure a comfortable and snug fit. This pattern allows you to knit socks for both men and women, and you can even make them for children by adjusting the size accordingly. So, no matter who you’re knitting for, you can create a pair of socks that they will love.
This easy knitted sock pattern uses basic knitting techniques like knit and purl stitches, as well as decreases and increases. It also incorporates a traditional ribbing pattern for the cuff, which adds both style and elasticity to the socks. The pattern is worked in the round on double-pointed needles, which may seem daunting at first, but with a little practice, you’ll quickly get the hang of it. And don’t worry, we’ll provide step-by-step instructions to guide you through each stage of the process.
So, grab your knitting needles and get ready to create your own cozy pair of socks. Whether you’re knitting a pair for yourself or as a thoughtful handmade gift, this easy knitted sock pattern is sure to delight. With a little time and patience, you’ll soon have a pair of beautiful socks that are both warm and stylish.
Easy Knitted Sock Pattern
Looking for a fun and easy knitting project? Why not try your hand at making your own pair of socks. With this easy knitted sock pattern, you’ll be able to create cozy and comfortable socks in no time.
Materials needed for this project include:
- Double-pointed knitting needles
- Worsted weight yarn
- Tapestry needle
- Scissors
To begin, cast on the desired number of stitches onto your double-pointed knitting needles. This pattern typically requires around 60 stitches, but you can adjust the number to fit your foot size.
Once you have cast on your stitches, it’s time to start knitting. You’ll be working in the round, so make sure your stitches are evenly distributed on your needles. Knit each round until the sock reaches the desired length.
When you’re ready to turn the heel of the sock, follow the instructions provided in the pattern. This usually involves working short rows to create a cup shape for the heel. Once the heel is complete, you’ll continue knitting the sock until it reaches the length of your foot.
Finally, it’s time to finish off the sock. This involves closing the toe by either grafting the stitches together or using the Kitchener stitch. Once the toe is closed, weave in any loose ends and your sock is complete!
With this easy knitted sock pattern, you’ll be able to create personalized socks that fit perfectly and keep your feet warm all winter long. So grab your knitting needles and get started on your next knitting adventure!
Why Knit Socks?
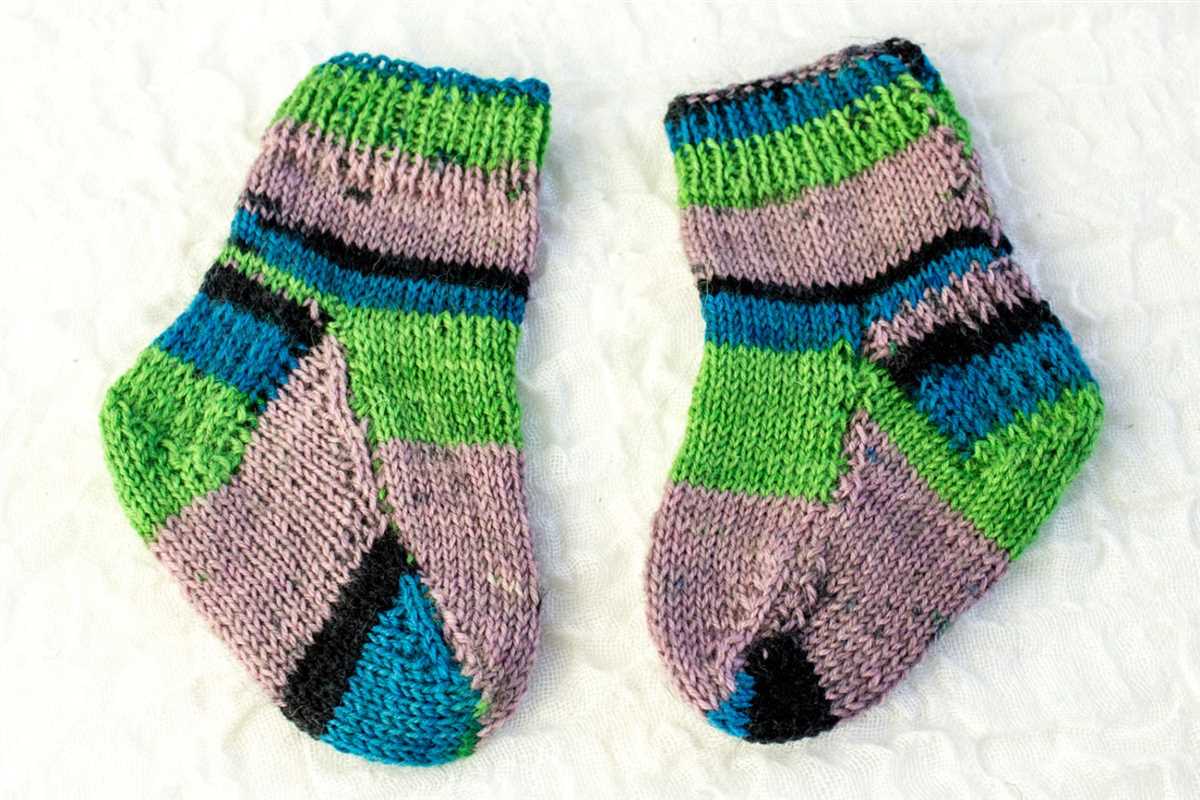
Knitting socks is a popular craft that offers both practical and creative benefits. Many people enjoy knitting socks because it allows them to create personalized and comfortable footwear. Hand-knit socks can be customized to fit perfectly and provide warmth and support to the feet.
One of the main reasons people choose to knit socks is the ability to express their creativity. Knitting allows for endless possibilities in terms of colors, patterns, and designs. Knitters can experiment with different yarns, stitches, and techniques to create unique and beautiful socks that reflect their personal style. Hand-knit socks also make fantastic gifts, as they show the recipient that care and effort went into their creation.
Comfort is another reason why many people choose to knit their own socks. Commercially made socks often lack the same level of comfort that can be achieved with hand-knit socks. By knitting socks, individuals have control over the materials used and the fit of the finished product. This allows for socks that are soft, breathable, and tailored to their specific needs.
Knitting socks can also be a relaxing and enjoyable pastime. The repetitive nature of knitting can have a calming effect on the mind, making it a great activity for stress relief. Knitting socks can also provide a sense of accomplishment as the project progresses and the finished pair of socks is completed.
In conclusion, knitting socks offers a range of benefits, including the ability to create customized and comfortable footwear, express creativity, and enjoy a relaxing pastime. Whether knitting for oneself or as a thoughtful gift, the process of creating hand-knit socks can be a rewarding and enjoyable endeavor.
Getting Started: Materials Needed
Before you can start knitting your easy socks, you will need to gather a few materials. These materials will ensure that you have everything you need to successfully complete your project.
Needles:
To knit your socks, you will need a set of double-pointed knitting needles. The size of the needles will depend on the thickness of the yarn you choose. Make sure the needles you select are the right size for your desired gauge.
Yarn:
The yarn you choose will determine the overall look and feel of your knitted socks. Opt for a soft and durable sock yarn that is suitable for your desired knitting project. Consider the color and pattern you prefer.
Tape Measure:
Having a tape measure on hand is essential for ensuring that your socks fit properly. Measure your feet and ankles to determine the ideal size for your socks. This will help you achieve the perfect fit.
Stitch Markers:
Stitch markers are useful for keeping track of specific stitches or sections in your knitting. Use them to mark the beginning of rounds or any other important points in your pattern. This will help you stay organized and prevent mistakes.
Scissors:
Having a pair of scissors nearby will come in handy for cutting yarn and weaving in loose ends. Choose a pair of sharp scissors that are easy to handle.
Tapestry Needle:
A tapestry needle is used for weaving in loose ends and sewing seams. Select a needle that is appropriate for the weight of your yarn and is comfortable to work with.
Take the time to gather these materials before you begin your sock knitting project. Having the right tools on hand will make the process much easier and more enjoyable, ensuring a successful outcome.
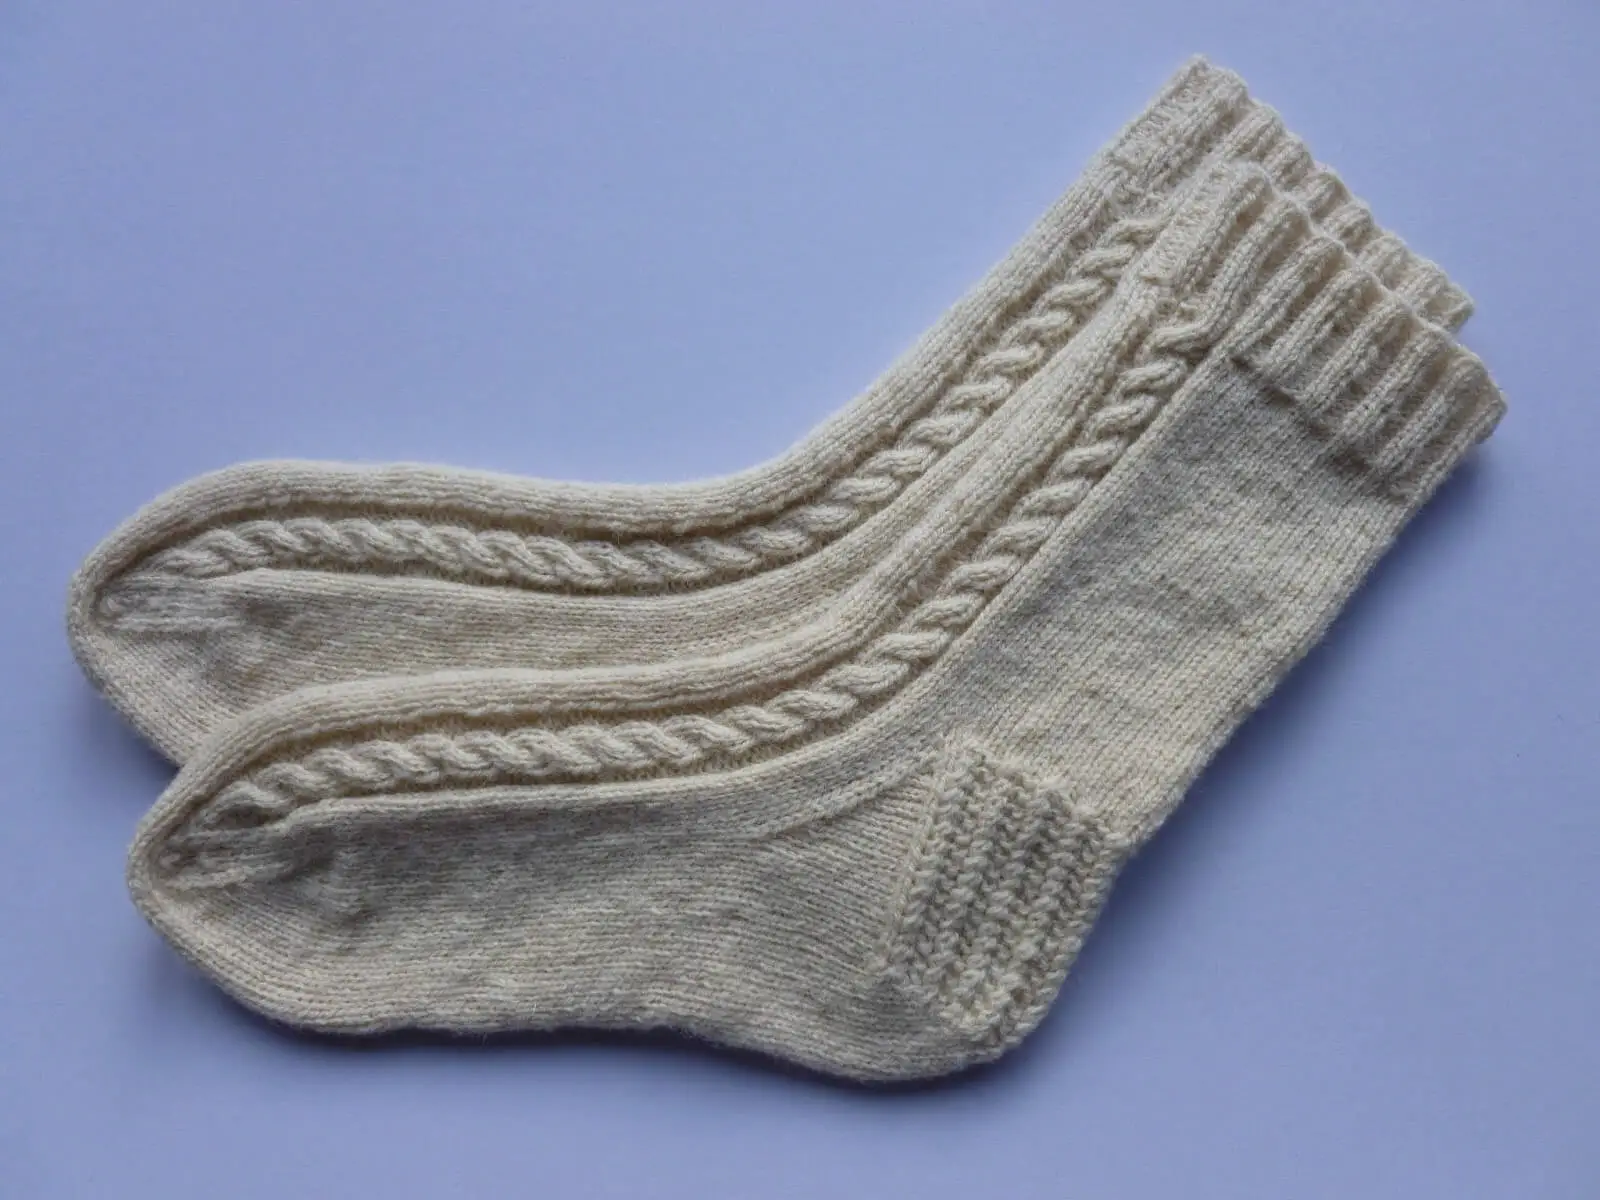
Understanding the Basic Sock Structure
A sock is a knitted garment that covers the foot and can extend up to the calf or knee. Understanding the basic structure of a sock is essential for successfully knitting your own socks.
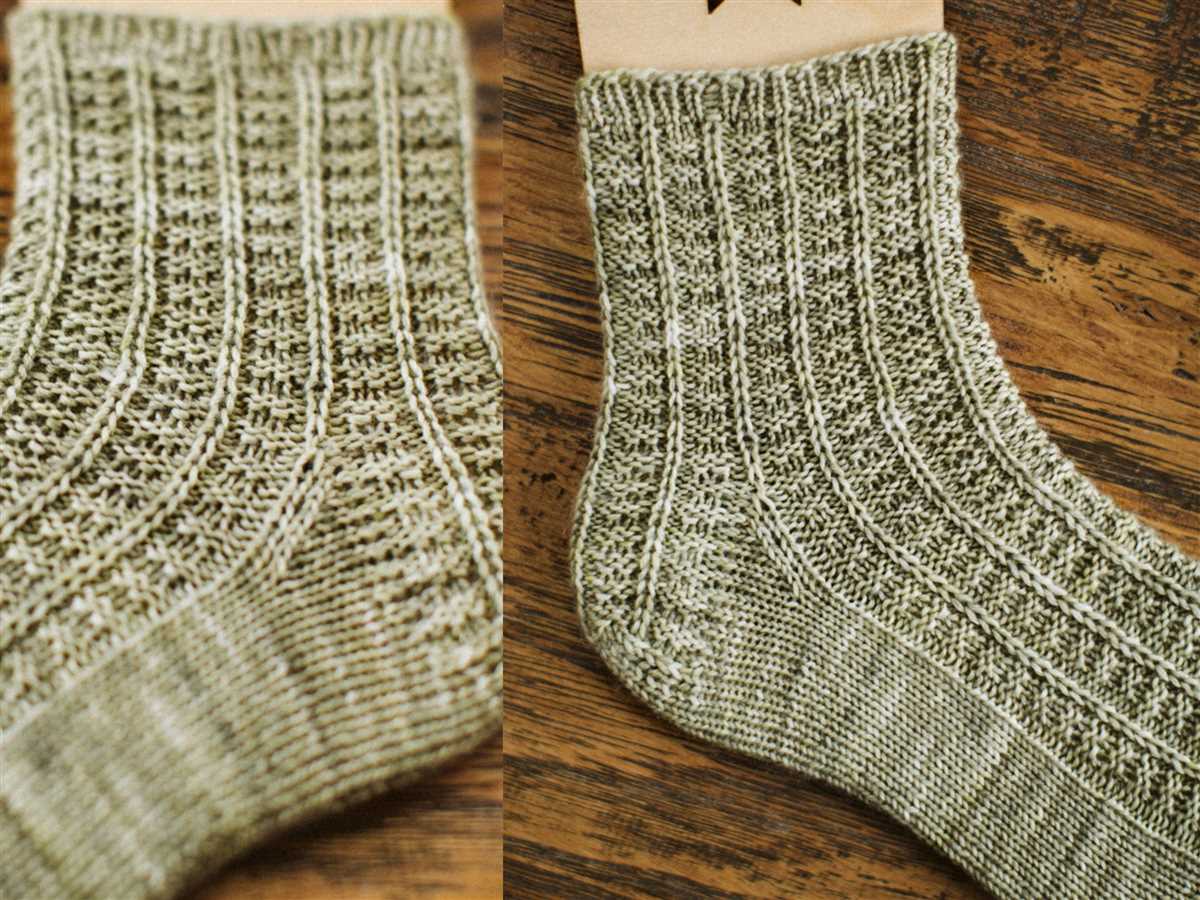
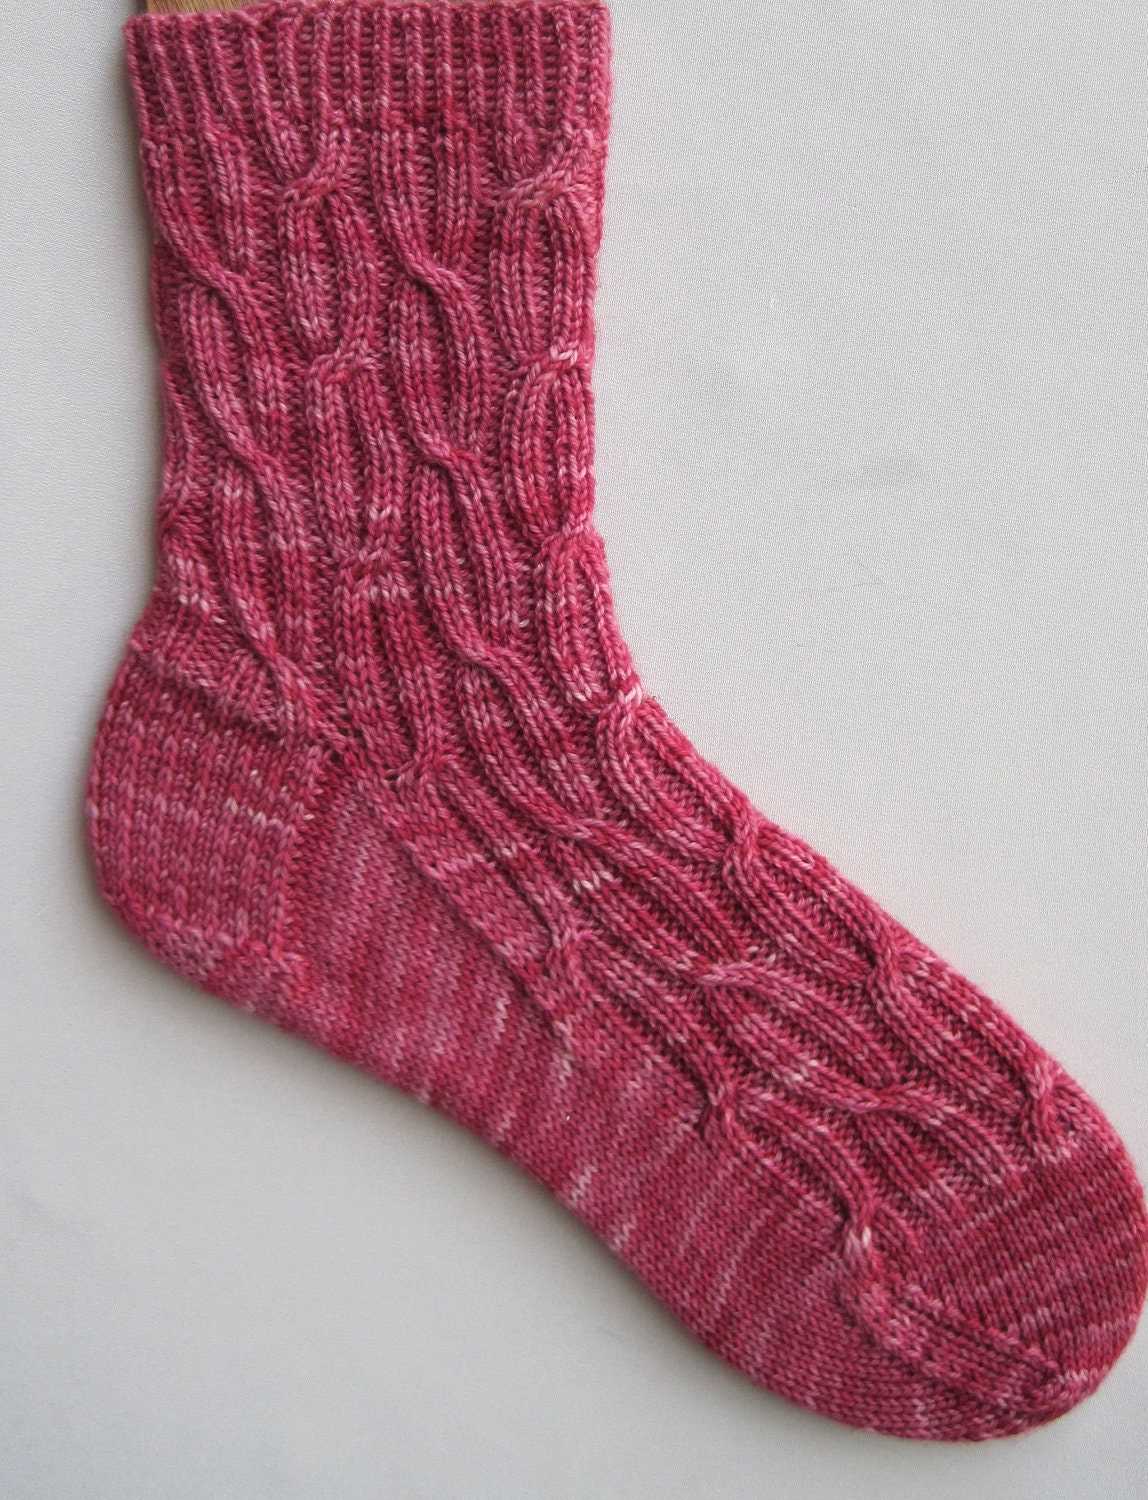
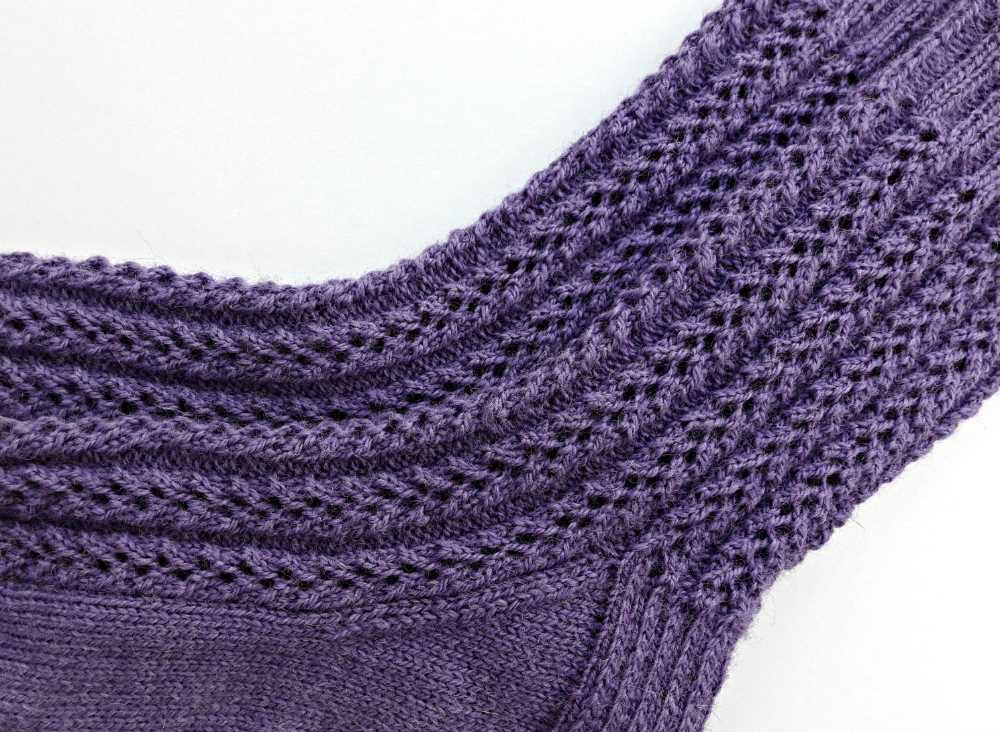
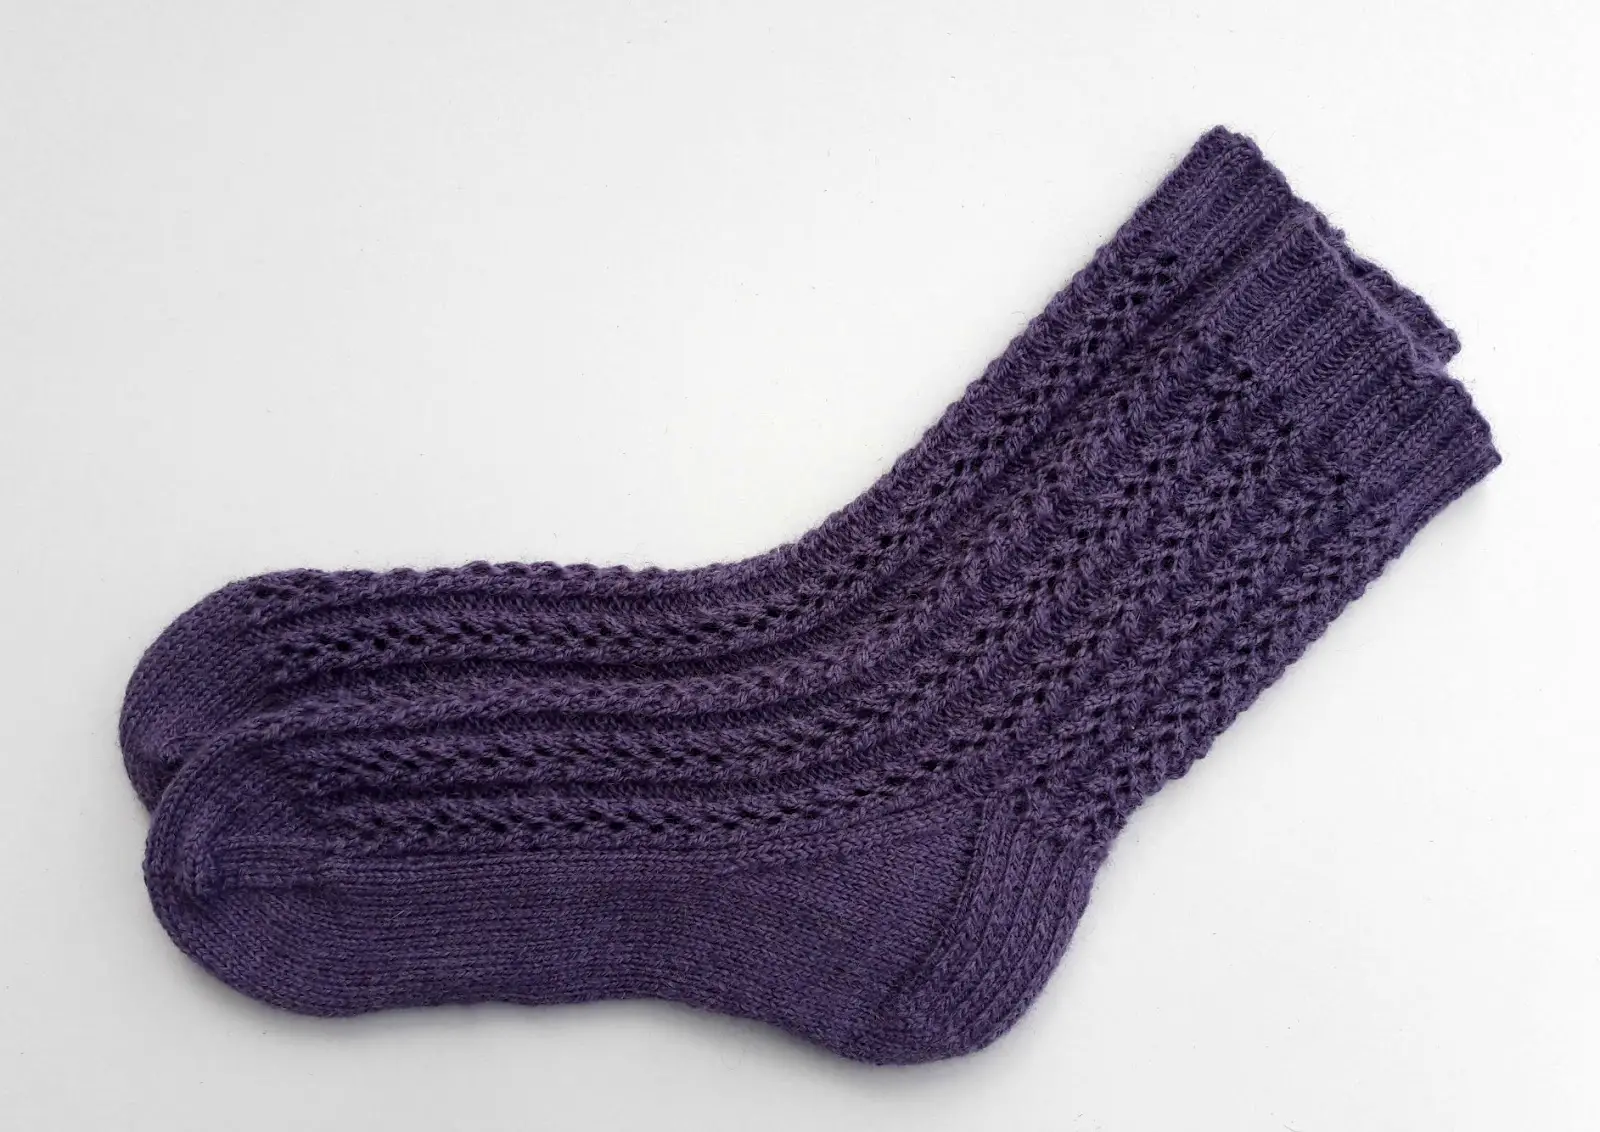
1. Cuff: The cuff is the top part of the sock that sits around the leg. It is usually ribbed or has a stretchy stitch pattern to ensure a snug fit and to prevent the sock from sliding down. The cuff can be as long or as short as desired.
2. Leg: The leg is the part of the sock that extends from the cuff to the heel. It can be knitted in different stitch patterns or left plain, depending on the desired design. The length of the leg can also vary, from short ankle socks to long knee-high socks.
3. Heel: The heel is the part of the sock that is formed to fit the shape of the heel. There are different methods for knitting the heel, such as the traditional heel flap and gusset, or short row heels. The heel provides extra reinforcement and comfort for the foot.
4. Foot: The foot is the part of the sock that covers the sole and toes of the foot. It is usually knitted in a plain stockinette stitch or can include additional stitch patterns for decoration. The length of the foot should be customized to fit the wearer’s foot length.
5. Toe: The toe is the final part of the sock, which is closed up using either a grafting technique (Kitchener stitch) or a toe seam. There are different methods for shaping the toe, such as using decreases or short rows, to create a comfortable and neat finish.
By understanding the basic structure of a sock, you can customize the design to your preferences and create unique and comfortable socks for yourself or as gifts.
Choosing the Right Yarn
When it comes to knitting socks, choosing the right yarn is essential for achieving the perfect fit and comfort. The yarn you choose will determine the overall feel and durability of your socks, so it’s important to consider a few key factors before making your selection.
Fiber type
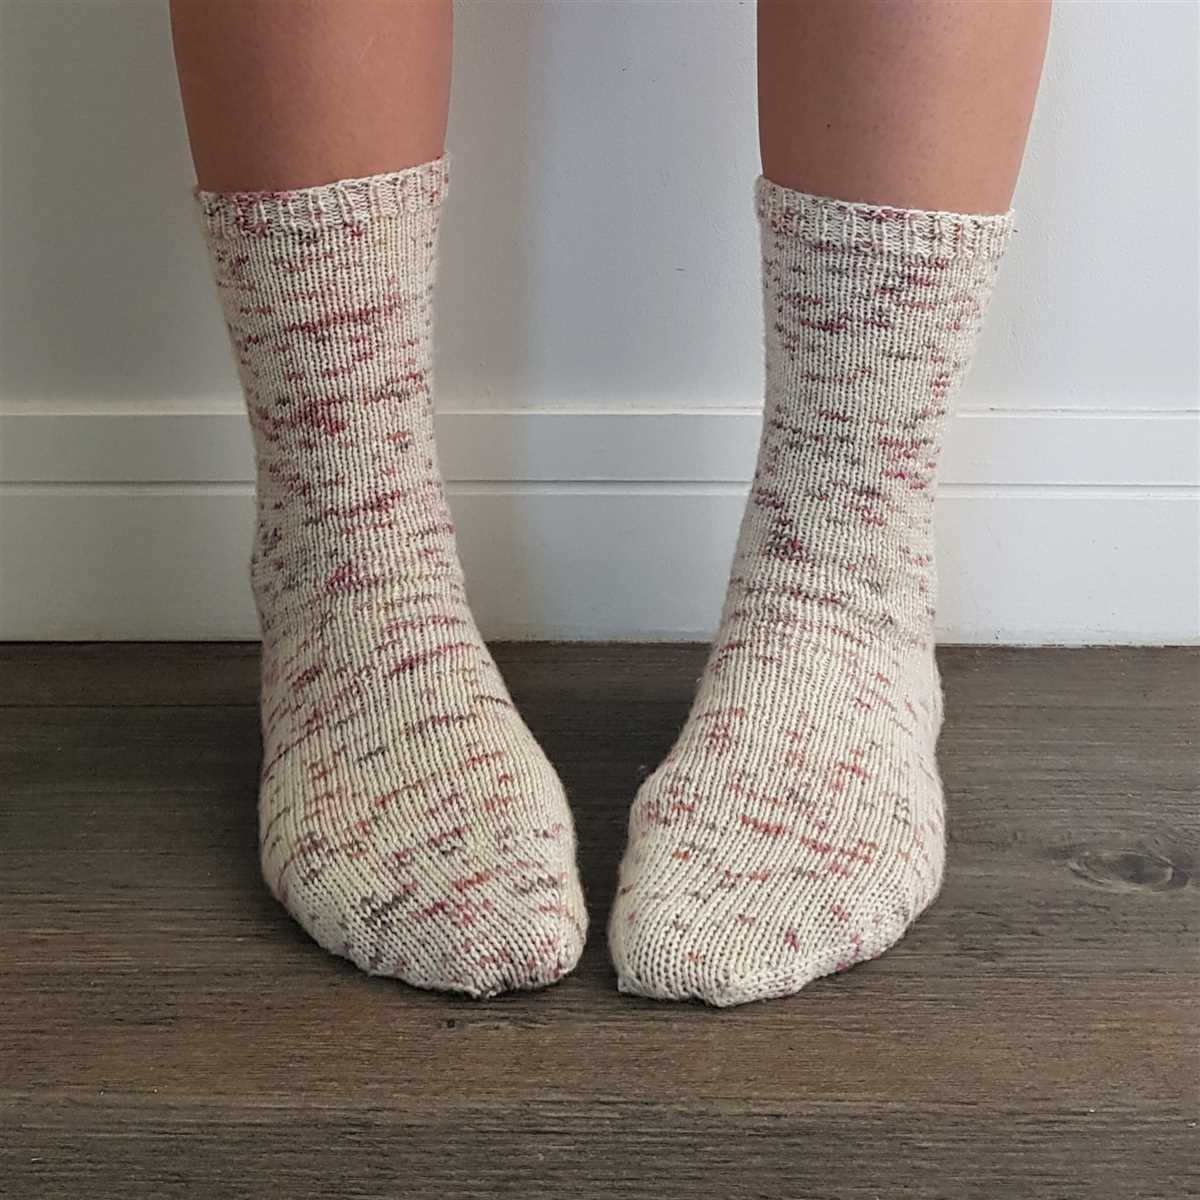
One of the first things to consider when choosing yarn for socks is the type of fiber. While there are many options available, some fibers are better suited for socks than others. Wool and wool blends are popular choices due to their natural moisture-wicking properties and ability to keep your feet warm and dry. Other natural fibers like cotton and bamboo can also be used, but they may not provide the same level of warmth and insulation.
Yarn weight
The weight of the yarn will determine the thickness of your socks and can also affect the overall fit. Sock yarn typically falls into the fingering or sport weight category, as these thinner yarns create lightweight and breathable socks. However, if you prefer thicker socks, you can opt for a DK or worsted weight yarn. It’s important to note that different yarn weights may require adjustments to the pattern and needle size.
Durability
Socks are subjected to a lot of wear and tear, so it’s crucial to choose a yarn that is durable enough to withstand frequent use and washing. Look for yarns that have a high twist or are specifically labeled as sock yarn, as these tend to be more hard-wearing and less likely to pill or stretch out over time. Additionally, yarns that contain synthetic fibers like nylon or acrylic can add strength and durability to your socks.
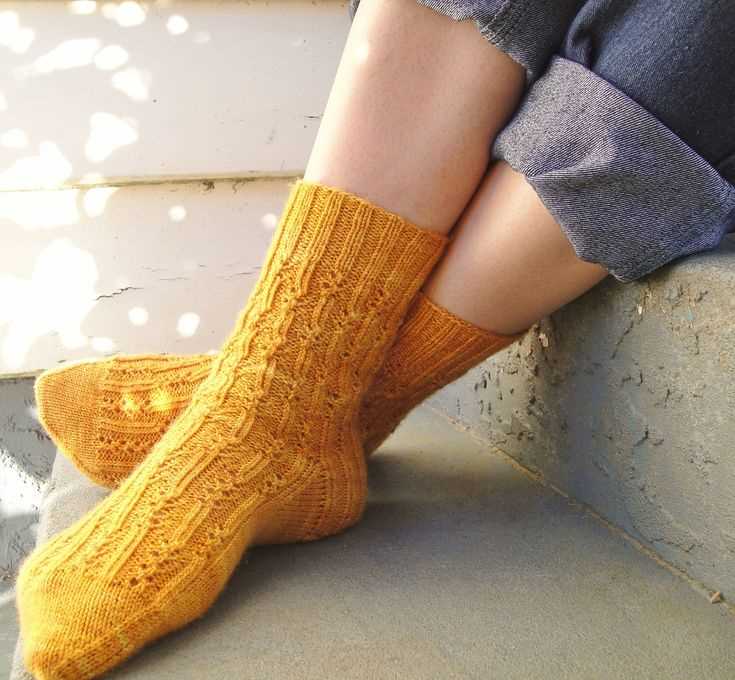
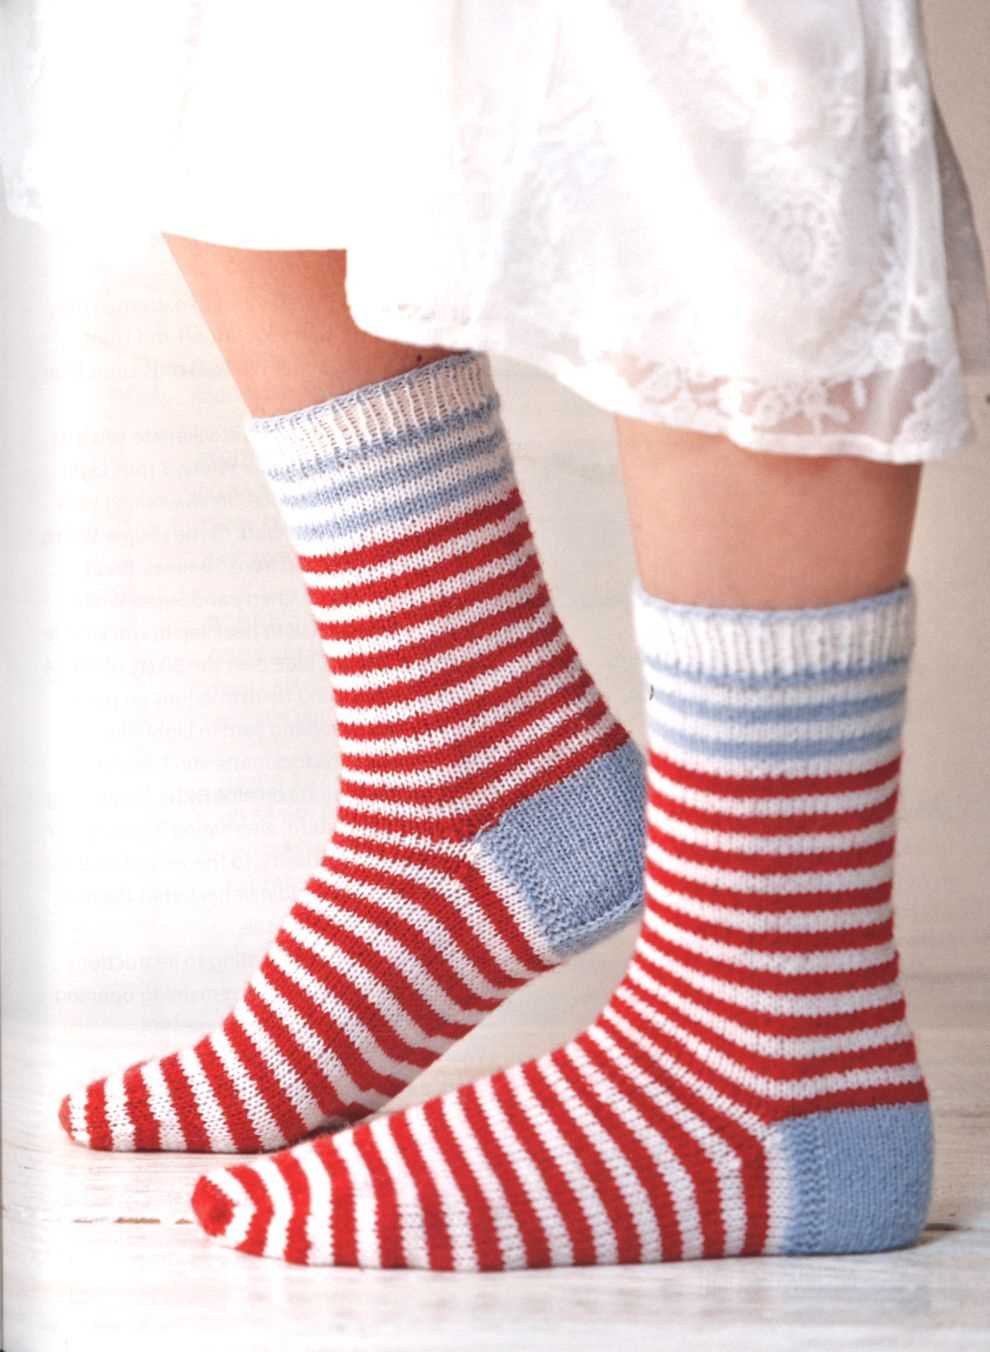
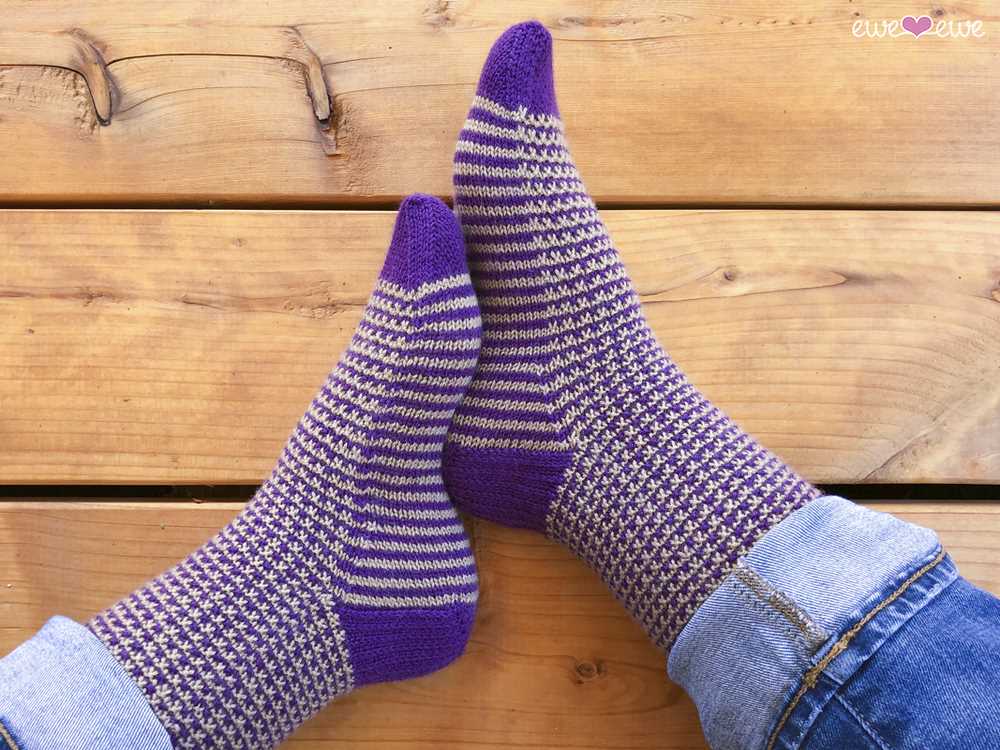
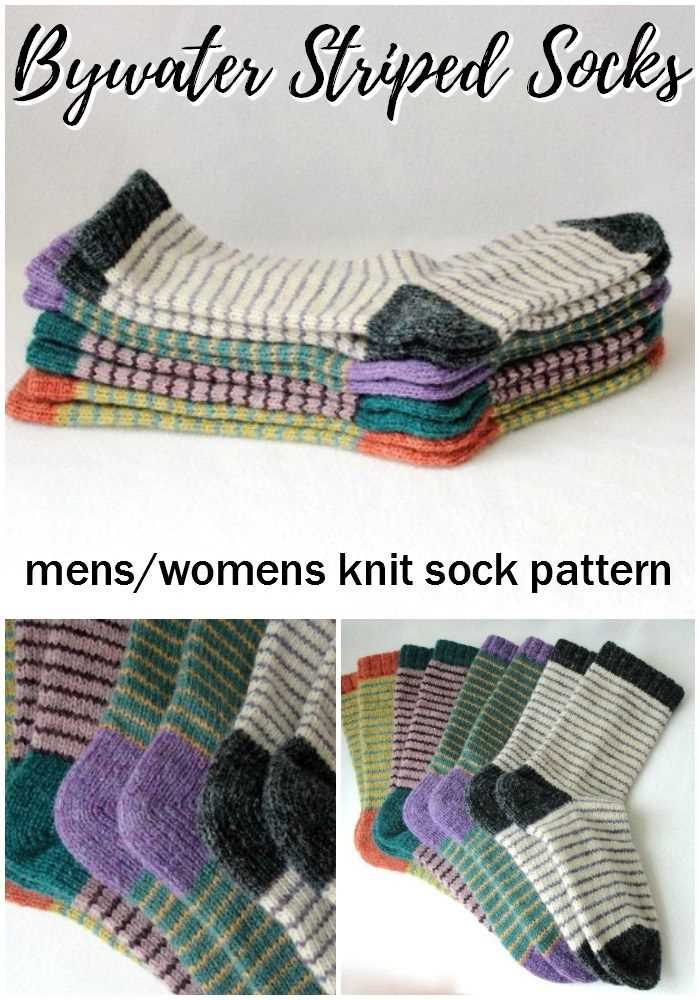
Color and pattern
Lastly, consider the color and pattern of the yarn. This is a personal preference, but it can greatly affect the overall look of your socks. Variegated or self-striping yarn can create interesting patterns and designs without the need for complicated stitchwork. Solid or tonal colors, on the other hand, provide a classic and timeless look that can complement any outfit. Ultimately, choose a yarn that speaks to your personal style and that you’ll enjoy working with.
By considering these factors and choosing the right yarn for your socks, you’ll be able to create comfortable, long-lasting, and visually appealing knitted socks that you’ll love wearing.
Selecting the Appropriate Needle Size

When knitting socks, selecting the appropriate needle size is crucial to achieve the desired fit and gauge. The needle size will determine the tension of the stitches and the overall size of the sock. It is important to consider both the yarn weight and the pattern instructions when choosing the needle size.
Yarn Weight: The first factor to consider when selecting the needle size is the yarn weight. If you are using a thin yarn, such as fingering weight, you will typically need a smaller needle size to create tighter stitches. On the other hand, if you are using a thicker yarn, such as worsted weight, you will need a larger needle size to create looser stitches.
Pattern Instructions: Another important factor to consider is the pattern instructions. The pattern may specify a recommended needle size or provide a gauge that you can use as a reference. It is important to follow the pattern instructions to ensure that the finished sock will have the desired fit and size. If you deviate too much from the recommended needle size, the sock may end up too tight or too loose.
In some cases, you may need to adjust the needle size to achieve the desired gauge. This can be done by swatching and measuring the gauge before you start knitting the actual sock. If your gauge is too tight, you can try using a larger needle size, and if your gauge is too loose, you can try using a smaller needle size.
Overall, selecting the appropriate needle size when knitting socks requires careful consideration of the yarn weight, pattern instructions, and personal gauge. By using the right needle size, you can ensure that your socks will fit well and be comfortable to wear.
Casting On and Joining in the Round
When starting a knitted sock project, it is important to cast on and join in the round correctly. This will ensure that the sock is seamless and comfortable to wear. Here are the steps to cast on and join in the round:
1. Choose your preferred method of casting on. There are several options, such as the long tail cast on or the knitted cast on. Follow the instructions for your chosen cast on method to create the desired number of stitches for your sock.
2. Once you have cast on the required number of stitches, arrange them evenly on your double-pointed needles or circular needles. Make sure that the stitches are not twisted, as this will affect the integrity of the sock.
3. To join in the round, hold the working yarn and the working needle in your right hand. Insert the working needle into the first stitch on the left-hand needle, knitting in the round. Begin knitting the first stitch, being careful not to let the yarn slip off the needles.
4. Continue knitting in the round, following the pattern instructions for your specific sock design. Take care to maintain tension in your stitches, ensuring that they are not too loose or too tight.
5. Once you have completed a few rounds of knitting, you can place a stitch marker to mark the beginning of the round. This will help you keep track of your progress and make it easier to count rounds.
By following these steps, you will be able to cast on and join in the round correctly for your knitted sock project. This will set a strong foundation for the rest of your knitting and ensure that your sock turns out beautifully.
Knitting the Cuff
When knitting socks, the cuff is the first part that you will work on. It is the top portion of the sock that sits above the ankle. The cuff is important because it helps to keep the sock in place and provides a comfortable and snug fit.
To begin knitting the cuff, you will cast on the required number of stitches using your chosen method. This will determine the circumference of the cuff. It is important to choose a cast-on method that is stretchy enough to allow for easy on-and-off of the sock.
Once you have cast on the stitches, you will then begin working the cuff in your desired stitch pattern. Common stitch patterns for sock cuffs include ribbing, moss stitch, and seed stitch. These stitch patterns create a stretchy and elastic cuff that hugs the leg without being too tight.
While knitting the cuff, it is important to ensure that the tension is consistent throughout to create an even and neat appearance. Using stitch markers can be helpful in keeping track of any pattern repeats or shaping that may be required.
After completing the desired length of the cuff, you will then proceed to the next section of the sock, which is usually the leg. The cuff sets the tone for the overall fit and comfort of the sock, and a well-knitted cuff will make the rest of the sock knitting process much easier and enjoyable.
Working the Leg

The leg is the long tube portion of the sock, and it is the part that covers your ankle and calf. Once you have completed the cuff, you will move on to working the leg. This is where the fun begins and you can start to see the sock taking shape.
To work the leg, you will continue in the main stitch pattern established in the cuff. This could be a simple ribbing or a more complex lace or cable design. Whatever the pattern, you will repeat the stitches across each row until the sock is the desired length. Pay attention to any shaping instructions, such as decreasing or increasing stitches, to ensure the sock fits properly.
If you are working with a pattern that has multiple sizes, make sure you are following the instructions for the correct size. The number of stitches and rows may vary between sizes, so it’s important to double-check before proceeding.
Working the leg can be a repetitive task, but it’s important to stay focused to ensure the sock turns out the way you want it to. Take breaks when needed, but try to maintain a consistent tension throughout your knitting. This will help ensure a consistent stitch gauge and a well-fitting sock.
Once you have reached the desired length for the leg, you can move on to working the heel. Pay attention to any instructions for measuring or trying on the sock to ensure the leg is the proper length before proceeding. With the leg complete, you’re one step closer to finishing your knitted sock!
Creating the Heel Flap
To create the heel flap of your knitted sock, you will first need to divide your stitches evenly onto two needles. This will create a separate “heel” section of the sock that can be worked on independently. The number of stitches on each needle will depend on the total number of stitches you have for the sock and the desired width of the heel flap. To ensure a snug fit, it is recommended to have about half of the total stitches on each needle.
Once your stitches are divided, begin working on the heel flap by knitting across the first needle. For the heel flap, you will be working in a flat, back-and-forth motion rather than in the round. This means you will knit one row, turn your work, and purl the next row. Repeat this pattern until your heel flap reaches the desired length, usually around 2 to 2.5 inches.
For added durability and reinforcement, consider incorporating a slip stitch pattern into your heel flap. This can be done by slipping the first stitch of every row purlwise with the yarn in the back, and then knitting the rest of the stitches. This slip stitch pattern creates a slightly raised texture and helps to prevent wear and tear on the heel of your sock.
Once your heel flap is complete, you will move on to shaping the heel by working the heel turn. This involves decreasing stitches to create a curved shape that will fit snugly around your heel. The specific instructions for the heel turn will vary depending on the pattern you are using, but generally involve knitting and purling stitches together to gradually decrease the number of stitches. The heel turn can be a bit fiddly, but with practice, it becomes easier to understand and execute.
Shaping the Heel
When knitting a sock, one of the most important parts is shaping the heel. This is the area that will provide a comfortable fit and snugly hug the back of the foot. There are several different methods for shaping the heel, but one of the most common and easiest to follow is the “short-row” method.
The Short-Row Method
The short-row method involves turning the work before reaching the end of a row, creating a series of short rows. This creates a rounded shape for the heel. To begin, work your way to the center of the sock, typically half the total number of stitches. Then, wrap the next stitch and turn the work. Continue wrapping and turning until you have reached the desired number of short rows, which will vary depending on your sock size and pattern.
Once the short rows are complete, it’s time to “work back” across the heel. This involves knitting or purling the wrapped stitches together with their wraps, closing any gaps and creating a smooth fabric. The exact instructions for working back across the heel will vary depending on the pattern, so it’s important to follow the instructions carefully.
Alternative Methods
While the short-row method is popular and relatively straightforward, there are other methods for shaping the heel that you may encounter in different sock patterns. One common alternative is the “gusset” method, which involves increasing stitches along the sides of the heel flap to create the rounded shape. This method can provide a more tailored fit and is often used in toe-up sock patterns.
Another alternative is the “afterthought heel” method, where the heel is knit separately and inserted into the sock later. This method allows for easy customization in terms of size and fit, but requires some additional planning and forethought.
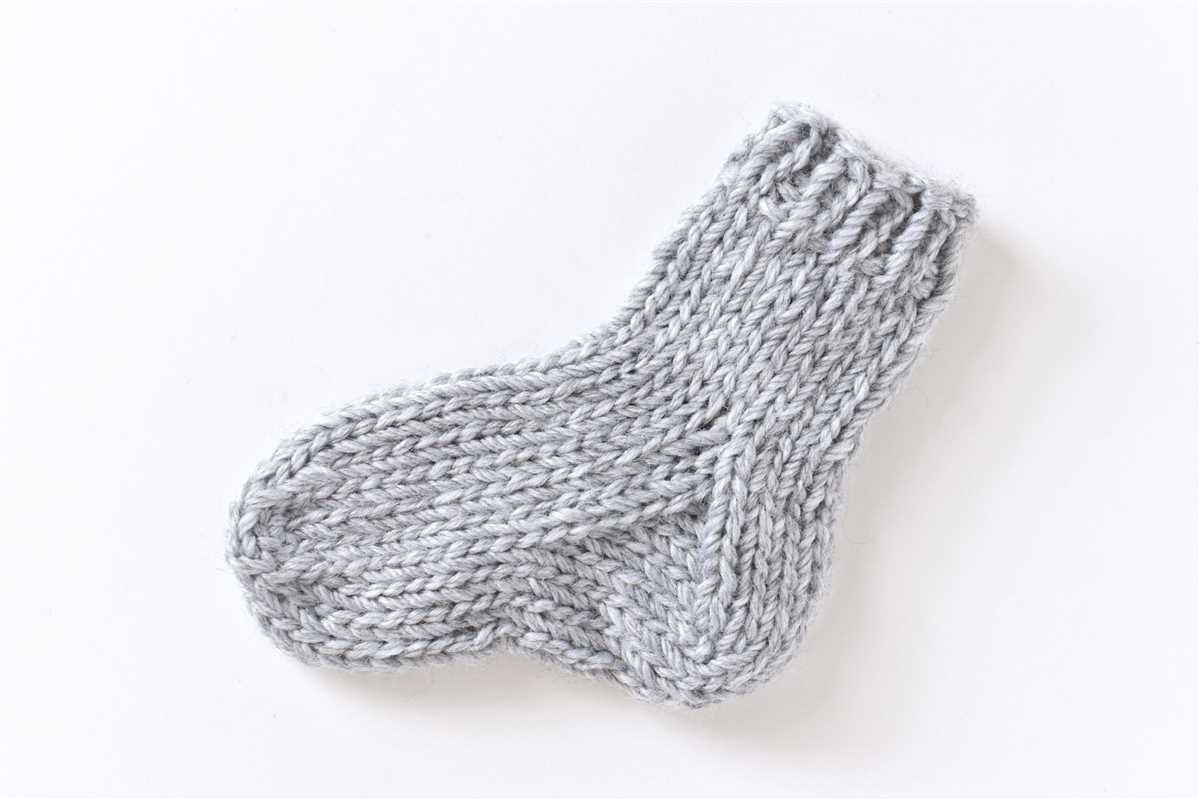
Finishing the Toe and Binding Off
Once you have completed the toe decreases, it’s time to finish off your sock. The final steps involve binding off the stitches and weaving in any loose ends.
Binding Off
To bind off your stitches, start by knitting the first two stitches. Then, using your left needle, pass the first stitch over the second stitch and off the needle. One stitch is now bound off. Knit the next stitch and repeat the process of passing the previous stitch over the current stitch. Continue binding off each stitch until you reach the end of the row.
Note: Make sure not to bind off too tightly, as this can constrict the opening of the sock.
Weaving in Loose Ends
After binding off, you will have one remaining stitch on your needle. Cut the yarn, leaving a long tail. Thread the tail through the remaining stitch, removing it from the needle. Now, weave the tail through the stitches on the wrong side of the sock to secure it. Trim any excess yarn.
Repeat the binding off and weaving in process for the other sock if making a pair.
Once you have completed the binding off and weaving in all the loose ends, your sock is ready to be worn or gifted to someone special. Congratulations on finishing your easy knitted sock!