
Knitting is a popular craft that has been around for centuries, and one of the most versatile and practical items you can make is a beanie hat. Whether you’re a beginner or an experienced knitter, making your own beanie hat can be a rewarding and enjoyable project.
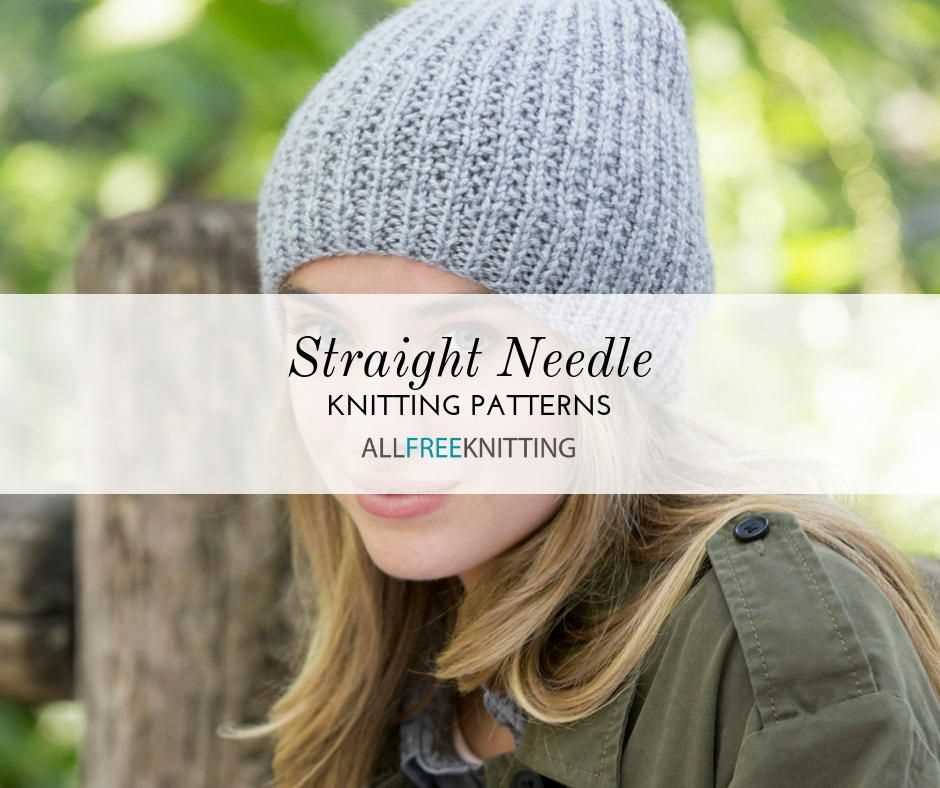
If you prefer using straight needles instead of circular ones, don’t worry! There are plenty of knitting patterns available that can be made using straight needles. In this tutorial, we will guide you through the process of knitting a beanie hat using straight needles.
With just a few basic knitting stitches and techniques, you can create a cozy and stylish beanie hat that can be customized to fit any size or style. So, grab your straight needles and yarn, and let’s get started on this fun and relaxing knitting project!
Overview of knitting pattern beanie hat straight needles
A beanie hat is a classic and versatile accessory that is perfect for chilly weather. If you want to knit your own beanie hat using straight needles, this knitting pattern is for you. With straight needles, you can create a beautiful beanie hat without the hassle of using circular needles or double-pointed needles.
This knitting pattern is suitable for both beginners and experienced knitters. It provides step-by-step instructions on how to create a beanie hat from start to finish. The pattern includes detailed explanations of knitting techniques, such as casting on, knit and purl stitches, decreasing stitches, and binding off.
The materials needed for this pattern include a pair of straight knitting needles, a yarn that is suitable for the desired hat size, a tapestry needle for sewing up seams, and optional embellishments such as pom-poms or buttons. The pattern also provides gauge information to ensure that your hat will fit properly.
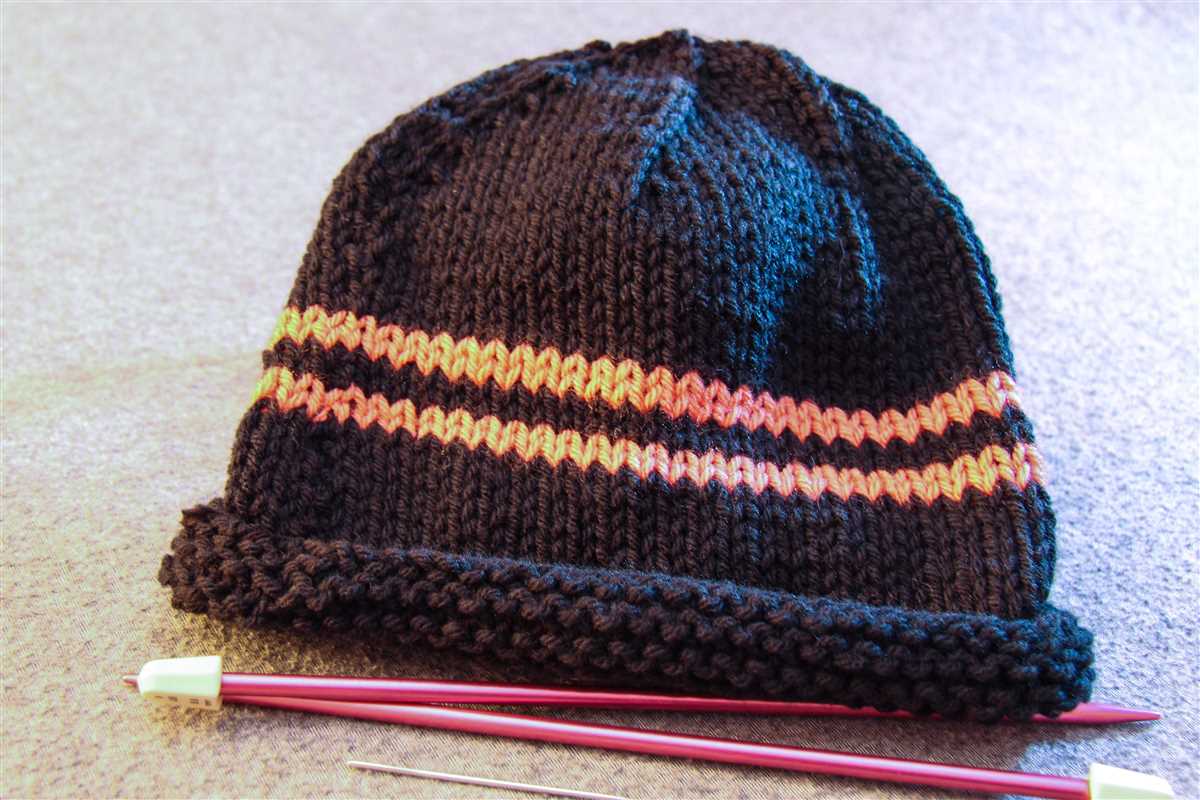
The pattern begins with casting on the required number of stitches and then progresses to the main body of the hat. It includes instructions for creating ribbing at the brim for a snug fit and gradually transitioning to stockinette stitch for the main body of the hat. The pattern also provides options for adding stripes or other decorative elements.
In conclusion, this knitting pattern for a beanie hat using straight needles is a great project for knitters of all skill levels. Whether you are a beginner looking to improve your knitting skills or an experienced knitter wanting to create a personalized accessory, this pattern provides all the necessary instructions and guidance to help you create a beautiful and cozy beanie hat.
What is a beanie hat?
A beanie hat, also known as a knit cap or a tuque, is a type of hat that is typically made from soft, warm materials such as wool or acrylic. It is designed to fit snugly on the head and is often worn to provide warmth in cold weather.
Beanie hats are popular accessories during the winter months and are commonly associated with casual, urban fashion. They are available in a wide variety of colors, patterns, and styles, making them versatile and suitable for different personal preferences and outfits.
Beanie hats can be worn by people of all genders and ages, and they are especially popular among younger individuals. They are often used as a fashion statement or to add a touch of style to an outfit, but they also serve a practical purpose by keeping the head warm and protected from the cold.
Many people choose to knit their own beanie hats as a creative and fulfilling craft project. Knitting patterns for beanie hats are widely available, and they allow individuals to customize their hats with unique colors, designs, and stitches. Knitting a beanie hat with straight needles is a popular method, as it is relatively simple and accessible for beginners.
Advantages of knitting a beanie hat with straight needles
Knitting a beanie hat with straight needles offers several advantages compared to using circular needles. First and foremost, straight needles are more accessible and widely available in a variety of sizes and materials. This makes it easier for knitters to find the perfect set of needles for their project.
Another advantage of using straight needles is that they allow for more flexibility in the knitting process. With circular needles, knitters are limited by the length of the needle cable, which can sometimes be too short for larger projects. Straight needles eliminate this limitation, providing knitters with the freedom to work on projects of any size.
Additionally, knitting a beanie hat with straight needles can be more comfortable for some knitters. Circular needles can be heavy and cumbersome, especially when working on smaller projects like hats. Straight needles, on the other hand, are lighter and easier to handle, making them a preferred choice for knitters who value comfort and ease of use.
Finally, knitting with straight needles allows for easier stitch control and manipulation. With circular needles, the stitches are constantly moving around the cable, which can sometimes lead to accidental twists or dropped stitches. Straight needles keep the stitches in place, making it easier to maintain tension and prevent mistakes.
In summary, knitting a beanie hat with straight needles offers advantages in accessibility, flexibility, comfort, and stitch control. Whether you’re a beginner or an experienced knitter, consider giving straight needles a try for your next beanie hat project.
Materials needed for knitting a beanie hat with straight needles
When it comes to knitting a beanie hat with straight needles, there are several materials you will need to have on hand to ensure a successful project. Here is a list of the essential materials:
1. Yarn
The first and most important material is the yarn. Choose a yarn that is suitable for hats, such as a medium or bulky weight yarn. Consider the intended recipient’s preferences and the desired level of warmth and comfort. Make sure to have enough yarn for the entire project.
2. Straight Needles
You will need a pair of straight knitting needles to work on the hat. The size of the needles will depend on the gauge of your yarn and the desired finished size of the hat. Check the yarn label for recommended needle size, or use a needle size that gives you the desired tension or gauge.
3. Stitch Markers
Stitch markers are essential for keeping track of pattern repeats or important sections of your knitting. You can use commercial stitch markers or make your own with pieces of contrasting yarn or small rings.
4. Tapestry Needle
A tapestry needle, also known as a yarn needle or darning needle, is necessary for weaving in loose ends and finishing touches. Look for a needle with a large eye to easily thread the yarn through.
5. Scissors
A pair of scissors is essential for cutting the yarn and trimming any excess ends. Choose a pair of sharp scissors that are comfortable to use.
6. Measuring Tape
A measuring tape or ruler is useful for ensuring the correct dimensions of the hat. You may need to measure your head or the head of the intended recipient to determine the desired size.
7. Pattern Instructions
Lastly, you will need a pattern with instructions on how to knit the beanie hat. Look for a pattern that is suitable for straight needles, or adapt a pattern if necessary. Make sure to read and understand the instructions before starting your project.
By gathering these essential materials, you will be well prepared to knit a beanie hat with straight needles. Enjoy the process of creating a cozy and stylish accessory!
Step-by-step Instructions for Knitting a Beanie Hat with Straight Needles
Knitting a beanie hat with straight needles is a great project for beginners or those who prefer working with straight needles instead of circular ones. This step-by-step guide will walk you through the process of knitting a cozy and stylish beanie hat.
Materials Needed:
- Straight knitting needles (size US 8 or as desired)
- Worsted weight yarn (color of your choice)
- Tapestry needle
- Scissors
Instructions:
1. Cast on stitches:
Start by casting on the desired number of stitches onto one of the straight needles. The number of stitches will depend on the size of the hat and the yarn weight you are using. A typical beanie hat might require around 80-100 stitches.
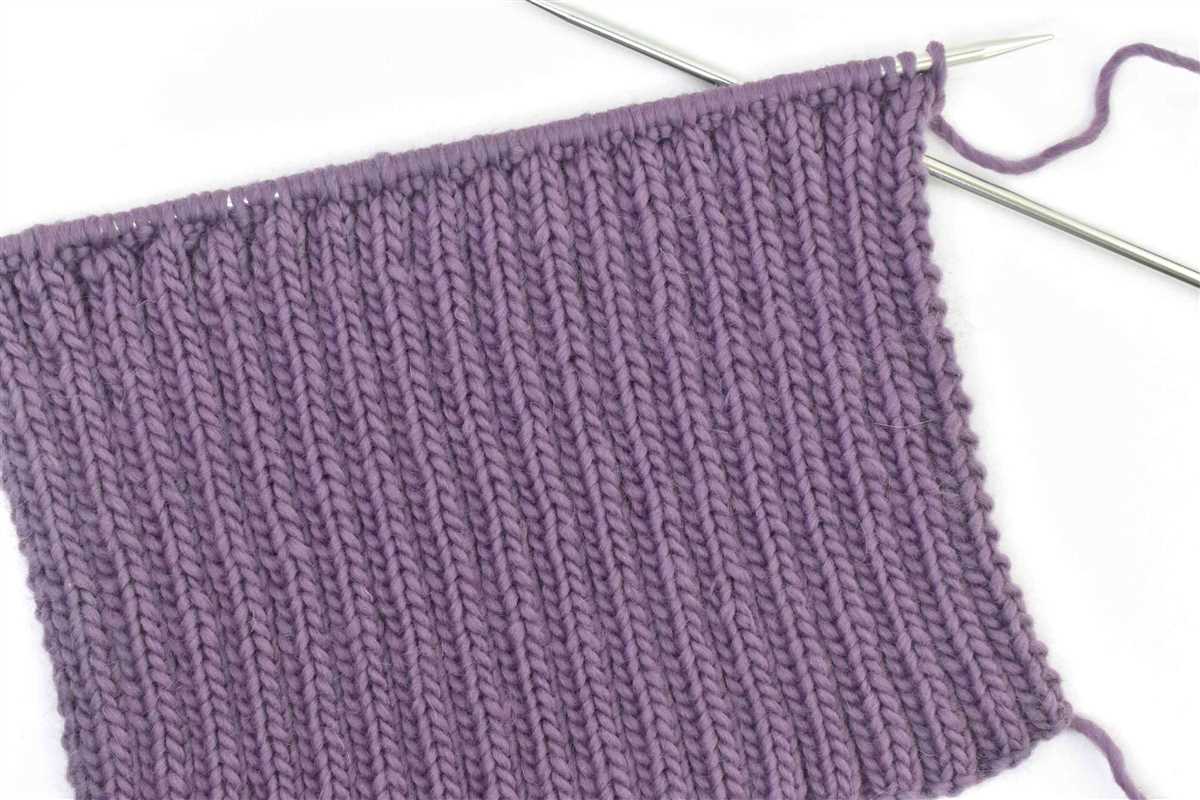
2. Knit rows:
Once you have cast on your stitches, begin knitting in the round. Using the straight needles, knit each row until the desired length of the hat is reached. You can use the stockinette stitch (knit one row, purl one row) or any other stitch pattern of your choice.
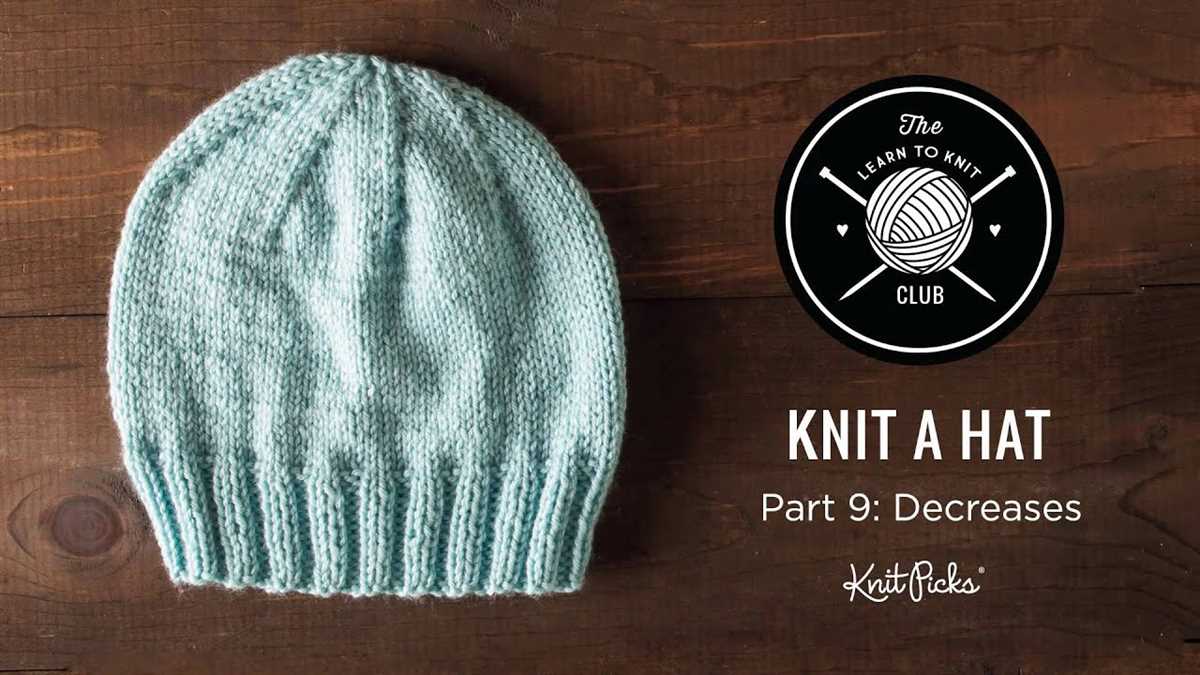
3. Decrease stitches:
To create the tapered shape of the beanie hat, you will need to decrease stitches towards the top. Once the hat is the desired length, switch to decreasing stitches on each row. The most common decrease stitch is the knit two together (K2tog), where you knit two stitches together as if they were one. Repeat this decrease every few stitches until you have reached a small enough number to gather the remaining stitches together.
4. Finishing touches:
Once you have decreased enough stitches and reached a small number, cut the yarn, leaving a long tail. Thread the tail through a tapestry needle and slip it through the remaining stitches, removing them from the needles. Cinch the top of the hat closed by pulling on the yarn tail and secure it with a knot. Weave in any loose ends with the tapestry needle.
Congratulations! You have successfully knitted a beanie hat using straight needles. Now you can enjoy wearing your cozy and stylish creation or gift it to someone special.
Choosing the right yarn for your beanie hat
When it comes to knitting a beanie hat, choosing the right yarn is essential for creating a comfortable and stylish accessory. There are various factors to consider when selecting the yarn, including its fiber content, weight, and texture.
Fiber content: The fiber content of the yarn will determine the hat’s warmth, softness, and durability. Common options for beanie hats include wool, acrylic, and blends of different fibers. Wool offers excellent insulation and is naturally moisture-wicking, making it a popular choice for winter hats. Acrylic yarns, on the other hand, are often more budget-friendly and offer easy care options as they can be machine washed and dried. Blends of fibers can provide a combination of properties, such as the softness of acrylic and the warmth of wool.
Weight: The weight of the yarn refers to how thick or thin the yarn is. For a beanie hat, a medium weight yarn, often referred to as worsted weight or aran weight, is typically the most suitable. This weight allows for a balanced combination of warmth and flexibility. However, if you prefer a lighter hat, you can opt for a lighter weight yarn such as sport weight or light worsted weight. Similarly, if you want a chunkier, warmer hat, you can choose a bulky or super bulky weight yarn.
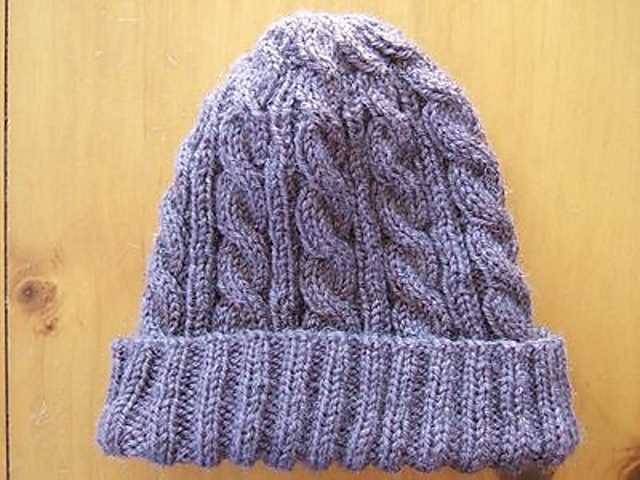
Texture: The texture of the yarn can add visual interest and dimension to your beanie hat. You can choose a smooth yarn for a classic and sleek look or opt for a textured yarn with a cable, rib, or seed stitch pattern for added detail. Additionally, consider the drape of the yarn, as it can affect how the hat fits and hangs when worn.
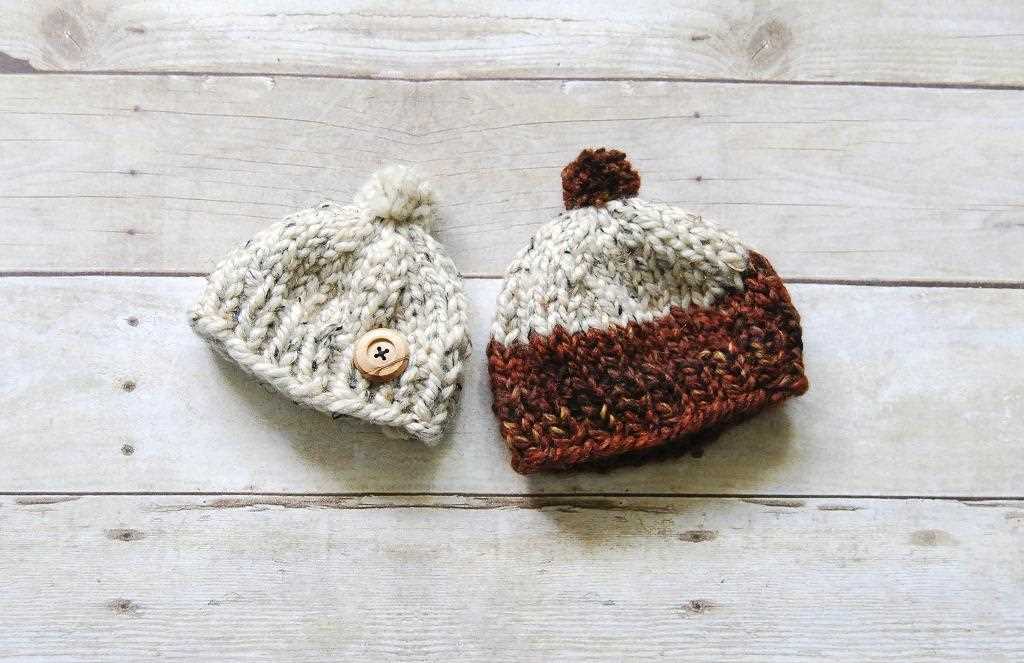
Color: Lastly, consider the color of the yarn for your beanie hat. The color can make a significant impact on the overall look and style of the hat. You can choose a solid color for a timeless and versatile hat or experiment with variegated or self-striping yarns for a more playful and unique design. Consider the recipient’s personal style and preferences when selecting the color.
In conclusion, when choosing the right yarn for your beanie hat, consider the fiber content, weight, texture, and color. By understanding these factors and matching them to your desired style and functionality, you can create a beautiful and comfortable hat that will be cherished for years to come.
Fiber types for beanie hats
When it comes to knitting beanie hats, choosing the right fiber is important for both the comfort and style of the final product. There are several different types of fiber that can be used, each with its own unique characteristics and benefits.
1. Wool:
Wool is a popular choice for beanie hats because of its natural warmth and insulation properties. It is soft, breathable, and can retain heat even when wet. Wool also has natural elasticity, making it a great choice for hats that need to stretch and fit snugly on the head. Additionally, wool is durable and long-lasting, making it an excellent choice for hats that will be worn frequently.
2. Cotton:
Cotton is another common fiber used for beanie hats. It is lightweight, breathable, and hypoallergenic, making it suitable for those with sensitive skin. Cotton hats are great for warmer weather as they do not retain heat as much as wool hats. They also have a smooth texture, making them comfortable to wear. However, cotton can stretch out over time, so it is important to choose a cotton blend yarn that includes a small amount of synthetic fiber for added durability.
3. Acrylic:
Acrylic is a synthetic fiber that is often used as a more affordable alternative to wool. It is lightweight, soft, and easy to care for, as it can be machine washed and dried. Acrylic hats are great for those who are vegan or allergic to animal fibers. Additionally, acrylic yarn is available in a wide range of colors and textures, allowing for endless design possibilities. However, acrylic does not have the same insulation properties as wool, so it may not be as warm in colder weather.
4. Cashmere:
Cashmere is a luxurious fiber that is known for its softness and warmth. It comes from the fine hairs of cashmere goats and is often blended with wool to create a yarn that is both soft and durable. Cashmere hats are extremely warm and comfortable, making them ideal for cold winter days. However, cashmere yarn can be quite expensive, so it may not be the best choice for those on a budget.
Overall, when choosing a fiber for your beanie hat, consider the weather conditions, your personal preferences, and your budget. Each type of fiber has its own unique qualities, so take the time to explore and experiment to find the perfect yarn for your knitting project.
Yarn weight and gauge considerations
When choosing a knitting pattern for a beanie hat, it is important to consider the weight of the yarn and the gauge. Yarn weight refers to the thickness of the yarn, and it can vary from super fine to super bulky. The weight of the yarn will affect the size and drape of the finished hat, as well as the amount of yarn needed for the project.
The pattern will usually specify the recommended yarn weight, and it is important to choose a yarn that matches the weight suggested. Using a different weight of yarn can result in a hat that is too small or too large. The gauge, which is the number of stitches and rows per inch, is another important consideration. It is crucial to knit a gauge swatch to ensure that you are achieving the correct gauge. If your gauge is too tight, you may need to switch to larger needles, and if it is too loose, you may need to switch to smaller needles.
Once you have chosen the correct yarn weight and achieved the correct gauge, you can begin knitting your beanie hat. Remember to follow the instructions carefully and check your gauge periodically throughout the project to ensure that you are on track. With the right yarn weight and gauge, you can create a beautiful and well-fitting beanie hat using straight needles.
Selecting the appropriate needle size
When starting a knitting project, one of the most important decisions you need to make is selecting the appropriate needle size. The needle size you choose can have a significant impact on the final look and fit of your knitted item. It affects the gauge, or the number of stitches per inch, which determines the overall size and drape of the finished piece.
There are various factors to consider when selecting needle size, including the type of yarn you are using and the desired outcome of your project. Different yarn weights require different needle sizes to achieve the correct gauge. A thicker yarn, such as bulky or chunky, generally requires larger needles, while a thinner yarn, such as lace or fingering weight, calls for smaller needles.
To determine the appropriate needle size for your project, it is important to swatch and measure your gauge. This involves knitting a small sample square using the yarn and needle size you intend to use for your project. Measure the number of stitches per inch and compare it to the recommended gauge in the pattern or your own desired gauge. If your gauge is too loose, meaning you have fewer stitches per inch, you need to switch to smaller needles. If your gauge is too tight, with more stitches per inch, you should go up to larger needles.
Remember that needle size is not an exact science and can vary depending on your personal knitting style and tension. It is always recommended to swatch before starting a project to ensure the best results. Experimenting with different needle sizes can also create unique effects in your knitting, such as a looser or tighter fabric, so don’t be afraid to try different options to achieve your desired outcome.
Understanding Needle Sizes and Gauge
When it comes to knitting, one of the most important factors to consider is needle size. The size of the needles you use can greatly affect the outcome of your project, from the fit of the garment to the overall appearance of the stitches. Understanding needle sizes can help you choose the right tools for the job and achieve the desired results.
Needle sizes are typically denoted by a number, which represents the diameter of the needle in millimeters. The smaller the number, the smaller the needle. For example, a US size 3 needle is smaller than a US size 8 needle. It’s important to note that needle sizes can vary between different countries, so it’s always a good idea to check a conversion chart if you’re using needles from a different system.
Gauge is another important concept to understand when it comes to knitting. Gauge refers to the number of stitches and rows per inch in a knitted fabric. It is an important factor to consider because it determines the size and fit of your finished project. To achieve the correct gauge, it is crucial to use the recommended needle size and yarn weight specified in the knitting pattern.
When starting a new knitting project, it’s a good idea to make a gauge swatch. This involves knitting a small section of the pattern using the recommended needle size and yarn. By measuring the stitches and rows per inch in the swatch, you can determine if your tension matches the pattern’s gauge. If the gauge is too tight, you may need to switch to larger needles, and if it’s too loose, you may need to switch to smaller needles.
It’s important to remember that everyone’s knitting tension is different, so it’s crucial to create a gauge swatch to ensure your finished garment matches the pattern’s measurements. Using the correct needle size and achieving the specified gauge will not only ensure a better fit but also allow your stitches to shine and make your knitting project look polished and professional.
Choosing the right needle material
When it comes to knitting beanie hats with straight needles, choosing the right needle material can make a big difference in your knitting experience and the final result of your project. There are several factors to consider when selecting the needle material, including comfort, durability, and the type of yarn you’ll be using.
Wood: Wooden knitting needles are a popular choice among knitters for their comfort and warmth. They have a natural feel and are great for those who prefer a slower knitting pace. Wood needles are also less likely to slip, which can be helpful for beginners or those working with slippery yarns. They are generally quite durable and can last for many years with proper care.
Bamboo: Bamboo knitting needles are another excellent option for knitting beanie hats. They are lightweight and have a smooth surface, making them easy to work with. Bamboo needles also provide a bit of flexibility, which can be beneficial when knitting tighter stitches. They are often preferred by knitters who have hand or joint pain as they are gentle on the hands.
Metal: Metal needles, such as aluminum or stainless steel, are a popular choice for many knitters. They are known for their durability and strength, making them perfect for those who like to knit with speed and precision. Metal needles have a smooth surface that allows stitches to glide easily, which can be useful when working with thicker yarns. However, they may feel cold to the touch, especially during colder months.
Plastic: Plastic knitting needles are an affordable option, making them a popular choice for beginners or those on a budget. They are lightweight and have a smooth surface that makes them easy to work with. However, plastic needles may not be as durable as other materials, and they can sometimes break or become bent with heavy use. They are best suited for lighter weight yarns.
In the end, the right needle material for your beanie hat project will depend on your personal preferences and knitting style. Consider factors such as comfort, durability, and the type of yarn you’ll be using to make an informed decision. Don’t be afraid to try out different materials to find the one that works best for you.
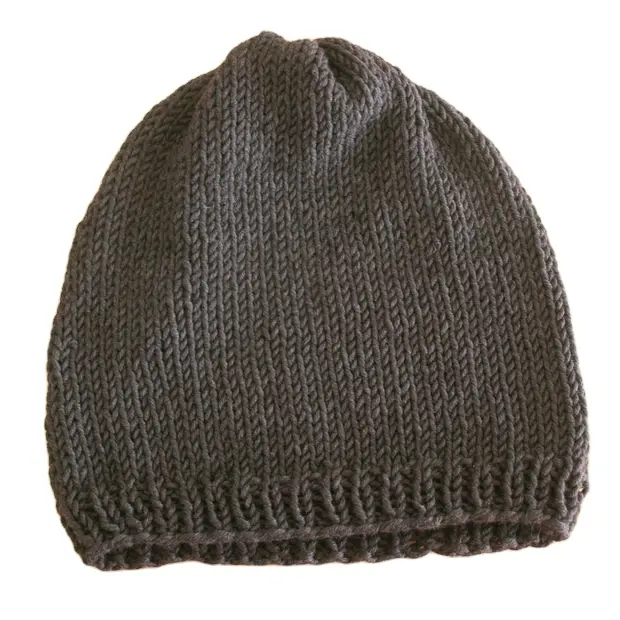
Casting on and knitting the ribbed brim
When starting to knit a beanie hat, the first step is to cast on the required number of stitches. For a ribbed brim, it is recommended to use a smaller needle size than what will be used for the main body of the hat. This will help create a tighter ribbed fabric, ensuring a snug fit around the head.
To cast on, hold the needle with the slip knot in your left hand. Insert the right needle into the front of the first stitch on the left needle, from left to right. Wrap the yarn around the right needle, going from back to front. Bring the right needle with the new loop of yarn through the first stitch on the left needle, and slide the stitch off the left needle. Repeat this process until the required number of stitches is cast on.
Tip: It can be helpful to use stitch markers to mark the beginning of the round, especially if knitting in the round. This will make it easier to keep track of the pattern and prevent any mistakes.
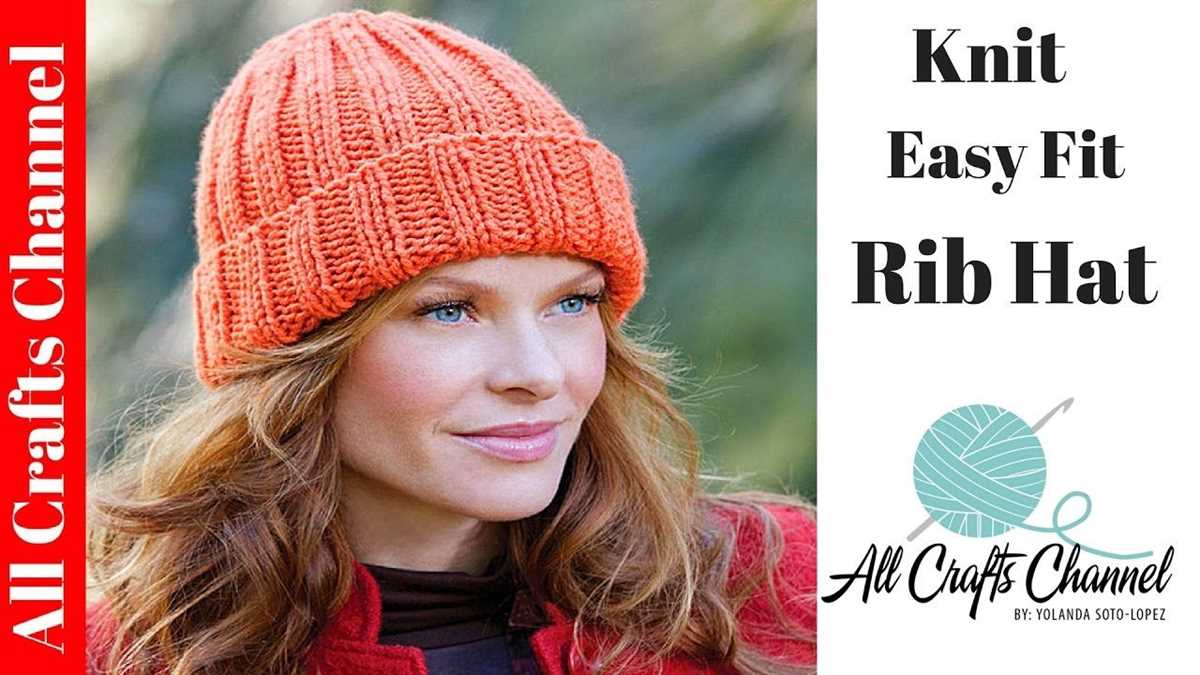
Once the stitches are cast on, it’s time to start knitting the ribbed brim. The most common ribbing pattern is a knit 2, purl 2 (K2, P2) rib. This pattern creates a stretchy and textured fabric. To knit the first row, knit the first two stitches, then purl the next two stitches. Repeat this sequence until the end of the row.
Continue knitting in the K2, P2 rib pattern for the desired length of the brim. This can vary depending on personal preference and the size of the hat. For a standard adult size beanie, a ribbed brim of about 2 to 3 inches would be suitable. Remember to check the tension of your knitting as you go along to ensure the desired fit and size.
How to Cast On Stitches for the Ribbed Brim
The ribbed brim is an essential part of a beanie hat as it provides elasticity and helps the hat stay in place on the head. To create the ribbed brim, you can use a technique called cable cast on, which is commonly used in knitting. Here is a step-by-step guide on how to cast on stitches for the ribbed brim using straight needles:
Step 1: Prepare Your Materials
Before you begin casting on stitches, make sure you have all the necessary materials on hand, including your straight knitting needles and yarn. Choose a yarn that is suitable for the desired brim width and hat size. You may also need a knitting gauge to ensure proper measurements.
Step 2: Make a Slip Knot
Start by making a slip knot at the end of your yarn. To do this, create a loop with the yarn, then pull the end of the yarn through the loop, tightening it to create a secure knot. Leave a long tail of yarn, as this will be used later for weaving in the ends.
Step 3: Insert the Needle
Insert one of your knitting needles through the slip knot loop from front to back, holding the needle with your right hand. Make sure the slip knot is positioned near the tip of the needle, leaving enough space for the stitches.
Step 4: Cast On
Hold the yarn in your left hand and bring it over the top of the needle, forming a lowercase ‘e’ shape. Insert your right needle from front to back through the ‘e’ shape, creating a loop around the needle. This is your first cast on stitch.
Continue this process of bringing the yarn over the needle and inserting the right needle through the loop until you have cast on the desired number of stitches for your ribbed brim. Make sure to keep the tension even, neither too loose nor too tight, as this will affect the elasticity of the brim.
Step 5: Begin Ribbing
Once you have cast on the desired number of stitches, you can start the ribbing pattern. The most common ribbing pattern is K2, P2 (knit 2, purl 2), but you can choose any ribbing pattern you prefer.
To start the ribbing pattern, knit the first two stitches, then purl the next two stitches. Repeat this sequence across the row until you reach the end. This creates the ribbed texture that will continue throughout the brim.
Step 6: Conclusion
Casting on stitches for the ribbed brim is an important step in knitting a beanie hat on straight needles. By following these steps, you can create a sturdy and elastic ribbed brim that will enhance the overall fit and style of your hat. Experiment with different ribbing patterns and yarns to create unique and personalized designs. Happy knitting!