
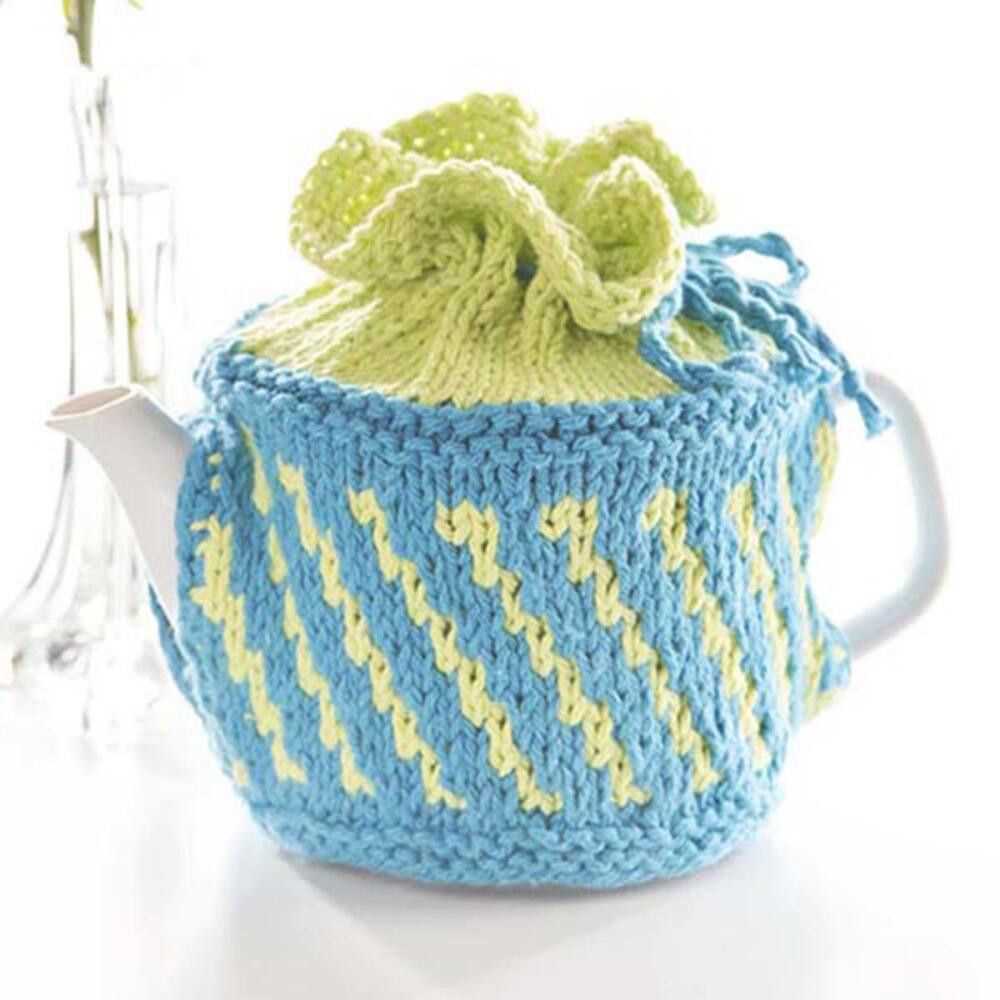
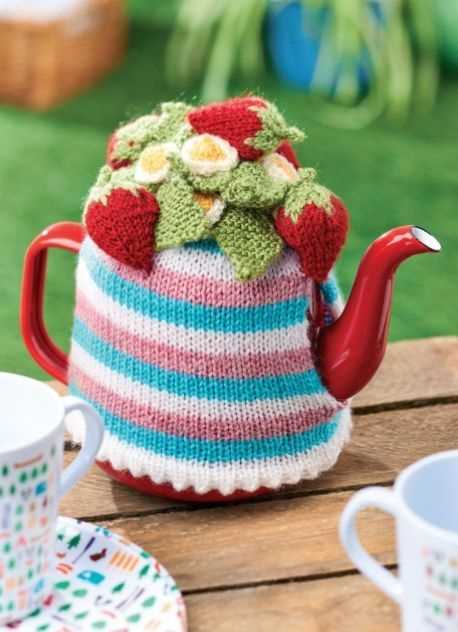
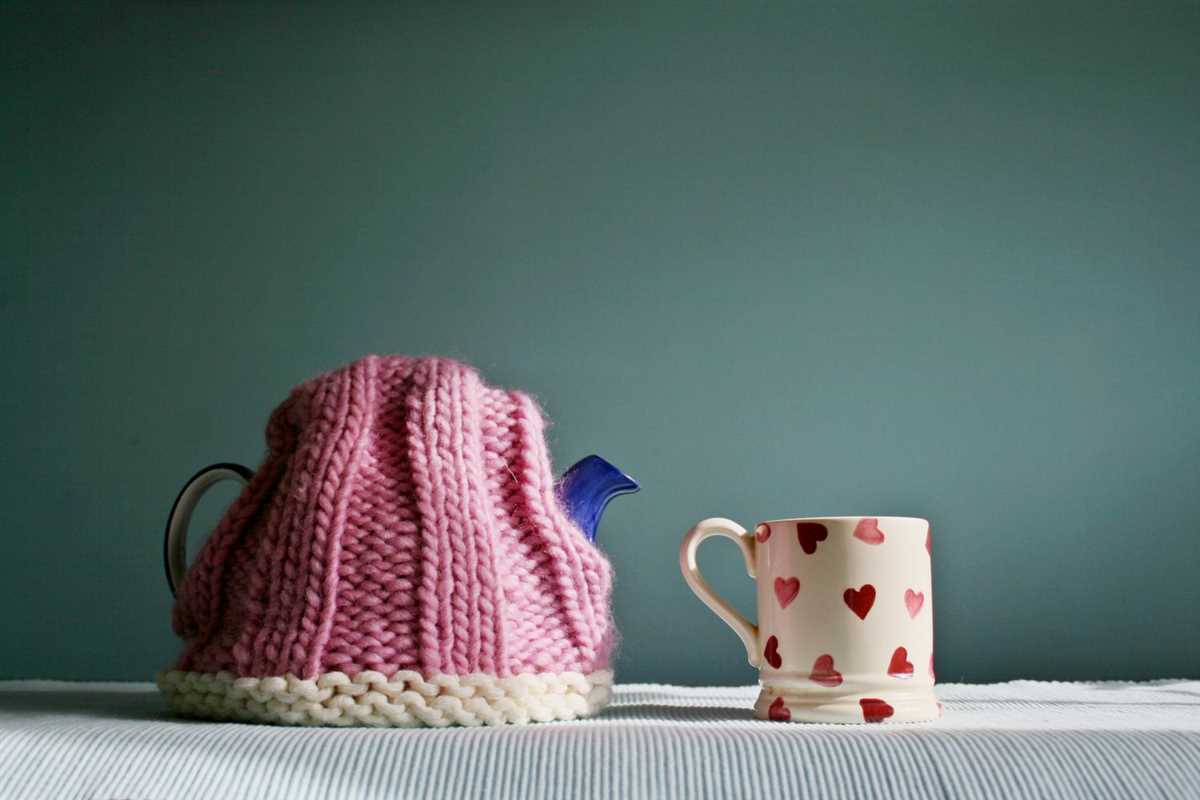
If you love knitting and enjoy a nice cup of tea, then this free tea cosy knitting pattern is perfect for you. A tea cosy is a charming and practical accessory that keeps your tea pot warm while adding a touch of style to your kitchen. With this pattern, you can create your own unique tea cosy and personalize it with your favorite colors and designs.
Knitting a tea cosy can be a fun and relaxing project, suitable for both beginners and experienced knitters. This pattern provides step-by-step instructions, guiding you through the knitting process and helping you create a cosy that fits your tea pot perfectly. Whether you prefer a classic and elegant design or something more playful and whimsical, this pattern allows you to let your creativity shine.
Not only is knitting a tea cosy a great way to practice your knitting skills, it also makes for a thoughtful and handmade gift for family and friends. You can customize the cosy to match their personal style or create a set of cosy’s for a special occasion, such as a tea party or a cozy winter gathering. With this free tea cosy knitting pattern, you can create beautiful and functional knitted accessories that bring warmth and joy to your tea moments.
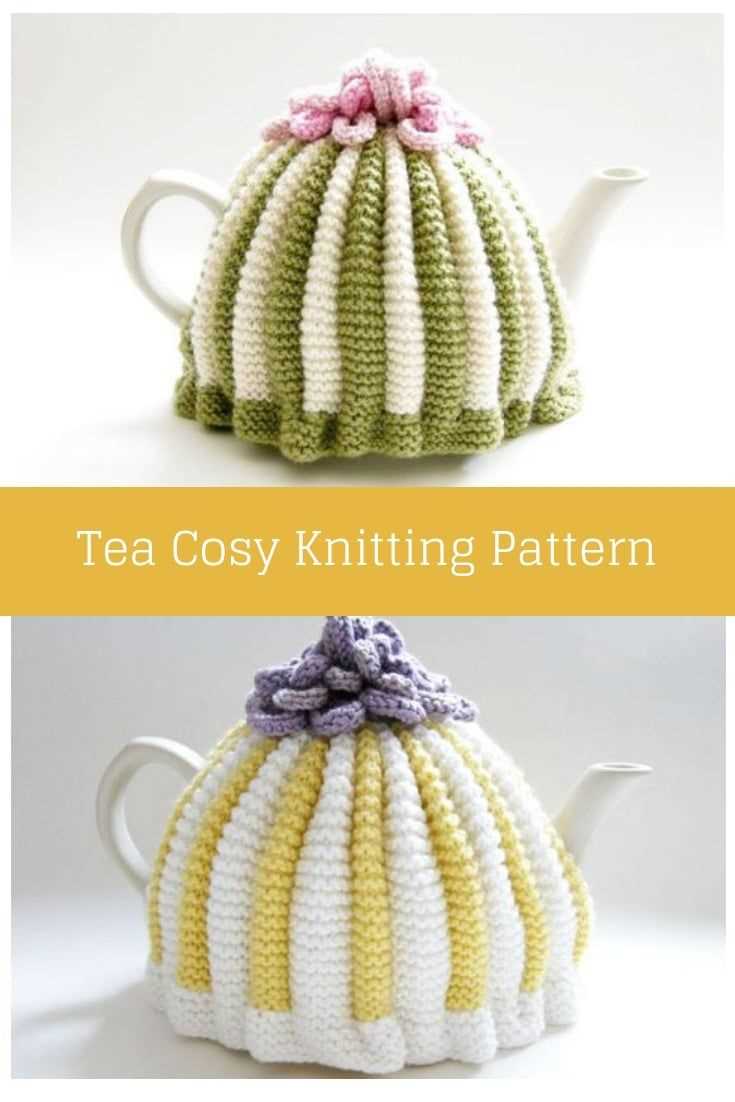
Free Tea Cosy Knitting Pattern
If you enjoy knitting and want to add a touch of charm to your tea time, why not try knitting your very own tea cosy? A tea cosy is a decorative cover that fits over a teapot, keeping the tea warm for longer and adding a cozy and inviting feel to your tea table. With a variety of free tea cosy knitting patterns available, you can choose a design that suits your style and skill level.
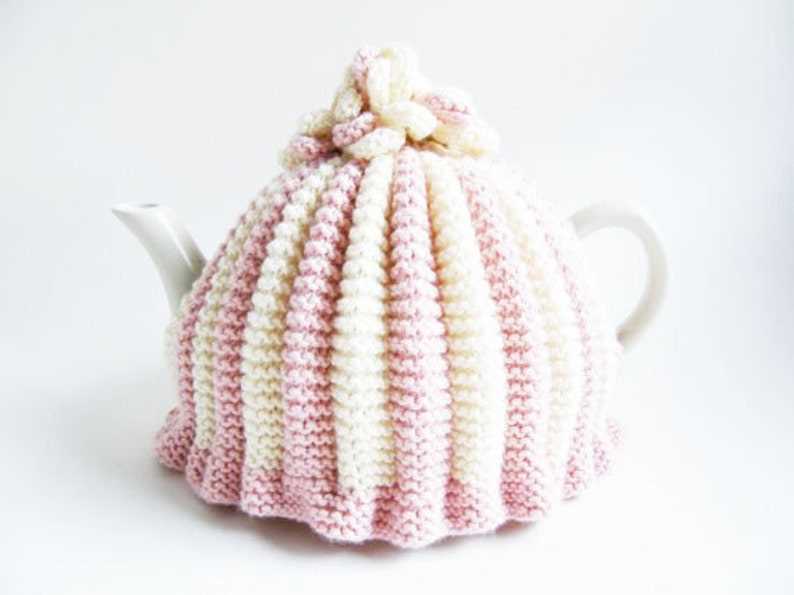
One popular free tea cosy knitting pattern is the classic garter stitch tea cosy. This pattern is perfect for beginners, as it only requires knowledge of basic knitting stitches. The garter stitch creates a textured and cushioned effect, providing insulation to help keep your tea warm. With its simplicity, this pattern can be easily customized with different colors or embellishments to add a personalized touch.
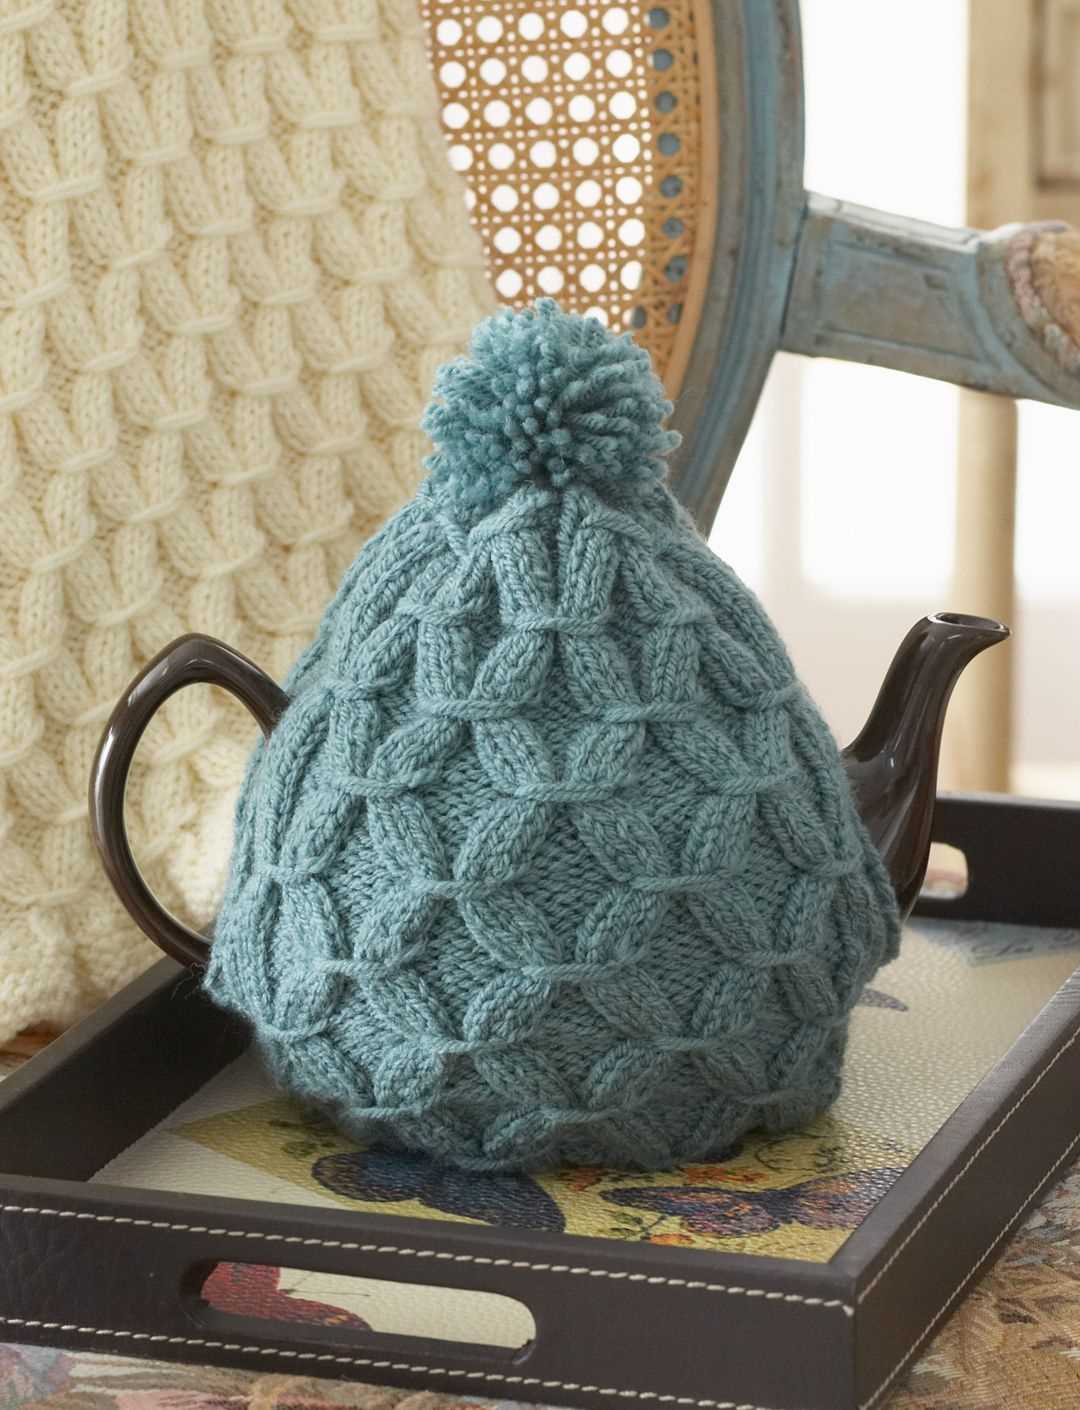
If you’re looking for a more intricate knitting pattern, you could try the cable stitch tea cosy. This pattern involves creating cable stitches, which give a braided or twisted appearance to the cosy. The cable stitch adds an elegant and sophisticated touch to your tea table, making it a great option for special occasions or as a gift for tea lovers.
For those who enjoy knitting in the round, there are also free tea cosy patterns available that utilize this technique. Knitting in the round eliminates the need for seams, resulting in a seamless and polished finished product. This type of pattern can be challenging for beginners, but with practice, it can become an enjoyable and rewarding project.
Whether you choose a simple or more complex pattern, knitting a tea cosy can be a fun and relaxing activity. It allows you to showcase your creativity and create a unique accessory for your tea time. So grab your knitting needles and cozy up your teapot with a free tea cosy knitting pattern today!
Why You Need a Tea Cosy
Aquiring a tea cosy is an essential addition to any tea lover’s collection. Not only does it add a touch of elegance and charm to your tea set, but it also serves a practical purpose. A tea cosy helps to keep your tea warm for longer periods of time, allowing you to enjoy a hot and flavorful cup of tea throughout the day.
One of the main benefits of using a tea cosy is that it helps to insulate your teapot, preventing heat loss and keeping the tea at its optimal temperature. This is especially important for those who enjoy leisurely tea sessions or host tea parties, as it ensures that your guests are always served a piping hot cup of tea.
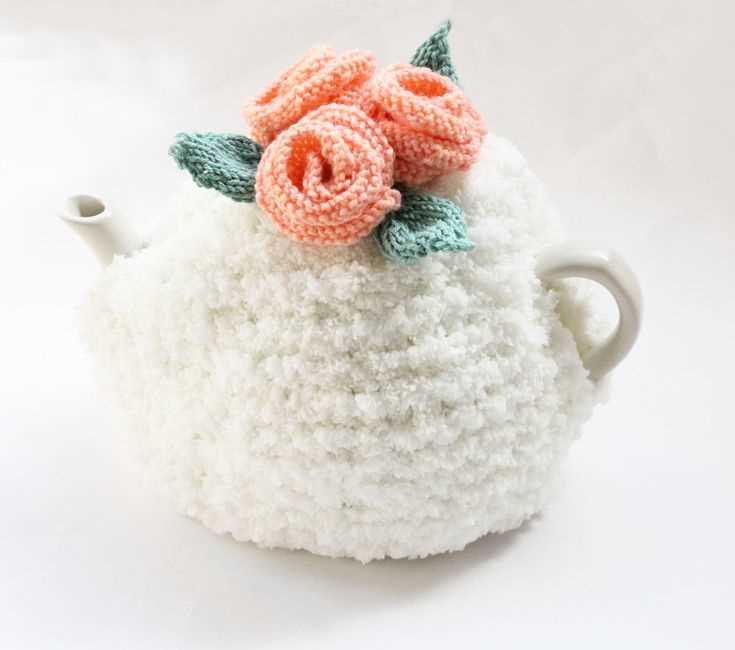
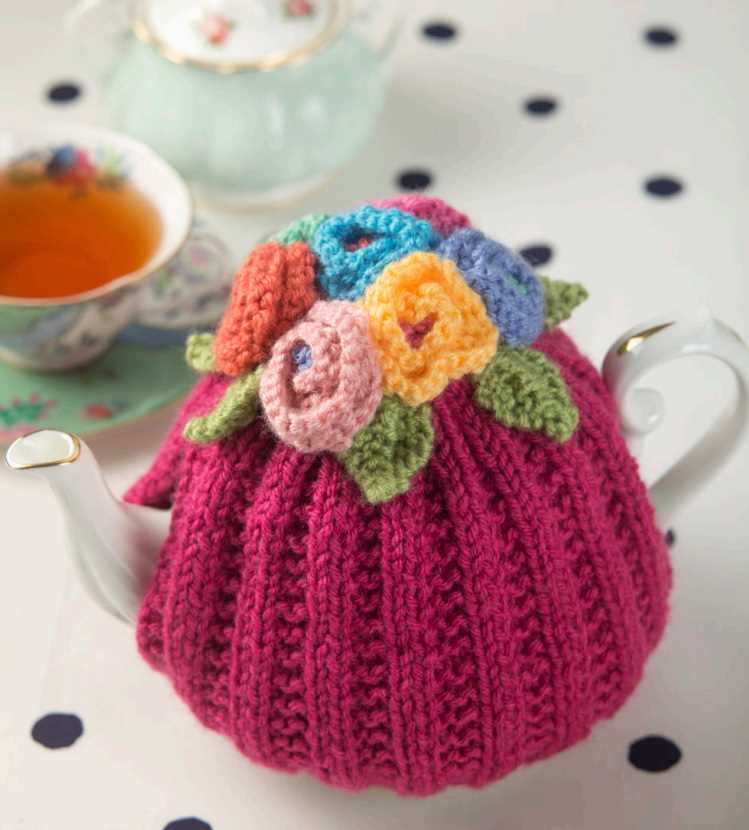
Another reason why you need a tea cosy is for its aesthetic appeal. With a variety of designs and colors available, you can choose a tea cosy that complements your personal style and adds a decorative touch to your tea set. Whether you prefer a classic, vintage-inspired design or a modern, quirky pattern, there is a tea cosy out there to suit your taste.
Keeps your tea warm for longer
One of the key advantages of using a tea cosy is its ability to keep your tea warm for longer. The cosy helps to retain the heat within the teapot, preventing it from dissipating quickly. This means that you can enjoy a hot cup of tea even if you get distracted or take your time sipping it.
Adds a touch of elegance to your tea set
Not only is a tea cosy functional, but it also adds a touch of elegance and charm to your tea set. It can make even the simplest teapot look more sophisticated and stylish. The right tea cosy can enhance the overall aesthetic of your tea set, making it a beautiful addition to your home decor.
Allows you to personalize your tea experience
With a wide range of designs and patterns available, a tea cosy allows you to personalize your tea experience. You can choose a cosy that reflects your personality, interests, or even the theme of an occasion. Whether you prefer a floral design, a quirky animal print, or a classic knitted pattern, there is a tea cosy out there that will perfectly suit your taste.
A conversation starter
A tea cosy can also serve as a great conversation starter when you have guests over. Its unique and eye-catching design can spark interest and curiosity, leading to conversations about tea, hobbies, and personal preferences. It can help create a warm and inviting atmosphere during tea gatherings, making it a valuable addition to your social gatherings.
Choosing the Right Yarn
When it comes to choosing the right yarn for your tea cosy knitting project, there are several factors to consider. The type of yarn you choose can greatly impact the final result of your tea cosy, as well as its durability and functionality.
Fiber Content: One of the first things to consider when choosing yarn for your tea cosy is the fiber content. Different fibers have different properties, such as warmth, breathability, and elasticity. Wool is a popular choice for tea cosies, as it is warm, insulating, and has natural elasticity. Acrylic yarns are also commonly used, as they are affordable, easy to care for, and come in a wide range of colors. Other options include cotton, which is lightweight and breathable, and blends such as wool/acrylic or cotton/acrylic.
Weight and Gauge: The weight of the yarn will determine the thickness and density of your tea cosy. Lighter weight yarns, such as fingering or sport weight, will create a more delicate and lightweight cosy. Bulky or chunky weight yarns, on the other hand, will result in a thicker and more substantial cosy. Pay attention to the recommended gauge for your pattern, as using a different weight yarn can affect the size and fit of your tea cosy.
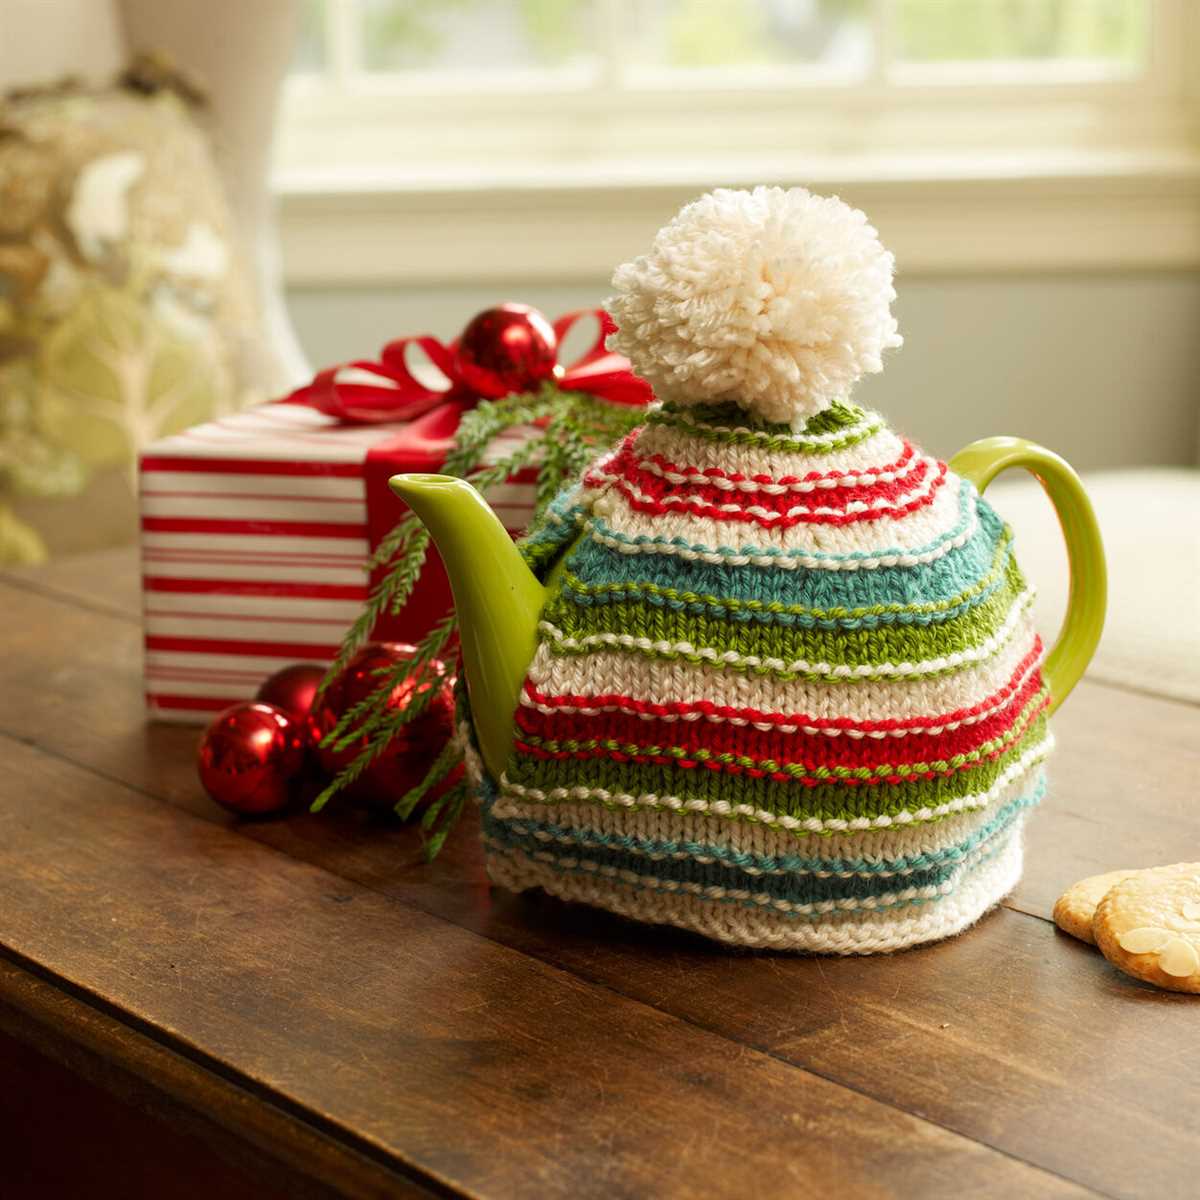
- Color: Consider the color of the yarn you choose, as it will impact the overall aesthetic of your tea cosy. Whether you go with a solid color, variegated, or striped yarn, make sure it complements your kitchen decor and personal style.
- Care Instructions: Make sure to read the care instructions for the yarn you choose. Some yarns may require special care, such as hand washing or laying flat to dry, while others can be machine washed and dried. Consider your lifestyle and how much time you are willing to spend on caring for your tea cosy.
- Budget: Lastly, consider your budget when choosing yarn for your tea cosy. Yarn comes in a wide range of prices, so pick one that fits within your budget but still meets your quality and aesthetic requirements.
By considering all these factors, you will be able to choose the perfect yarn for your tea cosy knitting project. Whether you prioritize warmth, durability, style, or affordability, there is a yarn out there that will meet your needs and help you create a beautiful and functional tea cosy.
Selecting Needles for Your Project
When starting a new knitting project, one of the most important decisions you’ll have to make is choosing the right needles. The size and type of needles you use can have a significant impact on the outcome of your project, so it’s essential to make an informed choice. Here are some factors to consider when selecting needles:
Needle Size
The size of the needles you choose will depend on the yarn you’re using and the desired tension or gauge of your project. Most knitting patterns will specify a recommended needle size, so be sure to check your pattern before making a decision. If you’re unsure, you can also knit a gauge swatch using different needle sizes to see which one gives you the desired result.
Needle Material
Needles come in a variety of materials, each with its own unique characteristics. Some common materials include metal, wood, and plastic. Metal needles are known for their durability and smoothness, which makes them ideal for faster knitting. Wood needles, on the other hand, have a warmer and softer feel, making them a popular choice for those who prefer a more traditional knitting experience. Plastic needles are lightweight and affordable, making them a great option for beginners.
Needle Type
There are also different types of needles to choose from, such as straight, circular, and double-pointed needles. Straight needles are the most common and are used for flat knitting, while circular needles are versatile and can be used for both flat and circular knitting. Double-pointed needles are used for knitting in the round, such as for socks or hats. Consider the type of project you’ll be working on and choose the appropriate needle type accordingly.
Ultimately, the choice of needles will depend on your personal preferences and the requirements of your project. Experiment with different needle sizes and materials to find the ones that feel comfortable in your hands and produce the desired results. Happy knitting!
Getting Started: Casting on Stitches
Before you can start knitting your tea cosy, you need to cast on stitches onto your knitting needle. This is the first step in any knitting project and it’s important to get it right. In this section, we will guide you through the process of casting on stitches.
Casting on Stitches Using the Long-Tail Method
The long-tail method is one of the most popular ways to cast on stitches. To begin, you will need to estimate the amount of yarn that you will need for your project. Hold the end of the yarn in your right hand and the working end in your left hand, leaving a long tail of yarn.
Step 1: Make a slipknot by crossing the yarn over itself to form a loop. Insert your needle through the loop and pull the tail end to tighten the knot around the needle.
Step 2: Hold the needle with the slipknot in your right hand. With your left hand, bring the working yarn over the top of the needle, creating a loop behind the slipknot.
Step 3: Slip the right needle tip through the loop on the left needle, from front to back. Release the loop from your left thumb and pull the working yarn gently to tighten the stitch on the right needle.
Step 4: Repeat steps 2 and 3 to cast on the desired number of stitches for your tea cosy. Make sure to keep the tension even and not too tight or loose.
Casting on Stitches Using the Knitted Cast On Method
The knitted cast on method is another commonly used way to cast on stitches. It creates a neat and stretchy edge. To start, make a slipknot and insert the needle into the loop, just like in the long-tail method.
Step 1: Hold the needle with the slipknot in your right hand. With your left hand, knit into the slipknot by inserting the right needle from front to back, catching the working yarn and pulling it through the loop.
Step 2: Slip the new stitch from the right needle to the left needle, creating a new loop.
Step 3: Continue knitting into the slipknot and slipping the new stitch from the right needle to the left needle until you have cast on the desired number of stitches for your tea cosy. Remember to keep the tension even throughout the process.
Once you have mastered the casting on stitches, you are ready to start knitting your tea cosy pattern. Happy knitting!
Knitting the Body of the Tea Cosy
Once you have finished knitting the base of your tea cosy, it’s time to move on to the body. The body is where you can get creative and add different patterns or textures to make your tea cosy unique. Here are the steps to knit the body of the tea cosy:
- Choose your stitch pattern: You can stick with a basic stockinette stitch for a simple and classic look, or you can try something more intricate like a cable or lace pattern. Take some time to explore different stitch patterns and choose one that you like.
- Calculate the number of stitches: Depending on the size of your teapot and the stitch pattern you choose, you will need to calculate the number of stitches to cast on for the body. Make sure to measure your teapot and take into account any extra ease you want to provide.
- Start knitting: Once you have the desired number of stitches, you can start knitting the body of the tea cosy. Follow the stitch pattern you have chosen and continue knitting until the body reaches the desired height. You can add an extra row or two of ribbing at the top for a neat finish.
- Shape the top: To shape the top of the tea cosy, you will need to decrease stitches evenly across the rows. This can be done by knitting two stitches together or by slipping stitches. Consult your chosen stitch pattern for guidance on decreasing stitches.
- Bind off: Once you have reached the desired shape and height for the body of your tea cosy, it’s time to bind off. Use a stretchy bind off method to ensure that the top of the tea cosy fits snugly around the teapot.
Remember to adjust the instructions above to fit the specific requirements of your tea cosy design. Have fun experimenting with different stitch patterns and colors to create a tea cosy that reflects your unique style.
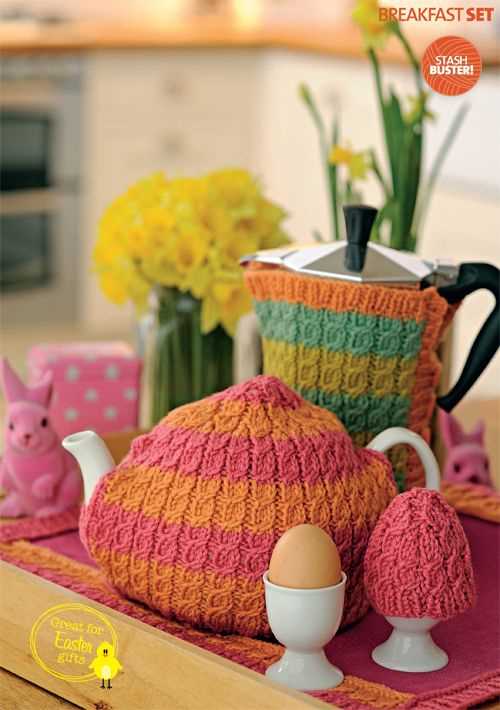
Adding Decorative Stitch Patterns
When it comes to knitting a tea cosy, adding decorative stitch patterns can be a fun way to personalize your creation and make it truly unique. There are countless stitch patterns available that you can incorporate into your design, ranging from simple and classic to more intricate and fancy.
One popular stitch pattern that works well for tea cosies is the cable stitch. This technique creates a beautiful texture and adds a touch of elegance to your cosy. You can use a single cable running up the front of your cosy, or create a more intricate design with multiple cables crossing each other.
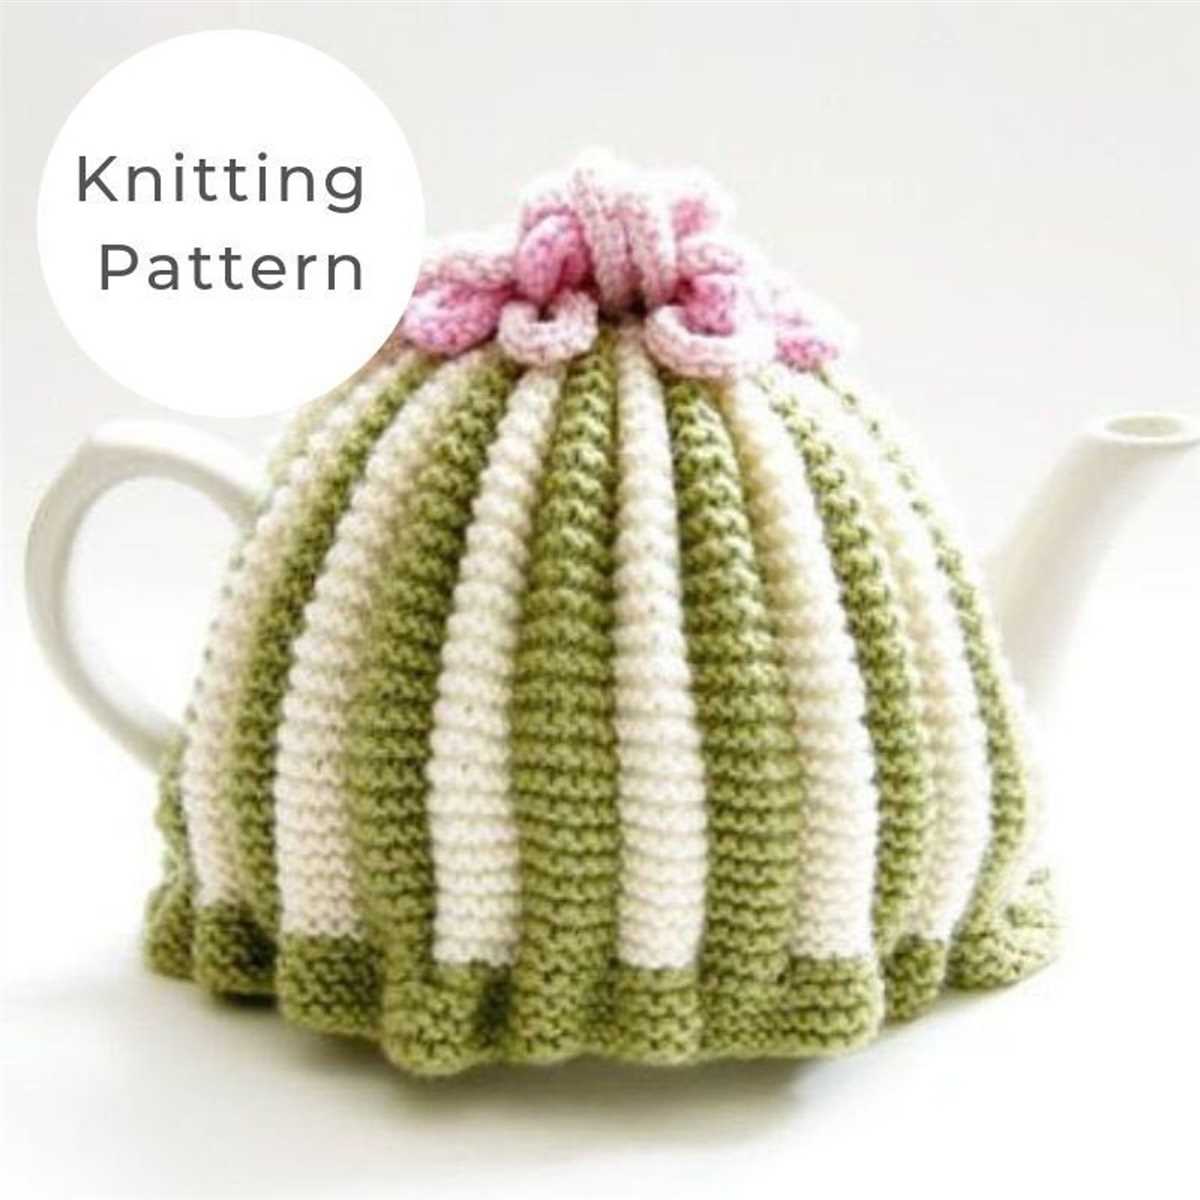
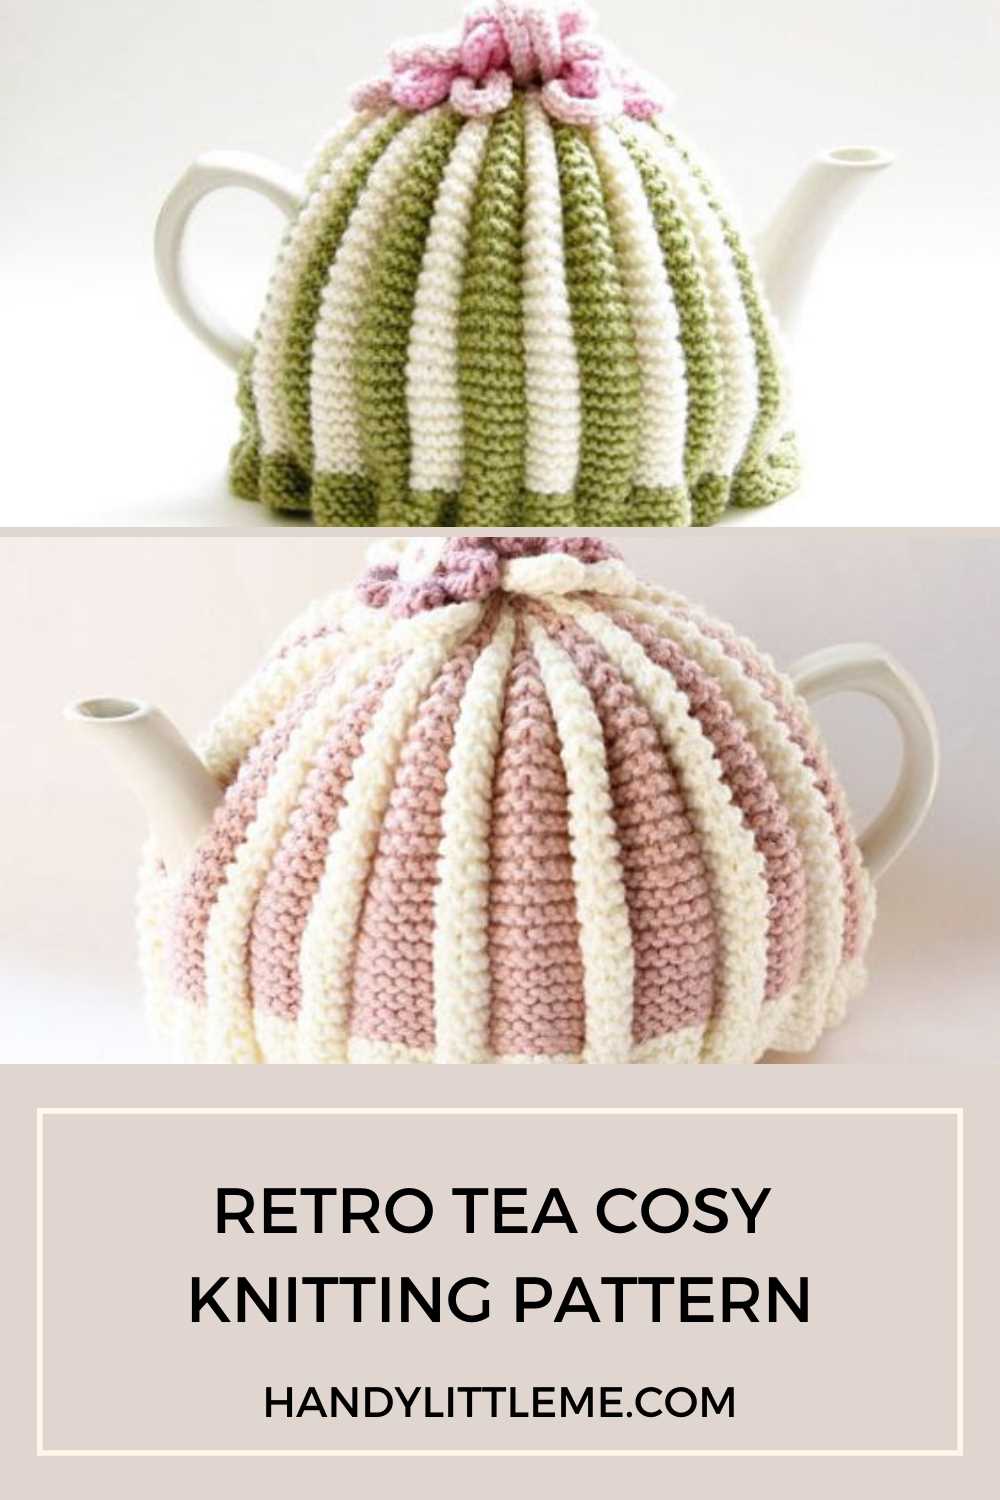
Another decorative stitch pattern that you can try is the lace stitch. This delicate and airy stitch creates a lacy effect, perfect for a tea cosy. You can use lace patterns to create a panel on your cosy or incorporate them throughout the entire design.
For those looking for a more playful and whimsical design, you can try using the bobble stitch. This stitch creates small, raised bumps that resemble bobbles. Adding a few bobbles to your cosy can give it a charming and whimsical look.
Incorporating various stitch patterns into your tea cosy design allows you to showcase your creativity and add a personal touch to your knitting project. Whether you choose a classic cable stitch, a delicate lace pattern, or a playful bobble stitch, the possibilities are endless. Go ahead and experiment with different stitch patterns to create a tea cosy that reflects your own unique style and personality.
Shaping the Top of the Tea Cosy
When knitting a tea cosy, one of the most important steps is shaping the top to create a snug fit and a beautiful finished look. The shaping process involves decreasing stitches to gradually close up the top of the cosy. By following the pattern instructions, you will be able to create a cosy that fits perfectly over your teapot.
To start shaping the top, you will need to decrease stitches evenly across each round. This can be done by knitting two stitches together or using other decrease techniques specified in the pattern. The decrease stitches should be evenly spaced to maintain a balanced shape.
1. Decreasing at the beginning and end of the round:
One common method for shaping the top of a tea cosy is to decrease at the beginning and end of each round. This creates a tapered effect and helps the cosy fit snugly over the teapot. To do this, simply follow the pattern instructions for decreasing and continue knitting in the specified stitch pattern until you reach the desired height for the cosy.
2. Decreasing in a specific pattern:
Another way to shape the top of a tea cosy is to decrease stitches in a specific pattern. This can create different effects, such as a domed shape or a flatter top. The pattern you are using will specify which stitches to decrease and in what sequence. Make sure to carefully read and follow the instructions, as this will determine the final shape of your cosy.
By shaping the top of your tea cosy properly, you can create a functional and stylish accessory for your teapot. Whether you choose to decrease at the beginning and end of each round or follow a specific pattern, the final result will be a cosy that fits snugly and adds a touch of charm to your tea time.
Creating the Opening for the Teapot Spout
When knitting a tea cosy, one important step is creating the opening for the teapot spout. This allows the spout to stick out while keeping the rest of the teapot covered. To create the opening, follow these steps:
- Measure the size of the teapot spout: Before knitting, it’s important to measure the size of the teapot spout. This will help determine the size of the opening to create. Use a tape measure or ruler to accurately measure the spout’s diameter and length.
- Choose a suitable knitting technique: There are several knitting techniques available to create the opening for the teapot spout. One commonly used technique is the buttonhole method, which involves casting off several stitches in a specific pattern to create an opening. Another technique is the provisional cast-on method, which allows for picking up stitches later to create the opening.
- Follow the pattern instructions: If you’re using a specific knitting pattern for your tea cosy, make sure to carefully follow the instructions provided. The pattern will typically include directions for creating the opening for the teapot spout, specifying the number of stitches to cast off or pick up.
- Test the opening: Once you’ve completed the knitting portion of the tea cosy, it’s important to test the opening for the teapot spout. Carefully place the cosy on the teapot, ensuring that the spout fits through the opening properly. If the opening is too tight or too loose, make any necessary adjustments by adding or removing stitches.
By following these steps, you can successfully create the opening for the teapot spout in your knitted tea cosy. This allows for easy pouring while keeping your teapot warm and stylishly covered.
Sewing the Tea Cosy Together
Once you have finished knitting all the pieces of your tea cosy, it’s time to sew them together. This is the final step in completing your cosy and creating a snug and cozy cover for your teapot.
To begin, lay out your knitted pieces and make sure they are all the correct size and shape. If any adjustments need to be made, now is the time to do so. Once you are satisfied with the shape and size of each piece, you can start sewing them together.
Step 1: Assembling the main body
Start by folding the main body piece in half lengthwise so that the wrong side is facing out. Align the edges and use a tapestry needle and yarn to sew the two sides together using a whipstitch or mattress stitch. Make sure to leave the bottom open for the teapot to slide in.
Next, fold the top edge of the main body piece over about an inch to create a neat and finished edge. Use a whipstitch or blanket stitch to secure the folded edge in place. This will create the opening for the teapot spout.
Step 2: Attaching the top and bottom pieces
Now it’s time to attach the top and bottom pieces of the tea cosy to the main body. With the right side of the main body facing out, align the edges of the top and bottom pieces with the top and bottom edges of the main body. Use a tapestry needle and yarn to sew them together, using a whipstitch or mattress stitch.
Make sure to leave an opening for the teapot handle and spout, so they can easily slide through. Once the top and bottom pieces are securely attached, trim any excess yarn and weave in the loose ends to finish off your tea cosy.
Congratulations! You have successfully sewn together your tea cosy and created a beautiful and functional cover for your teapot. Now it’s time to brew a cup of tea and enjoy it with your cosy teapot!
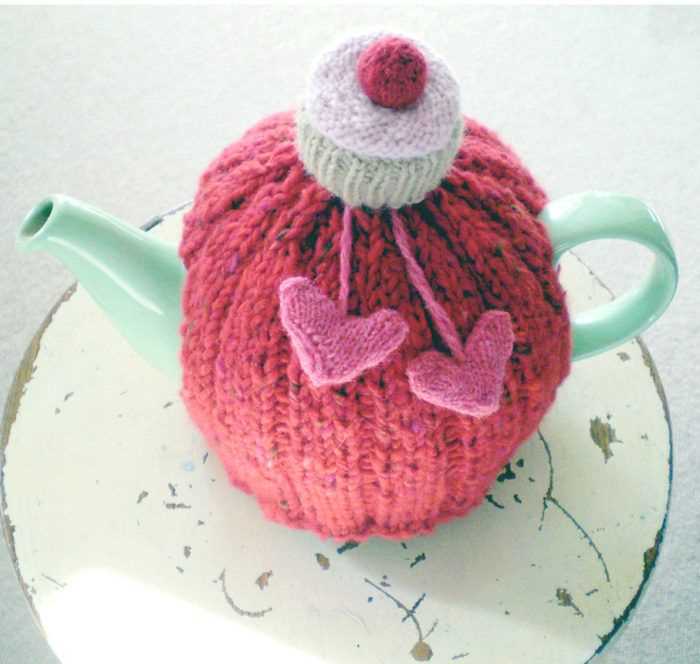
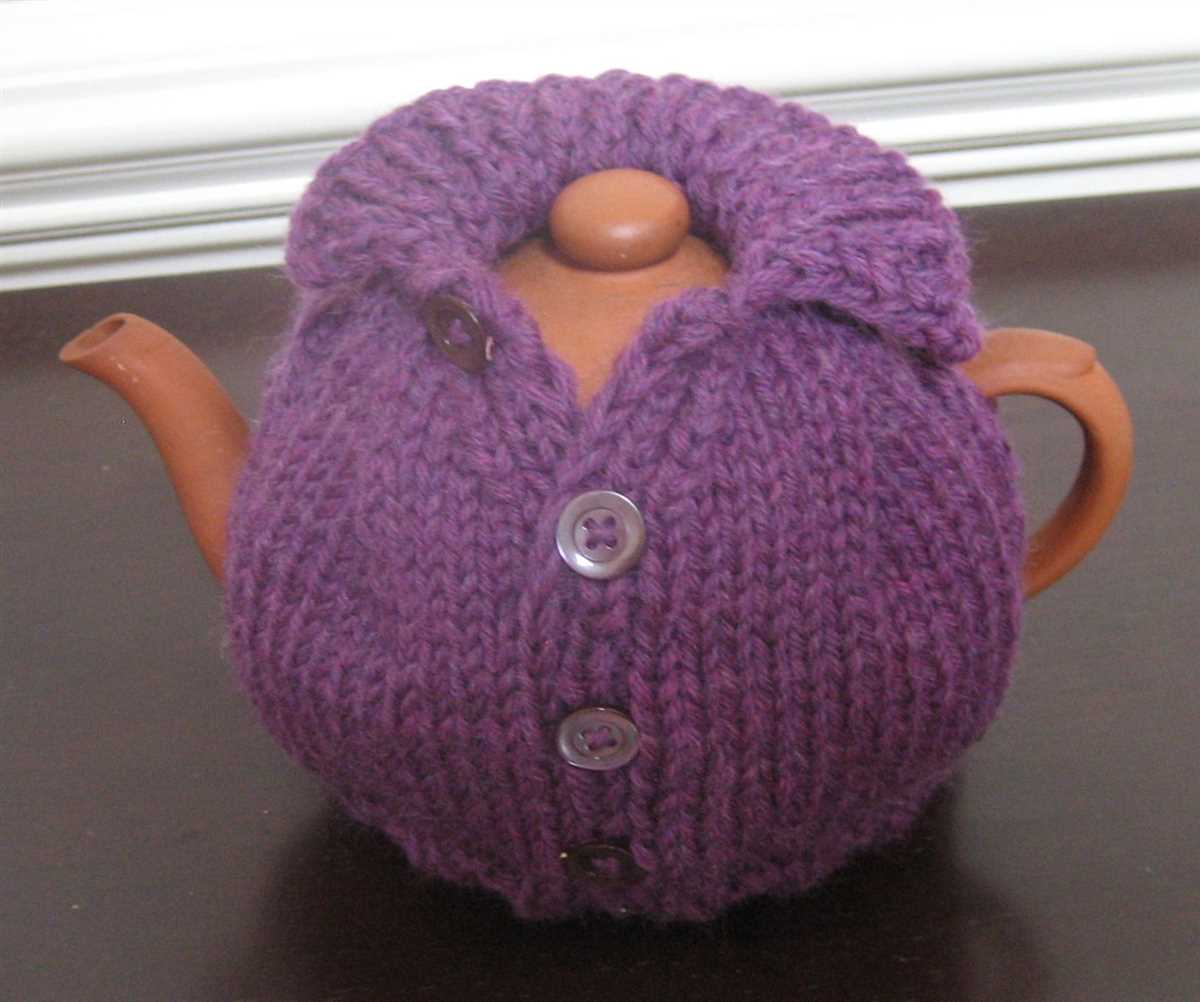
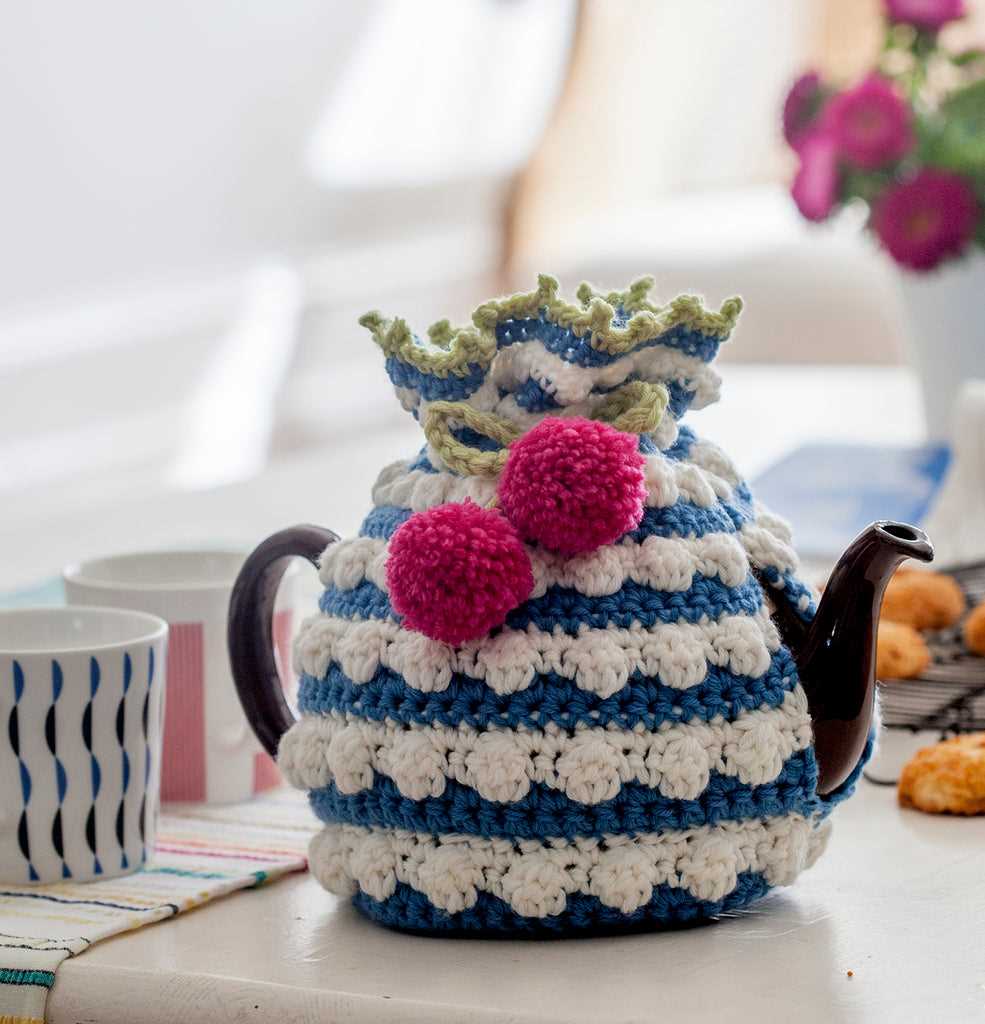
Adding Finishing Touches with Embellishments
When it comes to knitting tea cosies, sometimes it’s the little details that can make all the difference. Adding embellishments can give your cosy a unique and personalized touch. Whether you’re knitting for yourself or as a gift for a loved one, these finishing touches can make the cosy truly special.
Buttons: One of the easiest ways to add embellishments to your tea cosy is by sewing on buttons. You can choose buttons that complement the colors of your cosy or ones that have fun and quirky designs. Sew a single button as a focal point or add a row of buttons for a more intricate look. The choice is yours!
Embroidery: Another way to add a personal touch is through embroidery. You can stitch initials, names, or even small decorative motifs onto your tea cosy. Embroidery adds a charming and whimsical touch to any cosy and is a great way to showcase your creativity.
Tassels: If you’re looking to add a touch of flair to your tea cosy, consider adding tassels. Tassels can be made from yarn in coordinating or contrasting colors. Simply attach them to the corners or edges of the cosy for a playful and fun look.
Pom-poms: Pom-poms are another popular embellishment option. They can be made from the same yarn you used to knit the cosy or from a contrasting color. Attach them to the top or sides of the cosy for a cute and whimsical touch.
Lace trim: For a more delicate and feminine look, consider adding lace trim to your tea cosy. You can sew it around the edges or along the bottom to give your cosy an elegant touch. Lace trim adds a touch of vintage charm to any tea cosy.
Finishing touches are an excellent way to add a personal and unique touch to your knitted tea cosy. Whether you choose buttons, embroidery, tassels, pom-poms, or lace trim, these embellishments can bring your cosy to life and make it a true reflection of your creativity and style.
Taking Care of Your Tea Cosy
Now that you’ve finished knitting your beautiful tea cosy, it’s important to take proper care of it to ensure it lasts for a long time. Here are some tips for keeping your tea cosy in the best possible condition:
1. Handwashing: To clean your tea cosy, it’s best to hand wash it with mild detergent and lukewarm water. Avoid using harsh chemicals or bleach, as they can damage the fabric. Gently squeeze out the excess water and reshape the tea cosy while it’s still damp. Allow it to air dry completely before using or storing.
2. Storing: When not in use, it’s recommended to store your tea cosy in a cool and dry place, away from direct sunlight. This will help prevent any fading or discoloration. It’s also a good idea to place a piece of acid-free tissue paper or cotton cloth inside the tea cosy to help maintain its shape.
3. Avoiding Snags: Be cautious when handling your tea cosy to avoid any snags or pulls. It’s best to remove any rings or sharp jewelry before using or handling the tea cosy. You can also place your tea cosy in a fabric bag or pillowcase to protect it from any potential damage.
4. Repairing: In case of any minor damages, such as loose threads or small holes, you can repair them using a needle and thread that matches the color of your tea cosy. Take your time and make small, discreet stitches to secure any loose parts. If the damage is more significant, it may be best to consult a professional knitter or seamstress for repair advice.
By following these simple care tips, your tea cosy will continue to keep your teapot warm and your tea time extra cozy for a long time to come. Enjoy your knitting and enjoy your cup of tea!