
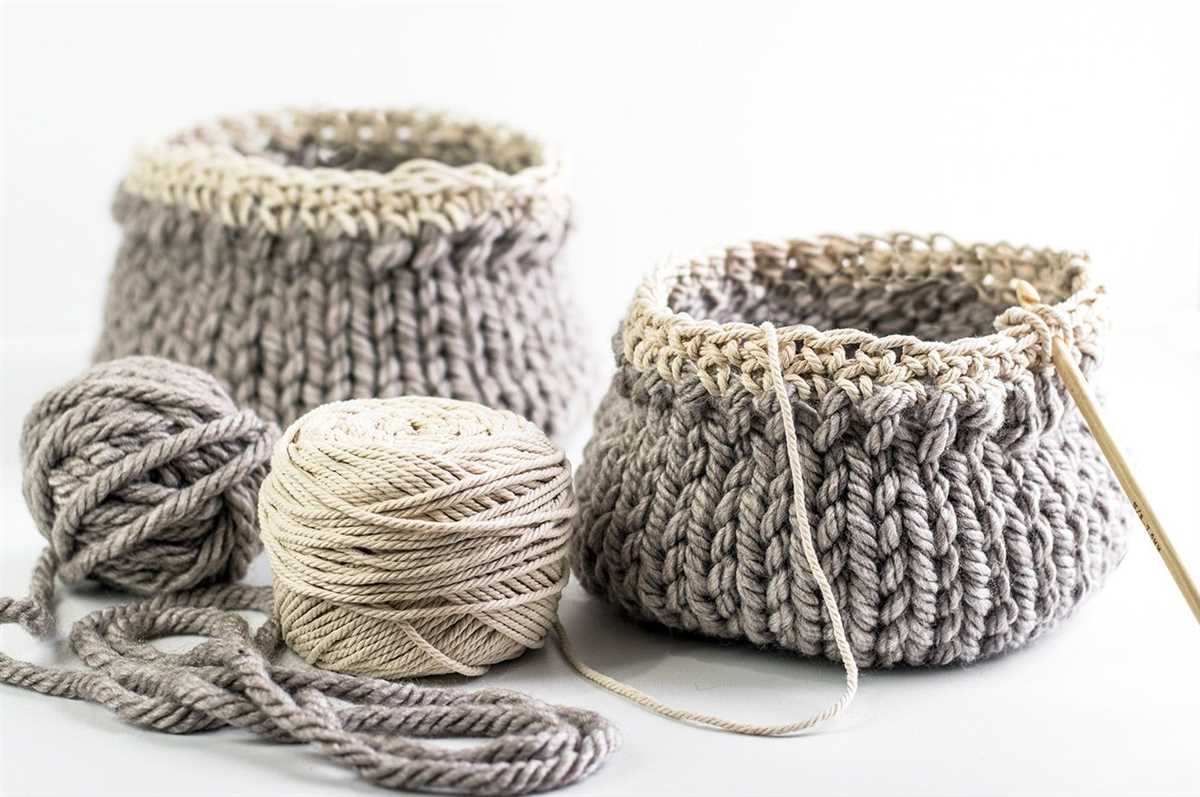
If you enjoy knitting and want to create something practical and stylish, then a loom knit basket is the perfect project for you. Loom knitting is a popular technique that uses a round knitting loom instead of traditional knitting needles. With a loom knit basket, you can create a beautiful and functional storage solution for your home.
One of the best things about loom knitting is that it is beginner-friendly and requires minimal knitting skills. Even if you are a beginner, you can easily follow a loom knit basket pattern and create a stunning basket in no time. All you need is a round knitting loom, some yarn, and a few basic knitting tools.
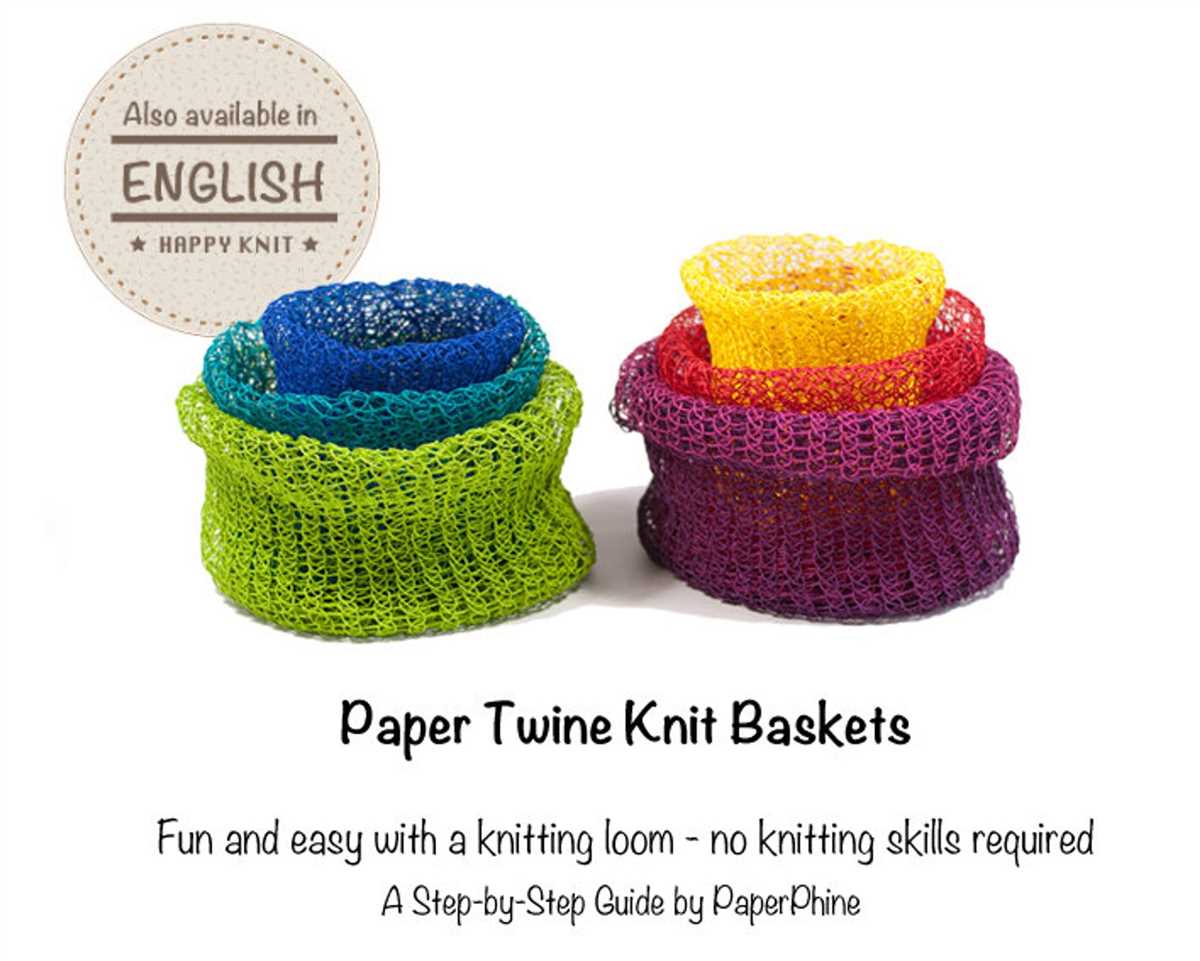
A loom knit basket can be customized to match your home decor. You can choose from a variety of yarn colors, patterns, and textures to create a basket that complements your style. Whether you prefer a simple and classic design or something more intricate, the possibilities are endless with loom knitting.
In this article, we will provide step-by-step instructions for a basic loom knit basket pattern. We will cover everything from casting on to binding off, as well as tips and tricks along the way. So grab your loom and yarn, and let’s get started on creating your own beautiful loom knit basket!
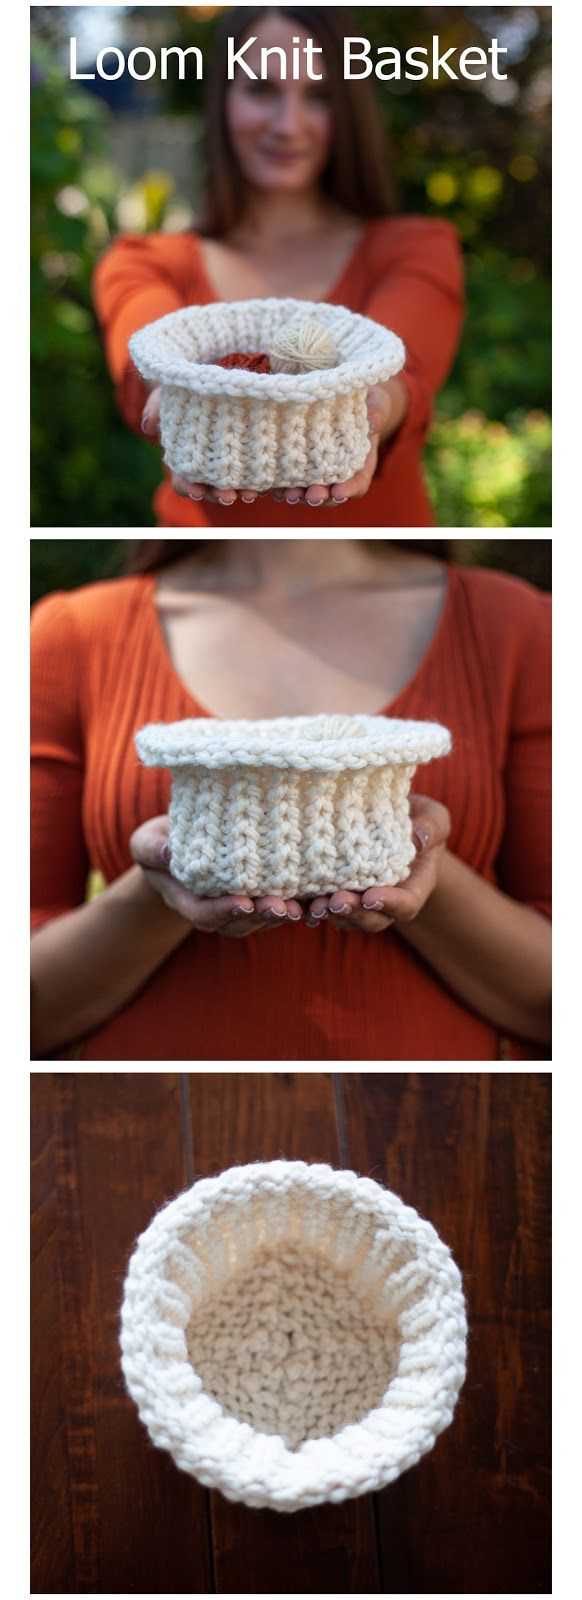
Loom Knit Basket Pattern: Create Your Own Stylish Home Decor
Are you looking for a fun and creative way to add a unique touch to your home decor? With a loom knit basket pattern, you can create your very own stylish and functional baskets that will make a statement in any room. These baskets are not only practical for storage, but they also make great decorative pieces that can complement your existing decor.
Using a loom knit basket pattern, you can easily customize the size, color, and texture of your basket to match your personal style and preferences. Whether you prefer a sleek and modern design or a cozy and rustic look, there are endless possibilities to explore. You can experiment with different yarn types and weights to create a basket that is soft and plush or sturdy and durable.
One of the great things about loom knitting is that it is accessible to both beginners and experienced knitters. With a few basic stitches and techniques, you can quickly get the hang of creating beautiful baskets. Loom knitting also allows for faster and more efficient knitting, making it a great option for those who want to create a basket with minimal time and effort.
To get started with your loom knit basket project, you will need a loom, yarn, a yarn needle, and some basic knitting tools. Once you have gathered your supplies, you can follow a loom knit basket pattern to guide you through the process. There are many free patterns available online, as well as books and tutorials that can help you get started.
When you finish knitting your basket, you can add embellishments such as buttons, ribbons, or pom poms to further personalize your creation. Your finished loom knit basket will not only serve as a functional storage solution, but also as a beautiful piece of handmade decor that you can be proud of.
- Choose a loom knit basket pattern that matches your skill level and desired design.
- Select the yarn and colors that coordinate with your home decor.
- Gather all the necessary supplies, including a loom, yarn, and knitting tools.
- Follow the pattern instructions to cast on and start knitting your basket.
- Continue knitting in the round until your desired height is reached.
- Finish off your basket by binding off and weaving in any loose ends.
- Add any embellishments or decorative touches to personalize your basket.
- Show off your handmade loom knit basket in your home and enjoy the compliments!
So why not give loom knitting a try and create your own stylish home decor? With a loom knit basket pattern, you can unleash your creativity and make one-of-a-kind baskets that will add a touch of charm to any room. Start knitting today and see how this versatile and enjoyable craft can transform your home!
Choosing the Right Loom

When it comes to loom knitting, choosing the right loom is essential for achieving the desired results. There are a few key factors to consider when selecting a loom for your projects.
Size:
The size of the loom will determine the finished size of your project. If you are looking to make a small basket, a smaller loom would be appropriate. On the other hand, if you want to make a larger basket, a larger loom would be more suitable. It’s important to consider the overall dimensions of the loom and how it will affect the final product.
Gauge:
Gauge refers to the number of stitches per inch on the loom. The gauge of the loom will determine the thickness of the yarn that can be used and the overall look and feel of the finished project. If you want a chunkier basket, you will need a loom with a larger gauge. Conversely, if you prefer a more delicate look, a loom with a smaller gauge would be appropriate.
Shape:
Looms come in various shapes, such as round, rectangle, and oval. The shape of the loom will determine the shape of your project. If you want a round basket, a round loom would be the best choice. If you prefer a rectangular or oval shape, you will need to select a loom with that specific shape.
Material:
Looms can be made from different materials, such as plastic, wood, or metal. Each material has its advantages and disadvantages. Plastic looms are lightweight and affordable, but they may not be as durable as wood or metal looms. Wood looms are sturdy and provide a traditional feel, while metal looms are durable and long-lasting. Consider your preferences and the type of projects you plan to make when choosing the material of your loom.
By considering the size, gauge, shape, and material of the loom, you can select the right loom for your loom knit basket project. Taking these factors into account will help you achieve the desired results and create beautiful and functional baskets.
Types of Yarns for Loom Knitting
When it comes to loom knitting, the choice of yarn is crucial for the success of your project. Different types of yarns have different characteristics and can result in varied textures and finishes. Here are some common types of yarns that are popular for loom knitting:
1. Worsted Weight Yarn
Worsted weight yarn is the most commonly used yarn for loom knitting. It is a medium weight yarn that is versatile and easy to work with. The thickness of the yarn is perfect for creating cozy and durable projects like hats, scarves, and blankets.
2. Bulky Weight Yarn
If you’re looking to create chunky and warm projects, bulky weight yarn is the way to go. This type of yarn is thicker than worsted weight yarn and results in quick and satisfying projects. It works well for creating thick and cozy blankets, scarves, and cowls.
3. Super Bulky Weight Yarn
Super bulky weight yarn is even thicker than bulky weight yarn. It creates projects with a super chunky and cozy finish. This yarn is perfect for creating large, oversized blankets, pillows, and snuggly accessories.
4. Fine Weight Yarn
If you prefer to work with finer yarns, fine weight yarn is a great choice for loom knitting. This yarn is lightweight and delicate, perfect for creating lace-like designs and intricate patterns. It works well for shawls, wraps, and delicate accessories.
5. Cotton Yarn
Cotton yarn is a popular choice for creating soft and breathable projects. It is perfect for items like dishcloths, washcloths, and lightweight garments. Cotton yarn also works well for summer accessories like beach bags and hats.
When choosing yarn for your loom knitting project, consider the desired texture, thickness, and the intended use of the final product. Experimenting with different types of yarns can add variety to your projects and allow you to explore different techniques and styles.
Essential Loom Knitting Tools
When it comes to loom knitting, having the right tools can make all the difference in creating beautiful and well-made projects. Here are some essential tools that every loom knitter should have:
1. Loom
The loom itself is the most important tool for loom knitting. There are various sizes and types of looms available, such as round looms, rectangular looms, and sock looms. Choose a loom that suits the size and type of project you want to make.
2. Knitting Hook
A knitting hook is used to loop the yarn around the pegs of the loom. It is important to have a comfortable and easy-to-use knitting hook, as it will be used for every stitch of the project.
3. Yarn Needle
A yarn needle, also known as a tapestry needle, is used for finishing touches and sewing up the seams of the knitted projects. It is important to choose a needle with a large eye, which makes it easier to thread the yarn through.
4. Stitch Markers
Stitch markers are used to mark specific stitches or sections of a project. They come in various sizes and shapes, such as circular or locking markers. They are especially useful when working on complex patterns or projects with multiple stitch repeats.
5. Scissors
A sharp pair of scissors is essential for cutting the yarn when starting or finishing a project. It is important to have a pair of scissors dedicated for yarn cutting to prevent dulling regular household scissors.
6. Measuring Tape
A measuring tape is helpful in determining the size and length of the project. It is especially useful when sizing garments or ensuring that the project matches the desired dimensions.
7. Stitch Counter
A stitch counter is a useful tool for keeping track of rows or stitch counts in a pattern. It can be a physical counter that you click after completing each row or a digital counter on your phone or tablet.
Having these essential loom knitting tools will set you up for success in your loom knitting projects. With the right tools and some practice, you can create beautiful and unique items using a loom.
Getting Started with the Loom Knit Basket Pattern
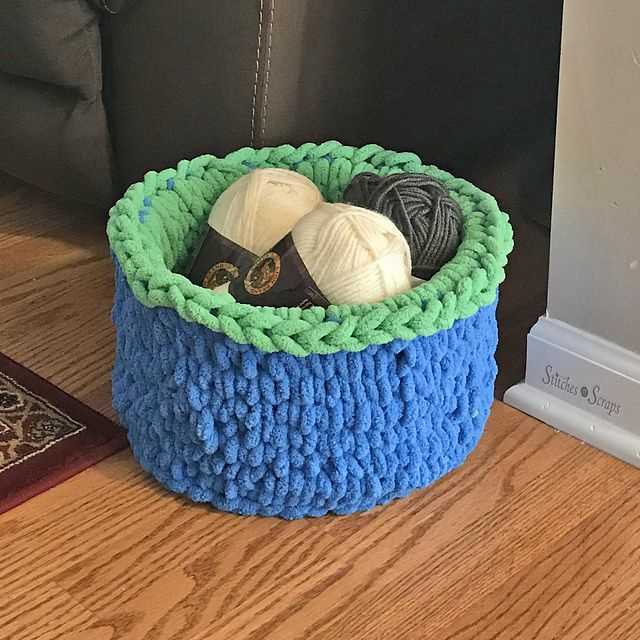
Are you ready to embark on a new knitting project? The loom knit basket pattern is a great way to create a functional and stylish storage solution. Whether you’re looking to organize your yarn stash or declutter your space, this pattern will help you create a beautiful and useful basket.
To get started, you’ll need a few supplies. First and foremost, you’ll need a loom knitting tool, also known as a knitting loom or knitting ring. These can typically be found at your local craft store or online. You’ll also need yarn in the color of your choice. Thicker yarns work best for this project, as they will create a sturdier basket. Additionally, you’ll need a pair of scissors and a large plastic needle for finishing.
Once you have your supplies gathered, it’s time to begin the knitting process. Start by casting on your desired number of stitches on the loom. The size of your loom will determine the finished size of your basket, so choose accordingly. Follow the instructions provided with your loom, as they may vary slightly from brand to brand.
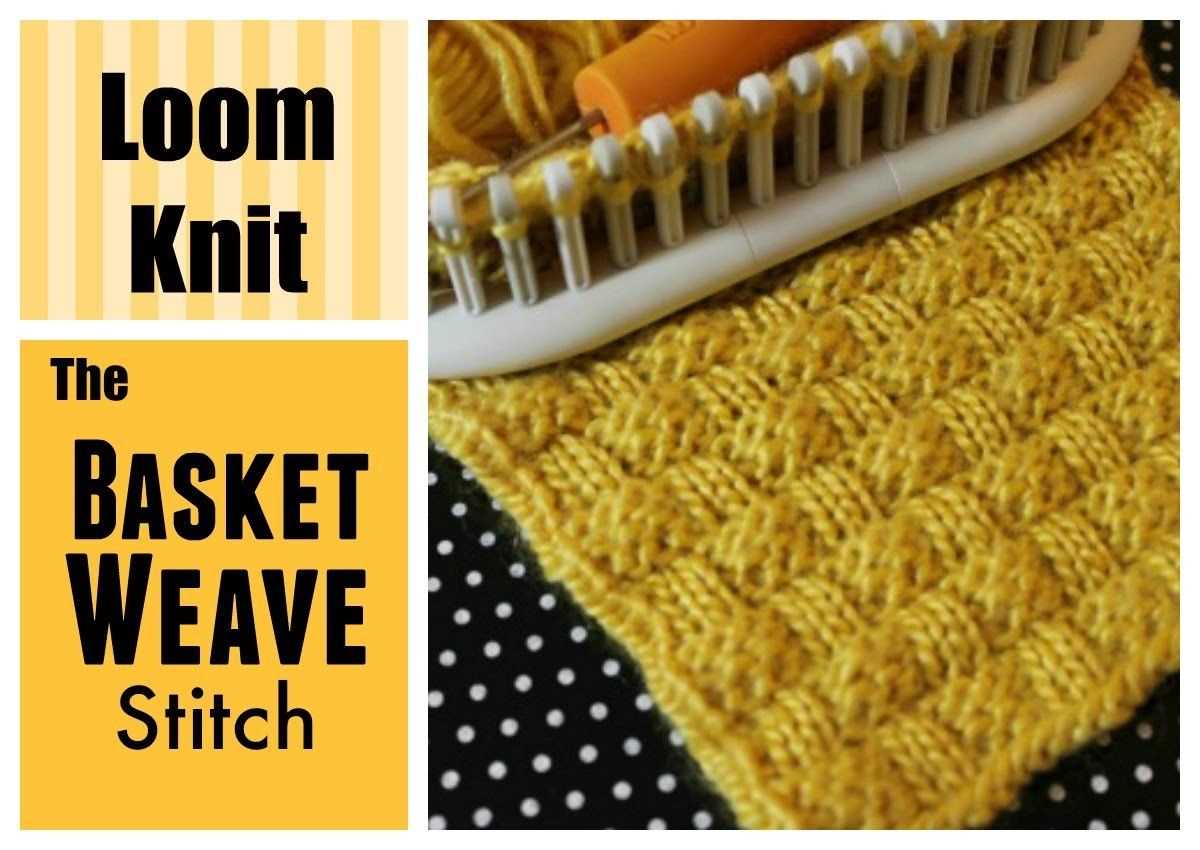
After casting on, you’ll begin to knit in the round. This means that you’ll knit each stitch all the way around the loom, creating a continuous spiral of knitting. You can choose to use a basic knit stitch or experiment with more advanced stitches for added texture. Continue knitting until you’ve reached your desired height for the basket.
Once you’ve completed the main body of the basket, it’s time to bind off and finish the project. This is done by carefully removing the stitches from the loom and securing them with the plastic needle. Take your time with this step to ensure a clean and professional finish.
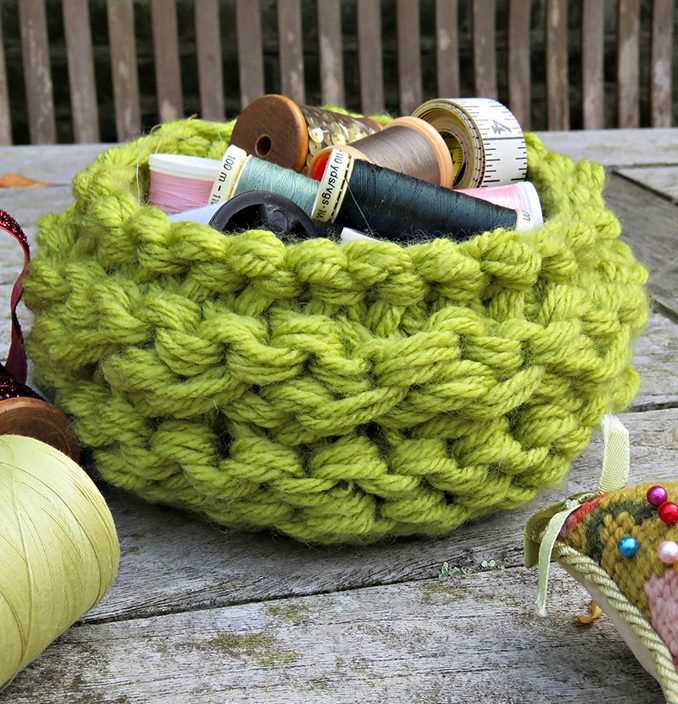
Now that your loom knit basket is complete, you can use it to store a variety of items. From knitting supplies to bathroom essentials, this versatile basket is perfect for keeping your space tidy. Try making multiple baskets in different sizes and colors for a coordinated and organized look.
Step-by-Step Instructions
In order to create a beautiful loom-knit basket, follow these step-by-step instructions:
Gather Supplies
Before you begin, make sure you have all the necessary supplies. You will need a loom knitting tool, a loom with pegs, a thick yarn of your choice, and a pair of scissors.
Cast On
To start, cast on your loom by making a slipknot and placing it on the first peg. Then, wrap the working yarn behind each peg in a counter-clockwise direction, making sure to keep tension on the yarn. Repeat this process for each peg until you have gone around the entire loom.
Knit Rows
Next, start knitting by using the loom knitting tool to lift the bottom loop over the top loop on each peg. Continue this process for each peg, working your way around the loom. Repeat this step for several rows until your basket reaches the desired height.
Bind Off
To finish your basket, bind off by knitting two stitches, then using the loom knitting tool to pull the first stitch over the second stitch and off the peg. Continue this process for each peg until you reach the last peg. Cut your working yarn, leaving a long tail, and thread it through the remaining stitches, pulling tight to secure.
Final Touches
Once you have completed the bind off, you can add any final touches to your basket, such as attaching handles or adding decorative elements. This is your opportunity to personalize your basket and make it unique!
With these step-by-step instructions, you can create a beautiful loom-knit basket to add a touch of handmade charm to your home or gift to a loved one. Happy knitting!
Adding Decorative Touches to Your Basket
Once you have finished knitting your basket using the loom knit pattern, you can add decorative touches to make it unique and personal. These touches can add a pop of color, texture, or even functionality to your basket. Here are some ideas to inspire your creativity:
1. Embellishments: Sewing on buttons, beads, or ribbons can add a touch of elegance and personality to your basket. You can choose embellishments that match the colors of your basket or opt for contrast to create visual interest.
2. Pom-poms: Pom-poms are a fun and playful way to decorate your basket. You can make them using yarn in coordinating colors and attach them to the handles or the sides of the basket. They add a whimsical touch and make your basket stand out.
3. Tassels: Tassels are a classic decorative element that can elevate the look of your basket. You can make them using yarn and attach them to the corners or edges of your basket. They add a bohemian touch and give your basket a trendy vibe.
4. Leather handles: If you want to give your basket a more rustic and natural look, you can replace the yarn handles with leather straps. This adds a touch of sophistication and durability to your basket.
5. Fabric lining: Adding a fabric lining to your basket not only enhances its appearance but also makes it more practical. You can choose a fabric that complements the colors of your basket or opt for a contrasting pattern for a bold statement.
6. Paint or dye: If you want to completely transform the look of your basket, you can consider painting it or dyeing it in a different color. This allows you to customize the basket to match your home decor or personal style.
By adding these decorative touches, you can create a one-of-a-kind basket that reflects your creativity and personal style. Whether you choose to keep it simple with embellishments or go all out with paint and fabric lining, the possibilities are endless! Let your imagination guide you and have fun experimenting with different ideas.
Other Creative Uses for Loom Knit Baskets
Loom knit baskets are not only great for storing items around the house, but they can also be used in a variety of creative ways. Here are some ideas for utilizing these versatile pieces:
1. Planters
Transform your loom knit basket into a unique and stylish planter. Add a plastic lining or pot to prevent water leakage and fill it with your favorite plants or flowers. This will add a touch of greenery to any room and make a statement piece out of your basket.
2. Gift Baskets
Use your loom knit basket to create personalized gift baskets for special occasions. Fill it with goodies such as chocolates, spa products, or small trinkets, and wrap it with a ribbon and bow. This not only makes a thoughtful gift, but the recipient can also reuse the basket.
3. Toy Storage
If you have kids, loom knit baskets are perfect for organizing and storing their toys. Place different baskets in their play area for easy sorting and cleanup. The baskets can be labeled with the types of toys inside, making it fun and convenient for kids to put their toys away.
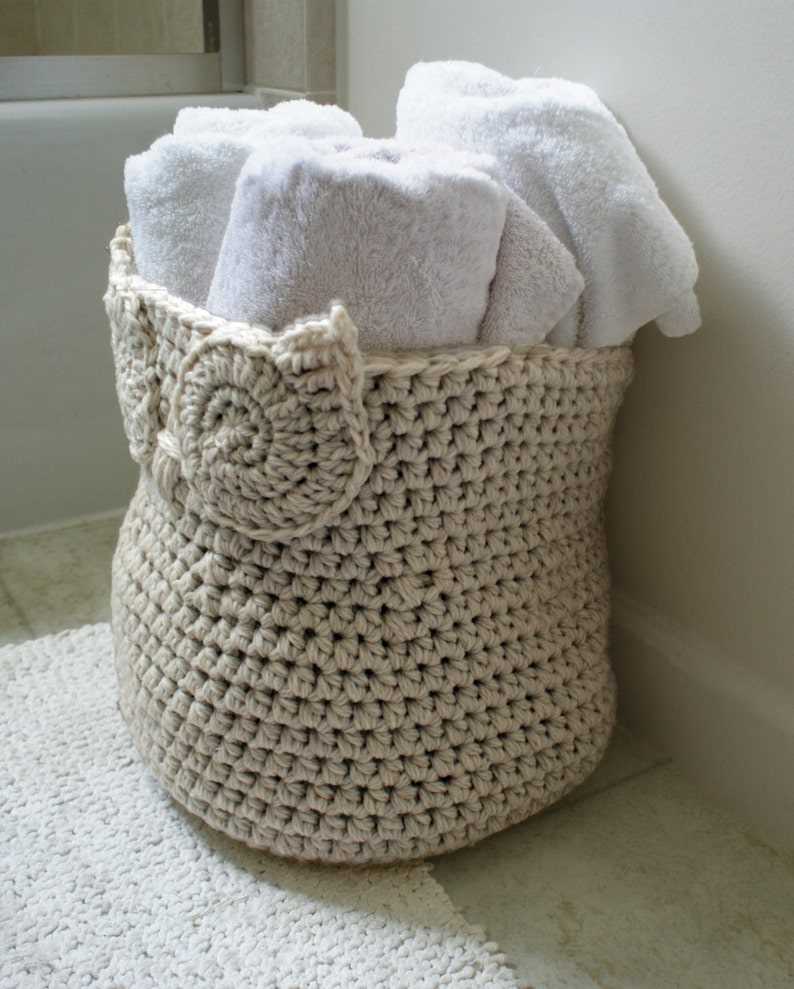
4. Bathroom Organization
Utilize loom knit baskets in the bathroom for organizing and storing toiletries and towels. Place them on shelves or countertops to keep everything tidy and easily accessible. You can even create a matching set of baskets for a cohesive look.
5. Pet Bed
Create a cozy and comfortable bed for your furry friend using a loom knit basket. Line it with a soft blanket or cushion and place it in a quiet corner of your home. Your pet will appreciate having their own space, and the basket adds a decorative touch to your space.
These are just a few creative ways to use loom knit baskets. With their versatility and functionality, the possibilities are endless. Get creative and let your imagination run wild with how you can incorporate these baskets into your everyday life.
Tips and Tricks for Successful Loom Knitting
If you’re new to loom knitting or looking to improve your skills, here are some tips and tricks to help you create beautiful and successful projects.
1. Choose the Right Loom
When starting a loom knitting project, it’s important to choose the right loom for the size and type of project you want to make. Different loom sizes and shapes will create different stitch sizes and textures. Make sure to match your loom size to your yarn weight and desired finished product.
2. Gauge is Key
Before starting your project, it’s crucial to check your gauge. Use a ruler or measuring tape to determine how many stitches and rows you have per inch. Adjust your loom size or tension to achieve the correct gauge. This step will ensure that your finished project turns out the right size and shape.
3. Secure Your First Row
To prevent your stitches from unraveling, make sure to secure your first row. You can do this by using a crochet hook or knitting needle to pull the working yarn through each stitch on the loom. This will create a secure foundation for your project.
4. Use Stitch Markers
Use stitch markers or safety pins to mark important points in your pattern, such as the beginning of a round or where a stitch needs to be increased or decreased. This will help you keep track of where you are in your project and avoid mistakes.
5. Tension Matters
The tension of your stitches is important for creating an even and professional-looking finished product. Avoid pulling your stitches too tight or leaving them too loose. Practice finding the right tension by experimenting with different yarns and loom sizes.
6. Joining Techniques
If you’re making a project that requires joining, such as a hat or a blanket, take the time to learn different joining techniques. This will ensure that your seams are strong and invisible. Some common joining techniques in loom knitting include the mattress stitch and the whip stitch.
7. Practice, Practice, Practice
Like any skill, loom knitting takes practice to master. Don’t get discouraged if your first few projects don’t turn out perfectly. Keep practicing and experimenting with different patterns, stitches, and techniques. Before you know it, you’ll be creating beautiful and intricate loom knit projects.
- Choose the right loom for your project
- Check your gauge before starting
- Secure your first row
- Use stitch markers to keep track
- Pay attention to tension
- Learn different joining techniques
- Practice, practice, practice!
Frequently Asked Questions
Here are answers to some frequently asked questions about loom knitting basket patterns.
1. Where can I find loom knitting basket patterns?
You can find loom knitting basket patterns in various places. Online knitting communities, such as Ravelry, often have a wide selection of patterns available for free or for purchase. Craft websites and blogs may also offer patterns for loom-knit baskets. Additionally, there are books dedicated to loom knitting that include basket patterns.
2. What materials do I need to make a loom-knit basket?
To make a loom-knit basket, you will need a loom with the appropriate number of pegs for the size of basket you want to create. You will also need yarn in the color and weight of your choice. Other materials may include a yarn needle for sewing the seams, scissors for cutting the yarn, and any embellishments or handles you want to add to the finished basket.
3. How long does it take to knit a loom-knit basket?

The time it takes to knit a loom-knit basket can vary depending on the size of the basket, the complexity of the pattern, and the knitter’s experience level. On average, a small to medium-sized basket can be completed in a few hours to a day. Larger or more intricate designs may take several days or even weeks to finish.
4. Can I customize the size and design of a loom-knit basket pattern?
Yes, loom knitting allows for great flexibility in customizing patterns to suit your preferences. You can easily adjust the size of the basket by using different loom sizes or adding/removing rounds. Additionally, you can experiment with different stitch patterns, colors, and embellishments to create a unique design.
5. Are loom-knit baskets suitable for beginners?
Loom-knit baskets can be a great project for beginners. The basic stitches used in loom knitting are relatively easy to learn, and the repetitive nature of creating the basket can help beginners practice and improve their skills. Starting with a simple pattern and gradually progressing to more complex designs can be a good way to build confidence and experience in loom knitting.
6. How do I care for a loom-knit basket?
To care for a loom-knit basket, it is generally recommended to hand wash it using mild detergent and cool water. Gently squeeze out any excess water and reshape the basket while damp. Allow it to air dry completely before using or storing. Avoid machine washing or using harsh detergents, as they may damage the yarn or affect the shape of the basket.
- Some frequently asked questions about loom knitting basket patterns:
- Where can I find loom knitting basket patterns?
- What materials do I need to make a loom-knit basket?
- How long does it take to knit a loom-knit basket?
- Can I customize the size and design of a loom-knit basket pattern?
- Are loom-knit baskets suitable for beginners?
- How do I care for a loom-knit basket?
Share Your Loom Knit Basket Creations
If you’ve followed this tutorial and created your own loom knit baskets, we would love to see your creations! Whether you’ve used the same pattern or added your own personal touch, sharing your work can inspire and motivate others in their loom knitting journey.
There are several ways you can share your loom knit basket creations:
- Social Media: Take a photo of your basket and share it on your favorite social media platforms. Use hashtags like #loomknitbasket or #loomknitting to connect with others who share your interests. Don’t forget to tag us at @loomknittingblog so we can admire your work!
- Online Communities: Join online communities dedicated to loom knitting and share your creations with fellow enthusiasts. You can post photos, ask for feedback, and even offer advice to others who are just starting out.
- Loom Knitting Blogs: If you have your own blog or website, consider writing a post about your loom knit basket project. Share your experience, tips, and tricks you’ve learned along the way. This can be a great way to inspire others and document your own progress.
By sharing your loom knit basket creations, you’re not only showcasing your skills, but also adding to the vibrant loom knitting community. Don’t be shy – share your creations and inspire others to get creative with their looms!
 |
 |
 |
 |