
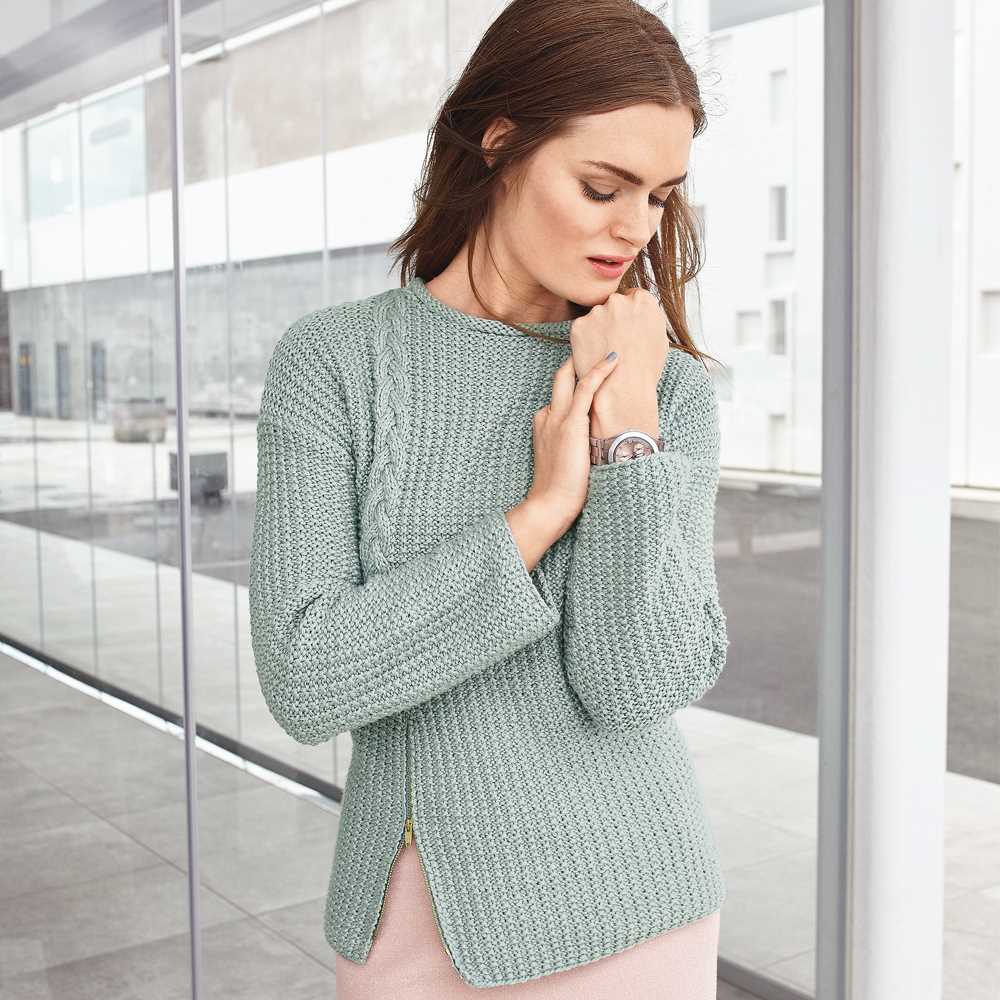
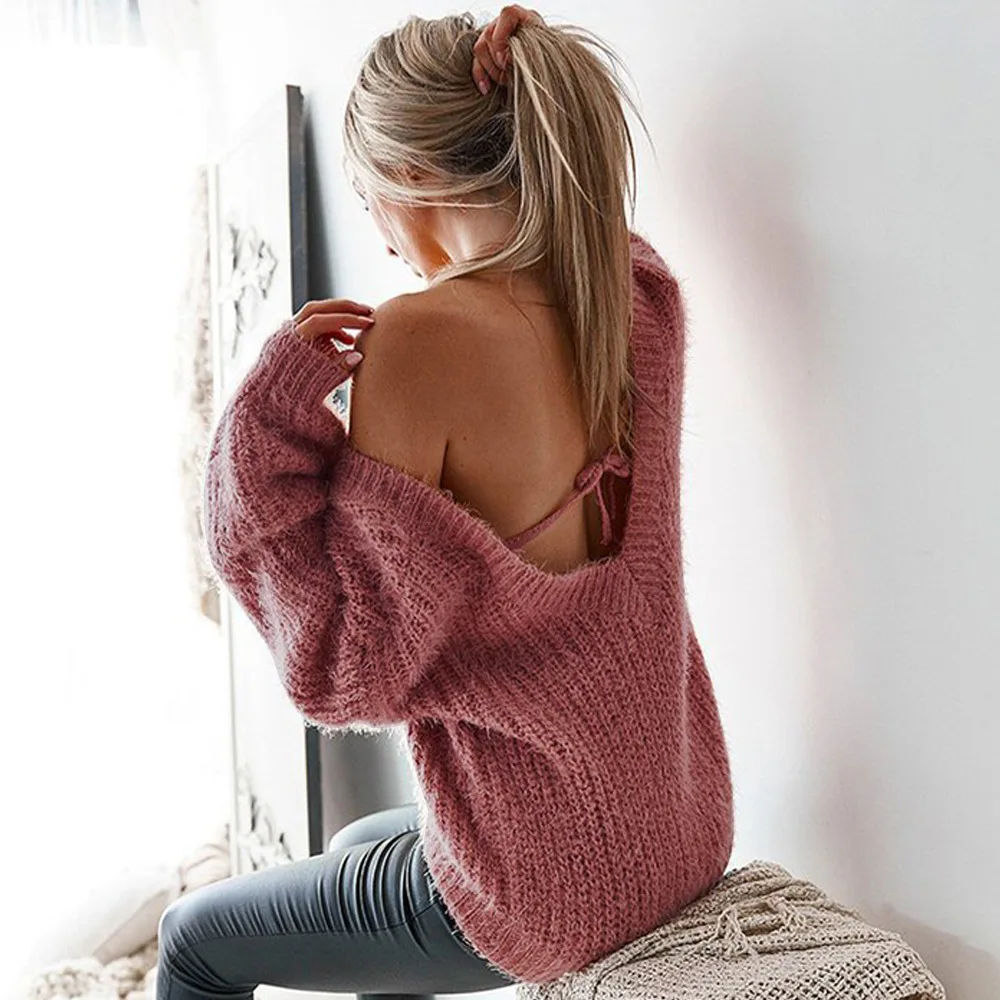
If you’re looking for a trendy and stylish sweater to add to your wardrobe, look no further than a backless sweater. This unique design combines the warmth and comfort of a sweater with a sexy and fashionable open back. Perfect for adding a touch of elegance and sophistication to any outfit, a backless sweater is sure to turn heads wherever you go.
The great thing about knitting your own backless sweater is that you have complete control over the design and fit. Whether you prefer a loose and flowy style or a more fitted and tailored look, you can easily customize your sweater to suit your personal style and body shape.
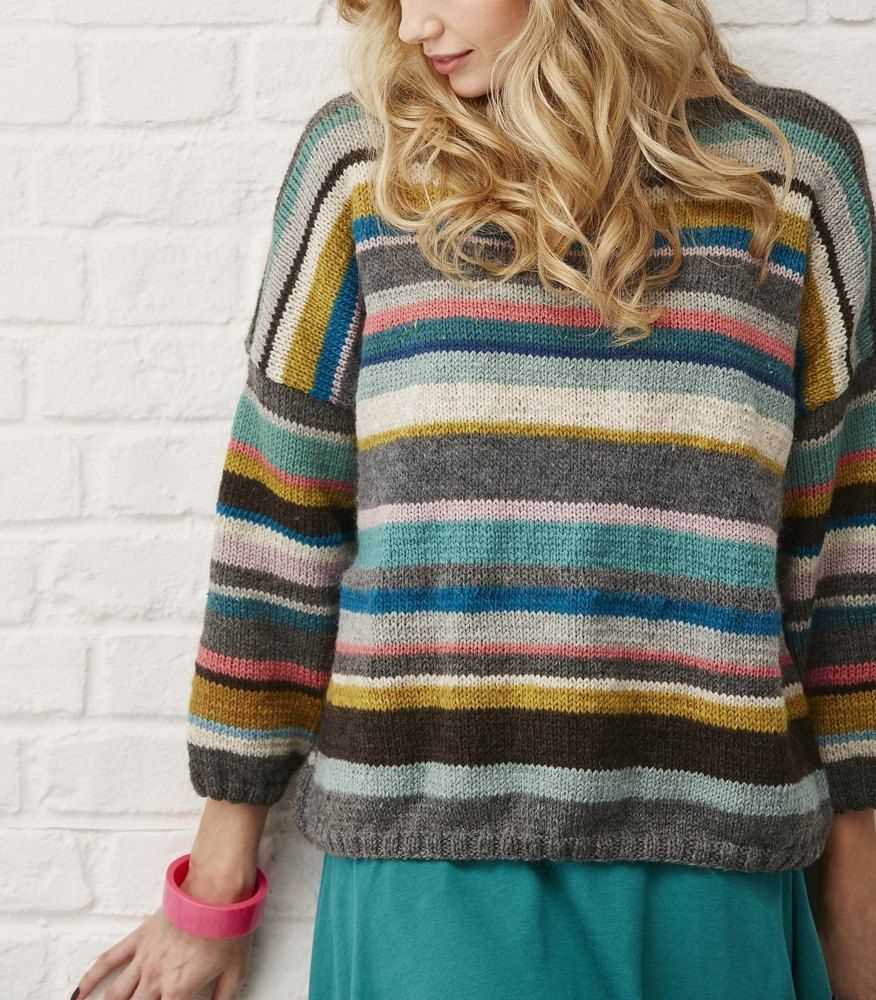
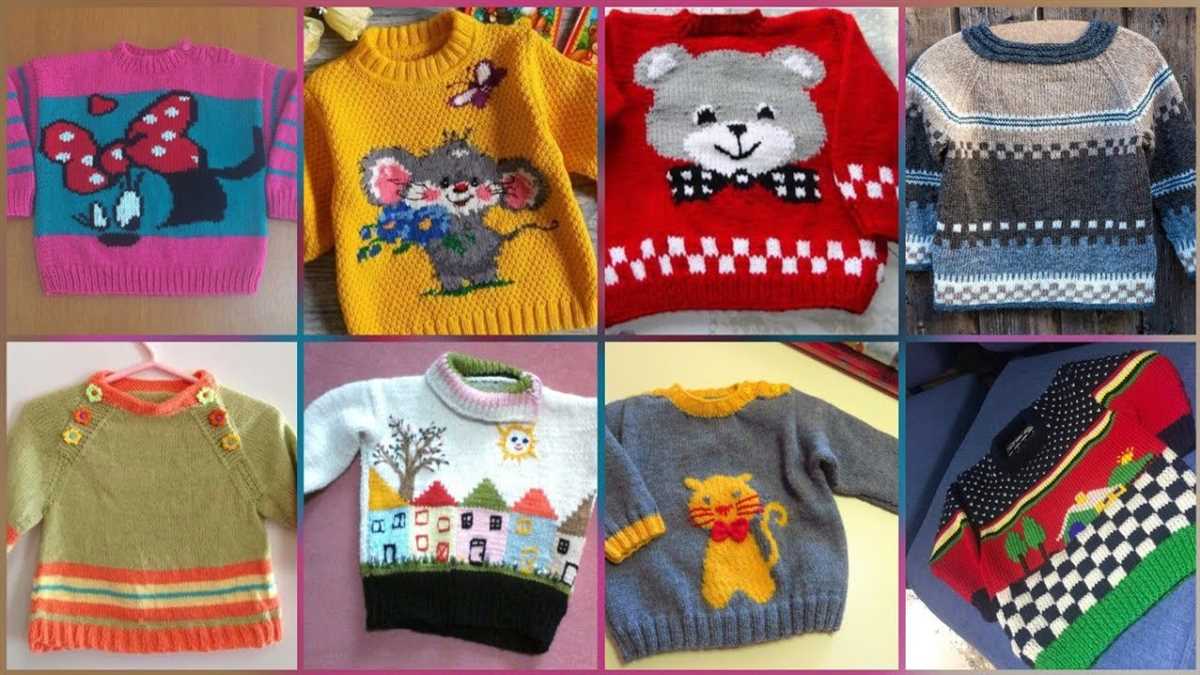
When it comes to choosing a backless sweater knitting pattern, there are so many options to choose from. From delicate lace patterns to chunky cables, there’s a pattern out there for every skill level and style preference. Whether you’re a beginner knitter or an experienced pro, you’ll find a backless sweater pattern that will inspire and challenge you.
So grab your knitting needles and get ready to create a fashionable and eye-catching backless sweater. With a bit of time and patience, you’ll have a beautiful and unique sweater that you’ll love wearing all season long.
Backless Sweater Knitting Pattern: A Stylish and Unique Project
Knitting your own backless sweater can be a fun and rewarding project that results in a stylish and unique addition to your wardrobe. With the right knitting pattern and some basic knitting skills, you can create a backless sweater that is perfect for adding a touch of elegance and intrigue to any outfit.
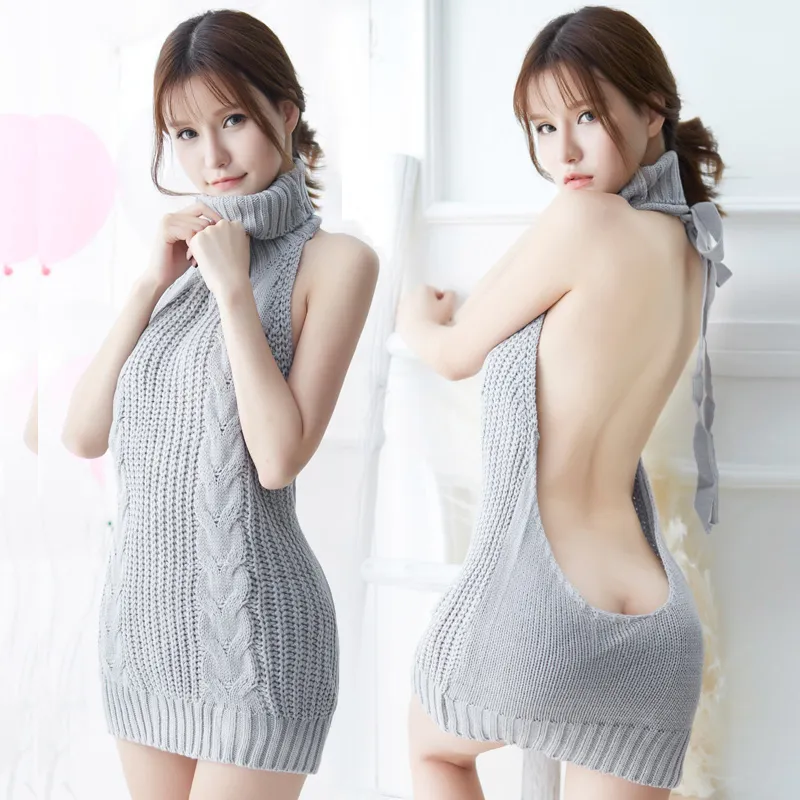
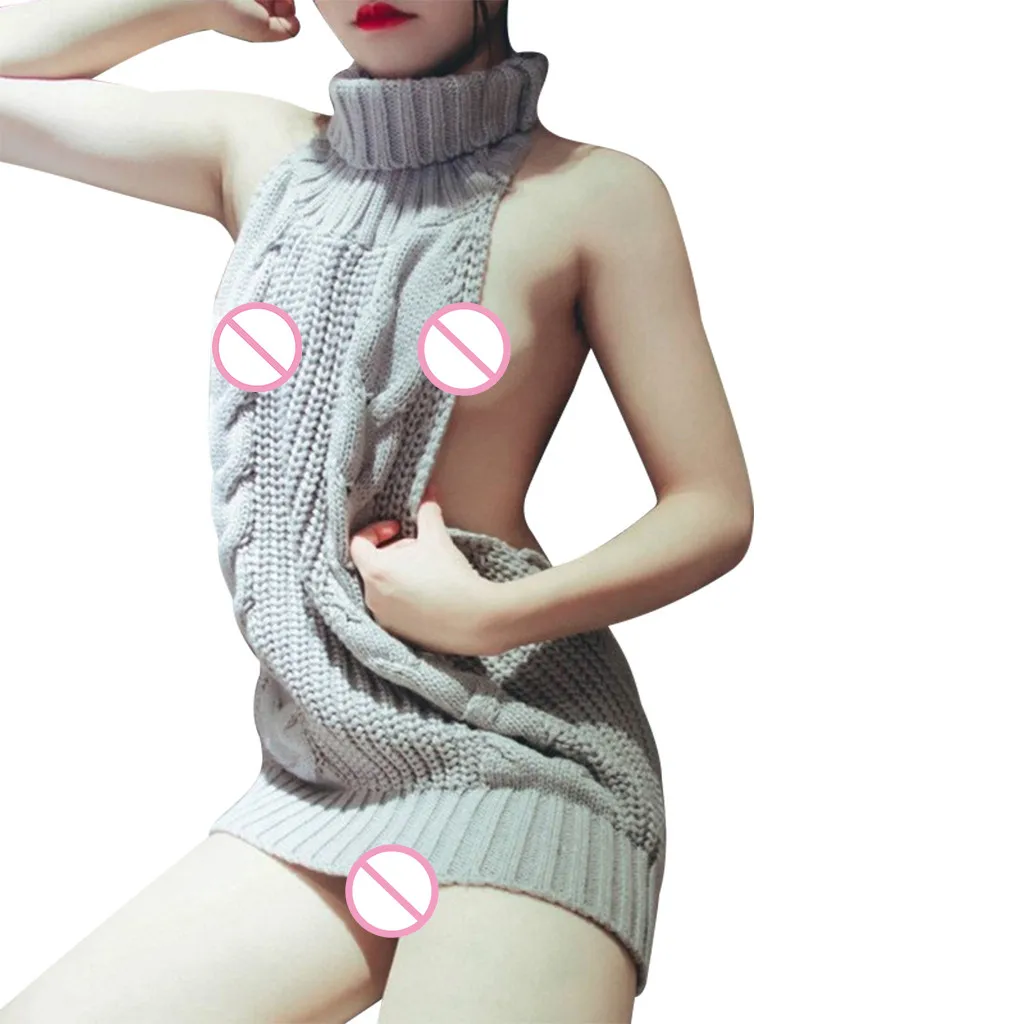
One popular backless sweater knitting pattern features a high neckline and an open back design that is both flattering and eye-catching. The pattern typically includes instructions for using a medium weight yarn and knitting needles of a suitable size to achieve the desired gauge. With simple stitches and techniques such as ribbing, stockinette stitch, and decreases, you can create a beautiful and comfortable backless sweater.
Materials Needed:
- Medium weight yarn
- Knitting needles of suitable size
- Tapestry needle
- Stitch markers
Instructions:
- Begin by casting on the required number of stitches for the backless sweater, following the pattern’s instructions.
- Continue knitting in the specified stitch pattern until the backless portion of the sweater is reached.
- At the specified point, bind off a certain number of stitches in the center of the row to create the open back design.
- Work the remaining stitches on each side of the bound off section separately, following the pattern’s instructions.
- Continue knitting until the desired length is reached, then bind off all stitches to finish the sweater.
This backless sweater knitting pattern allows for customization and personalization. You can choose your favorite yarn color, experiment with different stitches and ribbing patterns, and even add embellishments such as buttons or lace trims to make your sweater truly unique. Once you have completed your backless sweater, it can be paired with a skirt or high-waisted jeans for a chic and sophisticated look.
Knitting a backless sweater is not only a fashionable endeavor, but it also allows you to showcase your knitting skills and creativity. With a well-crafted backless sweater knitting pattern, you can create a stylish and unique garment that is sure to turn heads and become a staple in your wardrobe.
Choose Your Yarn and Needles: What to Consider
When it comes to knitting a backless sweater, choosing the right yarn and needles is essential for achieving the desired outcome. The type of yarn you choose will determine the look, feel, and drape of your finished product. Additionally, the size and material of your needles will affect the overall stitch definition and tension of your knitting. Here are some important factors to consider when selecting your yarn and needles.
Yarn Weight:
One of the first things to consider is the weight of the yarn. The weight refers to the thickness of the yarn and is usually labeled on the yarn ball or skein. Common weights include lace, fingering, sport, DK, worsted, and bulky. For a backless sweater, you’ll want to choose a yarn weight that suits the desired drape and breathability. Lighter weights like lace or fingering yarn can create a delicate and airy look, while heavier weights like worsted or bulky yarn can result in a more cozy and substantial sweater.
Fiber Content:

The fiber content of the yarn will also have a significant impact on your backless sweater. Different fibers have different properties, such as warmth, breathability, and durability. Popular choices for sweaters include wool, cotton, acrylic, alpaca, and blends of these fibers. Wool offers excellent warmth and insulation, while cotton is breathable and suitable for warmer climates. Acrylic is a great option for those with wool allergies and is easy to care for. Alpaca yarn is known for its softness and luxurious feel. Consider the desired characteristics of your sweater and choose a fiber that aligns with your needs.
Needle Size and Material:
The size and material of your knitting needles will determine the stitch tension and overall look of your sweater. Generally, larger needle sizes create a looser stitch and drape, while smaller sizes result in a tighter and more structured fabric. The material of your needles can also impact the feel and flow of your knitting. Common needle materials include bamboo, wood, metal, and plastic. Bamboo and wood needles offer a warm and natural feel, while metal needles provide a smooth and fast knitting experience. Plastic needles are lightweight and affordable. Experiment with different needle sizes and materials to find the best fit for your yarn and personal knitting style.
By considering these factors and making thoughtful choices regarding your yarn and needles, you’ll be well on your way to knitting a beautiful and comfortable backless sweater.
Simple Steps to Cast On: Getting Started with Your Backless Sweater
Knitting a backless sweater is a fun and stylish project that can enhance your wardrobe. To get started, you will need to cast on your stitches. Here are some simple steps to guide you through the process:
1. Choose your yarn and needle size
Before casting on, it is important to select the right yarn and needle size for your project. Consider the weight and texture of the yarn, as well as the desired drape and warmth of the sweater. Refer to the sweater pattern for specific recommendations.
2. Make a slipknot
To start casting on, make a slipknot at the end of your yarn. Leave a tail of about 6 inches to weave in later. Insert your knitting needle through the loop of the slipknot and tighten it securely.
3. Begin the long-tail cast on
The long-tail cast on is a commonly used method for casting on stitches. Hold the needle with the slipknot in your right hand and the end of the yarn in your left hand. Use your thumb to secure the yarn and create a triangle shape between your thumb, index finger, and middle finger. Insert your needle under the yarn connected to your thumb, and then insert it over the yarn connected to your index finger. You should have a loop on your needle.
- Repeat this process, bringing the yarn over your index finger and under your thumb, inserting the needle under the yarn connected to your thumb, and then over the yarn connected to your index finger. Keep adding loops to your needle until you have the required number of stitches for your sweater.
4. Practice and check your tension
As you cast on, it is important to maintain a consistent tension. Too tight of a tension can make it difficult to knit the first row, while too loose of a tension can result in loose stitches. Take your time and practice the long-tail cast on technique until you feel comfortable and find a tension that works for you.
Once you have cast on all of your stitches, you are ready to begin knitting your backless sweater! Follow the pattern instructions for the next steps, such as knitting the ribbing or starting the main body of the sweater. With a little practice and patience, you will soon be enjoying your cozy and stylish backless sweater.
Understanding the Basic Stitches: Knitting and Purling
Knitting and purling are the fundamental stitches in knitting that form the basis of all knitting patterns. By understanding how to knit and purl, you can create a wide variety of designs and textures in your knitting projects.
Knitting: The knit stitch, often abbreviated as “k,” is created by inserting the right-hand needle into the front loop of the stitch on the left-hand needle. The yarn is then brought from the back of the work to the front, wrapped around the right-hand needle, and pulled through the stitch. This stitch creates a smooth and flat texture on the right side of the work.
Key phrase: “knit stitch”
Purling: The purl stitch, often abbreviated as “p,” is the reverse of the knit stitch. To purl, the right-hand needle is inserted into the front loop of the stitch on the left-hand needle, but this time the yarn is brought to the front of the work. The yarn is then wrapped around the right-hand needle from the front to the back and pulled through the stitch. The purl stitch creates a bumpy texture on the right side of the work, and a smooth texture on the wrong side.
Key phrase: “purl stitch”
Once you have mastered the knit and purl stitches, you can combine them in various ways to create different patterns. For example, ribbing is created by alternating knit and purl stitches in a specific pattern, resulting in a stretchy fabric that is often used for cuffs, collars, and hems. Learning these basic stitches is essential for any knitter and opens up a world of possibilities for creating beautiful and unique knitted garments.
Creating Ribbing: Adding Texture and Stretch
When knitting a backless sweater, it’s important to create ribbing for added texture and stretch. Ribbing refers to a specific knitting pattern that alternates knit stitches with purl stitches, creating a raised texture that is both elastic and flexible. This ribbing pattern is commonly used for cuffs, hems, and necklines of garments, including backless sweaters, as it provides a snug fit and helps to prevent stretching over time.
To create ribbing, start by casting on an even number of stitches. The most common ribbing pattern is a 1×1 rib, which alternates one knit stitch with one purl stitch. This pattern is created by knitting one stitch, then purling the next, and repeating this sequence across the row. To maintain the ribbing pattern, continue knitting one stitch and purling the next on subsequent rows, ensuring that the knit stitches align with the knit stitches from the previous row, and the purl stitches align with the purl stitches. This will create a consistent ribbed texture throughout the garment.
It’s important to note that the number of rows worked in the ribbing pattern can vary depending on the desired length and stretchiness of the finished garment. Generally, a longer ribbing section will provide more stretch and allow for a better fit. Additionally, the choice of yarn can also impact the stretchiness of the ribbing. A yarn with a higher percentage of natural fibers, such as wool or alpaca, will generally have more stretch compared to a yarn made from synthetic fibers.
Overall, incorporating ribbing into a backless sweater adds both texture and stretch, creating a garment that not only looks visually appealing but also fits comfortably. By following the simple 1×1 ribbing pattern and adjusting the length and choice of yarn, knitters can achieve the desired fit and style for their backless sweater project.
Shaping the Backless Sweater: Decreasing and Increasing
When knitting a backless sweater, it is important to properly shape the garment to ensure a flattering fit. This involves using decreasing and increasing techniques to create the desired silhouette. By strategically adding or removing stitches, you can shape the neckline, armholes, and waistline to achieve a comfortable and stylish design.
Neckline Decreases: To create a backless sweater with a plunging neckline, you will need to decrease stitches at the front of the garment. This is typically done using techniques like knit two together (k2tog) or slip slip knit (ssk). These decreases lean to the right and left respectively, creating a symmetrical look. The number of decreases you make will depend on the desired depth of the neckline.
Armhole Decreases: Shaping the armholes of a backless sweater involves decreasing stitches along the sides of the garment. This is usually achieved by working decreases at the beginning and end of a row. The specific decrease method will depend on the stitch pattern being used. Common options include knit two together (k2tog) or purl two together (p2tog). The number of decreases made will depend on the desired width of the armholes.
Note: It’s important to keep track of your stitch count and pattern repeats when working armhole decreases to maintain the integrity of the overall design.
Waistline Increases: To create a fitted backless sweater, shaping the waistline is crucial. This is done by increasing stitches in a gradual manner to create a tapered effect. One commonly used increase method is the make one (M1) technique, which involves picking up the horizontal strand between two stitches and knitting into it. The number of increases made will depend on the desired width at the waist.
By mastering these techniques for decreasing and increasing, you can confidently tackle knitting a backless sweater and customize it to your preferred fit and style. Remember to always follow the pattern instructions and make any necessary adjustments to achieve the best result.
Adding decorative details: Cable and Lace Stitch Patterns
In the world of knitting, cable and lace stitch patterns are popular choices for adding decorative details to garments. These intricate designs can elevate the look of a plain backless sweater and make it a statement piece.
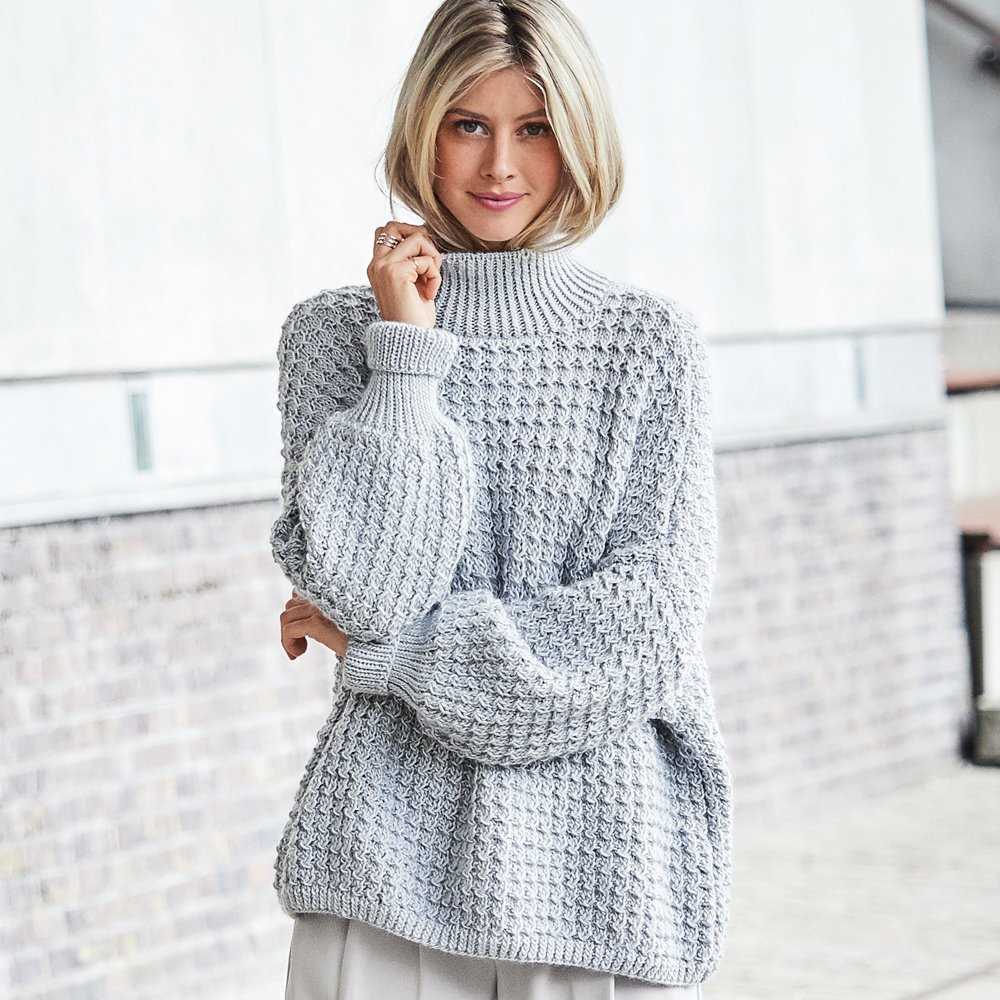
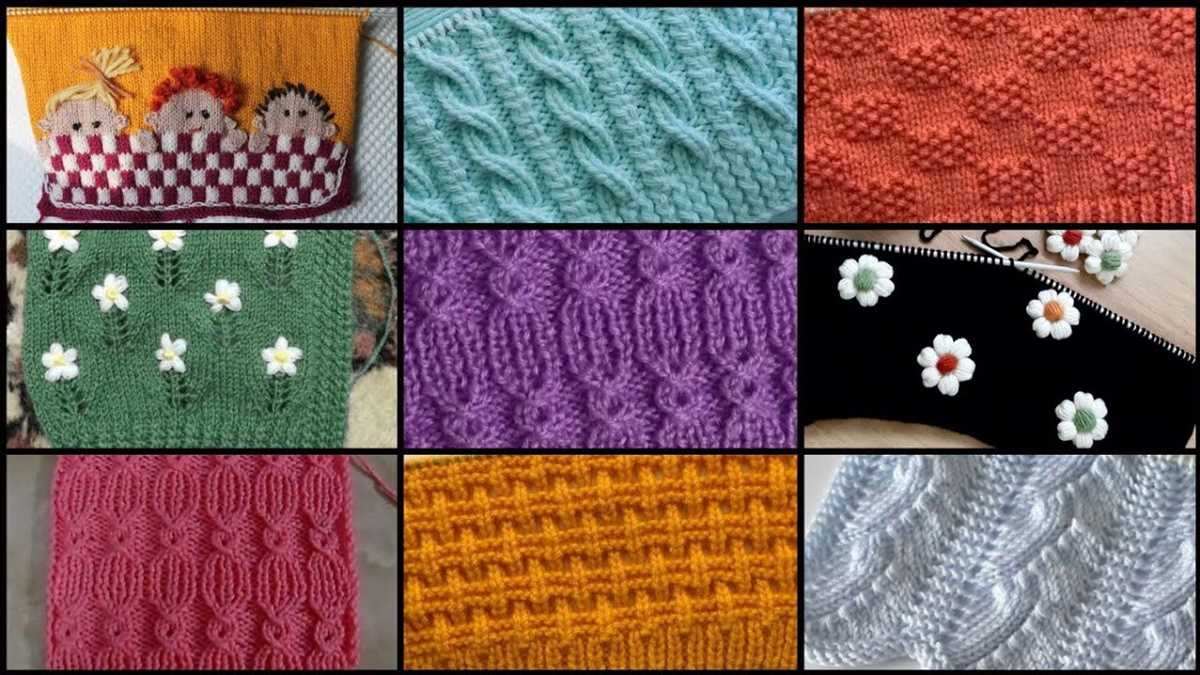
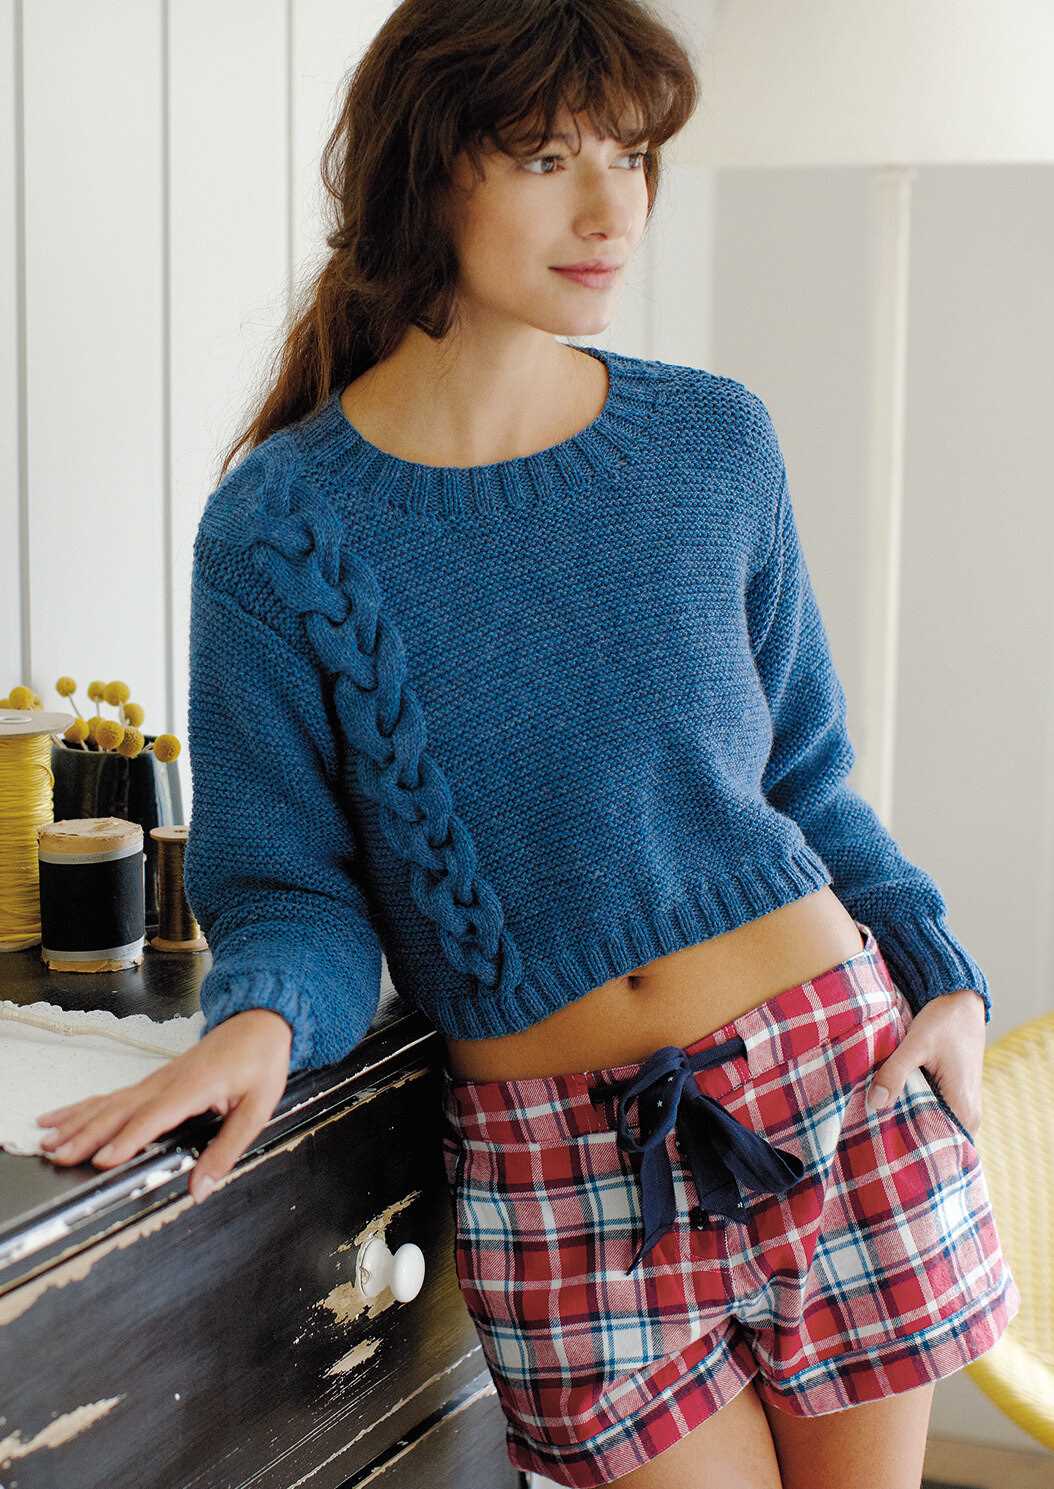
Cable stitch patterns create a twisted effect on the fabric, resembling ropes or braids. They are achieved by crossing stitches over each other in specific sequences. There are various types of cable stitch patterns, including the basic cable, rope cable, and diamond cable. Each pattern creates a different texture and visual interest. Cable stitch patterns are often used to add texture and dimension to the front or sleeves of a backless sweater.
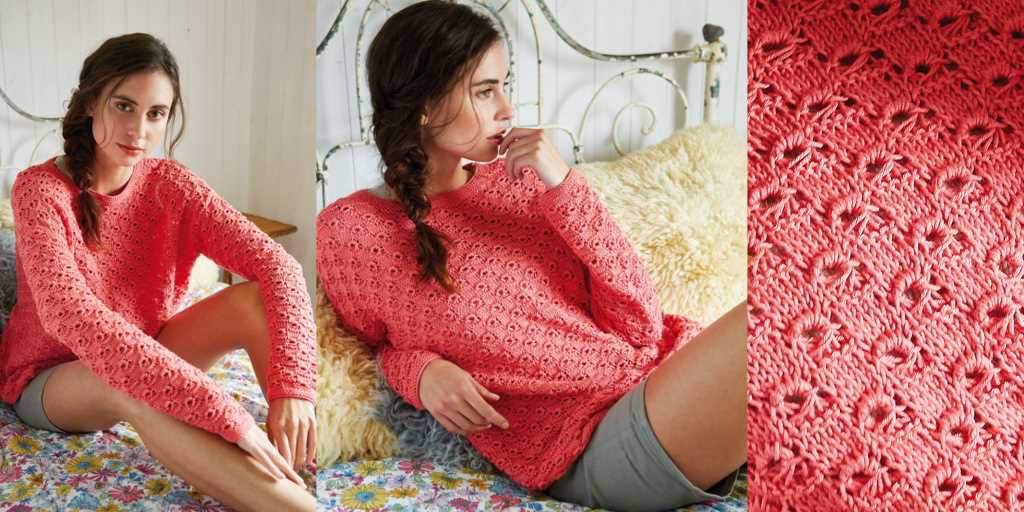
Lace stitch patterns create a delicate and airy look, perfect for warmer weather or adding a touch of femininity to a garment. Lace patterns are achieved by strategically placing yarn overs and decreases to create eyelets and intricate motifs. Popular lace stitch patterns include the feather and fan, leaf motif, and honeycomb lace. These patterns can be used to create decorative panels on the back or sides of a backless sweater, adding a touch of elegance without sacrificing the breathability of the garment.
When incorporating cable and lace stitch patterns into a backless sweater, it’s important to consider the overall design and placement. Cable patterns can be used to highlight the front or sleeves, while lace patterns can add a delicate touch to the back or sides. It’s also essential to choose a yarn that complements the stitch pattern and enhances the overall aesthetic of the garment.
- To create a visually appealing backless sweater, consider combining cable and lace stitch patterns. This can be done by incorporating cable panels on the front and lace panels on the back, creating a striking contrast.
- Experiment with different cable and lace stitch patterns to find the one that resonates with your personal style and complements the silhouette of the backless sweater.
- Add a touch of creativity by incorporating unique cable or lace motifs into the design. For example, you can incorporate a cable pattern that depicts a flower or a lace pattern with a butterfly motif.
In conclusion, cable and lace stitch patterns offer endless possibilities for adding decorative details to a backless sweater. These designs can transform a plain garment into a stunning and unique piece that showcases your knitting skills and personal style.
Finishing Touches: Binding Off and Weaving in Ends
As you near the end of your backless sweater knitting project, it’s important to know how to properly bind off your stitches and weave in any loose ends. These final steps will help give your sweater a polished and professional finish.
Binding off: To bind off your stitches, simply knit the first two stitches as normal. Then, using your left-hand needle, lift the first stitch over the second stitch and off the needle. Repeat this process, knitting one stitch and lifting the previous stitch over, until you reach the last stitch. Cut the yarn, leaving a tail long enough to weave in later, and pull it through the last stitch to secure it. This will create a neat edge along the top of your sweater.
Weaving in ends: Weaving in ends is an essential step in knitting to prevent unraveling and secure any loose yarn tails. To weave in ends, thread the yarn tail onto a yarn needle. Starting from the wrong side of the fabric, insert the needle under several stitches, following the direction of the yarn. Then, bring the needle back through the fabric, again following the direction of the yarn. Repeat this process a few times, weaving the yarn in different directions to ensure it is secure. Finally, trim any excess yarn tail close to the fabric.
Remember to weave in ends as you go along, rather than waiting until the end of the project. This will help prevent tangles and make the finishing process much easier. Taking the time to bind off and weave in ends properly will result in a professional-looking backless sweater that you can be proud of.
Blocking Your Backless Sweater: Achieving the Perfect Fit
Blocking is an essential step in knitting any garment, and it is especially important when it comes to achieving the perfect fit for your backless sweater. By carefully blocking your sweater, you can shape and resize it to ensure it fits your body exactly as you desire. Here, we will discuss the steps you can take to block your backless sweater and achieve that ideal fit.
Gather Your Materials:
Before you begin blocking your backless sweater, make sure you have all the necessary materials on hand. You will need a blocking mat or towel, rustproof T-pins, a spray bottle filled with water, and a measuring tape. These tools will help you shape and resize your sweater effectively.
1. Prepare Your Sweater:
Start by gently washing your backless sweater according to the care instructions provided with the yarn. This will remove any dirt and oils, allowing the fibers to relax and reshape more easily during the blocking process. After washing, lay the sweater flat on a clean towel and roll it up to remove excess moisture. Avoid wringing or twisting the sweater, as this can stretch or distort the shape.
2. Pinning and Shaping:
Lay your backless sweater on the blocking mat or towel, ensuring that it is evenly spread out and the edges are straight. Use rustproof T-pins to secure the sweater to the mat, starting at the shoulders and working your way down the sides. Pay attention to the armholes, neckline, and bottom edge, making sure they are evenly stretched and in the shape you desire. Use your measuring tape to double-check the length and width of the sweater and make any necessary adjustments.
3. Wet Blocking:
Using a spray bottle filled with water, lightly mist the entire surface of the sweater. Be careful not to oversaturate the fabric, as this can affect the final shape and fit. Gently pat and reshape the sweater as needed, ensuring that the backless opening maintains its intended shape. Allow the sweater to dry completely before removing the pins.
4. Finishing:
Once the sweater is dry, carefully remove the T-pins and gently shake out any remaining moisture. Your backless sweater should now be perfectly fitted to your body, with the desired shape and drape. It is ready to be worn and enjoyed!
By following these steps and taking the time to block your backless sweater, you can ensure that it fits you perfectly and enhances your style. Enjoy the process and the final result of your beautifully blocked garment!
Styling and Wearing Your Backless Sweater: Tips and Ideas
Now that you’ve completed your backless sweater knitting project, it’s time to consider how to style and wear it. While backless sweaters can be a statement piece on their own, there are several ways to enhance your outfit and make a fashionable statement. Here are some tips and ideas to get you started:
1. Layer it with a Camisole or Bralette
Since backless sweaters expose the back, it’s important to consider what you wear underneath. One option is to layer your backless sweater with a camisole or bralette. This will add an extra layer of coverage and create an interesting contrast between the backless sweater and the undergarment. Choose a camisole or bralette in a complementary color or pattern to add visual interest to your outfit.
2. Pair it with High-waisted Bottoms
For a chic and trendy look, pair your backless sweater with high-waisted bottoms. This could be high-waisted jeans, trousers, or a skirt. The high-waisted style will create a balanced silhouette and add an element of sophistication to your outfit. Tuck the front of your backless sweater into the waistband of your bottoms to define your waist and keep the focus on the backless detail.
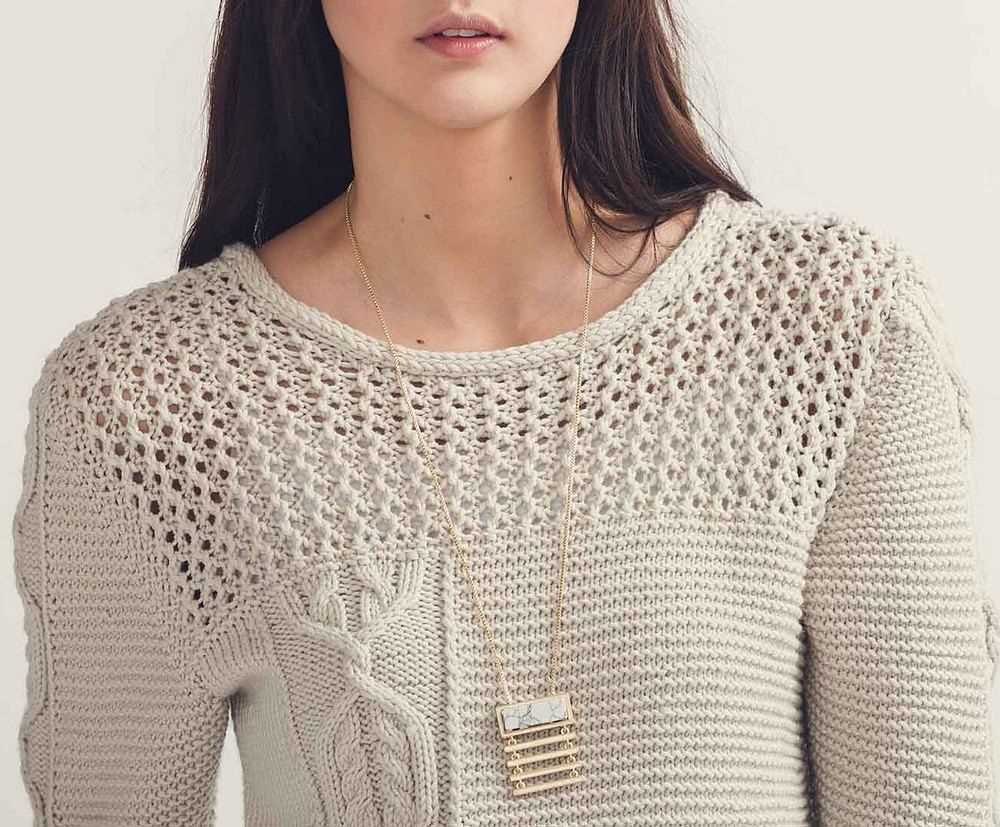
3. Accessorize with Statement Necklaces or Earrings
To draw attention to your backless sweater, consider accessorizing with statement necklaces or earrings. Since the back of your sweater is the focal point, avoid wearing long necklaces that may distract from the backless detail. Instead, opt for bold and eye-catching statement necklaces that sit closer to the collarbone or choose statement earrings that frame your face. These accessories will help elevate your outfit and make a stylish statement.
4. Style it with a Jacket or Blazer
If you want to add an extra layer to your outfit or if the weather is cooler, you can style your backless sweater with a jacket or blazer. A fitted blazer or a leather jacket can add structure and sophistication to your look. Choose a jacket or blazer that complements the color and style of your backless sweater for a cohesive and polished outfit.
5. Experiment with Different Hairstyles
With a backless sweater, your back is on display, so take advantage of this opportunity to experiment with different hairstyles. From elegant updos to braids or simply wearing your hair down, different hairstyles can complement your backless sweater and further enhance your overall look. Consider tying your hair up or to one side to fully showcase the backless detail of your sweater.
In conclusion, styling and wearing your backless sweater can be a fun and fashionable experience. By layering it with a camisole or bralette, pairing it with high-waisted bottoms, accessorizing with statement jewelry, styling it with a jacket or blazer, and experimenting with different hairstyles, you can create stylish and unique outfits with your backless sweater.