
Knitting is a popular craft that allows individuals to create beautiful and functional items from yarn. One of the most common projects for beginner knitters is a hat. Hats are a great way to practice new techniques and create a useful accessory for yourself or as a gift. In this article, we will explore a beginner hat pattern that is perfect for those who are new to knitting.
This beginner hat pattern is simple yet stylish, making it a great option for knitters of all skill levels. It only requires basic knitting stitches and techniques, so even if you are just starting out, you can easily follow along. Plus, with endless possibilities for color and yarn choices, you can customize your hat to suit your personal style.
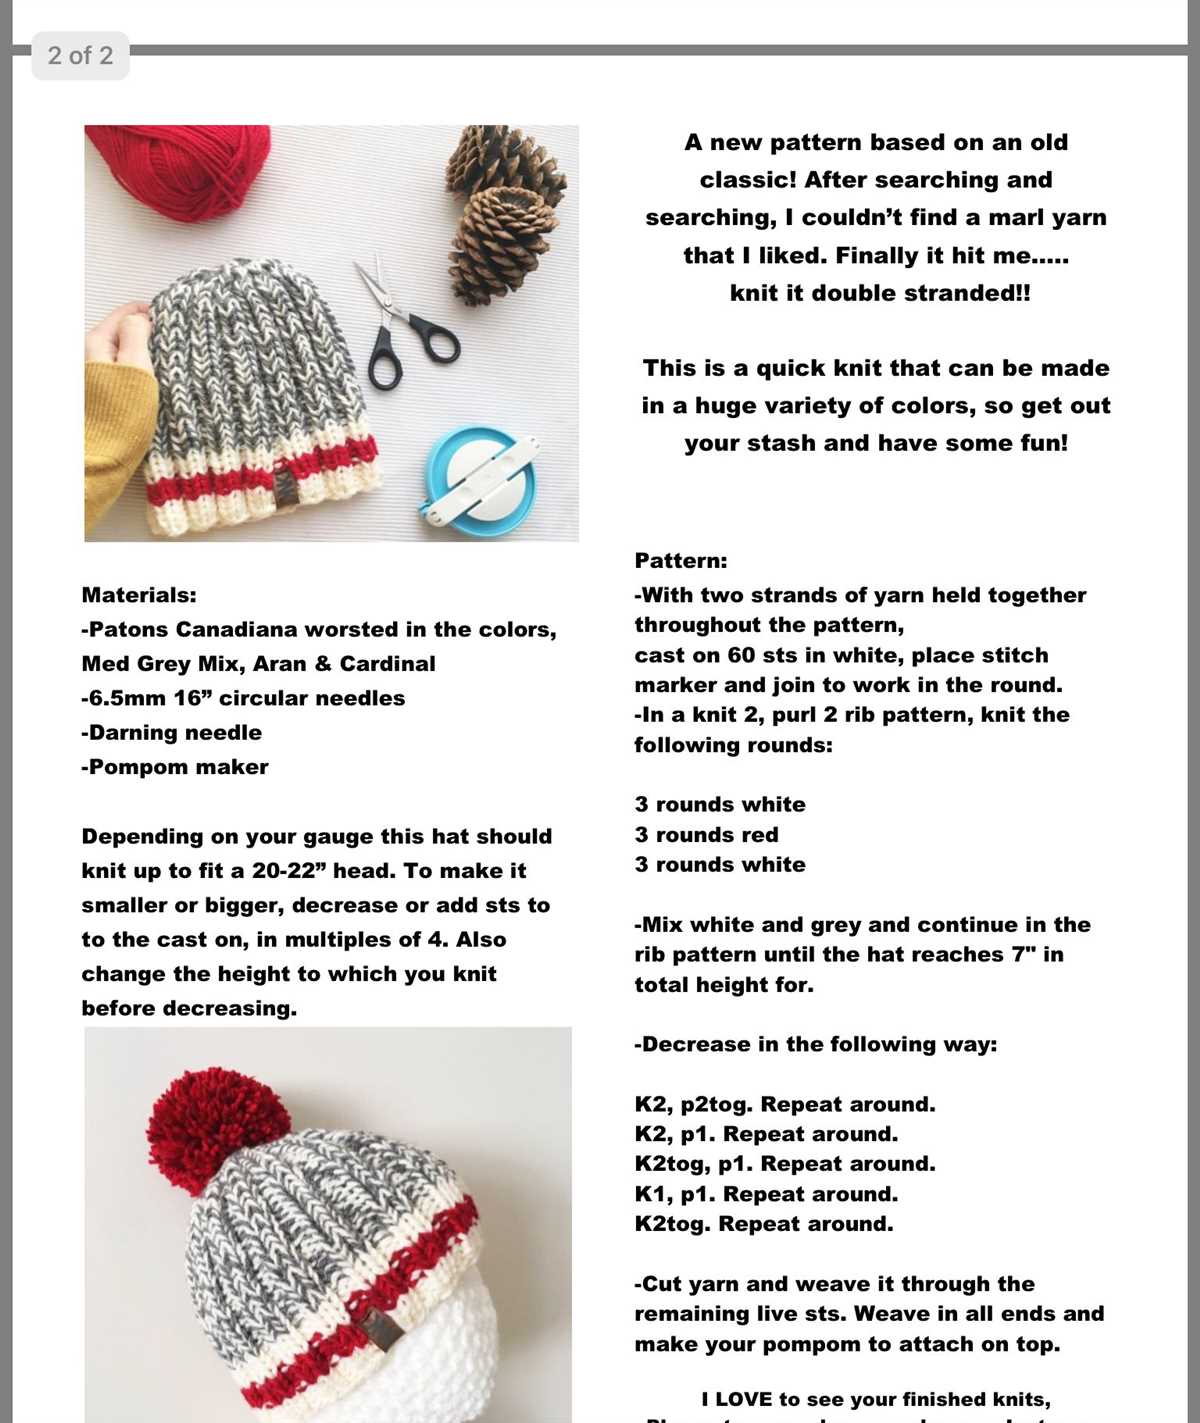
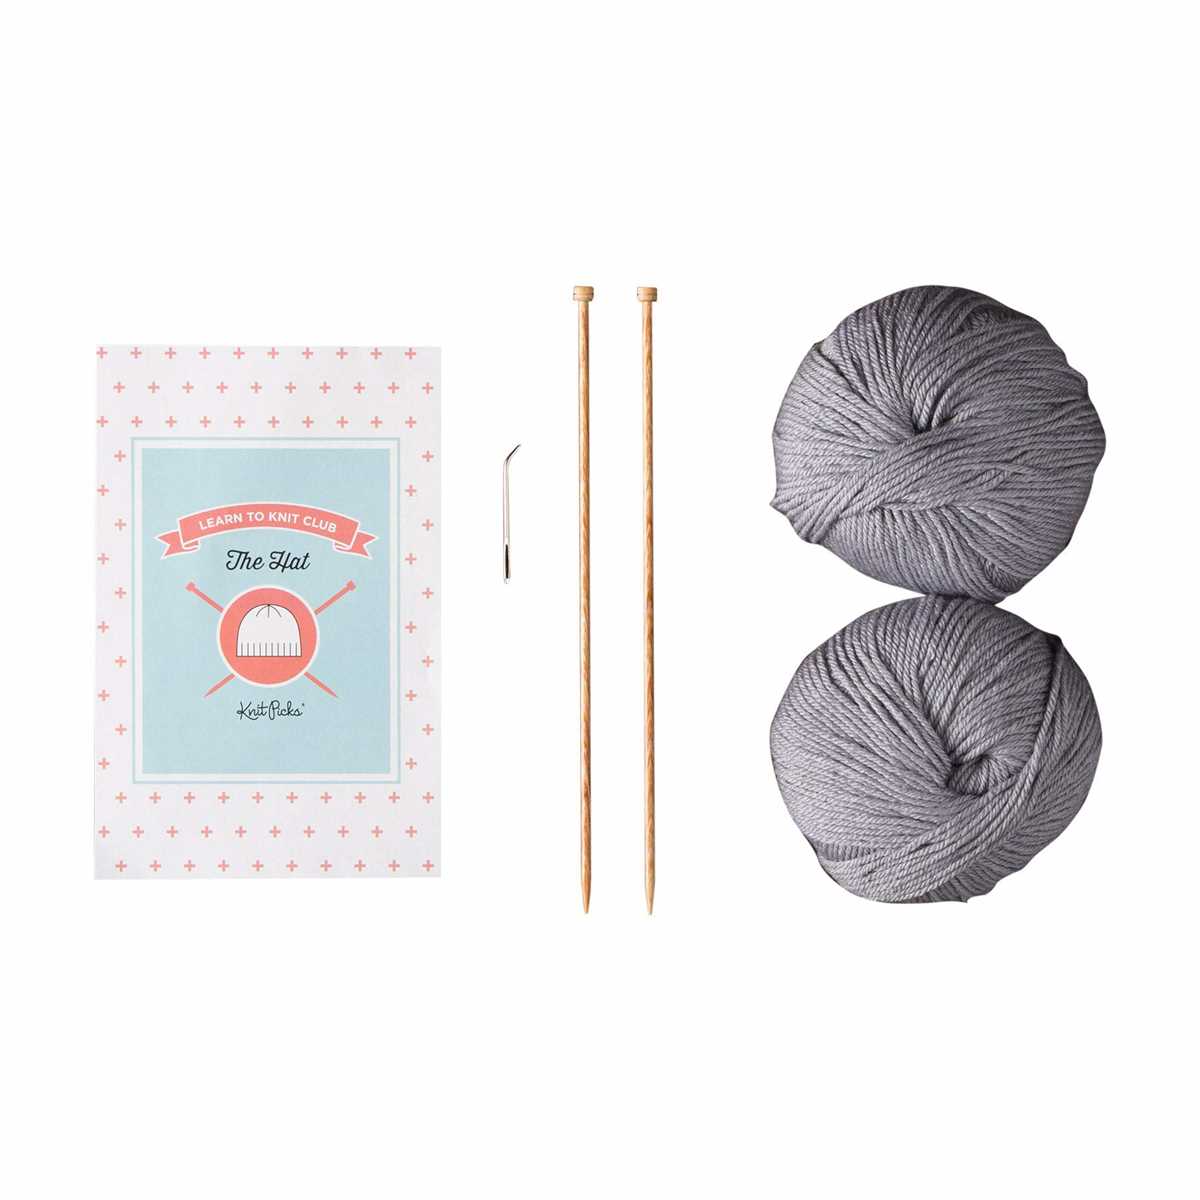
To get started, you will need to gather your materials. You will need a set of knitting needles in the appropriate size for your yarn, as well as a tapestry needle for finishing. You will also need a ball of yarn in your chosen color and a pair of scissors. Once you have everything you need, you can begin the knitting process.
Choosing the Right Yarn and Needles for a Beginner Hat Pattern
When starting a beginner hat knitting project, it’s important to choose the right yarn and needles to ensure success. The type of yarn you choose can greatly affect the outcome of your project, so it’s essential to consider the thickness, fiber content, and color.
Yarn Thickness: For a beginner hat pattern, it’s generally best to choose a medium-weight yarn, also known as worsted weight or Aran weight. This type of yarn is easy to work with and provides good stitch definition. It’s also widely available, making it a convenient choice for beginners.
Fiber Content: When selecting yarn for a hat, it’s important to consider the fiber content. Wool is a popular choice for hats as it is warm and has good elasticity, allowing the hat to stretch and fit comfortably. Acrylic yarn is another option, which is easy to care for and often more affordable. Consider whether you want a natural or synthetic fiber, and choose based on your preferences and needs.
Color: The color of your yarn can also make a difference in the final look of your hat. Consider the person who will be wearing the hat and their preferences. If it’s a gift, think about their favorite colors or any specific color requests they may have. A neutral color like gray or beige is a versatile option that can match a variety of outfits.
Needle Size: When it comes to choosing the right needles for your beginner hat pattern, it’s best to follow the recommendations provided in the pattern. The pattern will typically suggest a specific needle size based on the yarn thickness and desired gauge. Using the recommended needle size will help ensure that your hat turns out the right size and shape.
| Yarn | Recommended Needle Size |
|---|---|
| Medium-weight (worsted/ Aran) | US size 7 – 9 (4.5mm – 5.5mm) |
| Wool | As recommended in pattern |
| Acrylic | As recommended in pattern |
In summary, when choosing the right yarn and needles for a beginner hat pattern, consider the thickness and fiber content of the yarn, as well as the color. Follow the recommendations provided in the pattern for needle size to ensure a successful outcome. With the right materials, you’ll be well on your way to knitting a beautiful hat!
When starting out with knitting, it is important to understand the basic stitches that will be used in a beginner hat pattern. These stitches are the foundation for more complex patterns and projects, so it is essential to grasp their techniques.
Knit Stitch
The knit stitch is the most fundamental stitch in knitting. It is created by inserting the right-hand needle through the front loop of the stitch on the left-hand needle, wrapping the yarn around the right-hand needle, and pulling it through to form a new stitch. This stitch creates a smooth, V-shaped pattern on the right side of the fabric and is often used for the majority of a hat pattern.
Purl Stitch
The purl stitch is the opposite of the knit stitch and is commonly used to create textured patterns. To purl, the right-hand needle is inserted through the front loop of the stitch from right to left, and the yarn is wrapped counterclockwise around the right-hand needle before pulling it through. This stitch creates a raised bump on the right side of the fabric and is often used in combination with the knit stitch to create ribbing or other decorative patterns in a hat.
Adding (or decreasing) Stitches
In a beginner hat pattern, it is important to understand how to add or decrease stitches in order to shape the hat. To add a stitch, a yarn over (YO) is created by wrapping the yarn around the right-hand needle without inserting it into a stitch. This creates a new stitch that can be knit or purled on the following row.
To decrease stitches, various methods can be used, such as knitting or purling two stitches together (k2tog or p2tog), or slipping stitches to create decreases. These techniques are used to shape the crown of the hat by reducing the number of stitches gradually.
By understanding and mastering these basic knitting stitches, beginners can confidently tackle a hat pattern and create a beautiful finished product. With practice, these stitches will become second nature, setting the foundation for more advanced knitting projects in the future.
How to Cast On for a Beginner Hat Pattern
Starting a new knitting project can be exciting, especially when it’s a beginner hat pattern. Before you can start knitting, you’ll need to know how to cast on. Casting on is the process of creating the first row of stitches on your knitting needles.
There are several methods you can use to cast on for a beginner hat pattern, but one of the most common methods is the long-tail cast on. This method creates a neat and stretchy edge, perfect for hats. To begin, measure a length of yarn that is about four times the width of your finished project. This will be your “tail” yarn. Leave a long tail, about 6 inches, and make a slipknot at the end of the yarn.
Hold the slipknot on your left needle, and position the slipknot about 1 inch from the end of the right needle. With your right hand, bring the working yarn (the yarn attached to the ball) over your left thumb and hold it between your thumb and index finger. Using your right hand, insert the needle from left to right through the center of the slipknot, going under the thumb yarn. Drop the slipknot from the left needle, leaving a loop on the right needle.
Repeat this process until you have the desired number of stitches for your hat pattern. Make sure to keep the tension even as you go along. Once you have cast on all the stitches, you can begin knitting your hat pattern. Happy knitting!
Knitting the Body of the Hat for a Beginner Hat Pattern
Once you have finished knitting the ribbed brim of your hat, it is time to move on to knitting the body. This is where you will start to see your hat take shape and begin to fit your head.
To knit the body of the hat, you will continue using the same size needles and yarn that you used for the brim. Follow the instructions for the pattern you are using, which will typically involve knitting in rounds or rows, depending on the design.
When knitting in rounds, you will be working in a continuous circle, using circular needles or double-pointed needles, depending on your preference. If you are knitting in rows, you will be working back and forth on straight needles.
As you knit the body of the hat, pay attention to the stitch pattern or design. This is where you can add your own personal touch by choosing different stitches, colors, or patterns. Don’t be afraid to experiment and get creative with your knitting.
Remember to regularly check the length of your hat as you knit to ensure that it will fit properly. You can do this by trying the hat on or measuring it against a hat that fits you well. In general, the body of the hat should be approximately 6-8 inches long, depending on the style and fit you prefer.
Continue knitting until you have reached the desired length for your hat. Once you are satisfied with the length, you can move on to shaping the crown, which will give your hat its final shape. This is an exciting step that brings you one step closer to completing your beginner hat pattern.
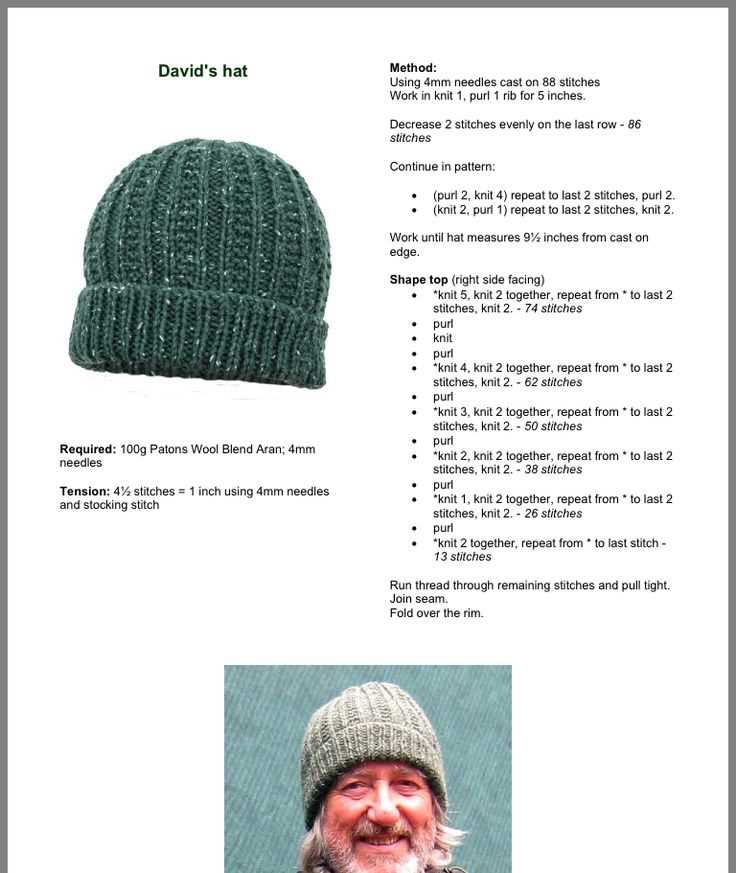
Shaping the Crown of the Hat for a Beginner Hat Pattern
When working on a beginner hat pattern, shaping the crown is an important step in creating the desired fit and style. The crown of the hat is the top part that covers the head, and it can be shaped in various ways to achieve different looks.
One common method of shaping the crown is decreasing stitches gradually as you work towards the top. This creates a tapered effect and helps the hat fit snugly on the head. To do this, you can use techniques such as knit two stitches together (k2tog) or slip, slip, knit (ssk) to decrease stitches evenly across each round. Alternatively, you can also use a centered double decrease (cdd) to create a more prominent decrease in the center of the crown.
Another approach to shaping the crown is using short rows. Short rows involve working partial rows of knitting, which can add extra height to specific sections of the crown. This technique is often used to create a slouchy or relaxed fit in the hat. By working short rows in a specific pattern or sequence, you can achieve different shaping effects and add visual interest to the crown.
Depending on the pattern and desired outcome, you may need to refer to specific instructions or charts provided in the beginner hat pattern. These instructions will guide you on the number of stitches to decrease or the sequence of short rows to work in order to shape the crown correctly. It’s important to follow these instructions carefully to ensure that the crown turns out as intended.
In conclusion, shaping the crown of a beginner hat pattern involves decreasing stitches gradually or working short rows to achieve the desired fit and style. Paying attention to the instructions provided in the pattern will help you shape the crown correctly and create a well-fitting and stylish hat.
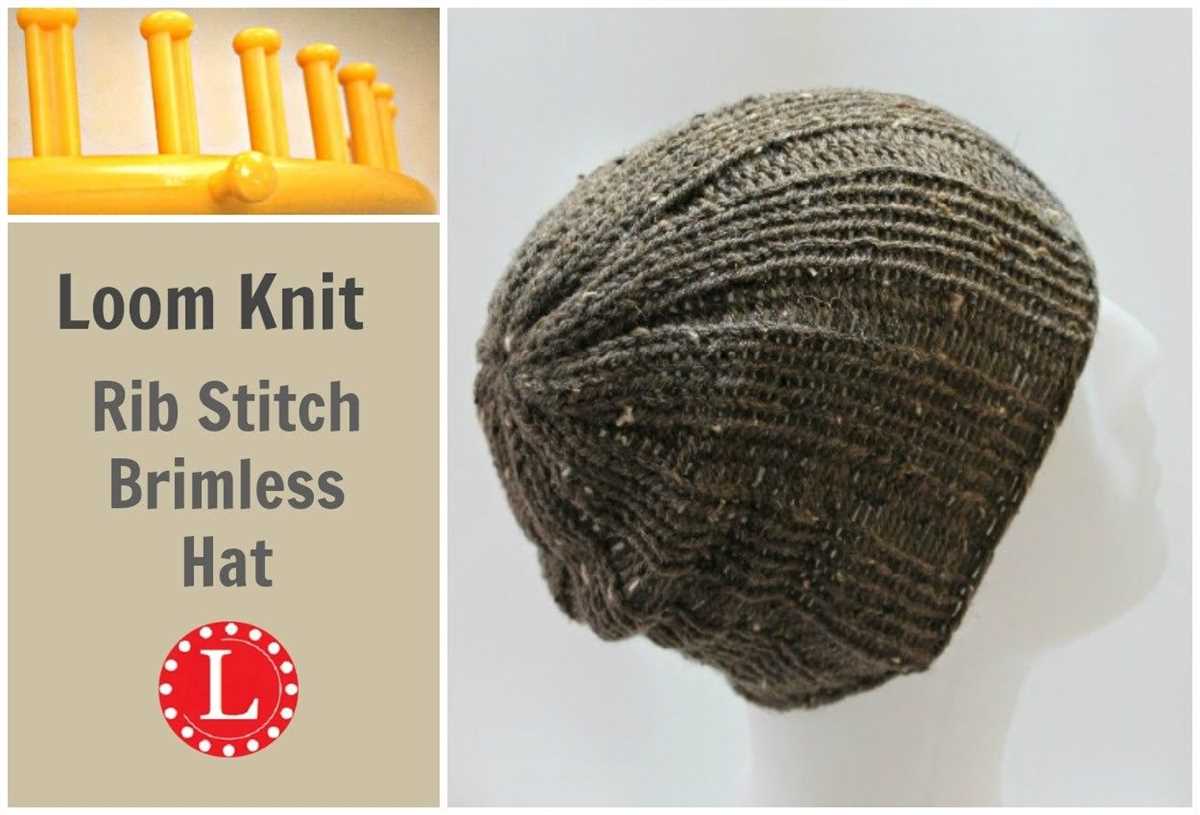
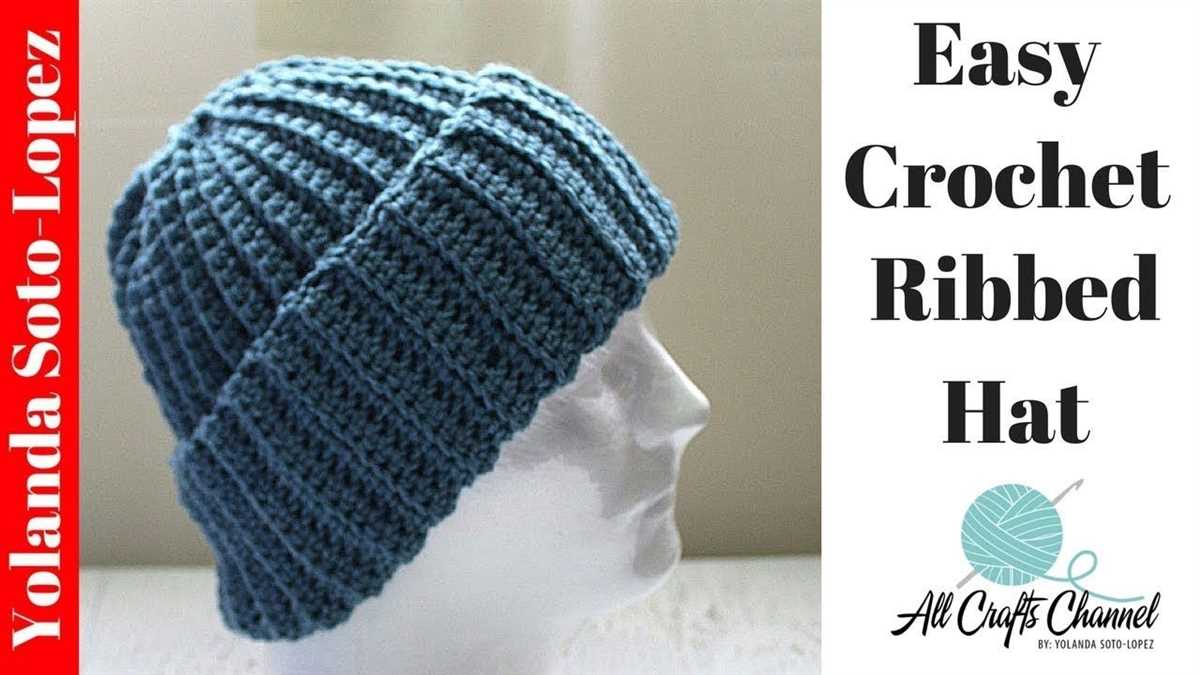
Adding Ribbing to the Brim of a Beginner Hat Pattern
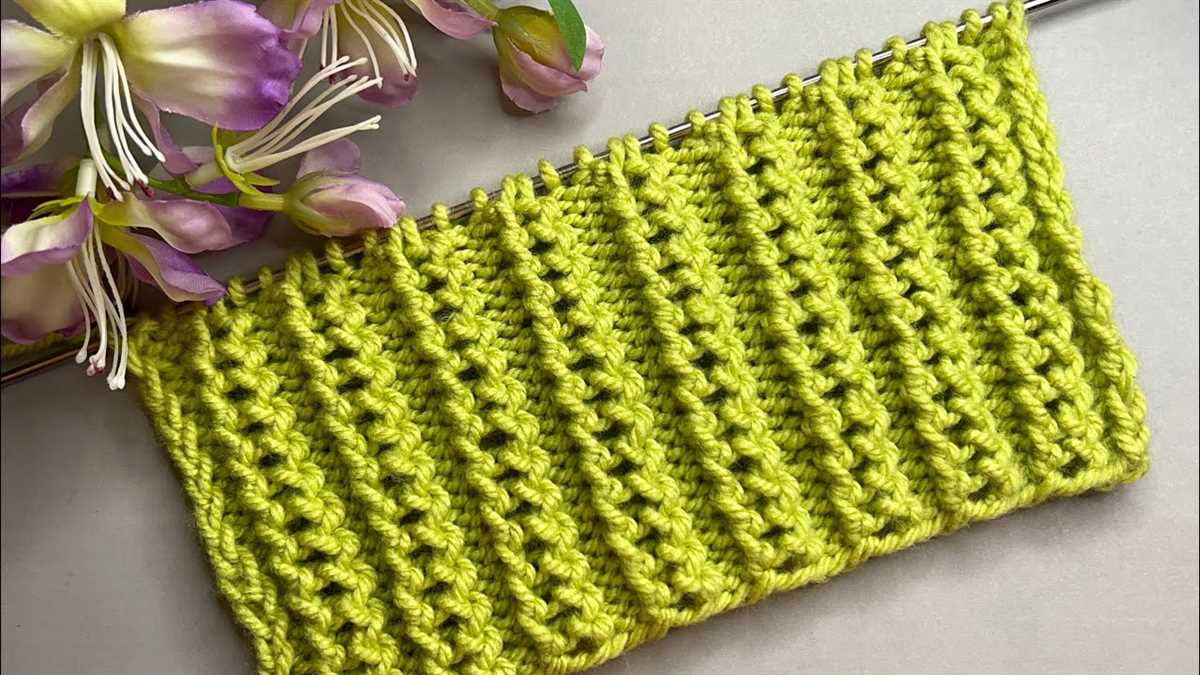
In order to add ribbing to the brim of a beginner hat pattern, you will need to understand the basic concept of knitting rib stitches. Ribbing is a common technique used to create a stretchy and snug edge for hats, cuffs, and other knitted items. It involves alternating knit and purl stitches in a specific pattern.
To add ribbing to the brim of your hat, you will first need to determine the number of stitches needed. This will depend on the desired length of your ribbing and the gauge of your yarn. Generally, a multiple of two stitches is used for ribbing, such as 2×2 ribbing or 1×1 ribbing.
For example, if you are using 2×2 ribbing, you will alternate between knitting two stitches and purling two stitches. This pattern creates a textured effect and allows the ribbing to stretch. Repeat this pattern for the desired length of your brim.
Once you have completed the ribbing, you can continue with the rest of your beginner hat pattern. This may involve switching to a different stitch pattern or increasing the number of stitches for the body of the hat. The ribbing will provide a nice finish to the brim and add elasticity to ensure a comfortable fit.
Summary:
- Understand the concept of knitting rib stitches.
- Determine the number of stitches needed for the ribbing.
- Alternate between knitting and purling stitches in the desired pattern.
- Repeat the pattern for the desired length of the brim.
- Continue with the rest of the hat pattern.
Creating a Folded Brim for a Beginner Hat Pattern
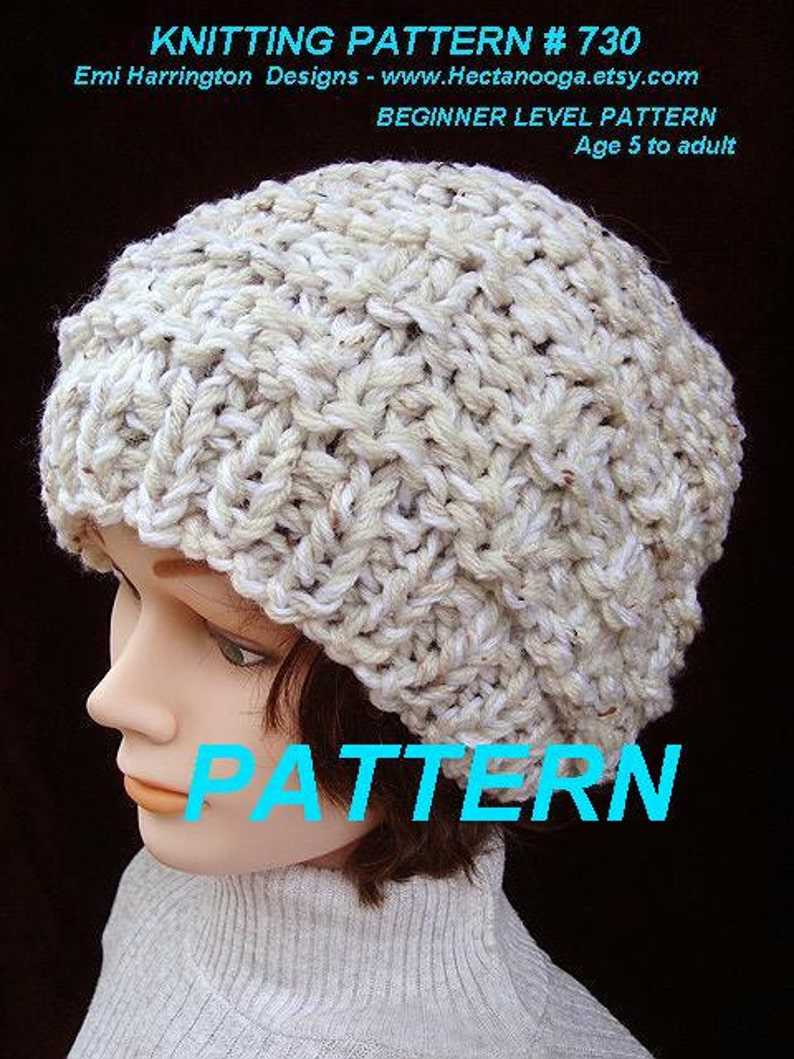
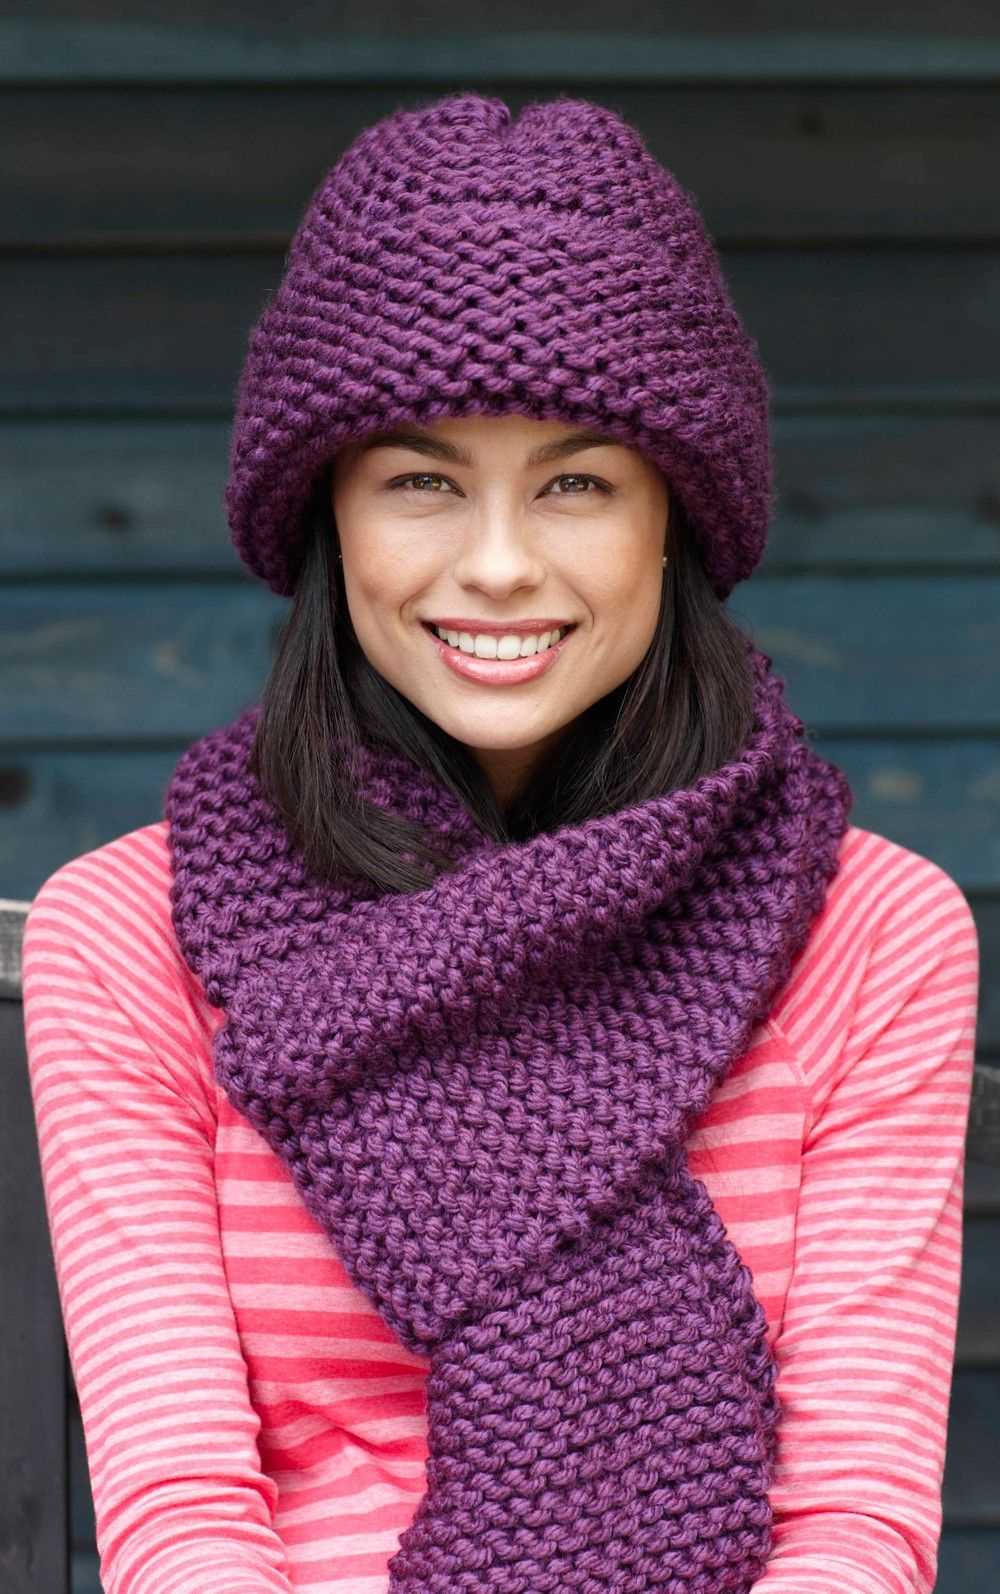
When knitting a hat for beginners, it is important to choose a simple and easy-to-follow pattern. One popular style for a beginner hat is a folded brim, which adds an extra layer of warmth and comfort. The folded brim also adds a touch of style and allows for some customization options.
To create a folded brim for a beginner hat pattern, you will need to start with a rib stitch. The rib stitch is a combination of knit and purl stitches that creates a stretchy and flexible fabric. This is perfect for a brim that can be folded up or down depending on the wearer’s preference.
Step 1: Cast On
Start by casting on the desired number of stitches for your hat. Use a circular needle or double-pointed needles, depending on your preference. Make sure to leave a long enough tail for weaving in later.
Step 2: Rib Stitch
Once you have cast on, begin working the rib stitch pattern. This typically involves knitting one stitch, then purling one stitch, and repeating this pattern across the row. Continue knitting in the rib stitch pattern for the desired length of the brim.
Step 3: Transition to Stockinette Stitch

Once the brim has reached the desired length, it’s time to transition to the main body of the hat. To do this, simply switch to knitting every stitch in the round, creating the stockinette stitch. Knit in the stockinette stitch for the desired length of the hat.
Step 4: Bind Off
When your hat has reached the desired length, it’s time to bind off. This will create a neat and secure edge for your hat. Use a basic bind off method, making sure to keep the tension loose enough for the hat to stretch comfortably.
Once you have finished binding off, you can weave in any remaining loose ends and fold up the brim of your hat. The folded brim adds structure and warmth to the hat and can be customized by adding a decorative edge such as a contrasting color or a row of ribbing.
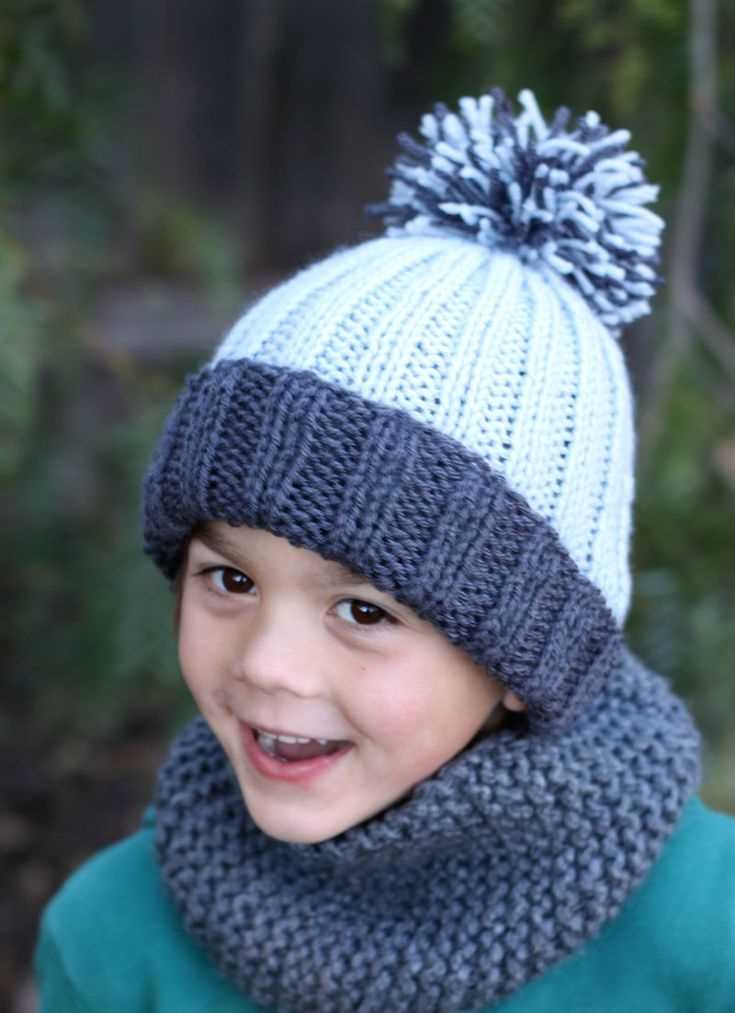
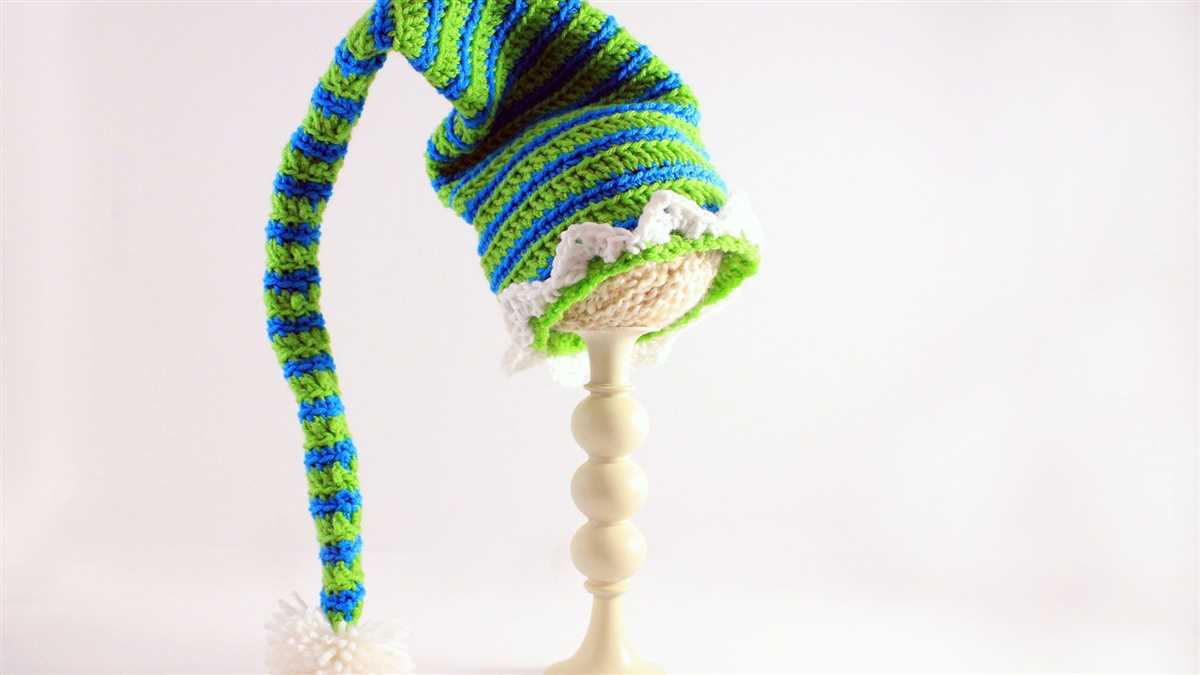
Finishing the Hat with a Pom Pom or Tassel
Adding a pom pom or tassel to your knitted hat is a great way to give it a finished and playful look. Whether you prefer a fluffy pom pom or a long, dangling tassel, the process of attaching them to your hat is quite simple.
For a pom pom: First, you will need a pom pom maker or you can make one using cardboard. Using your yarn of choice, wrap it around the pom pom maker several times until you achieve the desired fullness. Then, cut the yarn along the edge of the pom pom maker and tie a separate piece of yarn tightly around the center of the bundle. Finally, trim the strands evenly to create a round shape and, using a tapestry needle, attach the pom pom securely to the top of your hat.
For a tassel: To make a tassel, cut a long piece of yarn and set it aside. Start by wrapping your chosen yarn around a piece of cardboard or a tassel maker several times, depending on how thick you want your tassel to be. Slide the loops off the cardboard or tassel maker and use the piece of yarn you set aside to tie a tight knot around the top of the loops. Leave a long tail on the knot, which you can use to attach the tassel to your hat. Finally, trim the bottom of the loops to create a neat and even tassel, and attach it to the corner or top of your hat using the long tail.
Both pom poms and tassels are versatile and can be made in various sizes and colors to match your hat or add a pop of contrast. Experiment with different yarn textures and lengths to personalize your hat and give it a unique touch. Whether you choose a pom pom or a tassel, these simple additions will instantly elevate your beginner hat to a stylish and finished accessory.
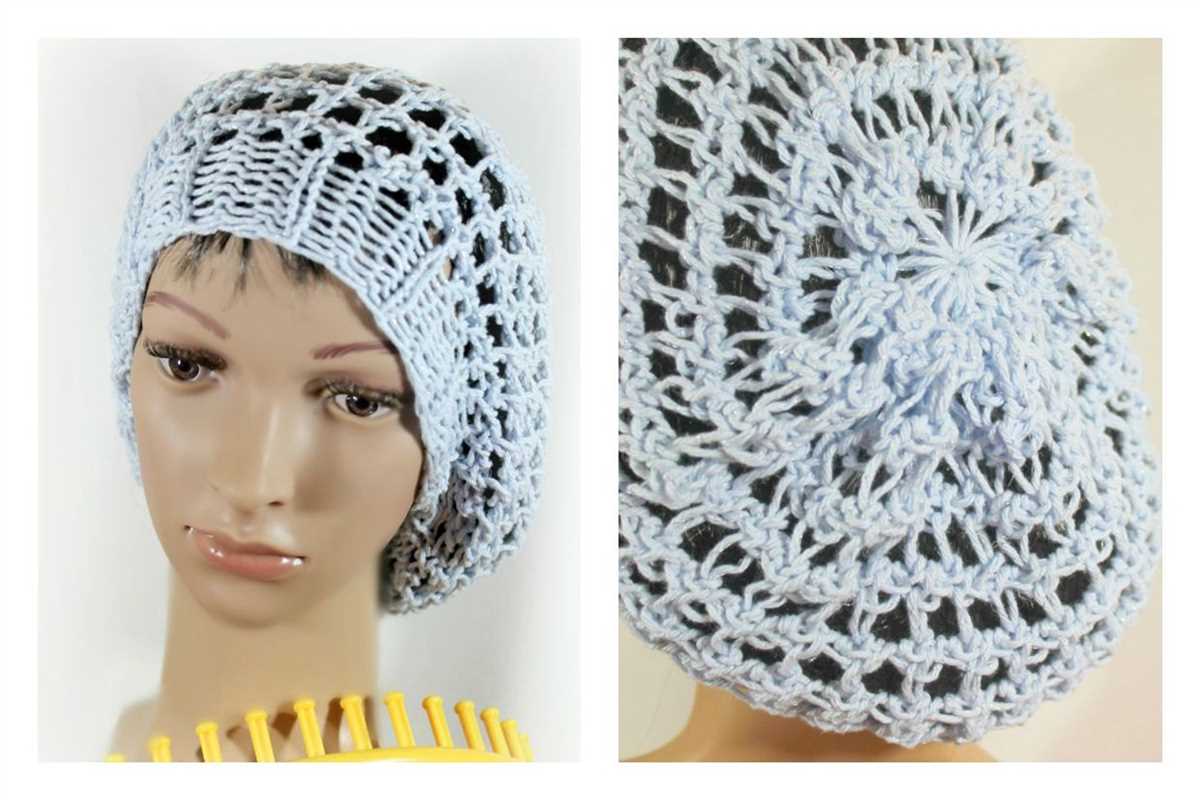
Knitting a Seamless Hat for Beginners
Knitting is a relaxing and creative hobby that allows you to create beautiful and functional items. If you’re a beginner looking for a knitting project, knitting a seamless hat is a great place to start. This project is perfect for beginners because it only requires basic knitting skills and techniques.
To knit a seamless hat, you will need a set of double-pointed knitting needles, yarn in your desired color, and a tapestry needle. The first step is to choose a simple hat pattern that is suitable for beginners. Look for patterns that use basic stitches like knit and purl, as well as simple shaping techniques.
Once you have your pattern and materials ready, it’s time to start knitting. Begin by casting on the required number of stitches onto your double-pointed needles. The next step is to knit in the round, working the pattern according to the instructions. Make sure to follow the pattern carefully and keep track of your rows.
As you continue knitting, you will start to see your hat taking shape. The seamless construction means that there are no seams to sew up at the end, making it a great project for beginners. Once you have completed all the stitches and rows of your pattern, it’s time to bind off and finish your hat.
After binding off, use a tapestry needle to weave in any loose ends and secure them. Finally, block your hat by gently shaping it and allowing it to dry flat. And that’s it – you have successfully knitted a seamless hat! Now you can enjoy the warmth and comfort of your handmade creation or gift it to a loved one.
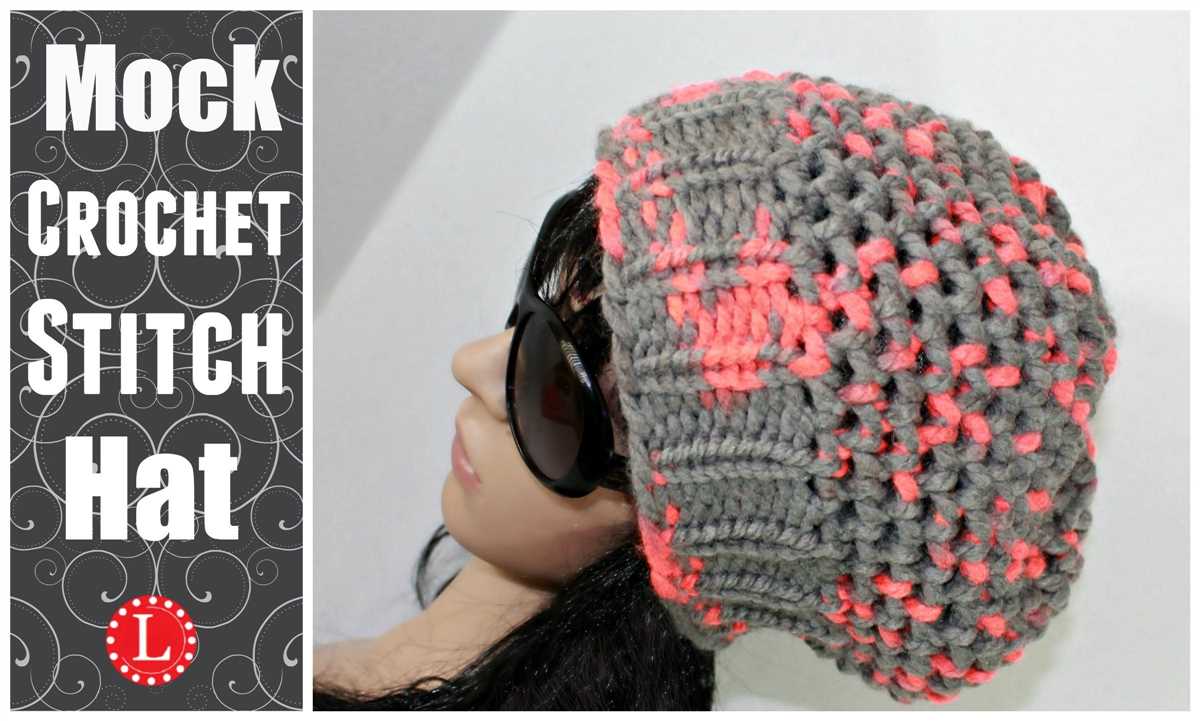
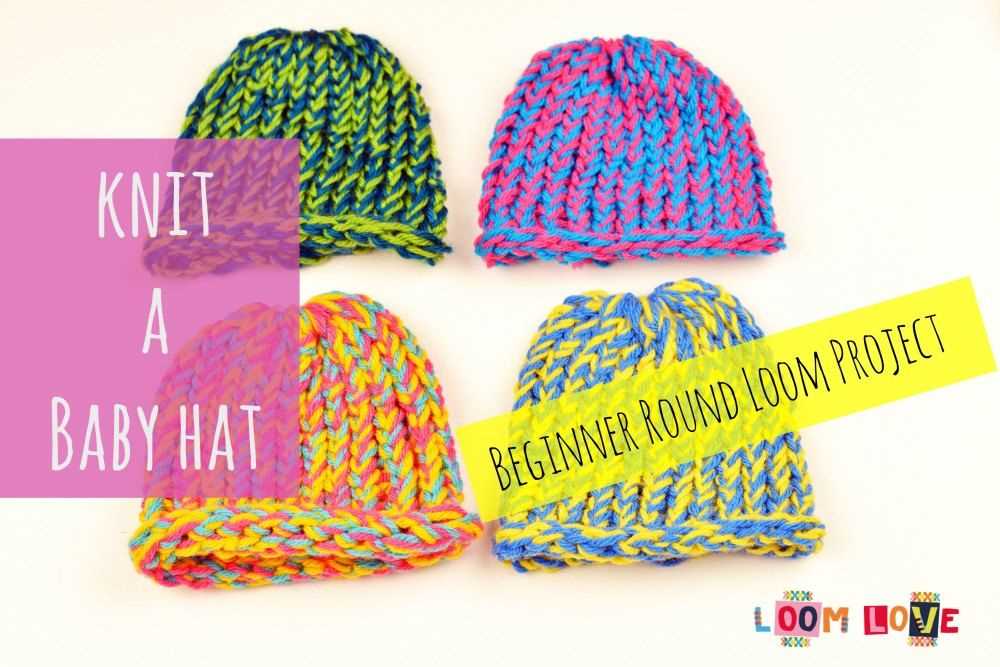
Customizing a Beginner Hat Pattern with Colorwork
If you’re a beginner at knitting and looking to add some visual interest to a basic hat pattern, colorwork is a great technique to try. Colorwork involves incorporating different colors of yarn into your project, creating intricate patterns and designs. By customizing a beginner hat pattern with colorwork, you can personalize your project and create a unique accessory.
Choosing Your Colors: When adding colorwork to your hat pattern, the first step is to choose the colors you want to work with. Consider selecting two contrasting colors for a bold and striking effect, or opt for more subtle shades that complement each other. Play around with different combinations and swatch to see which colors work well together.
Integrating Colorwork: There are several ways to incorporate colorwork into your hat pattern. One simple technique is stranded knitting, where you alternate between the different colors of yarn throughout the row. This can create geometric patterns or more intricate motifs, depending on the chart or pattern you choose.
Adding Fair Isle: Another popular method of colorwork is Fair Isle knitting. This technique involves carrying two colors of yarn across the row and knitting with one color at a time. Fair Isle allows for more intricate designs and patterns, and can result in a beautifully detailed hat.
Personalizing Your Hat: Customizing a beginner hat pattern with colorwork allows you to make the design your own. Consider incorporating initials, symbols, or even simple shapes into your colorwork to add a personal touch. Additionally, you can experiment with different stitch patterns and techniques to create a hat that truly reflects your style and creativity.
Overall, adding colorwork to a beginner hat pattern can transform a basic design into a striking and personalized accessory. Whether you choose stranded knitting or Fair Isle, experimenting with different colors and patterns is a great way to enhance your knitting skills and create a hat that is uniquely yours.
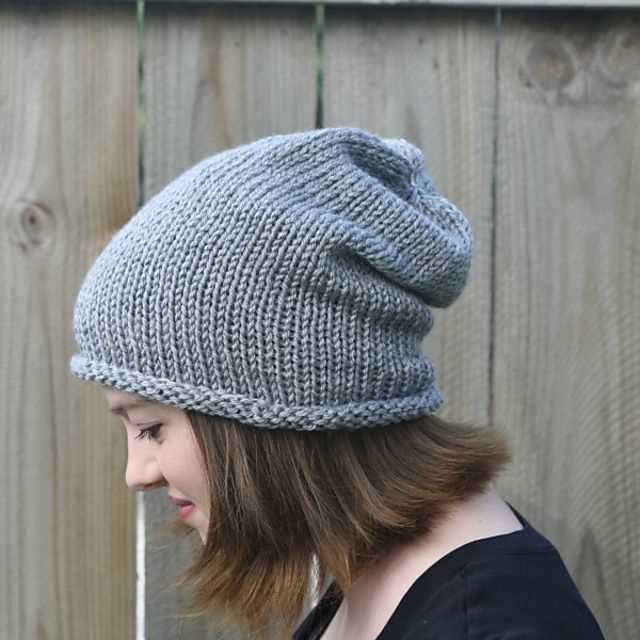
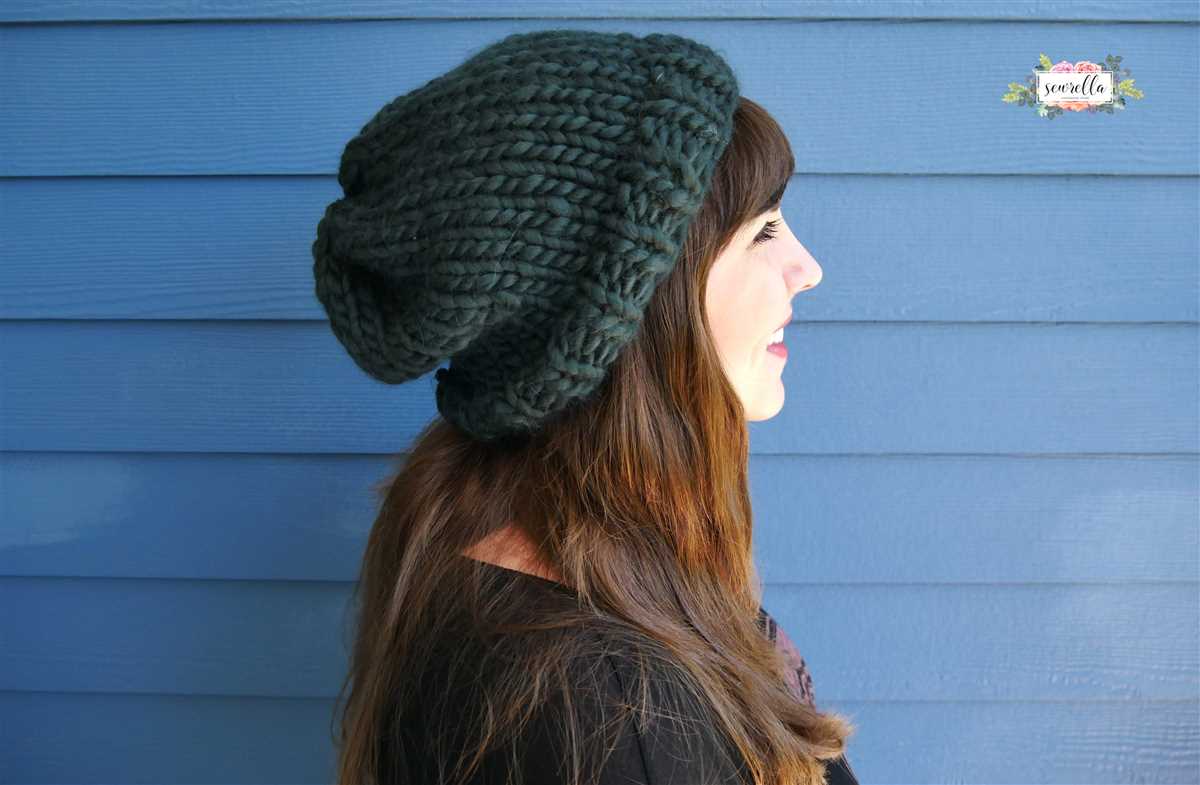
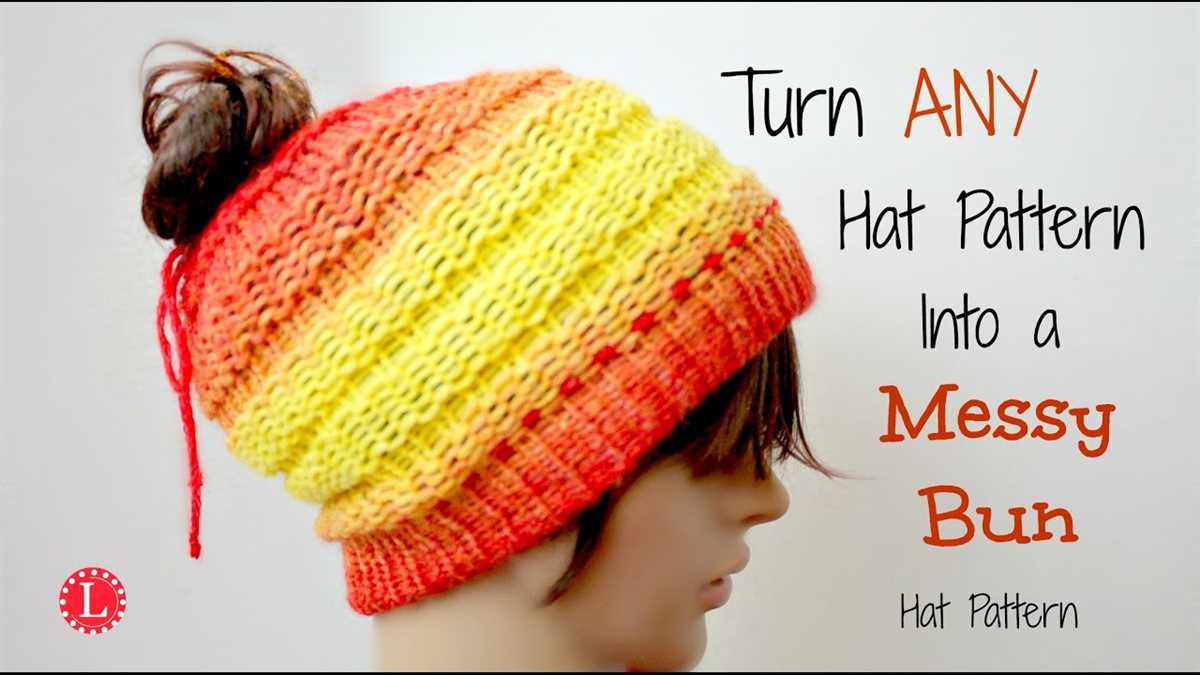
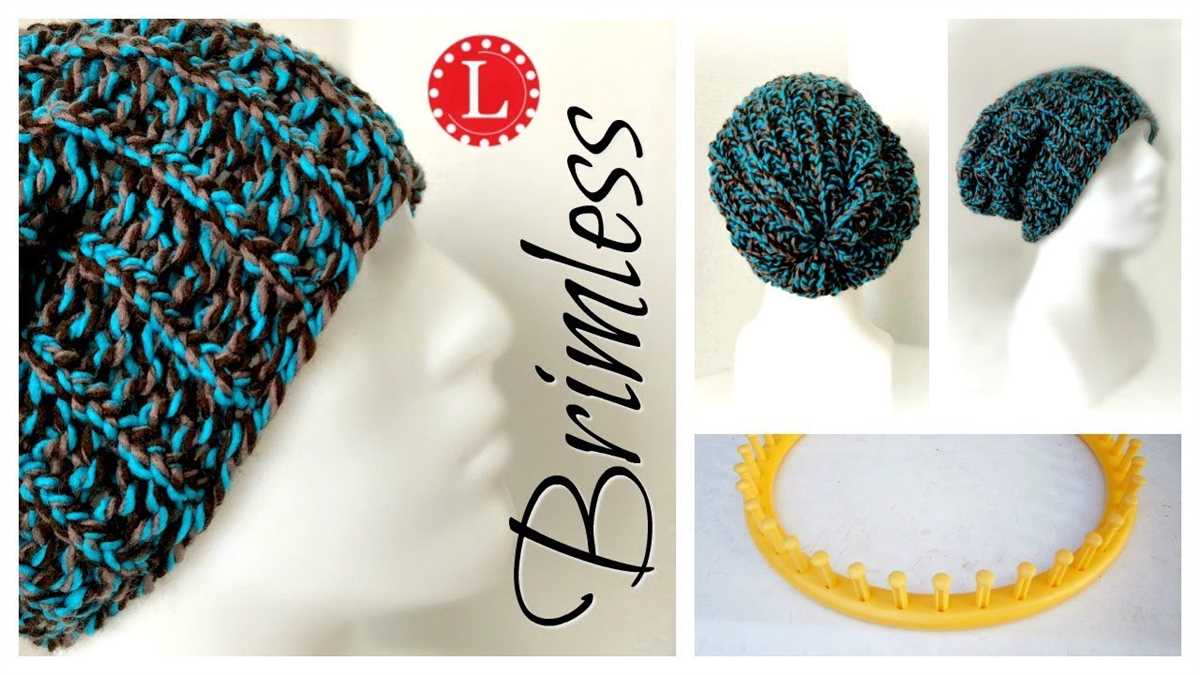
Knitting a Slouchy Hat for Beginners
Knitting a slouchy hat for beginners can be a fun and rewarding project. This style of hat is trendy and versatile, making it a popular choice for knitters of all skill levels. Whether you’re a beginner or an experienced knitter looking for a quick and easy project, a slouchy hat is a great option.
Materials: To knit a slouchy hat, you’ll need a few basic materials. Start by selecting a soft and chunky yarn that you enjoy working with. Look for a yarn that is labeled as being suitable for a hat. You’ll also need a set of knitting needles in the appropriate size for your yarn, typically between US size 9 and 11. Finally, gather a pair of scissors and a large-eyed tapestry needle to finish off your hat.
Pattern: Begin by casting on the desired number of stitches for your hat. A slouchy hat is typically looser and more relaxed than a standard beanie, so you may want to cast on 80 to 100 stitches, depending on your gauge. Once you’ve cast on, join in the round and begin knitting in a simple stitch pattern, such as stockinette or ribbing.
Instructions: Knit in your chosen stitch pattern for the desired length, typically around 6 to 8 inches. Then, begin decreasing in the same stitch pattern to shape the crown of the hat. You can decrease by knitting two stitches together or by using a combination of knit and purl stitches to create a textured pattern. Continue decreasing until you have just a few stitches left, then cut the yarn leaving a long tail. Thread the tail through the tapestry needle and pass it through the remaining stitches to secure.
Finishing: Once you’ve completed the knitting portion of your slouchy hat, it’s time to finish it off. Use a tapestry needle to weave in any loose ends and trim them close to the fabric. If desired, you can add a pom-pom or other embellishments to the top of the hat. Finally, gently block your hat to shape it and allow the stitches to relax and settle into place. Then, your slouchy hat is ready to wear or gift to a lucky recipient!
Troubleshooting Tips for Knitting a Beginner Hat Pattern
If you’re new to knitting and trying to tackle a beginner hat pattern, you may run into a few challenges along the way. Here are some troubleshooting tips to help you overcome common issues and successfully complete your project:
1. Gauge Problems:
One of the most common issues that knitters face is achieving the correct gauge. If your hat pattern specifies a certain number of stitches per inch, but your gauge is off, your hat may turn out too big or too small. Make sure to do a gauge swatch before you start knitting and adjust your needle size if necessary. If you’re consistently getting the wrong gauge, try knitting more tightly or loosely.
2. Uneven Stitches:
If your hat has noticeable variations in stitch size or tension, it can affect the overall appearance of your project. To fix this, try using the same needles throughout the entire project and make sure your tension remains consistent. Practicing regular knitting exercises can also help improve your tension and create more even stitches.
3. Dropped Stitches:
Dropped stitches are when you accidentally let a stitch slip off the needle, leaving a hole in your knitting. It’s important to catch and fix dropped stitches as soon as you notice them to prevent further unraveling. Use a crochet hook or a spare knitting needle to pick up the dropped stitch and place it back on the needle.
4. Twisted Stitches:
Twisted stitches can occur when you accidentally twist the stitch before knitting it. This can lead to a twisted and distorted pattern. To avoid twisted stitches, make sure to insert your needle into the stitch correctly by going from the front to the back.
5. Incorrect Decreases:
Most hat patterns involve decreasing stitches to shape the crown. If you’re not familiar with different decrease methods, it’s easy to make mistakes and end up with an uneven or misshapen crown. Make sure to carefully read and understand the instructions for decreases or watch video tutorials to ensure you’re doing them correctly.
With these troubleshooting tips in mind, you’ll be well-equipped to tackle any challenges that come your way while knitting a beginner hat pattern. Don’t be afraid to seek help from more experienced knitters or online communities if you need further assistance. Happy knitting!