
If you enjoy knitting and are looking for a fun and cozy project, why not try making your own knitted stocking hat? This winter accessory is not only stylish and warm, but it can also be a great gift for your loved ones. Whether you’re a beginner or an experienced knitter, this free pattern is perfect for you!
Knitted stocking hats are versatile and can be customized to fit your personal style. With this free pattern, you’ll be able to choose your favorite yarn color and experiment with different stitch patterns to create a hat that is uniquely yours. The pattern includes detailed instructions and step-by-step photos to make it easy for you to follow along.
Your finished hat will not only keep you warm during the chilly winter months, but it will also make a fashion statement. This versatile accessory can be paired with a variety of outfits for a trendy and cozy look. Whether you’re going for a casual or dressy vibe, a knitted stocking hat is the perfect finishing touch.
So grab your knitting needles and get ready to create a stylish and warm hat with this free pattern. Whether you’re making it for yourself or as a gift, you’re sure to enjoy the process of knitting this cozy accessory. Get started today and embrace the joy of knitting!
Knitted Stocking Hat: A Free Pattern for a Stylish Winter Accessory
Stay warm and fashionable this winter with a knitted stocking hat. This free pattern is a great way to create a stylish accessory that will keep you cozy during the cold months.
With its classic design and customizable fit, this knitted stocking hat is perfect for both men and women. The pattern includes instructions for different sizes, so you can easily make one for yourself or as a thoughtful gift for a friend or family member.
Materials Needed:
- Worsted weight yarn in your preferred color
- Size 8 knitting needles
- Tapestry needle
- Stitch markers
- Circular knitting needles (optional)
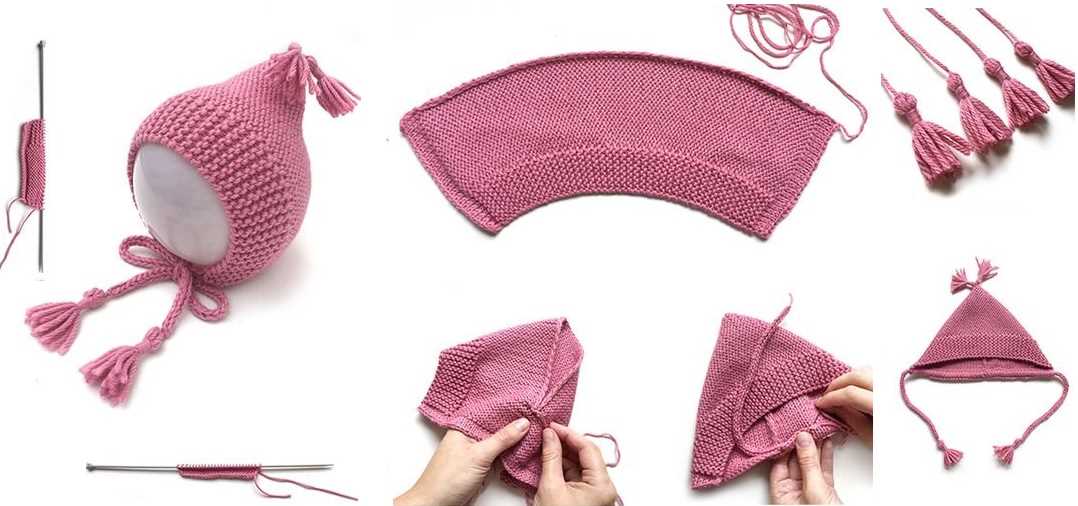
To start, cast on the required number of stitches according to the size you are making. The pattern uses a rib stitch to give the hat a snug fit and added stretch. Knit in rib stitch for a few rows before transitioning to stockinette stitch for the majority of the hat. Remember to switch to circular knitting needles if necessary for larger sizes.
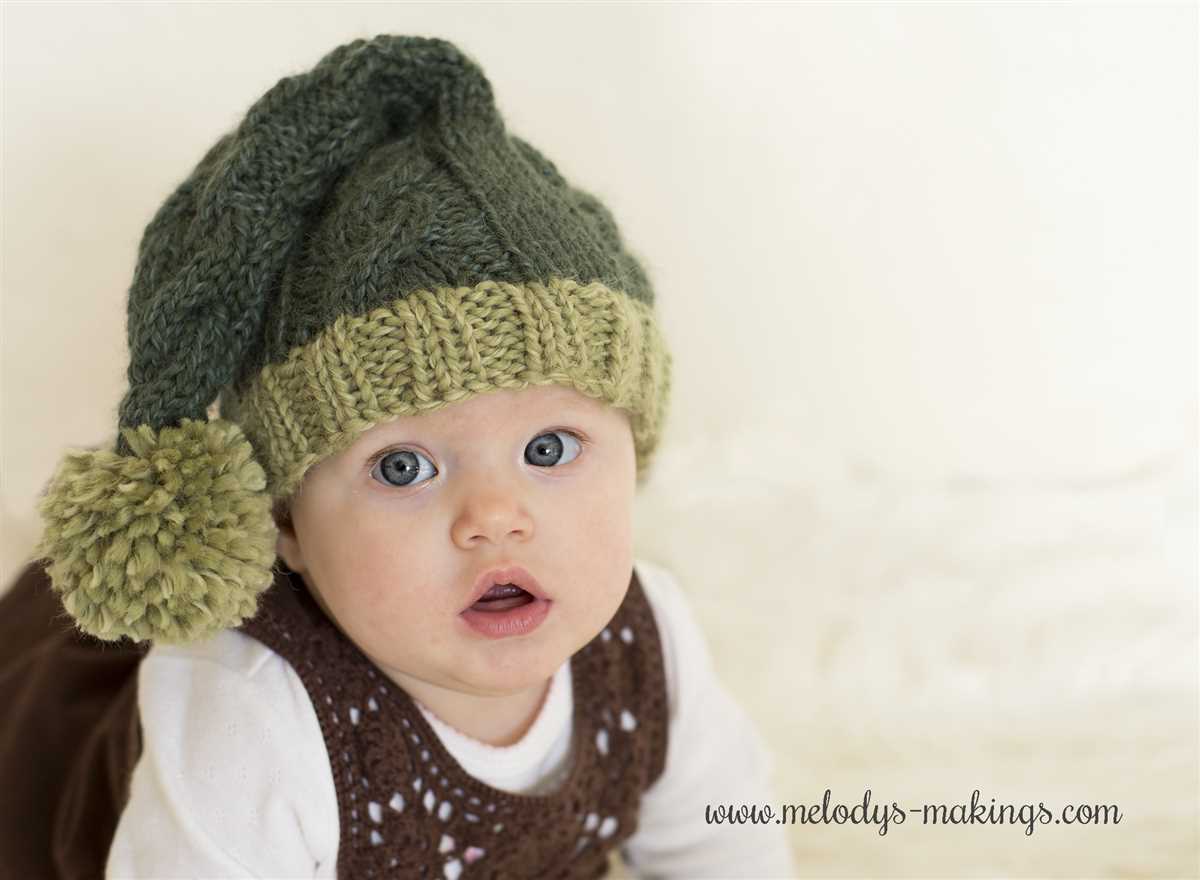
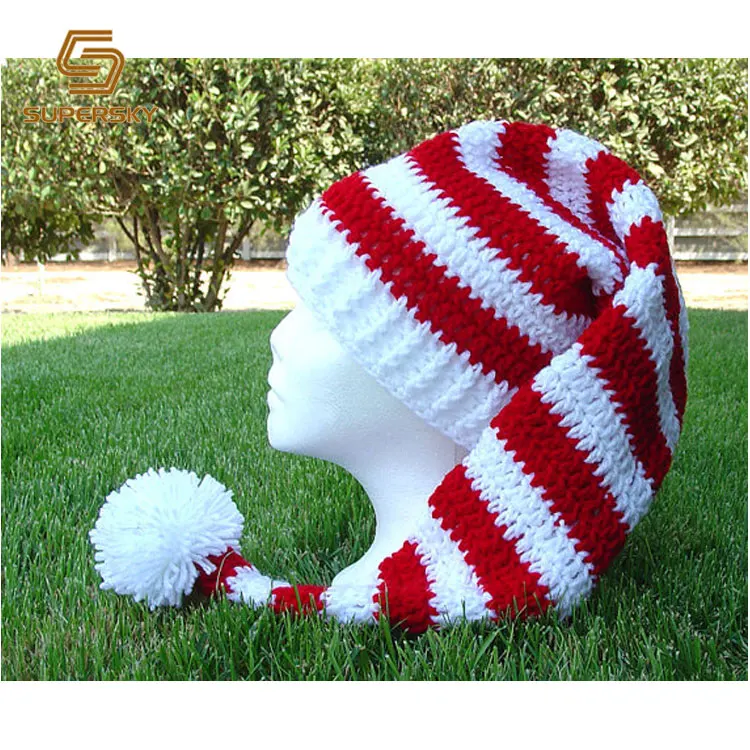
The pattern also includes instructions for decreasing and shaping the crown of the hat, giving it a traditional stocking shape. Finish off the hat by securely binding off and weaving in any loose ends. Optional embellishments, such as pom-poms or tassels, can be added for a personalized touch.
This knitted stocking hat is not only functional but also a stylish winter accessory. You can pair it with any outfit for added warmth and a touch of flair. Whether you wear it slouched or folded, this hat is sure to become a favorite in your winter wardrobe.
The History of the Stocking Hat: From Practicality to Fashion Statement
Stocking hats, also known as knit caps or beanies, have a long and fascinating history that has evolved from practicality to a fashion statement. Originally, these hats were designed to provide warmth and protection from the elements, particularly during the cold winter months.
The roots of the stocking hat can be traced back to ancient times, where various civilizations used similar head coverings made from natural fibers like wool or animal fur. These early hats were often hand-knit by individuals within the community and served as a necessity for survival in harsh climates.
With the rise of industrialization and mass production in the 19th century, knitting machines were introduced, leading to the production of stocking hats on a larger scale. This made them more accessible to a wider range of people and allowed for greater variation in design and color.
Over time, stocking hats started to make their way into popular culture, becoming a symbol of youth, rebellion, and counterculture in the mid-20th century. Musicians, artists, and activists embraced the hat’s casual and laid-back style, further cementing its place as a fashion statement.
Today, stocking hats are worn by people of all ages and backgrounds, whether for their practicality or as a trendy accessory. They can be found in a variety of materials, patterns, and colors, allowing individuals to express their personal style while staying warm and cozy.
- The stocking hat has a rich history rooted in practicality and protection from the elements.
- Early stocking hats were often hand-knit using natural fibers like wool or animal fur.
- Industrialization and mass production made stocking hats more accessible and enabled greater design variation.
- Stocking hats became popular in popular culture, symbolizing youth, rebellion, and counterculture.
- Today, stocking hats are worn by people of all ages and are available in various materials and styles.
Step-by-Step Guide: How to Knit a Stocking Hat for Beginners
Knitting a stocking hat can be a fun and rewarding project for beginners. With just a few basic knitting techniques, you can create a cozy and stylish hat to keep you warm during the cold winter months. Follow this step-by-step guide to get started on your knitting adventure.
Materials Needed:
- Size 8 knitting needles
- Worsted weight yarn in your choice of color
- Tapestry needle for weaving in ends
- Scissors
Step 1: Cast on Stitches
To begin, cast on 80 stitches using the long tail cast on method. This will form the brim of your hat. Make sure the stitches are not too tight or too loose, as this can affect the fit of the hat.
Step 2: Knit the Brim
After casting on, you will begin knitting the brim of the hat. Using a circular knitting needle or double-pointed needles, work in a knit 1, purl 1 rib stitch pattern for about 2 inches. This creates a stretchy and comfortable brim.
Step 3: Knit the Body of the Hat
Once the brim is complete, switch to stockinette stitch for the body of the hat. This means knitting every round for a smooth and even texture. Continue knitting in stockinette stitch until the hat measures about 7.5 inches from the cast on edge, or desired length.
Step 4: Decrease for the Crown
To shape the crown of the hat, you will gradually decrease the number of stitches. Switch to double-pointed needles or a circular needle with a smaller circumference if necessary. Begin by knitting 6 stitches, then knitting 2 stitches together to decrease. Repeat this decrease pattern until the end of the round. Continue decreasing in this manner every other round until you have 8 stitches remaining.
Step 5: Finishing
Once you have 8 stitches, cut the yarn, leaving a long tail. Thread the tail through a tapestry needle and slip the stitches off the knitting needles. Pull the tail tight to close the top of the hat and secure with a knot. Weave in any loose ends with the tapestry needle.
Congratulations! You have successfully completed your knitted stocking hat. Now you can enjoy the warmth and style of your handmade creation.
Choosing the Right Yarn and Needles for Your Knitted Stocking Hat
When it comes to knitting a stocking hat, selecting the right yarn and needles is crucial for achieving the desired result. The type of yarn you choose will determine the warmth, drape, and overall look of the hat, while the size of your needles will affect the gauge and fit.
Yarn: One of the first considerations when choosing yarn for your stocking hat is the fiber content. Wool is an excellent choice as it provides warmth and elasticity, making it ideal for hats that need to stretch and fit snugly. Acrylic yarns offer a wide range of colors and are often more affordable, but they may not provide the same level of warmth as wool. If you prefer a more breathable option, consider using a cotton blend yarn. It’s important to keep in mind the intended use of the hat and select a yarn that will suit your needs.
Needles: The size of your needles will impact the gauge of your knitting, which ultimately affects the size and fit of your stocking hat. If your gauge is too tight, your hat may turn out smaller than intended. Conversely, if your gauge is too loose, your hat may end up larger and less snug. It’s essential to reference the pattern’s recommended gauge and adjust your needle size accordingly. Circular needles are often preferred for knitting hats as they allow for easy maneuverability and can accommodate a large number of stitches. Choose a needle length based on your comfort and the circumference of your hat. Additionally, using double-pointed needles or magic loop method may be necessary for the hat’s crown shaping.
Ultimately, choosing the right yarn and needles for your knitted stocking hat will contribute to the overall success and satisfaction of your project. Take your time to consider the fiber content, warmth, and gauge requirements to ensure you create a hat that meets your needs and preferences.
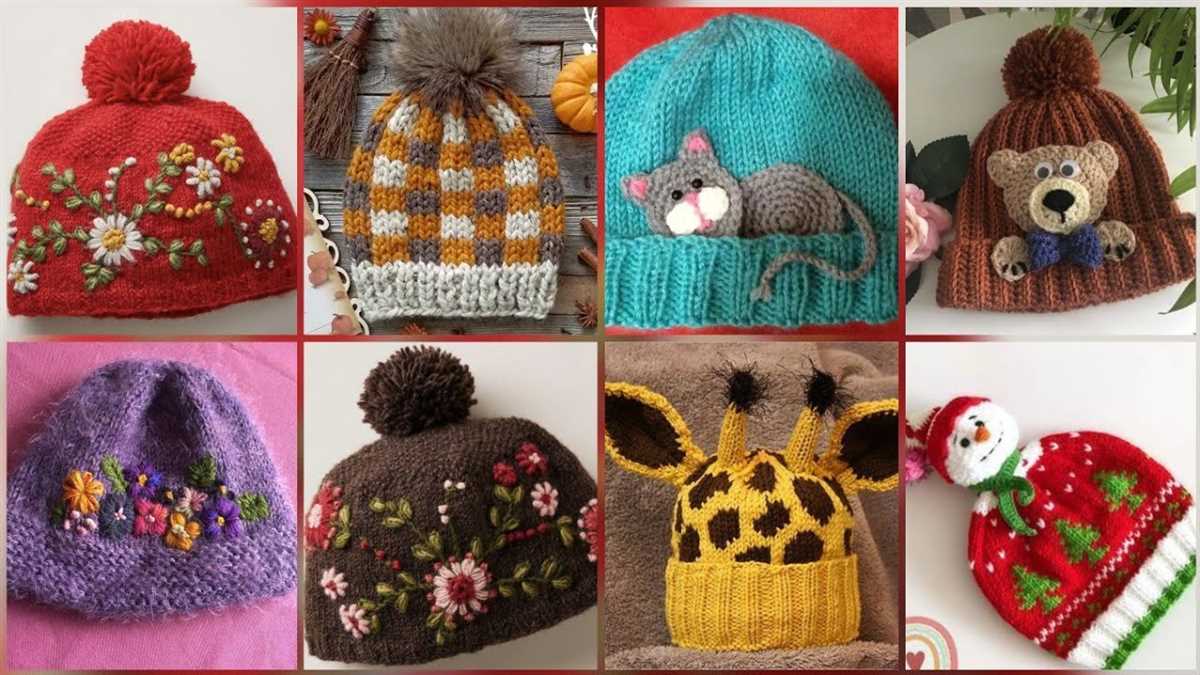
Adding Personal Touches: Embellishments and Customizations for Your Hat
You’ve successfully knitted a cozy stocking hat using the free pattern, but now you want to make it truly your own. With a few simple embellishments and customizations, you can add a personal touch to your hat and make it stand out from the rest.
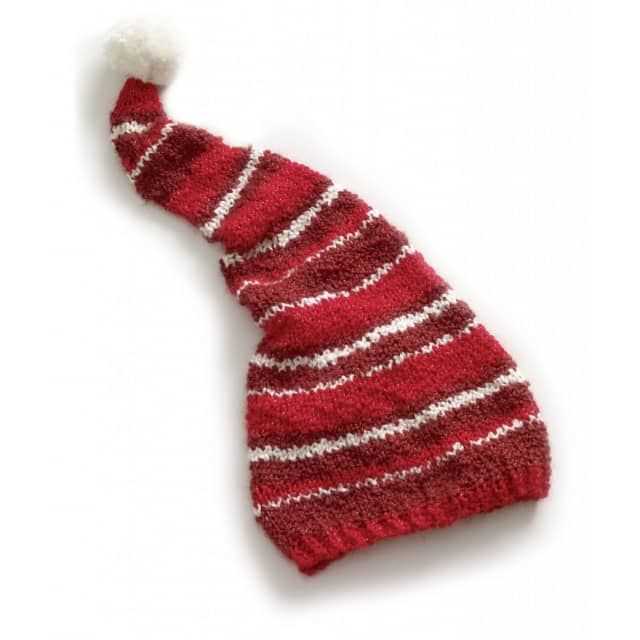
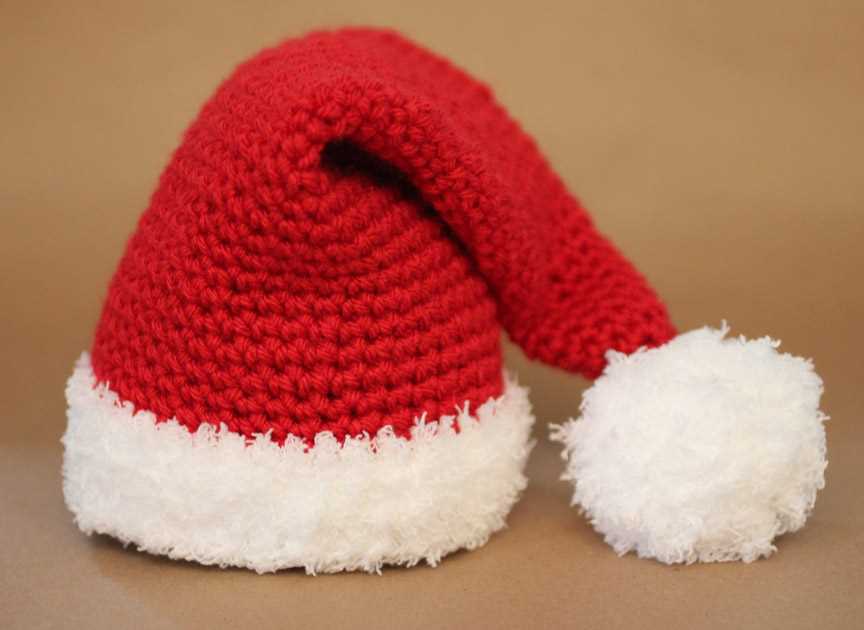
1. Pom-poms: One of the most popular ways to personalize a hat is by adding a pom-pom on top. You can easily make a pom-pom using yarn in a contrasting color. Simply wrap the yarn around your fingers or a pom-pom maker, tie it tightly, and cut the loops. Fluff up the pom-pom and attach it securely to the top of your hat.
2. Embroidery: Add a touch of individuality to your hat by adding embroidery. You can embroider your initials, a small design, or even a word or phrase that holds a special meaning to you. Use a tapestry needle and embroidery floss in coordinating colors to stitch your design onto the hat.
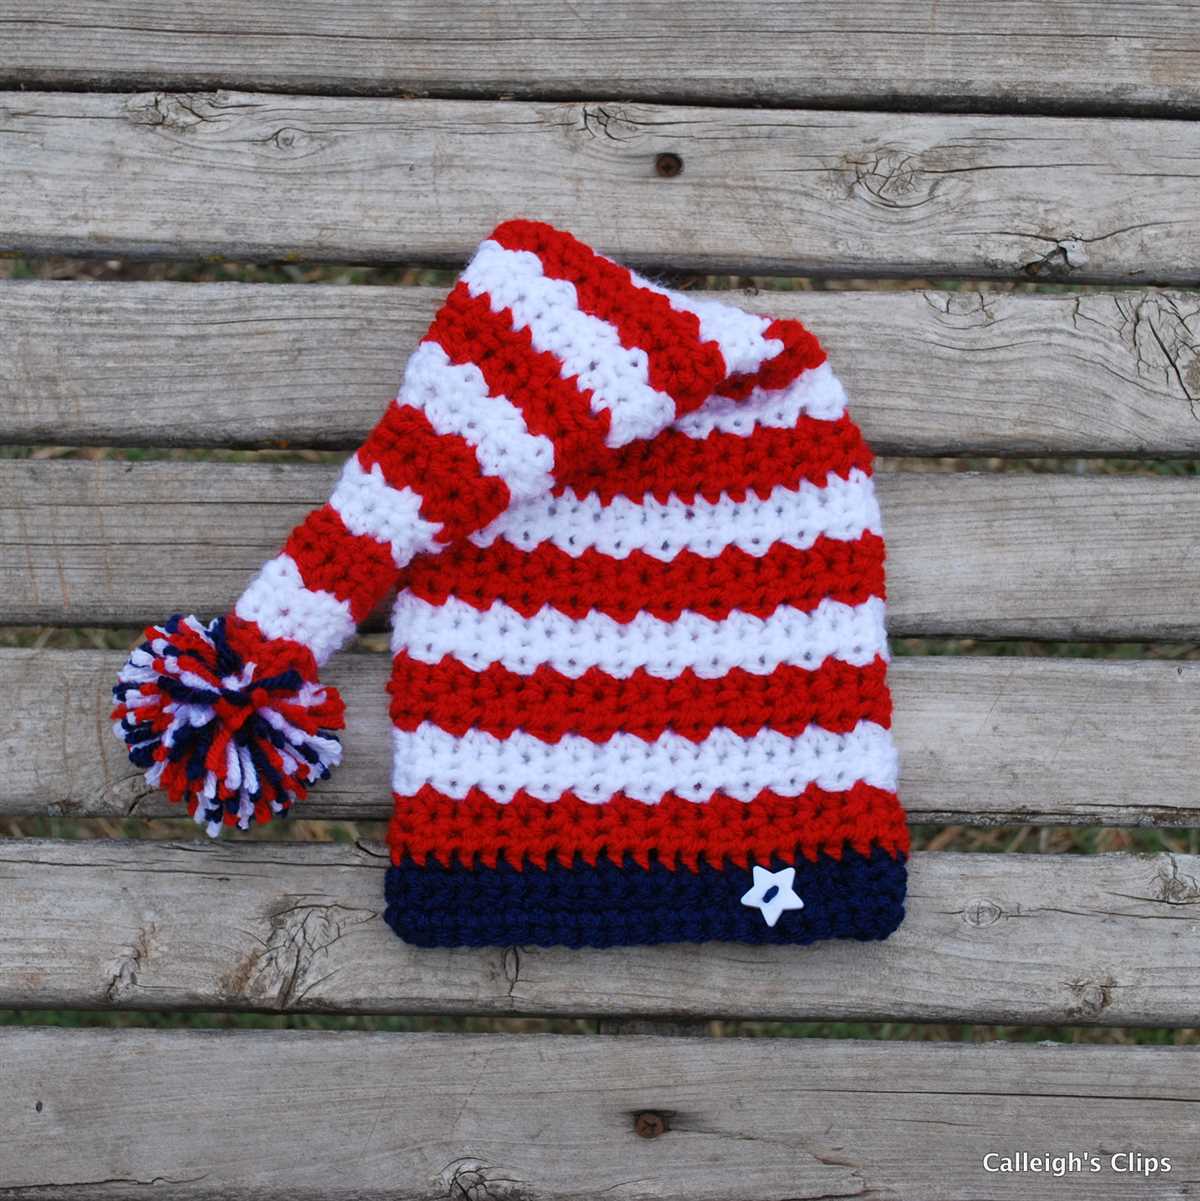
- 3. Buttons: Sewing buttons onto your hat can add a unique and eye-catching detail. You can choose buttons in various shapes, sizes, and colors to complement your hat. Sew them onto the brim, at the sides, or even create a button embellishment on the front.
- 4. Ribbons: Adding ribbons can give your hat a feminine and playful touch. You can tie a ribbon in a bow around the base of the hat or thread a ribbon through the stitches to create a decorative element. Choose a ribbon that matches the colors of your hat or go for a contrasting color for a bold look.
- 5. Appliques: Appliques are fabric designs that can be sewn onto your hat to add texture and personality. You can find pre-made appliques or create your own using fabric scraps. Attach the appliques using a needle and thread, making sure they are securely fastened.
By adding these personal touches to your knitted stocking hat, you can transform it into a one-of-a-kind accessory that reflects your style and creativity. Whether you choose to add a playful pom-pom or an intricate embroidered design, these embellishments and customizations will make your hat truly unique.
Tips and Tricks for Perfect Measurements: Ensuring a Proper Fit
When it comes to knitting a stocking hat, getting the measurements right is crucial for achieving a proper fit. Here are some tips and tricks to help you measure accurately:
- Head circumference: Measure around the widest part of the head, typically just above the ears. Use a flexible measuring tape to get an accurate measurement.
- Head height: Measure from the base of the neck to the top of the head. This will give you an idea of how long the hat needs to be to cover the entire head comfortably.
- Ear-to-ear measurement: Measure from one earlobe to the other, passing over the top of the head. This measurement will help you determine the width of the hat.
- Gauge swatch: Before starting your hat, make a gauge swatch using the same yarn and needle size. This will help you determine the number of stitches and rows needed to achieve the desired measurements.
Once you have the measurements, you can use them to modify the pattern accordingly. Here are some additional tips to ensure a proper fit:
- Adjusting the length: If the hat is too short or too long, you can add or subtract rows in the body of the hat to achieve the desired length.
- Modifying the width: If the hat is too tight or too loose, you can adjust the number of stitches in the cast-on round or make increases or decreases in subsequent rounds to achieve the desired width.
- Trying it on: As you progress with your knitting, try the hat on periodically to ensure the fit is comfortable. Adjustments can be made as needed while you work.
Remember, everyone’s head shape and size is unique, so don’t be afraid to make modifications to the pattern to ensure a perfect fit. By taking accurate measurements and making adjustments along the way, you’ll be able to knit a stocking hat that fits like a glove.
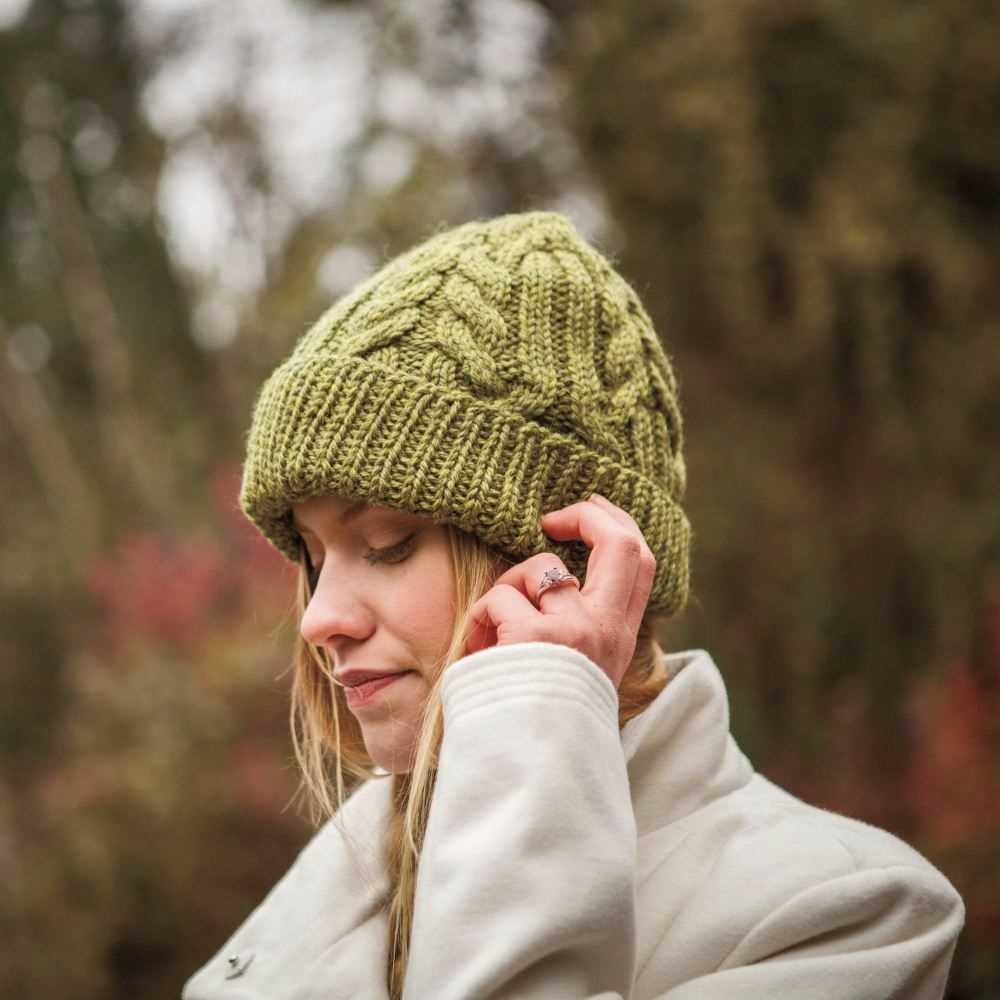
Knitting Techniques: Mastering Ribbing, Cabling, and Decreasing for Your Hat
If you’re looking to make a knitted stocking hat, it’s important to master a few key knitting techniques. This will ensure that your hat not only looks great but also fits well and keeps you warm. In this guide, we’ll explore three essential techniques: ribbing, cabling, and decreasing.
Ribbing
Ribbing is a versatile knitting technique that adds elasticity and texture to your hat. It is commonly used for the brim or cuff of hats to ensure a snug fit and help the hat stay in place. To create ribbing, you alternate between knitting and purling stitches in a specific pattern. The most common ribbing pattern is the 1×1 rib, where you knit one stitch and purl one stitch alternately. Other variations include the 2×2 rib and the fisherman’s rib.
Cabling
Cabling is a technique that creates beautiful, twisted patterns on your hat. It involves crossing stitches over each other to form a braid-like design. Cables can be simple or complex, depending on the number of stitches involved and the pattern you choose. To knit a cable, you will need a cable needle or a double-pointed needle to temporarily hold stitches while you work on the crossed stitches. Cables add visual interest and can make your hat stand out.
Decreasing
Decreasing is an essential technique to shape the crown of your hat and create a tapered finish. It involves reducing the number of stitches in each round gradually. The most common decrease stitch is the knit two together (k2tog), where you knit two stitches together as if they were one. Other common decrease stitches include purl two together (p2tog), slip, slip, knit (ssk), and slip, knit, pass (skp). By mastering the decreasing technique, you can achieve a polished and professional-looking hat.
By combining ribbing, cabling, and decreasing techniques, you can create a unique and stylish knitted stocking hat. Don’t be afraid to experiment with different patterns and stitches to make your hat truly one-of-a-kind. With practice, you’ll become more comfortable with these techniques and be able to create hats that are not only fashionable but also functional.
Styling Your Knitted Stocking Hat: Pairing it with Winter Outfits

When the colder months roll around, it’s time to bundle up and embrace the winter fashion. An essential accessory during this time is a knitted stocking hat, which not only keeps you warm but also adds a stylish touch to your winter outfits. Whether you’re going for a casual or dressed-up look, there are many ways to style your knitted hat to create a fashionable ensemble.
To achieve a laid-back and cozy look, consider pairing your knitted stocking hat with a chunky sweater and a pair of jeans. This combination exudes an effortless chic vibe, perfect for a walk in the park or meeting friends for a casual lunch. Go for neutral colors like gray or beige for a versatile option that can be easily paired with different outfits.
To add a touch of sophistication to your winter attire, try pairing your knitted hat with a tailored coat and a pair of boots. Opt for a hat in a bold and vibrant color like red or mustard to make a statement. This combination is ideal for a night out or a special occasion during the winter season.
In addition, you can also experiment with different accessories to elevate your outfit further. Add a scarf in a complementary color or pattern to create a cohesive look. Don’t forget to layer up with gloves and a cozy scarf to keep yourself warm and stylish.
Overall, a knitted stocking hat is a versatile accessory that can be paired with a variety of winter outfits. Whether you’re going for a casual or dressed-up look, follow these styling tips to create a fashionable ensemble that will keep you warm and stylish throughout the colder months.
Caring for Your Knitted Hat: Washing, Blocking, and Proper Storage
Knitted hats are cozy and stylish accessories that can keep you warm during the cold winter months. However, to ensure that your hat stays in good condition and maintains its shape, it is important to properly care for it. This includes washing, blocking, and proper storage.
Washing: When it comes to washing your knitted hat, it is best to follow the care instructions provided by the yarn manufacturer. Some yarns may be machine washable, while others may require hand washing. If hand washing is recommended, fill a basin with lukewarm water and a mild detergent suitable for delicate fabrics. Gently agitate the hat in the soapy water, being careful not to stretch or twist it. Rinse the hat thoroughly with cool water, pressing out the excess moisture.
Blocking: Blocking is a process that helps to shape and stretch the knitted fabric to its desired size. To block your knitted hat, you will need a blocking mat or towel and rust-proof pins. Lay the hat flat on the blocking mat, gently stretching it to the desired shape and size. Use the rust-proof pins to secure the hat in place. Leave it to air dry completely before removing the pins.
Proper Storage: To ensure that your knitted hat retains its shape and stays free from damage, it is important to store it properly when not in use. Avoid hanging your hat, as this can cause it to stretch out of shape. Instead, fold it neatly and place it in a drawer or storage container. If you have limited space, you can also store it in a breathable fabric bag or pillowcase. Avoid storing your hat with any items that may snag or damage the delicate yarn.
By following these simple steps for washing, blocking, and proper storage, you can prolong the life of your knitted hat and continue to enjoy its warmth and style for years to come.
Conclusion
The knitted stocking hat is a versatile and timeless accessory that can be worn in every season. Its classic design and cozy material make it a go-to choice for both style and comfort. Whether you’re hitting the slopes in winter or enjoying a sunny day in spring, the knitted stocking hat will keep you warm and fashionable.
With its endless variety of patterns and colors, the knitted stocking hat offers something for everyone. Whether you prefer a bold and vibrant design or a subtle and understated look, there is a hat out there that will match your personal style. Additionally, the hat can be customized to fit any head size, making it a perfect accessory for individuals of all ages.
Key features:
- Versatile and timeless
- Cozy and comfortable
- Wide variety of patterns and colors
- Customizable to fit any head size
In conclusion, the knitted stocking hat is a must-have accessory for every season. Its ability to combine style and functionality makes it a go-to choice for individuals of all ages. Whether you’re looking to keep warm in the winter or add a touch of fashion to your outfit, the knitted stocking hat is sure to become a staple in your wardrobe.
Q&A:
Where can I find a free pattern for a knitted stocking hat?
You can find free patterns for knitted stocking hats on various websites such as Ravelry, Knitting Pattern Central, and AllFreeKnitting.
What materials do I need to knit a stocking hat?
To knit a stocking hat, you will need yarn, knitting needles, a tapestry needle, and optionally, a pom-pom maker or a pom-pom template.
Are there any beginner-friendly knitting patterns for stocking hats?
Yes, there are many beginner-friendly knitting patterns available for stocking hats. Look for patterns labeled as “easy” or “beginner” to start with.
Can I customize the size of the stocking hat?
Yes, you can customize the size of the stocking hat by using different yarn weights and adjusting the number of stitches cast on. You can also modify the length of the hat to fit your preferences.
Can I modify the pattern to add different designs or stitches?
Yes, you can modify the pattern to add different designs or stitches. You can experiment with different stitch patterns, colorwork, or even add cables or lace motifs to make your stocking hat unique.