
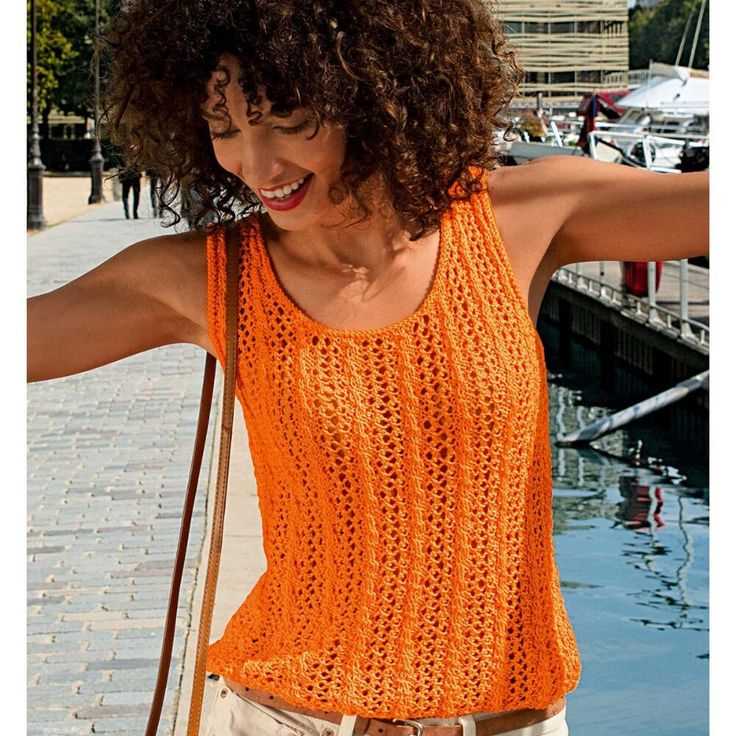
Knitting is a wonderful and relaxing hobby, and creating your own clothing is a great way to express your personal style. If you are looking for a fun and versatile project, look no further than a knit lace tank top. This pattern combines the delicate beauty of lace with the practicality of a tank top, creating a stylish and comfortable garment that is perfect for any season.
Knit lace tank tops can be made in a variety of styles, from simple and elegant to more intricate designs. They can be worn alone on warm summer days or layered with a cardigan for a chic and cozy look. The lace pattern adds a touch of femininity to the top, making it a versatile piece that can be dressed up or down for any occasion.
Whether you are a beginner or an experienced knitter, this pattern is suitable for all skill levels. You can choose from a wide range of yarns and needle sizes to create the perfect fit and drape for your tank top. With basic knitting techniques and the lace pattern instructions, you will be able to create a beautiful and unique piece that you will love to wear.
So grab your knitting needles and get ready to create your own knit lace tank top. With this pattern, you can enjoy the process of knitting and the satisfaction of wearing a garment that you made with your own hands. Start knitting today and showcase your creativity and style with a stunning knit lace tank top.
Knit Lace Tank Top Pattern
The knit lace tank top pattern is the perfect project for those who love both knitting and wearing lightweight, delicate garments.
With its intricate lace detailing, this tank top adds a touch of elegance to any outfit. Whether you’re dressing up for a special occasion or simply want to add a feminine touch to your everyday look, this pattern is versatile and can be customized to suit your style.
Materials needed for this project include:
- Knitting needles (size may vary depending on desired drape of fabric)
- Lace weight yarn in a color of your choice
- Tapestry needle for weaving in ends
- Stitch markers
- Blocking materials (like foam mats and T-pins) for finishing
The pattern itself includes various lace stitch patterns and shaping techniques.
It is important to read through the instructions carefully before beginning, as lace knitting can be more complicated than traditional stitch patterns. However, with practice and patience, you’ll be able to create a beautiful tank top that showcases your knitting skills.
Once completed, this tank top can be paired with a skirt for a dressy occasion or with jeans for a more casual look.
The lightweight, breathable nature of lace makes it ideal for warmer weather, allowing you to stay comfortable and stylish throughout the day.
Materials
In order to knit the lace tank top, you will need the following materials:
- Yarn: You will need a light-weight yarn in the color of your choice. It is recommended to use a cotton or linen blend yarn, as it will provide breathability and drape well for the summer months.
- Knitting Needles: You will need a pair of straight knitting needles in the appropriate size for your yarn. It is recommended to use US size 6 (4mm) needles, but you can adjust the size to achieve the desired gauge.
- Stitch Markers: Stitch markers are useful for marking specific stitches or sections in your pattern. They can help you keep track of your progress and prevent mistakes.
- Tapestry Needle: A tapestry needle is used for weaving in loose ends and seaming your finished garment. Make sure to choose a needle with a large enough eye to accommodate your yarn thickness.
- Scissors: You will need a pair of sharp scissors for cutting yarn and trimming any excess.
These are the essential materials needed to knit the lace tank top. Make sure to gather all your supplies before starting the project, so you can fully focus on the knitting process.
Gauge

Gauge is an important factor when it comes to knitting a lace tank top. It refers to the number of stitches and rows per inch that you need to achieve in order for the finished garment to match the pattern’s measurements. It is crucial to obtain the right gauge, as it ensures that the tank top will fit properly.
The pattern for the lace tank top will specify the recommended gauge, usually in a 4×4 inch square. To check the gauge, you will need to knit a swatch using the suggested needles and yarn. Measure the swatch and compare it to the specified gauge. If your swatch has more stitches and rows per inch, it means your tension is too tight and you need to switch to larger needles. Conversely, if your swatch has fewer stitches and rows per inch, it means your tension is too loose and you need to switch to smaller needles.
Getting the correct gauge is essential for the lace tank top pattern, as it ensures that the lace motifs will be properly formed in the finished garment. If the gauge is off, the tank top may end up too big or too small. Paying attention to gauge will help you achieve the desired fit and make your lace tank top project a success.
Size
When it comes to knitting a lace tank top, size is an important factor to consider. The pattern usually comes in multiple sizes, ranging from small to extra large. It’s essential to choose the right size to ensure a proper fit.
Before starting your project, measure your bust, waist, and hip circumference. This will help you determine which size to knit. The pattern usually provides a measurement chart with the corresponding sizes.
If your measurements fall between two sizes, it’s recommended to go with the larger size. It’s easier to make adjustments later, such as taking in the sides, if needed. Moreover, keep in mind that slightly loose fitting lace garments can be more forgiving and comfortable to wear.
It’s also important to check the gauge before starting the project. Knitting a swatch in the lace pattern and measuring the number of stitches and rows per inch will help ensure that the finished top will fit properly.
Below is an example of a size chart for a lace tank top pattern:
| Size | Bust Circumference (inches) | Length (inches) |
|---|---|---|
| Small | 32-34 | 18 |
| Medium | 36-38 | 19 |
| Large | 40-42 | 20 |
| Extra Large | 44-46 | 21 |
Always refer to the specific pattern instructions and size chart provided to determine the correct size to knit.
Instructions
Below are the step-by-step instructions to knit your own lace tank top. Please read through all the instructions carefully before beginning.
Materials
- Yarn: Choose a lightweight yarn in the color of your choice. Lace weight or fingering weight yarn works best for this project.
- Knitting Needles: Use a pair of US size 4 (3.5 mm) knitting needles, or the size needed to obtain gauge.
- Tapestry Needle: You’ll need a tapestry needle to weave in the loose ends of your yarn.
- Stitch Markers: Optional, but helpful for keeping track of your stitches.
- Measuring Tape: Use a measuring tape to check your gauge and measure your progress as you knit.
Gauge
Before you begin knitting, it’s important to check your gauge to ensure that your finished garment will fit properly.
Using your US size 4 knitting needles, cast on 20 stitches and work in stockinette stitch for 4 inches. Measure the number of stitches and rows in 1 inch of your swatch. Adjust your needle size if necessary to achieve the correct gauge: 24 stitches and 32 rows = 4 inches in stockinette stitch.
Pattern
- Cast on 134 stitches.
- Row 1: *K2, p2, repeat from * to end of row.
- Row 2: *P2, k2, repeat from * to end of row.
- Continue alternating Rows 1 and 2 until the piece measures 2 inches from the cast on edge. This creates the ribbed hem of the tank top.
- Next row (Right Side): Knit all stitches.
- Continue in stockinette stitch (knit on Right Side, purl on Wrong Side) until the piece measures 13 inches from the cast on edge.
- Next row (Right Side): Knit all stitches.
- Continue with the lace pattern: *K2tog, yo, k1, yo, ssk, k2, repeat from * to last 2 stitches, k2.
- Continue in lace pattern until the piece measures 16 inches from the cast on edge.
- Work 2 inches in stockinette stitch.
- Bind off all stitches knitwise.
Weave in any loose ends and block your finished tank top to give it a polished look. Enjoy your new lace tank top!
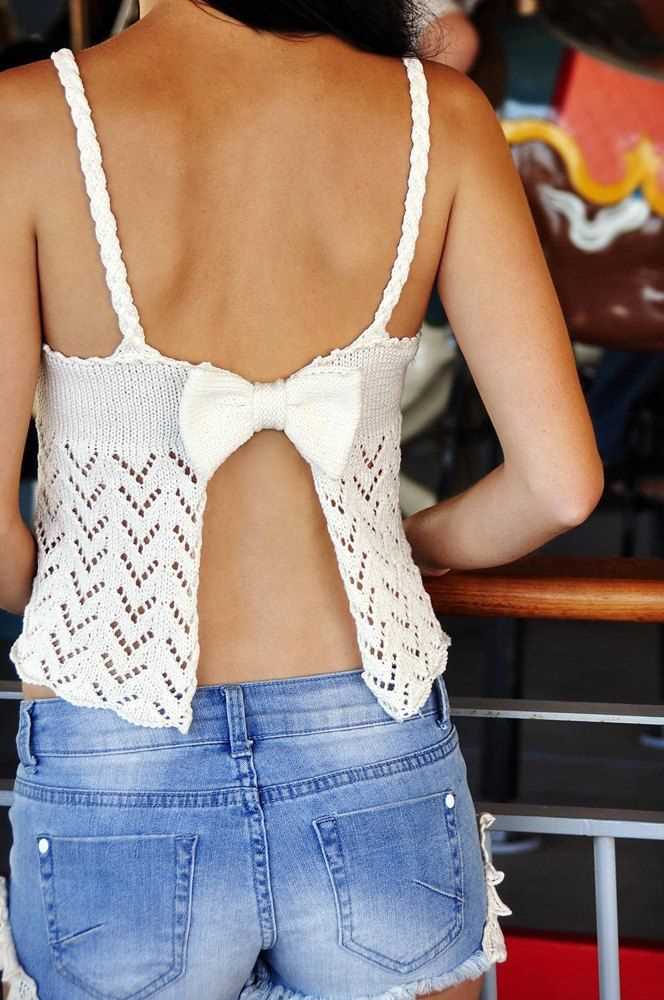
Back
The back of the knit lace tank top is an important component of the overall design. It provides structure and support to the garment, as well as adding visual interest with its lace patterns. The back is typically knit in a separate piece and then joined to the front at the shoulders.
To create the back of the tank top, start by casting on the required number of stitches, following the pattern instructions. Then, work the lace pattern in rows, following the chart or written instructions. Pay careful attention to the lace pattern, as it will create the beautiful openwork design that is characteristic of lace knitting.
When the back piece is complete, it is time to join it to the front. This is usually done using a seaming technique, such as mattress stitch, to create a smooth and seamless connection. The shoulders can be seamed together, and if desired, a ribbed or garter stitch edging can be worked along the neckline for a finished look.
- Cast on required number of stitches
- Work lace pattern in rows
- Join back to front at shoulders using seaming technique
- Seam shoulders together
- Add ribbed or garter stitch edging along neckline
By following these steps, you can create a beautifully knit lace tank top with an intricate and eye-catching back design. The back of the garment adds another level of detail and complexity to the overall piece, making it a stunning and unique addition to your wardrobe.
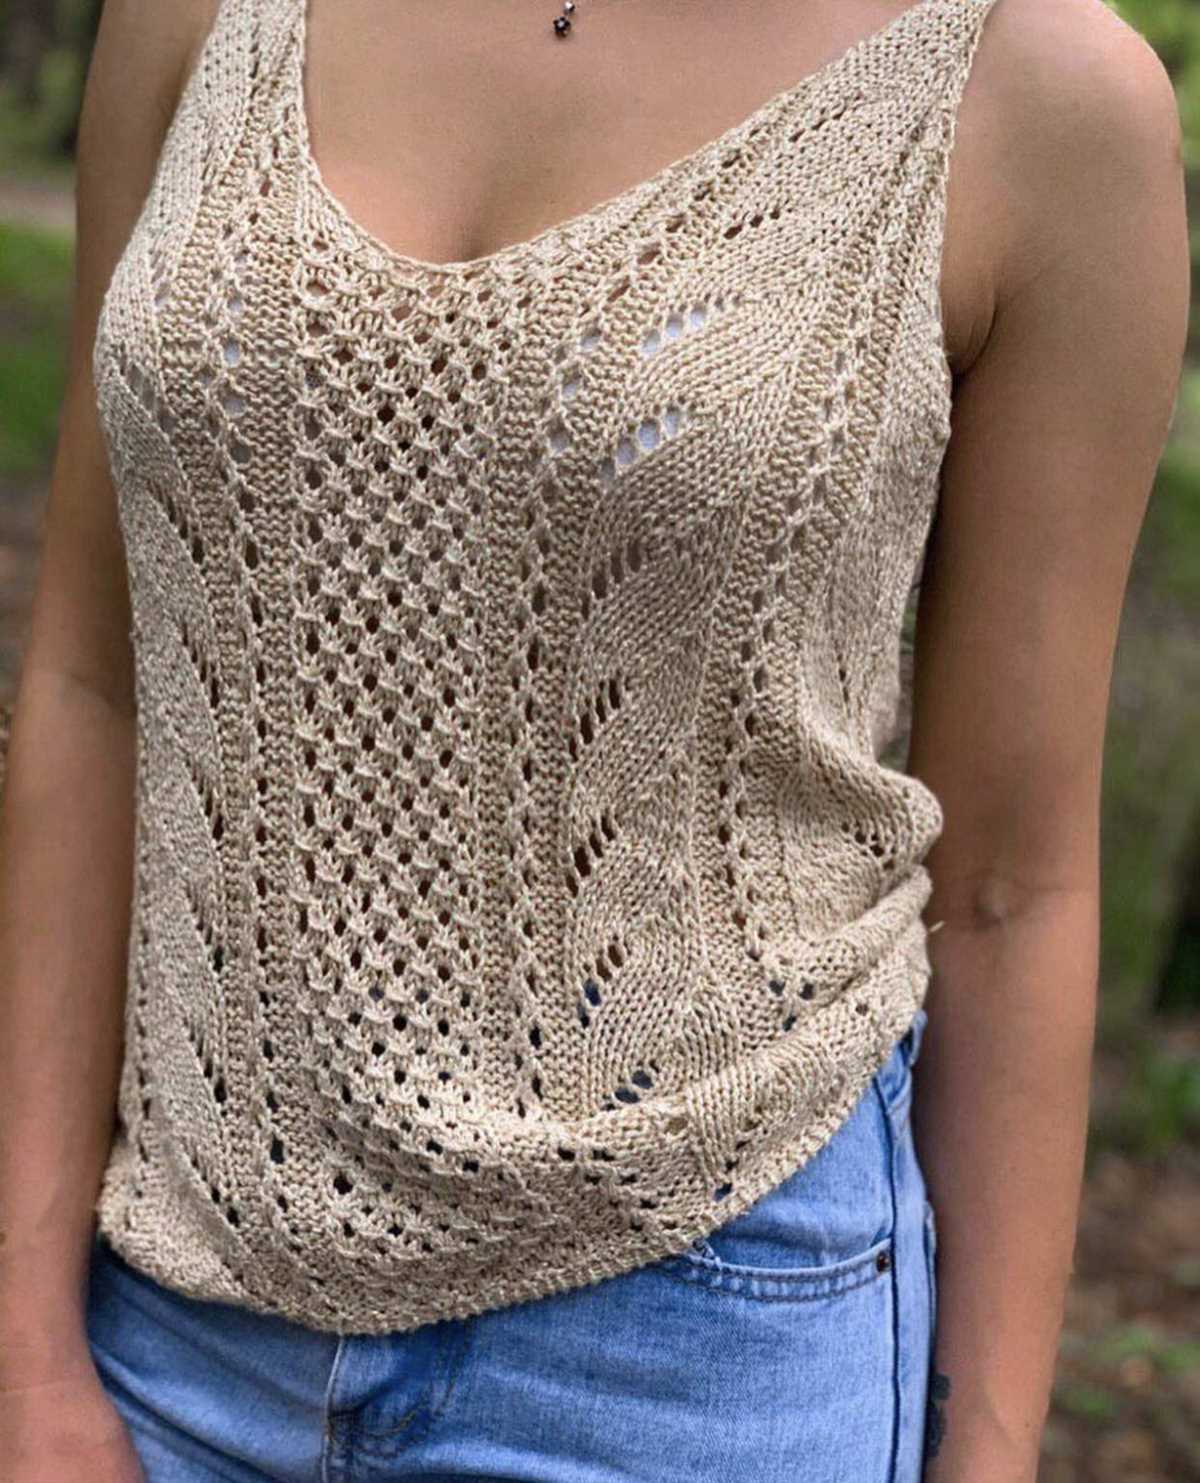
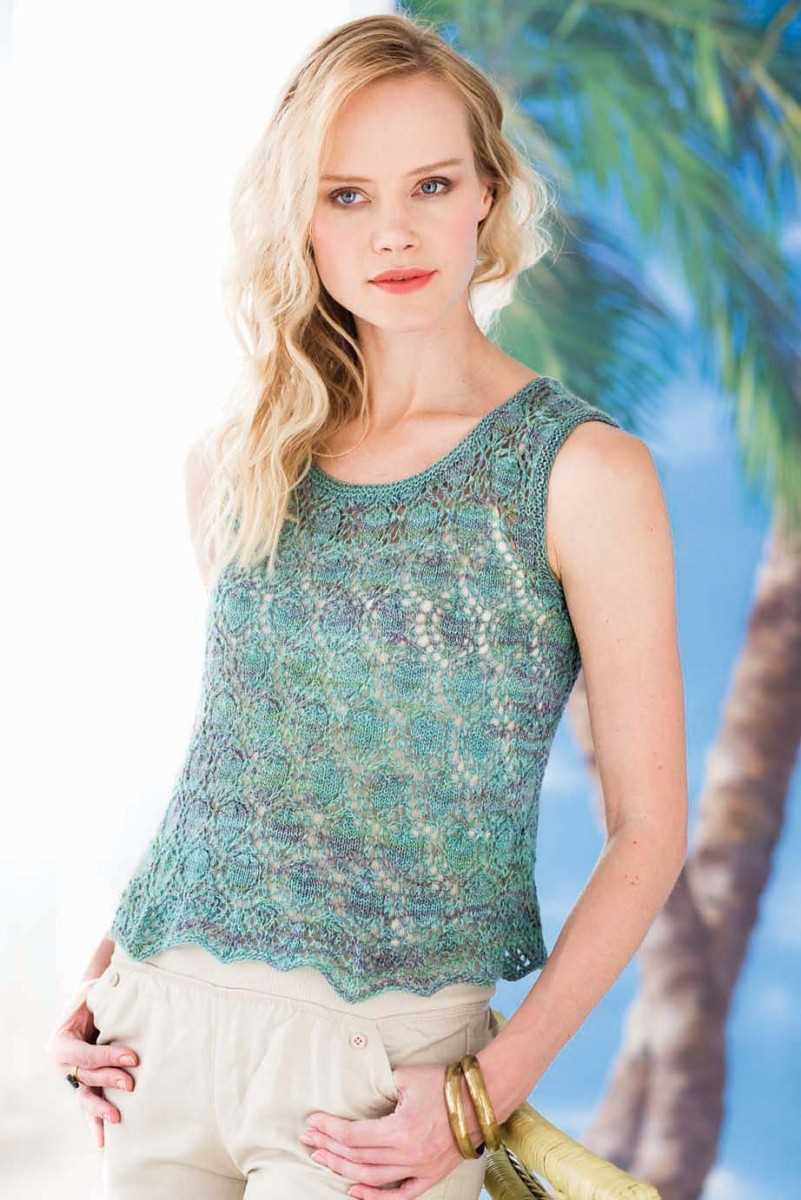
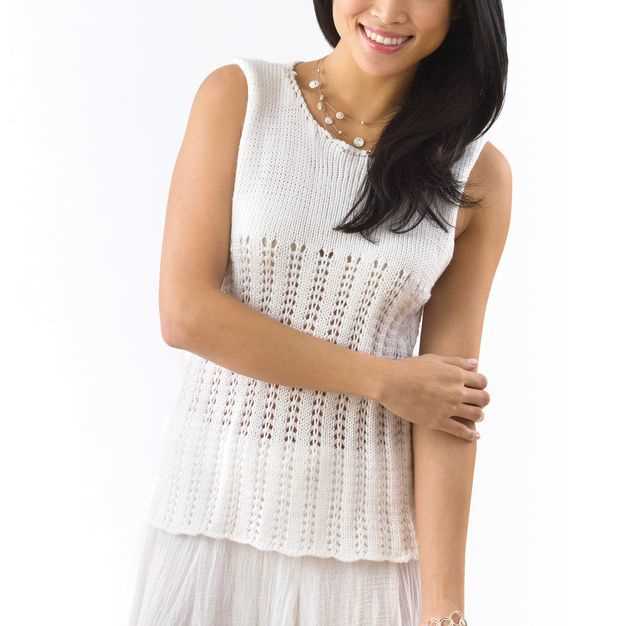
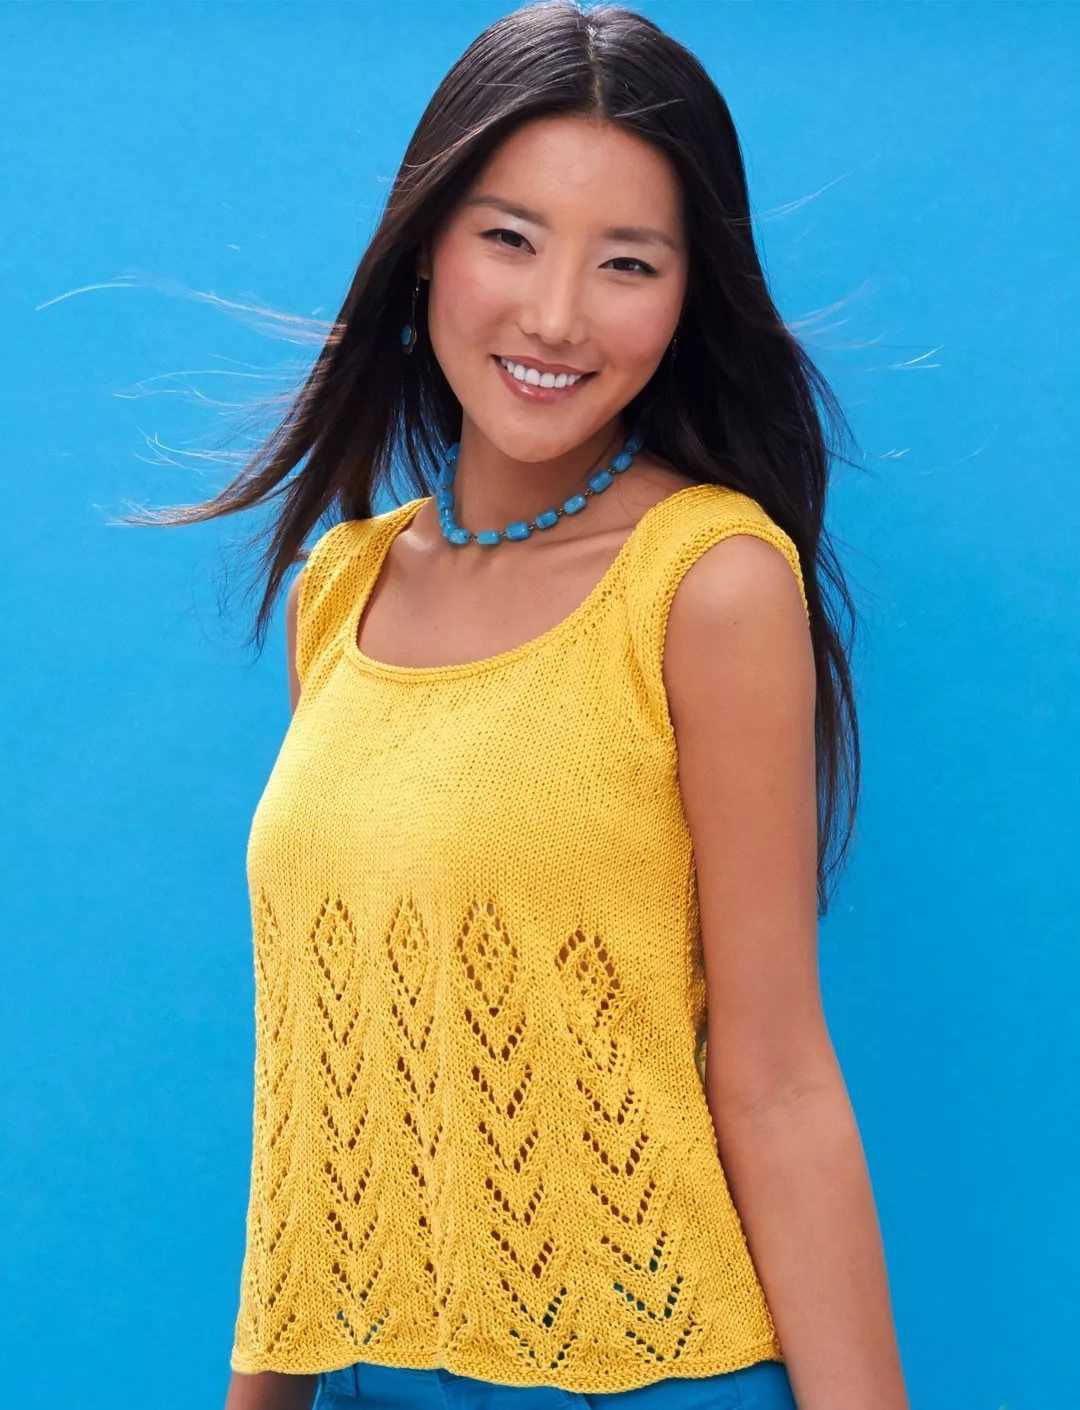
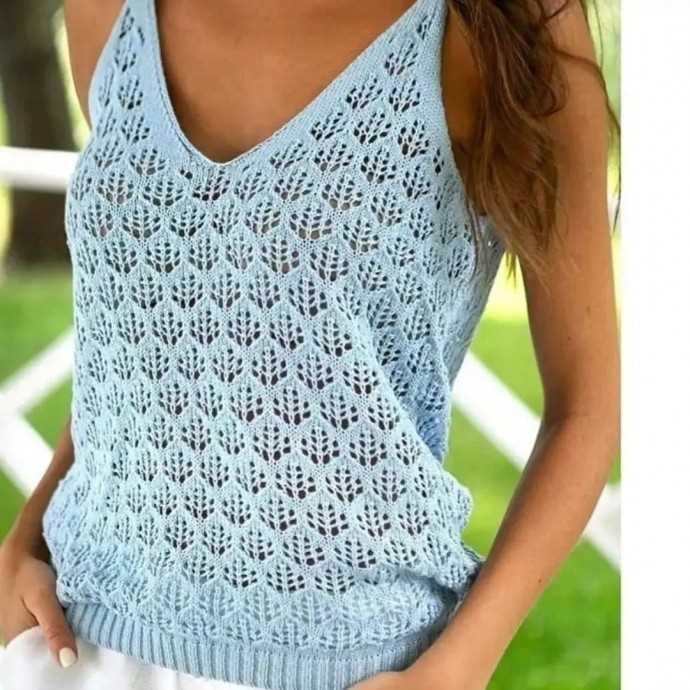
Front
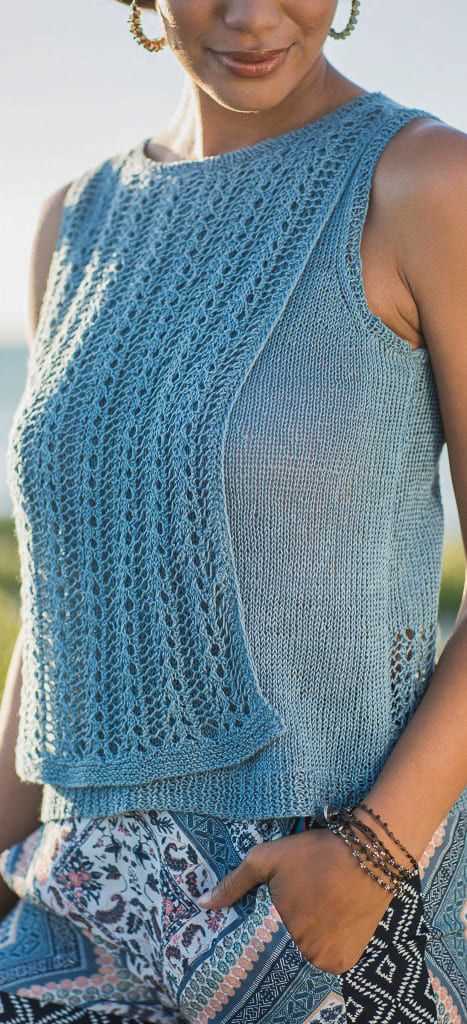
The front of the knit lace tank top pattern is designed with an openwork lace pattern that adds a delicate and feminine touch. The pattern begins with a ribbed edge, which provides a nice contrast and helps to give the tank top a structured look. The lace pattern is worked over a certain number of stitches and rows, creating a beautiful design that resembles flowers or leaves. The pattern may include yarn overs, decreases, and other special stitches to create the intricate lacework.
When knitting the front of the tank top, it is important to follow the instructions carefully to ensure that the lace pattern is accurate and evenly spaced. Depending on the pattern, there may be shaping involved, such as decreases at the armholes or neckline. These shaping techniques help to create a flattering fit and add visual interest to the tank top.
The front of the tank top may also include additional details, such as a button placket or a decorative border. These details can further enhance the overall design of the tank top and make it unique to the individual knitter. As with any knitting project, it is important to take accurate measurements and adjust the pattern as needed to achieve the desired fit.
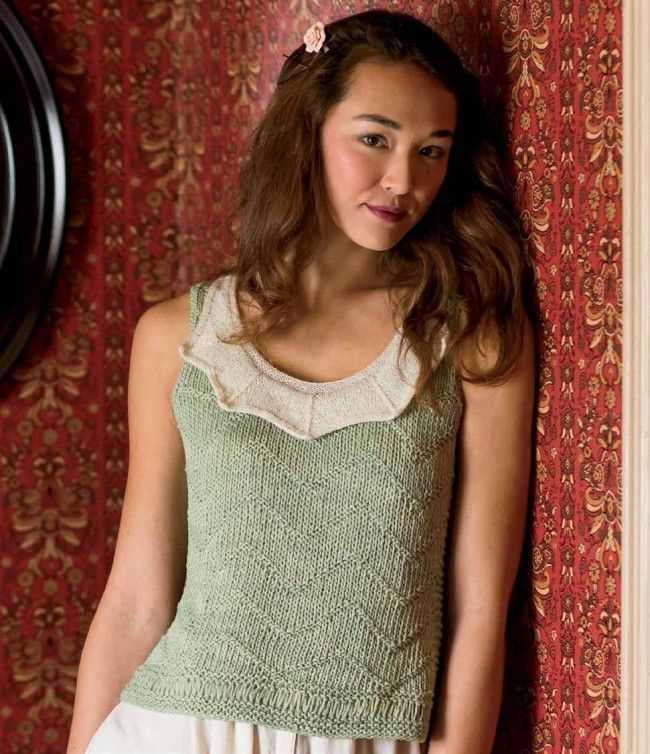
Straps
The straps of a knit lace tank top are an important component of the design. They provide support for the garment and help to keep it in place on the wearer’s shoulders. The straps can be a simple, narrow band or a more elaborate design, depending on the desired look and level of difficulty for the knitting pattern.
When choosing a strap design, it is important to consider the weight of the tank top and the desired level of support. For a lightweight garment, a thin and delicate strap may be sufficient. However, for a heavier lace tank top, a wider strap or even a double strap design may be necessary to provide adequate support.
In terms of aesthetics, the strap design can also be an opportunity to add decorative elements to the tank top. For example, a lace pattern can be incorporated into the strap design to create a cohesive and visually appealing look. Additionally, the strap length can be adjusted to create different neckline styles, such as a halter neck or a more traditional tank top style.
Overall, the straps of a knit lace tank top are a crucial aspect of the garment’s design. They provide support, help to keep the top in place, and can contribute to the overall aesthetic of the garment. Whether choosing a simple or elaborate strap design, careful consideration should be given to ensure that the straps are both functional and aesthetically pleasing.
Finishing
Once you have finished knitting the lace tank top, it is time to complete the finishing touches to ensure a polished final product. Here are the steps you will need to follow:
Blocking
Blocking is an essential step in finishing any lace project. It involves shaping and stretching the knitted fabric to achieve the desired dimensions and to bring out the lace pattern. To block your tank top, you will need to soak it in lukewarm water with a gentle wool wash for about 15-20 minutes. Gently squeeze out the excess water, being careful not to wring or twist the fabric. Lay the tank top flat on a clean towel, making sure to shape it to the correct measurements. Pin the edges to hold the shape and leave it to dry completely.
Seaming
Once your tank top is dry, you will need to seam the sides together. To do this, fold the tank top in half with the right sides facing each other, aligning the side edges. Use a tapestry needle and matching yarn to sew the sides together using a mattress stitch or your preferred seaming method. Take your time to ensure the seams are neat and secure.
Neckline and Armhole Edging

To give your tank top a polished finish, you will need to add edging to the neckline and armholes. You can choose to use a simple ribbed or garter stitch edging or opt for a fancier lace edging to match the overall design of the tank top. Pick up stitches along the edges with a circular needle and work the chosen edging pattern. Make sure to evenly distribute the stitches and create a smooth transition between the edging and the main body of the tank top.
By following these finishing steps, you will be able to transform your lace tank top into a beautifully crafted garment that is ready to be worn and admired.
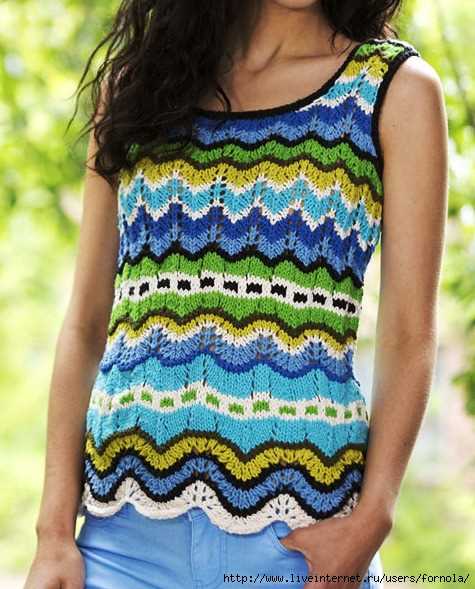
Variations
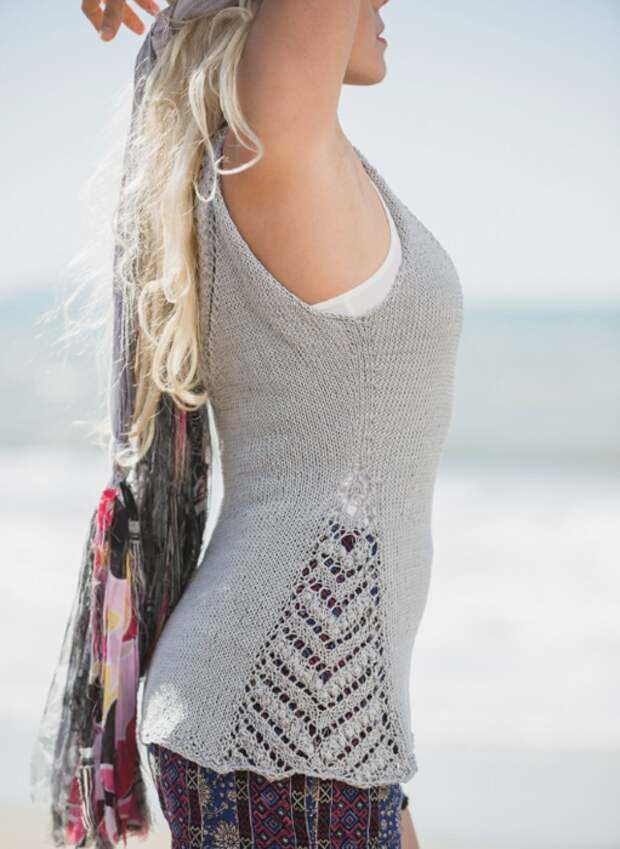
Once you have mastered the knit lace tank top pattern, you can experiment with different variations to create unique designs.
Here are a few ideas to get you started:
- Try using different types of yarn to create different textures and drape. A chunky yarn will give your tank top a cozy, winter feel, while a lightweight, silk yarn will create a delicate and elegant look.
- Experiment with different lace stitch patterns to create different effects. You can find a wide variety of lace stitch patterns in knitting books and online resources.
- Add embellishments such as beads or sequins to your tank top for a touch of sparkle.
- Adjust the length and width of the tank top to create a cropped or oversized look.
- Change the neckline by adding a ribbed or ruffled edge.
Remember, the knit lace tank top pattern is just a starting point. Let your creativity soar and create a tank top that is truly unique to you!
Happy knitting!