
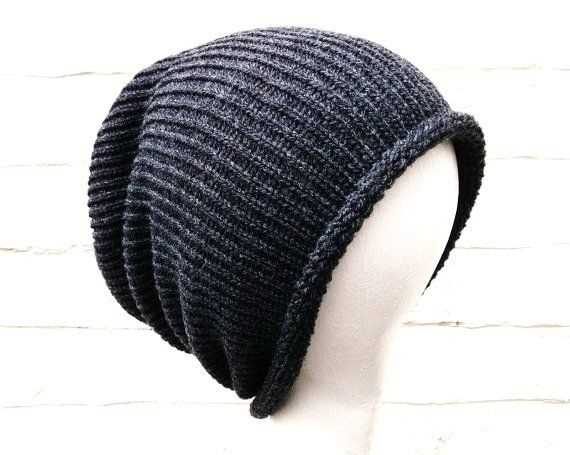
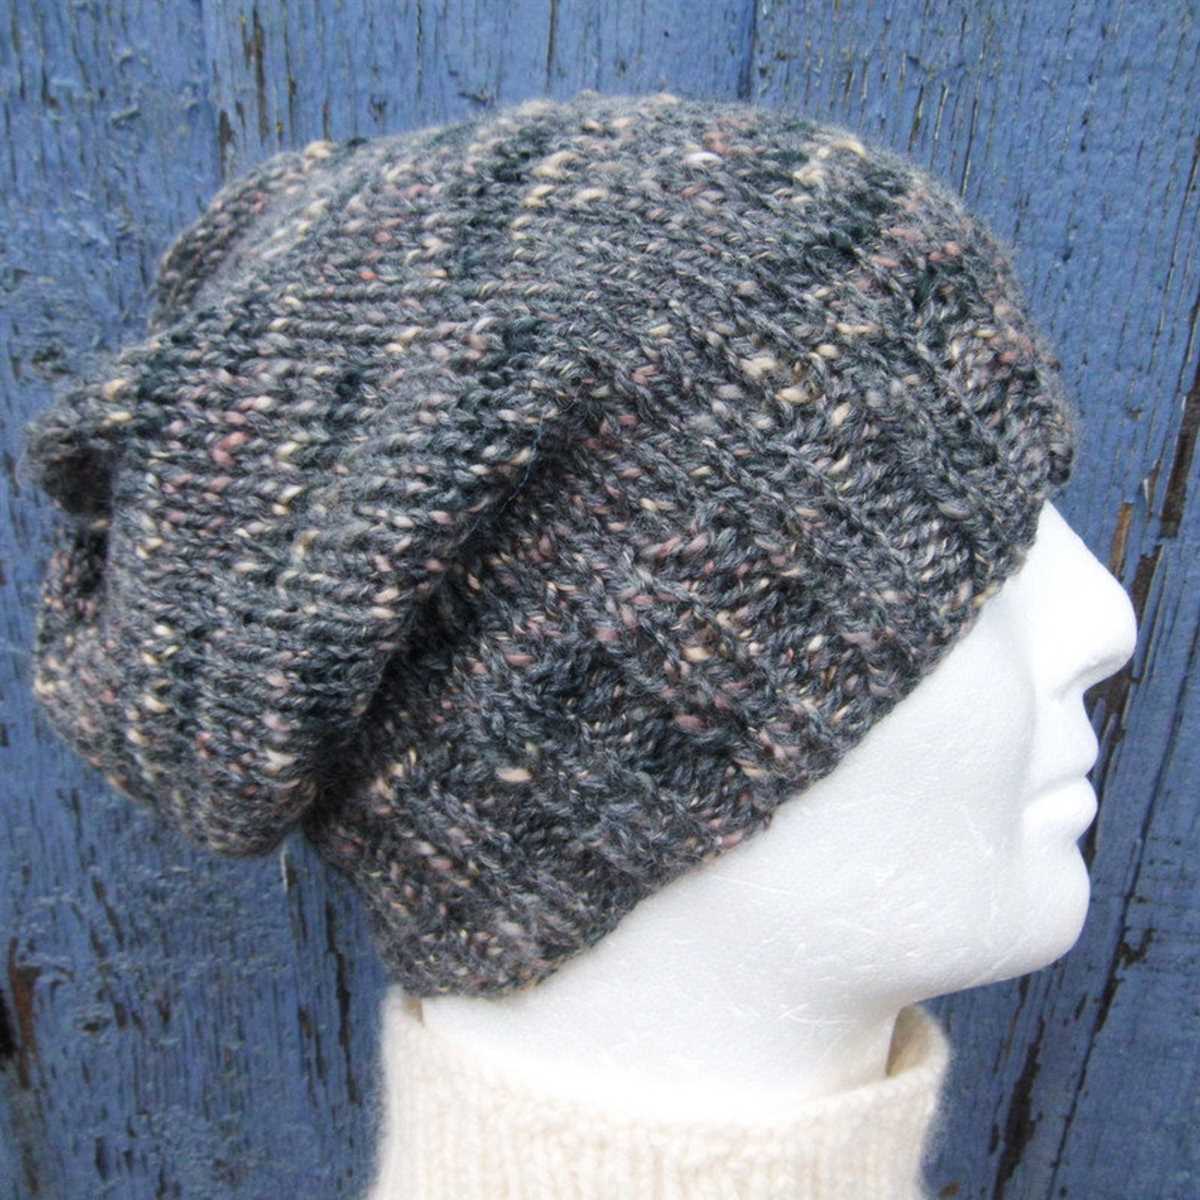
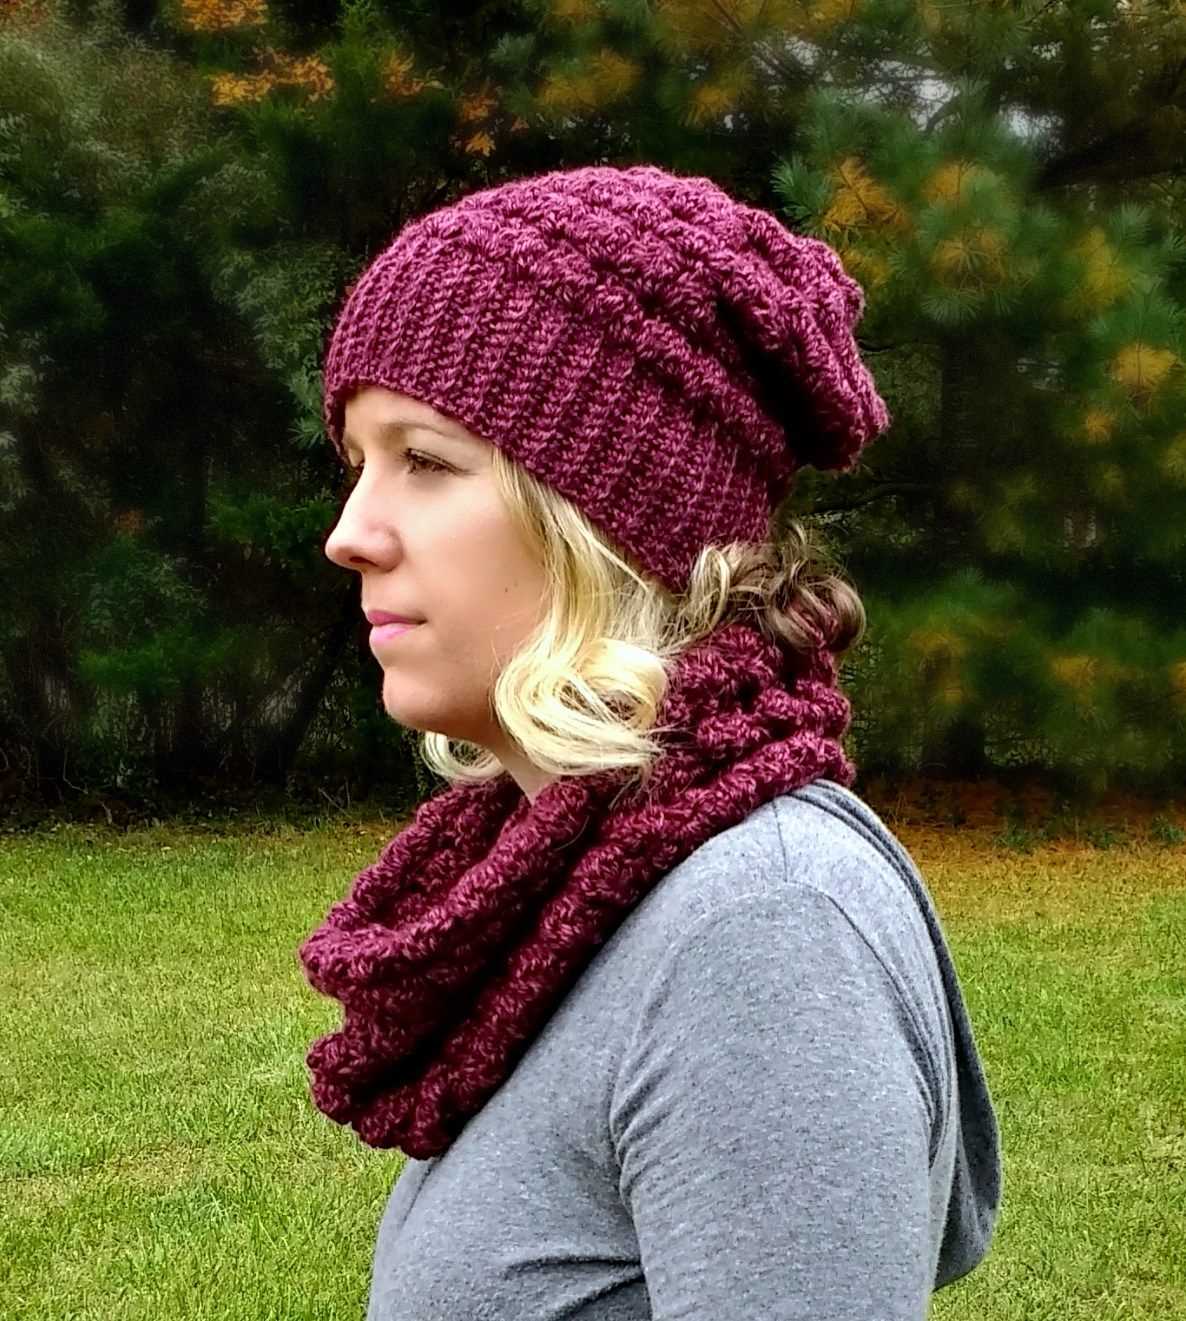
Knitting a slouch beanie is a fun and rewarding project for knitters of all skill levels. Slouch beanies are stylish and versatile, making them a popular accessory for both men and women. Whether you’re a beginner knitter looking to expand your skills or an experienced knitter looking for a quick and satisfying project, this slouch beanie knitting pattern is perfect for you.
This pattern uses basic knitting stitches and techniques, so even if you’re new to knitting, you’ll be able to create a beautiful slouch beanie. The pattern includes detailed instructions and helpful tips to guide you through each step of the process. With a bit of practice, you’ll be able to knit this beanie in no time.
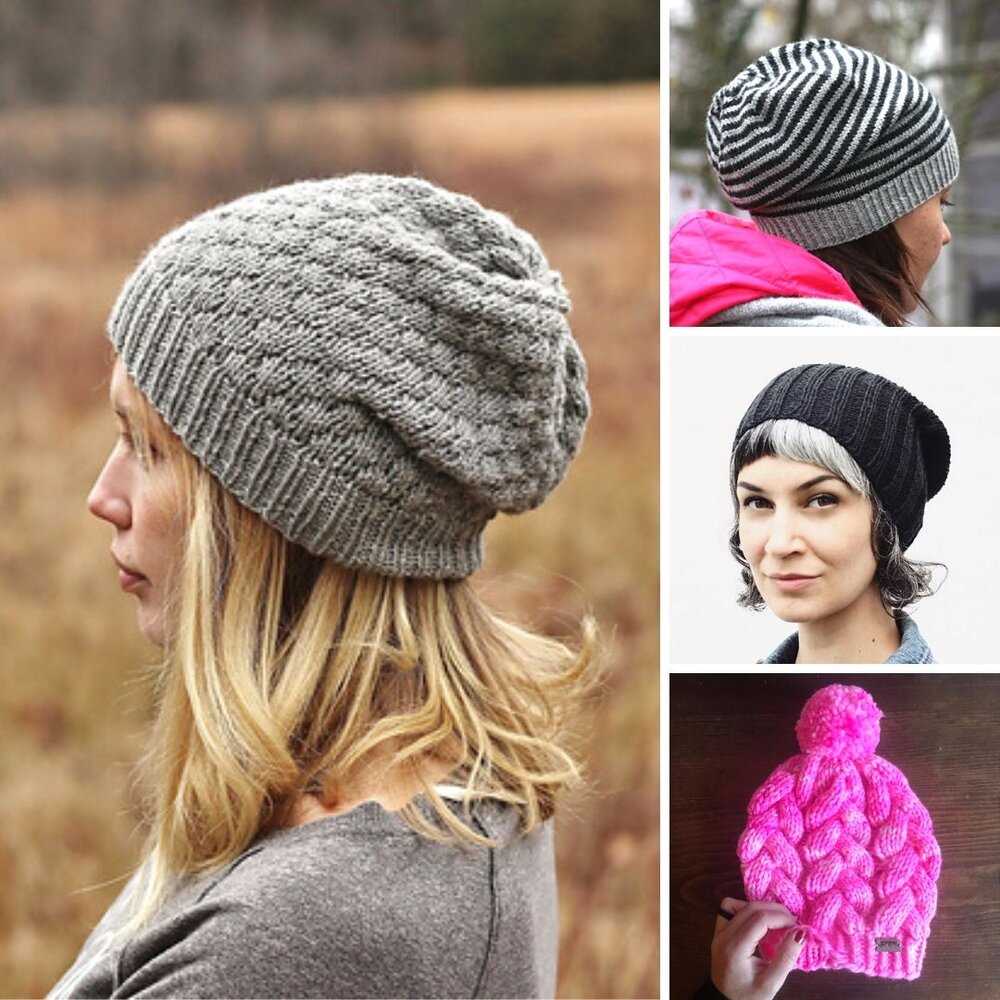
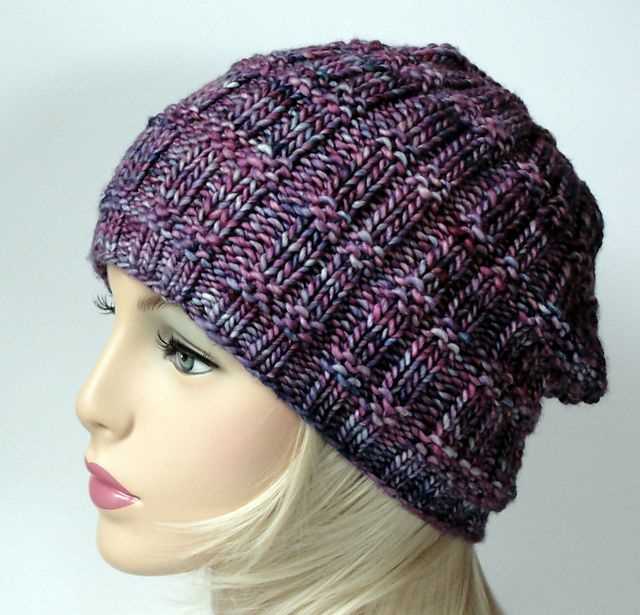
One of the great things about this pattern is that it can be customized to your specific preferences. You can choose your favorite yarn and needle size to create a beanie that fits your style and provides the right amount of slouch. Additionally, you can experiment with different stitch patterns and embellishments to make your beanie truly unique.
So, if you’re ready to take your knitting skills to the next level and create a stylish and cozy accessory, give this slouch beanie knitting pattern a try. Whether you’re knitting for yourself or as a gift for a loved one, you’ll be amazed at what you can create with just a few basic knitting techniques and some creativity.
Choosing the right yarn and needles for your slouch beanie

When knitting a slouch beanie, it’s important to choose the right yarn and needles to achieve the desired fit and style. The yarn you select will determine the warmth, texture, and drape of the finished hat, while the size of the needles will affect the overall tension and gauge of your knitting.
Yarn: Look for a yarn that is soft, warm, and suitable for winter accessories. It should have enough elasticity to allow the hat to stretch and fit comfortably on your head. Worsted-weight or chunky yarns are usually a good choice for slouch beanies, as they provide both warmth and structure.
Needles: The size of your needles will depend on the yarn you choose and the gauge you want to achieve. Thicker yarns will require larger needles, while thinner yarns will require smaller needles. Make sure to check the recommended needle size on your yarn label and adjust accordingly to obtain the correct tension.
As a general guideline, using a circular needle with a length of 16 inches or 40 cm is recommended for knitting a slouch beanie. This length allows you to comfortably work in the round and easily accommodate the number of stitches required for the hat.
If you prefer to use double-pointed needles, make sure to have a set of at least four needles. This will allow you to evenly distribute the stitches and create a seamless finish.
Ultimately, the choice of yarn and needles for your slouch beanie is a personal decision based on your preference for warmth, texture, and style. Experiment with different yarns and needle sizes to find the perfect combination that will result in a cozy and fashionable accessory.
Casting on and starting your slouch beanie
When starting your slouch beanie knitting project, the first step is to cast on the required number of stitches. The number of stitches you cast on will depend on the size of the beanie you want to make and the type of yarn you are using. You can find the recommended number of stitches in your pattern or adjust it based on your preferences. Make sure to use a flexible casting-on method so that the opening of the beanie will stretch comfortably over your head.
Once you have cast on the necessary stitches, you can start knitting the body of the slouch beanie. The pattern may specify a particular stitch pattern or it might be plain stockinette stitch. If there is a stitch pattern, make sure to pay attention to the instructions and repeat the pattern as necessary. If it is stockinette stitch, you will alternate between knitting one row and purling the next row. This will create the smooth, classic stockinette fabric.
As you work your way through the pattern, make sure to keep track of your progress by counting rows or using stitch markers. This will help you ensure that your slouch beanie is the desired length and that you are following the pattern correctly. If you are using a pattern with decreases, such as for a tapered top, make note of the instructions and decrease the stitches accordingly.
Remember to take breaks and stretch your hands and fingers to avoid strain. Knitting a slouchy beanie can be a fun and rewarding project, and following the pattern carefully will ensure that you end up with a cozy and stylish accessory to wear during colder months.
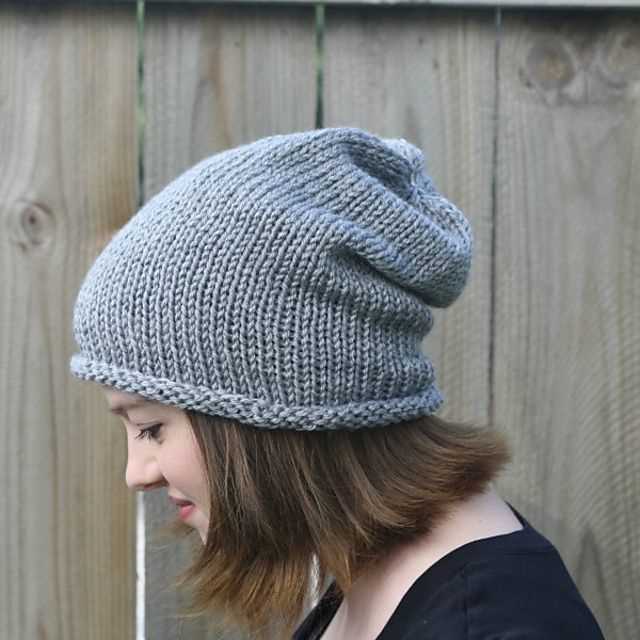
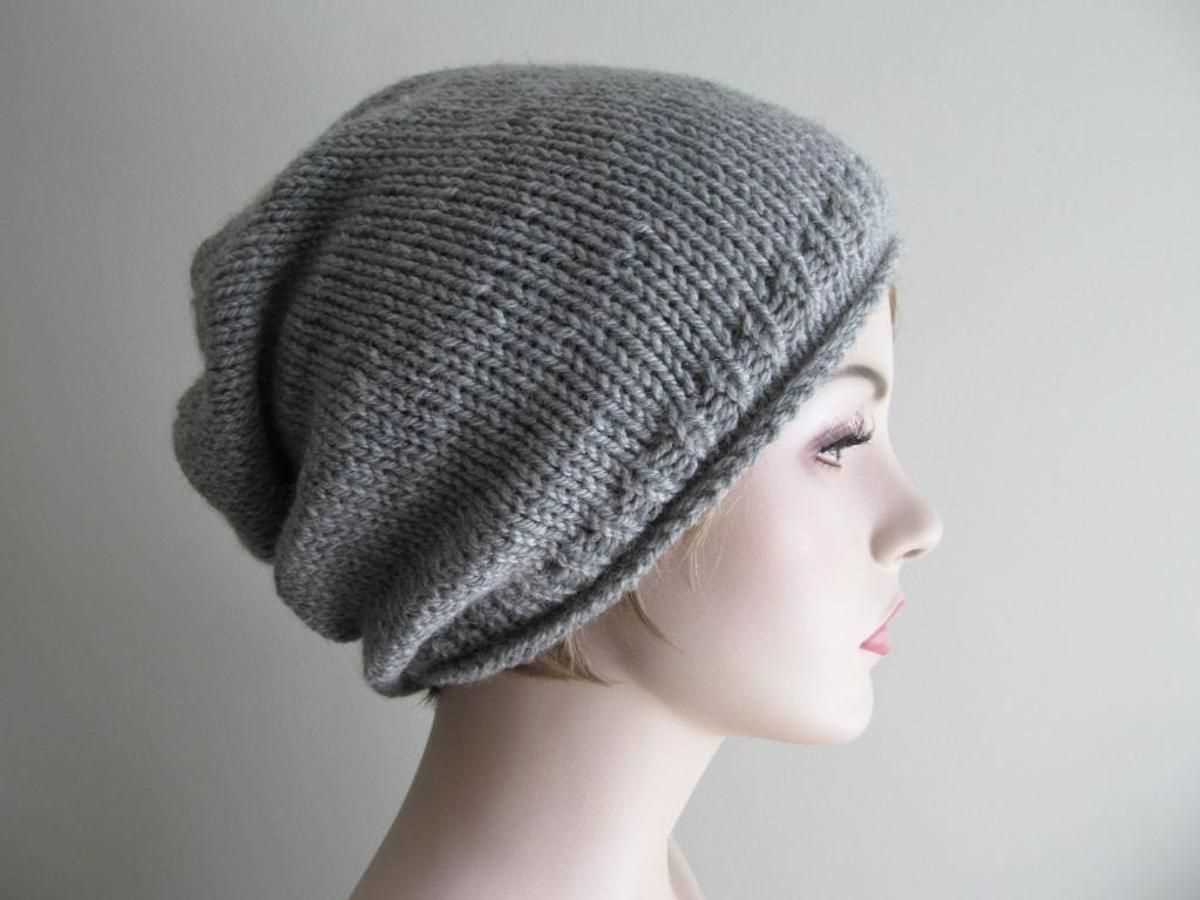
Knitting the body of your slouch beanie

Once you have completed the ribbing for your slouch beanie, it’s time to start knitting the body. This is the part where you’ll create the slouchy, relaxed fit that gives the beanie its unique style.
To begin, you’ll continue working in the round, using the knit stitch for each row. This will create a smooth and seamless appearance for your beanie. You can choose to knit in a solid color or experiment with different color patterns to add some visual interest.
One important thing to keep in mind while knitting the body is the desired length of your slouch beanie. You can customize the length according to your personal preference. If you want a more pronounced slouch, you can knit for a longer length. Conversely, if you prefer a shorter slouch, you can decrease the number of rows.
Tip: To check the length as you go, you can try on the beanie periodically or measure it against a similar hat that you like the fit of.
As you knit the body, it’s important to maintain a consistent tension to ensure an even and professional finish. If you find that your stitches are becoming too tight or too loose, you can make adjustments by tightening or loosening your grip on the yarn.
Continue knitting rows until you reach the desired length for your slouch beanie. Once you’re satisfied with the length, you can move on to the next step: shaping the crown of the beanie.
Creating the slouchy effect: Decreasing stitches
When knitting a slouch beanie, one of the key elements is achieving the slouchy effect. This can be done by strategically decreasing stitches in certain sections of the pattern. By decreasing stitches, you create a narrower section that will gather and create the slouchy look.
One common technique for decreasing stitches is the knit two together (K2tog) method. This involves knitting two stitches together as if they were one. To do this, insert the needle into both stitches from left to right, wrap the yarn around the needle, and pull it through both stitches, creating one new stitch. This method helps gradually reduce the width of the fabric.
Another technique for decreasing stitches is the purl two together (P2tog) method. This is similar to the K2tog method, but with purl stitches instead of knit stitches. Insert the needle into the next two stitches as if to purl, wrap the yarn around the needle, and pull it through both stitches, creating one new purl stitch. This method is commonly used in ribbing patterns to create a more tapered shape.
When incorporating decreases into your slouch beanie pattern, it’s important to carefully follow the instructions provided and keep track of your stitch count. Depending on the pattern, you may decrease stitches evenly across a row or concentrate the decreases in specific sections to achieve the desired slouchy effect. Keep in mind that the number and spacing of decreases will vary based on the desired look and style of your beanie.
By strategically decreasing stitches, you can create a slouchy effect in your beanie pattern and achieve the trendy and relaxed look that is so popular. Experiment with different methods and patterns to find the perfect style and fit for your slouch beanie.
Adding a Ribbed Band to Your Slouch Beanie
A slouch beanie is a stylish and cozy accessory that can be knit in various patterns and designs. One way to enhance the look and fit of a slouch beanie is by adding a ribbed band. The ribbed band adds elasticity and structure to the beanie, ensuring a snug and comfortable fit.
To add a ribbed band to your slouch beanie, you will need to use a different stitch pattern than the one you used for the main body of the beanie. One popular choice is the 2×2 ribbing stitch, which creates a stretchy and textured band. To knit the 2×2 ribbing stitch, alternate between knitting two stitches and purling two stitches in each row.
Start by casting on the desired number of stitches for the ribbed band. The number of stitches will depend on the size of the beanie and the desired width of the band. For a standard adult-sized beanie, you might cast on around 80-100 stitches.
Once you have cast on the stitches, continue knitting in the 2×2 ribbing stitch pattern for the desired length of the band. Generally, a band of around 1-2 inches will be sufficient.
After completing the ribbed band, you can continue knitting the slouch beanie using your desired pattern or stitch. Once the main body of the beanie is complete, you can attach the ribbed band to the bottom edge by sewing or knitting it on, ensuring that the ribbing stretches comfortably around the head.
Adding a ribbed band to your slouch beanie not only adds a stylish touch but also improves the fit and comfort of the hat. Try experimenting with different stitch patterns for the ribbed band, such as a 1×1 or 3×3 ribbing, to achieve different effects and customize your slouch beanie to your liking.
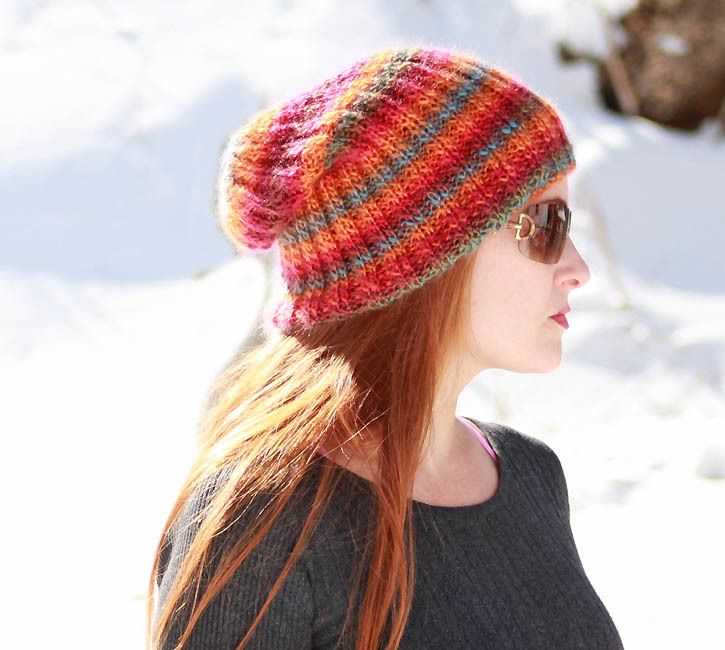
Adding Decorative Stitches and Patterns to Your Slouch Beanie
When it comes to knitting a slouch beanie, adding decorative stitches and patterns can take your creation to the next level. Not only do they add visual interest and texture, but they also allow you to showcase your knitting skills and personalize your beanie. There are countless options to choose from when it comes to adding decorative stitches and patterns, so let’s explore some ideas that you can try.
1. Cable Knitting

Cable knitting is a classic technique that can add depth and complexity to your slouch beanie. By twisting and crossing stitches over each other, you can create beautiful cable patterns that stand out. Whether you choose a simple single cable or a more intricate design, cable knitting adds a touch of elegance and sophistication to your beanie.
2. Fair Isle
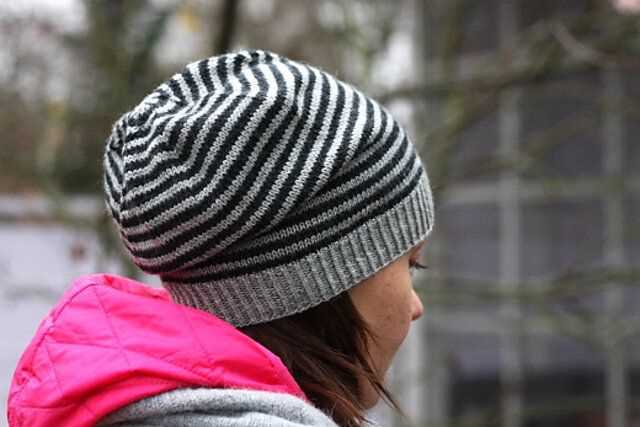
For those who love colorwork, Fair Isle knitting is the perfect choice. This technique involves using two or more colors of yarn to create intricate patterns and motifs. By using different color combinations and playing with the placement of colors, you can create eye-catching designs on your slouch beanie. Fair Isle knitting requires some practice to master the tension and stranding technique, but the end result is worth it.
3. Lace Knitting
If you prefer a more delicate and feminine look, lace knitting is a great option. Lace patterns are created by using a combination of yarnovers and decreases to create an open and airy fabric. Incorporating lace stitches into your slouch beanie can add a touch of elegance and femininity. You can choose from simple lace patterns or more intricate lace motifs to suit your style and skill level.
4. Textured Stitches
Adding texture to your slouch beanie can create an interesting and visually appealing look. There are various textured stitch patterns you can try, such as seed stitch, ribbing, garter stitch, or moss stitch. These stitches can create a raised or bumpy surface on your beanie, adding depth and tactile interest. Experiment with different combinations of stitches to create unique and textured designs.
These are just a few ideas to get you started on adding decorative stitches and patterns to your slouch beanie. You can mix and match these techniques, combine them with different colors, or even create your own stitch patterns. The possibilities are endless, so embrace your creativity and have fun exploring different ways to make your slouch beanie truly unique!
Finishing touches: Bind off and weaving in ends
Once you have completed knitting your slouch beanie using the pattern provided, it’s time to add the finishing touches. The first step is to bind off your stitches. This is done by knitting two stitches, then passing the first stitch over the second stitch and off the needle. Repeat this process until you have only one stitch remaining, then cut the yarn and pull it through the last stitch to secure it. This will create a neat edge for your beanie.
After binding off, you will have some loose ends of yarn where you started and ended each row. To give your beanie a polished look, it’s important to weave in these ends. Using a tapestry needle, thread the loose end onto the needle and weave it through the nearby stitches on the wrong side of the fabric. Make sure to weave in the end in a way that it is secure and won’t come undone with wear and use.
When weaving in the ends, it’s helpful to follow the path of the yarn along the stitches and avoid creating lumps or bumps on the right side of the fabric. Take your time and be patient as you weave in each end, ensuring that they are all neatly tucked away.
Once you have bound off and woven in all the loose ends, your slouch beanie is ready to be worn or gifted. The finishing touches of binding off and weaving in ends contribute to the overall look and durability of your knitting project, so take the time to do them carefully and enjoy the satisfaction of a well-finished beanie.
Blocking your slouch beanie for a professional finish
Blocking is an essential step in knitting that can take your slouch beanie from homemade to professional-looking. It involves wetting your finished knitting and then reshaping it to achieve a desired fit and shape. Blocking not only improves the overall appearance of your beanie, but it also helps to even out stitches and eliminate any uneven tension.
Before blocking your slouch beanie, you will need a blocking board or surface that is large enough to accommodate the size of your beanie. You can use a foam or cork board, or even a clean towel on a flat surface. Prepare your blocking tools, such as rust-proof pins or blocking wires, to help shape your beanie.
Start by soaking your slouch beanie in lukewarm water with a mild wool wash or baby shampoo. Gently squeeze out any excess water, but avoid wringing or twisting the fabric. Lay the damp beanie flat on your blocking surface, shaping it into the desired slouchy look. Pin or use blocking wires to hold the edges and shape of the beanie in place.
Allow your slouch beanie to dry completely in the blocked shape. This may take a day or two depending on the humidity and ventilation in your area. Once dry, carefully remove the pins or blocking wires. Your slouch beanie should now have a professional finish with even stitches and a well-defined shape.
Remember, blocking is not just reserved for delicate or lacy knitting. It can also greatly enhance the appearance and fit of your slouch beanie. So, take the time to block your beanie and achieve that polished, professional look.
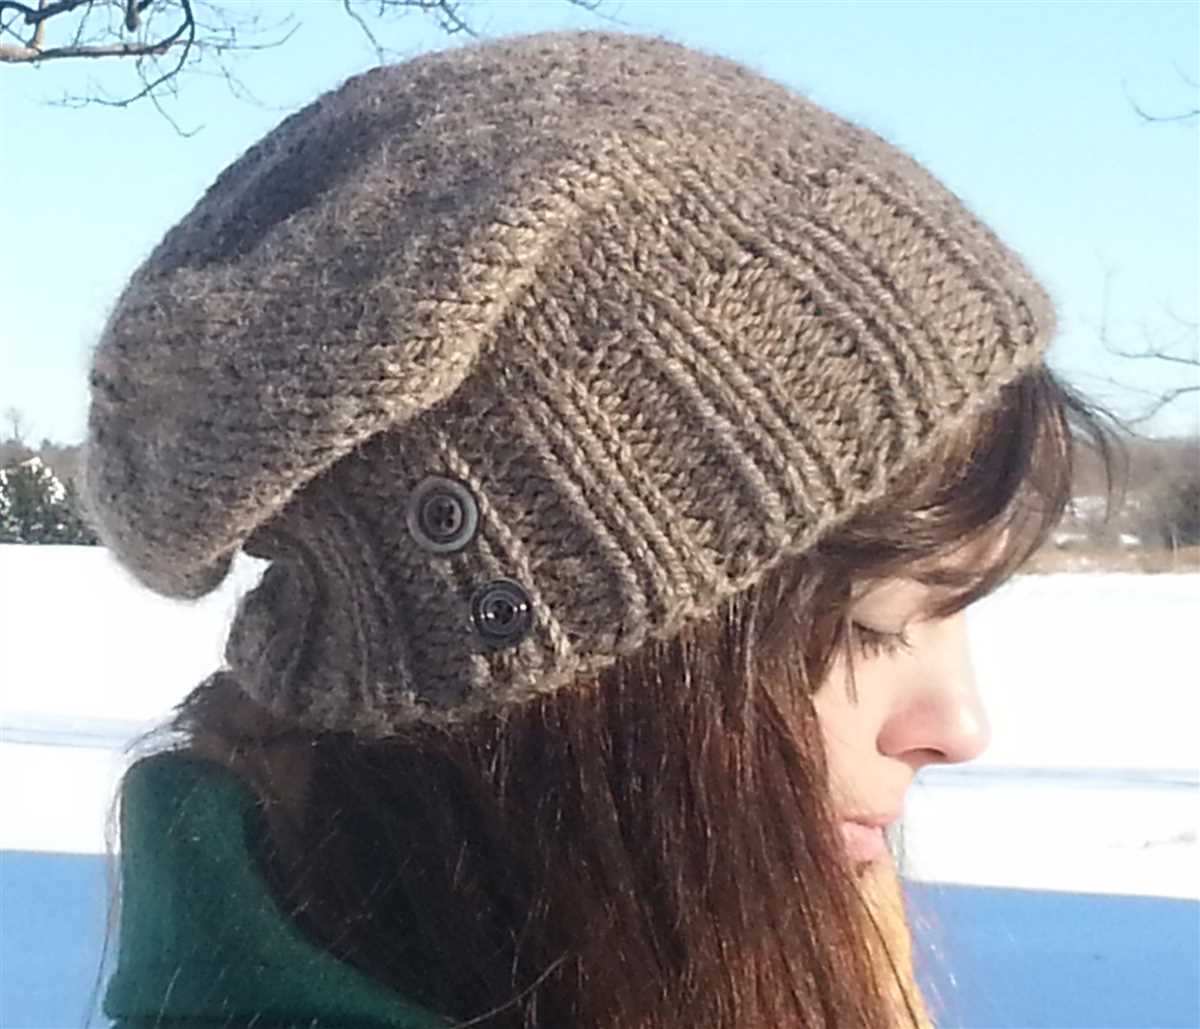
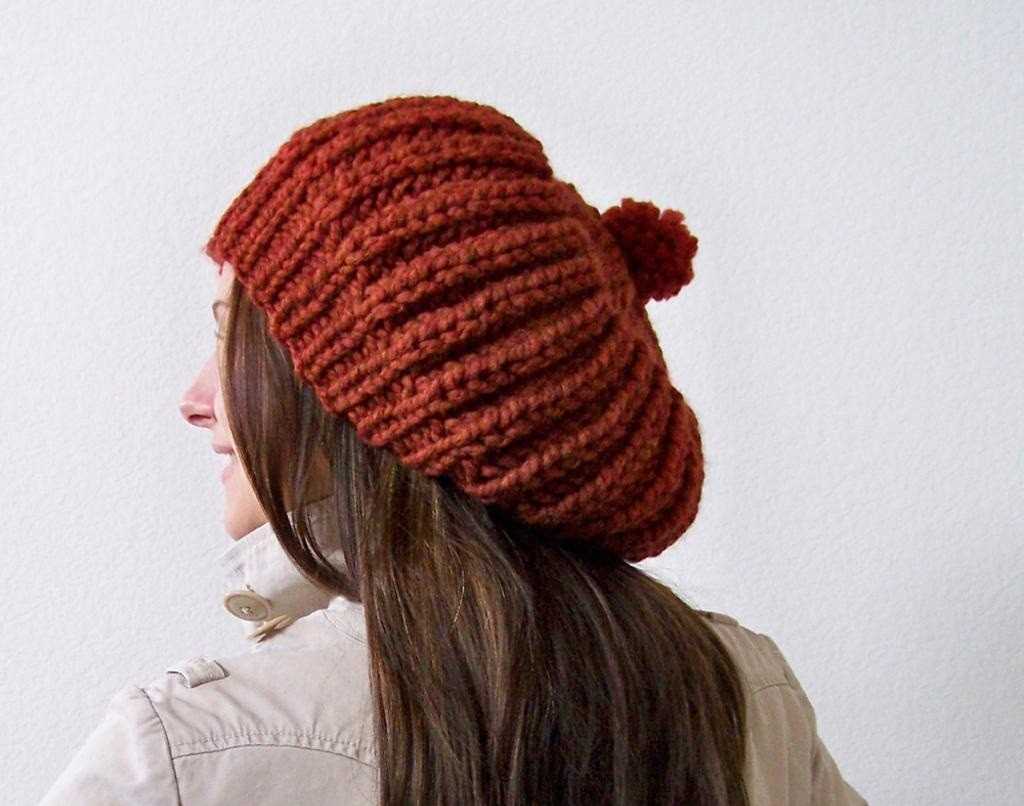
Personalizing your slouch beanie: Adding pompoms, buttons, or other embellishments
When it comes to knitting slouch beanies, one of the best parts is being able to personalize it with your own unique style. Adding pompoms, buttons, or other embellishments can give your beanie a special touch and make it stand out from the rest. Whether you’re a beginner or an experienced knitter, here are a few ideas to inspire your creativity.
Pompoms: Pompoms are a fun and playful way to add some flair to your slouch beanie. You can make them using yarn in a contrasting color or even in multiple colors to create a vibrant look. Attach the pompoms to the top of your beanie using a sewing needle and thread, or simply tie them securely to the yarn. Experiment with different sizes and textures to find the perfect pompom for your beanie.
Buttons: Adding buttons to your slouch beanie can give it a stylish and trendy look. Choose buttons in colors that complement your beanie or opt for unique and eye-catching designs. You can sew the buttons onto the brim of your beanie or even create a button closure on the side. Consider using different sizes and shapes of buttons to add visual interest and dimension to your beanie.
Other embellishments: If you’re feeling adventurous, there are plenty of other embellishments you can add to your slouch beanie. Consider attaching patches, appliques, or even small pins to personalize your beanie. You can also experiment with embroidery to add intricate designs or initials to your beanie. The possibilities are endless, so let your creativity guide you and make your slouch beanie truly one-of-a-kind.
With these ideas in mind, you can take your slouch beanie knitting to the next level by adding pompoms, buttons, or other embellishments. Have fun experimenting with different materials and techniques to create a beanie that reflects your personal style and makes a statement.
Troubleshooting Common Mistakes in Slouch Beanie Knitting
Knitting slouch beanies can be a fun and rewarding project, but like any knitting project, mistakes can happen. Don’t worry, though! With a little patience and practice, you can troubleshoot and fix common mistakes in slouch beanie knitting.
Here are some of the most common mistakes in slouch beanie knitting and how to fix them:
Mistake 1: Dropping Stitches

Dropping stitches can be a frustrating mistake, but it’s easily fixable. If you notice that you’ve dropped a stitch, use a crochet hook or a smaller knitting needle to pick it up. Insert the hook or needle through the dropped stitch from front to back, and then loop the working yarn through the stitch. Continue knitting as usual, making sure to secure the picked-up stitch tightly.
Mistake 2: Uneven Tension
Uneven tension can result in a slouch beanie that looks lumpy or has inconsistent stitch sizes. To fix this, make sure to keep an even tension throughout your knitting. Practice knitting with consistent pressure on your needles, and try using tools like tension guides or knitting thimbles to help maintain a steady tension. If you notice uneven tension in your finished project, you can block the beanie to even out the stitches.
Mistake 3: Twisted Stitches
Twisted stitches can cause your slouch beanie to look distorted and affect its overall fit. To fix twisted stitches, make sure to correctly insert your needle into the stitch when knitting or purling. If you notice twisted stitches after completing a few rows, you can use a crochet hook to untwist the stitches by carefully inserting the hook through the stitch and twisting it in the opposite direction.
Mistake 4: Wrong Stitch Count

If you find that your slouch beanie has a wrong stitch count, carefully count your stitches to identify where the mistake was made. If you have too many stitches, you may have accidentally increased, and you can decrease the extra stitches by knitting two stitches together. If you have too few stitches, you may have accidentally decreased, and you can increase by using the make-one method or by knitting into the front and back of a stitch.
Mistake 5: Incorrect Gauge

If your slouch beanie doesn’t fit properly or is the wrong size, the issue may lie in your gauge. Gauge refers to the number of stitches and rows per inch in your knitting. To fix an incorrect gauge, go up or down a needle size to achieve the correct gauge. Remember to swatch and measure your gauge before starting your slouch beanie to ensure the right fit.
Remember, knitting mistakes happen to everyone, especially when learning new patterns or techniques. Don’t be discouraged! With practice and patience, you’ll become a pro at troubleshooting and fixing common mistakes in your slouch beanie knitting.
Happy knitting!