
Looking for a knitting pattern for a men’s hat? You’ve come to the right place! In this article, we’ll share a free knitting pattern for a stylish and cozy men’s hat that will keep your head warm during the cold winter months. Whether you’re an experienced knitter or just starting out, this pattern is beginner-friendly and easy to follow.
The men’s hat pattern we’re featuring is designed to fit most adult head sizes and can be customized to your preferred length and width. The pattern uses simple knit and purl stitches and is a great project for practicing your knitting skills. With just a few skeins of yarn and a pair of knitting needles, you’ll have a new hat to add to your wardrobe in no time!
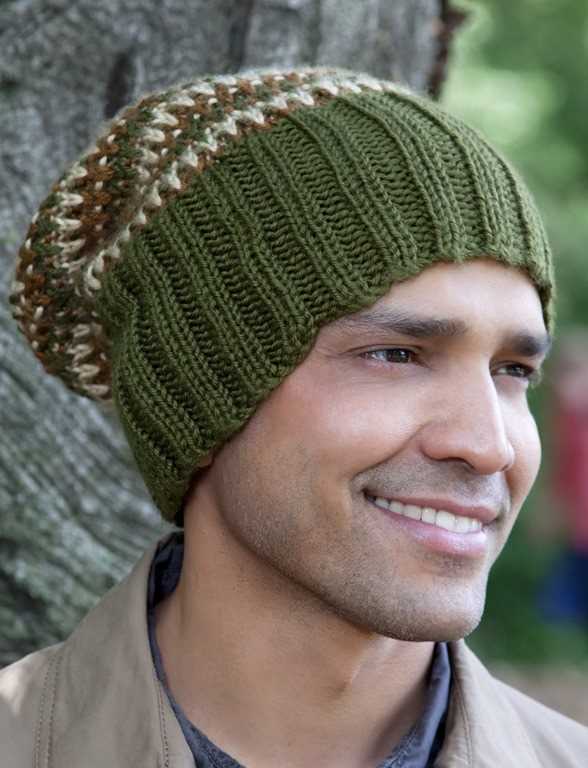
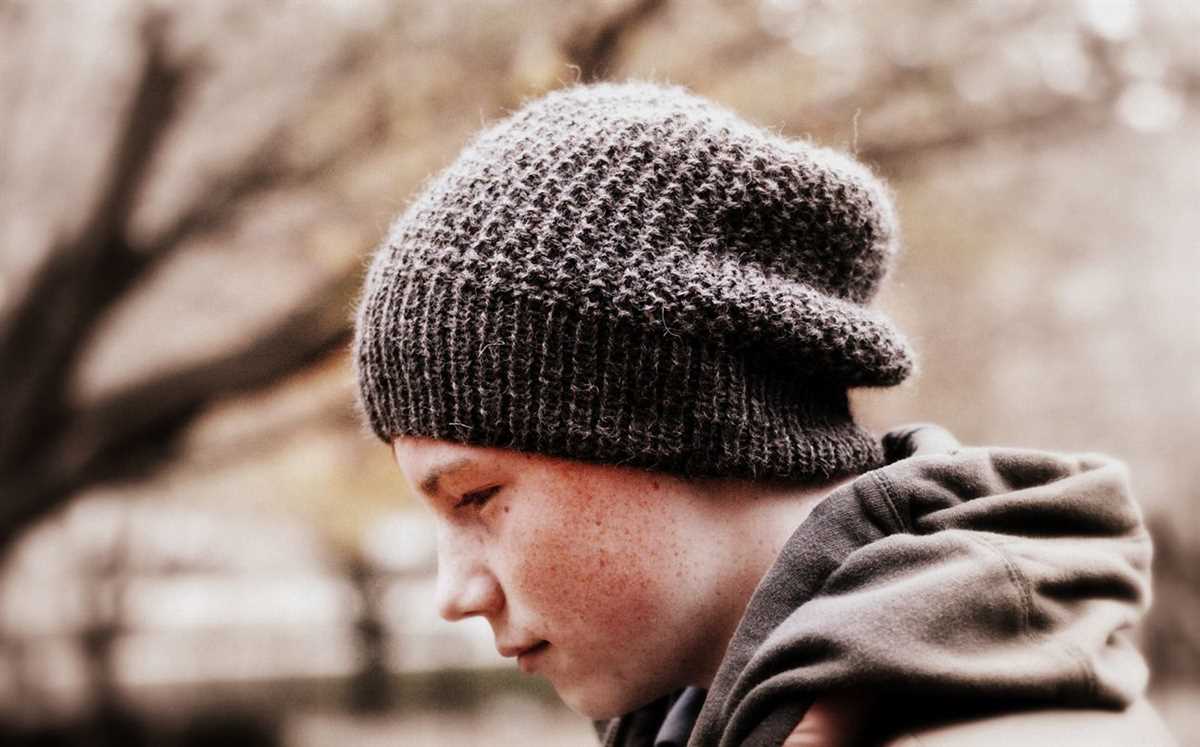
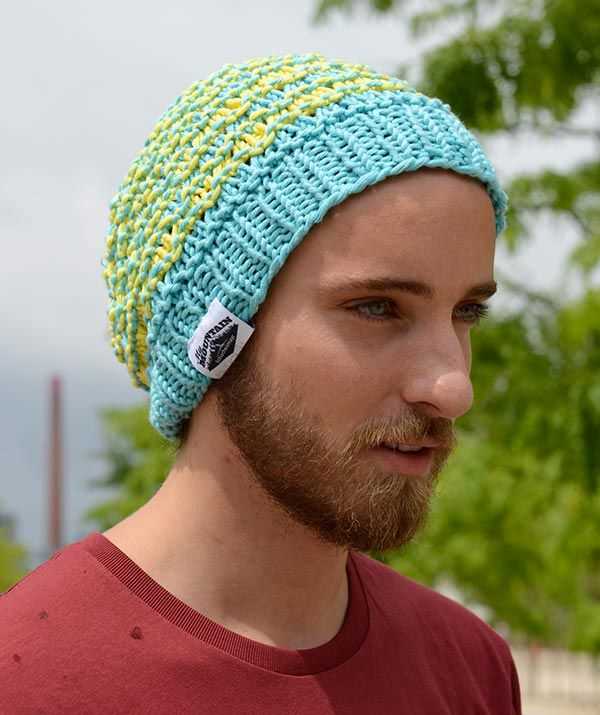
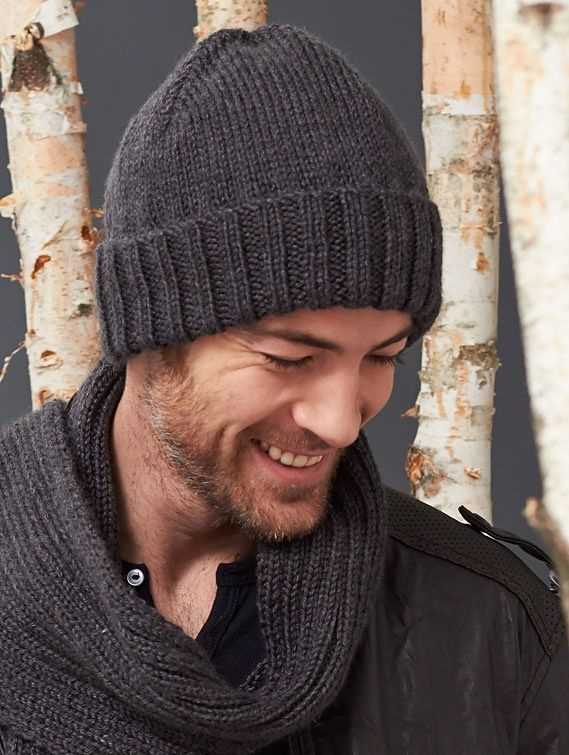
This knitting pattern is great for making gifts for the men in your life, whether it’s a birthday present or a holiday gift. The hat features a classic ribbed design and a fold-over brim, giving it a timeless and versatile look. It can be knit in any color of your choice to match the recipient’s style and personality.
So grab your knitting needles and start casting on! With this free men’s hat knitting pattern, you can create a stylish and comfortable accessory that will keep you warm all winter long. Happy knitting!
Materials needed for knitting a men’s hat
Knitting needles: You will need a set of double-pointed knitting needles in the appropriate size for the pattern you are following. It is important to choose the correct size needles to achieve the desired gauge and fit of the hat. The pattern will specify the recommended needle size.
Yarn: The choice of yarn will depend on the desired look and feel of the hat. You can use worsted weight yarn for a warmer and thicker hat, or choose a lighter weight yarn for a more lightweight and breathable hat. The pattern will specify the recommended yarn weight and yardage needed.
Tapestry needle: A tapestry needle is essential for weaving in loose ends and sewing the finished hat together. Make sure to choose a tapestry needle with a large enough eye to accommodate the yarn you are using.
Stitch markers: Stitch markers are helpful for keeping track of stitch patterns and increases/decreases in the hat. They can be placed on the needles to mark specific stitches or sections of the pattern.
Scissors: A pair of scissors is necessary for cutting the yarn and trimming any excess ends during the knitting process.
Measuring tape: A measuring tape is useful for checking gauge and ensuring the hat will fit properly. It can also be used to measure the circumference of the recipient’s head to determine the appropriate size for the hat.
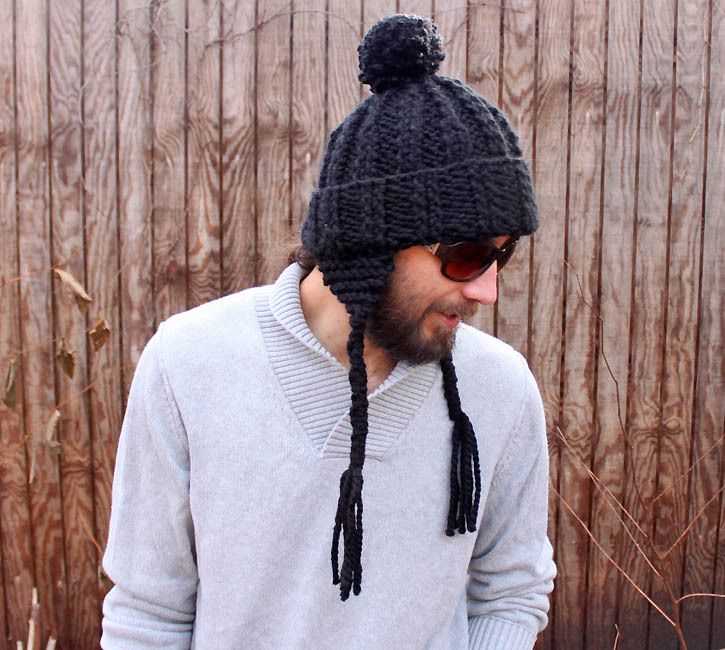
Pom-pom maker (optional): If you want to add a pom-pom to the top of the hat, a pom-pom maker can be a convenient tool for creating perfectly round and fluffy pom-poms with ease.
Row counter (optional): A row counter can be a helpful tool for keeping track of the number of rows knitted, especially if the pattern has a specific stitch pattern or decreases/increases that need to be followed.
Blocking materials (optional): If you want to block the hat to achieve a more polished and even look, you may need blocking pins or wires, a blocking mat or towel, and a spray bottle for misting the hat with water to set the shape.
Choosing the right knitting needles
When it comes to knitting, choosing the right needles is essential for a successful and enjoyable project. The type, size, and material of the needles can greatly impact your knitting experience and the end result of your work. Here are some factors to consider when selecting knitting needles.
Type of needles
There are various types of knitting needles available, each with its own advantages and disadvantages. The most common types are straight needles, circular needles, and double-pointed needles. Straight needles are ideal for flat knitting projects such as scarves or blankets. Circular needles are versatile and can be used for both flat and circular knitting, while double-pointed needles are perfect for working in the round on smaller projects like socks or hats.
Size of needles
The size of the needles you choose will depend on the pattern and the desired outcome of your project. Needle sizes are measured in millimeters or US sizes, and they directly affect the gauge and tension of your knitting. Be sure to check the pattern requirements and consider the type of yarn you will be using to determine the appropriate needle size.
Material of needles
Knitting needles can be made from various materials, each offering different characteristics. Common materials include bamboo, wood, metal, and plastic. Bamboo and wood needles are lightweight and provide a warm and smooth feel, making them suitable for those who prefer a more traditional knitting experience. Metal needles, such as stainless steel or aluminum, are durable and offer excellent stitch control. Plastic needles are affordable and lightweight, making them a popular choice for beginners.
Consider your preferences
Ultimately, choosing the right knitting needles also comes down to personal preference. Some knitters may prefer the warmth and flexibility of natural materials, while others may prefer the smoothness and durability of metal needles. It’s important to try different types and sizes of needles to find what works best for you and your knitting style.
By considering the type, size, and material of your knitting needles, you can ensure a more enjoyable and successful knitting experience. Experiment with different options and take into account your preferences to find the perfect needles for your projects.
Understanding the Stitch Patterns
When it comes to knitting patterns for men’s hats, understanding the different stitch patterns is crucial. These stitch patterns not only determine the overall look and design of the hat but also affect its warmth, texture, and stretchiness.
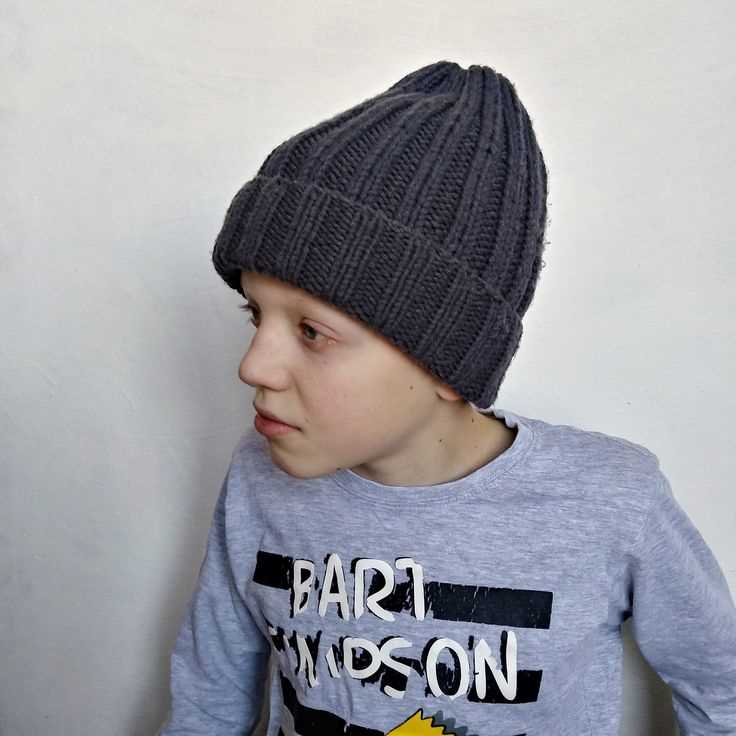
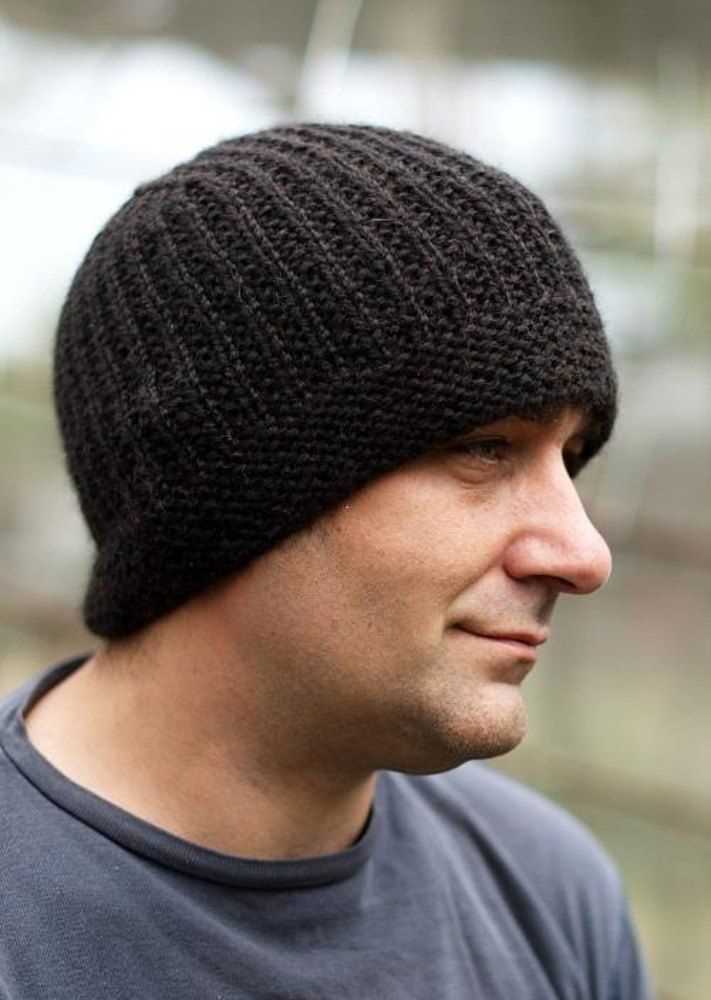
Ribbing: The ribbing stitch pattern is commonly used for the brim of the hat. It creates vertical columns of knit and purl stitches, which give the fabric a stretchy and elastic quality. Ribbing helps the hat stay in place and provides a snug fit, making it a popular choice for men’s hats.
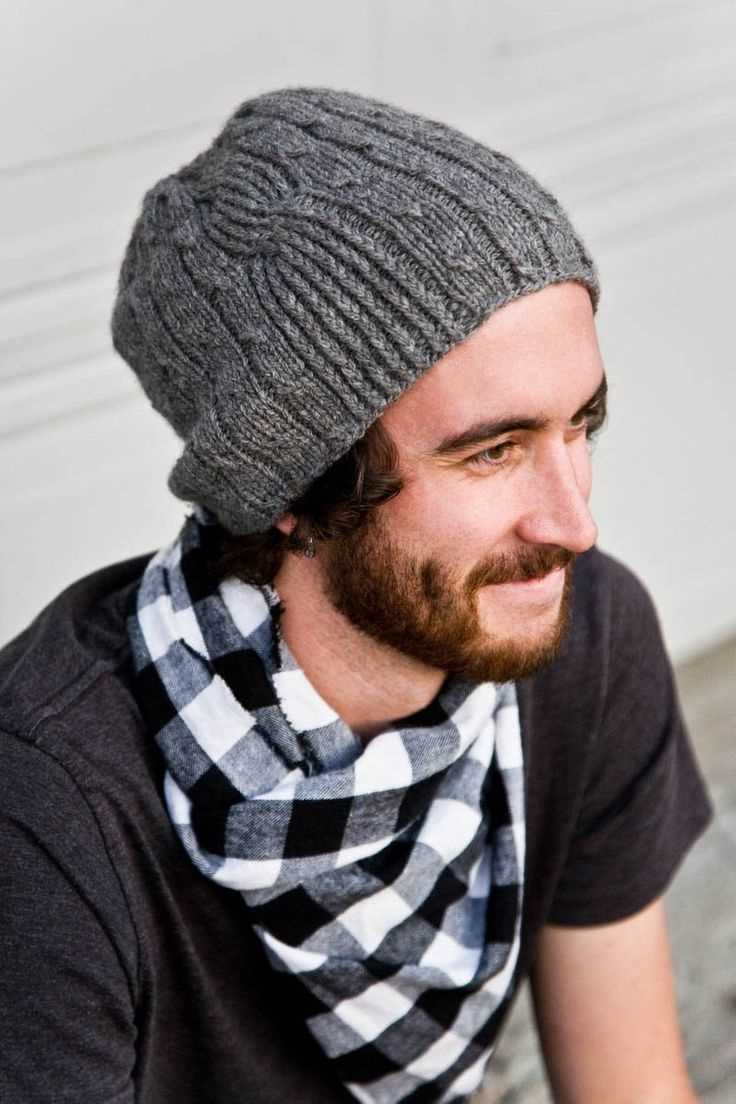
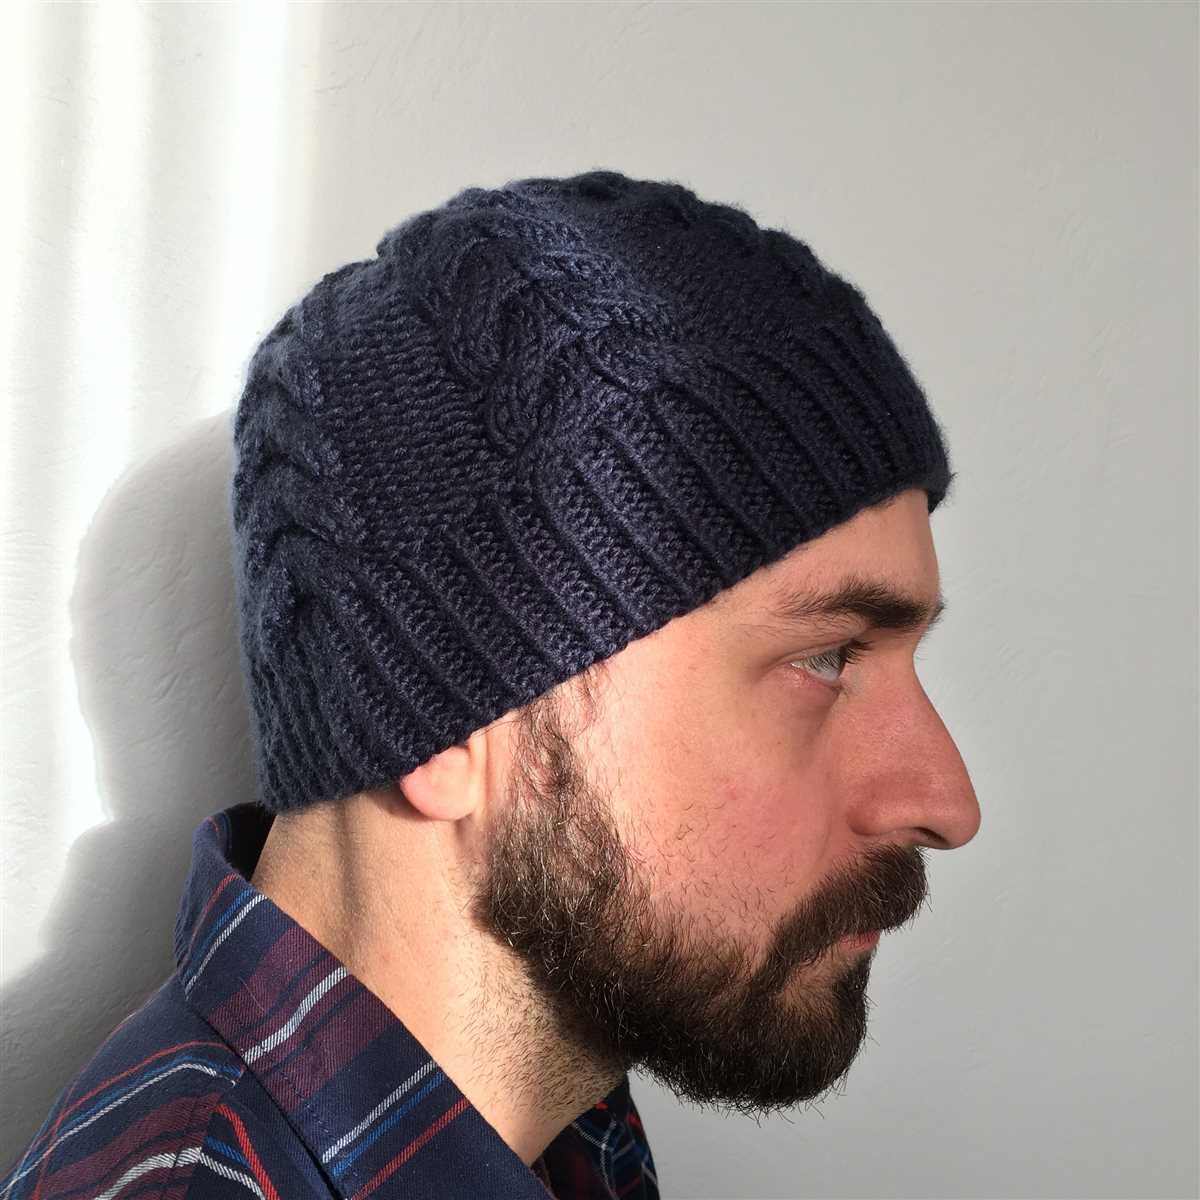
Cables: Cables are another popular stitch pattern for men’s hats. They create interwoven twists and braids, giving the hat a textured and sophisticated look. Cables can add visual interest and dimension to an otherwise plain hat, making it a great choice for those who prefer a more intricate design.
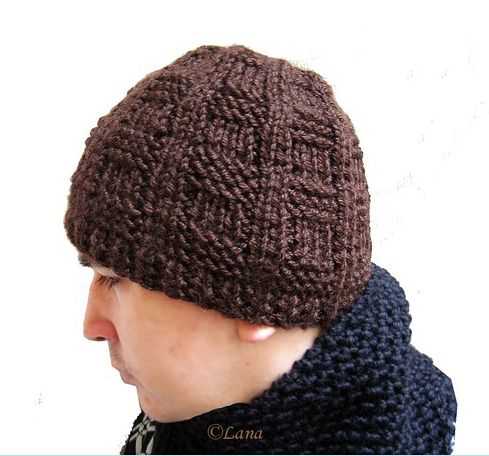
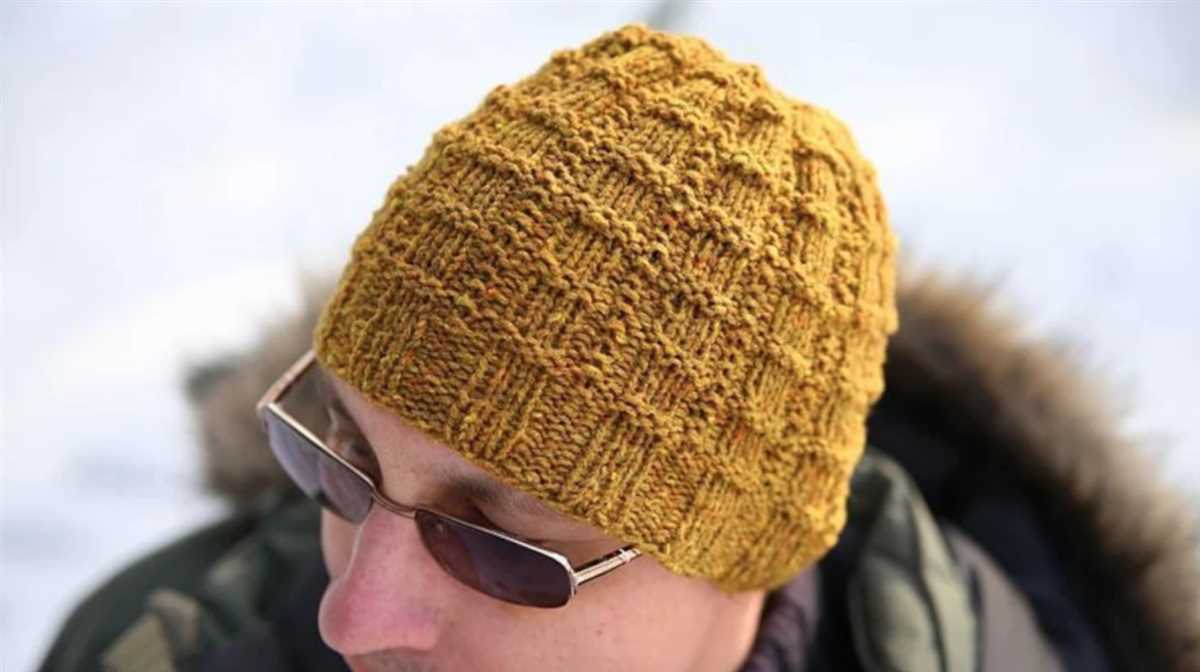
Seed Stitch: The seed stitch is a simple yet versatile stitch pattern that can be used for the entire hat or as a decorative accent. It alternates between knit and purl stitches in a random pattern, creating a textured surface. The seed stitch adds depth and visual interest to the fabric, making it a popular choice for those who want a casual and rustic look.
Stockinette Stitch: The stockinette stitch is a classic and versatile stitch pattern that can be used for the entire hat or combined with other stitch patterns. It consists of alternating rows of knit and purl stitches, creating a smooth and flat fabric with a slight curl on the edges. The stockinette stitch is great for showcasing bold colors or intricate patterns, making it a timeless choice for men’s hats.
Garter Stitch: The garter stitch is the simplest stitch pattern, consisting of alternating rows of knit stitches. It creates a fabric with ridges on both sides and is often used for the brim or as an accent. The garter stitch is stretchy and cozy, adding warmth and texture to the hat.
By understanding these stitch patterns, you can choose the one that best suits your preference and the style of the hat you want to knit. Whether you prefer a classic stockinette stitch or a more intricate cable pattern, experimenting with different stitch patterns can add uniqueness and personalization to your men’s hat.
Casting on is the first step in starting your knitting project, and it sets the foundation for the rest of the hat. To cast on for a men’s hat, you can use the long-tail cast-on method, which is a versatile and sturdy technique. This cast-on creates a neat and stretchy edge that is perfect for hats.
Long-Tail Cast-On Method:
To begin, you will need to estimate the amount of yarn you will need for your cast-on. A good rule of thumb is to use about 1 inch of yarn for each stitch. Measure out a tail that is approximately 3-4 times the width of your finished hat.
Once you have determined the length of your tail, create a slipknot by making a loop in the yarn. Insert your needle through the loop from front to back, and pull the yarn to tighten the knot around the needle. Hold the needle in your right hand and the tail in your left hand, with the working yarn (attached to the ball of yarn) coming from your right hand.
Next, insert the needle under the yarn that is draped over your thumb and bring it over the yarn that is draped over your index finger. This creates a loop on the needle. Insert the needle into this loop from front to back, and then let go of the loop with your thumb. Pull the yarn to tighten the loop around the needle.
Continue this process until you have cast on the desired number of stitches for your hat. Make sure to keep your tension consistent and not too tight, as this can make it difficult to work the first row of stitches. Once you have finished casting on, you are ready to start knitting the body of the hat!
Knitting the body of the hat
Once you have cast on the desired number of stitches for your hat, it’s time to start working on the body. The body of the hat is the main part that covers the head and determines the overall size and length of the hat.
To knit the body of the hat, you will continue working in rounds using your chosen stitch pattern. Make sure to follow the instructions provided in the knitting pattern for the specific stitch pattern, such as ribbing, cables, or simple stockinette stitch.
Row 1: Start by knitting the first round, making sure to maintain the correct tension and even stitches. This will set the foundation for the rest of the hat.
Rows 2-5: Repeat the stitch pattern for the specified number of rows, following the knitting pattern. Pay attention to any changes in stitch count or pattern instructions. If there are any decreases or increases required, make sure to execute them correctly.
Rows 6-10: Continue knitting in rounds, maintaining the chosen stitch pattern. Take breaks periodically to check the size and length of the hat against your measurements, especially if you are knitting the hat for a specific person.
Remember to periodically try on the hat to ensure it fits comfortably and is the desired length. Adjust the number of rows or stitches if necessary to achieve a perfect fit.
Final row: Once you have reached the desired length for the body of the hat, work the final row as specified in the knitting pattern. This may involve binding off stitches or preparing for the next section of the hat, such as the crown or brim.
Shaping the crown of the hat
In a men’s hat pattern, shaping the crown is an important step that gives the hat its desired shape and fit. Typically, crown shaping is done by reducing the number of stitches gradually as you move towards the top of the hat. This creates a rounded shape that fits snugly around the head.
To shape the crown, it is common to use decreases such as knit two together (k2tog) or slip slip knit (ssk) to reduce the stitches. These decreases create a seamless transition from the body of the hat to the crown, ensuring a smooth and polished finish.
There are several ways to shape the crown of a hat, depending on the desired design. One common method is to divide the stitches evenly into multiple sections and decrease a set number of stitches in each section. This creates a symmetrical crown with an even distribution of decreases.
If you want a more unique and textured crown, you can experiment with different decrease patterns. For example, you can create a spiral crown by decreasing one stitch in every section at regular intervals, rotating the decrease position with each round. This creates an eye-catching spiral effect that adds visual interest to the hat.
It’s important to follow the instructions provided in the knitting pattern for the specific hat you are making, as the crown shaping technique may vary. Take your time and carefully work through each decrease section to ensure that the crown of your hat turns out just the way you want it.
Finishing off the hat
Once you have completed knitting the main part of the hat, it’s time to finish it off and add those final touches.
To start, you will need to secure the last stitch by cutting the yarn, leaving a tail that is about 6 inches long. Thread the tail through the last loop and pull tight to secure the stitch.
If your hat has a brim or ribbing, you will need to fold it up and sew it in place. Use a yarn needle and matching yarn to sew the folded edge of the brim to the inside of the hat. Be sure to secure the stitches tightly to prevent the brim from unraveling.
Next, it’s time to weave in any loose ends or yarn tails. Thread a yarn needle with one of the tails and weave it back and forth through the stitches on the inside of the hat. Repeat this process with any remaining tails, making sure to distribute the tension evenly for a clean finish.
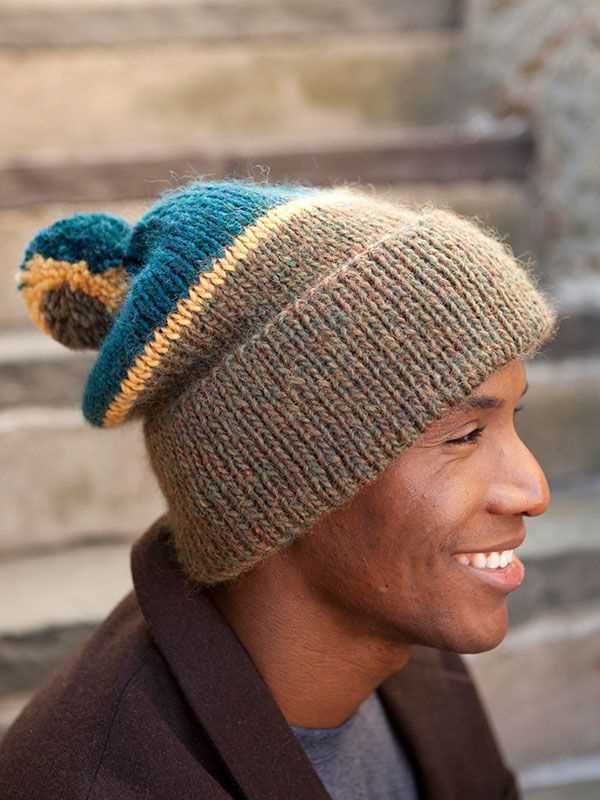
If you’d like to add any embellishments to your hat, such as a pom-pom or a decorative button, now is the time to do so. Attach the embellishment securely to the top or side of the hat using a needle and thread or by weaving the yarn through the stitches.
Finally, give your hat a gentle steam blocking to help even out the stitches and give it a polished look. Hold a steam iron several inches above the hat and steam lightly, being careful not to touch the iron to the yarn. Allow the hat to dry completely before wearing or gifting.
Adding Optional Embellishments
Once you have finished knitting your hat, you can choose to add optional embellishments to personalize it and give it a unique touch. Here are some ideas to consider:
- Pom pom: Attach a colorful pom pom to the top of the hat. You can use a store-bought pom pom or make one yourself using yarn and a pom pom maker.
- Embroidery: Add embroidered designs or initials to the hat using contrasting yarn. You can create patterns or a simple monogram for a personalized touch.
- Buttons: Sew buttons along the brim or on the sides of the hat for a decorative touch. Choose buttons that complement the hat’s color or theme.
- Ribbons or bows: Attach ribbons or bows to the hat for a feminine touch. You can tie a ribbon around the base or add a bow to the side or front.
- Embroidered patches: Sew or iron on embroidered patches to add a pop of color and unique designs to the hat.
Remember, these embellishments are optional, and you can choose to add as many or as few as you prefer. Get creative and have fun making your hat truly one-of-a-kind!
With these added embellishments, your men’s hat will not only keep you warm and cozy but also reflect your personal style and creativity. Whether you choose to add a pom pom, embroider initials, or sew on a decorative button, these embellishments will make your hat stand out from the rest.