
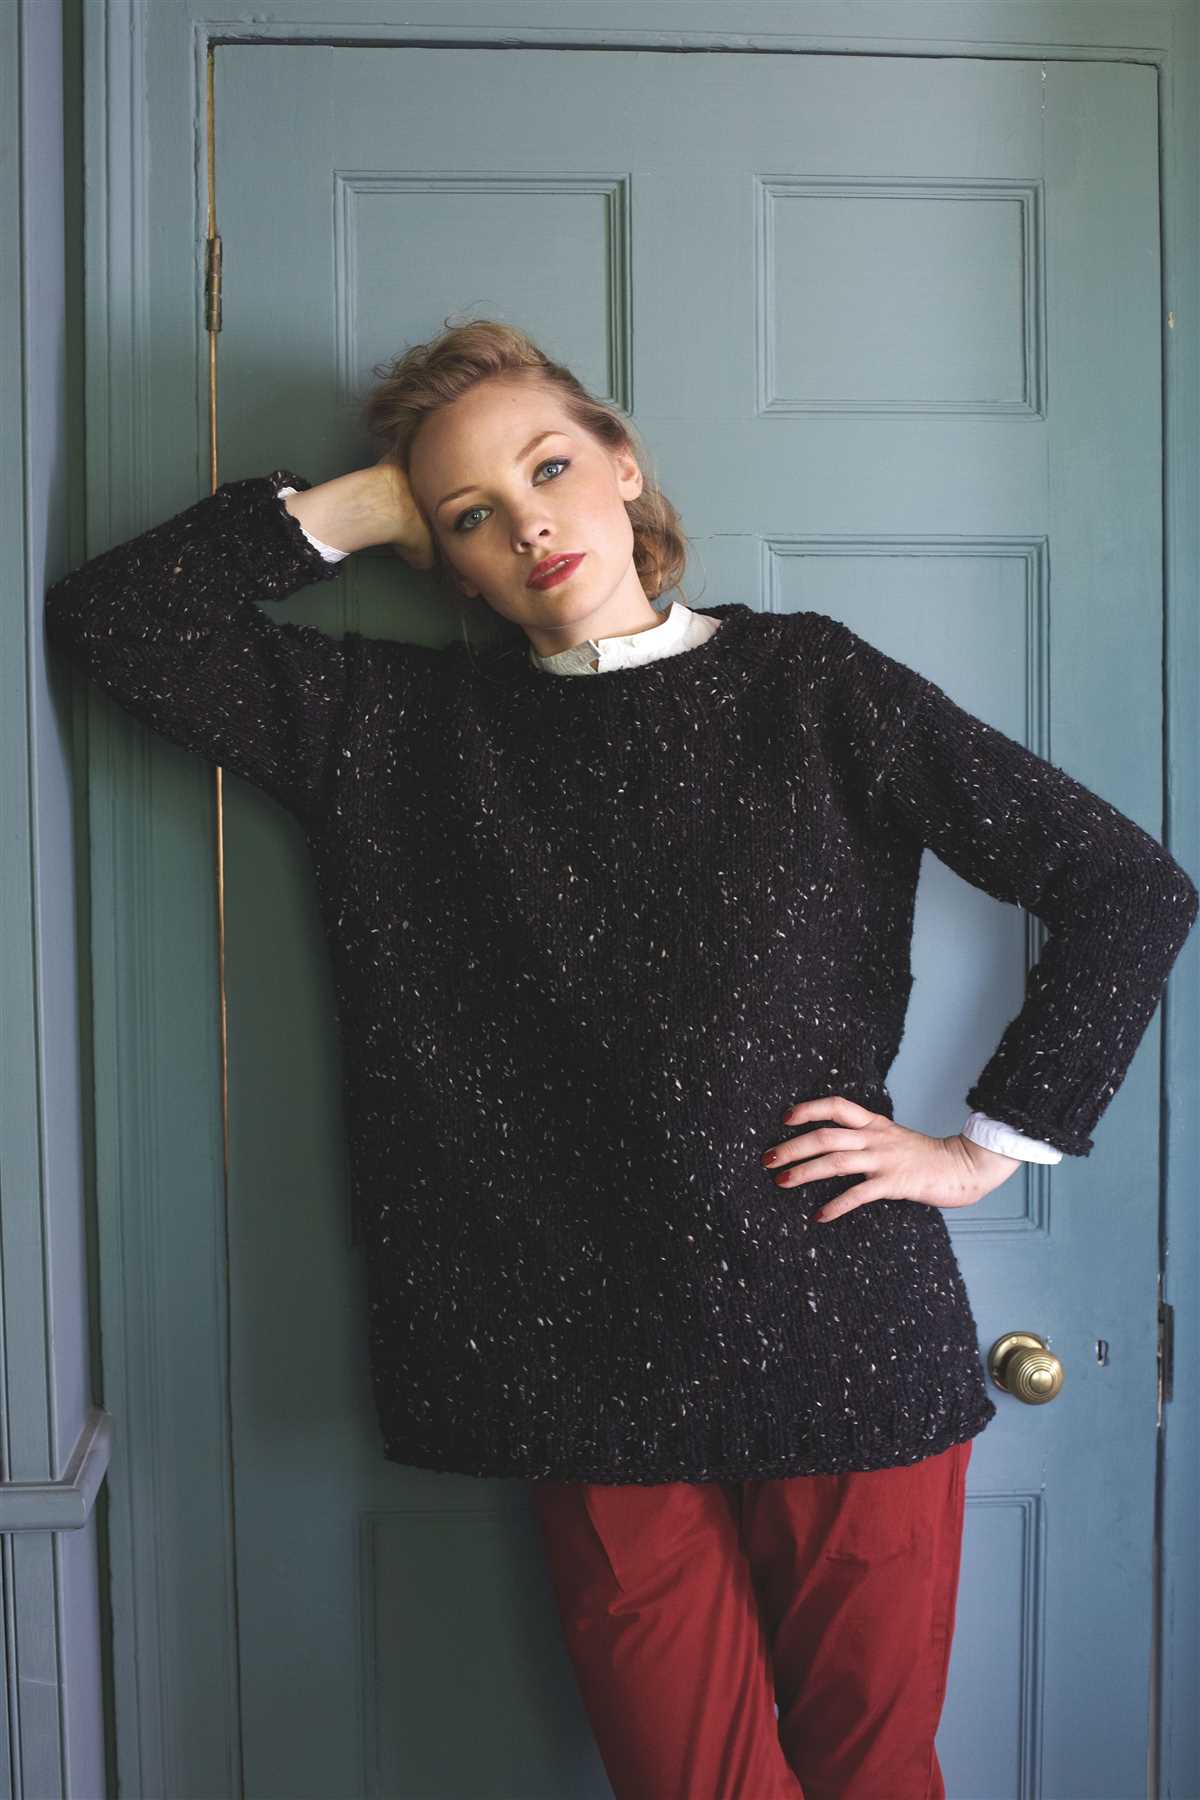
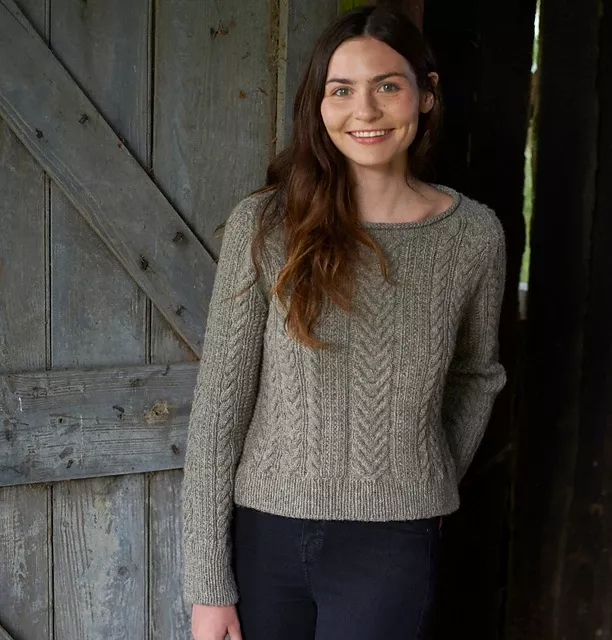
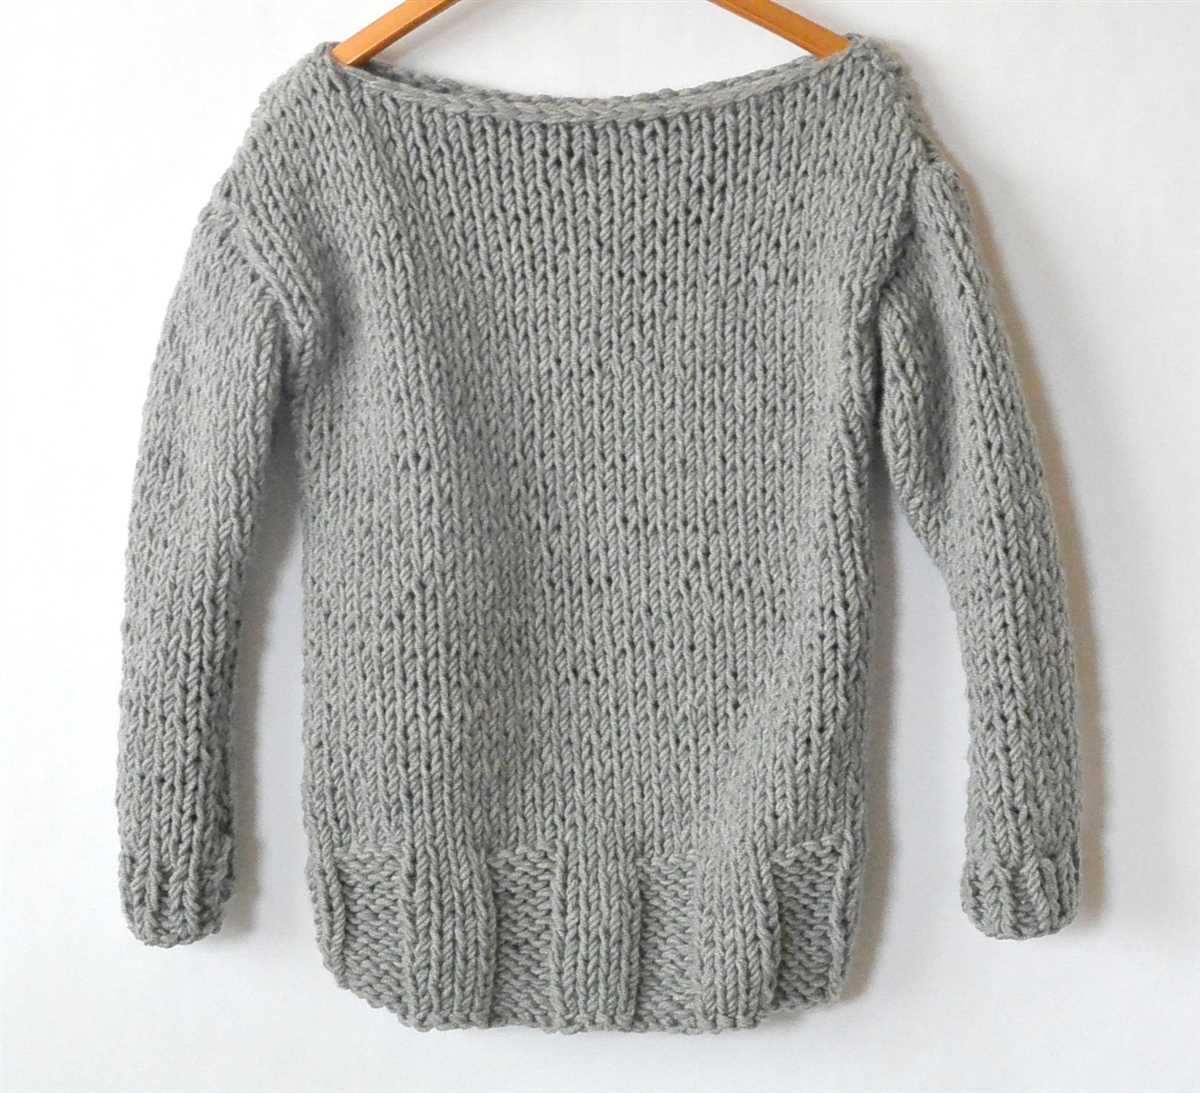
Knitting a sweater can be a fun and rewarding project, even for beginners. With the right pattern and a little bit of practice, you can create a cozy and stylish sweater to wear and show off to your friends. In this article, we will walk you through a simple sweater knitting pattern that is perfect for beginners.
Before you begin, it is important to choose the right yarn and needles for your sweater. As a beginner, it is a good idea to start with a medium weight yarn and match it with the recommended needle size. This will make it easier for you to work with the yarn and create an even tension.
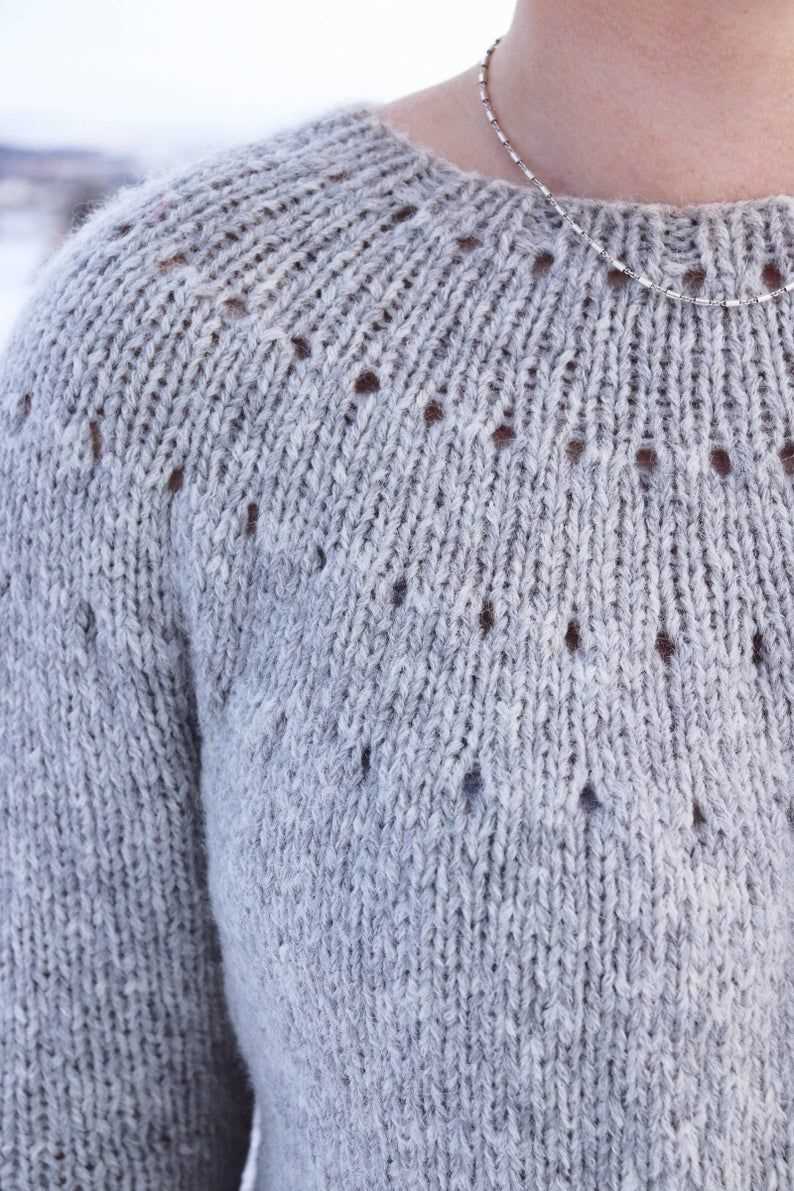
Once you have your materials ready, it is time to start knitting. This pattern is worked from the top down, meaning you will begin with the neckline and work your way down to the hem. This method is great for beginners because it allows you to try on the sweater as you go and make adjustments if needed.
Follow the instructions carefully and take your time as you work through each step of the pattern. Don’t worry if you make a mistake – knitting is a forgiving craft and you can always undo your stitches and try again. With practice and patience, you will soon have a beautiful sweater that you can proudly wear and say, “I made this!”
Sweater Knitting Pattern Beginner
If you are new to knitting and want to try making your first sweater, this beginner-friendly sweater knitting pattern is perfect for you. With simple instructions and basic stitches, you’ll be able to create a cozy and stylish sweater in no time.
Materials needed for this project include:
- Worsted weight yarn
- Size 8 knitting needles
- Tapestry needle
- Scissors
The pattern starts with casting on stitches to create the body of the sweater. You will then knit in a basic stockinette stitch until the desired length is achieved. The next step is dividing the stitches for the sleeves and neckline. This can be done by placing stitch markers to indicate the different sections.
To create the sleeves, you will continue knitting in the round, following the instructions provided. The neckline is created by working back and forth in rows to shape the collar. After completing the sleeves and neckline, you will finish off the sweater by sewing up any remaining seams and weaving in any loose ends.
This sweater knitting pattern is great for beginners because it introduces you to essential knitting techniques, such as casting on, knitting in the round, and shaping. The instructions are clear and easy to follow, making it a fun and rewarding project for those new to knitting.
Choosing the Right Yarn

When it comes to knitting a sweater, choosing the right yarn is key. The yarn you choose will not only determine the overall look and feel of your sweater, but it will also affect how easy or difficult it is to work with, and how well it holds up over time. With so many options available, it can be overwhelming to know where to start. Here are a few factors to consider when choosing the right yarn for your sweater knitting project.
Fiber: The first thing to consider when choosing yarn for your sweater is the fiber content. Different fibers have different properties, and it’s important to choose one that matches the style and purpose of your sweater. Wool, for example, is a popular choice for sweaters because it is warm, durable, and has good stitch definition. Other common fibers for sweaters include cotton, acrylic, and alpaca.
Weight: The weight of the yarn refers to its thickness. Choosing the right weight is important because it will affect the drape and warmth of your finished sweater. Bulky yarn, for example, will create a chunky and warm sweater, while lace weight yarn will create a delicate and lightweight garment. It’s also important to consider the pattern you will be using, as some patterns are designed specifically for certain yarn weights.
Once you have decided on the fiber and weight of your yarn, there are a few additional factors to consider. These include the color, texture, and cost of the yarn. Ultimately, the right yarn for your sweater will depend on your personal preferences and the specific requirements of your project. It’s always a good idea to swatch with different yarns before committing to one, to ensure that you are happy with how it looks and feels. Happy knitting!
Needles for Beginners
If you are a beginner knitter, choosing the right needles is essential for your knitting success. Here are a few key factors to consider when selecting needles:
Material
Needles can be made from various materials, such as metal, wood, or plastic. Each material has its own characteristics, which can affect your knitting experience. Metal needles are smooth and slippery, making them great for speedy knitting. Wood needles have a bit more grip, which can be helpful for beginners as it prevents stitches from sliding off unintentionally. Plastic needles are lightweight and budget-friendly, making them a popular choice for beginners.
Size
Needles come in different sizes, and the size you choose will depend on the thickness of your yarn. The size of the needles is indicated by a number, and the higher the number, the larger the needle size. While smaller needles are generally used for finer yarns, larger needles are used for bulkier yarns. Beginners often start with medium-sized needles, such as US size 8 (5mm), as they are versatile and suitable for a wide range of yarn weights.
Length

Needles also come in different lengths, typically ranging from 9 inches to 14 inches. The length of the needles you choose will depend on the type of project you are working on. Longer needles are useful for large projects, such as blankets or shawls, as they can hold more stitches. Shorter needles, on the other hand, are great for smaller projects, such as hats or scarves. Beginners often find shorter needles easier to handle and manipulate.
Tip shape
The shape of the needle tip can also affect your knitting experience. There are three main types of needle tips: straight, circular, and double-pointed. Straight needles are the most common and are ideal for flat knitting, such as scarves or dishcloths. Circular needles have two needle tips connected by a flexible cord and are great for knitting in the round, such as hats or socks. Double-pointed needles, as the name suggests, have points on both ends and are often used for small, tubular objects like gloves or sleeves.
Overall, when choosing needles as a beginner, it’s important to consider factors such as material, size, length, and tip shape. Experimenting with different types of needles will help you find the ones that feel comfortable and suit your knitting style best. Happy knitting!
Getting Familiar with the Knitting Basics
Knitting is an ancient craft that has been practiced for centuries. It involves creating fabric by interlocking loops of yarn with knitting needles. Whether you are a beginner or an experienced knitter, it is essential to have a good understanding of the knitting basics.
Tools: To get started with knitting, you will need a few basic tools. These include knitting needles, which come in different sizes and materials, and yarn, which can be made from various fibers. You may also find it helpful to have a pair of scissors, a tapestry needle for weaving in ends, and stitch markers to help keep track of your stitches.
Casting On: The first step in any knitting project is casting on. This is the process of creating the first row of stitches on your knitting needles. There are several methods for casting on, including the long-tail cast on and the knit cast on. The method you choose will depend on your personal preference and the type of project you are working on.
Knit Stitch: The knit stitch is the foundation of knitting. It creates a smooth, v-shaped stitch that is commonly used in many knitting patterns. To make a knit stitch, insert the right needle into the first stitch on the left needle, from front to back, and wrap the yarn around the right needle. Then, pull the right needle through the stitch, slipping the stitch off the left needle. Repeat this process for each stitch.
Purl Stitch: The purl stitch is the reverse of the knit stitch and creates a bumpy, v-shaped stitch. To make a purl stitch, insert the right needle into the first stitch on the left needle, from back to front, and wrap the yarn around the right needle. Then, pull the right needle through the stitch, slipping the stitch off the left needle. Repeat this process for each stitch.
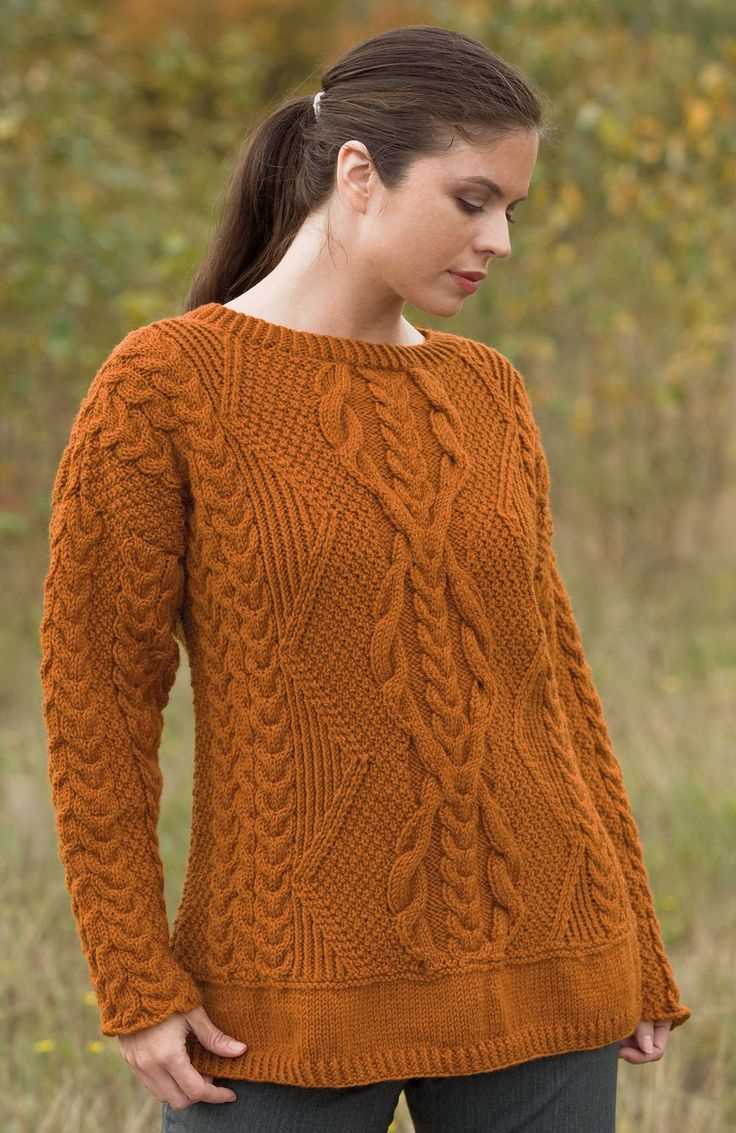
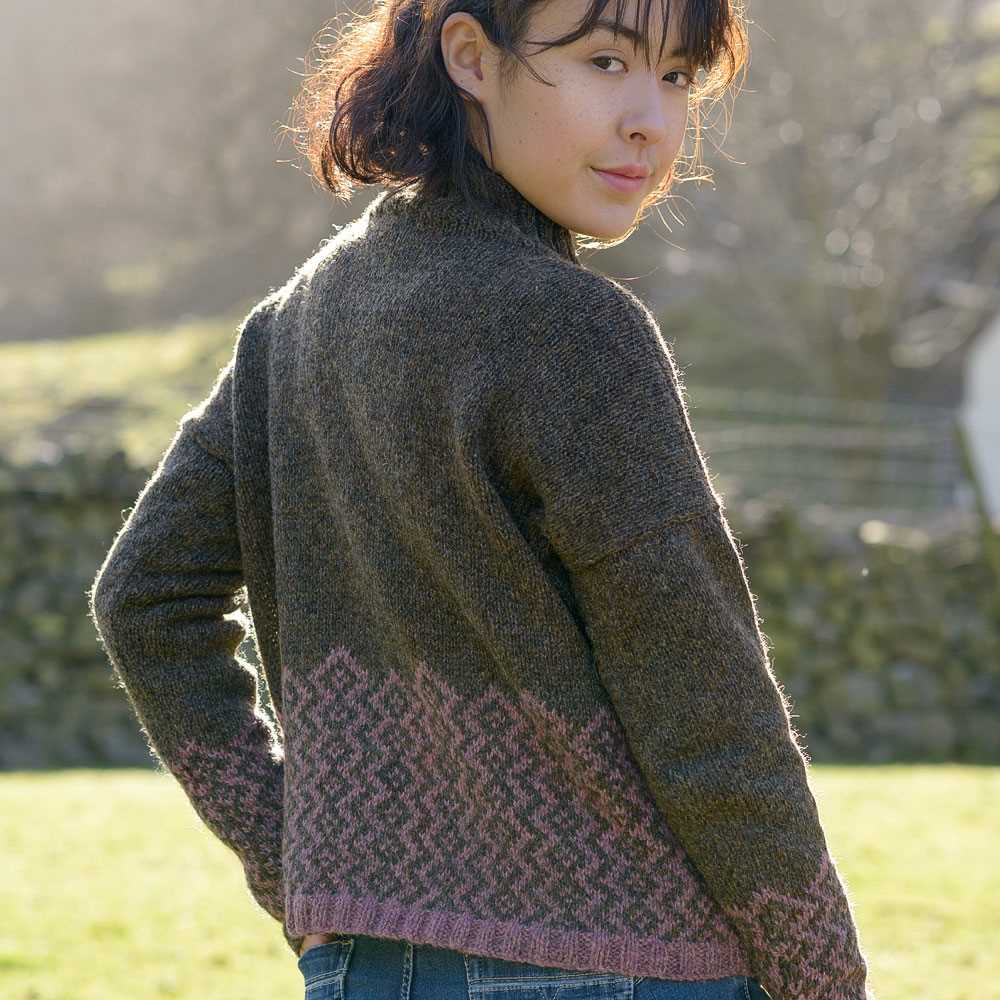
Basic Knitting Techniques: Once you have mastered the knit and purl stitches, there are many other knitting techniques you can learn. Some common techniques include increasing and decreasing stitches, knitting in the round, and creating textured stitches with techniques like cables and lace. These techniques can be used to create a wide variety of knitting projects, from simple scarves to intricate sweaters.
Understanding Gauge and Measurements
Knitting a sweater can be a fun and rewarding project, but before you start, it’s important to understand gauge and measurements. Gauge refers to the number of stitches and rows per inch in your knitting, and it’s crucial for achieving the right fit and size of your sweater. To determine the gauge, you’ll need to knit a swatch using the recommended yarn and needle size, and then measure the number of stitches and rows in a given measurement.
Choosing the right needle size
When selecting a needle size for your sweater, it’s essential to match the recommended gauge specified in the knitting pattern. If your gauge is too tight, meaning you have more stitches and rows per inch than the pattern suggests, your sweater will turn out smaller than intended. On the other hand, if your gauge is too loose, resulting in fewer stitches and rows per inch, your sweater will be larger. To achieve the correct gauge, you may need to adjust your needle size up or down until your swatch matches the recommended measurements.
- Measurements to consider
Bust: To determine the size of the sweater, you’ll need to measure your bust circumference. Wrap a measuring tape around the fullest part of your bust, keeping it snug but not too tight. This measurement will help you select the appropriate size in the knitting pattern.
Length: The length of the sweater refers to how long it will be from the shoulder to the hem. Measure from the top of your shoulder to the desired length, whether it’s hip-length, waist-length, or longer.
Sleeve length: If the sweater has sleeves, you’ll need to measure the length from the top of your shoulder to your desired sleeve length. This measurement will ensure that the sleeves are the right length for you.
Armhole depth: The armhole depth is the measurement from the top of your shoulder to where you want the armhole to start. This measurement will determine how high the armhole sits and can affect the fit and comfort of the sweater.
Waist shaping: If the sweater has waist shaping, you’ll need to measure your waist circumference to determine where to start and end the shaping. Wrap the measuring tape around your waist at the narrowest part to get an accurate measurement.
By understanding gauge and taking accurate measurements, you’ll be well-equipped to start your sweater knitting project. Remember to follow the pattern instructions carefully and make any necessary adjustments to achieve the perfect fit and size.
Starting the Sweater
When starting to knit a sweater, it is important to have the right materials and tools. Firstly, choose a knitting pattern that is suitable for beginners. Look for patterns that are labeled as “beginner” or “easy” to ensure that you won’t be overwhelmed. Make sure to read through the pattern carefully and familiarize yourself with the instructions before starting.
Materials: Gathering all the necessary materials before you begin knitting your sweater is essential. You will need knitting needles in the size specified in the pattern, as well as the recommended type and weight of yarn. The pattern will usually specify the type of yarn to use, such as acrylic, wool, or cotton. Make sure to choose a yarn that is appropriate for the season and climate.
Choosing the Right Needles
- Go through your knitting needles to find the size recommended in the pattern. If you don’t have the right size, purchase a pair of knitting needles in the correct size.
- Needles should be smooth and have a sharp point for easy knitting.
- Select knitting needles made from a comfortable material, such as bamboo or metal, that you enjoy working with. This will make your knitting experience more enjoyable.
Getting Started: Once you have all your materials ready, cast on the required number of stitches as indicated in the pattern. The cast-on method will depend on the pattern, so make sure to follow the instructions carefully. It is helpful to use stitch markers to keep track of different sections of your sweater.
Note: As a beginner, it’s a good idea to start with a small, simple sweater project to gain confidence and practice your knitting skills. If you encounter any difficulties or have questions, don’t hesitate to seek guidance from experienced knitters or online forums.
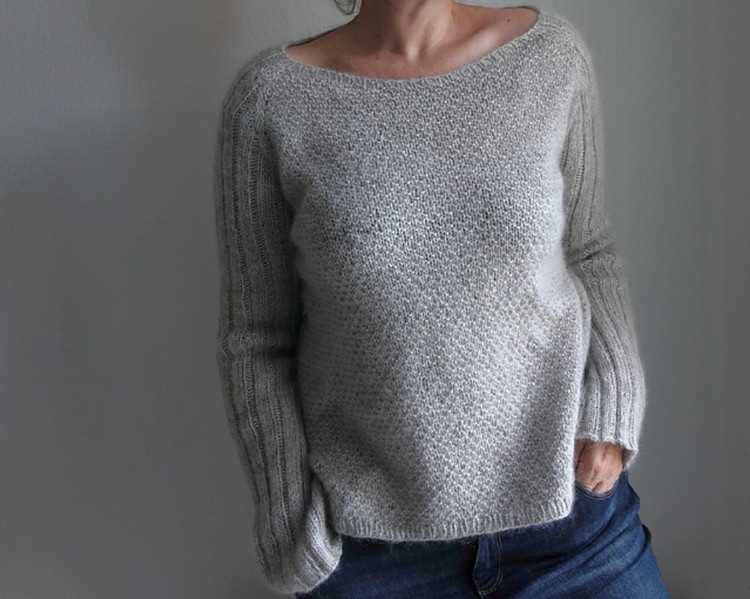
Knitting the Body
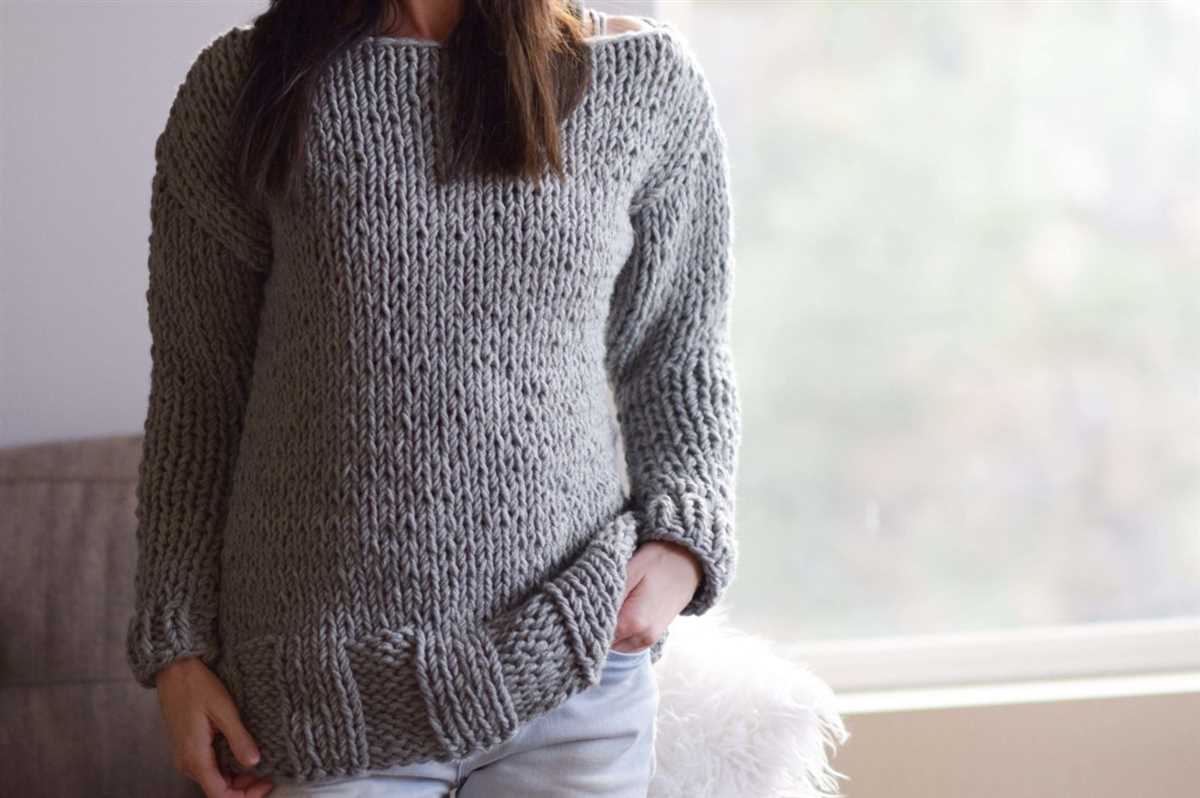
Once you have completed knitting the ribbing for the hem of the sweater, it’s time to move on to knitting the body. The body of the sweater is where the main bulk of the fabric is created, giving the sweater its shape and structure.
To begin knitting the body, you will continue working in the main stitch pattern established in the ribbing. This could be a simple stockinette stitch, which is a combination of knit and purl stitches, or it could be a more intricate stitch pattern depending on the design of the sweater. Follow the pattern instructions to determine which stitch pattern to use.
Work the body of the sweater in the chosen stitch pattern until it reaches the desired length. This length will vary depending on your measurements and the style of the sweater. You may need to periodically check your work against the pattern instructions or try it on to ensure it is the correct length.
Increasing and decreasing stitches: Depending on the design of the sweater, you may need to increase or decrease stitches as you knit the body. This will help shape the sweater and create a flattering fit. Follow the pattern instructions to determine when and how to increase or decrease stitches. This could be as simple as knitting or purling two stitches together, or it could involve more complex techniques like yarn overs and decreases. Pay close attention to the pattern instructions to ensure the correct stitch count is maintained.
Finishing the body: Once you have reached the desired length for the body of the sweater, you will typically end with a few rows of ribbing to match the hem. This creates a nice, neat finish and helps the sweater lay flat. Depending on the pattern, you may also need to bind off stitches for the armholes or neckline. Follow the pattern instructions to determine the specific finishing techniques.
Creating the Sleeves
Once you have completed the body of your sweater, it’s time to move on to the sleeves. The sleeves are often knit separately and then sewn onto the body of the sweater. This allows for easier construction and a better fit.
1. Cast on stitches: To start the sleeves, cast on the required number of stitches onto your knitting needles. This number will vary depending on the size of the sweater and the desired fit. Refer to your knitting pattern for the specific instructions.
2. Knit in the round: Once you have cast on the stitches, join them in the round using a circular knitting needle. This will create a seamless sleeve. You can use either double-pointed needles or magic loop method, depending on your preference.
3. Knit the desired length: Follow the knitting pattern to determine the desired length of the sleeves. Knit in the round, following the stitch pattern and any shaping instructions provided. Make sure to measure your knitting as you go to ensure the sleeves are the correct length.
4. Shape the sleeve cap: When the sleeves have reached the desired length, it’s time to shape the sleeve cap. This is done by decreasing stitches gradually to create a rounded shape that will fit the shoulder. The knitting pattern will provide specific instructions on how many stitches to decrease and when to do so.
5. Bind off: Once you have shaped the sleeve cap, bind off the remaining stitches. Cut the yarn, leaving a tail long enough to sew the sleeve onto the body of the sweater.
Repeat these steps to create the second sleeve. Once both sleeves are complete, you can sew them onto the body of the sweater, following the instructions provided in the knitting pattern.
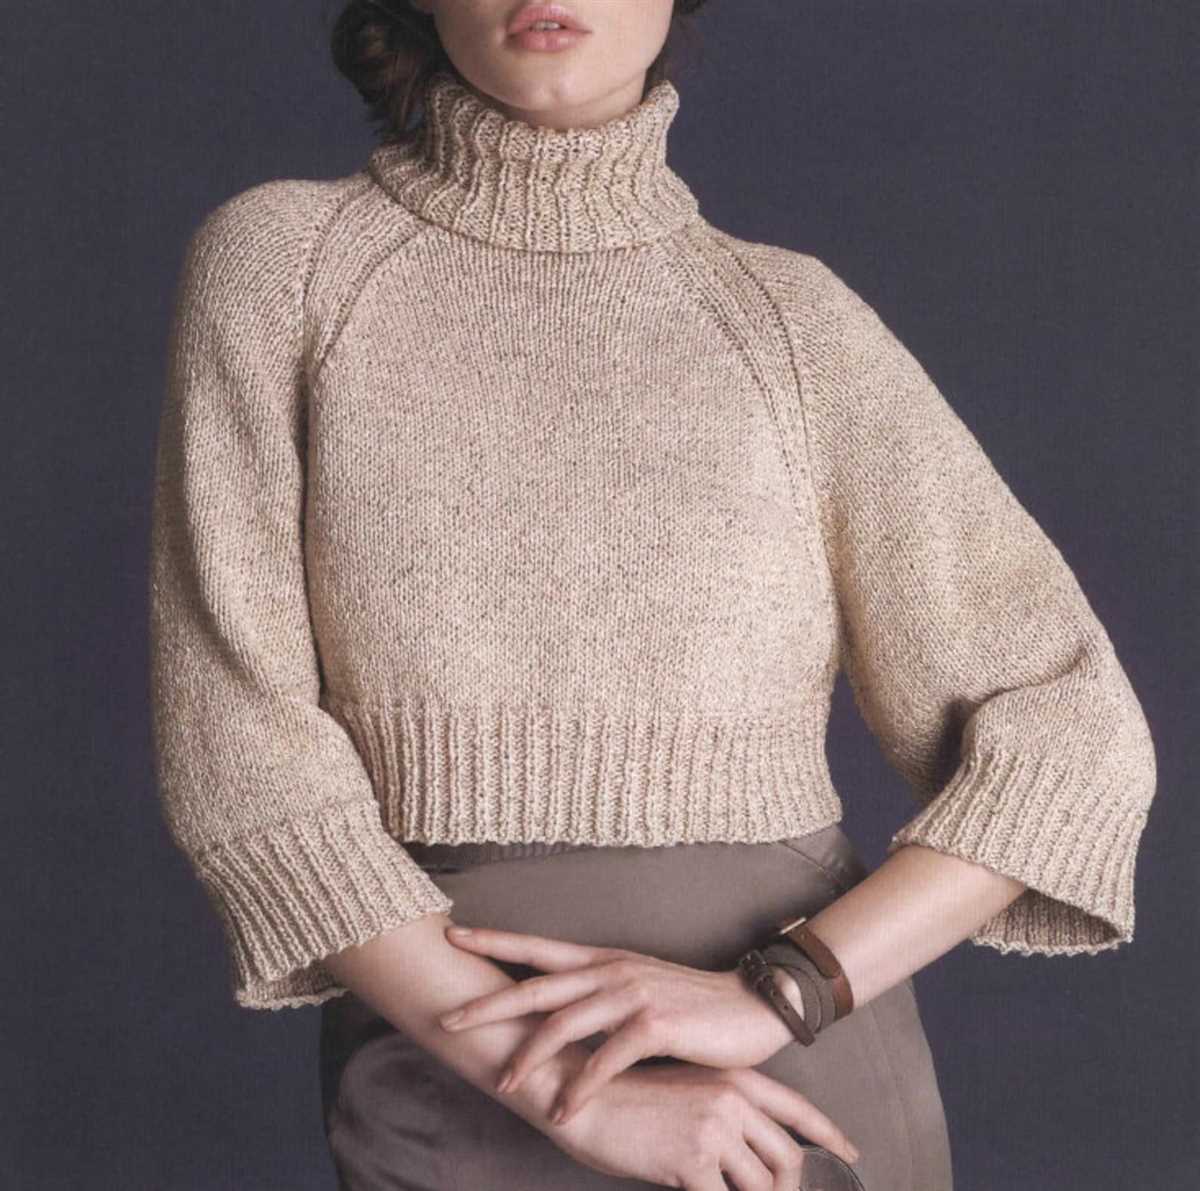
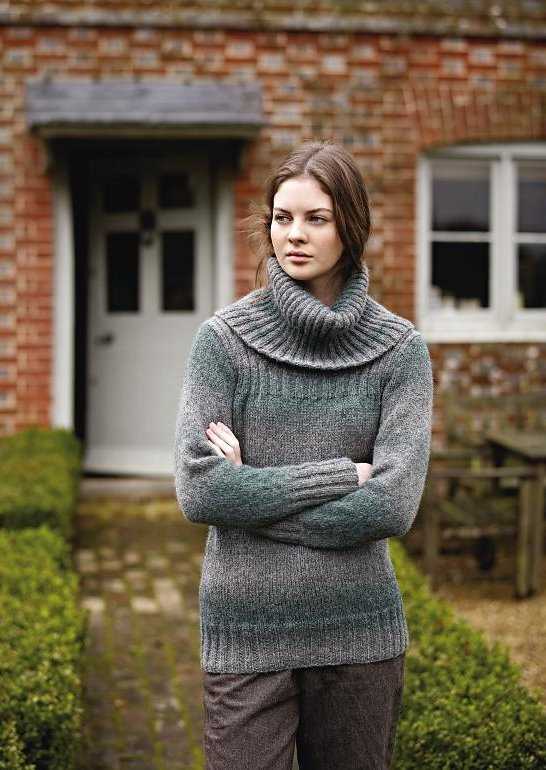
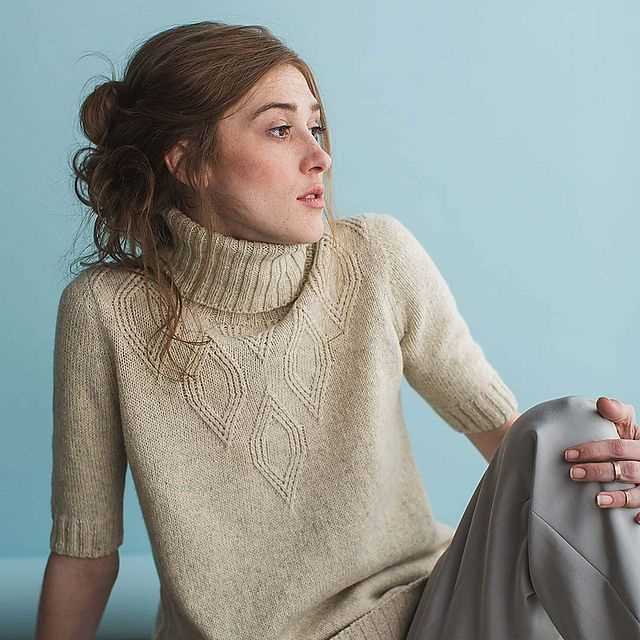
Adding a Collar or Neckline
One of the final steps in knitting a sweater is adding a collar or neckline. This is an important part of the design and can greatly affect the overall look and fit of the sweater. There are several different types of collars and necklines that you can choose from, depending on the style and design you want to achieve.
Rolled Collar: A rolled collar is a simple and classic option that can be added to any sweater. To create a rolled collar, you will need to pick up stitches around the neckline and then work in a rib stitch pattern for a few inches. This will create a rolled edge that adds a bit of texture and depth to the neckline.
Crew Neck: A crew neck is a popular choice for many sweater designs. To create a crew neck, you will need to pick up stitches around the neckline and then work in a rib or stockinette stitch pattern for a certain number of rows. This will create a high, round neckline that is perfect for keeping warm in colder weather.
Note: The number of stitches you pick up and the height of the collar will depend on your pattern and personal preference. Be sure to follow the instructions provided in your knitting pattern or adjust as needed.
V-Neck: A V-neck is another common neckline option for sweaters. To create a V-neck, you will need to pick up stitches along the neckline and then shape the V by decreasing stitches in a diagonal manner. This creates a flattering and versatile neckline that can be dressed up or down.
Turtleneck: If you’re looking for a cozy and warm neckline option, a turtleneck is a great choice. To create a turtleneck, you will need to pick up stitches around the neckline and then work in a rib stitch pattern for several inches. This will create a high, fold-over collar that can be pulled up to keep your neck warm.
Finishing Touches and Blocking
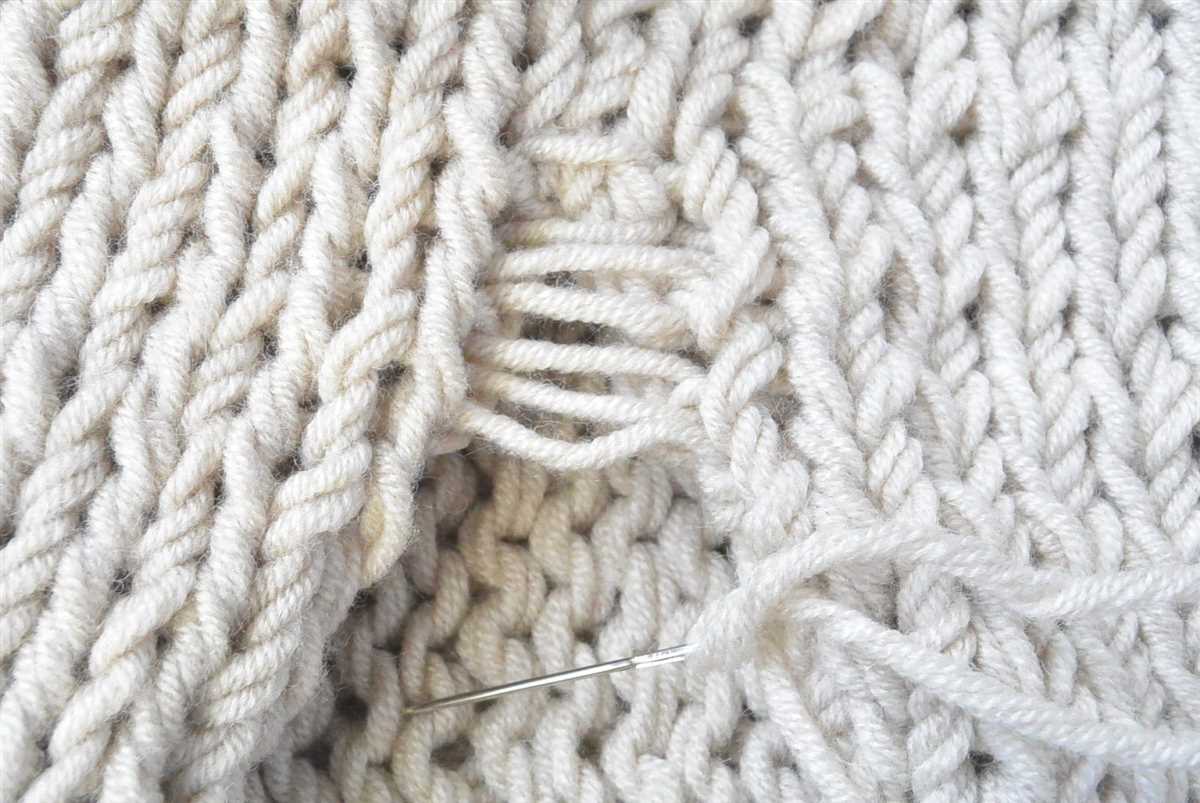
Once you have completed knitting your sweater, it’s time to add the finishing touches to make it look polished and professional. This includes weaving in any loose ends and sewing up any seams that may be present. Use a tapestry needle to carefully weave in the loose ends, making sure that they are securely tucked away and won’t come undone with wear. When sewing up seams, use a matching yarn and a mattress stitch to create an invisible join. This will give your sweater a clean and seamless appearance.
After all the finishing touches have been added, it’s important to block your sweater. Blocking is the process of shaping and sizing your knitted garment to ensure that it fits properly. Start by washing your sweater according to the yarn manufacturer’s instructions. Gently squeeze out any excess water and lay your sweater flat on a clean towel. Use rustproof pins to pin the sweater into shape, taking care to smooth out any wrinkles or uneven edges. Allow the sweater to dry completely before unpinning.
Blocking not only helps to shape your sweater, but it also helps to even out the tension and stitches, giving your garment a professional finish. It can also help to relax the fibers and improve the drape of the fabric. Once your sweater is dry, it’s ready to be worn or gifted to a lucky recipient. The finishing touches and blocking are the final steps in the knitting process, and they are essential for creating a high-quality and beautifully finished sweater.
Final Thoughts and Next Steps
Learning to knit a sweater can be a challenging but rewarding experience, especially for beginners. By following a beginner-friendly knitting pattern, you can create a cozy and stylish sweater that you’ll be proud to wear.
Throughout this article, we have discussed the basics of sweater knitting, including choosing the right materials, understanding knitting terminology, and following a pattern. We have also provided step-by-step instructions for casting on, knitting, purling, increasing, decreasing, and binding off. With these skills, you are well on your way to becoming a confident sweater knitter.
Now that you have completed your first sweater knitting project, here are some next steps you can take:
- Experiment with different patterns: Now that you understand the basics, you can try more advanced sweater patterns with different stitch patterns or shaping techniques.
- Create your own designs: Once you are comfortable with sweater knitting, you can start designing your own patterns. Explore different stitch patterns and experiment with different yarns to create unique and personalized sweaters.
- Join a knitting community: Connecting with other knitters can be a great way to learn new techniques, get inspiration, and share your love for knitting. Join knitting groups or forums, attend local knitting events, or even start your own knitting circle.
- Expand your knitting skills: In addition to sweater knitting, there are many other knitting techniques and projects you can explore. Consider learning new stitches, knitting accessories like hats or scarves, or even trying your hand at more complex projects like lace or cable knitting.
- Give back: Consider using your knitting skills for a good cause by knitting sweaters or other items for charity. Many organizations accept handmade donations to provide warmth and comfort to those in need.
Remember, knitting is a craft that takes time and patience to master. Don’t be afraid to make mistakes and learn from them. With each project, you will become more confident in your knitting abilities and create beautiful, one-of-a-kind garments.