
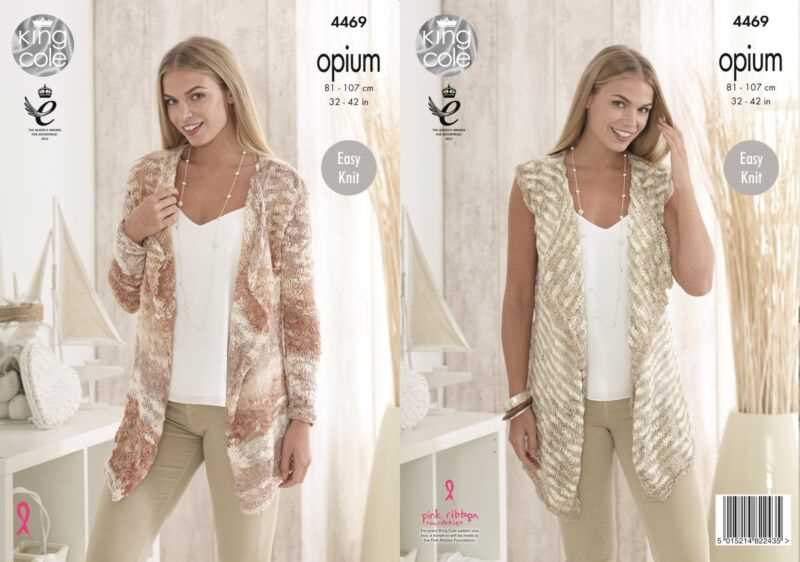
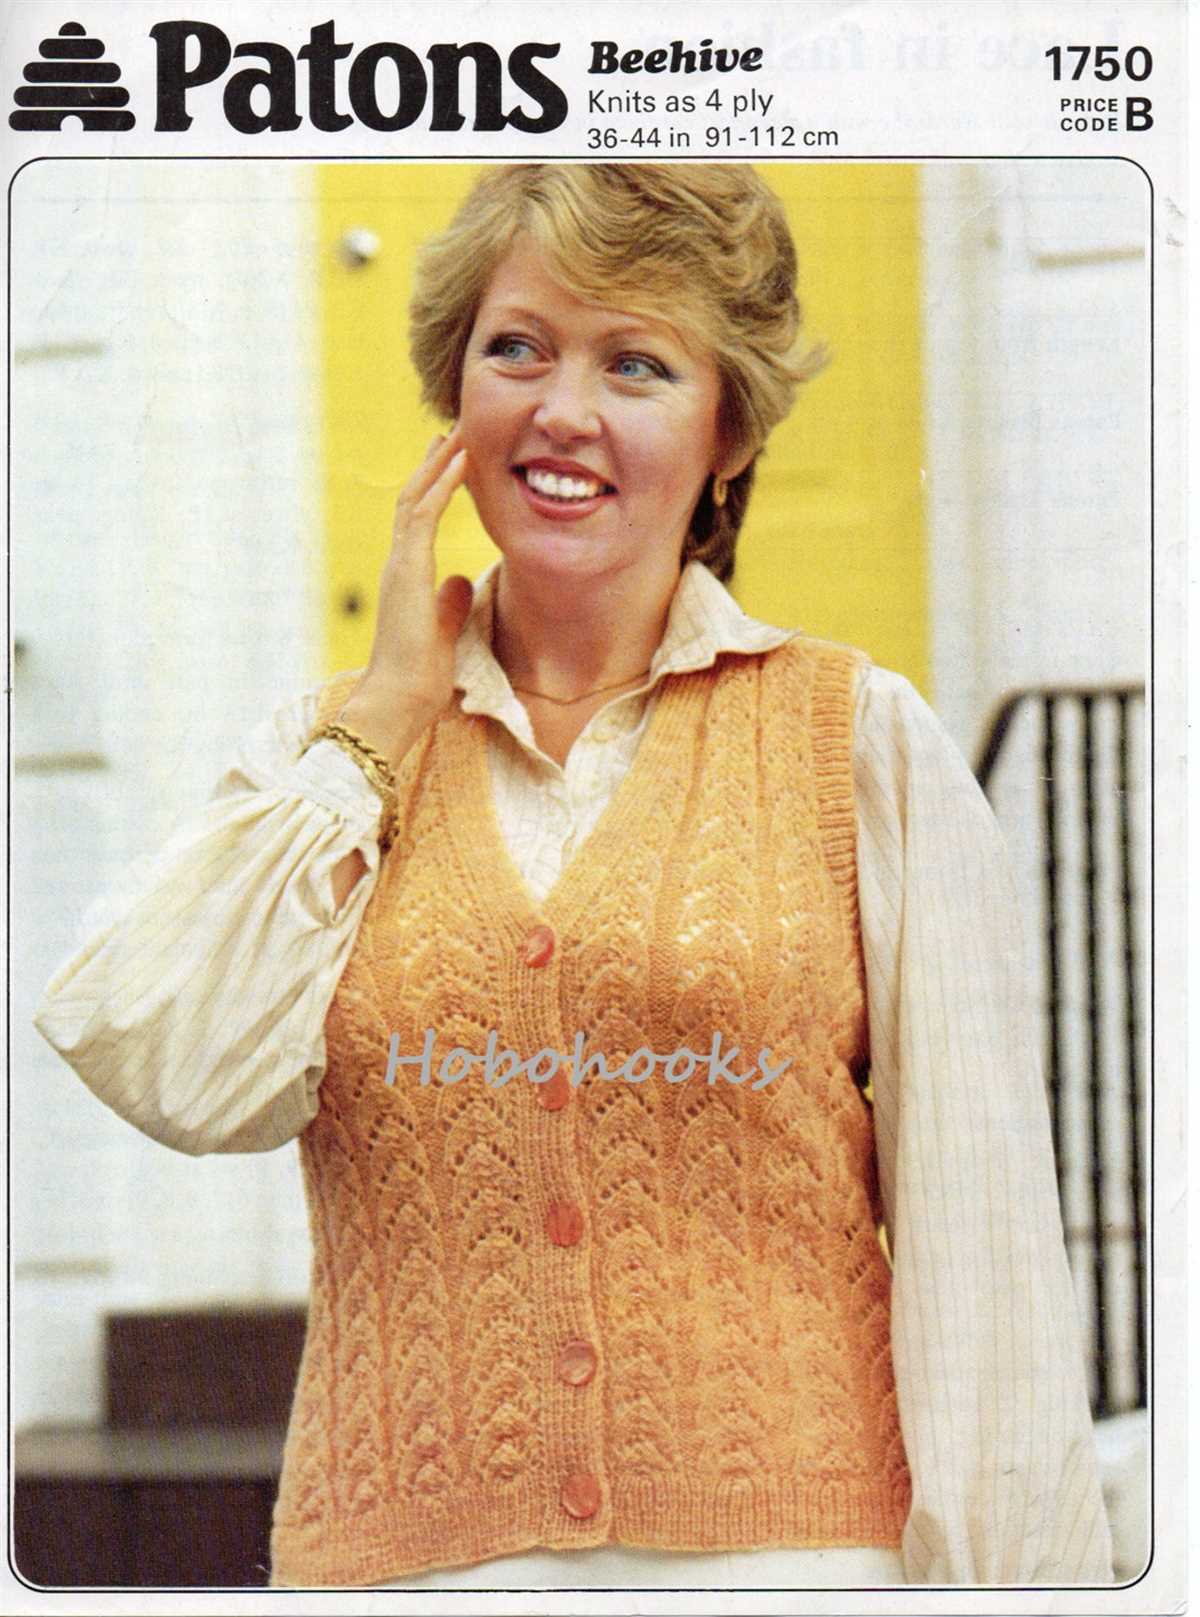
Knitting is a timeless hobby that has been loved by many for centuries. It allows you to create beautiful and functional items using just a pair of needles and some yarn. One popular item to knit is a waistcoat, also known as a vest.
A waistcoat is a sleeveless garment that can be worn over a shirt or blouse. It adds style and warmth to any outfit, and can be dressed up or down depending on the occasion. It is also a great project for knitters of all skill levels, from beginners to advanced.
If you’re looking to knit a waistcoat, you’re in luck! There are countless knitting patterns available that can help you create the perfect waistcoat for your style and needs. These patterns provide step-by-step instructions, including the type of yarn to use, the needle size, and the stitches to knit.
Whether you prefer a simple and classic design or a more intricate and detailed pattern, there is a knitting pattern for you. Plus, knitting your own waistcoat allows you to customize it to your liking. You can choose the color, stitch pattern, and even add buttons or other embellishments.
So why not give knitting a waistcoat a try? It’s a fun and rewarding project that allows you to unleash your creativity and create a one-of-a-kind garment that you’ll be proud to wear. With the right knitting pattern and a little bit of practice, you’ll be able to knit a waistcoat that will be the envy of all your friends.
Knitting Pattern for Waistcoat
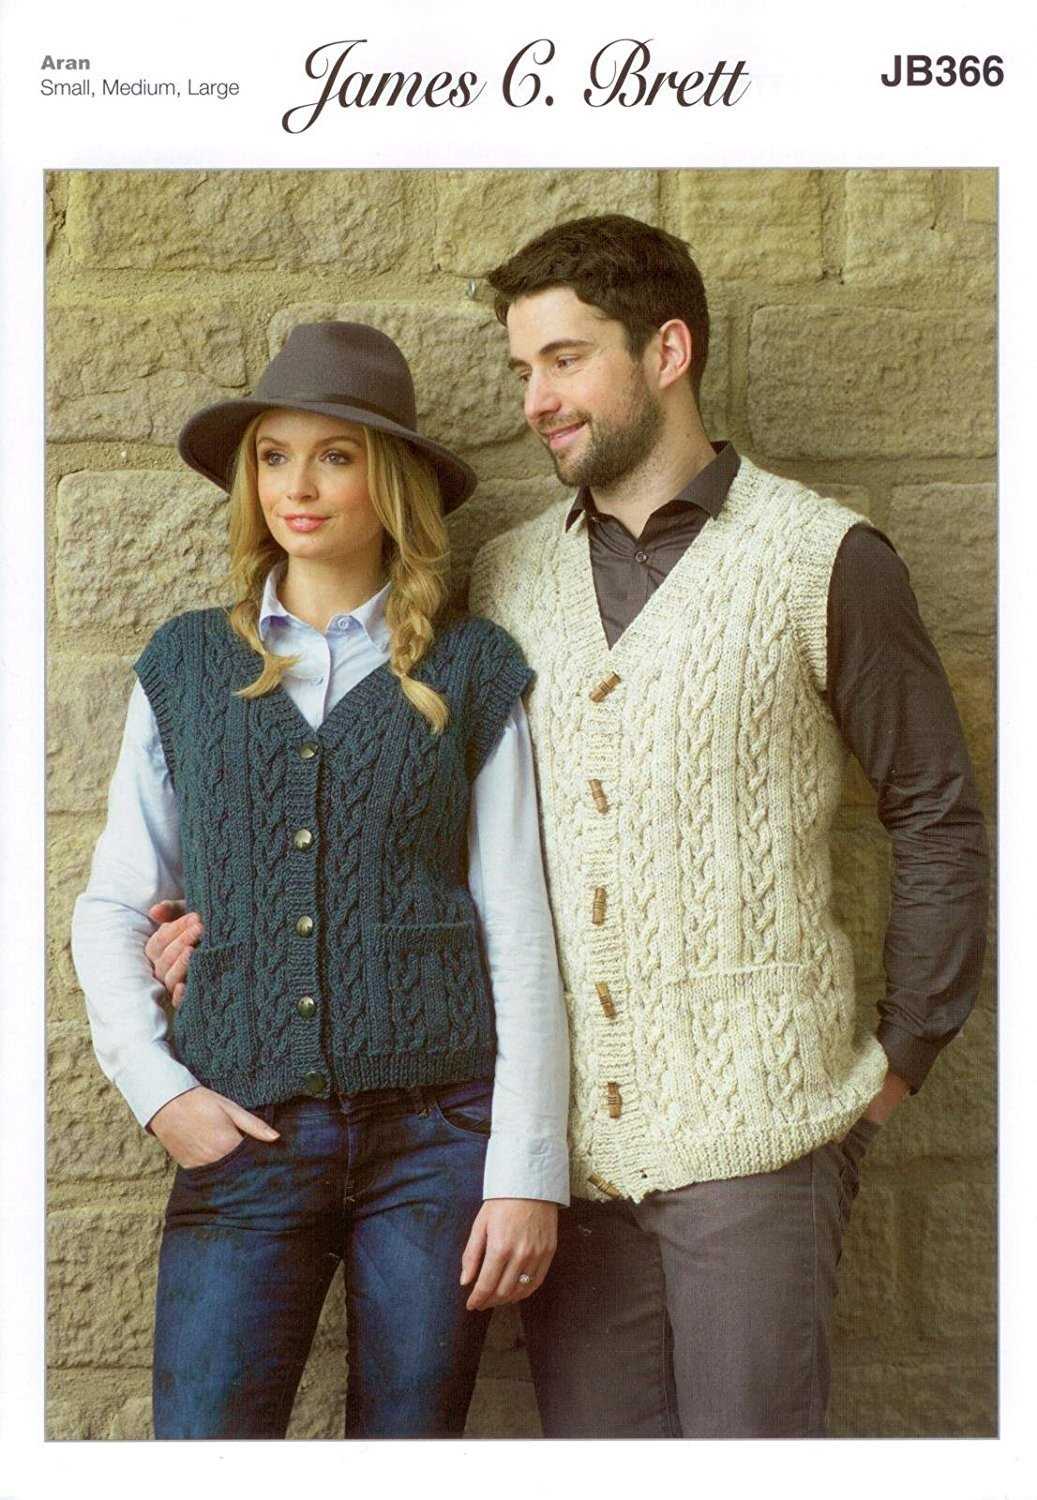
A waistcoat is a stylish and versatile addition to any wardrobe, and with this knitting pattern, you can create your own unique waistcoat. Whether you’re a beginner or an experienced knitter, this pattern is suitable for all skill levels. With just a few simple steps, you’ll be able to create a beautiful and comfortable waistcoat that you’ll love to wear.
To get started, you’ll need the following materials:
- Yarn: Choose a yarn that is suitable for the season and climate. You can opt for a lightweight yarn for warmer weather or a thicker yarn for colder seasons.
- Knitting needles: Use the size recommended for your chosen yarn. Circular needles may be preferred for larger sizes.
- Stitch markers: These will help you keep track of your stitches and any pattern repeats.
- Buttons: Depending on your preference, you can choose buttons that match or contrast with your yarn.
- Tapestry needle: This will be used for weaving in ends and sewing on buttons.
Once you have gathered your materials, you can begin knitting. The pattern will guide you through the steps, including casting on, creating the main body of the waistcoat, shaping the neckline and armholes, and adding the finishing touches such as buttonholes and edging.
With this knitting pattern for a waistcoat, you have the freedom to customize it to your liking. You can experiment with different stitches, colors, and lengths to create a waistcoat that truly reflects your personal style. Whether you prefer a classic, timeless design or a bold, modern look, this pattern is a great starting point.
Materials Needed
In order to complete this knitting pattern for a waistcoat, you will need the following materials:
- Yarn: Choose a medium-weight yarn that is suitable for the desired style and gauge of the waistcoat.
- Knitting Needles: Use a pair of knitting needles that are appropriate for the yarn chosen. The recommended needle size should be listed on the yarn label.
- Stitch Markers: Stitch markers can be helpful for keeping track of specific sections or stitch patterns in the waistcoat.
- Tapestry Needle: A tapestry needle is necessary for weaving in loose ends and seaming any necessary sections of the waistcoat.
- Scissors: A pair of scissors will be needed for cutting yarn and trimming any excess thread.
- Measuring Tape: A measuring tape is essential for taking accurate measurements of the wearer’s body in order to ensure the proper fit of the waistcoat.
Additionally, it may be helpful to have a notebook or notepad and a pen or pencil to jot down any important notes or modifications as you work through the pattern. Having these materials ready and organized before beginning the project will make the knitting process more efficient and enjoyable.
Gauge and Measurements
When knitting a waistcoat, it is important to pay attention to gauge and measurements. The gauge refers to the number of stitches and rows per inch that you will need to achieve in order for the waistcoat to fit properly. This can be determined by knitting a swatch using the recommended yarn and needle size and measuring it. The gauge will vary depending on the pattern and the yarn you are using, so it is important to check the pattern for specific instructions on gauge.
Measurements are equally important when knitting a waistcoat. Before starting the project, it is essential to take accurate measurements of the person who will be wearing the waistcoat. This will ensure a proper fit and prevent any issues with sizing. Measurements that may be needed include the bust, waist, hips, and length from shoulder to hem. The pattern will typically provide guidance on the specific measurements required.
Once you have determined the gauge and taken measurements, you can begin knitting the waistcoat. It is important to follow the pattern instructions carefully, paying attention to any changes in stitch count or shaping. By properly measuring and checking your gauge, you can ensure that your waistcoat will fit well and be a beautiful addition to your wardrobe.
Back Panel
The back panel of the waistcoat is one of the key components that form the overall structure of the garment. It plays a crucial role in providing shape and support to the waistcoat.
When knitting the back panel, it is important to follow the knitting pattern instructions carefully to ensure the correct sizing and fit. The pattern will usually specify the required number of stitches and rows to achieve the desired measurements.
To begin knitting the back panel, cast on the required number of stitches and work in the specified stitch pattern. This could be a simple knit and purl combination or a more intricate stitch pattern, depending on the design. Take care to maintain an even tension throughout the project to ensure an even and professional finish.
As you progress with the knitting, you may need to shape the back panel by decreasing or increasing the number of stitches. This is typically done by working specific decreases or increases at specified intervals to achieve the desired shaping. Be sure to follow the pattern instructions for shaping to maintain the correct proportions.
Once the back panel is completed, you can proceed to the next step in the waistcoat pattern, such as attaching the front panels or adding any additional details or embellishments. The back panel serves as a foundation for the rest of the garment and is essential in creating a well-fitting and visually appealing waistcoat.
Front Panels
When knitting a waistcoat, the front panels are an essential part of the pattern. They form the main body of the waistcoat and are responsible for shaping the front of the garment. The front panels are typically knitted separately and then joined together at the center front.
Pattern: The front panel pattern can vary depending on the design of the waistcoat. It can be a simple stockinette stitch, or it can feature intricate cable or lace patterns. The pattern will usually include instructions for shaping, such as decreasing or increasing stitches at the armholes and neckline.
Measurements: Before starting the front panels, it’s important to take accurate measurements to ensure a proper fit. This includes measuring the chest circumference, determining the desired length of the waistcoat, and measuring the distance from the bottom hem to the armholes. These measurements will help determine the number of stitches to cast on and the length of the front panels.
Techniques: Knitting the front panels requires basic knitting techniques, such as casting on, knitting, purling, and decreasing or increasing stitches. It’s essential to follow the pattern instructions carefully and pay attention to any special techniques or stitch patterns specified.
Finishing: Once the front panels are completed, they can be blocked to ensure an even shape and stitch definition. Blocking involves wetting or steam blocking the knitted fabric and allowing it to dry flat, helping to stretch and shape the panels. After blocking, the front panels can be sewn together at the center front and any remaining finishing touches, such as adding buttons or a zipper, can be added.
In summary, the front panels are a crucial component of a waistcoat knitting pattern. They are responsible for shaping the front of the garment and can feature various stitch patterns. Proper measurements and attention to detail while knitting will result in a well-fitting and professionally finished waistcoat.
Armholes
When working on a knitting pattern for a waistcoat, one important aspect to consider is the armholes. The armholes determine the size and fit of the garment, as well as how comfortable it will be to wear. It is crucial to follow the instructions for the armholes carefully to achieve the desired result.
The armholes are usually shaped by binding off a certain number of stitches on each side. This creates a curved edge that allows for ease of movement and a neat finish. It is important to pay attention to the specific measurements and instructions provided in the pattern to ensure proper shaping.
One common technique used for shaping armholes is to bind off stitches at the beginning of the row to create a gradual curve. This can be done by following the instructions for each size provided in the pattern, which usually indicate the number of stitches to bind off at specific points. By following these instructions and binding off the designated stitches, the armholes will be shaped correctly.
Another technique that can be used is short rows. Short rows are rows that are not worked to the end, but instead turned back before reaching the end of the row. This creates extra fabric in specific areas, such as the armholes, which helps to shape them. Short rows can be used in combination with binding off stitches to achieve the desired armhole shape.
To ensure that the armholes are even, it is important to keep track of the number of stitches bound off on each side. This can be done by counting the stitches as they are bound off or by using stitch markers to mark the points where the binding off begins and ends. Keeping track of the stitches will help to maintain symmetry and ensure a well-shaped armhole.
Neckline
The neckline is an important element of any waistcoat knitting pattern as it contributes to the overall style and fit of the garment. There are several options to consider when designing the neckline of a waistcoat, including the shape, depth, and finishing techniques.
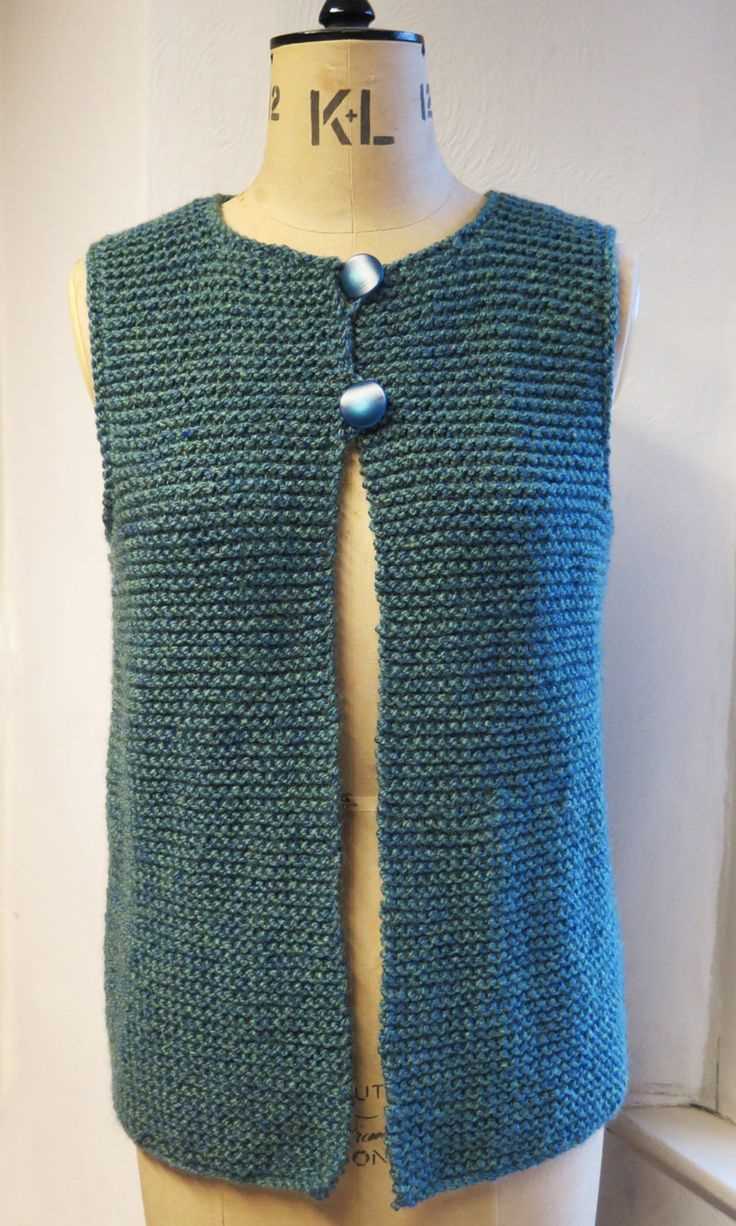
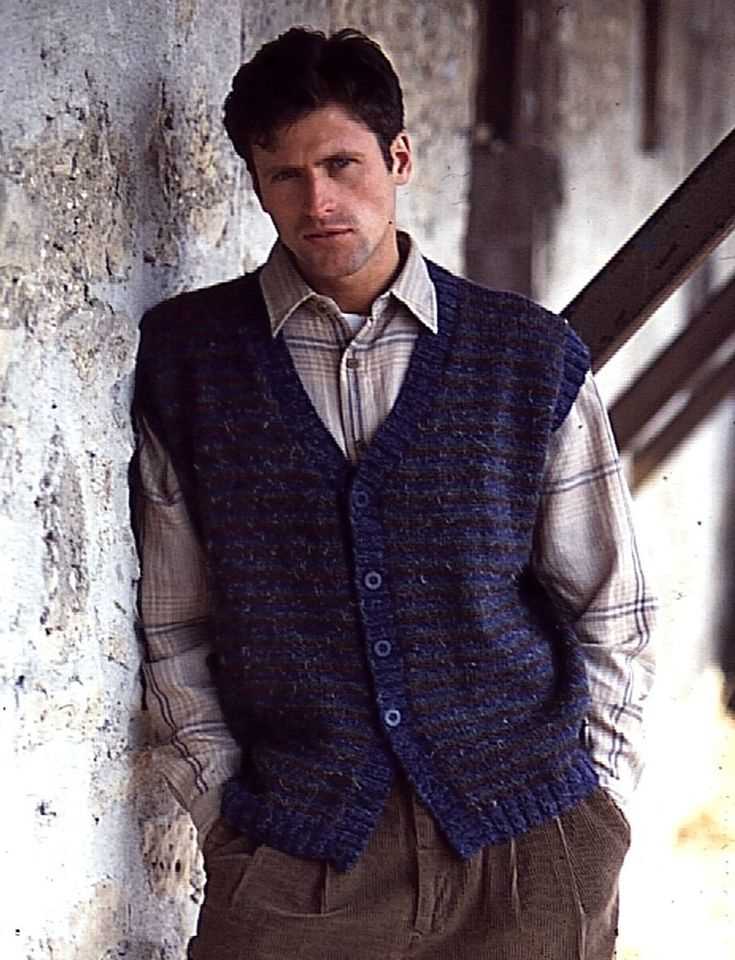
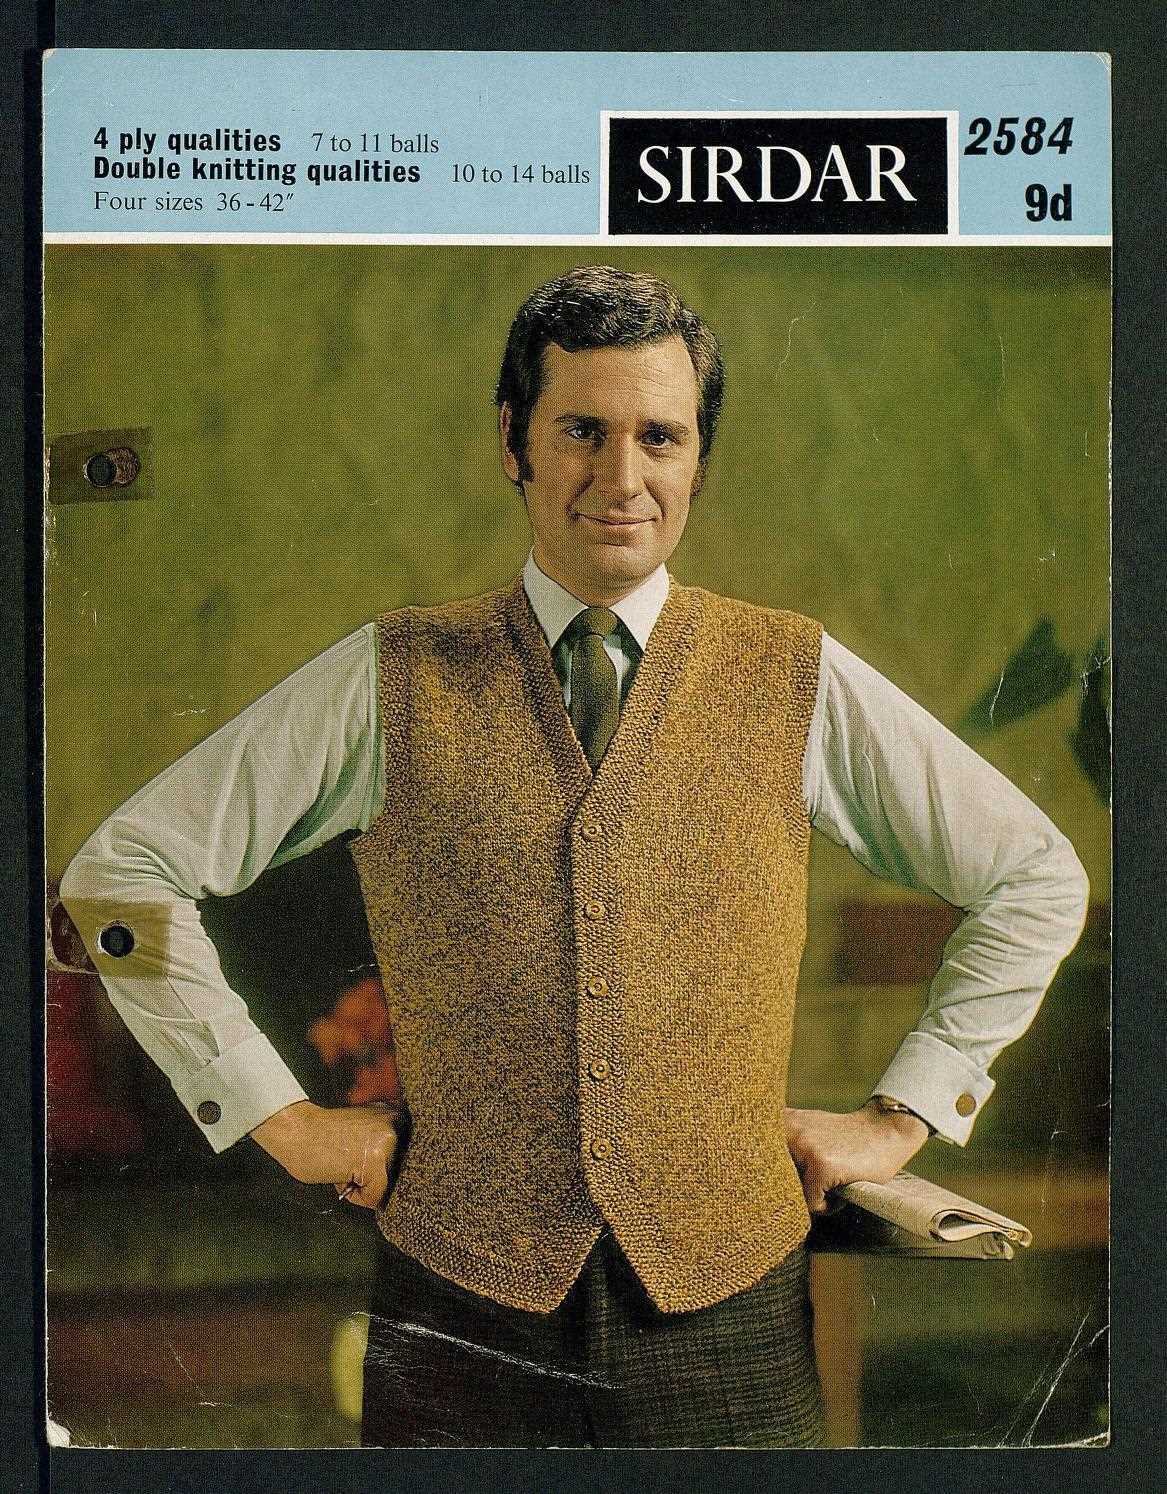
One popular neckline option for a waistcoat is the V-neck. This classic style creates a flattering and versatile look, allowing the wearer to easily layer the waistcoat over different types of tops. To knit a V-neckline, you can start by decreasing stitches gradually in a triangular shape, creating a gentle slope. Alternatively, you can use short rows to shape the neckline, creating a more dramatic and defined V shape.
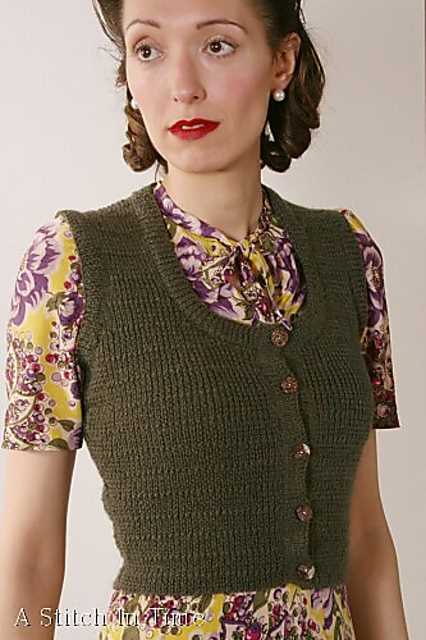
Another option for the neckline is the round or crew neck. This style provides a more traditional and relaxed look, making it suitable for casual waistcoat designs. To create a round neckline, you would simply continue knitting in a circular shape without any decrease or increase stitches. For a more polished finish, you can add ribbing or a simple rolled edge to the neckline.
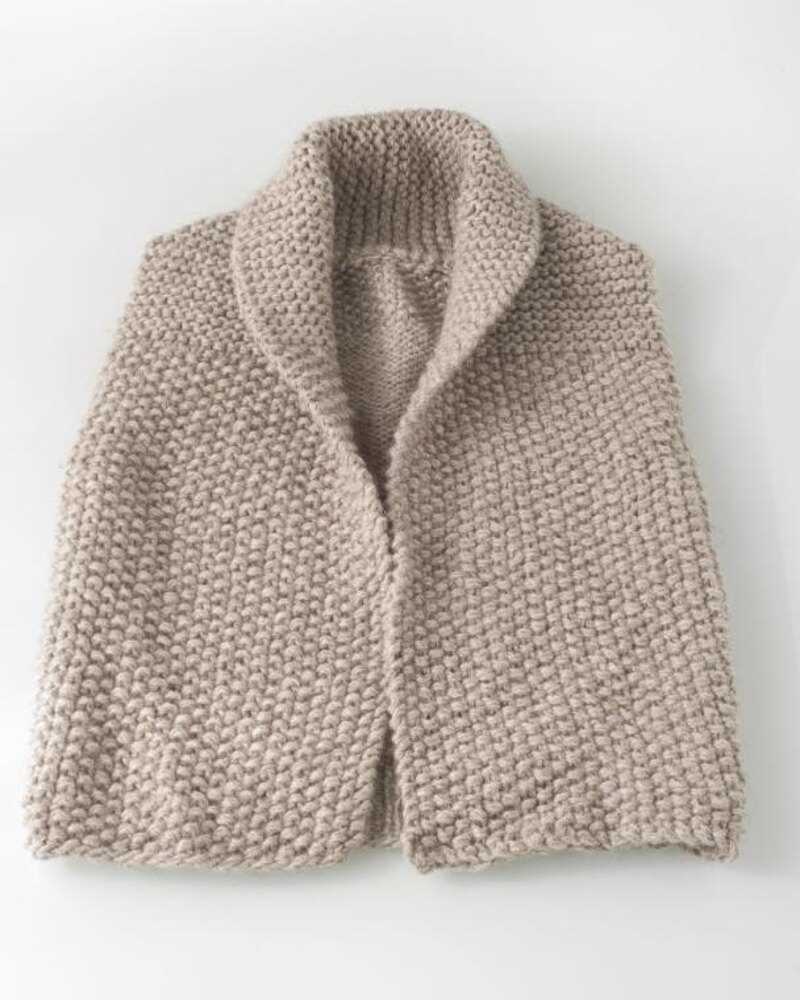
If you want to add a touch of elegance to your waistcoat, you can consider incorporating a collar or shawl collar neckline. This style creates a sophisticated and refined look, often seen in formal or tailored waistcoats. To knit a collar, you can either pick up stitches around the neckline and work in a ribbing or twisted stitch pattern, or separately knit the collar and sew it onto the waistcoat afterwards. The shawl collar, on the other hand, is created by knitting an extended section of stitches at the front of the waistcoat, which can be folded over to create a lapel-like effect.
Buttonholes
In knitting patterns for waistcoats, buttonholes are an essential element. They allow you to fasten the waistcoat and keep it secure on your body. Buttonholes are small openings in the fabric where buttons can be inserted and fastened. They are usually placed vertically along the front edge of the waistcoat, allowing for easy closure.
When knitting a waistcoat, it is important to carefully plan and create your buttonholes. There are several methods you can use to make buttonholes, such as yarnovers, eyelets, or slits. The method you choose will depend on your personal preference and the overall design of the waistcoat pattern.
If you prefer a simple and clean look, you can create basic buttonholes by binding off a few stitches, then casting them back on in the next row. This method creates a small opening that can easily fit a button. Alternatively, you can also use a knitting tool called a buttonhole maker, which creates neat and uniform buttonholes.
Buttonholes should be evenly spaced along the front edge of the waistcoat. It’s a good idea to mark the locations where you want your buttonholes to be before you start knitting. This will help you maintain consistency and ensure that your buttonholes are aligned properly. Once you have knitted the buttonholes, you can sew on the buttons to complete the waistcoat.
Finishing
Once you have completed knitting the waistcoat according to the pattern, you will need to finish it off to give it a polished look. Here are the steps you need to follow:
Weaving in ends:
Start by weaving in all the loose ends on the wrong side of the waistcoat. Use a tapestry needle to thread the yarn through the stitches, making sure to secure it tightly. Trim any excess yarn.
Blocking:
Blocking is an important step to shape and set your knitted garment. Lay the waistcoat flat on a blocking mat or towel. Gently stretch the fabric to the desired measurements, using blocking pins to hold it in place. Mist the garment with water or use a steam iron to lightly steam it. Allow it to dry completely before removing the pins.
Sewing on buttons:
If your waistcoat has buttonholes, sew buttons onto the corresponding spots on the opposite side. Choose buttons that complement the yarn and the overall design of the waistcoat. Use a strong, matching thread and secure the buttons firmly.
Adding a lining (optional):
If you want to add a lining to your waistcoat for added warmth and comfort, cut out a piece of fabric that matches the shape and size of the waistcoat. Sew the lining fabric to the wrong side of the waistcoat, making sure to align the edges. Hem the bottom edge of the lining if necessary.
Once you have finished all these steps, your knitted waistcoat will be ready to wear or gift to someone special. Enjoy the satisfaction of completing a beautiful handmade garment!
Variations
There are many variations that you can make to this knitting pattern for a waistcoat to create a unique and personalized garment. Here are some ideas to inspire your creativity:
1. Yarn Choice
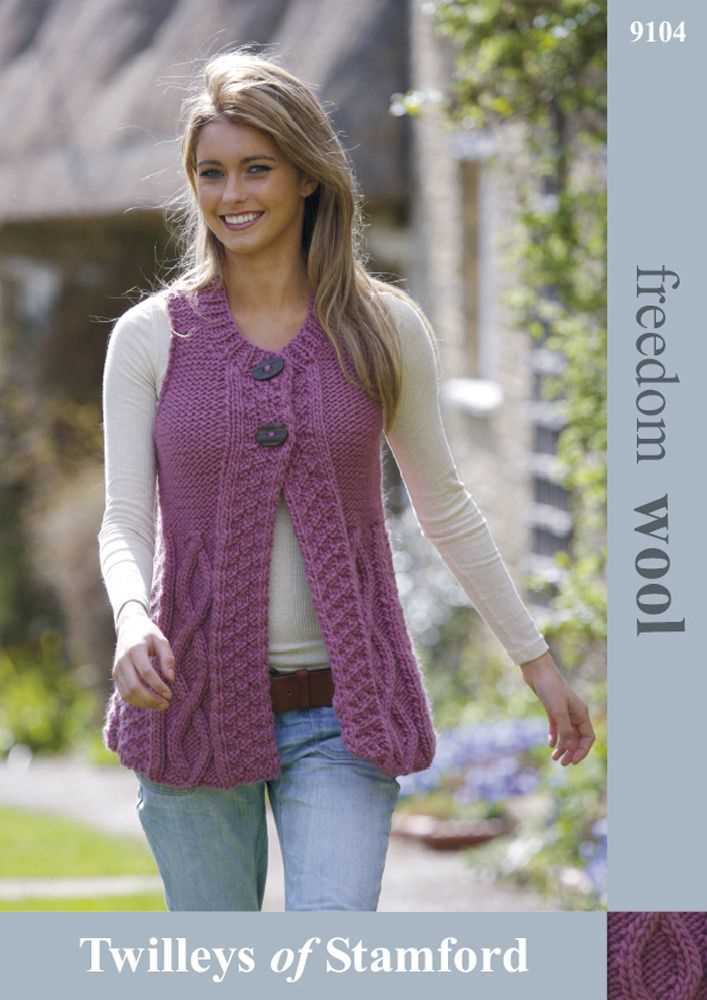
Experiment with different types of yarn to achieve different textures and effects. You can try using a bulky yarn for a cozy and chunky waistcoat, or opt for a variegated yarn to add some color and interest to your project.
2. Stitch Pattern
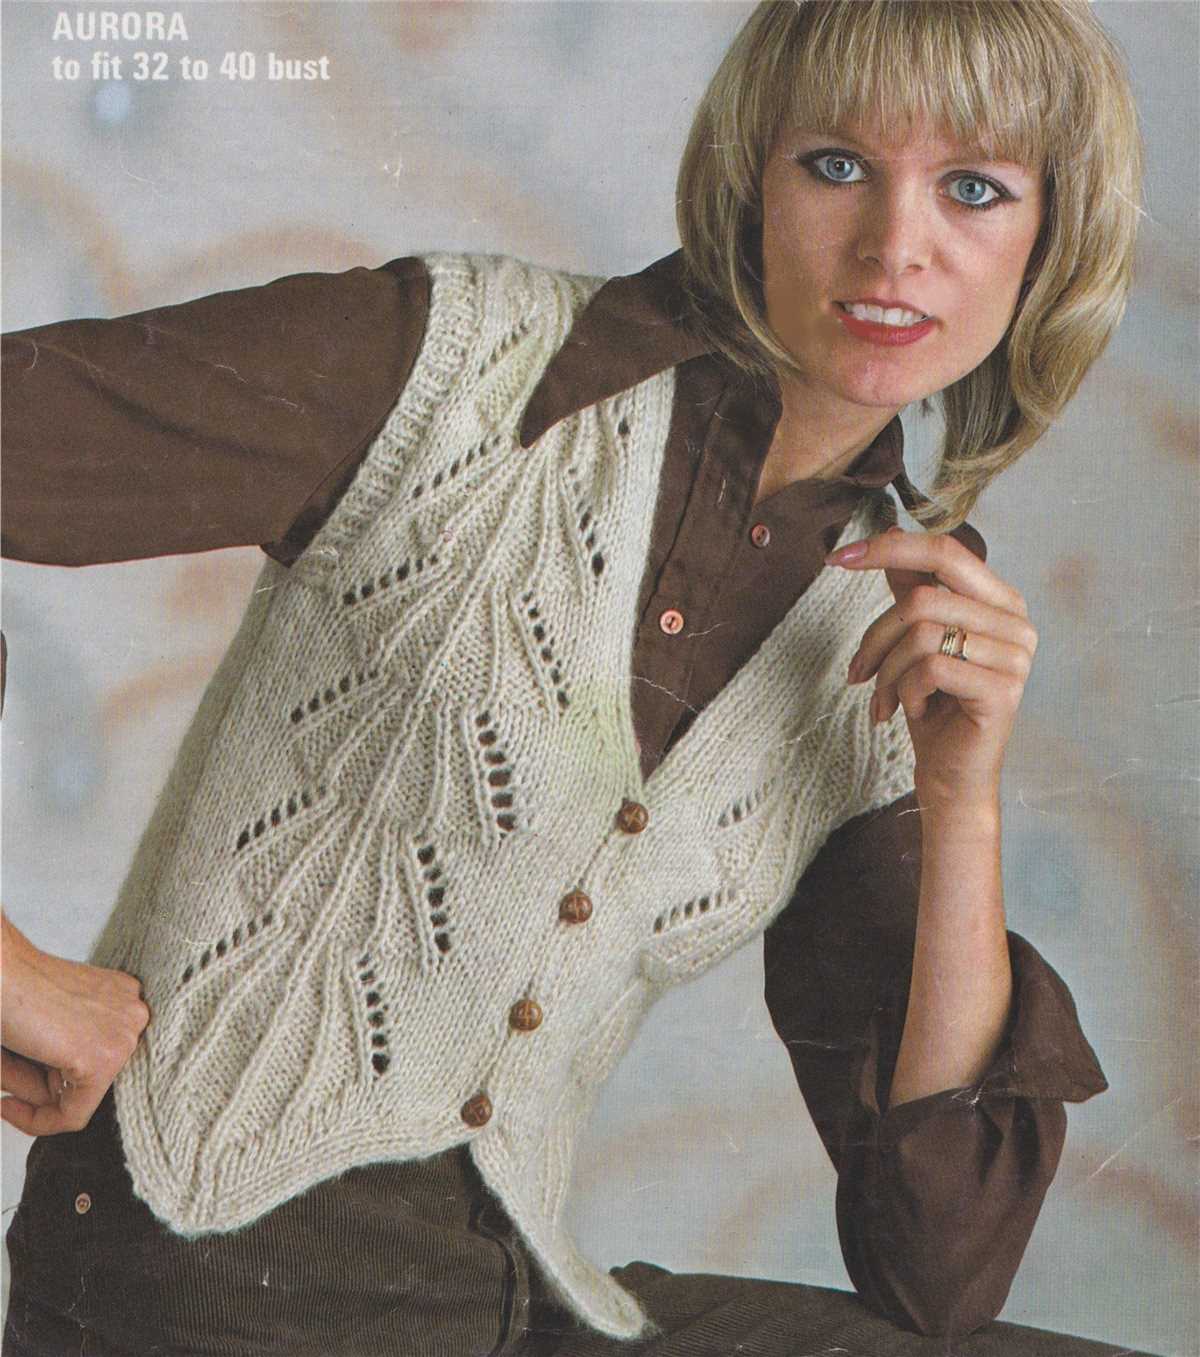
Instead of sticking to the basic stockinette stitch, you can incorporate different stitch patterns to add more visual interest to your waistcoat. Try using a cable stitch, lace pattern, or even a colorwork design. You can find plenty of stitch pattern resources online or in knitting books.
3. Length and Fit
While the pattern provided gives instructions for a standard waistcoat length, you can easily customize it to be shorter or longer according to your preference. Additionally, you can adjust the fit by adding or subtracting stitches to accommodate your body shape.
4. Embellishments
Add some embellishments to make your waistcoat more unique and fashionable. Consider adding buttons, beads, ribbons, or even embroidery to give your garment a personal touch. Just make sure to plan out the placement of these embellishments before starting your project.
5. Pockets
If you want to make your waistcoat more functional, you can incorporate pockets into the design. You can add patch pockets, side pockets, or even hidden pockets for added convenience.
Remember, knitting is a versatile craft that allows for endless possibilities. Don’t be afraid to experiment and make this waistcoat pattern your own!
Tips and Tricks
If you’re new to knitting or just want to brush up on your skills, here are some tips and tricks to help you successfully complete a waistcoat knitting pattern.
Choose the right yarn: When selecting yarn for your waistcoat, make sure to choose one that is suitable for the pattern and that you feel comfortable working with. Consider the fiber content, weight, and color of the yarn to ensure that it will give you the desired result.
Read the pattern carefully: Before you start knitting, take the time to thoroughly read the pattern instructions. Pay attention to any special stitch instructions, abbreviations, or techniques that may be used. Familiarize yourself with the pattern so you have a clear understanding of what needs to be done.
Swatch before you start: To ensure that you achieve the correct gauge and size for your waistcoat, it’s important to make a swatch. Knit a small sample using the recommended needles and yarn, and measure it against the gauge specified in the pattern. If your gauge doesn’t match, adjust your needle size accordingly.
Take notes as you go: As you work through the pattern, it can be helpful to take notes on any modifications or adjustments you make. This will make it easier to replicate your results if you decide to knit the waistcoat again, or if you want to share your modifications with others.
Use stitch markers: To keep track of your stitches and pattern repeats, consider using stitch markers. These can be helpful in keeping you organized and preventing mistakes. Place them in the appropriate spots as indicated in the pattern, and move them along as you progress.
Block your finished waistcoat: Once you have completed knitting your waistcoat, it’s important to block it to give it a polished, finished look. Follow the blocking instructions provided in the pattern, which may include wetting your garment, shaping it, and laying it flat to dry.
With these tips and tricks in mind, you’ll be well-equipped to tackle a waistcoat knitting pattern and create a beautiful garment that you can be proud of.
Frequently Asked Questions
Here are some common questions about the knitting pattern for the waistcoat:
1. How long does it take to knit a waistcoat?
The time required to knit a waistcoat can vary depending on your knitting skills, the complexity of the pattern, and the amount of time you can dedicate to knitting each day. On average, it may take a few weeks to a month to complete a waistcoat.
2. Can I customize the size of the waistcoat?
Yes, you can easily customize the size of the waistcoat by adjusting the number of stitches and rows in the pattern. Make sure to measure yourself or the intended recipient accurately and consult the pattern’s instructions for guidance on size modifications.
3. Can I use different yarn weights for the waistcoat?
While the pattern may specify a specific yarn weight, you can experiment with different yarn weights to achieve the desired look and fit. Keep in mind that using a different yarn weight might require adjustments to the pattern, such as changing the needle size or modifying the number of stitches.
4. Can I add additional embellishments to the waistcoat?
Yes, you can certainly add your personal touch to the waistcoat by incorporating additional embellishments such as buttons, beads, or embroidery. These details can enhance the overall design and make the waistcoat unique to you.
| Question | Answer |
| Does the pattern include step-by-step instructions? | Yes, the pattern will provide detailed step-by-step instructions to guide you through each stage of knitting the waistcoat. |
Overall, knitting a waistcoat can be a rewarding and enjoyable project for knitters of all skill levels. Be sure to read the pattern thoroughly, take accurate measurements, and feel free to customize and add your personal style to the finished garment.