
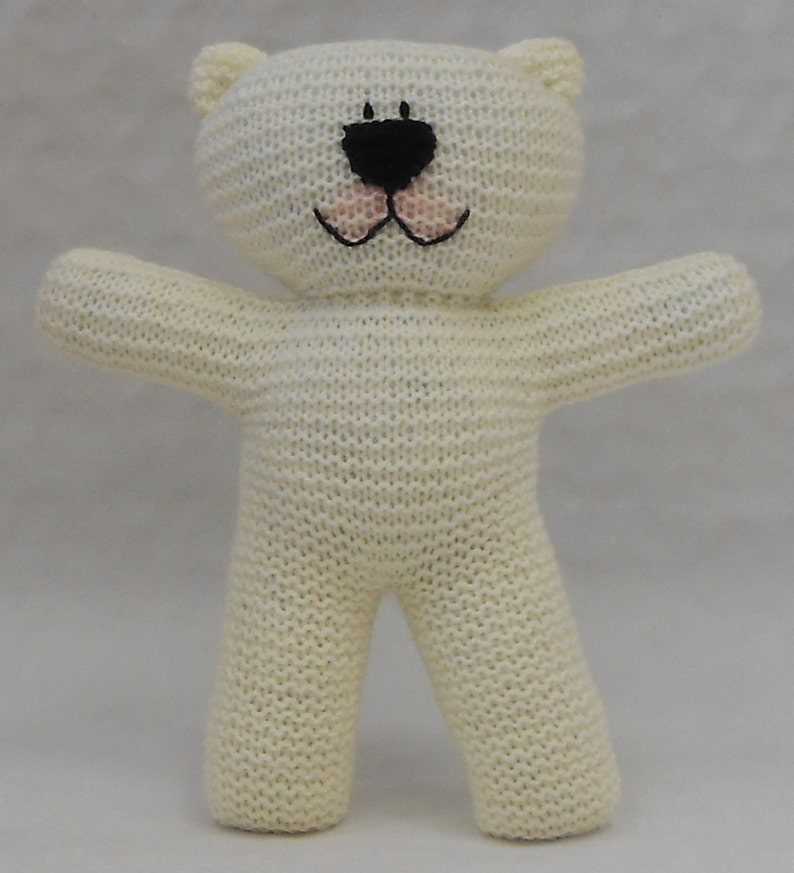
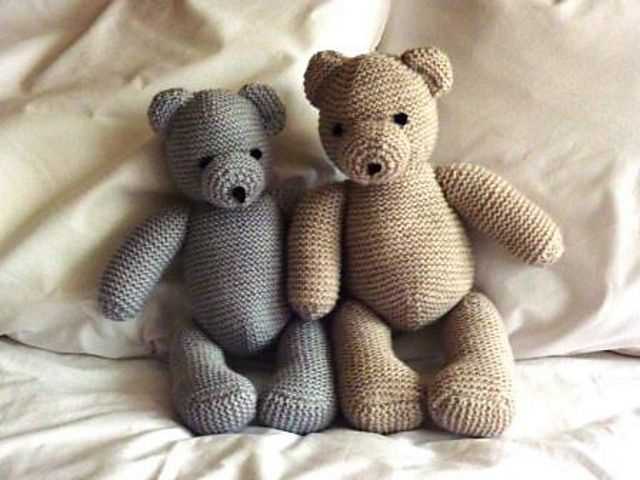
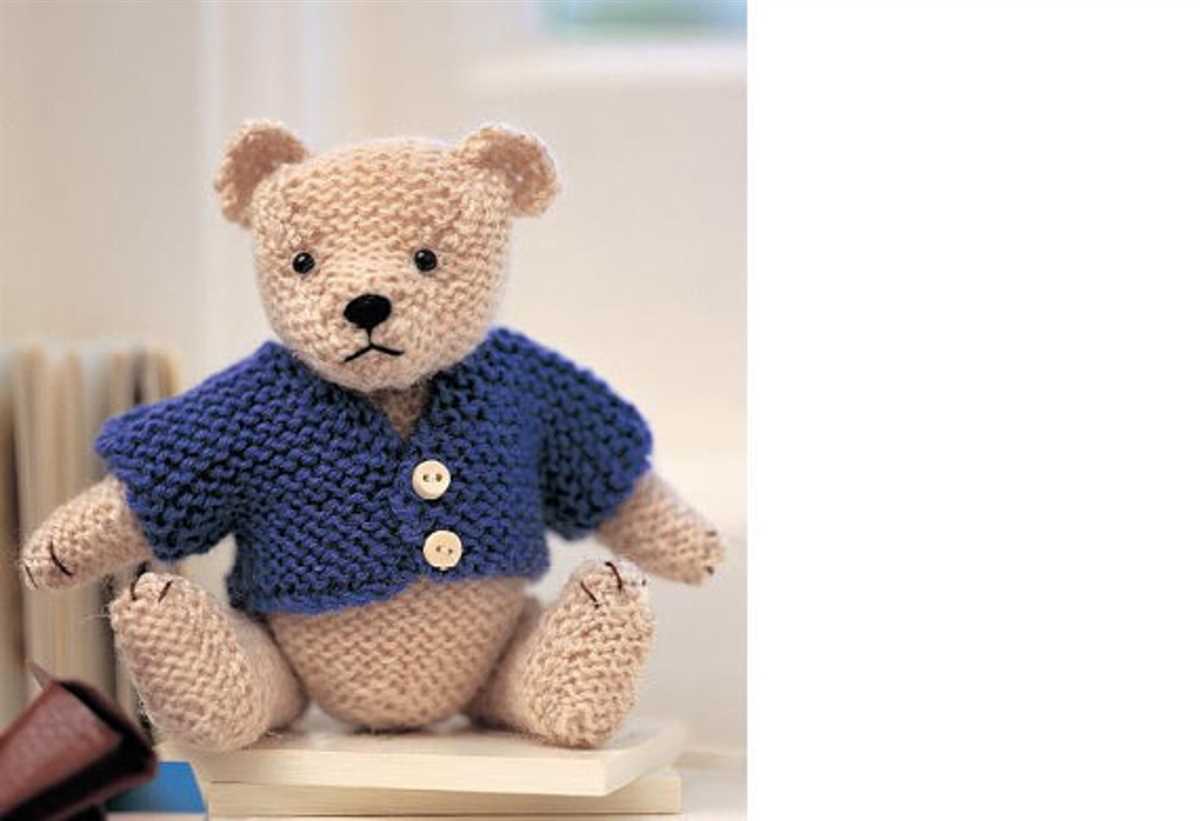
If you are looking for a cute and cuddly project to knit, look no further than this easy knitted bear pattern. This pattern is perfect for beginners, as it uses basic knitting stitches and techniques. With just a few simple materials and some spare time, you can create your very own adorable knitted bear.
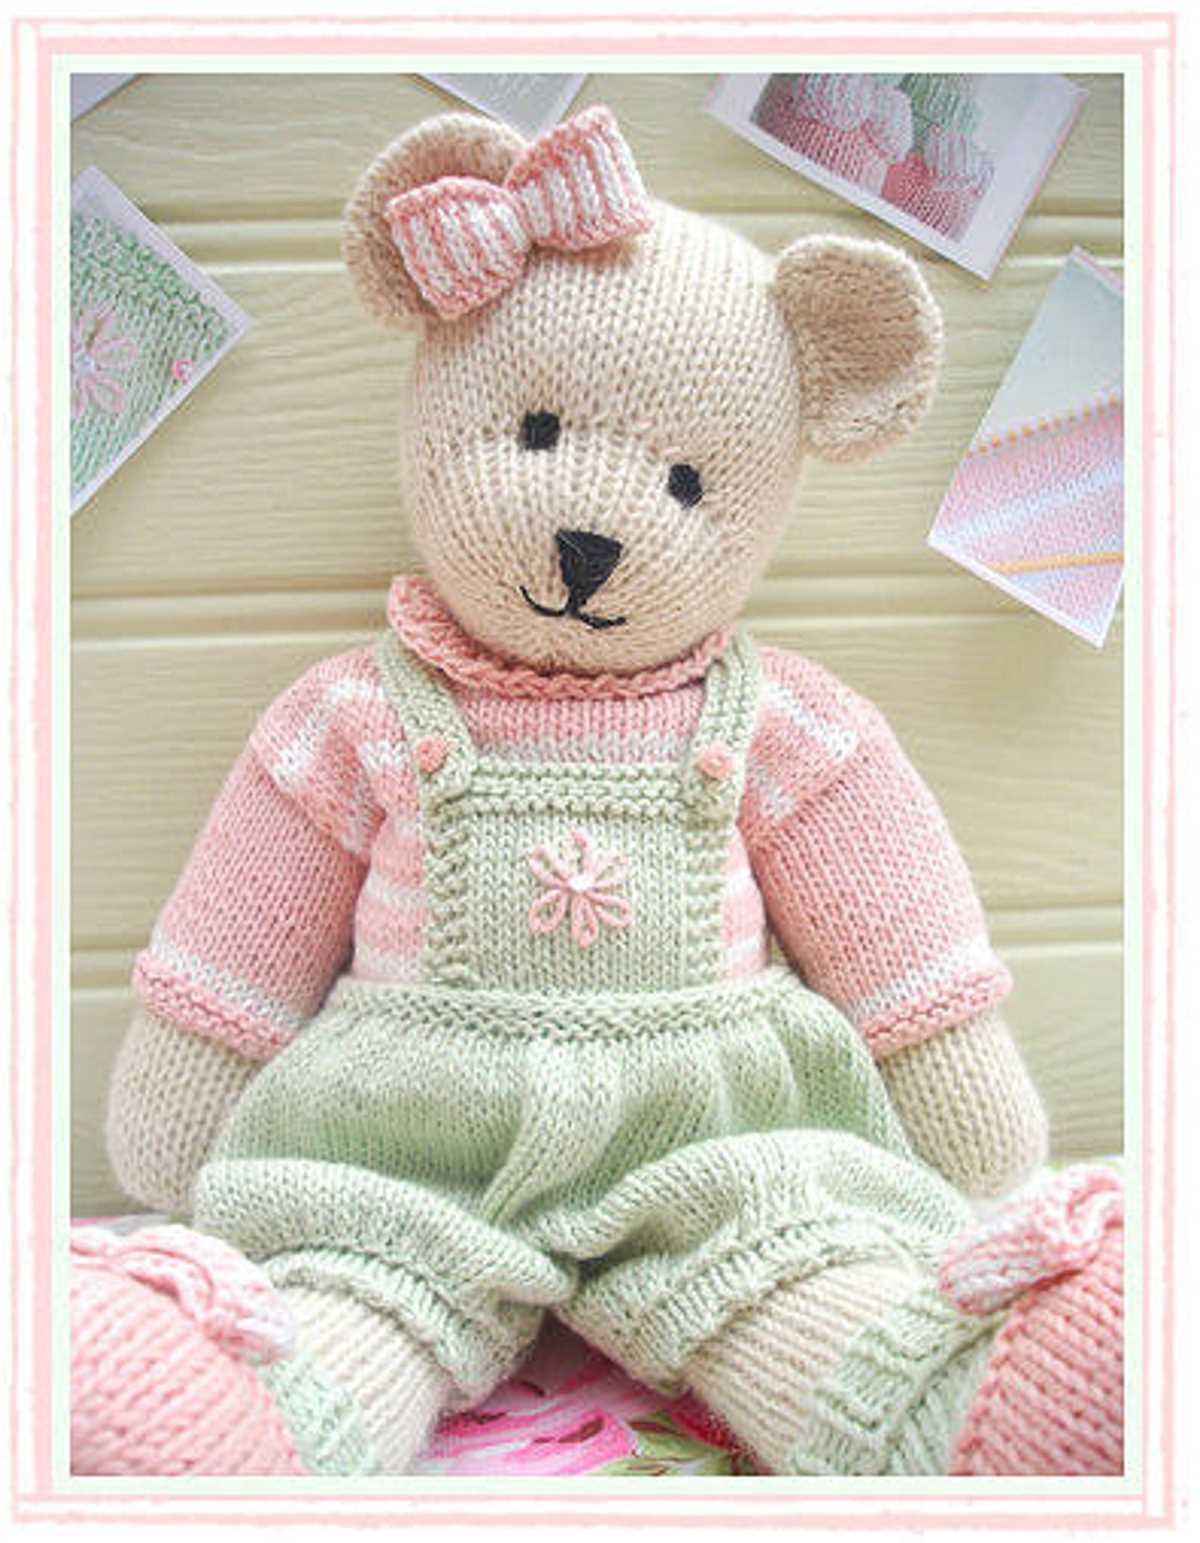
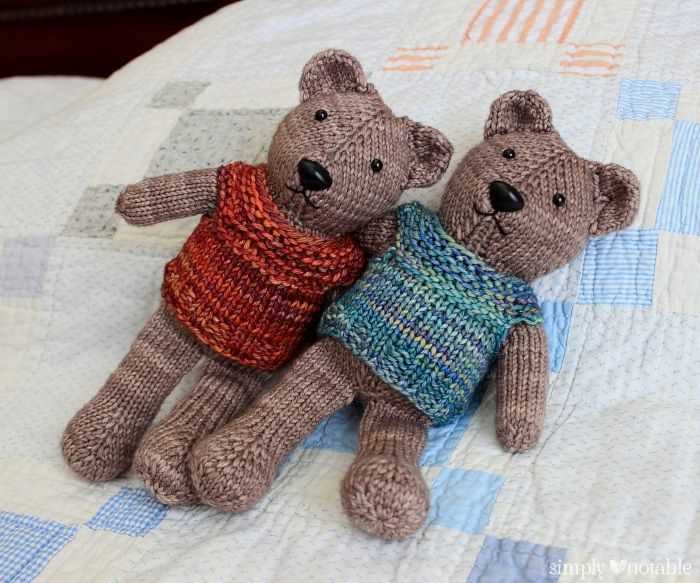
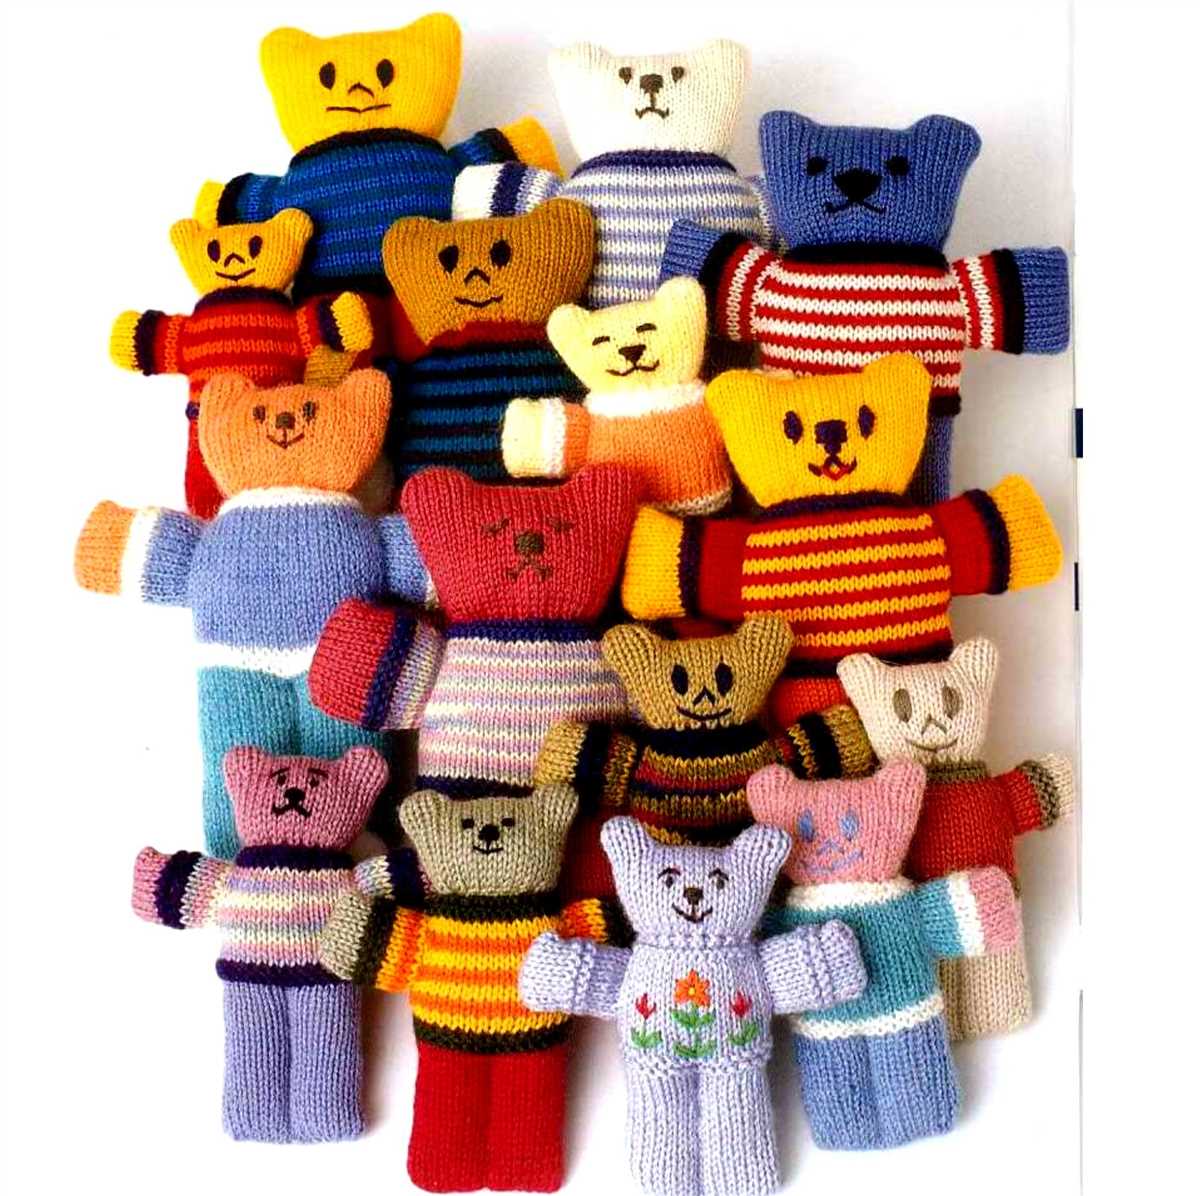
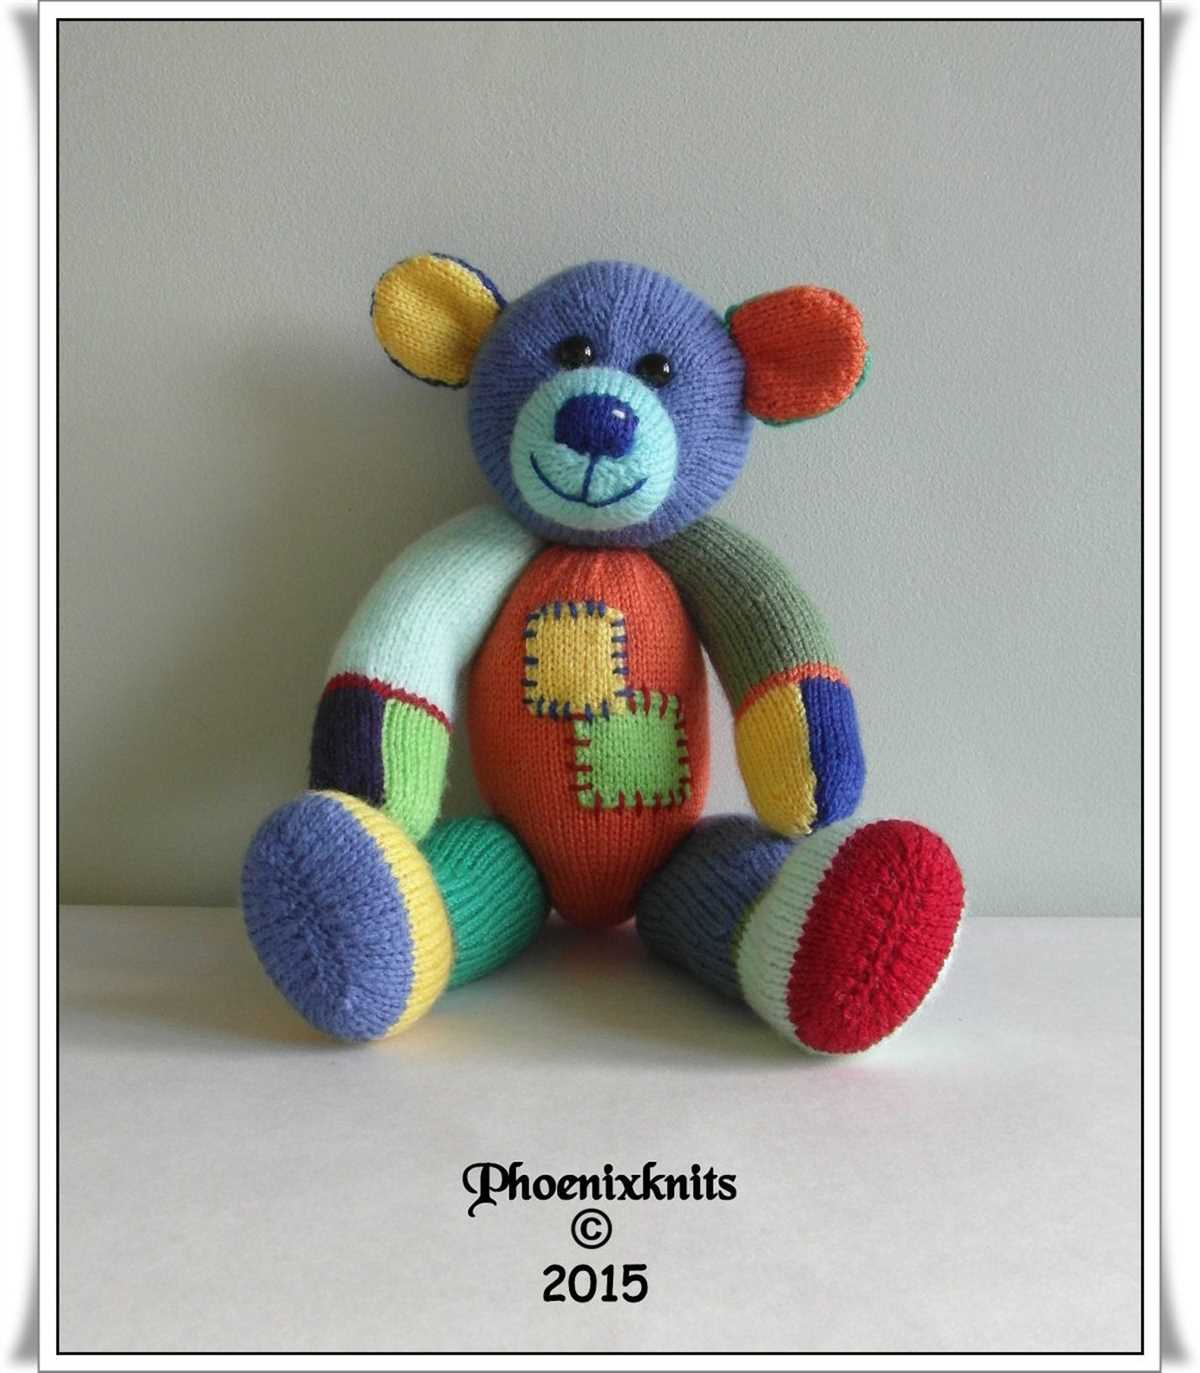
One of the best things about this pattern is its versatility. You can customize your bear by choosing different yarn colors, adding accessories like a bow or scarf, or even embroidering facial features. Whether you want to make a traditional brown bear or get creative with fun colors, this pattern allows you to put your own personal touch on your knitted creation.
Not only is this knitted bear a fun and rewarding project, but it also makes for a great gift idea. Whether you are knitting for a child, a friend, or even yourself, this cute and cuddly bear is sure to bring a smile to anyone’s face. Plus, with its soft texture and huggable size, it is the perfect companion for snuggling up on the couch or in bed.
Easy Knitted Bear Pattern – Create Your Own Cute Bear!
Are you looking for a fun and easy knitting project? Why not try your hand at creating your own cute bear using an easy knitted bear pattern? This pattern is perfect for beginners and is a great way to practice your knitting skills while making an adorable stuffed animal.
To get started, you will need some basic knitting supplies such as knitting needles, yarn, and stuffing. The pattern will provide you with detailed instructions on how to create each part of the bear, from the body to the limbs and the head. You will also learn different knitting techniques, such as casting on, knitting in the round, and decreasing stitches.
Materials Needed:
- Knitting needles (size may depend on the yarn you choose)
- Yarn (choose a color of your choice)
- Stuffing
- Yarn needle
- Safety eyes or buttons for the bear’s eyes
Once you have gathered all the necessary materials, follow the pattern’s instructions step by step. Don’t worry if you make a mistake or encounter a difficulty along the way – knitting is a learning process, and it’s all about practice!*
When you finish knitting all the parts of the bear, it’s time to assemble them and stuff the bear. Use a yarn needle to sew the limbs onto the body, and carefully stuff the bear with the stuffing material. Add the safety eyes or buttons for the bear’s eyes. And voila! You have created your own cute knitted bear!
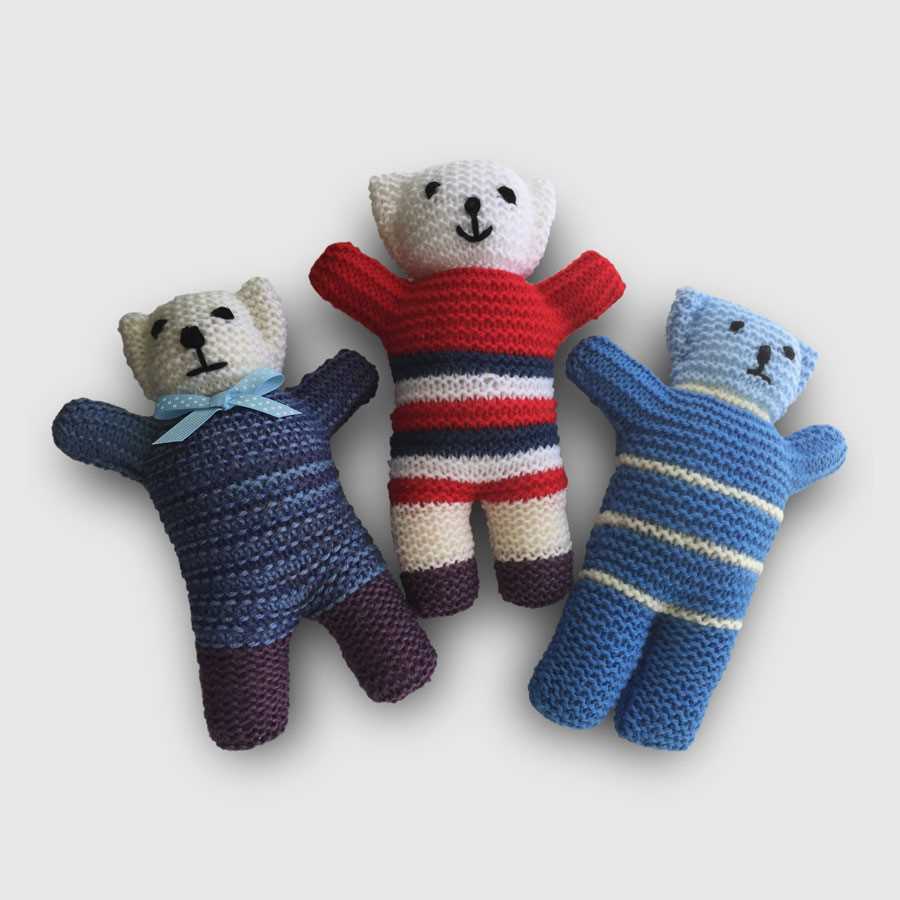
This easy knitted bear pattern allows you to be creative with the colors and styles you choose for your bear. You can make a traditional brown bear or experiment with different yarn colors to create a unique and personalized bear. It’s a perfect gift for children or a delightful addition to your own collection of knitted toys. So, grab your knitting needles and get started on this fun and rewarding project today!
Materials You Will Need
In order to make the easy knitted bear pattern, you will need the following materials:
- Yarn: You will need some soft and bulky yarn in the color of your choice to create the body of the bear.
- Knitting Needles: Make sure to have a pair of knitting needles that are appropriate for the thickness of your selected yarn. The recommended size is usually between US 8 and US 10.
- Yarn Needle: A yarn needle will be needed for sewing up seams and weaving in loose ends.
- Fiberfill: You will need some fiberfill or stuffing material to stuff the bear and make it plump and cuddly.
- Scissors: A pair of scissors will be needed for cutting the yarn and trimming any excess.
- Stitch Markers: Stitch markers can be helpful for keeping track of your stitches and marking any important points in the pattern.
- Safety Eyes or Embroidery Thread: Depending on your preference, you can use either safety eyes or embroidery thread to create the bear’s eyes.
With these materials in hand, you’ll be ready to start knitting your adorable bear! Make sure to gather all the necessary supplies before beginning the project to ensure a smooth and enjoyable knitting experience.
Getting Started – Casting On Stitches

Before you can begin knitting your bear, you’ll need to cast on stitches to create the foundation for your project. This process involves creating loops on your knitting needle that will later be used to form the first row of stitches.
To cast on stitches, you’ll need a pair of knitting needles and your yarn. Start by making a slipknot on one of the needles. To do this, create a loop with the yarn, insert the needle through the loop, and tighten the loop around the needle. This slipknot will serve as the first stitch of your project.
Once you have your slipknot, hold the needle with the slipknot in your right hand, and the empty needle in your left hand. Insert the empty needle into the slipknot from left to right, with the point of the needle facing the right. With your right hand, bring the yarn over the back of the right needle, creating a loop around it.
Next, use the right needle to pull this loop through the slipknot, creating a new stitch on the right needle. This process is called the knit stitch. Continue to repeat this step, knitting stitches onto the right needle until you have the desired number of stitches for your bear pattern.
Once you have cast on all the stitches, make sure they are evenly spaced along the needle. You can use your fingers to adjust the tension and spacing of the stitches if needed. Now you are ready to start knitting the first row of your bear pattern!
Knitting the Body and Head
In order to knit the body and head of the bear, you will need to follow these instructions carefully. Start by casting on the required number of stitches, which will be specified in the pattern. You can use any type of yarn and corresponding needles that you prefer, according to the gauge mentioned.
Proceed to knit the body in the round using circular needles, as this will allow you to avoid seams and create a seamless finish. In order to shape the bear’s body, you will need to increase and decrease stitches at specific points. These instructions will be provided in the pattern, along with the number of rows or rounds to be knitted.
As you continue knitting, you will begin to see the shape of the bear’s body taking form. Make sure to use stitch markers to help you keep track of your progress and the different sections of the body. Once you have completed the body, you can set it aside and move on to knitting the head.
The head is usually knitted separately and then sewn onto the body later. Follow the pattern instructions to knit the head, paying attention to any shaping techniques required. Once you have finished knitting the head, it is time to stuff it with stuffing material of your choice. You can use polyester fiberfill or any other soft, lightweight material.
After stuffing the head, you will need to sew it onto the bear’s body. Make sure to carefully align the head with the body and use a whipstitch or any other appropriate sewing technique to attach them securely. Once the head is attached, you can add any finishing touches, like embroidering the eyes and nose or adding any other desired details. Finally, weave in any loose ends, and your knitted bear is complete!
Creating the Arms and Legs
Once you have completed knitting the body of your bear, it’s time to move on to creating the arms and legs. These are the key features that will bring your bear to life and make it cuddly and huggable. Follow these instructions to create the arms and legs for your easy knitted bear.
Arms:
- Cast on 12 stitches using the same yarn and needle size used for the body.
- Knit every row for 12 rows to create a rectangular piece.
- On the next row, knit 2 stitches together, knit 8 stitches, knit 2 stitches together. This decreases the number of stitches to 10.
- Continue knitting every row for another 12 rows.
- On the next row, knit 2 stitches together, knit 6 stitches, knit 2 stitches together. This decreases the number of stitches to 8.
- Knit every row for 12 more rows.
- On the next row, knit 2 stitches together, knit 4 stitches, knit 2 stitches together. This decreases the number of stitches to 6.
- Knit every row for 12 final rows.
- Cast off all stitches.
- Repeat these steps to create the second arm.
Legs:
- Cast on 18 stitches using the same yarn and needle size used for the body.
- Knit every row for 18 rows to create a rectangular piece.
- On the next row, knit 2 stitches together, knit 14 stitches, knit 2 stitches together. This decreases the number of stitches to 16.
- Continue knitting every row for another 18 rows.
- On the next row, knit 2 stitches together, knit 12 stitches, knit 2 stitches together. This decreases the number of stitches to 14.
- Knit every row for 18 more rows.
- On the next row, knit 2 stitches together, knit 10 stitches, knit 2 stitches together. This decreases the number of stitches to 12.
- Knit every row for 18 final rows.
- Cast off all stitches.
- Repeat these steps to create the second leg.
Once you have completed knitting the arms and legs, you can attach them to the body of the bear using a yarn needle and the same yarn used for knitting. Make sure to sew them securely in place, leaving a small opening at the top of each arm and leg to stuff them with polyester fiberfill. Happy knitting!
Making the Ears
To start making the ears for the knitted bear, you will need two double-pointed needles and your chosen yarn.
Step 1: Cast on 10 stitches onto one of the double-pointed needles.
Step 2: Start knitting in stockinette stitch, which means knitting one row and purling the next row. Repeat this pattern for a total of 10 rows.
Step 3: Decrease the stitches by knitting 2 stitches together at the beginning and end of each row. Repeat this decrease for a total of 4 rows.
Step 4: Cut the yarn, leaving a long tail. Thread the tail through the remaining stitches and pull tight to close the ear.
Step 5: Repeat steps 1-4 to make the second ear.
Step 6: Once both ears are complete, sew them onto the head of the knitted bear using a yarn needle and the long tails left from closing the ears. Place the ears slightly angled on top of the head, with the decreases facing towards the center of the head.
Step 7: Securely knot the yarn tails on the inside of the head to ensure the ears stay in place. Trim any excess yarn.
Step 8: Your knitted bear now has adorable ears! Continue following the pattern to complete the rest of the bear.
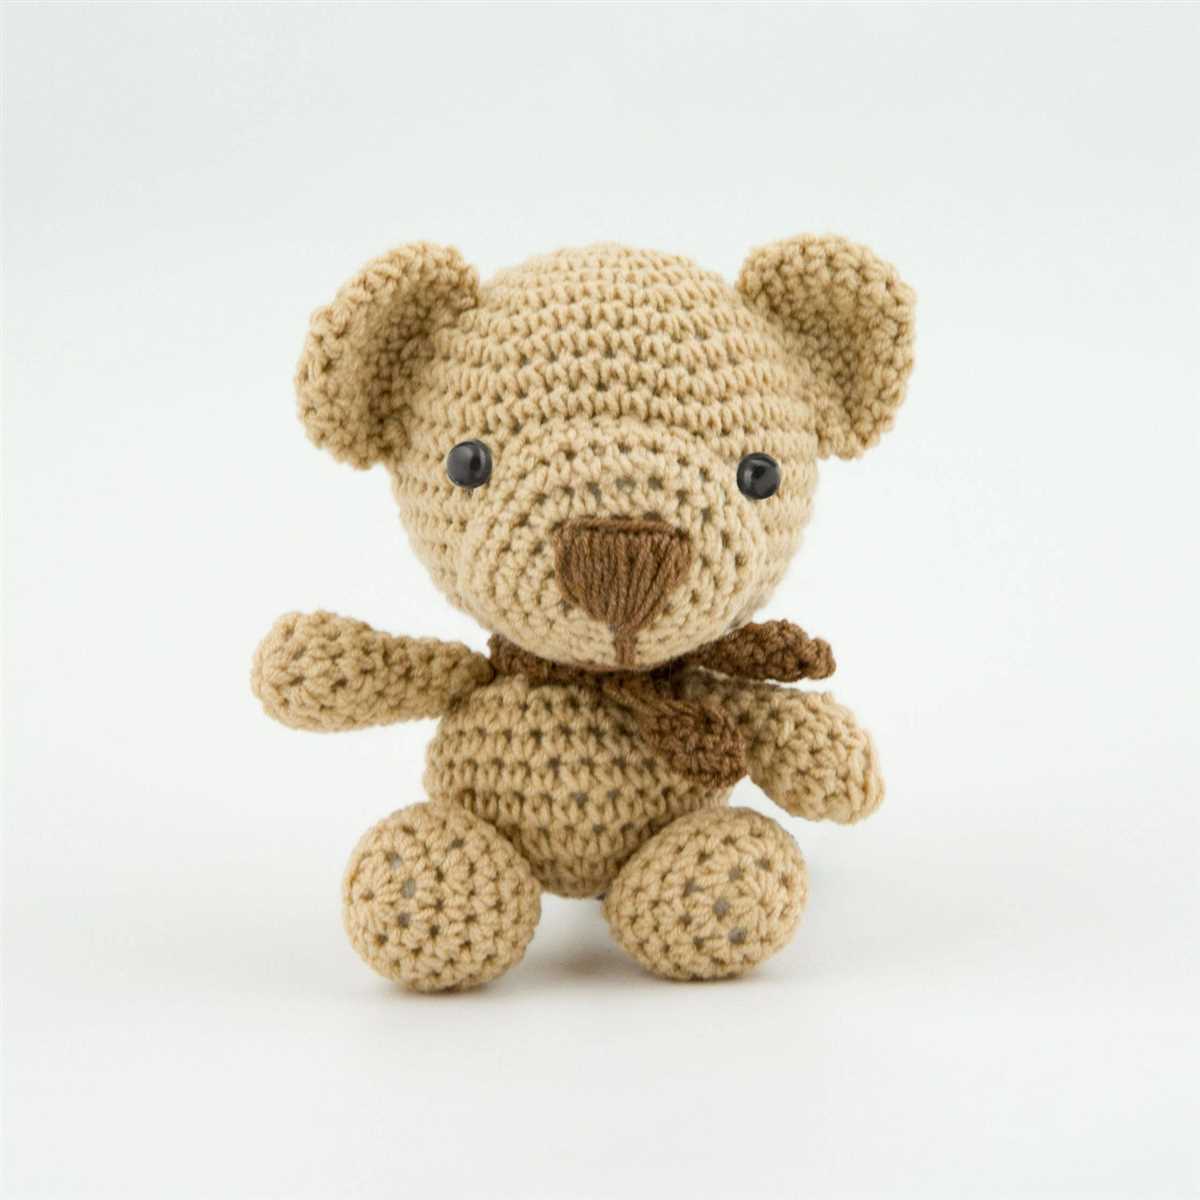
Adding the Eyes and Nose
In order to bring your knitted bear to life, you’ll need to add the eyes and nose. These small details can make a big difference in the overall appearance of your bear.
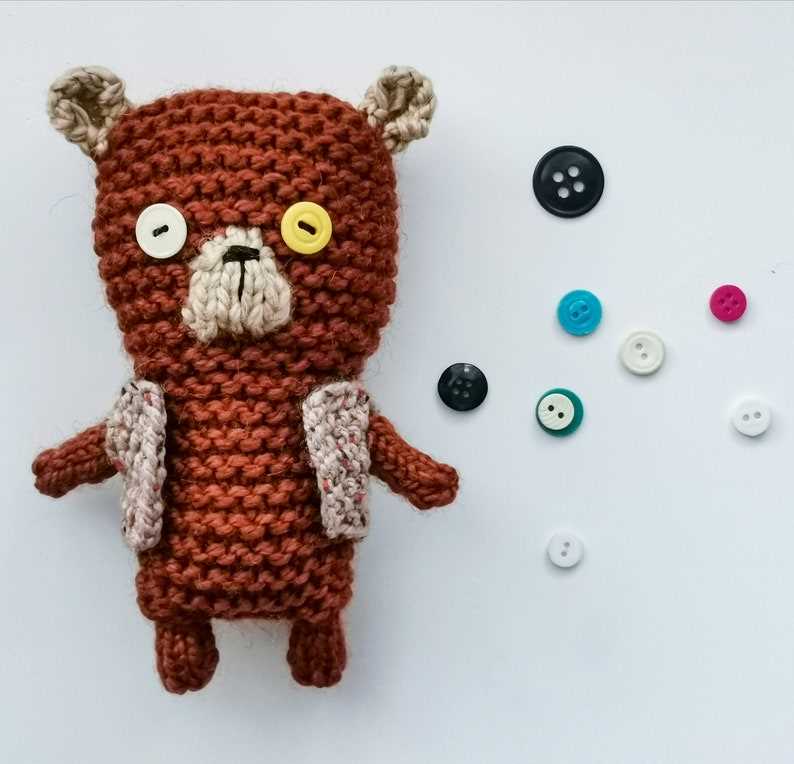
Eyes: To begin, you can use two small black buttons or beads to create the eyes. Alternatively, you can embroider the eyes using black yarn. Position them on the face of your bear, roughly midway between the top of the head and the tip of the snout.
Nose: For the nose, you can use a small black button or bead. If you prefer a more three-dimensional effect, you can knit a small triangle or oval shape using black yarn and tuck it in between the eyes on the snout. Make sure the nose is centered and positioned slightly below the eyes.
You can sew the eyes and nose onto your knitted bear using a needle and black thread or yarn. Take care to secure them tightly and ensure they are positioned symmetrically. The eyes and nose will give your bear a cute and lovable expression that will bring joy to whoever sees it.
Finishing Touches – Sewing and Stuffing
After completing the knitting process, it’s time to give your bear its finishing touches by sewing and stuffing. This is an important step to bring your bear to life and give it its adorable shape and softness. Here are some tips and techniques to help you achieve the best results.
Sewing
Start by sewing the pieces of the bear together using a yarn needle and the same yarn you used for knitting. Carefully match and line up the edges of the arms, legs, body, and head in the correct position. Use a whipstitch or mattress stitch to sew the pieces together, making sure to secure the ends tightly. Take your time and be patient to ensure a neat and tidy finish.
Next, sew on the facial features of the bear. Using a contrasting yarn or embroidery thread, embroider the eyes, nose, and mouth onto the head. You can use a straight stitch or satin stitch for the eyes and mouth, and a small satin stitch or French knot for the nose. This step adds personality and character to your knitted bear.
Stuffing
Once the bear is sewn together, it’s time to stuff it. Use polyester fiberfill or a similar stuffing material to give your bear its soft and cuddly feel. Start by stuffing the limbs and head, gently pushing the filling into every nook and cranny to avoid any lumps or unevenness. Gradually work your way to the body, making sure to stuff it firmly but not too tightly.
Pay attention to the bear’s shape and firmness as you stuff. Make sure the head is evenly filled and not too floppy, and that the limbs are stuffed enough to hold their shape but still retain their flexibility. Take breaks and step back to assess the bear’s overall appearance, adjusting the stuffing as needed to achieve the desired effect.
Finally, after sewing and stuffing, give your bear a final inspection and make any necessary adjustments. Trim any excess yarn or loose ends, and tidy up any uneven stitches. Take pride in your finished knitted bear, knowing that you put your heart and skill into creating a delightful toy that can be cherished for years to come.
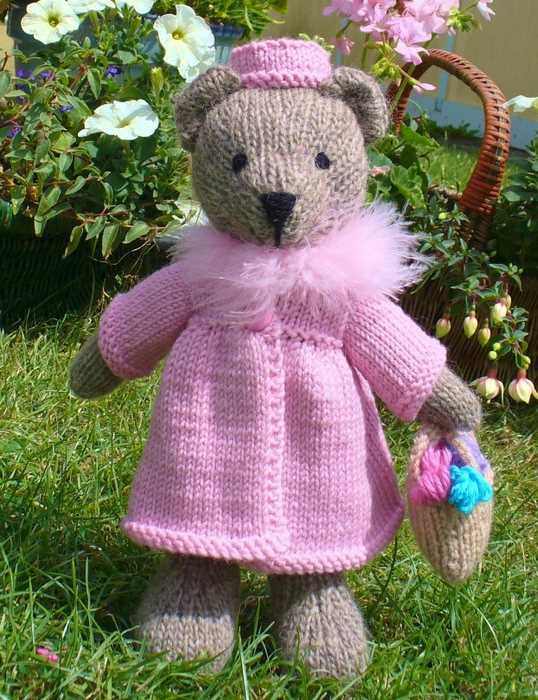
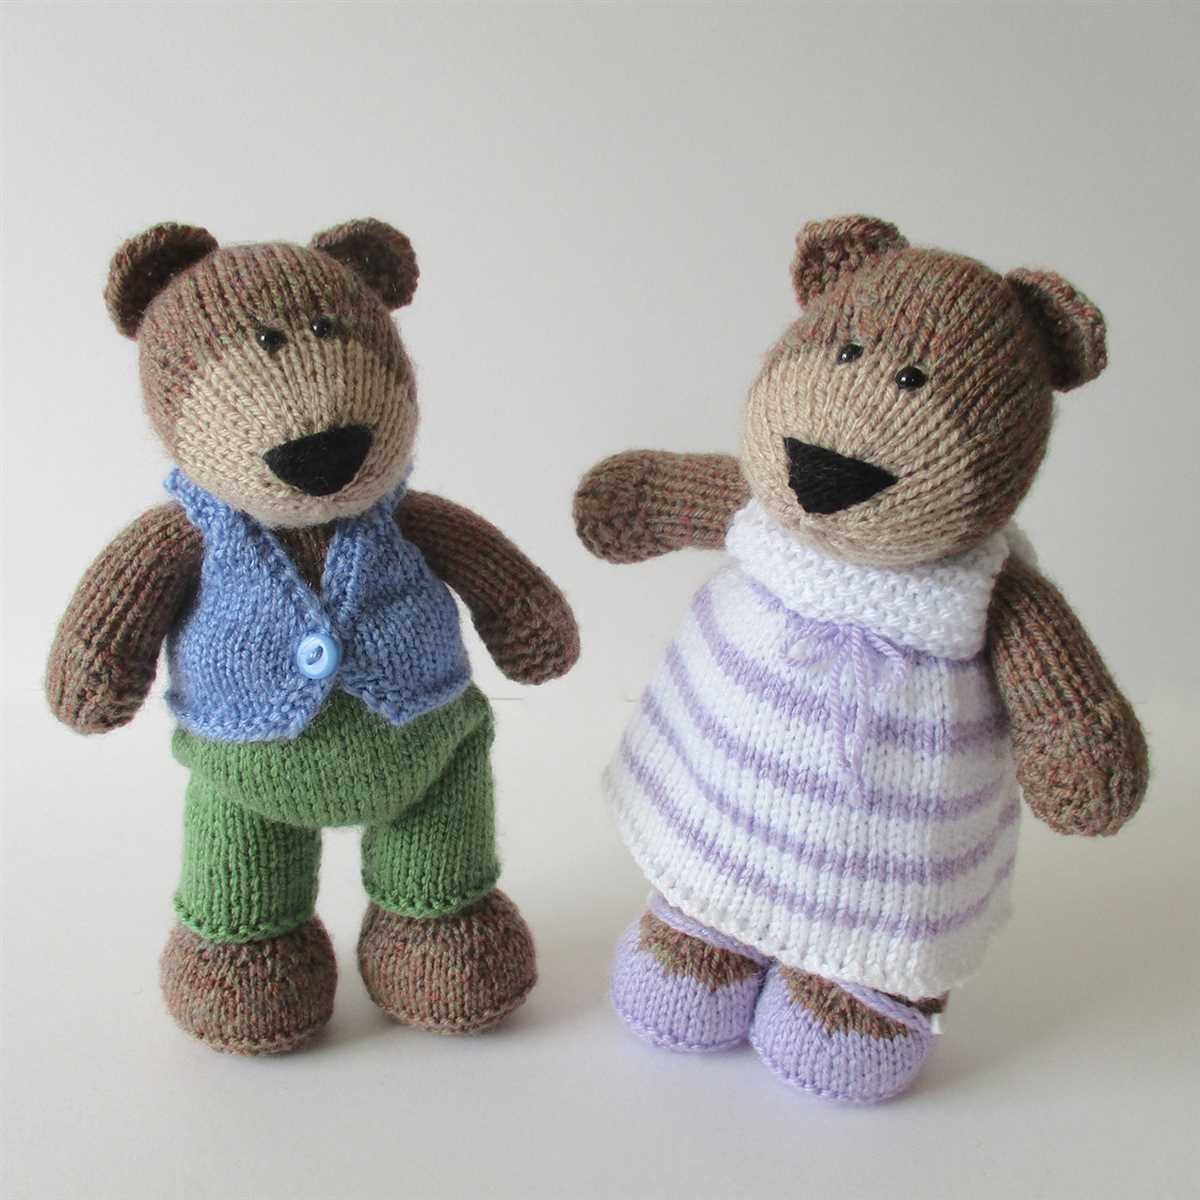
Adorable Accessories – Scarf or Bowtie
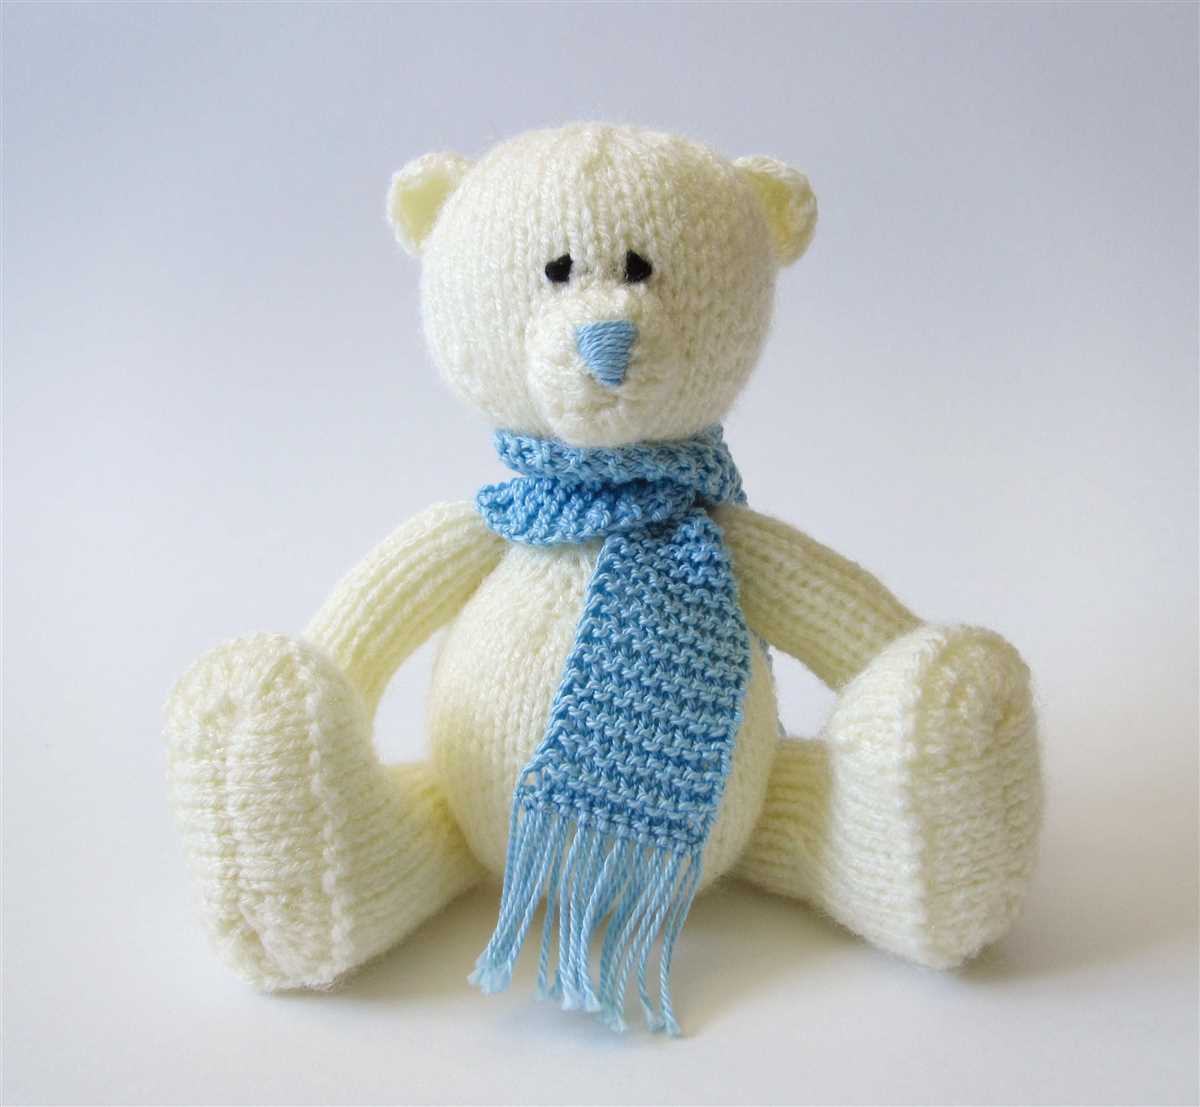
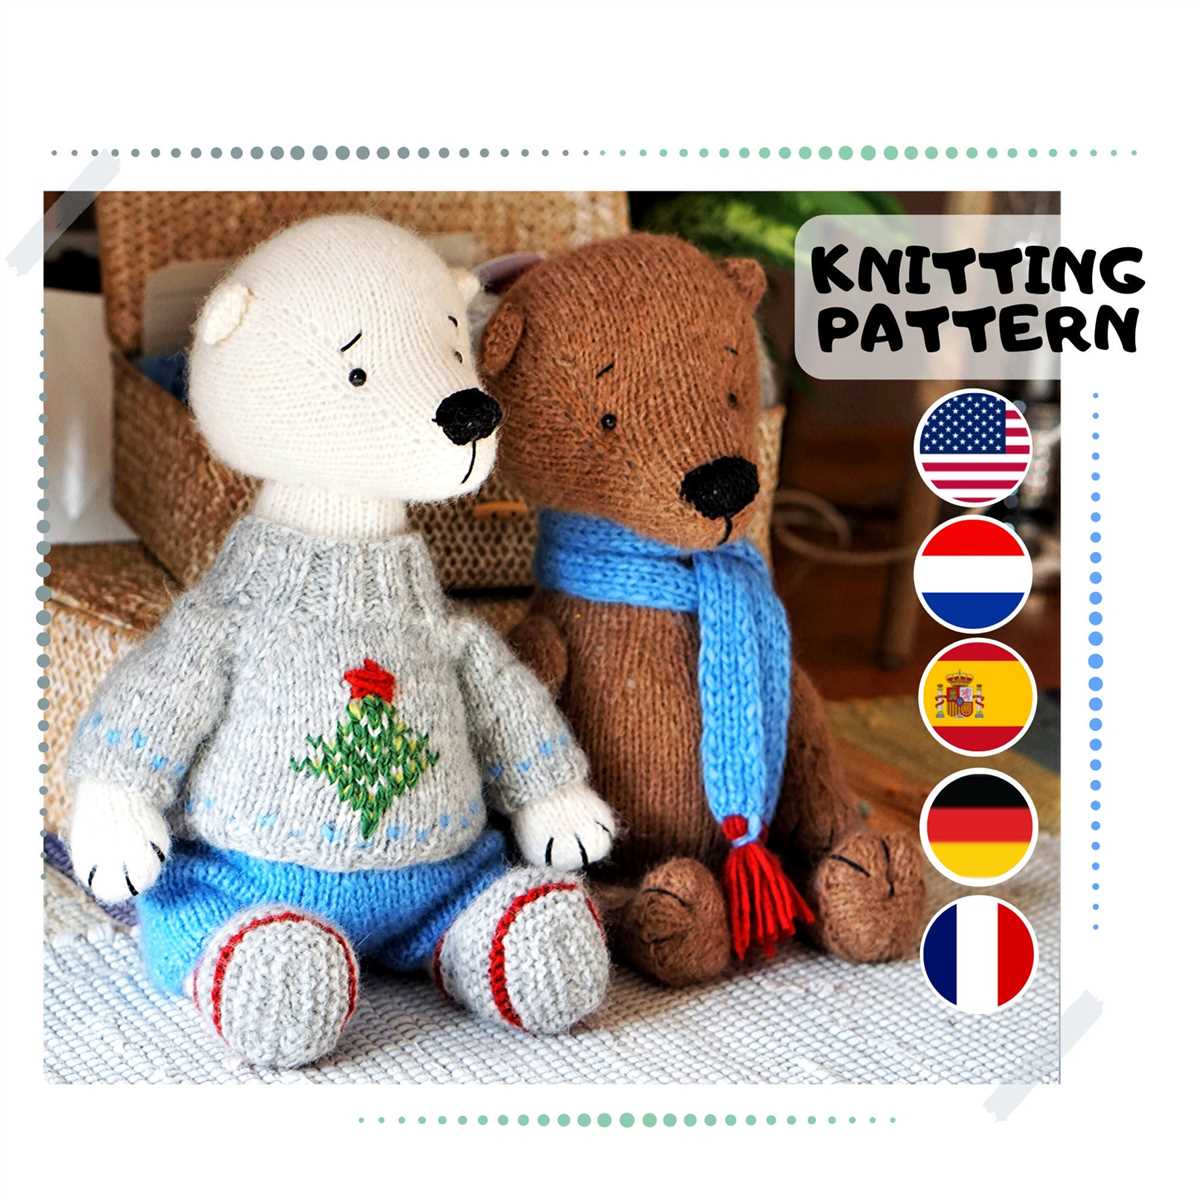
When it comes to dressing up your knitted bear, there are so many cute and fun accessories to choose from. One of the most popular options is a scarf or a bowtie. These accessories add an extra touch of charm to your bear and make them even more lovable.
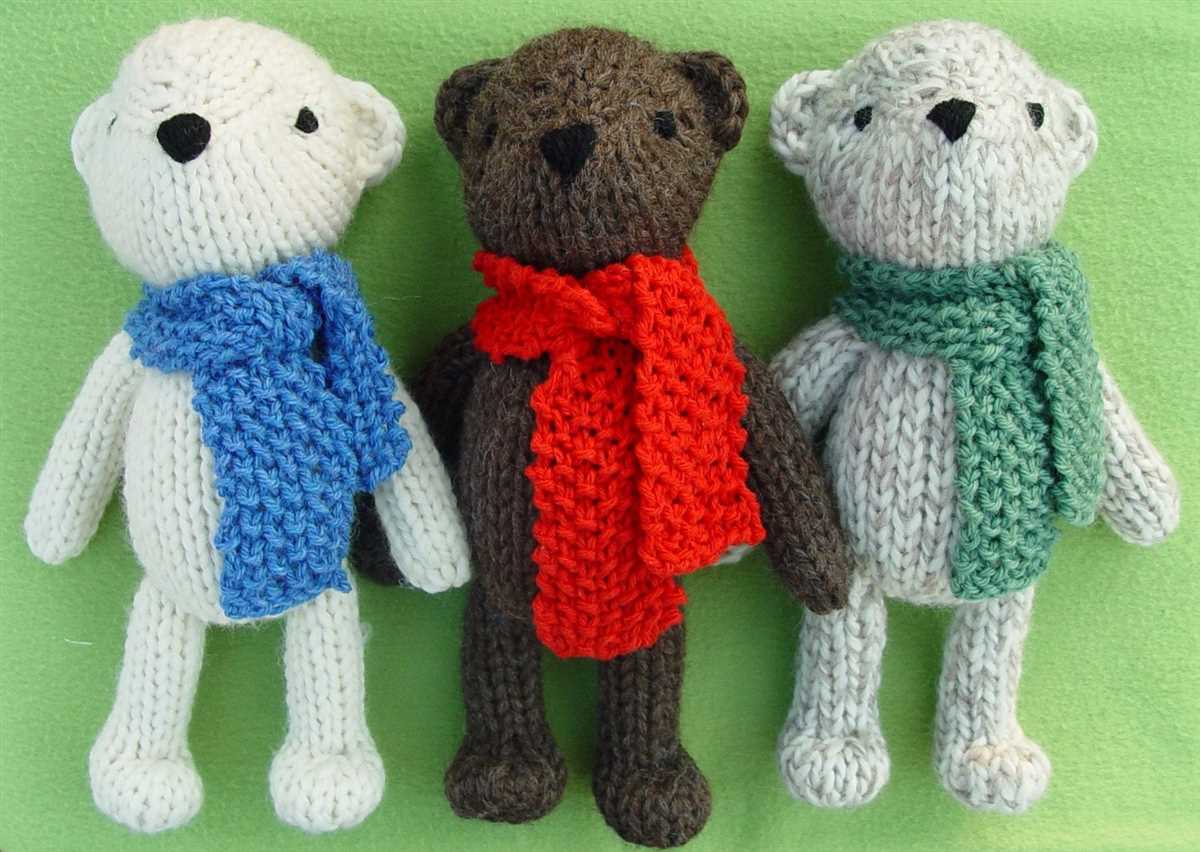
A scarf is a classic accessory that can be easily knitted or crocheted. You can choose a color that complements your bear’s fur or opt for a contrasting shade to make it stand out. A cozy scarf not only keeps your bear warm but also gives them a stylish and fashionable look. You can experiment with different patterns, textures, and lengths to create a unique scarf that matches your bear’s personality.
If you prefer a more dapper and formal look for your bear, a bowtie is an excellent choice. A miniature bowtie adds a touch of sophistication to your bear’s outfit and makes them look ready for any special occasion. You can make the bowtie using the same yarn as the bear or opt for a different color to create a contrasting effect. Whether you choose a classic black bowtie or a vibrant patterned one, your bear will surely look adorable.
Here are a few key points to consider when making a scarf or bowtie for your knitted bear:
- Choose soft and lightweight yarn that complements your bear’s fur color.
- Experiment with different patterns, stitches, and textures to add interest to the accessory.
- Measure your bear’s neck to ensure the scarf or bowtie fits perfectly.
- Secure the scarf or bowtie with a small button or snap for easy dressing and removal.
- Have fun and get creative with color combinations, embellishments, and details.
Whether you decide to knit a scarf or make a bowtie, your knitted bear will look absolutely adorable with these accessories. They not only add a touch of style but also give your bear a unique and personal touch. So grab your knitting needles or crochet hook and start creating these cute accessories for your beloved bear.
Tips and Tricks for Perfecting Your Bear
Knitting a bear can be a fun and rewarding project, but it can also be a bit challenging. To help you create the perfect bear, here are some tips and tricks that you can keep in mind.
1. Use quality yarn and needles
Using high-quality yarn and needles can make a big difference in the outcome of your bear. Choose a soft and durable yarn that will hold up well over time. Additionally, using the right needle size can help you achieve the desired tension and ensure that your stitches are even.
2. Pay attention to gauge
Gauge is an important factor when knitting a bear. It refers to the number of stitches and rows per inch. It’s crucial to match the gauge specified in the pattern or adjust your knitting accordingly. This will ensure that your bear turns out the correct size and proportions.
3. Take your time with sewing and finishing
The sewing and finishing details can really bring your bear to life. Take your time when sewing the pieces together and make sure to secure them tightly. Use the invisible stitch method for a seamless and professional-looking finish. Don’t forget to embroider the bear’s facial features with care and attention to detail.
4. Add personal touches
While following the pattern is essential, don’t be afraid to add your own personal touches to make your bear unique. Experiment with different colors or patterns, or even add accessories like a tiny scarf or a bow. These little details can make your bear truly one-of-a-kind.
5. Practice and learn from mistakes
Creating the perfect bear takes practice, so don’t get discouraged if your first attempt is not perfect. Learn from any mistakes you make along the way and use them as an opportunity to improve your skills. Each bear you knit will be better than the last as you gain experience and confidence.
By following these tips and tricks, you’ll be well on your way to knitting the perfect bear. Remember to enjoy the process and have fun along the way!
Show Off Your Handiwork!
Now that you’ve completed your easy knitted bear, it’s time to show off your handiwork! Whether you made it for yourself or as a gift for someone special, your knitted bear is sure to bring joy and comfort to its recipient.
Take a moment to admire the intricate details and cozy texture of your finished bear. You can proudly display it on a shelf or bed, or even take it with you on your next adventure. Don’t forget to share pictures of your creation on social media using the hashtag #knittedbearlove – who knows, your bear might inspire others to try their hand at knitting too!
If you enjoyed making this knitted bear, why not explore more patterns and projects? Knitting is a versatile and rewarding craft with endless possibilities. You can create scarves, hats, sweaters, and even more adorable stuffed animals.
Remember, every project is a chance to improve your skills and unleash your creativity. Embrace the joy of knitting and enjoy the process of making something beautiful and unique. Happy knitting!