
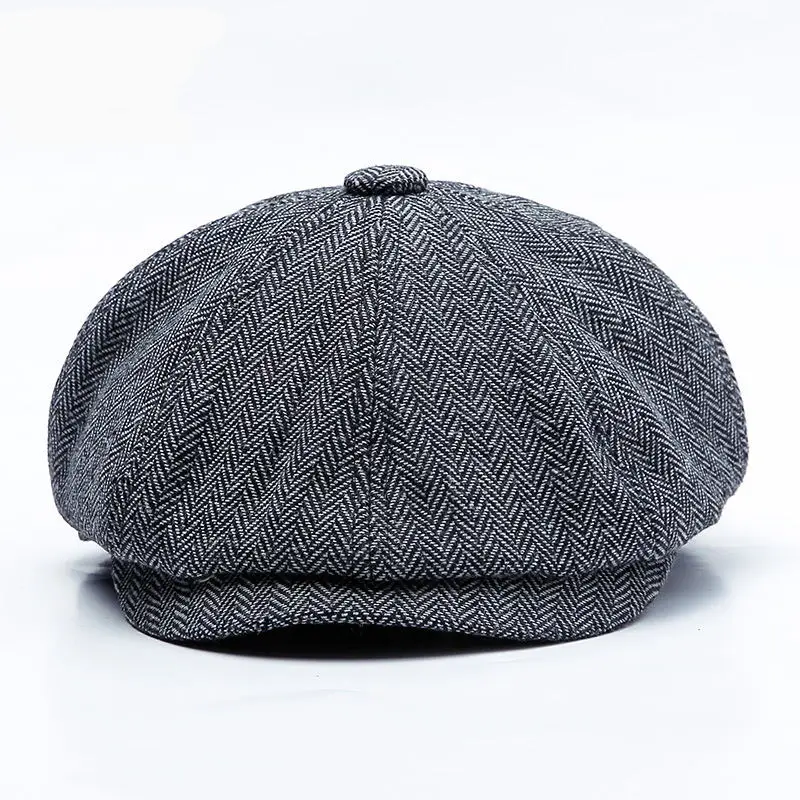
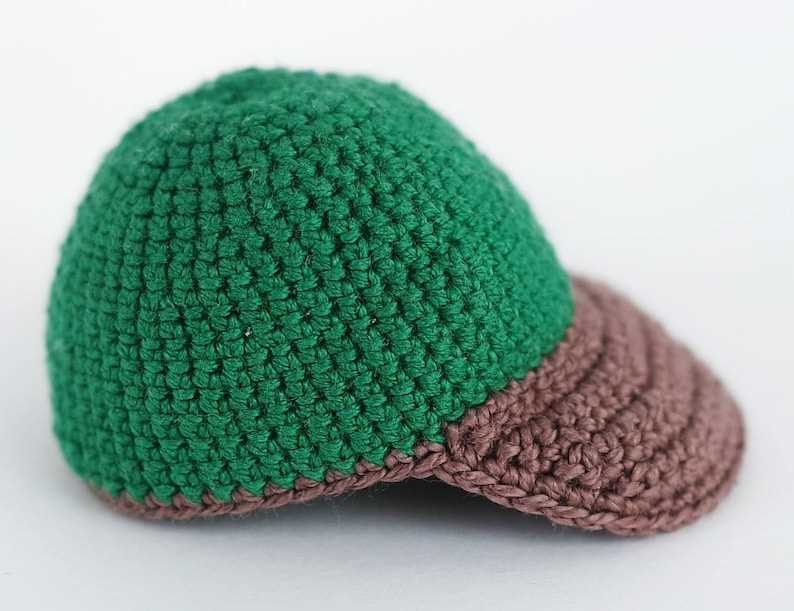
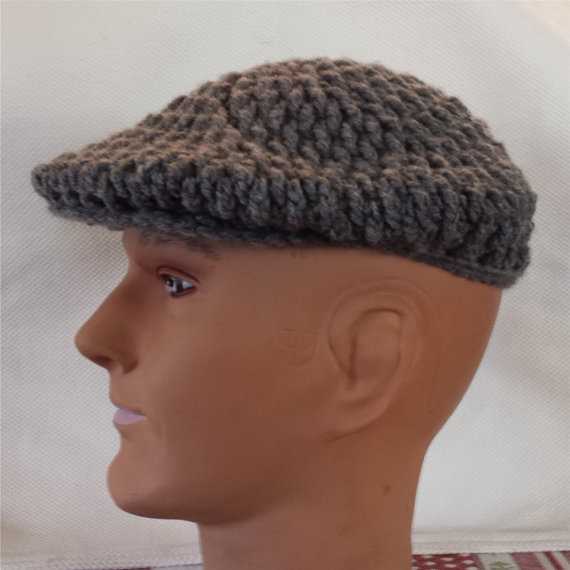
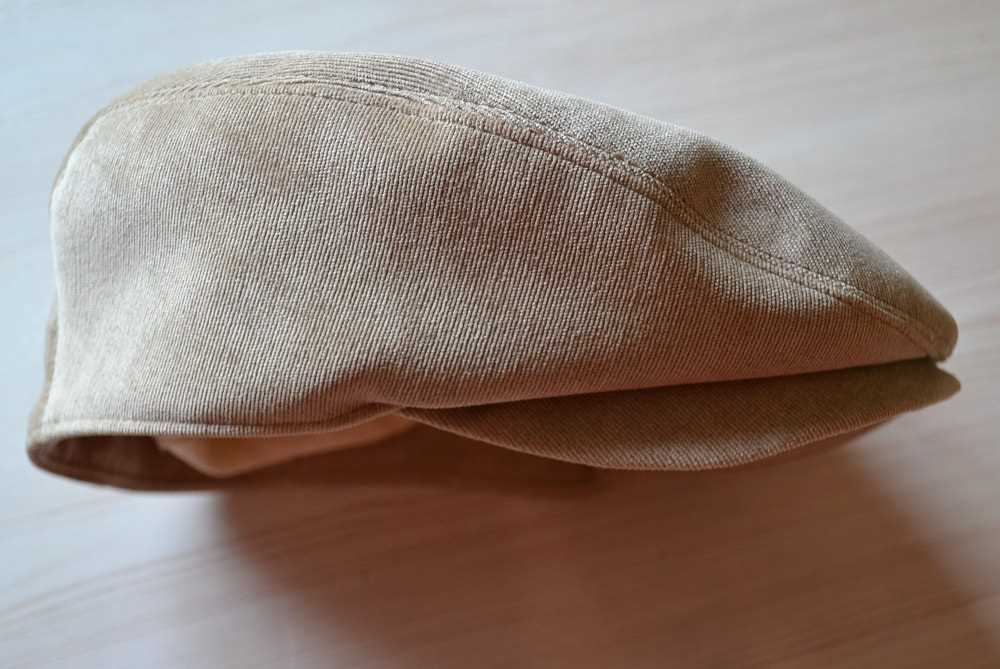
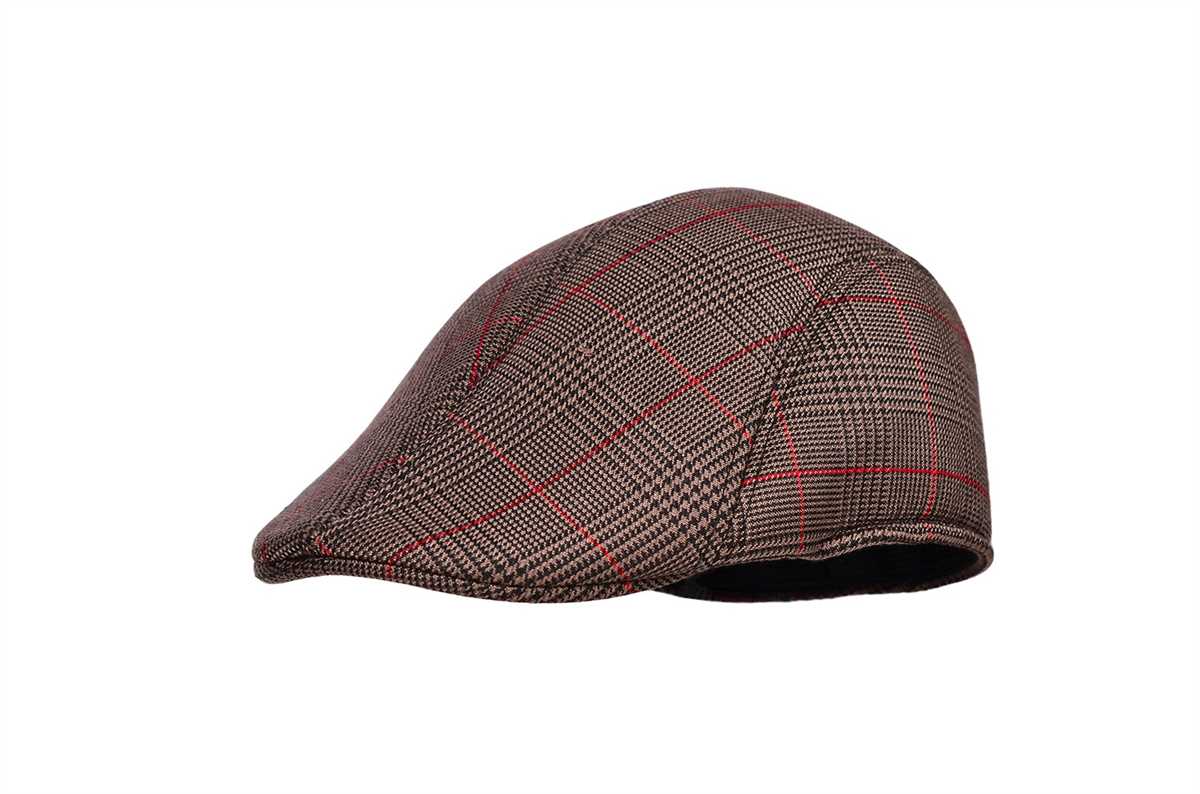
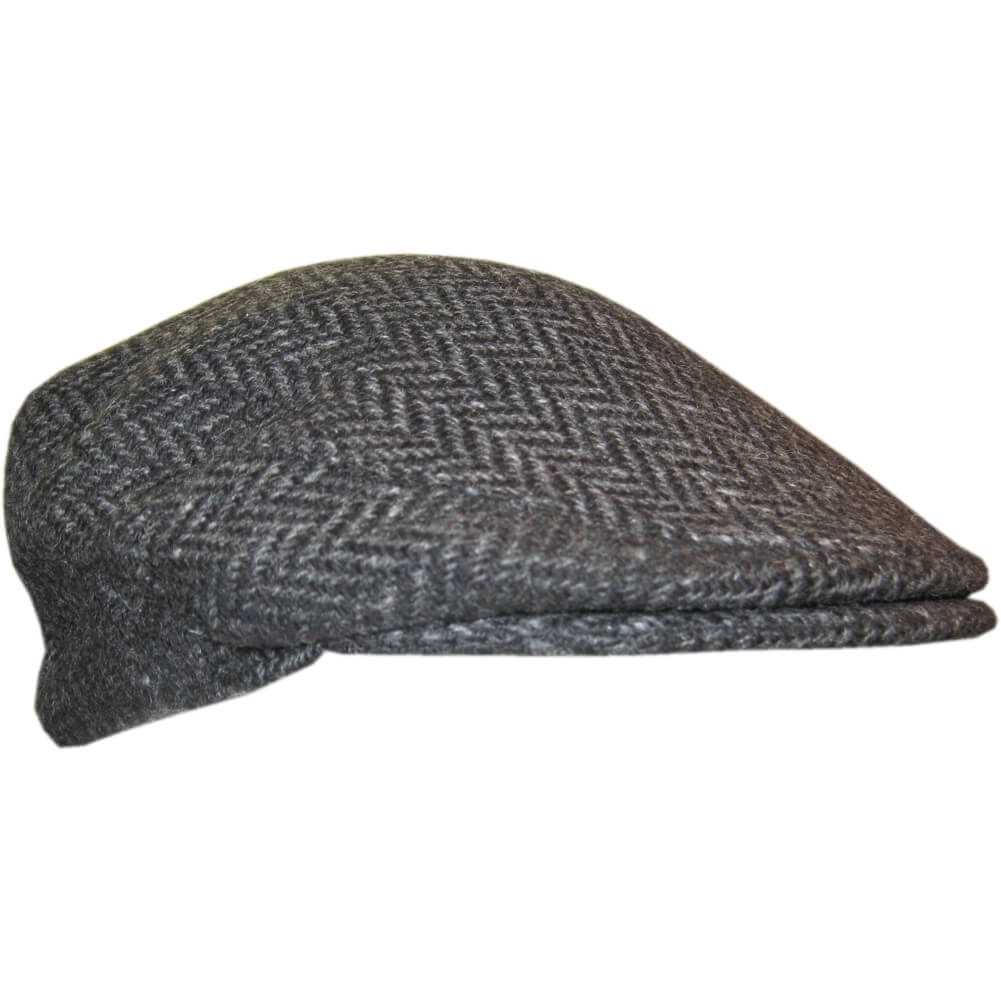
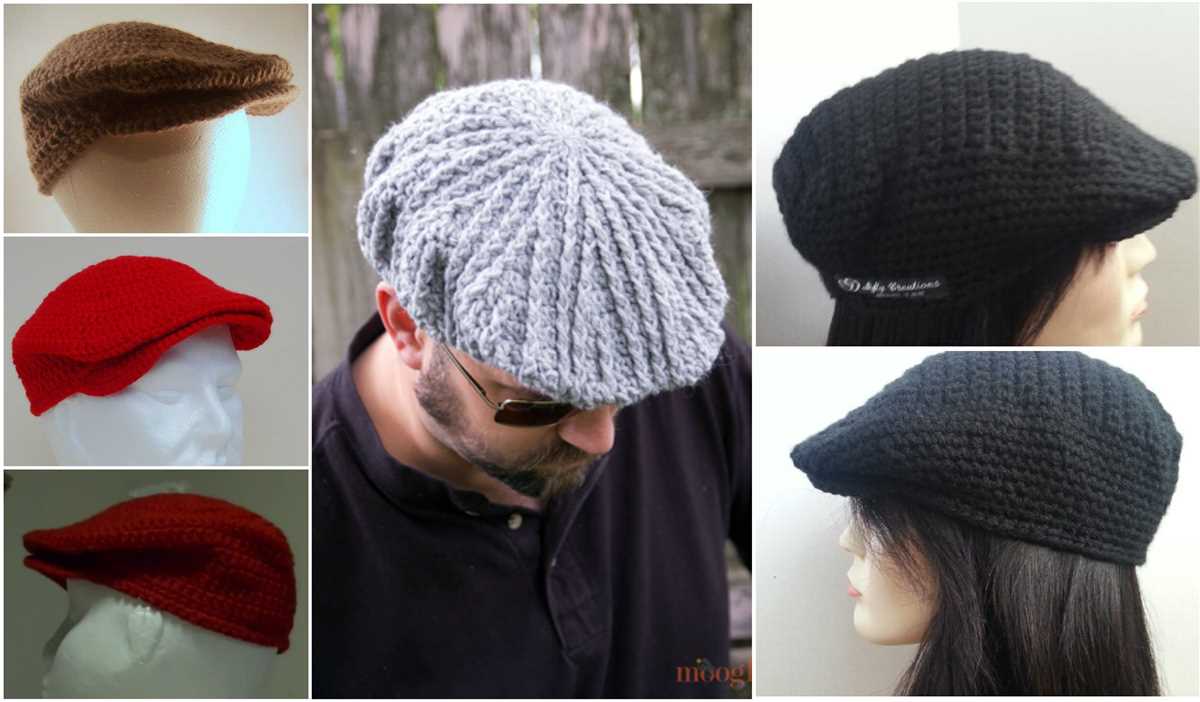
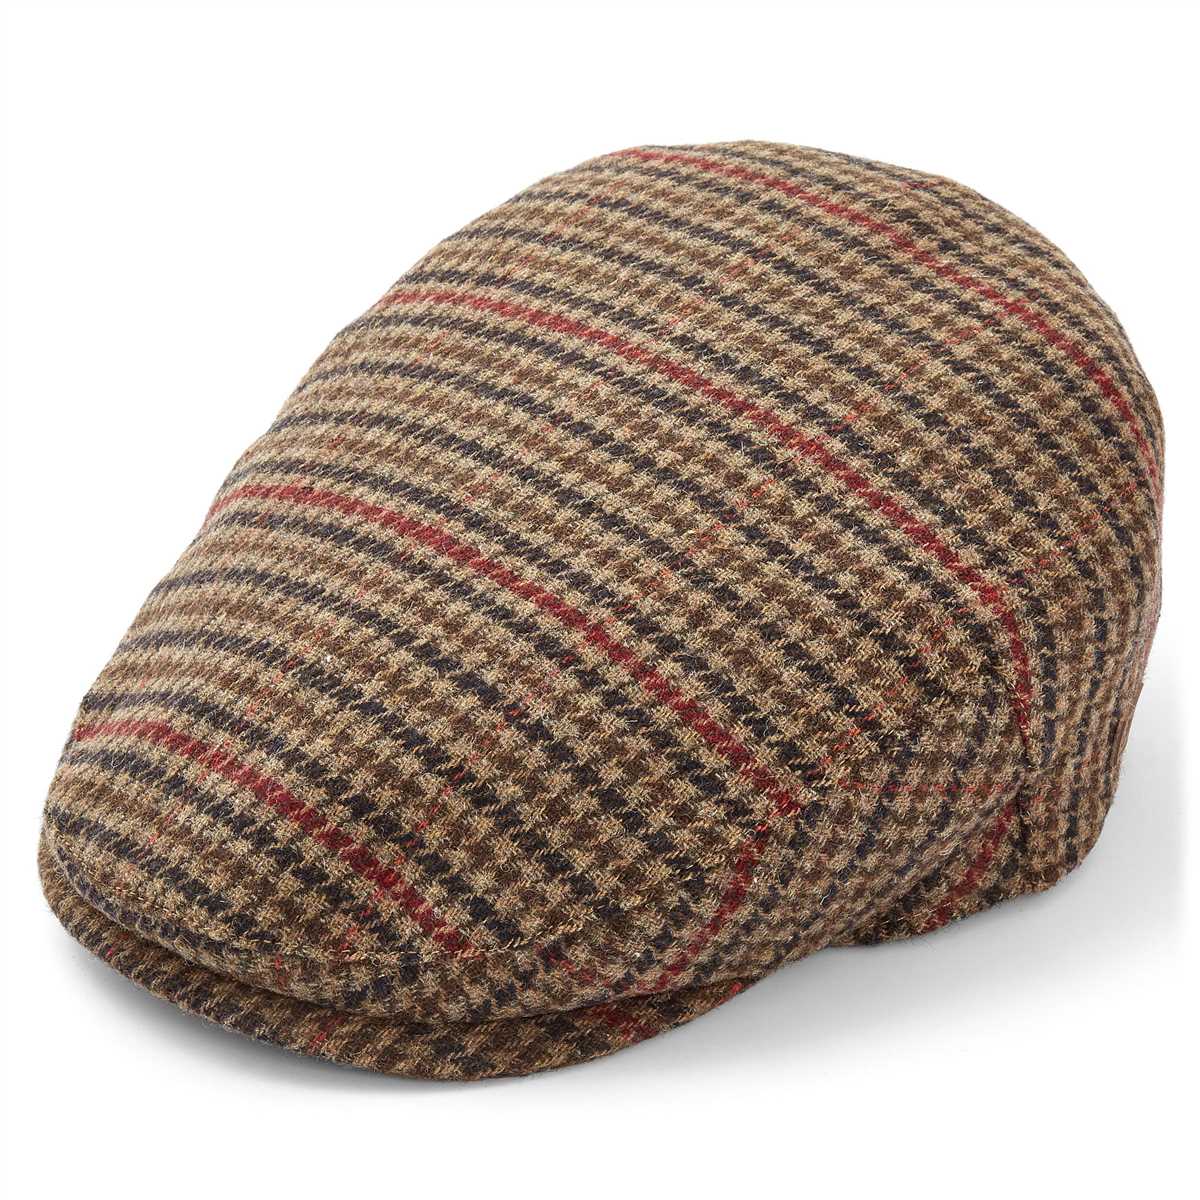
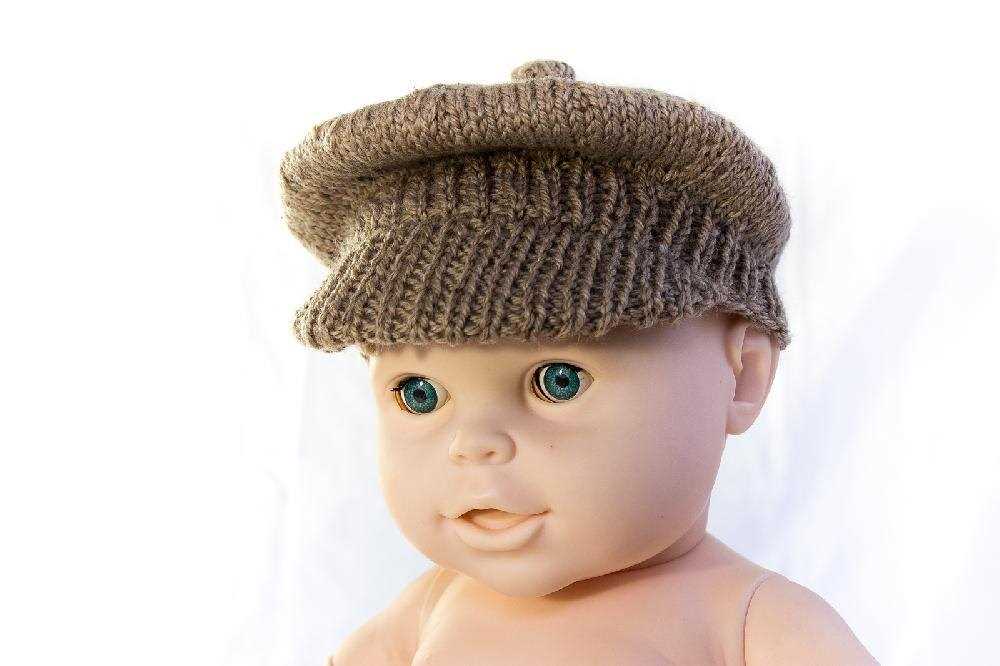
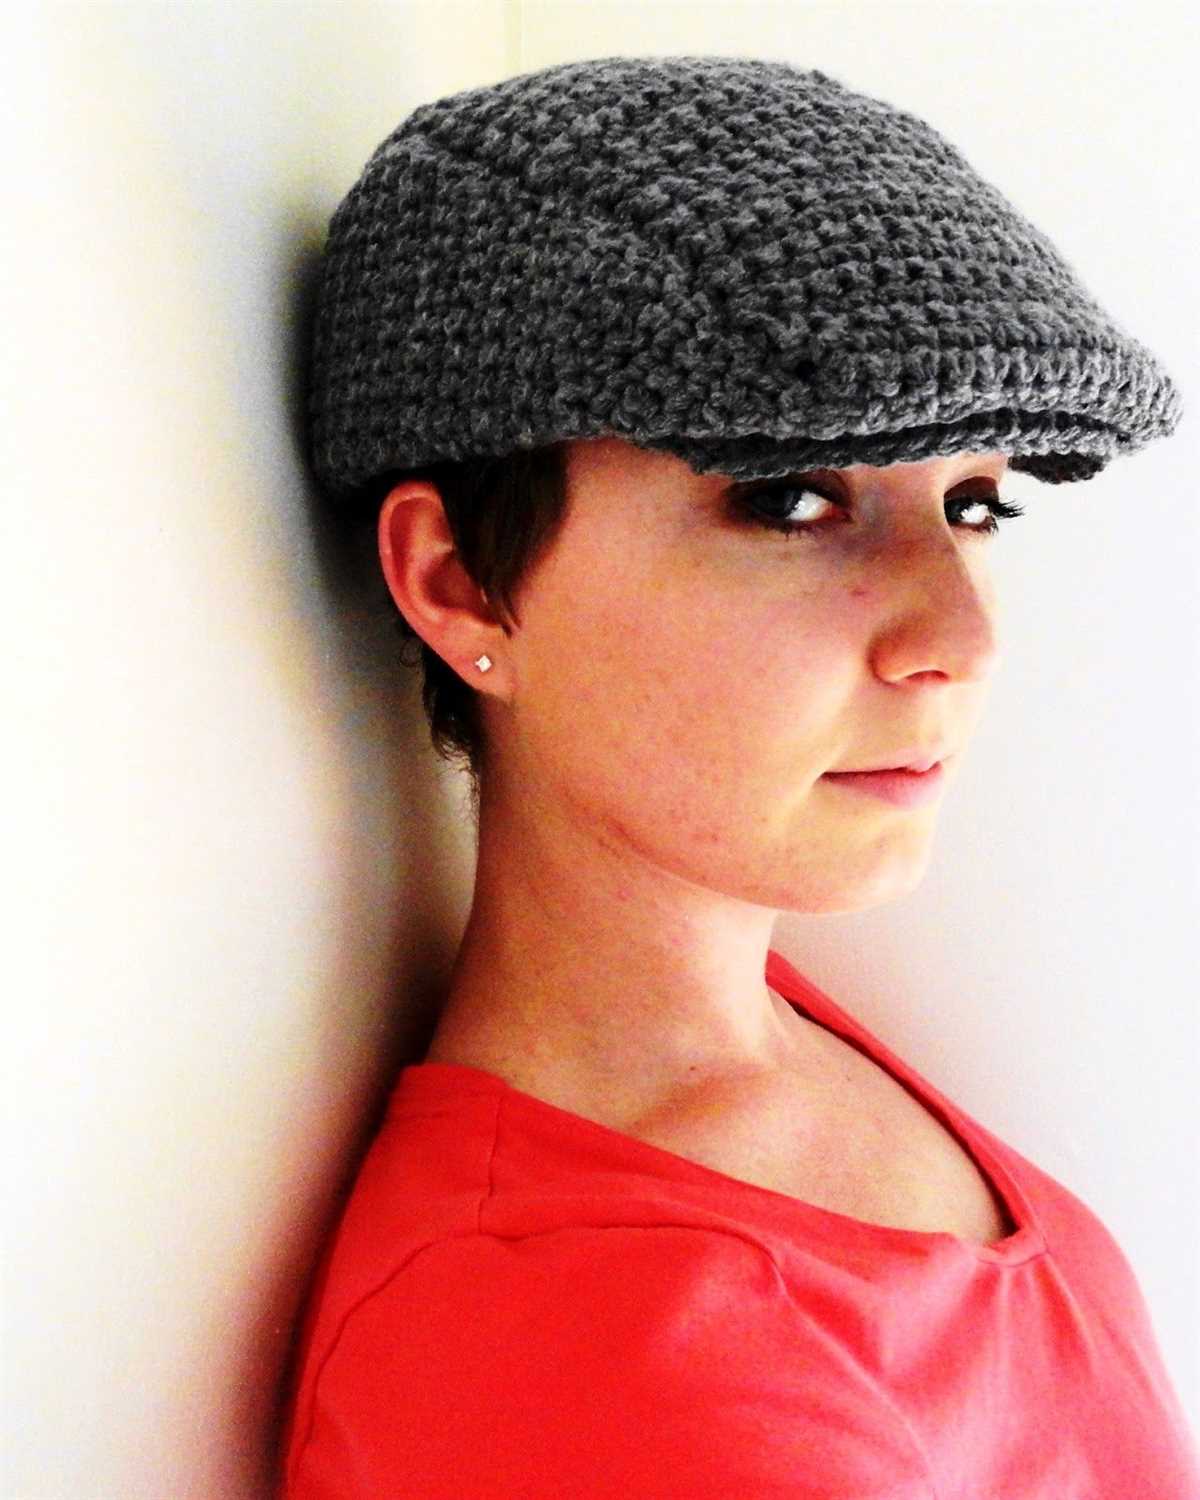
If you’re looking for a stylish and cozy hat to knit, a flat cap is a perfect choice. Flat caps have been a popular accessory for both men and women for decades, valued for their classic design and versatility. Whether you’re a knitting enthusiast or a beginner, this knitted flat cap pattern is a great project to take on.
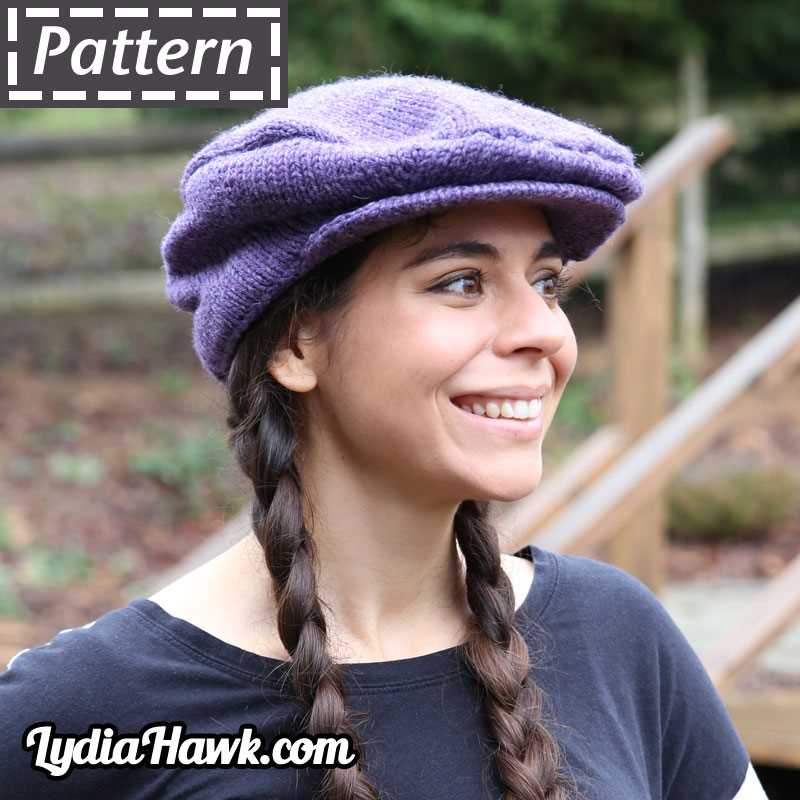
Made with soft and warm yarn, this hat will keep you warm during chilly months and add a touch of elegance to any outfit. The pattern features a ribbed brim for a snug fit and a textured stitch pattern for added interest. With a variety of colors and yarns to choose from, you can customize the hat to suit your personal style.
Knitting a flat cap is a great way to practice different knitting techniques, such as ribbing and shaping. The pattern is suitable for intermediate knitters, but with a bit of patience and practice, even beginners can successfully complete this project. Once you’ve finished knitting the cap, you can add a decorative button or a pompom to give it a unique finishing touch.
Knitted Flat Cap Pattern
The knitted flat cap is a classic and timeless accessory that adds a touch of style and warmth to any outfit. With its sleek design and snug fit, it’s no wonder that this hat has been a favorite among fashion-forward individuals for decades.
Creating your own knitted flat cap can be a rewarding and enjoyable project, whether you’re an experienced knitter or just starting out. With a few basic knitting techniques and some patience, you’ll be able to craft a hat that is not only functional but also reflects your personal style.
To get started, you’ll need:
- Worsted weight yarn in your desired color
- Knitting needles in the appropriate size for your yarn
- A tape measure or ruler
- A yarn needle
Here’s a simple knitting pattern to make your own flat cap:
- Begin by casting on the desired number of stitches, depending on the size of your head. A good starting point is typically around 80 stitches for adults.
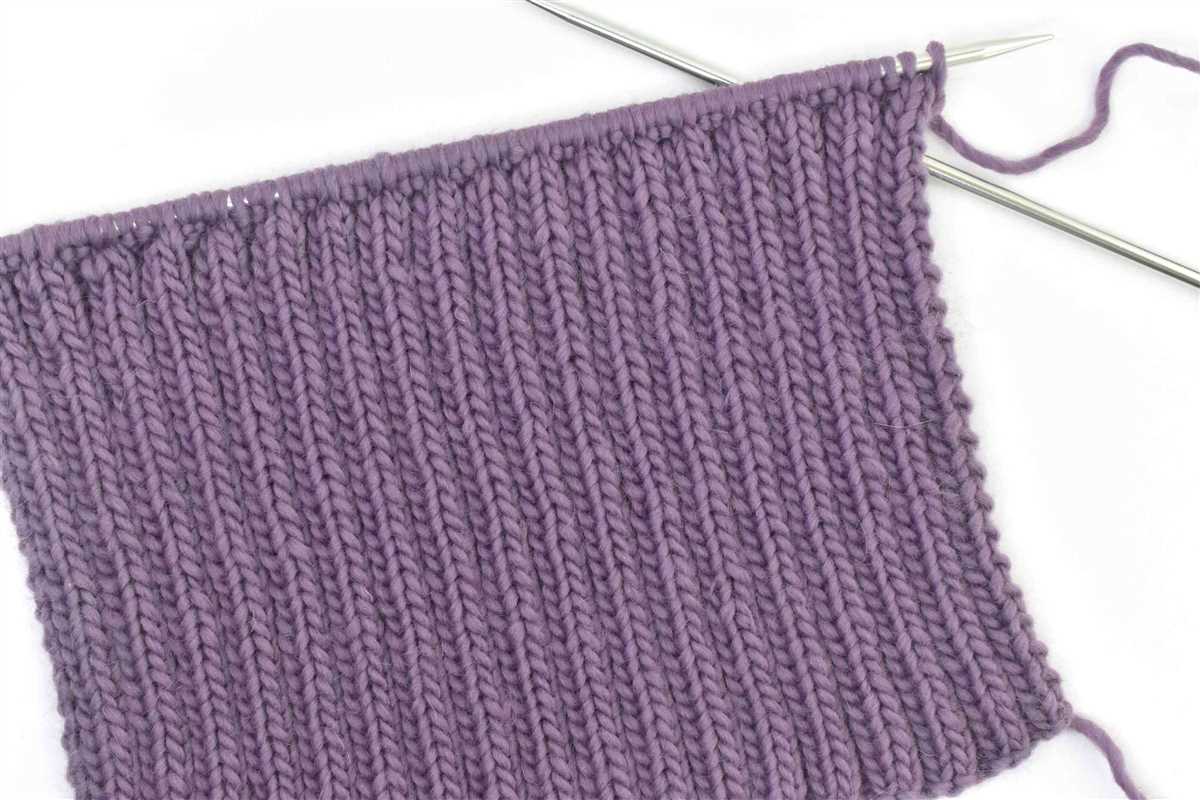
- Work in a rib stitch pattern (knit one, purl one) for a few inches to create the band of the cap. This will give the hat a snug fit and added stretch.
- Next, switch to a stockinette stitch pattern (knit on the right side, purl on the wrong side) for the body of the cap. Continue knitting in this pattern until the hat measures the desired length.
- Once the body of the cap is complete, it’s time to shape the crown. Decrease stitches evenly across each row until you have the desired number of stitches remaining.
- Finally, cut the yarn, leaving a long tail. Thread the tail through a yarn needle and weave it through the remaining stitches to close the top of the cap. Secure the end of the yarn and trim any excess.
Voila! You now have your very own knitted flat cap. Depending on your preference, you can choose to add a decorative band or button to personalize your hat even further. Don’t be afraid to get creative and experiment with different stitch patterns or color combinations to make your cap truly one-of-a-kind.
Whether you wear it for style or practicality, your knitted flat cap will undoubtedly become a staple in your wardrobe. So grab your knitting needles and start crafting this timeless accessory today!
Choosing the Right Yarn and Needles
When it comes to knitting a flat cap, choosing the right yarn and needles is crucial to achieving the desired result. The yarn and needle size will determine the overall texture, drape, and fit of the finished cap.
Yarn Selection
When selecting yarn for a knitted flat cap, it is important to consider the weight, fiber content, and color. A medium-weight yarn, such as a DK or worsted weight, is typically a good choice for a cap as it provides enough structure and warmth without being too bulky. Additionally, selecting a yarn with a bit of natural elasticity, such as one with a blend of wool and acrylic, can ensure a comfortable and snug fit.
Depending on the intended use of the cap, you may also want to consider the fiber content of the yarn. For a warm winter cap, a wool or wool blend yarn is a popular choice due to its insulating properties. However, if you are looking for a lighter and more breathable cap, a cotton or bamboo blend yarn may be more suitable.
Needle Size
The needle size you choose for a knitted flat cap will depend on the yarn weight, as well as your personal knitting gauge. It is important to check the recommended gauge for the pattern and make a gauge swatch to ensure proper sizing. If your gauge is too loose, try using smaller needles, and if it’s too tight, switch to larger needles.
For a medium-weight yarn, a set of US size 6 or 7 (4-4.5 mm) needles is a common choice. However, this may vary depending on your individual tension and the desired outcome of the cap. It’s always a good idea to knit a small swatch before starting the project to determine the best needle size for your specific yarn and knitting style.
- Consider the weight and fiber content of the yarn
- Choose a yarn with natural elasticity for a comfortable fit
- Wool or wool blend yarn for a warm winter cap, cotton or bamboo blend for a lighter and more breathable cap
- Check the recommended gauge and make a gauge swatch
- Try smaller needles if your gauge is too loose, larger needles if it’s too tight
- A set of US size 6 or 7 (4-4.5 mm) needles is a common choice for medium-weight yarn
Casting On and Knitting the Brim
Before starting to knit the brim of your flat cap, you need to cast on the required number of stitches. The number of stitches will depend on the size of the cap and the desired width of the brim. You can refer to the pattern for the specific number of stitches required.
To cast on, hold the end of the yarn in your right hand and make a slipknot. Place the slipknot on the left needle, leaving a tail of about 6 inches. Insert the right needle into the slipknot from below, and use the right needle to pull the yarn through the loop, creating a new stitch. Slide the new stitch onto the left needle, and tighten the yarn to secure the stitch. Repeat this process until you have cast on the required number of stitches.
Once you have cast on, you can start knitting the brim of the flat cap. This is typically done using a rib stitch pattern, which creates a stretchy and textured fabric. The rib stitch pattern is created by alternating knit and purl stitches. The pattern will specify the number of knit and purl stitches to create the desired ribbing effect.
- To knit a stitch, insert the right needle into the front of the stitch on the left needle from left to right. Wrap the yarn around the right needle counterclockwise, and pull the right needle and yarn through the stitch, sliding the old stitch off the left needle and onto the right needle.
- To purl a stitch, insert the right needle into the front of the stitch on the left needle from right to left. Wrap the yarn around the right needle clockwise, and pull the right needle and yarn through the stitch, sliding the old stitch off the left needle and onto the right needle.
Continue knitting in the rib stitch pattern according to the pattern instructions, until you have reached the desired length for the brim of your flat cap. Once the brim is complete, you can proceed to the next steps of the pattern, such as shaping the crown of the cap or adding any additional design elements.
Working the Ribbing
In order to create the ribbing for your knitted flat cap, you will need to work a specific stitch pattern. The ribbing not only adds a decorative element to the cap, but also provides stretch and elasticity. This makes the cap more comfortable to wear and helps it to fit securely on the head.
To work the ribbing, you will need to alternate between knit and purl stitches. This creates a textured fabric with raised ridges. The most common ribbing pattern for flat caps is a 2×2 rib, which means you will knit 2 stitches, then purl 2 stitches, and repeat this sequence across the row. This pattern is simple but effective, and it gives the ribbing a nice, balanced look.
When working the ribbing, it’s important to maintain an even tension in your knitting. This will help ensure that the ribbing has a consistent appearance and doesn’t become too loose or too tight. Take care to keep your stitches neat and even, and adjust your tension as needed.
It’s also important to pay attention to your stitch count when working the ribbing. The number of stitches you cast on should be divisible by 4, so that you can easily work the 2×2 rib pattern. If you’re adjusting the size of the cap, make sure to adjust the number of stitches accordingly to maintain the ribbing pattern.
Overall, working the ribbing for your knitted flat cap is a relatively straightforward process. With a little practice and attention to detail, you can create a beautifully textured ribbing that adds style and functionality to your cap.
Transitioning to the Main Body
Now that you have completed the ribbing section for your knitted flat cap, it’s time to transition to the main body of the pattern. This is where you will start working on the crown shaping and creating the overall shape of the cap.
Crown Shaping:
To begin the crown shaping, you will need to switch to larger needles and continue working in your chosen stitch pattern. The number of stitches you have at this point will determine the specific crown shaping instructions for your pattern. Generally, you will be decreasing stitches evenly across the rows to create a tapered shape that fits the head comfortably. Make sure to follow the pattern instructions carefully to achieve the desired shape.
TIP: If you prefer a slouchy cap, you can adjust the crown shaping to have a longer length before starting the shaping decreases. This will give the cap a relaxed and casual look.
Working in the Main Body:
As you continue working in the main body section, you will need to maintain the established stitch pattern and continue working in the round or back and forth, depending on your pattern instructions. Pay attention to any additional stitch or color changes that may be required to create the desired design or texture for your knitted flat cap.
TIP: If you want to add some extra flair to your cap, consider incorporating a colorwork or textured stitch pattern into the main body section. This will make your cap unique and stylish.
Finishing the Main Body:
Once you have completed the main body section according to the pattern instructions, you may need to finish the edges with a ribbed band or another suitable finishing technique. This will help the cap retain its shape and provide a clean and polished look. Follow the pattern instructions for finishing the main body to ensure a professional finish.
Knitting the Body of the Cap
Once you have completed the brim of the cap, it’s time to move on to knitting the body. This is where the hat really starts to take shape. To begin, you will need to switch to the main color yarn that you have chosen for your cap.
Take your circular needles and join the main color yarn, making sure to leave a long tail for weaving in later. Place a stitch marker to indicate the beginning of the round. The body of the cap is typically knit in a simple stockinette stitch, which consists of knitting one row and purling the next. This creates a smooth and stretchy fabric that is perfect for a cap.
Row 1: Knit all stitches
Row 2: Purl all stitches
Repeat Rows 1 and 2: Continue knitting in stockinette stitch for the desired length of the cap, following the ribbing pattern established in the brim. The length will vary depending on the size and style of the cap you are knitting.
As you knit the body of the cap, you may want to periodically try it on to ensure that it is fitting properly. Keep in mind that the cap will stretch slightly when worn, so it’s okay if it feels a little snug at first. Once you have reached the desired length, you are ready to move on to shaping the crown of the cap.
Decreasing for the Crown
The decreasing stage is where the flat cap pattern begins to come together and shape the crown of the hat. It is an important step in creating the desired fit and style. By carefully following the instructions and using the correct knitting techniques, you can achieve a beautifully shaped crown for your knitted flat cap.
To start decreasing for the crown, you will need to divide your stitches evenly onto double-pointed needles or use the magic loop method if you prefer. This will allow you to work in the round and continue shaping the crown seamlessly. It is important to keep track of your stitches and markers during this stage to ensure accuracy.
Decreasing rounds:
- Round 1: Knit 2 stitches together, repeat until the end of the round.
- Round 2: Knit all stitches.
- Round 3: Knit 2 stitches together, repeat until the end of the round.
- Round 4: Knit all stitches.
- Repeat Rounds 3 and 4 until you have a small number of stitches left.
As you continue working the decreasing rounds, you will notice the crown of the hat starting to take shape. The number of stitches decreases with each round, creating a tapered effect. It is important to maintain even tension and make sure your stitches are not too tight or too loose, as this can affect the final fit and appearance of the hat.
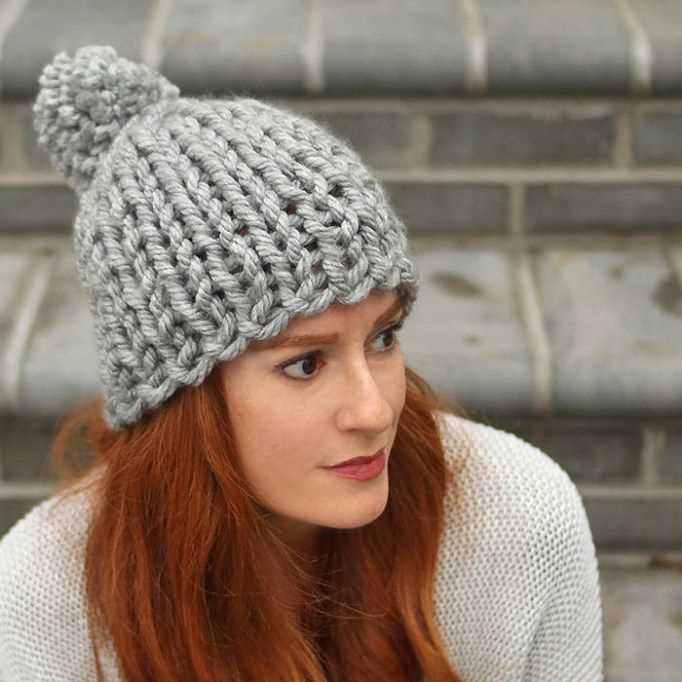
Once you have completed the decreasing rounds and only a few stitches remain, you can either gather and secure the stitches with a yarn needle, or continue knitting a few more rounds to create a small pom-pom at the top of the hat. This finishing touch adds a playful and stylish element to the knitted flat cap.
Shaping the Crown
In order to shape the crown of the knitted flat cap, you will need to follow a specific pattern and make some adjustments as you go. The crown is the top part of the hat that sits on the head, and it usually has a rounded shape.
One common method for shaping the crown is to decrease the number of stitches gradually to create a tapered effect. This can be done by knitting two stitches together at regular intervals. The pattern will specify how many stitches to decrease and when to do the decreases.
For example:
- Row 1: Knit all stitches
- Row 2: Knit 2 stitches together, knit to end
- Repeat Rows 1 and 2 until the desired number of stitches remain
Another way to shape the crown is to create a series of short rows. This involves knitting a few stitches, then turning the work and knitting back in the opposite direction before reaching the end of the row. This technique creates extra fabric that can be gathered or folded to create the rounded shape of the crown.
For example:
- Row 1: Knit 10 stitches
- Row 2: Turn work, purl 10 stitches
- Row 3: Turn work, knit 9 stitches
- Row 4: Turn work, purl 9 stitches
- Continue decreasing the number of stitches in each row until the desired shape is achieved
It’s important to follow the instructions provided in the knitting pattern to ensure that the crown is shaped correctly. Each pattern may have different instructions and techniques for shaping the crown, so make sure to read and understand the pattern before starting your project.
Binding Off and Finishing
Once you have finished knitting your flat cap, it’s time to bind off and finish it off. Binding off is the process of securing the stitches so that they won’t unravel. There are several methods you can use to bind off, depending on the desired effect and elasticity of your finished cap.
One common method of binding off is the standard bind off, which creates a neat, straight edge. To do this, knit the first two stitches, then use the left needle to lift the first stitch over the second stitch and off the right needle. Continue knitting one stitch and lifting the previous stitch over until you have one stitch remaining on the right needle. Cut the yarn, leaving a tail, and pull it through the last stitch to secure it.
Another option is the stretchy bind off, which is ideal for hats that need some extra give. To do this, knit two stitches, then use the left needle to lift the first stitch over the second stitch and off the right needle. Instead of knitting another stitch, insert the left needle into the first stitch on the right needle and knit it again. Repeat this process until you have one stitch remaining on the right needle, then cut the yarn and pull it through the last stitch.
After binding off, you can weave in any loose ends using a tapestry needle. Thread the needle with the tail of yarn and pass it through several stitches on the wrong side of the cap, ensuring that it remains invisible from the right side. Trim any excess yarn, and your flat cap is now complete and ready to wear!
Adding Embellishments
Adding embellishments to your knitted flat cap can give it an extra touch of style and personality. There are many different ways you can embellish your cap, from simple additions like buttons or patches, to more intricate designs like embroidery or beading.
Buttons: Adding buttons to your cap can be a simple and effective way to add some visual interest. You can choose buttons that match the color of your cap, or go for a contrasting color for a pop of color. Sew the buttons on securely using a strong thread and needle.
Patches: Sewing on patches is another popular way to embellish a flat cap. You can find patches in various designs and themes, or even make your own by embroidering a design onto a piece of fabric and then sewing it onto your cap. Patches can add a unique and personalized touch to your cap.
Embroidery: Embroidery is a great way to add intricate designs to your knitted cap. You can embroider patterns, initials, or even small pictures onto your cap using different colored threads. Choose a design that complements your cap and use a needle and embroidery thread to carefully stitch it onto your cap.
Beading: Adding beads to your cap can create a beautiful and eye-catching embellishment. You can sew beads onto your cap in a specific pattern or randomly for a more eclectic look. Choose beads in colors that coordinate with your cap and use a beading needle and thread to attach them securely.
When adding embellishments to your knitted flat cap, it’s important to consider the materials you’re working with and choose embellishments that are secure and won’t easily come off. Take your time and carefully sew or attach each embellishment to ensure they stay in place and last for a long time.
Styling and Wearing Your Knitted Flat Cap
Once you’ve finished knitting your flat cap, it’s time to think about how to style and wear it. Here are some tips to help you make the most of your new accessory:
1. Choosing the Right Outfit
When it comes to styling your knitted flat cap, consider the overall look you want to achieve. Flat caps can be dressed up or down to suit different occasions. For a casual and laid-back look, pair your cap with a simple t-shirt or a denim jacket. If you’re going for a more sophisticated vibe, try wearing it with a blazer or a tailored coat.
2. Finding the Perfect Fit
Before wearing your knitted flat cap, make sure it fits you well. A cap that is too loose or too tight won’t look flattering. Measure your head circumference and compare it to the pattern’s sizing guide. If needed, you can adjust the size by adding or removing rows in the crown section.
3. Adding a Touch of Personality
One of the great things about knitted flat caps is their versatility. You can personalize your cap by adding embellishments, such as buttons, patches, or a small pompom. Get creative and make it unique to reflect your personal style.
4. Playing with Different Hair Styles
Experiment with different hairstyles to find the perfect look to complement your flat cap. For a more casual look, leave your hair loose or style it in a messy bun. If you prefer a polished appearance, try slicking your hair back or wearing it in a low ponytail.
5. Taking Care of Your Flat Cap
To keep your knitted flat cap looking its best, make sure to care for it properly. Hand wash it using a mild detergent and lay it flat to dry. Avoid machine washing or tumble drying, as this can cause the cap to lose its shape. Store it in a cool, dry place to prevent stretching or damage.
By following these tips, you’ll be able to style and wear your knitted flat cap with confidence and flair. Whether you’re heading out for a casual day or an elegant evening, your cap will add a touch of timeless style to your outfit.
Q&A:
What level of knitting skills do I need to knit a flat cap?
A basic level of knitting skills is required to knit a flat cap. You should be familiar with casting on, knitting, purling, and decreasing stitches. This pattern is relatively straightforward and suitable for knitters who have mastered the basic techniques.
What type of yarn should I use for the knitted flat cap?
For this knitted flat cap pattern, you can use worsted weight yarn. Worsted weight yarn is a medium weight yarn that is versatile and widely available. Choose a yarn that is comfortable to wear, suits your desired color, and has good stitch definition.
Can I modify the pattern to make the flat cap larger or smaller?
Yes, you can modify the pattern to make the flat cap larger or smaller. To make it larger, you can cast on more stitches at the beginning, work additional rounds in stockinette stitch before decreasing, or modify the decrease rounds by decreasing fewer stitches. To make it smaller, you can cast on fewer stitches, work fewer rounds in stockinette stitch before decreasing, or modify the decrease rounds by decreasing more stitches. Keep in mind that these modifications may affect the overall look and fit of the cap, so it’s important to make a gauge swatch and adjust accordingly.
Where can I find a knitted flat cap pattern?
You can find a knitted flat cap pattern on various websites and knitting forums. Some popular websites to find knitting patterns include Ravelry, LoveCrafts, and Knitty. Additionally, you can try searching for specific patterns on search engines like Google or Pinterest.