
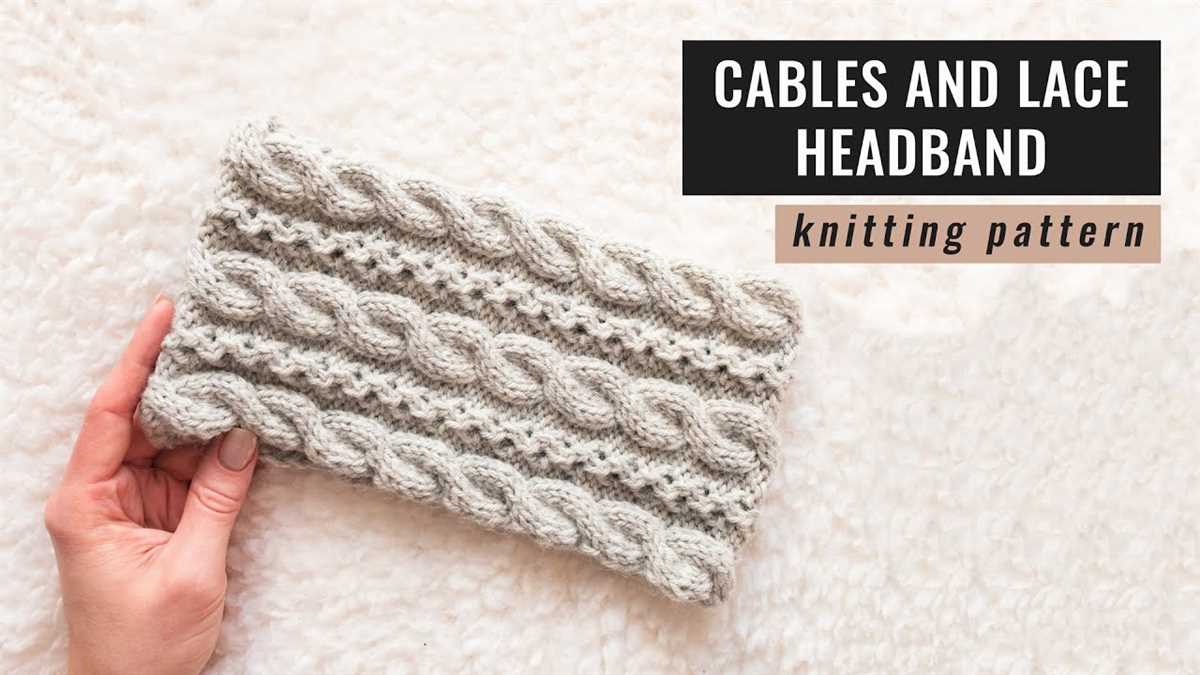
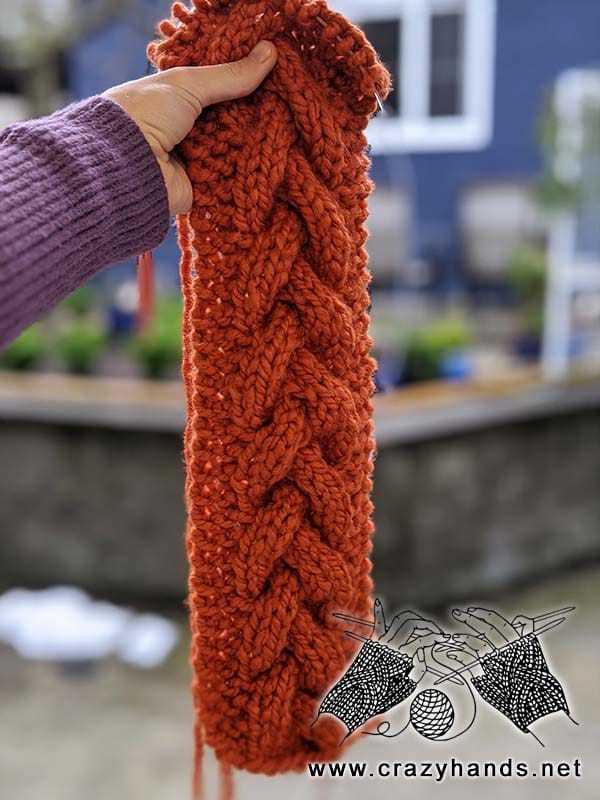
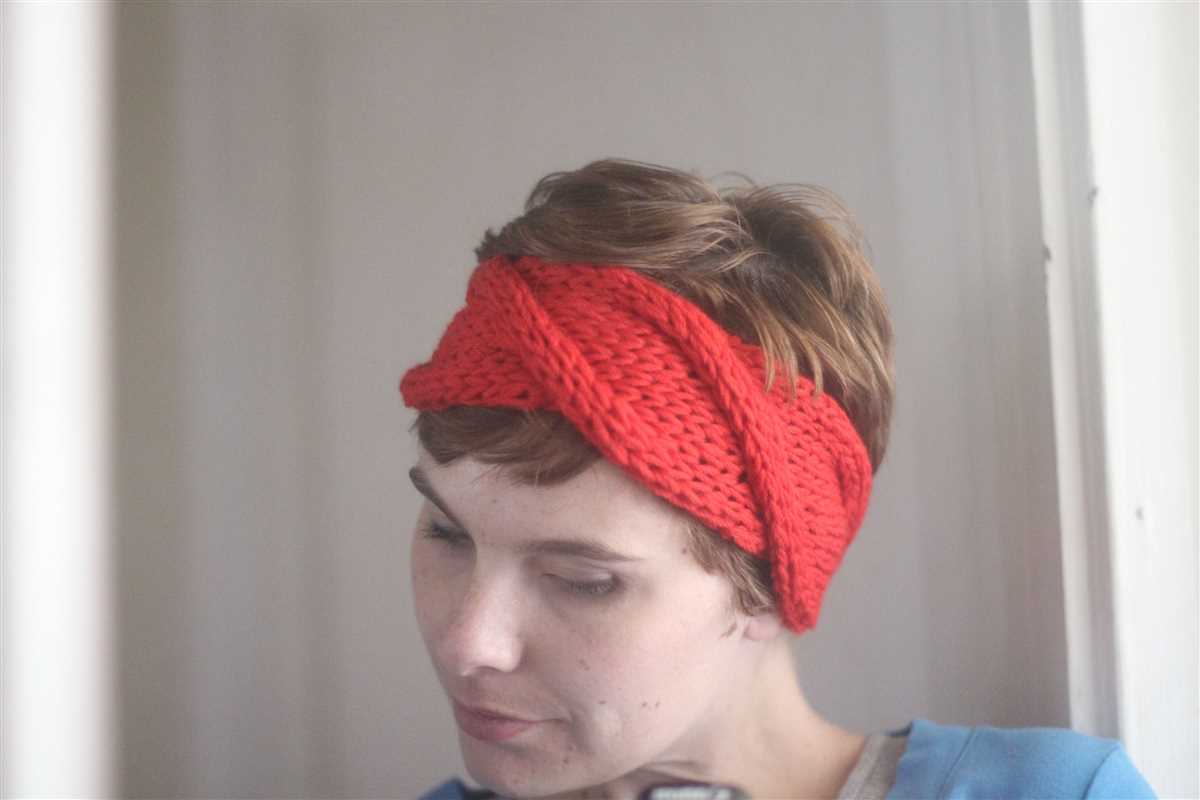
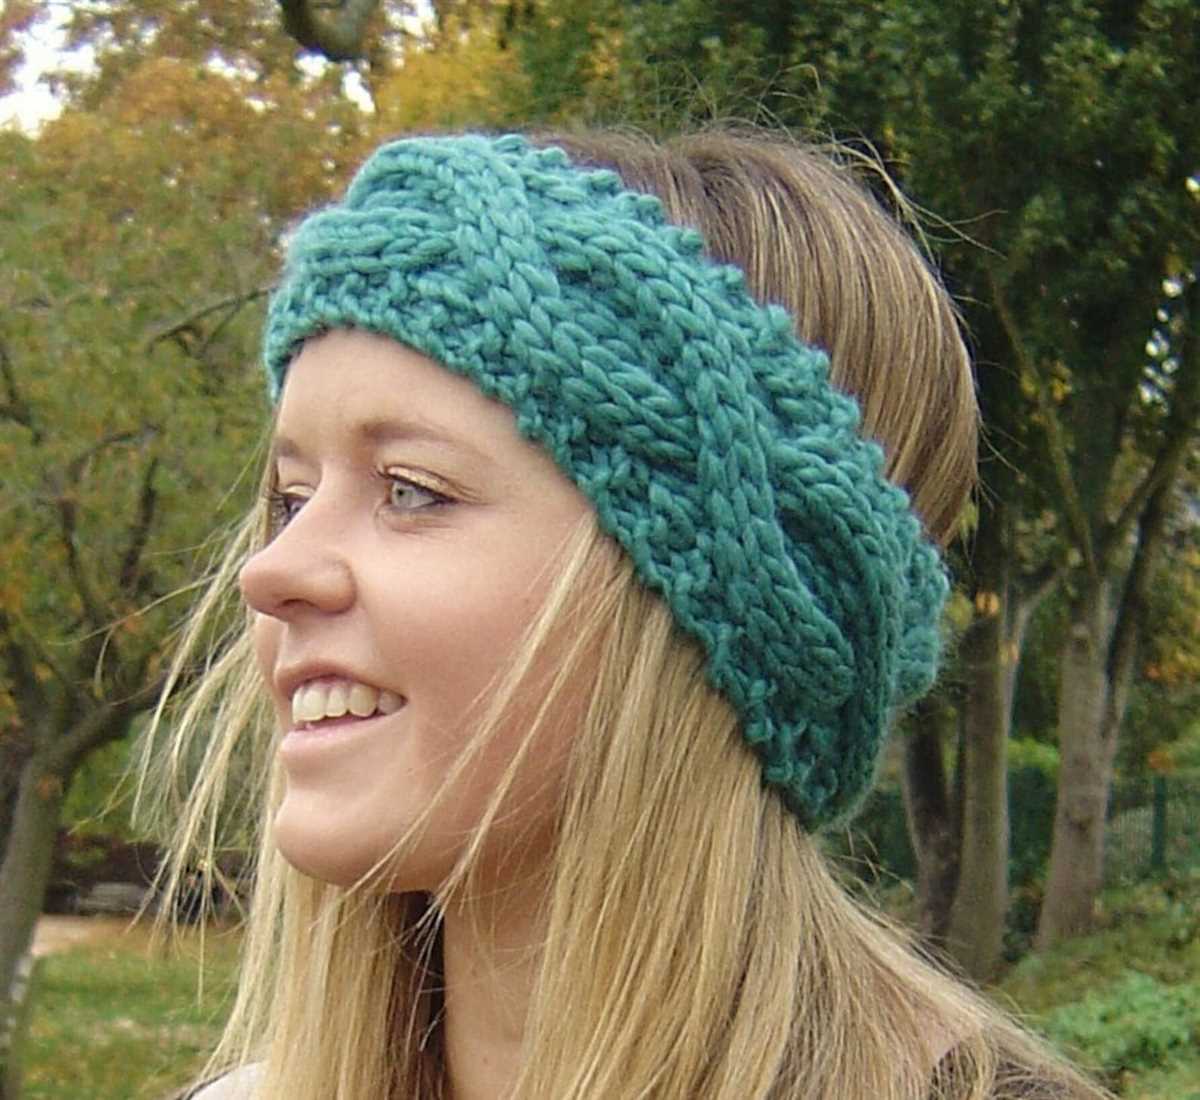
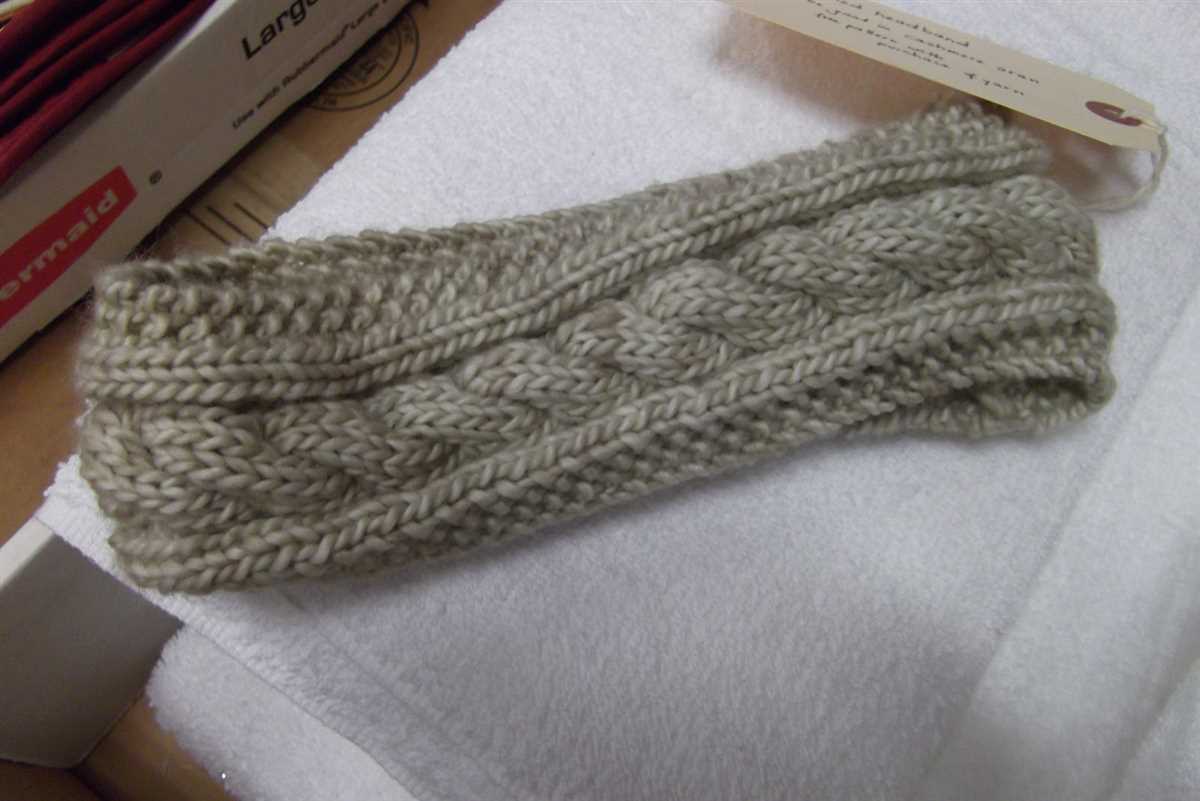
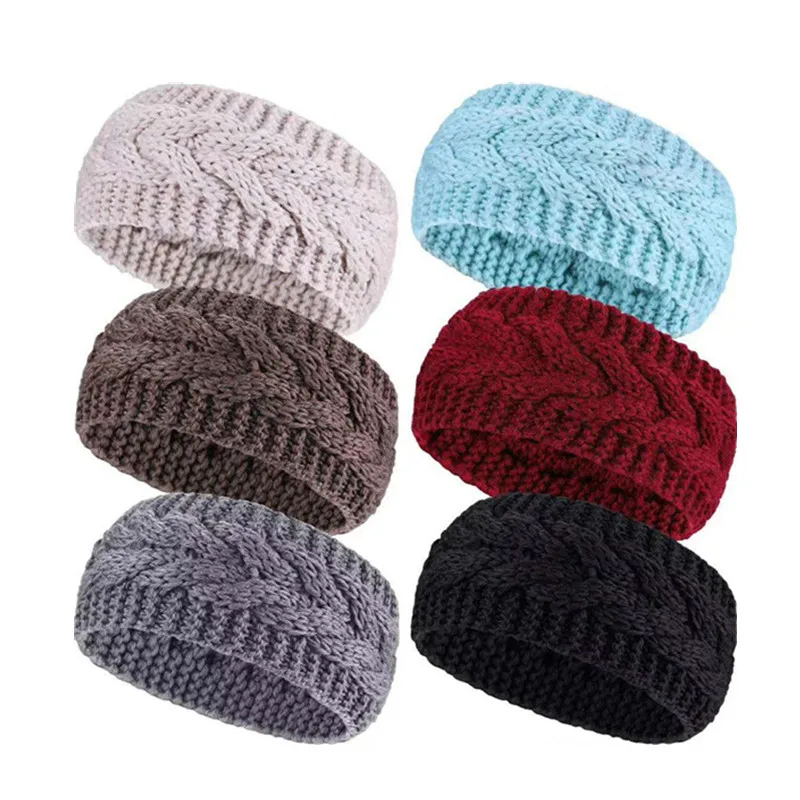
If you’re looking to add a stylish and cozy accessory to your winter wardrobe, look no further than a chunky cable knit headband. With its intricate design and thick yarn, this headband will keep you warm and fashionable all season long. Whether you’re a beginner knitter or an experienced one, this free pattern is perfect for you.
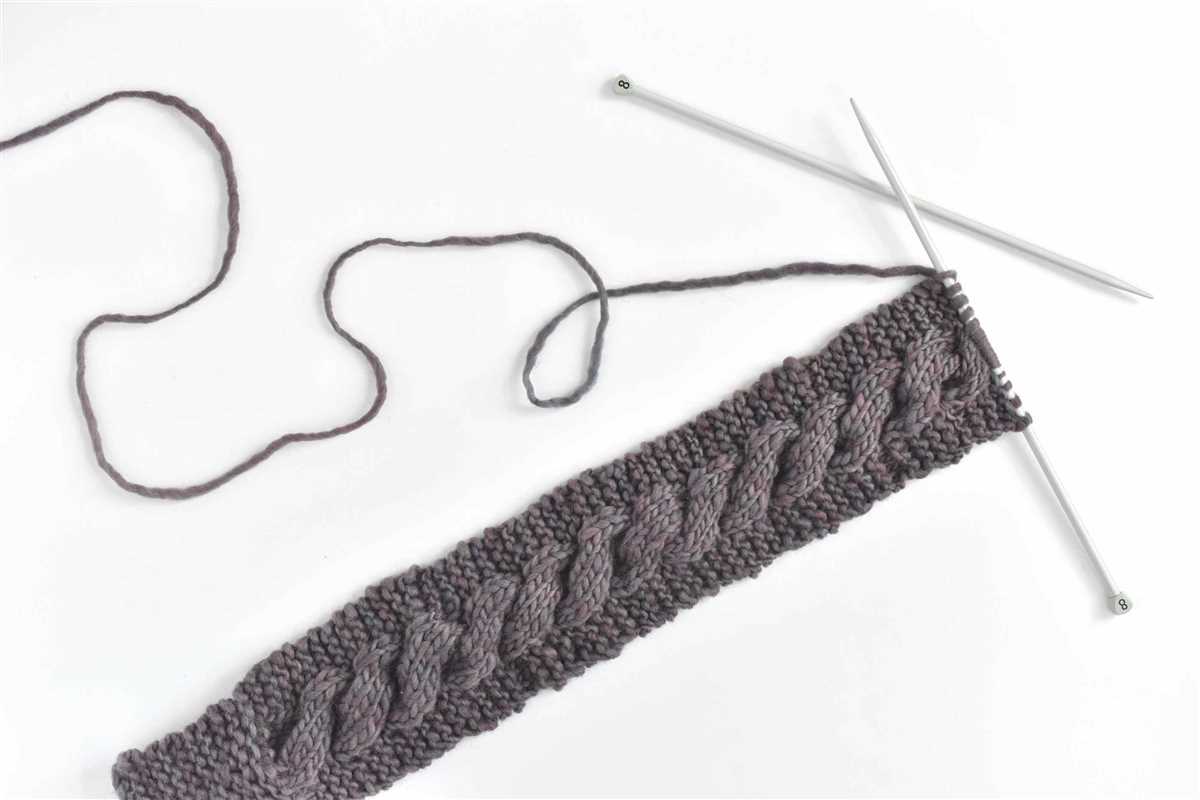
Knitting a chunky cable knit headband is a great way to practice your cable knitting skills. The pattern uses basic cable stitches, such as C4B (cable 4 back) and C4F (cable 4 front), which create the beautiful twists and braids that make this headband so unique. Even if you’ve never tried cable knitting before, this pattern includes detailed instructions and step-by-step photos to guide you through the process.
In addition to being a fun knitting project, this headband is also a practical accessory for the winter months. Made with bulky yarn, it provides extra warmth and insulation for your ears, while still allowing you to wear your hair up or down. The stretchy ribbed edging ensures a comfortable fit for all head sizes, making this headband a versatile and stylish addition to your winter wardrobe.
How to Make a Chunky Cable Knit Headband
If you’re looking for a stylish and cozy accessory, a chunky cable knit headband is a perfect choice. Not only does it keep your ears warm during the cold winter months, but it also adds a touch of elegance to your outfit. Making your own headband allows you to customize the color and size to suit your preferences. With just a few knitting techniques, you can create a beautiful headband that will be a statement piece in your winter wardrobe.
To start making your chunky cable knit headband, you will need chunky yarn and knitting needles in an appropriate size. You can choose any color that matches your style or opt for a neutral shade that goes well with a variety of outfits. Once you have your materials ready, cast on the desired number of stitches to accommodate the width of your headband. For a chunky look, a cast on around 12-14 stitches should be sufficient.
Once you have the right number of stitches, you can begin creating the cable pattern. Cable knitting involves crossing stitches over each other to create a twisted effect. You can find various cable patterns online or in knitting books to follow. Follow the pattern instructions, making sure to keep track of each row and cable placement.
After completing the cable pattern, knit several rows in a basic knit stitch to create a border at the top and bottom of the headband. This will help keep the edges from rolling and give a neat finish to the piece. Once you have the desired length, bind off your stitches and weave in any loose ends.
To wear your chunky cable knit headband, simply wrap it around your head and secure it in place. The stretchy nature of the knit will ensure a comfortable fit. Pair your headband with a cozy sweater and jeans for a casual look, or dress it up with a winter coat and boots for a more polished ensemble. Enjoy the warmth and style that your handmade headband brings to your winter wardrobe.
Gather Materials
Before you begin knitting your chunky cable knit headband, make sure you have all the necessary materials. Here is a list of what you will need:
- Yarn: Choose a chunky weight yarn in the color of your choice. Make sure it is suitable for knitting.
- Knitting Needles: Use a pair of size US 10.5 (6.5mm) knitting needles.
- Cable Needle: You will need a cable needle to create the cable pattern in your headband.
- Tapestry Needle: A tapestry needle will be useful for weaving in the ends of your yarn.
- Scissors: Keep a pair of scissors handy for cutting the yarn.
- Measuring Tape: It is important to measure your head size so that your headband fits properly. Use a measuring tape to determine the circumference of your head.
Once you have gathered all the necessary materials, you are ready to start knitting your chunky cable knit headband. Make sure you have a comfortable and well-lit knitting space where you can work on your project. With all the materials in place, you are now prepared to create a cozy and stylish headband to keep you warm during the colder months.
Choose Yarn and Needles
When making a chunky cable knit headband, it’s important to choose the right yarn and needles for the project. The right materials can make a big difference in the appearance and texture of the final product.
Yarn: To achieve the desired chunky look, it’s best to choose a bulky or super bulky weight yarn. These yarns are thicker and will create a more substantial and cozy headband. Look for yarns that are soft and warm, such as merino wool or alpaca blends. These natural fibers will provide both comfort and style.
Needles: The size of the needles you use will depend on the thickness of the yarn you’ve chosen. To create a chunky cable knit headband, you’ll need larger needles, typically in the range of US 10 to US 13. These larger needles will allow the stitches to be more visible and give the headband a more substantial feel. Look for needles that are comfortable to hold and easy to work with, such as circular needles or straight needles with a comfortable grip.
If you’re unsure about which yarn or needles to choose, it can be helpful to consult a pattern or seek advice from experienced knitters. They can provide recommendations based on their own experiences and help you find the perfect materials for your chunky cable knit headband project.
Create a Slip Knot
Before you can start knitting your chunky cable knit headband, you need to create a slip knot. A slip knot is a loop that you can easily adjust and tighten on your knitting needle. Here’s how you can create a slip knot:
- Start by making a loop with the yarn, ensuring that the tail end is on top of the working yarn.
- Take the tail end of the yarn and pass it through the loop from back to front.
- Hold onto the loop and pull the tail end to tighten the knot.
Once you have created the slip knot, you can place it onto one of your knitting needles. This will be the first stitch of your chunky cable knit headband. Make sure the knot is secure but not too tight, as you will need to be able to slide it along the needle as you work.
Cast On Stitches
When starting a knitting project, one of the first steps is to cast on stitches. Casting on is the process of creating the initial row of stitches on your knitting needle. There are several different methods you can use to cast on stitches, depending on the type and look you want for your project.
One common method for casting on stitches is the long tail cast on. To do this, you will first need to estimate the length of yarn needed for your cast on. This can be done by wrapping the yarn around the needle the desired number of times, then multiplying that length by the number of stitches you want to cast on. Once you have the length, you can start the cast on by creating a slipknot in the yarn and placing it on one of the knitting needles. Hold the needle with the slipknot in your right hand, and the other needle in your left hand. With your right hand, loop the yarn over the left needle, then take the point of the right needle and go through the loop, bringing a loop of yarn with it. This new loop can be placed on the left needle, and the process repeated until you have cast on the desired number of stitches.
Another method for casting on stitches is the knitted cast on. This method creates a stretchy and decorative edge, making it ideal for projects like socks or hats. To do a knitted cast on, start by creating a slipknot and placing it on your left needle. Hold the slipknot in your left hand, and the other needle in your right hand. Insert the right needle into the slipknot from front to back, as if you were going to knit the stitch. Wrap the yarn around the right needle counterclockwise, then pull the new loop of yarn through the slipknot, creating a new stitch. This stitch can be placed on the left needle, and the process repeated until you have cast on the desired number of stitches.
By mastering the different methods for casting on stitches, you can start your knitting projects with confidence and create beautiful and professional-looking finished pieces.
Knit the First Row
Before you begin knitting the first row of your chunky cable knit headband, make sure you have all the necessary materials prepared. This includes your knitting needles, your chosen yarn, and any additional tools such as stitch markers or cable needles that you may need for the pattern.
Once you have everything ready, cast on the required number of stitches as specified in the pattern. Make sure your cast on is neither too loose nor too tight, as this will affect the overall fit and appearance of your headband. Consider using a larger needle size for the cast on if you tend to cast on tightly.
Now that you have your stitches cast on, you can begin knitting the first row. Follow the instructions provided in the pattern for knitting the first row. This may involve knitting certain stitches, purling others, or even working cable stitches. Pay close attention to any stitch markers or cable charts that are provided, as these will guide you through the intricate cable design of the headband.
If you are new to knitting cables, take your time and refer to tutorials or instructions on how to work cable stitches. It may be helpful to use a cable needle or a double-pointed needle to help hold the stitches in place as you twist them. As you become more comfortable with cables, you may find that you can work them without the need for additional needles.
Once you have completed the first row, take a moment to check your work and make sure that you have followed the pattern correctly. Look for any mistakes or inconsistencies in your stitching, and if necessary, rip out the row and start again. Remember that practice makes perfect, and don’t be discouraged if it takes a few tries to get the hang of the pattern.
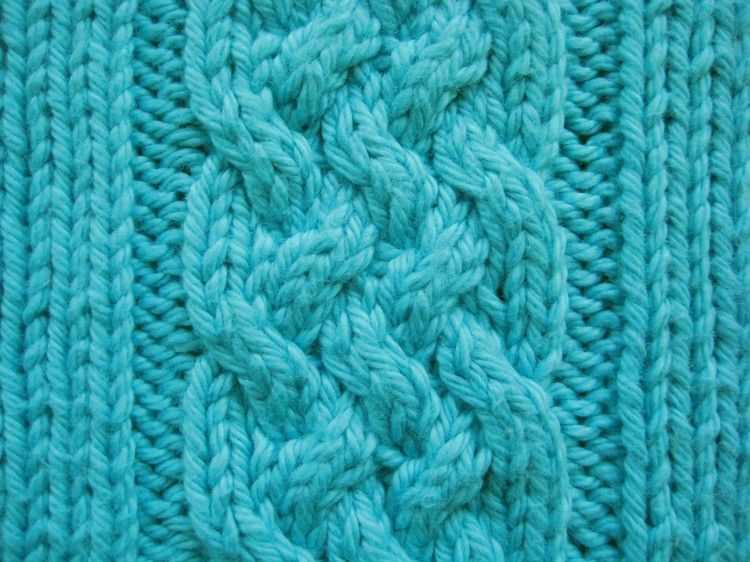
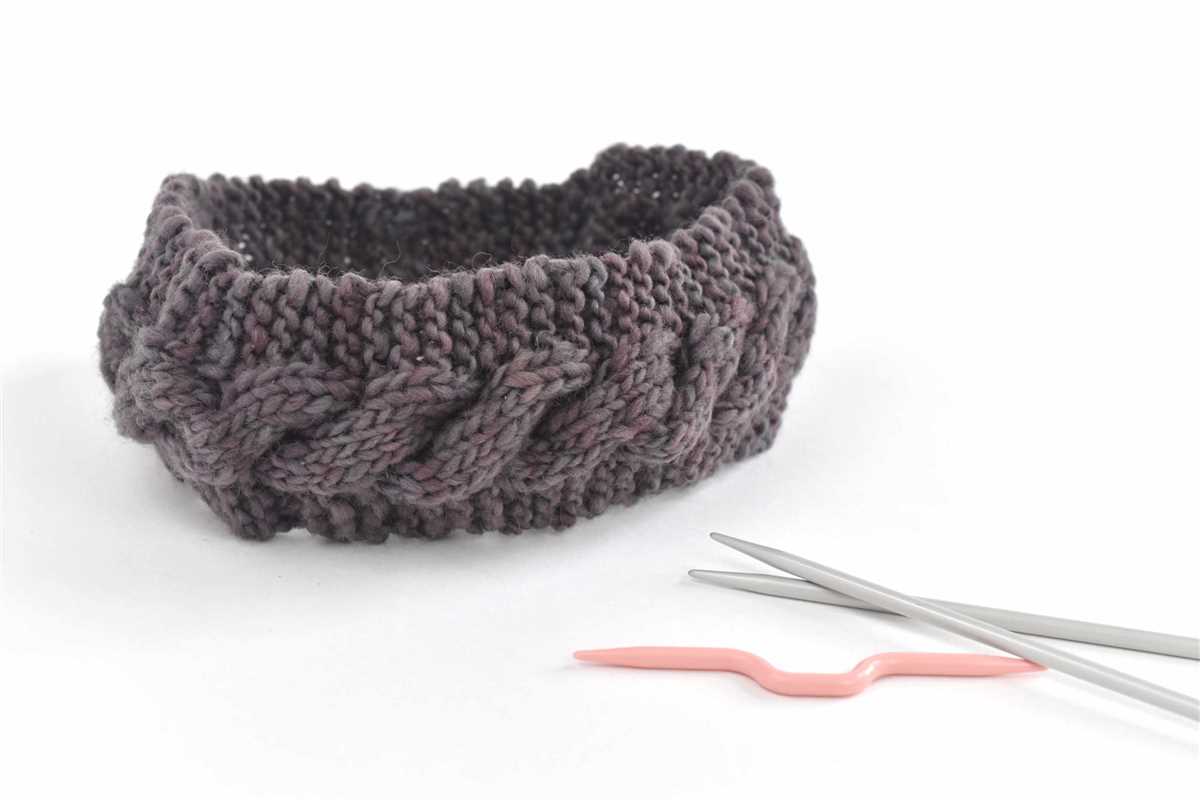
Create the Cable Stitch
In order to create the chunky cable knit headband, you will need to master the cable stitch. This stitch creates beautiful, intricate patterns that add depth and texture to your knitting project. It is a popular choice for creating cozy accessories like headbands, scarves, and sweaters.
To create the cable stitch, you will need a cable needle, which is a short, double-pointed needle specifically designed for holding stitches to create the cable pattern. You will also need a set of regular knitting needles and the yarn of your choice.
Step 1: Start by casting on the desired number of stitches for your headband. This will depend on the width you want for your headband and the gauge of your yarn. You can use a basic long-tail cast on or any other method you prefer.
Step 2: Once you have cast on your stitches, you can begin working the cable stitch. This stitch is created by crossing stitches over each other. To do this, you will need to use your cable needle.
Step 3: Slip the first few stitches onto your cable needle, leaving it at the front or back of your work, depending on the pattern instructions. Then, knit or purl the next few stitches from your regular knitting needle.
Step 4: With the stitches held on the cable needle, knit or purl the stitches from the cable needle. This will create the cable twist. The specific pattern instructions will guide you on how many stitches to hold on the cable needle and which direction to cross them.
Step 5: Continue repeating steps 3 and 4 until you have completed the desired number of cable twists for your headband. Be sure to follow the pattern instructions carefully to achieve the desired cable pattern.
By mastering the cable stitch, you can create stunning cable knit headbands and other accessories. Experiment with different cable patterns and yarns to create unique and personalized designs. With practice, you will become more comfortable and confident in creating intricate cable stitches.
Continue Knitting Rows
Once you have completed the ribbing section, it’s time to move on to the main body of the headband. To do this, continue knitting rows in stockinette stitch. Remember, stockinette stitch is achieved by knitting one row and purling the next. Repeat this pattern until the headband reaches your desired length.
As you knit each row, make sure to maintain the pattern of the cable. The cable pattern is created by crossing stitches over each other to form a braided appearance. Follow the instructions provided in the pattern for how many rows to knit before crossing the cables.
After completing a set number of rows, you may need to increase or decrease stitches to maintain the desired width of the headband. Be sure to reference the pattern for instructions on how to do this, as it may differ depending on the specific design.
To ensure that the headband fits comfortably and securely, it’s a good idea to periodically try it on as you knit. This will allow you to make any necessary adjustments to the length or width before finishing the final rows.
As you approach the end of the headband, you may need to switch to smaller needles to create a tighter edge. This will help prevent the edges from curling. Again, refer to the pattern for specific instructions on when and how to switch needle sizes.
Once you have knit the final row, it’s time to bind off the stitches. This will create a finished edge and secure the headband in place. Follow the pattern instructions for the appropriate bind off method to use.
Shape the Headband
Once you have completed the cable pattern for your chunky cable knit headband, it’s time to shape it to fit comfortably around your head. This involves decreasing the number of stitches gradually to create a tapered shape.
To begin shaping the headband, work the first row of your cable pattern as normal. Then, on the next row, you will start decreasing stitches. You can do this by knitting two stitches together, or by using another decrease method that you prefer. Repeat this decrease row every few rows until you have reached your desired width for the headband.
When you have reached the desired width, you can continue working in your cable pattern without any decreases until the headband is long enough to comfortably wrap around your head. It’s important to try on the headband periodically as you are knitting to ensure that it will fit properly. Keep in mind that the headband should be snug enough to stay in place, but not too tight that it will cause discomfort.
Once the headband is the desired length, bind off your stitches to finish the project. You can then sew or weave in any loose ends to give the headband a polished look. Your chunky cable knit headband is now ready to be worn and enjoyed during the colder months!
Bind Off Stitches
When you have finished knitting the desired number of rows for your headband, it’s time to bind off the stitches. Binding off is the process of closing the live stitches and creating a finished edge. It’s important to bind off in a way that matches the overall look and feel of your headband.
One common method of binding off is the basic bind off. To do this, knit the first two stitches as you normally would. Then, using your left needle, lift the first stitch over the second stitch and off the right needle. Continue in this manner, knitting one stitch and then lifting the previous stitch over until you reach the end of the row. Cut your yarn, leaving a tail, and pull it through the last stitch to secure it.
If you prefer a stretchier edge, you can use the stretchy bind off method. This method is especially useful for headbands, as it allows for a snug fit without being too tight. To do the stretchy bind off, knit the first two stitches together through the back loop. Then, insert the left needle into the front of the first stitch on the right needle, and lift it over the second stitch and off the needle. Repeat this process, knitting two stitches together and lifting the previous stitch over, until you reach the end of the row. Cut your yarn, leaving a tail, and pull it through the last stitch to secure it.
Once you have bound off your stitches, you can weave in any loose ends and enjoy your finished chunky cable knit headband. It’s a stylish and cozy accessory that will keep you warm during the cooler months.
Sew the Ends Together
Once you have finished knitting your chunky cable knit headband, it’s time to sew the ends together to create a seamless loop. This step is important to ensure that the headband stays securely in place when worn.
To sew the ends together, start by threading a needle with a matching yarn color. Insert the needle into the first stitch on one end of the headband and pull it through. Then, insert the needle into the corresponding stitch on the other end of the headband and pull it through.
Continue sewing the ends together in this way, making sure to match up the stitches on each side of the headband. Use a simple whip stitch to create a strong and secure seam. Take your time and make sure each stitch is tight and even.
Once you have sewn all the way around the headband, tie off the yarn and trim any excess. Give the seam a gentle tug to make sure it is secure. Your chunky cable knit headband is now ready to be worn and will keep you warm and stylish during the colder months!
Finishing Touches
Once you have completed your chunky cable knit headband, there are a few finishing touches that you can add to make it even more special. These final steps will give your headband a polished and professional look.
Weaving in Ends: Take the time to weave in any loose ends from where you changed colors or finished off your yarn. Use a yarn needle to carefully thread the ends through the stitches on the wrong side of your headband. This will ensure that your headband looks neat and tidy.
Blocking: Blocking your headband can help to shape it and make the cables stand out even more. To block your headband, wet it gently with cool water and lay it flat on a towel. Use pins to shape the headband and leave it to dry completely. This will give your headband a professional finished look.
Adding a Button or Embellishment: If you want to add a little extra flair to your headband, consider sewing on a button or attaching an embellishment. This can add a pop of color or a unique touch to your headband.
Labeling: Don’t forget to label your headband! Sew a small label onto the back or inside of your headband with your name or any other identifying information. This way, if you ever lose your headband, it can easily find its way back to you.
By following these finishing touches, you can take your chunky cable knit headband from homemade to high-quality. Enjoy wearing your cozy and stylish headband all winter long!