
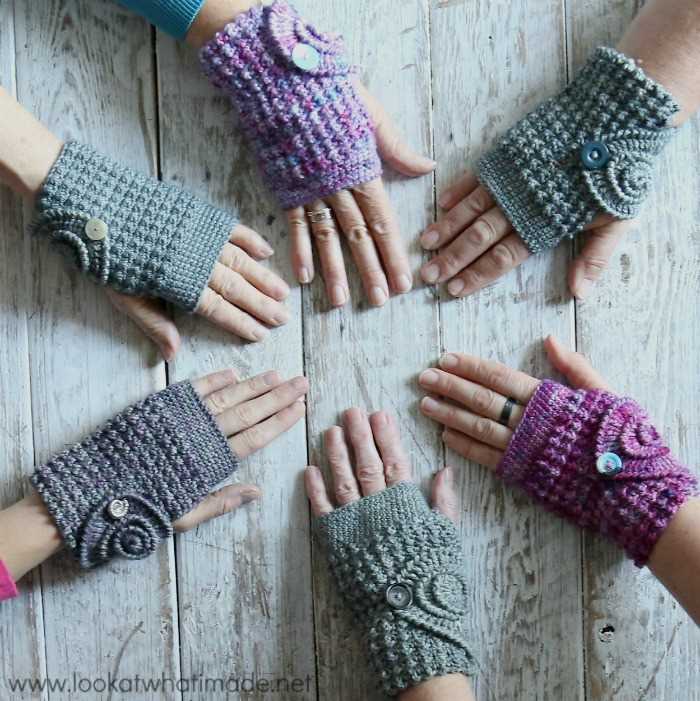
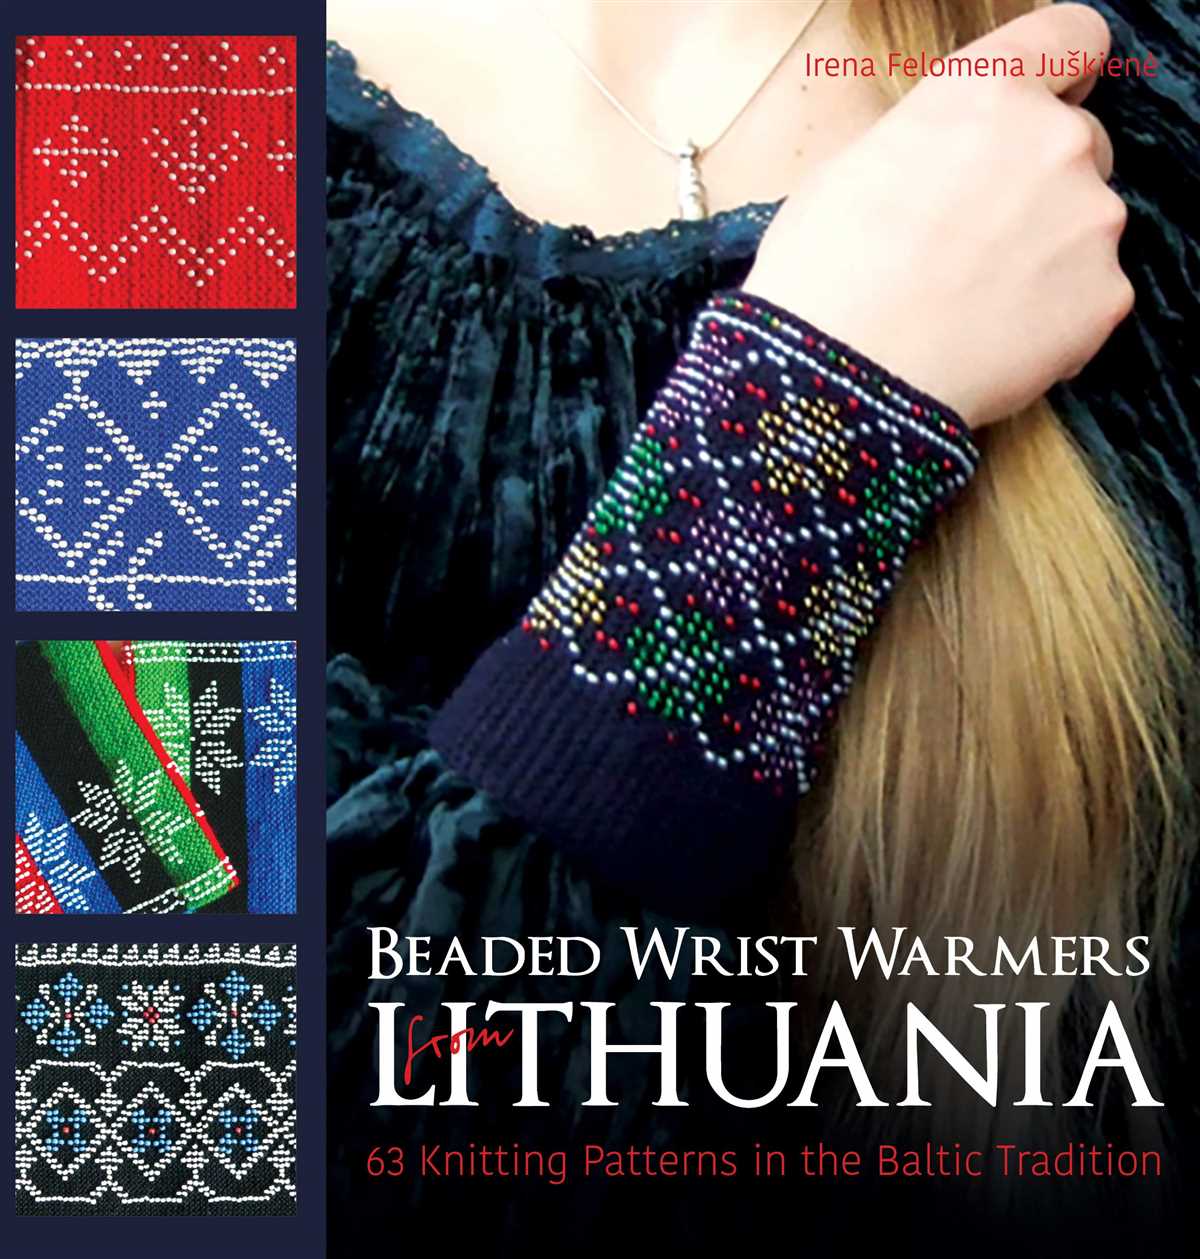
Wrist warmers, also known as wristlets or fingerless gloves, are a popular accessory for keeping your hands warm while still allowing freedom of movement. They are perfect for those chilly days when you want to keep your hands cozy, but still need to use your fingers for tasks like typing, texting, or knitting.
Whether you’re a beginner or an experienced knitter, wrist warmers are a great project to tackle. They are quick to make and require only a small amount of yarn, making them perfect for using up leftover bits from other knitting projects. Plus, there are endless possibilities when it comes to patterns and designs!
In this article, we will explore a variety of knitting patterns for wrist warmers that are suitable for all skill levels. From simple ribbed designs to intricate cable patterns, you’re sure to find a pattern that suits your style and skill level. So grab your knitting needles and let’s get started!
Why knit wrist warmers
Wrist warmers are a practical and stylish accessory that can be easily knitted at home. They are a versatile addition to any wardrobe, providing warmth and insulation to the hands in colder weather. Knitting wrist warmers allows for customization and personalization, as there are countless patterns available to suit individual tastes and preferences.
One of the main reasons to knit wrist warmers is the functional benefits they offer. They cover the wrists, keeping them warm and protected from the cold. This can be especially beneficial for those who suffer from arthritis or other conditions that cause joint pain. The gentle compression provided by wrist warmers can help alleviate discomfort and improve circulation.
Knitting wrist warmers also allows for creativity and self-expression. There are endless possibilities when it comes to choosing yarns, colors, and patterns. From simple and utilitarian designs to intricate lace and cable patterns, knitters can showcase their skills and create unique pieces that reflect their personal style.
Additionally, knitting wrist warmers can be a cost-effective alternative to buying them from a store. With just a few skeins of yarn and a set of knitting needles, it is possible to make multiple pairs of wrist warmers. This can be a budget-friendly option for those who enjoy knitting and want to create handmade gifts for themselves or others.
Overall, knitting wrist warmers offers both practical benefits and a creative outlet. Whether you are looking for a way to keep your hands warm or want to try a new knitting project, wrist warmers are a great choice.
Choosing the right yarn
When it comes to knitting wrist warmers, choosing the right yarn is essential for creating a quality and comfortable accessory. The yarn you select will not only determine the overall look and feel of the wrist warmers but also affect their durability and warmth. Therefore, it is important to consider certain factors when choosing the yarn.
Fiber: The fiber content of the yarn greatly influences the characteristics of the wrist warmers. Natural fibers like wool, alpaca, and cashmere provide warmth and insulation, making them perfect for colder climates. They also have excellent moisture-wicking properties, keeping the hands dry and comfortable. Synthetic fibers like acrylic and nylon are lightweight and easy to care for, making them ideal for those who prefer low-maintenance options.
Weight: The weight of the yarn determines the thickness and drape of the wrist warmers. Lighter weight yarns, such as fingering or sport, create delicate and more flexible wrist warmers that are perfect for layering and transitional seasons. Heavier weight yarns, like worsted or bulky, produce thicker and chunkier wrist warmers, providing extra warmth and coziness during the cold winter months.
Texture: The texture of the yarn can add visual interest and enhance the overall design of the wrist warmers. Smooth yarns create clean and crisp stitches, making them suitable for intricate stitch patterns or textured designs. Yarns with a halo effect, such as mohair or angora, add a soft and fuzzy look to the wrist warmers. Variegated or self-striping yarns introduce color variations and bring excitement to the finished product.
By considering the fiber, weight, and texture of the yarn, you can choose the perfect yarn for your wrist warmers – whether you want them to be warm and cozy, lightweight and delicate, or vibrant and eye-catching.
Basic wrist warmer pattern

Wrist warmers, also known as fingerless gloves, are a practical and stylish accessory for colder weather. They keep your hands warm while allowing your fingers to be free for tasks such as typing, texting, or knitting. With a basic wrist warmer pattern, you can easily create your own pair of cozy hand warmers.
To start, you will need a set of knitting needles and a skein of yarn in your desired color. Choose a yarn that is soft and warm, such as a wool blend or acrylic. Begin by casting on 30 stitches onto your knitting needles.
Next, you will work in a rib stitch pattern to create the cuff of the wrist warmers. This is done by alternating knit stitches and purl stitches. Knit the first stitch, then purl the second stitch, and continue this pattern until the end of the row. Repeat this pattern for the next few rows, or until the cuff reaches your desired length.
Once the cuff is complete, you will switch to a stockinette stitch for the body of the wrist warmers. This is done by knitting all stitches on the right side of the work, and purling all stitches on the wrong side of the work. Continue in this pattern until the body of the wrist warmers is long enough to comfortably cover your hand and wrist.
To finish off the wrist warmers, switch back to the rib stitch pattern for a few rows to create the top cuff. Bind off all stitches and weave in any loose ends. Repeat these steps to create a matching wrist warmer for your other hand.
With this basic wrist warmer pattern, you can easily customize your hand warmers by adding different stitch patterns, colors, or embellishments. Get creative and experiment with different yarns and techniques to create your own unique pair of wrist warmers.
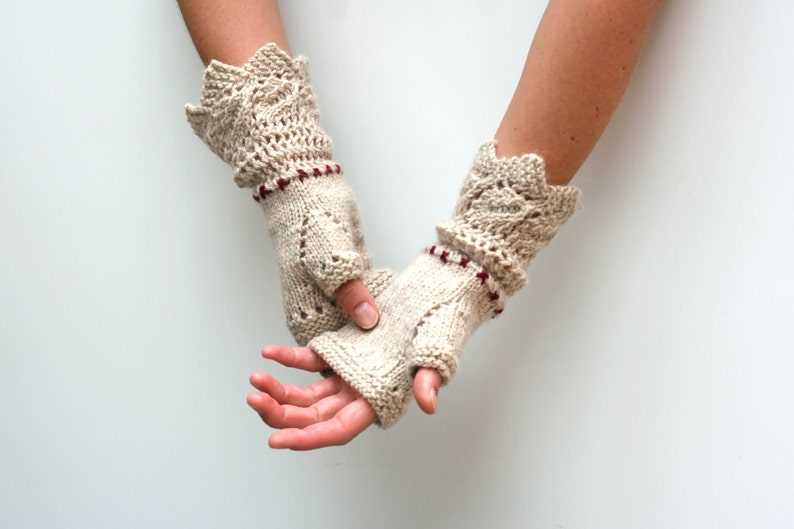
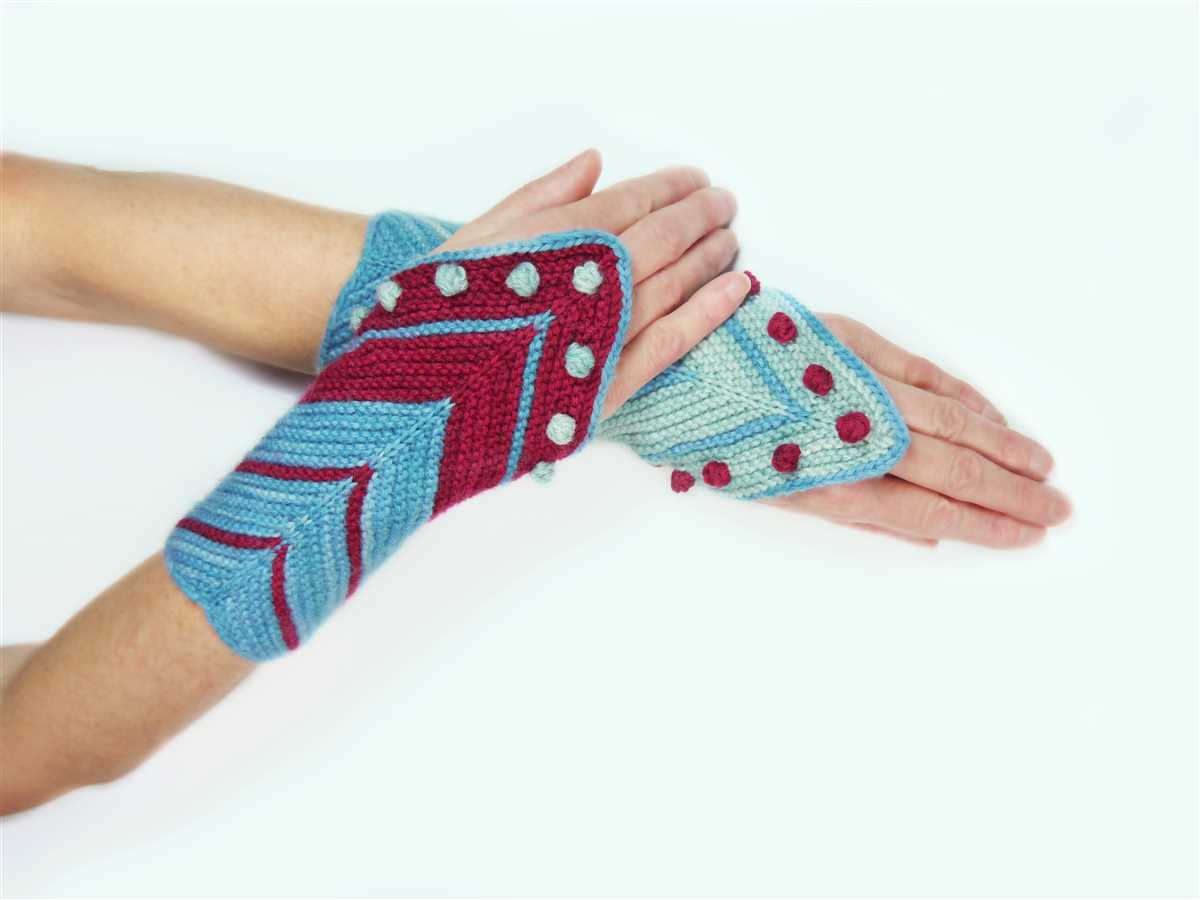
Lace Wrist Warmer Pattern
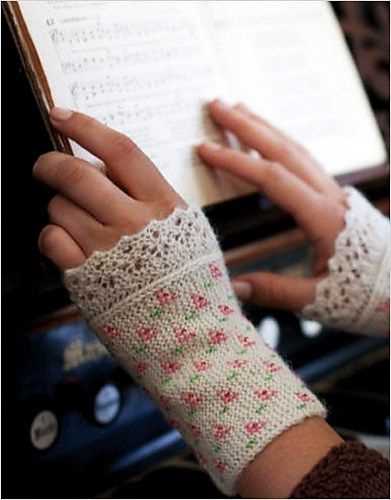
Lace wrist warmers are a beautiful and delicate accessory that can add a touch of elegance to any outfit. Whether you’re looking to accessorize for a special occasion, or simply want to keep your wrists warm during the colder months, knitting your own lace wrist warmers is a fun and rewarding project. With their intricate lace patterns, these wrist warmers can be as simple or intricate as you like, depending on the level of challenge you’re looking for.
To get started on your lace wrist warmer pattern, you’ll need a few basic knitting supplies. Make sure you have a pair of knitting needles in a size suitable for the yarn you’re using, as well as your chosen yarn and any additional embellishments you want to add, such as beads or buttons. Lace patterns are often worked on smaller needles to create a finer, more delicate look, so keep that in mind when choosing your materials.
One popular lace stitch pattern for wrist warmers is the “Feather and Fan” stitch. This stitch creates a beautiful wave-like pattern that is perfect for adding texture to your wrist warmers. To create this pattern, you’ll need to be comfortable with basic knitting techniques such as knitting, purling, and yarn overs. The pattern is typically worked in a multiple of 18 stitches, so you can easily adjust the size to fit your wrists.
Materials:
- Size US 4 (3.5mm) knitting needles
- Fingering weight yarn in the color of your choice
- Tapestry needle
- Scissors
Pattern:
- CO 54 stitches
- Row 1: Knit
- Row 2: *K2tog, yo, k1, yo, sl1,k2tog,psso, yo, k1, yo; repeat from * to end of row
- Repeat Rows 1 and 2 until the wrist warmer measures your desired length
- Bind off all stitches
- Weave in ends and block if desired
This lace wrist warmer pattern is just one example of the many beautiful lace patterns you can use to create your own unique wrist warmers. Feel free to experiment with different stitch patterns, yarn weights, and colors to create a design that reflects your personal style. Knitting lace wrist warmers is not only a practical way to keep your wrists warm, but also a creative outlet to showcase your knitting skills and add a touch of elegance to your wardrobe.
Cable Knit Wrist Warmer Pattern
Stay warm and stylish this winter with these cable knit wrist warmers. This pattern features a classic cable design that adds a touch of sophistication to your winter attire. Whether you’re a beginner or an experienced knitter, this pattern is perfect for anyone looking to create a cozy accessory.
To begin, gather the following materials:
- Worsted weight yarn in your preferred color
- Size 7 knitting needles
- Cable needle
- Tapestry needle
To start the pattern, cast on 32 stitches. Use a rib stitch pattern for the first 2 rows, alternating between knit and purl stitches. This will create a stretchy cuff for the wrist warmer.
Next, begin the cable pattern. Start with a right twist cable by sliding the first 4 stitches onto the cable needle and hold it in the back of your work. Knit the next 4 stitches from the left needle, then knit the 4 stitches from the cable needle. Repeat this pattern until you reach the end of the row.
Continue knitting in the cable pattern for the desired length of your wrist warmer. Once you reach the desired length, switch back to the rib stitch pattern for the last 2 rows. Finally, bind off all stitches and weave in any loose ends with a tapestry needle.
These cable knit wrist warmers are perfect for keeping your hands cozy and stylish during the colder months. They also make great gifts for friends and family. Get creative with different yarn colors and cable patterns to make a unique pair of wrist warmers that reflect your personal style.
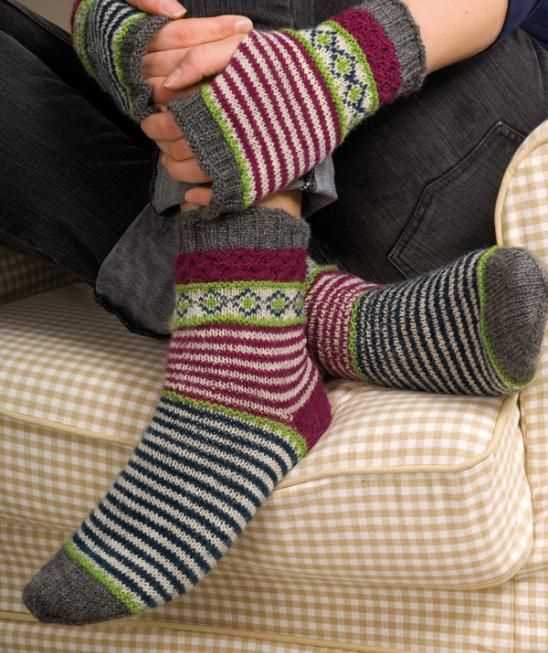
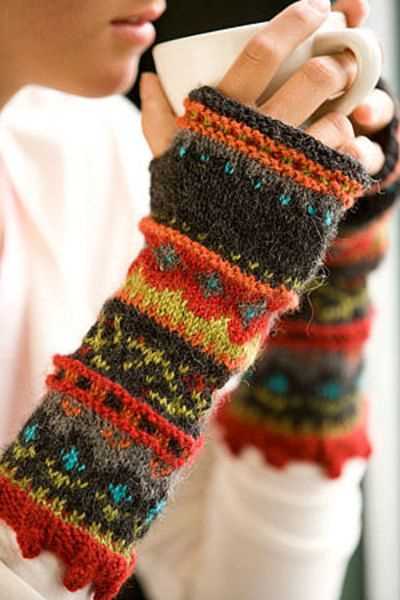
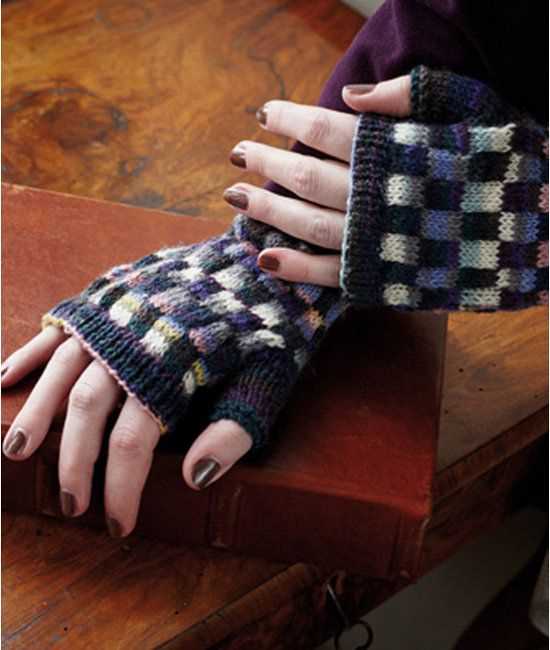
Fair Isle Wrist Warmer Pattern
Knitting a pair of Fair Isle wrist warmers is a great way to showcase your colorwork skills and create a cozy accessory for the cooler months. Fair Isle is a technique that involves knitting with two different colors in a row to create intricate patterns. By following a Fair Isle wrist warmer pattern, you can create a beautiful design using contrasting colors.
Materials Needed:
- Worsted weight yarn in two contrasting colors
- Knitting needles in the appropriate size for your yarn
- Tapestry needle for weaving in ends
- Stitch markers
Pattern:
1. Cast on 40 stitches with your main color yarn.
2. Begin the ribbing by knitting 2 stitches, then purling 2 stitches. Repeat this pattern across the row.
3. Continue knitting the ribbing for 2 inches, or desired length.
4. Switch to your contrasting color yarn and begin the Fair Isle pattern. You can choose from a variety of traditional Fair Isle motifs or create your own design.
5. Follow the Fair Isle chart or pattern to create the desired pattern across the rows. Use stitch markers to help keep track of pattern repeats if necessary.
6. Continue knitting the Fair Isle pattern until the wrist warmer reaches your desired length, typically around 6-8 inches.
7. Switch back to your main color yarn and knit the ribbing for another 2 inches, or until the wrist warmer is the desired length for your wrist.
8. Bind off all stitches and weave in any loose ends.
With this Fair Isle wrist warmer pattern, you can create stylish and cozy accessories to keep your hands warm during the colder months. Experiment with different color combinations and designs to customize your wrist warmers to your own personal style.
Fingerless Wrist Warmer Pattern
Fingerless wrist warmers are a stylish and practical accessory that can add a touch of warmth to any outfit. Whether you’re looking to keep your hands cozy while typing or add a fashionable touch to your winter wardrobe, this fingerless wrist warmer pattern is the perfect solution.
This knitting pattern is suitable for knitters of all levels, from beginners to advanced. The pattern is written in a simple and easy-to-follow format, making it accessible to even those new to knitting. With just a few basic stitches and a pair of knitting needles, you’ll be able to create your own cozy fingerless wrist warmers in no time.
Materials Needed
- Worsted weight yarn: Choose a color that matches your style and preferences.
- Size 8 (5mm) knitting needles: The size may vary depending on your personal gauge.
- Stitch markers: These will help you keep track of your stitches.
- Yarn needle: Used for weaving in ends and finishing touches.
Instructions
- Cast on 32 stitches using your preferred method.
- Row 1: *Knit 2, purl 2* repeat to end of row.
- Row 2: *Purl 2, knit 2* repeat to end of row.
- Repeat Rows 1 and 2 until the wrist warmer reaches your desired length.
- Bind off all stitches in pattern.
- Seam the sides of the wrist warmer using a mattress stitch or whip stitch.
- Weave in any remaining yarn ends.
Feel free to customize your fingerless wrist warmers by adding embellishments such as buttons, bows, or embroidery. You can also experiment with different yarn weights and needle sizes to achieve different textures and sizes. Once you’ve mastered this pattern, you can easily create multiple pairs of fingerless wrist warmers to keep or give as gifts. Stay warm and fashionable all year round with these cozy accessories!
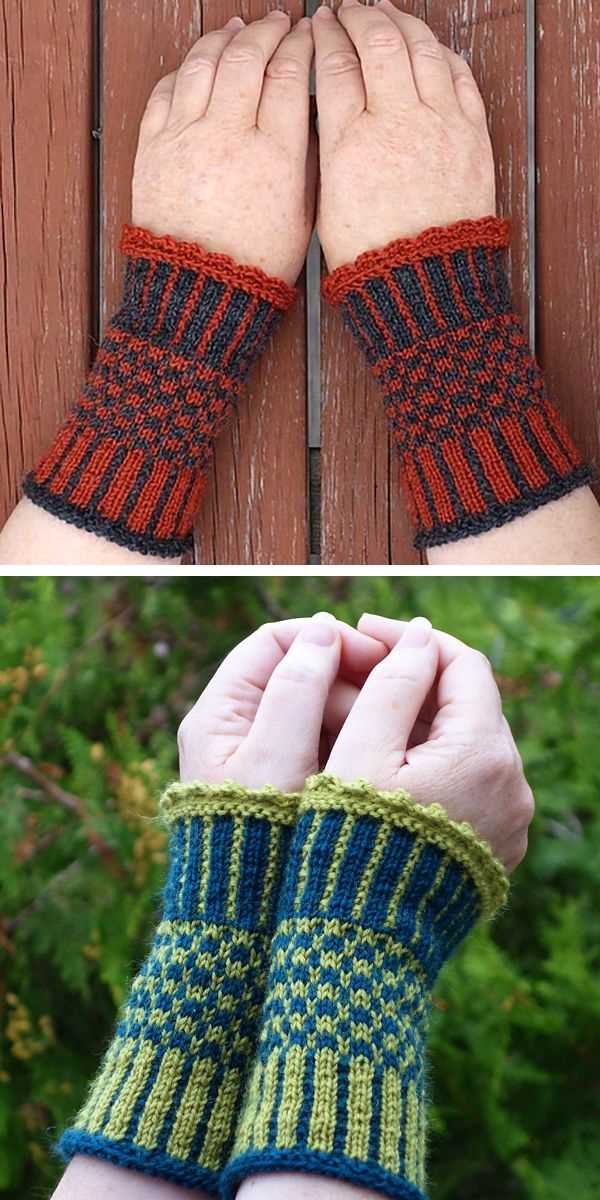
Colorful Wrist Warmer Pattern
If you’re looking for a fun and vibrant accessory to add to your winter wardrobe, look no further than this colorful wrist warmer pattern. Wrist warmers are not only practical, keeping your hands and wrists cozy during chilly days, but they can also serve as a stylish and eye-catching accessory.
To create these colorful wrist warmers, you’ll need a selection of colorful yarns in various shades and textures. This pattern allows for creativity, so don’t be afraid to experiment with different color combinations and yarn types.
- Step 1: Start by casting on the desired number of stitches. The exact number will depend on the width you want for your wrist warmers.
- Step 2: Begin knitting in your chosen stitch pattern, alternating between the different colors every few rows. This will create a beautiful and unique striped effect.
- Step 3: Continue knitting until your wrist warmers reach the desired length. You can make them as long or short as you like, depending on your personal style and preferences.
- Step 4: Once you’ve finished knitting, bind off your stitches and weave in any loose ends.
- Step 5: Consider adding some additional embellishments to your wrist warmers, such as buttons, bows, or crochet flowers. This will add an extra pop of color and texture to your finished project.
With this colorful wrist warmer pattern, you can create a one-of-a-kind accessory that will brighten up any winter outfit. Whether you’re a beginner knitter or an experienced crafter, this pattern is sure to inspire your creativity and keep your hands warm all season long.
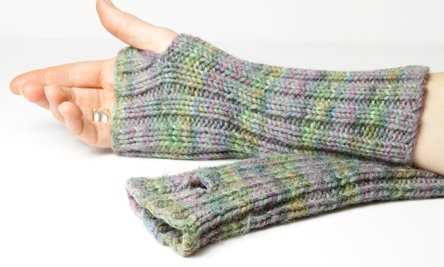
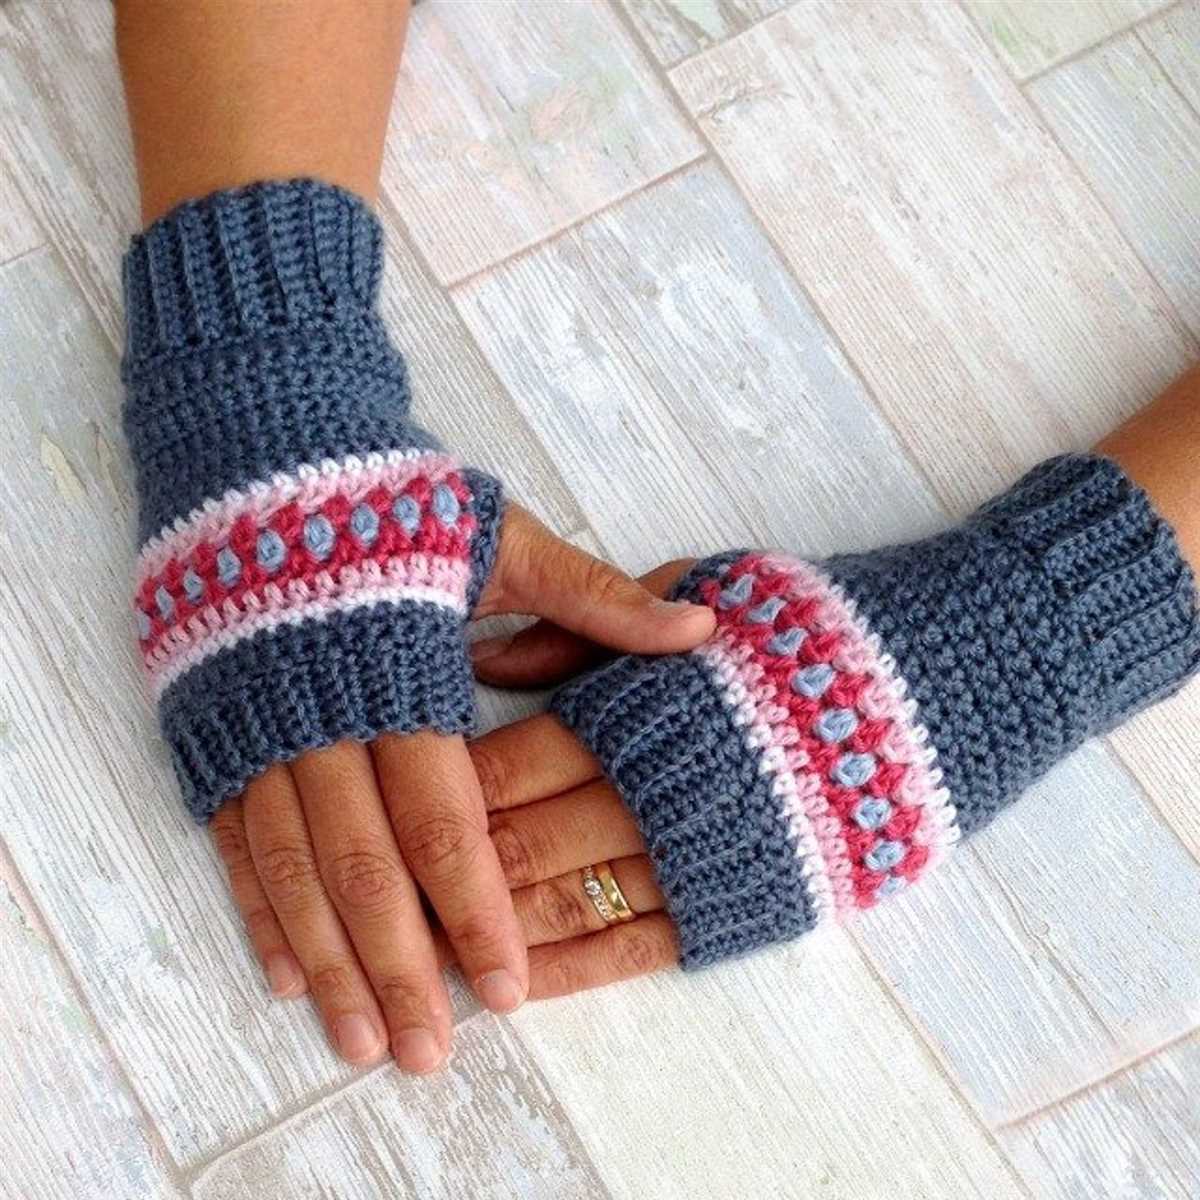
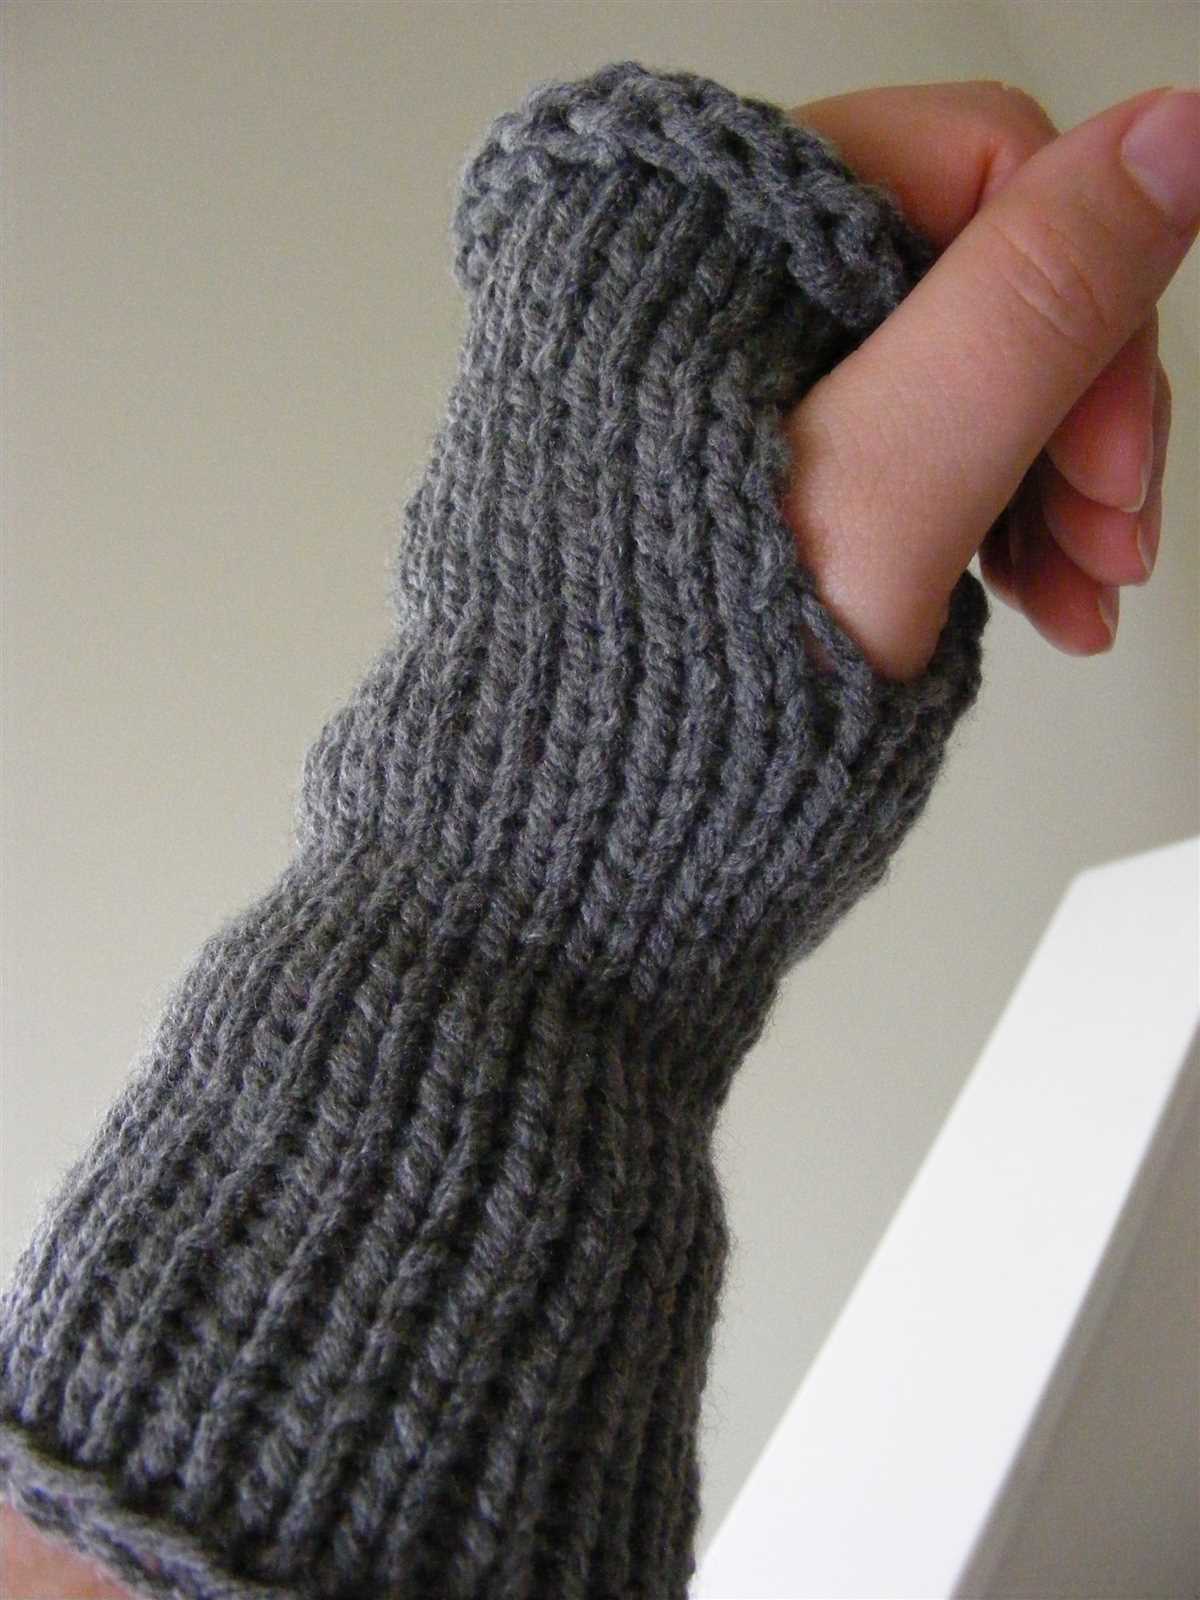
Ribbed Wrist Warmer Pattern
Wrist warmers are great accessories to have during the colder months. They keep your hands warm while still allowing you to freely use your fingers. If you are looking for a simple and stylish wrist warmer pattern, the ribbed wrist warmer pattern is a perfect choice.
To create the ribbed wrist warmers, you will need a set of double-pointed knitting needles and some yarn of your choice. Start by casting on the desired number of stitches, ensuring it is a multiple of two. The ribbed pattern is created by alternating between knitting and purling stitches.
Instructions:
- Cast on the desired number of stitches.
- Row 1: Knit the first stitch, then purl the next stitch. Repeat this pattern across the row.
- Row 2: Purl the first stitch, then knit the next stitch. Repeat this pattern across the row.
- Repeat rows 1 and 2 until the wrist warmer measures the desired length.
- Bind off all stitches and weave in any loose ends.
Once you have completed the ribbed wrist warmer, you can add additional embellishments if desired, such as buttons or embroidery. These wrist warmers can be made in any color or yarn thickness to match your style and keep your hands cozy all winter long.
Styling and wearing wrist warmers

When it comes to styling and wearing wrist warmers, there are endless possibilities. These versatile accessories can be paired with various outfits to add a touch of style and warmth to your look. Whether you prefer a casual or dressy style, wrist warmers can be easily incorporated into your wardrobe.
One of the most popular ways to wear wrist warmers is with long-sleeved tops or sweaters. Simply slide the wrist warmers over your hands and push them up towards your elbows for a trendy and functional look. This style is perfect for those chilly days when you want to keep your hands and arms warm without wearing a bulky coat.
For a more casual and laid-back look, you can pair your wrist warmers with a basic t-shirt or tank top. This is a great option for those cool summer evenings or early fall days when you still want to show off a bit of skin but need an extra layer of warmth.
If you’re heading out for a night on the town or a special occasion, wrist warmers can also be dressed up. Choose a pair in a luxurious fabric like velvet or lace and pair them with a cocktail dress or a fancy blouse. This unexpected accessory will add an element of elegance and sophistication to your outfit.
Summary:
- Wrist warmers are versatile accessories that can be paired with various outfits.
- They can be worn with long-sleeved tops or sweaters to keep your hands and arms warm.
- For a casual look, pair them with a basic t-shirt or tank top.
- Wrist warmers can also be dressed up for a night out or a special occasion.
With these styling ideas, you’ll be able to incorporate wrist warmers into your everyday looks and stay warm and fashionable all year round.