
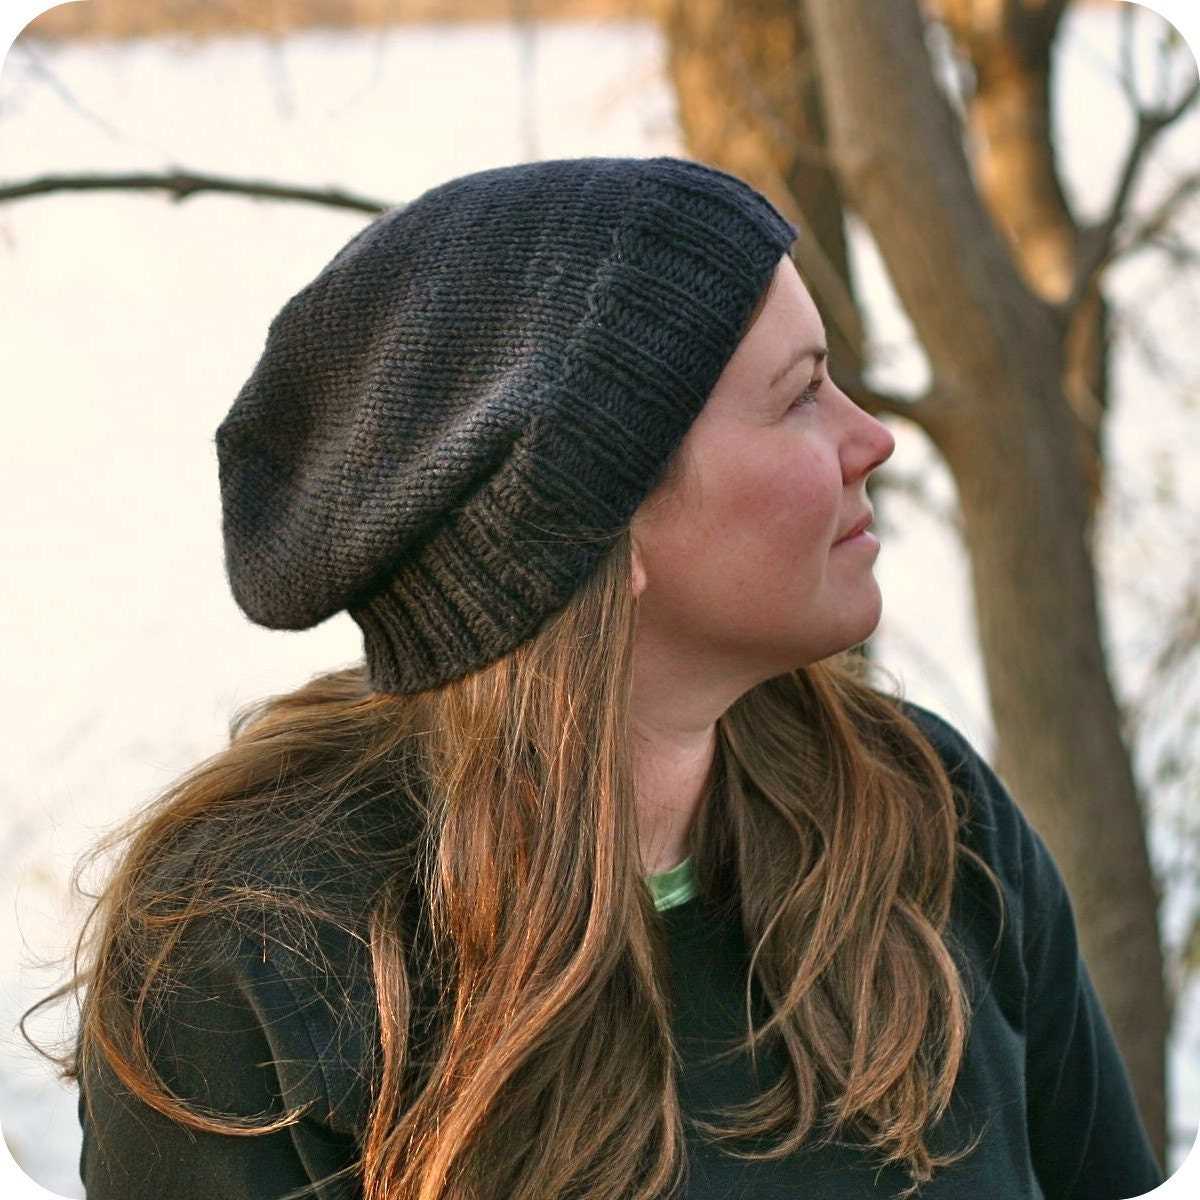
With winter just around the corner, it’s time to start thinking about how to stay warm in style. One of the best ways to do that is with a cozy beanie. Knitting your own adult beanie not only allows you to customize the design and color to match your personality, but it also gives you the satisfaction of creating something beautiful with your own two hands.
Whether you’re a beginner or an experienced knitter, this adult beanie knitting pattern is perfect for you. With just a few basic stitches and some soft yarn, you’ll be able to create a beanie that’s both warm and fashionable. The pattern is easy to follow, and the result is a versatile accessory that can be worn with any outfit.
Knitting your own adult beanie is not only a fun and relaxing hobby, but it also allows you to save money. Instead of buying a beanie at a store, you can make your own for a fraction of the price. Plus, you can experiment with different yarns and colors to create a truly unique accessory that reflects your personal style.
So why wait? Grab your knitting needles and start making your own adult beanie today. You’ll have a warm and stylish accessory that will keep you cozy all winter long. Whether you’re heading out for a walk in the snow or just running errands, a knitted beanie is the perfect addition to any outfit. Get ready to turn heads with your handmade creation!
Adult Beanie Knitting Pattern

Are you looking to knit a cozy beanie for yourself or a loved one? Look no further! With this adult beanie knitting pattern, you can create a stylish and warm accessory that will keep your head snug during the colder months.
Materials needed:
- Size 8 (5mm) knitting needles
- Worsted weight yarn in your desired color
- Tapestry needle
- Stitch markers
Instructions:
- Cast on 80 stitches.
- Work in a rib stitch pattern (knit 2, purl 2) for 2 inches.
- Switch to stockinette stitch and continue knitting until the piece measures 8 inches from the cast-on edge.
- Begin decreasing:
- Row 1: Knit 6, knit 2 together, repeat to end of row.
- Row 2: Knit all stitches.
- Row 3: Knit 5, knit 2 together, repeat to end of row.
- Row 4: Knit all stitches.
- Continue this pattern, decreasing 1 stitch before the knit 2 together section, until there are 12 stitches remaining.
- Cut the yarn, leaving a long tail. Thread the tail through a tapestry needle and slip the needle through the remaining stitches, removing them from the knitting needle. Pull tight to close the top of the beanie.
- Weave in any loose ends using the tapestry needle.
This adult beanie knitting pattern is a versatile design that can be customized to your liking. Feel free to experiment with different stitch patterns, colors, or embellishments to make your beanie truly unique. Happy knitting!
Choosing the Right Yarn
When it comes to knitting beanies, choosing the right yarn is crucial. The right yarn can greatly affect the finished look and feel of your beanie. Here are a few factors to consider when selecting the perfect yarn for your adult beanie knitting project:
1. Fiber Content
- Wool: Wool is a popular choice for beanies as it is warm, soft, and has natural elasticity. It is great for colder climates.
- Acrylic: Acrylic yarn is a synthetic fiber that is often used as a budget-friendly alternative to wool. It is lightweight and can be easily washed and dried.
- Cotton: Cotton yarn is breathable and can be a good choice for those who are sensitive to wool. It is also great for warmer climates.
- Blend: Yarn blends, such as wool/acrylic or wool/cotton, offer the benefits of multiple fibers. They can combine the warmth of wool with the durability of acrylic or the softness of cotton.
2. Weight
Yarn weight refers to the thickness of the yarn. For beanies, you generally want to use a heavier weight yarn, such as worsted or bulky, to ensure warmth. However, if you prefer a lighter beanie or if you are knitting for a warmer climate, you can opt for a lighter weight yarn, such as DK or sport weight.
3. Color and Texture
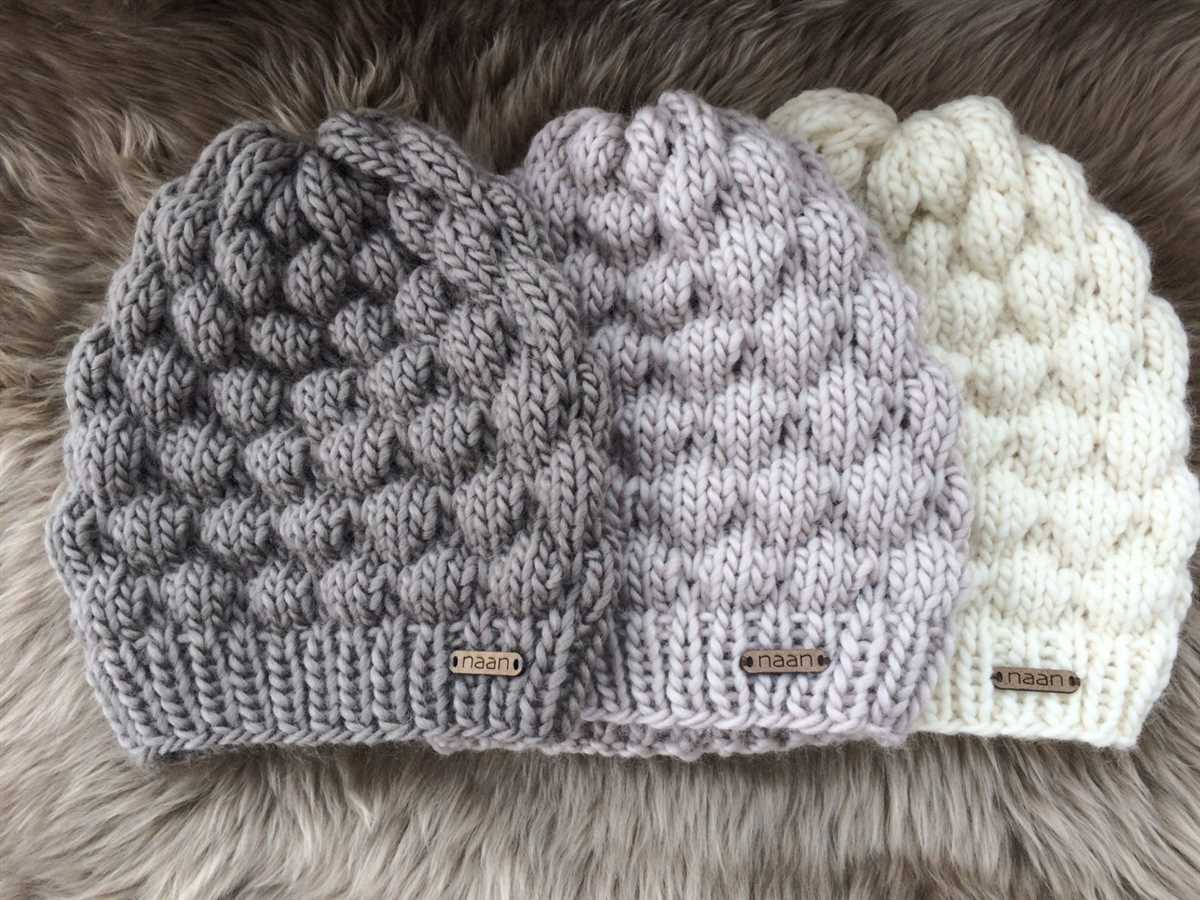
The color and texture of the yarn can greatly enhance the look of your adult beanie. Consider the recipient’s preferences and the occasion for which the beanie is being knit. Solid colors can be versatile and timeless, while variegated or multicolored yarns can add a unique touch. Additionally, textured yarns, such as those with a boucle or tweed effect, can create interesting patterns and visual interest.
By carefully considering the fiber content, weight, color, and texture of the yarn, you can choose the perfect yarn for your adult beanie knitting project. Experimenting with different yarns can also add variety and excitement to your knitting journey.
Selecting the Right Needles
When knitting an adult beanie, selecting the right needles is crucial to ensure the desired outcome of the project. The size and type of needles can greatly influence the final product’s shape, size, and overall texture.
Size: The size of the needles determines the gauge of the knitted fabric. To achieve the correct gauge for the adult beanie pattern, it is important to use the recommended needle size mentioned in the pattern. This ensures that the stitches and rows per inch match the specified measurements, resulting in a well-fitted beanie.
Type: Needle type also plays a role in the knitting process. Straight needles are commonly used for flat knitting projects, while circular needles are preferred for knitting in the round, such as when making a beanie. Circular needles allow for seamless knitting and can hold a larger number of stitches comfortably.
Material: When selecting the material of the needles, consider personal preference and the type of yarn being used. Metal or wooden needles are the most common options and offer different advantages. Metal needles are durable and provide a smooth surface for fast knitting, while wooden needles have a warmer touch and can be more comfortable to hold for longer knitting sessions.
Summary:
- Selecting the right needle size ensures the correct gauge and size of the adult beanie.
- Circular needles are preferred for knitting beanies in the round for a seamless finish.
- Consider personal preference and the type of yarn when selecting the material of the needles.
- Metal needles provide durability and a smooth surface, while wooden needles offer warmth and comfort.
Casting On Stitches
When starting a knitting project, one of the first steps is casting on stitches. This is the process of creating the foundation row of stitches on the knitting needle. There are several methods for casting on stitches, each with its own advantages and uses.
1. Long-Tail Cast-On: This is a versatile and commonly used method for casting on stitches. It creates a neat edge and is ideal for projects where elasticity is required. To perform the long-tail cast-on, hold the yarn in your right hand and create a slipknot by overlapping the tail end and the working end of the yarn. Place the slipknot on the knitting needle and tighten it. Then, use your thumb and index finger to hold the tail end and the working end of the yarn, and wrap the working end around the thumb and index finger. Insert the needle under the loop on the thumb, bring the needle over the yarn on the index finger, and slip the thumb out of the loop. Repeat this process for the desired number of stitches.
2. Knitted Cast-On: The knitted cast-on is a simple and quick method that creates a firm and stretchy edge. It is ideal for projects where flexibility and durability are required. To perform the knitted cast-on, begin with a slipknot on the knitting needle. Insert the right needle into the slipknot as if to knit. Wrap the yarn around the right needle and pull it through the slipknot, creating a new stitch on the right needle. Slip this stitch onto the left needle and repeat the process for the desired number of stitches.
3. Cable Cast-On: The cable cast-on is a method that creates a firm and decorative edge. It is ideal for projects where a sturdy and polished edge is desired. To perform the cable cast-on, begin by creating a slipknot on the knitting needle. Insert the right needle into the slipknot as if to knit, but instead of wrapping the yarn around the needle, bring it between the two needles. Use the right needle to bring the loop created by the yarn between the two needles and onto the left needle, creating a new stitch. Repeat this process for the desired number of stitches.
Overall, casting on stitches is the first step in starting a knitting project. Choosing the appropriate cast-on method depends on the desired characteristics of the edge and the project itself. Experimenting with different methods will help knitters find their preferred casting on technique.
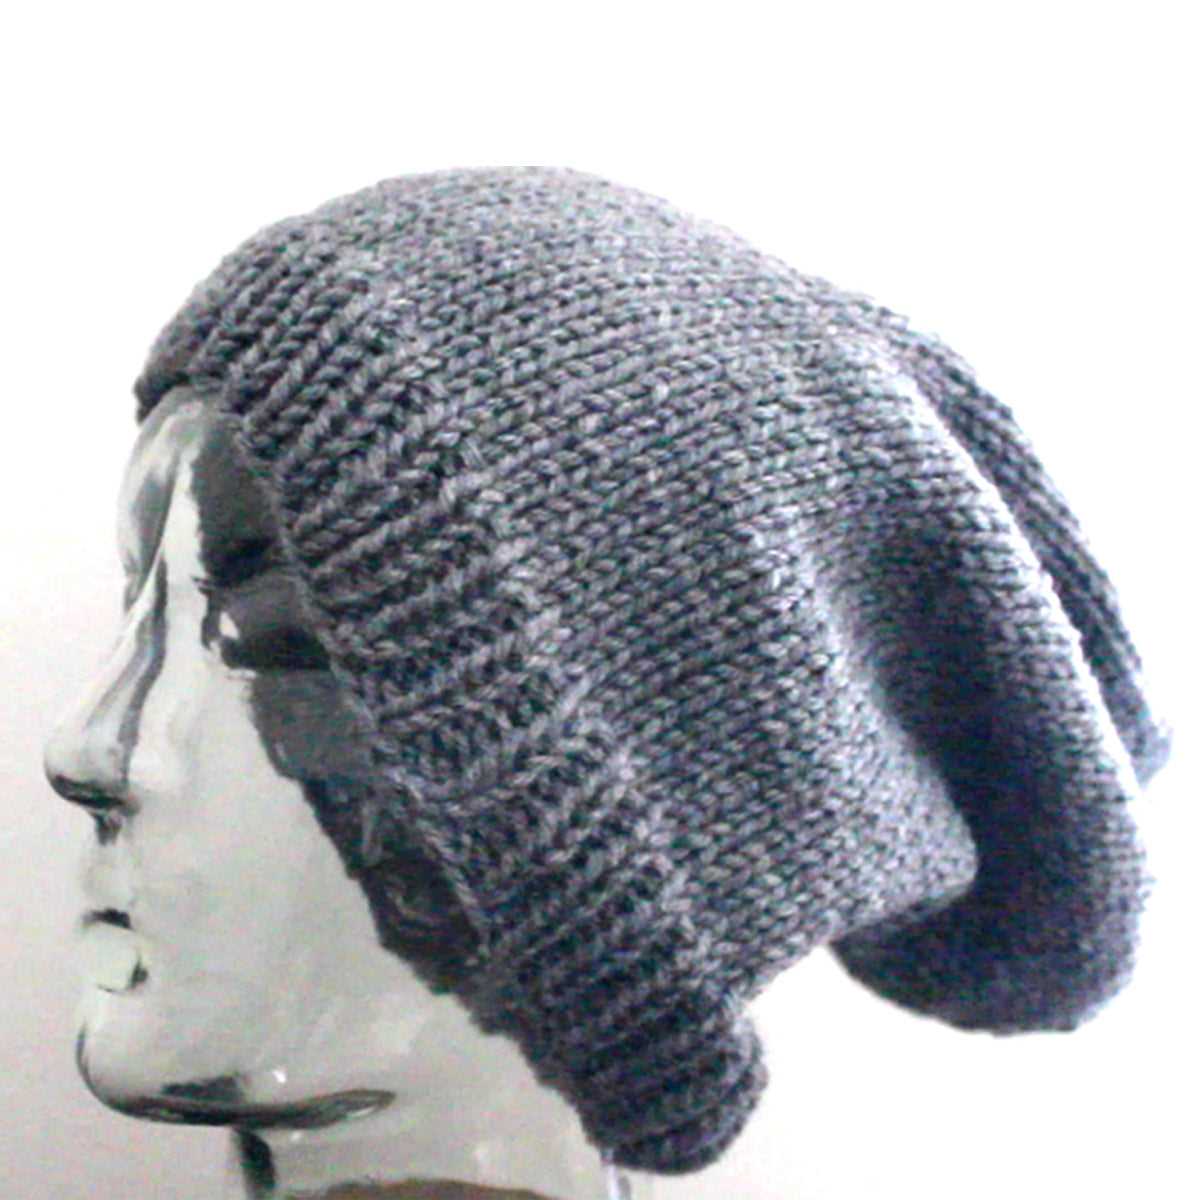
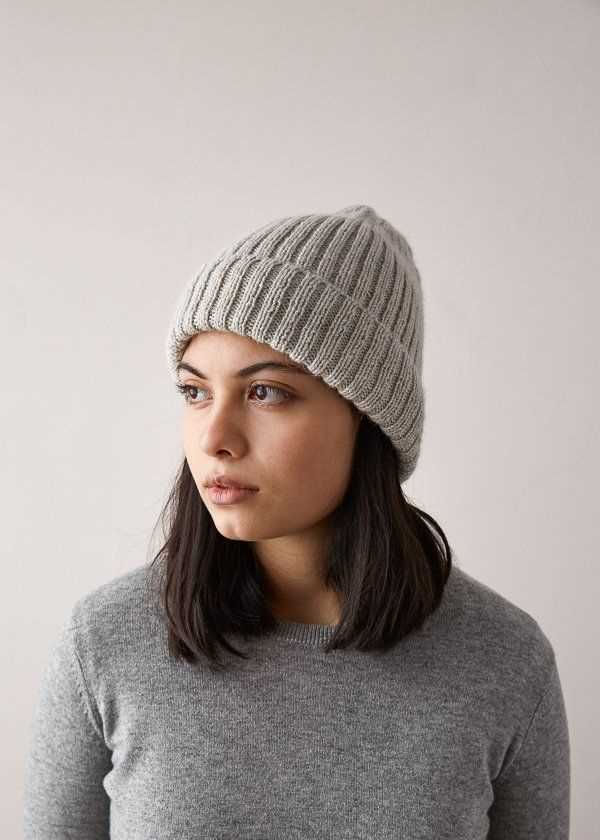
Knitting the Ribbed Brim
When knitting an adult beanie, the ribbed brim is an important element that adds both style and functionality to the finished hat. The ribbed brim is typically knitted using a combination of knit and purl stitches, creating a stretchy and snug fit around the head.
To start knitting the ribbed brim, you will need to cast on an even number of stitches. This can vary depending on the desired width of the brim and the thickness of the yarn being used. A good starting point is usually around 80 stitches for an adult-sized beanie.
Once you have cast on the desired number of stitches, you will begin working the ribbed pattern. The most common ribbed pattern is a 2×2 rib, which consists of alternating knit and purl stitches. To create a 2×2 rib, you will knit the first two stitches, then purl the next two stitches. Repeat this pattern until you reach the end of the row.
To continue knitting the ribbed brim, you will need to repeat these two rows (1 row of knit stitches followed by 1 row of purl stitches) for the desired length of the brim. This will create the characteristic ridges and elasticity of the ribbed brim.
Once you have finished knitting the ribbed brim, you can continue onto the main body of the beanie using your desired stitch pattern. Whether you choose to knit a simple stockinette stitch or experiment with more intricate patterns, the ribbed brim will provide a comfortable and secure fit for the wearer.
Creating the Body of the Beanie

After completing the ribbed brim of the beanie, it is time to move on to creating the body of the beanie. This is where you will start to see the beanie take shape and the pattern come together.
For the body of the beanie, you will continue knitting in the round, using the main stitch pattern of your choice. You can choose to keep it simple with a basic stockinette stitch, or you can get a bit more adventurous with a different stitch pattern like cables or colorwork.
If you are following a specific pattern, make sure to carefully read and follow the instructions for the body of the beanie. It will typically specify the number of stitches to cast on, the stitch pattern to use, and the number of rows to knit before moving on to the next section.
As you work on the body of the beanie, it is important to periodically try it on to check the fit. You want it to be snug enough to stay on your head, but not too tight that it will be uncomfortable. Adjustments can be made by adding or removing rows as needed.
Remember to keep track of your progress and make note of any changes you make to the pattern. This will help ensure consistency and make it easier if you decide to make another beanie in the future.
Once you have completed the body of the beanie to your desired length, it will be time to move on to shaping the crown and finishing off the beanie. Stay tuned for the next section of the pattern!
Knitting in the Round
Knitting in the round is a technique used to create seamless tubes, such as hats, socks, and sleeves. Instead of knitting back and forth in rows, the work is completed in a continuous circle. This allows for a more efficient and faster knitting process, as there is no need to constantly turn the work.
One of the most common methods for knitting in the round is using circular knitting needles. These are needles with a flexible cable connecting them, allowing for easy manipulation of stitches. The pattern is usually worked on a set number of stitches, with markers placed to indicate the beginning and end of each round.
Benefits of knitting in the round include:
- Creating seamless projects with no need for sewing or seaming
- Allows for easy patterning, as the right side of the work is always facing the knitter
- Efficiency in the knitting process, as there is no need to keep turning the work
- Works well for projects with simple, repetitive patterns
When working in the round, it’s important to be mindful of tension and gauge, as these can affect the size and fit of the finished project. Use stitch markers to keep track of rounds and make sure to join in a circle without twisting the stitches. Knitting in the round can be a fun and versatile technique, allowing for the creation of various seamless projects.
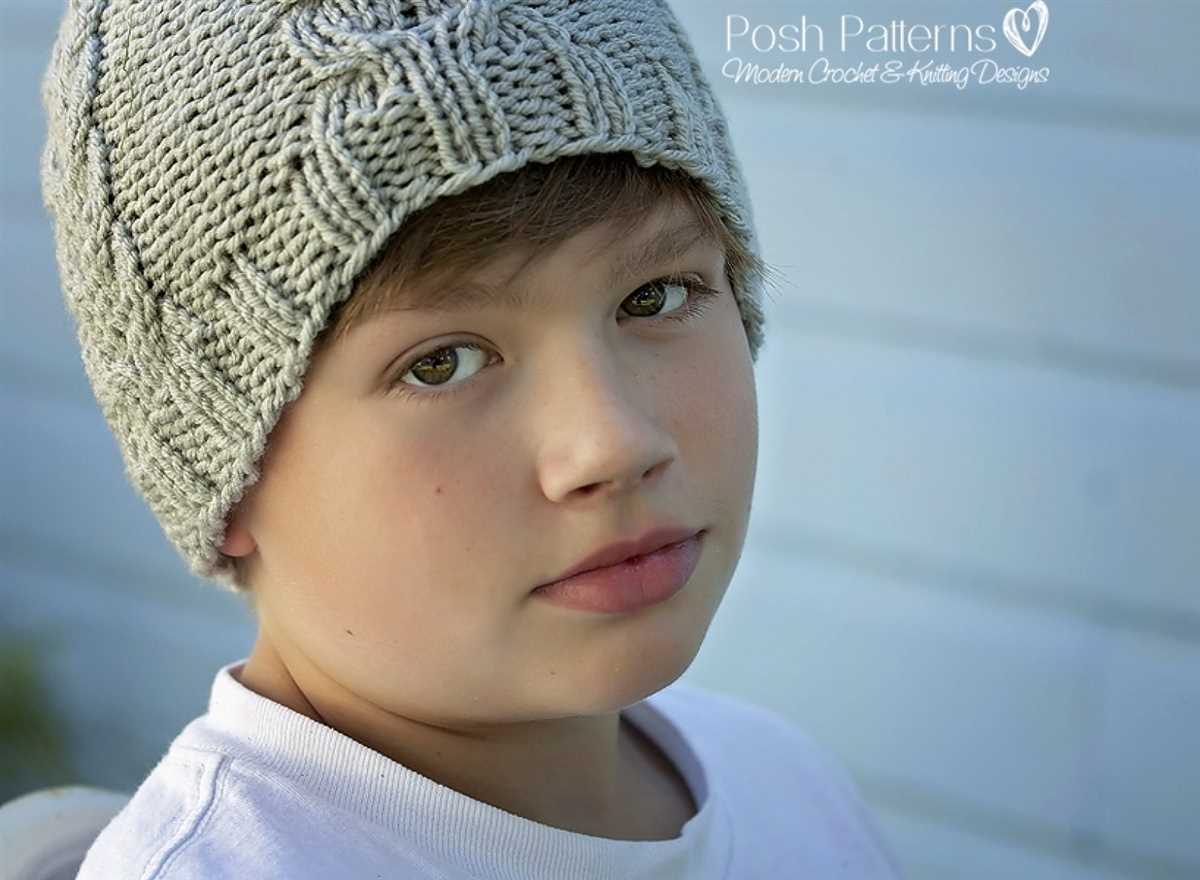
Adding Stitch Patterns
When knitting a beanie, you may want to add some stitch patterns to give it more texture and visual interest. This can be done by incorporating different types of stitches into your knitting.
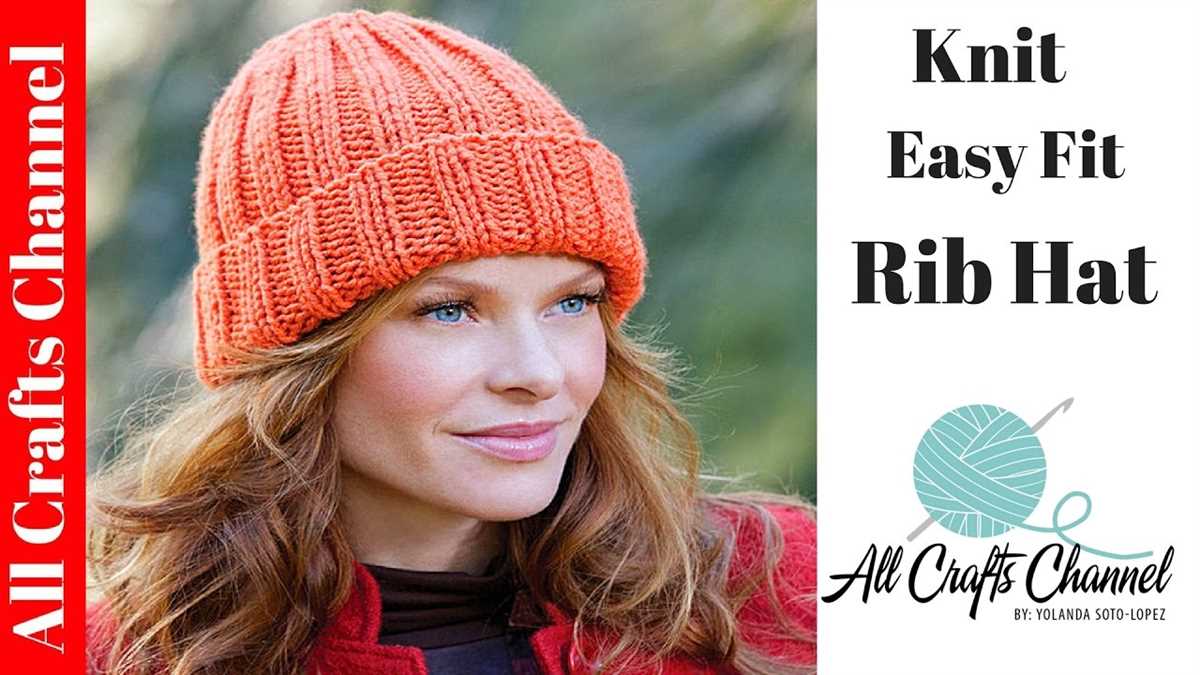
Ribbing: One common stitch pattern used in beanies is ribbing. Ribbing creates a stretchy and flexible fabric that is perfect for the brim of a beanie. To create ribbing, you alternate between knit stitches and purl stitches in a specific pattern, such as knitting two stitches, then purling two stitches. This pattern can be repeated for as many rows as desired.
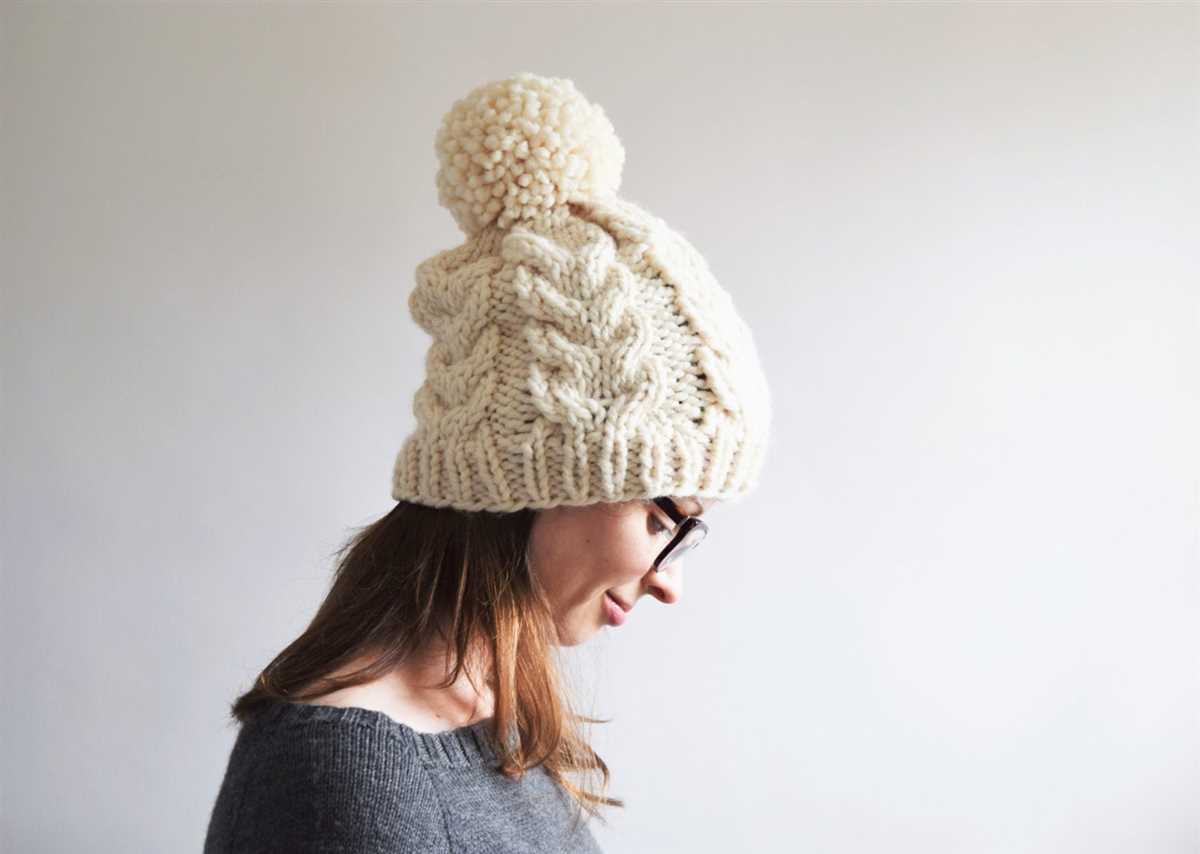
Cables: Another popular stitch pattern for beanies is cables. Cables create an intricate design that looks like twisted ropes. To knit cables, you typically work with a cable needle or a double-pointed needle to hold the stitches while you cross them over each other. This creates the twisted effect. There are various cable patterns that you can incorporate into your beanie, such as simple 2-stitch cables or more complex 6-stitch cables.
Seed Stitch: The seed stitch is a simple yet effective way to add texture to your beanie. This stitch pattern alternates between knit and purl stitches in a checkerboard-like pattern. It creates a bumpy texture that adds depth to your knitting. To knit the seed stitch, you can alternate between knitting and purling every stitch in each row or alternate between knitting and purling every other stitch in each row.
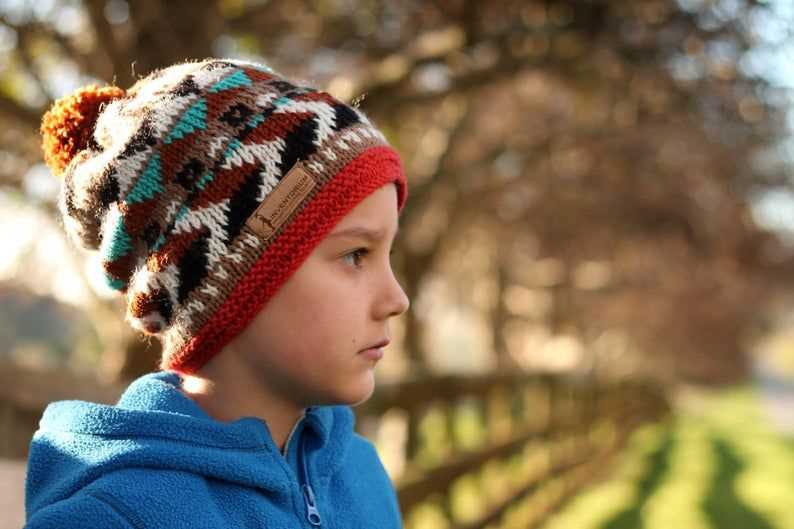
Fair Isle: Fair Isle is a popular colorwork technique that involves knitting with two or more colors to create patterns and designs. This technique can be used to add intricate motifs to your beanie, such as snowflakes, hearts, or geometric shapes. Fair Isle knitting requires carrying the unused yarn along the back of the work, creating floats, which are then caught in the stitches to secure them and prevent them from becoming too long.
These are just a few examples of stitch patterns that you can add to your adult beanie. Feel free to experiment and combine different stitch patterns to create a unique and personalized design.
Shaping the Crown
When knitting an adult beanie, shaping the crown is an important step to achieve the desired fit and look. The crown refers to the top of the beanie, where it is gathered or closed off to create a rounded shape. There are different techniques and patterns that can be used to shape the crown, depending on the desired outcome.
One common technique used to shape the crown is decreasing stitches. This involves knitting or purling two stitches together at regular intervals to gradually decrease the number of stitches on the needle. This creates a tapered effect, allowing the beanie to fit snugly on the head. The number and frequency of the decreases can vary depending on the pattern, and careful attention should be paid to ensure an even and symmetrical shape.
In some patterns, an alternative method for shaping the crown is by creating a gathered or cinched effect. This is done by threading a piece of yarn or elastic through the remaining stitches on the needle, and pulling it tight to close the top of the beanie. This technique creates a more gathered appearance and can be a decorative and unique way to finish off the beanie.
Another option for shaping the crown is to incorporate a combination of decreasing stitches and short rows. Short rows involve turning the work before reaching the end of the row, and then working back in the opposite direction. This creates extra depth or volume in specific areas, resulting in a more tailored and textured crown. By combining these techniques, you can create a beanie with a customized crown that suits your preferences and style.
Overall, shaping the crown of an adult beanie is an essential step in knitting a well-fitting and visually pleasing hat. Whether you choose to decrease stitches, gather the top, or incorporate short rows, experimenting with different techniques can lead to unique and stylish results. The crown shaping technique you choose will depend on your desired outcome and the specific pattern you are following, but with practice and patience, you can create beautifully shaped beanies that are both functional and fashionable.
Working Decrease Rounds
When you reach the desired length of the beanie, it’s time to start working decrease rounds to shape the crown. Decreases are done to reduce the number of stitches in each round, resulting in a tapered and snug fit.
To begin the decrease rounds, you will need to divide your stitches evenly onto double-pointed needles or use the magic loop method if you prefer using circular needles. This will allow you to easily work the decreases in each section of the beanie.
Start the decrease rounds by knitting two stitches together (k2tog) at the beginning of each section. This will decrease the stitch count by one in each section. Continue working in the established pattern until you reach the next decrease section.
Repeat the decrease rounds as instructed in the pattern until you have reached the desired number of stitches for the crown of the beanie. This will usually result in a few stitches remaining at the end, which you will then cinch together using the gather method or by threading the yarn through the remaining stitches and pulling tight.
Binding Off
When you have finished knitting your adult beanie, it’s time to bind off. Binding off is the process of finishing the edge of your knitting project, ensuring that it doesn’t unravel and creating a clean, neat edge.
To bind off, you will need a set of double-pointed knitting needles in the same size or slightly smaller than the ones you used for the body of the beanie. Start by knitting two stitches. Then, using the left-hand needle, lift the first stitch you knitted over the second stitch and let it drop off the needle. You now have one stitch left on your needle. Knit one more stitch and repeat the process of lifting the previous stitch over the newly knitted stitch. Continue in this way until you have only one stitch left on your needle.
Once you have bound off all the stitches, cut the yarn, leaving a long tail. Thread the tail through the last stitch and pull tight to secure.
Remember to leave enough tail to weave in later. This will prevent your work from unraveling.
Once your beanie is bound off and secured, you can weave in any loose ends and give it a good blocking to even out the stitches. Blocking involves wetting your project, gently stretching it to the desired shape, and allowing it to dry completely. This step can greatly improve the appearance and fit of your beanie.
And there you have it! With these simple steps, you can bind off your adult beanie and complete your knitting project.
Finishing Touches
Once you have completed knitting your adult beanie, it’s time to add the finishing touches to give it that polished look. These final steps will ensure that your beanie is ready to be worn and enjoyed.
1. Blocking: Before adding any embellishments, it’s important to block your beanie to give it a uniform shape and smooth out any wrinkles. Soak your beanie in cold water and gently squeeze out the excess moisture. Then, lay it flat on a clean towel or blocking mat, and use pins to shape it to the desired size. Allow it to dry completely before moving on to the next step.
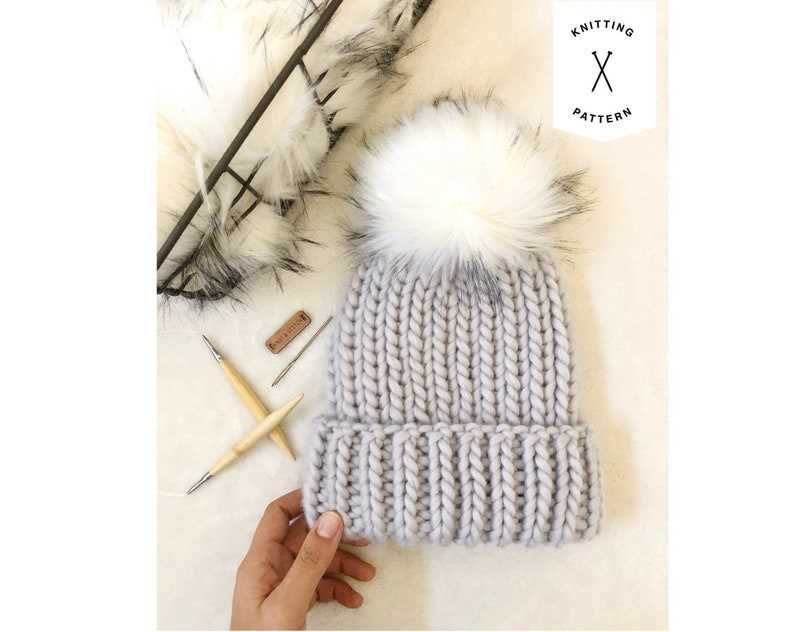
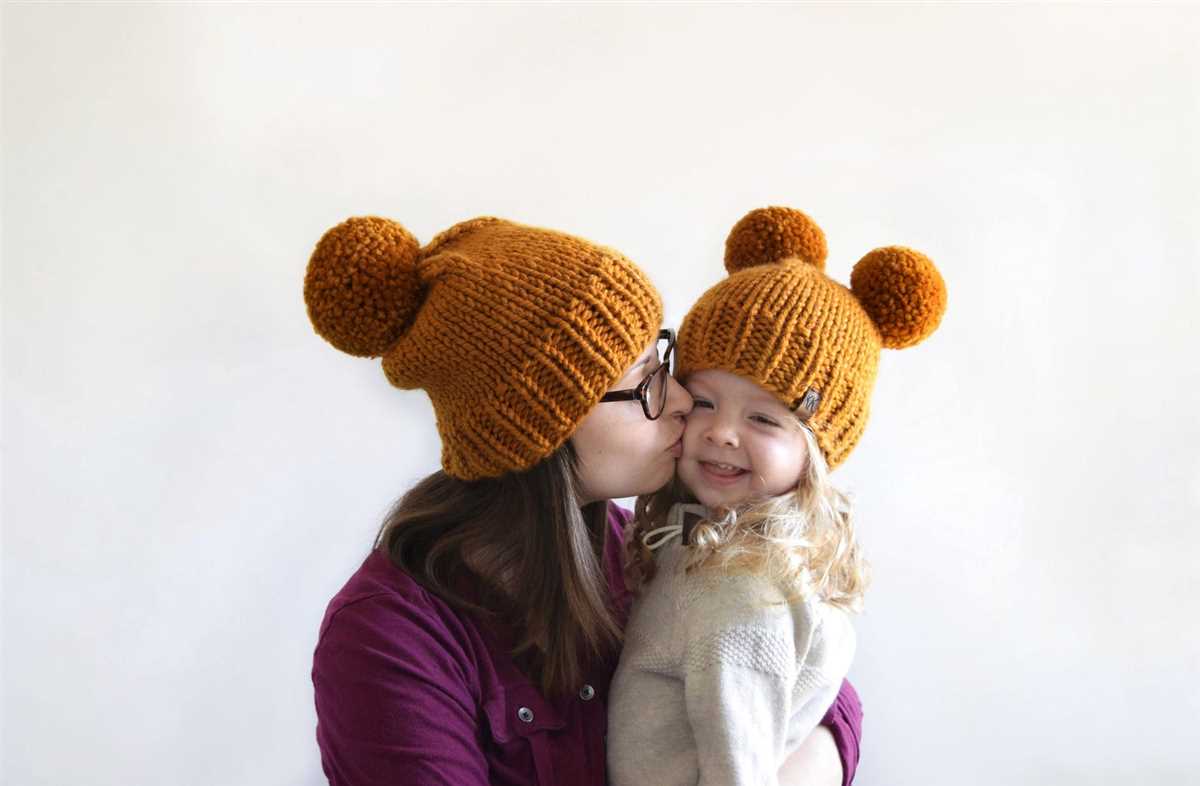
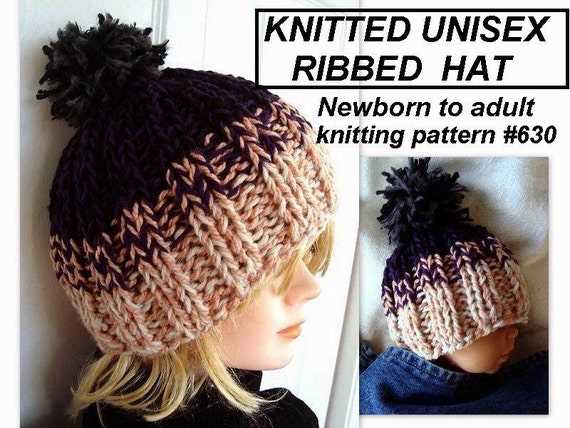
2. Pom-pom: Adding a fluffy pom-pom to the top of your beanie can add a fun and playful element to your design. You can either purchase pre-made pom-poms or make your own using yarn and a pom-pom maker. Attach the pom-pom securely to the top of your beanie using a needle and thread, making sure it is centered and secure.
3. Embroidery: If you want to add a personalized touch to your beanie, consider embroidering a design or initials onto the brim or the body of the beanie. Choose a contrasting color of yarn and use a tapestry needle to carefully stitch your design onto the fabric. Take your time and make neat and even stitches to ensure a professional-looking result.
4. Ribbed edging: For a polished finish, you can add a ribbed edging to the bottom of your beanie. This will give it a snug and comfortable fit and prevent the edge from rolling up. Use a smaller needle size and ribbing stitch pattern to create the edging. Knit a few rows in ribbing stitch and then bind off loosely to maintain elasticity.
5. Label or tag: If you are gifting or selling your beanie, consider adding a small label or tag to the inside or outside of the beanie. This can be a great way to add a personal touch and let others know that it is a handmade item. You can use a fabric label or even make your own with some fabric and fabric dye.
By following these finishing touches, you can take your adult beanie from a simple knitted piece to a stylish and unique accessory. Whether you choose to add a pom-pom, embroidery, ribbed edging, or a personalized label, these final details will truly make your beanie stand out.
Variations and Customizations
Once you have mastered the basic adult beanie knitting pattern, you can start experimenting with variations and customizations to make the hat uniquely yours. Here are some ideas to get you started:
- Colorwork: Add color to your beanie by incorporating different yarns or using different colors for the ribbing and main body.
- Stripes: Create stripes by alternating colors every few rows or using a self-striping yarn.
- Texture: Experiment with different stitch patterns, such as cables, seed stitch, or ribbing, to add texture to your hat.
- Pom pom: Attach a pom pom to the top of your beanie for a fun and playful touch.
- Embroidery: Add personalization to your hat by embroidering initials, patterns, or motifs.
Remember to take measurements and adjust the pattern accordingly if you want to customize the size of the beanie. You can also experiment with different types of yarn to achieve different looks and textures. Don’t be afraid to get creative and make the beanie truly unique!
With these variations and customizations, you can create an adult beanie that matches your style and personality. Whether you prefer a classic solid-colored beanie or a bold striped design, the possibilities are endless. Have fun knitting and enjoy wearing your one-of-a-kind creation!