
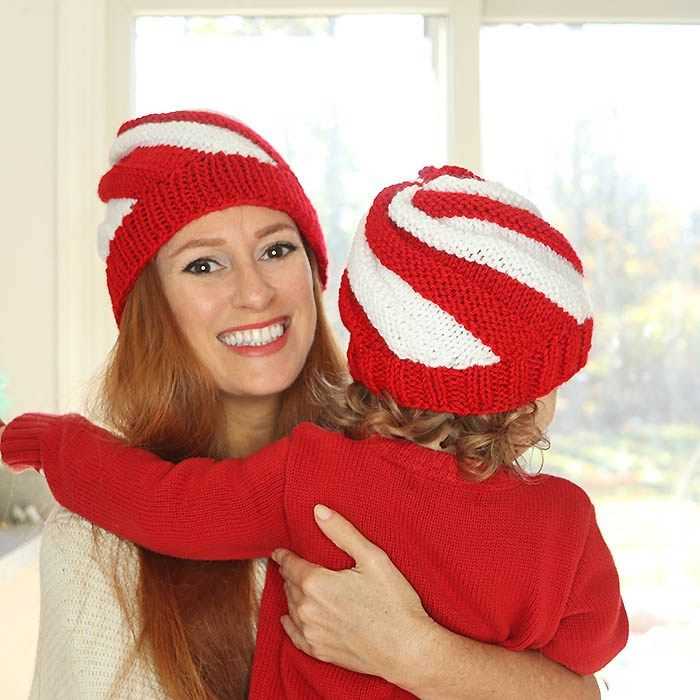
Knitting your own accessories can be a fun and rewarding experience. With the holiday season just around the corner, why not add some festive cheer to your wardrobe with a candy cane hat? This playful and colorful design is the perfect way to show off your love for all things sweet and sugary.
The candy cane hat knitting pattern is suitable for knitters of all skill levels. Whether you’re a beginner or a seasoned pro, this project is sure to bring a smile to your face. The pattern uses basic knit and purl stitches, making it a great choice for those just starting out.
To create this adorable hat, you’ll need some red and white yarn, as well as a set of double-pointed knitting needles. The hat is worked in the round, using a combination of ribbing and a simple stripe pattern to create the candy cane effect. You can customize the length and width of the hat to fit your style and head size.
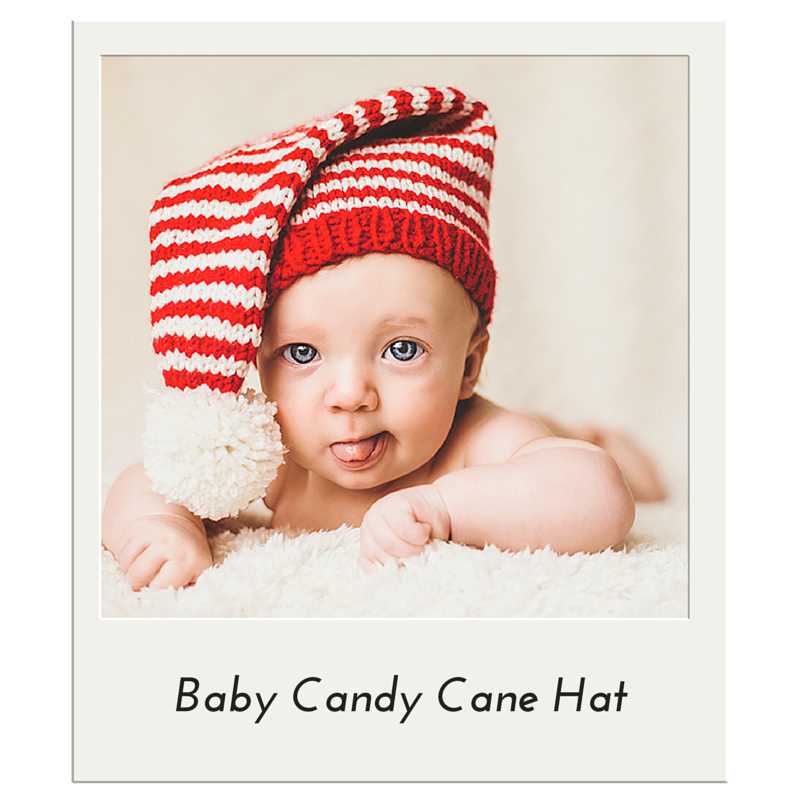
Once you’ve finished knitting your candy cane hat, you can add some festive flair with a pom-pom or a big fluffy tassel. This hat is perfect for wearing to holiday parties, family gatherings, or just for a fun and whimsical look. So grab your knitting needles and get ready to create a delightful accessory that is sure to turn heads!
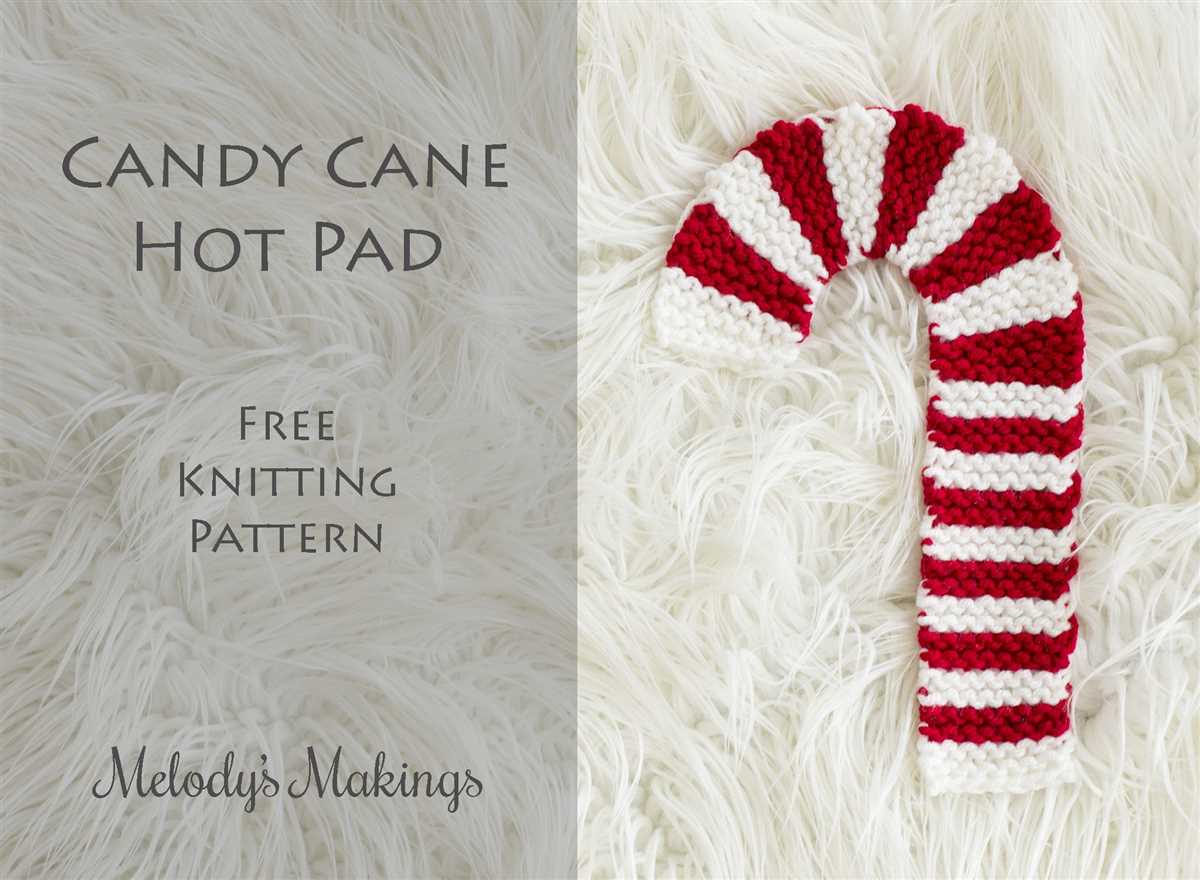
Candy Cane Hat Knitting Pattern
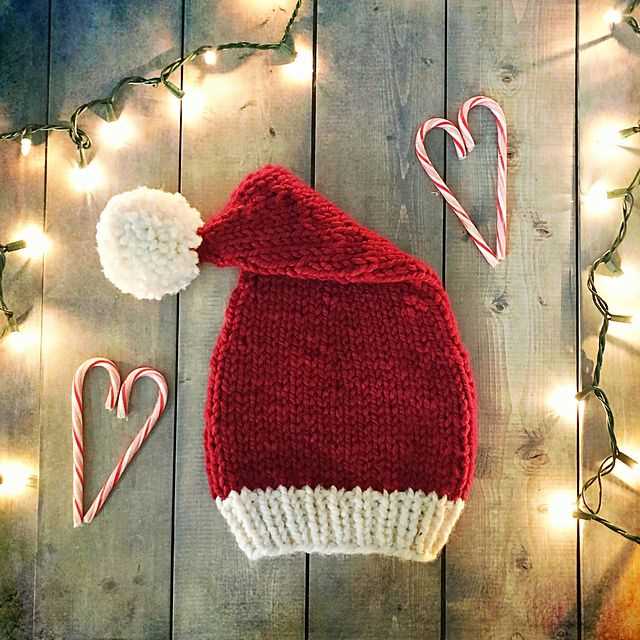
Looking for a festive and fun winter knitting project? Look no further! The Candy Cane Hat Knitting Pattern is the perfect project to get you in the holiday spirit. With its playful candy cane stripes and cozy design, this hat is sure to be a hit with both kids and adults alike.
To start knitting this adorable hat, you’ll need the following materials: yarn in red and white, knitting needles in the appropriate size, a tapestry needle, and a pom-pom maker (optional). Once you have gathered all your supplies, you can begin casting on and getting started on your candy cane stripes.
When working on this pattern, be sure to pay attention to your tension to ensure that your hat comes out the correct size. Additionally, don’t forget to switch colors for your candy cane stripes, creating that signature holiday look. The pattern includes a simple ribbed brim and can be easily adapted for different sizes.
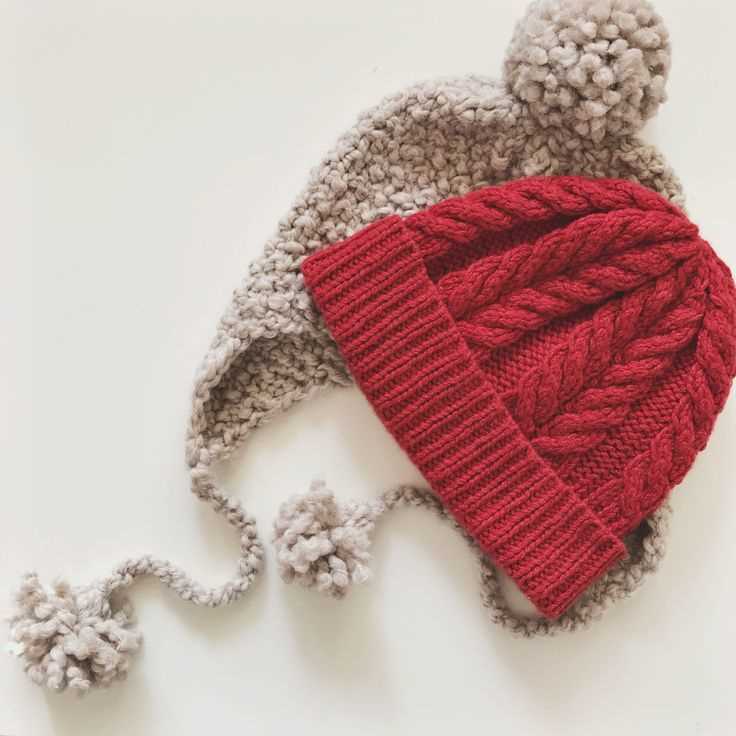
Once you have finished knitting your Candy Cane Hat, it’s time to add the finishing touches. You can choose to attach a fluffy pom-pom to the top of the hat or leave it plain for a more minimalist look. Either way, you’ll have a stunning holiday accessory that will keep you warm and stylish all winter long.
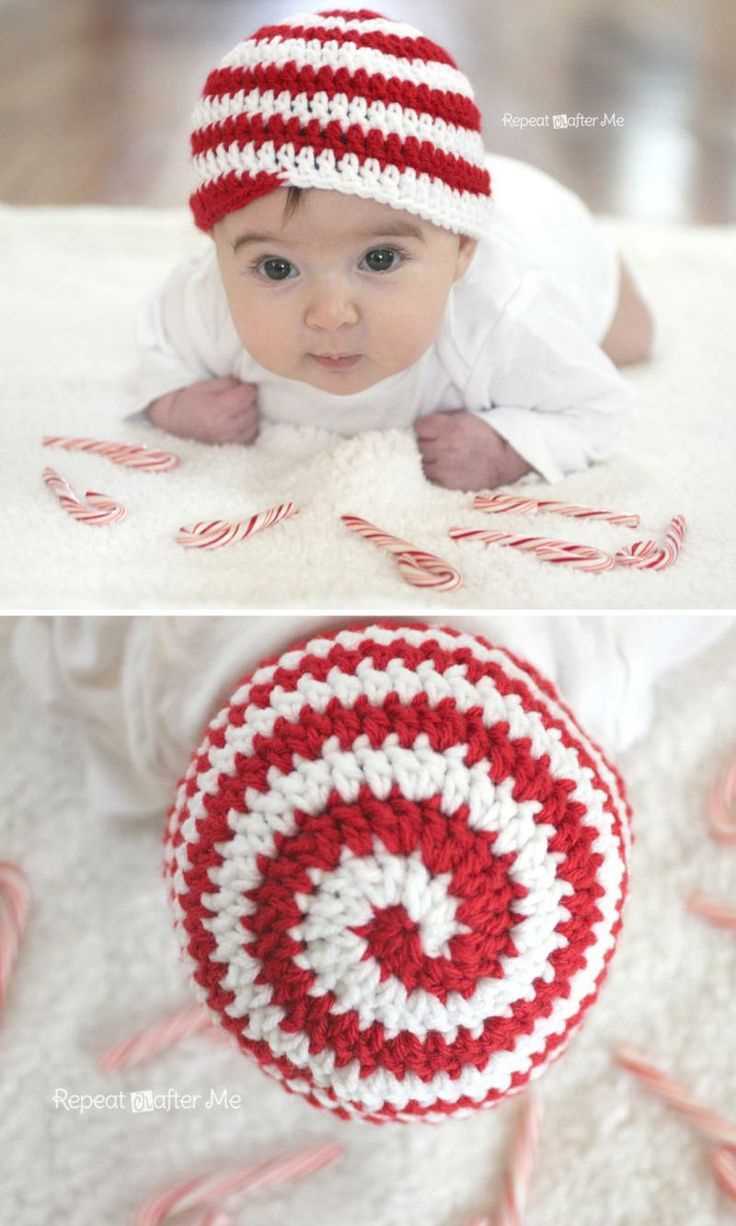
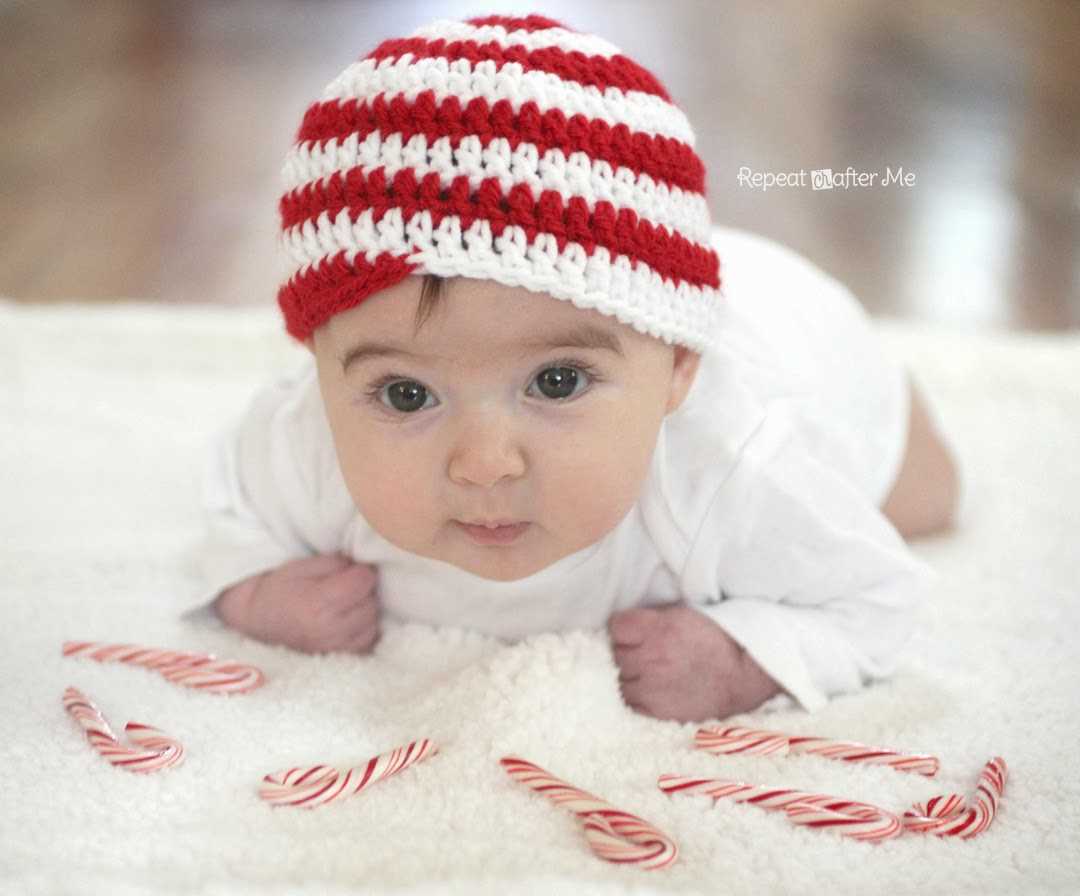
- Cozy and festive, this Candy Cane Hat is the perfect winter accessory.
- Made with red and white yarn, it features playful candy cane stripes.
- Knitting this hat is a fun and engaging project for knitters of all skill levels.
- The pattern includes instructions for different sizes, making it easy to customize.
- This hat is sure to be a hit with both kids and adults during the holiday season.
Why Choose a Candy Cane Hat?

Knitting your own candy cane hat can be a fun and festive way to show off your holiday spirit. Whether you’re wearing it to a Christmas party, a winter festival, or just to add a touch of whimsy to your everyday outfit, a candy cane hat is sure to make a statement.
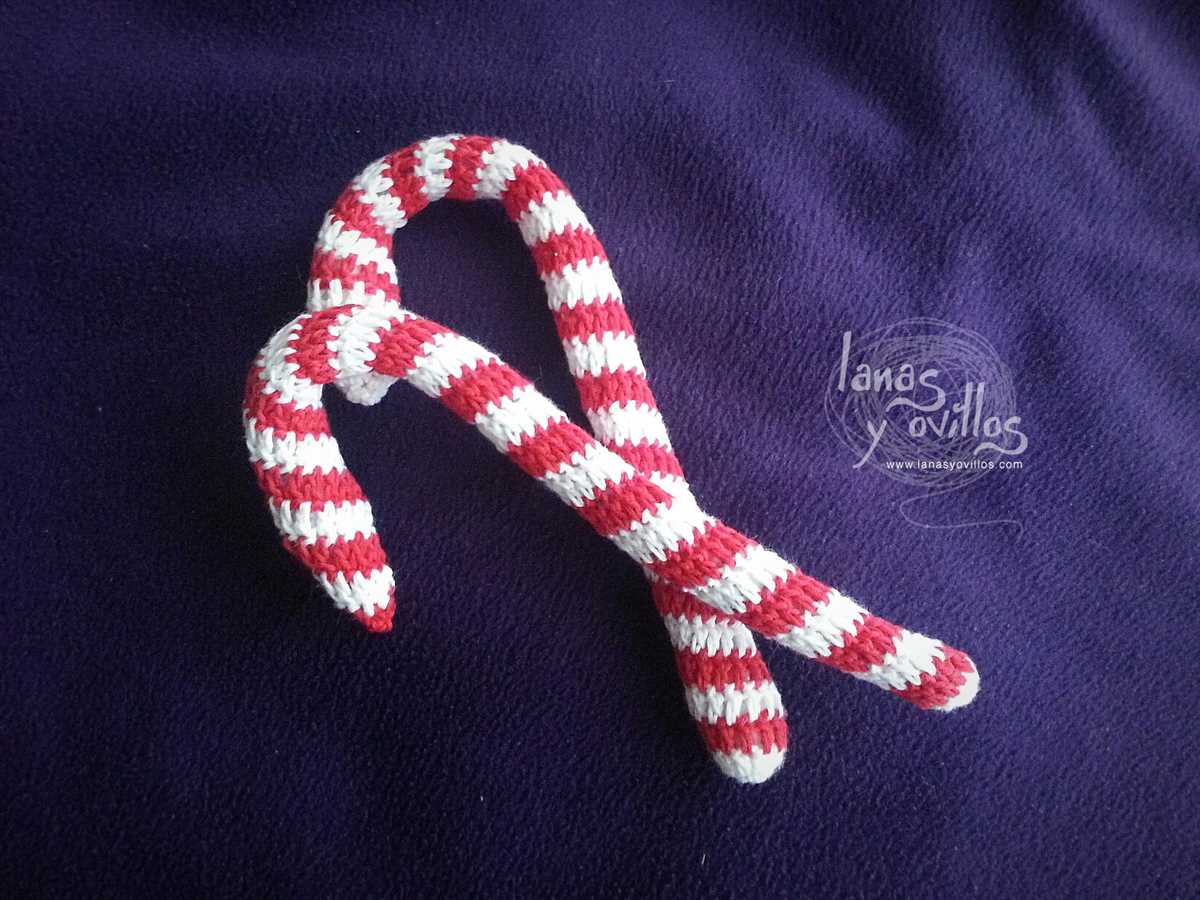
The candy cane hat is a classic holiday accessory that brings back memories of childhood and the joy of the season. Its bold red and white stripes evoke the image of traditional candy canes, making it a perfect choice for those who love everything Christmas-related.
- Festive Design: The candy cane hat’s design is instantly recognizable and brings a playful element to any outfit. The alternating red and white stripes create a visually appealing pattern that adds a pop of color to your winter wardrobe.
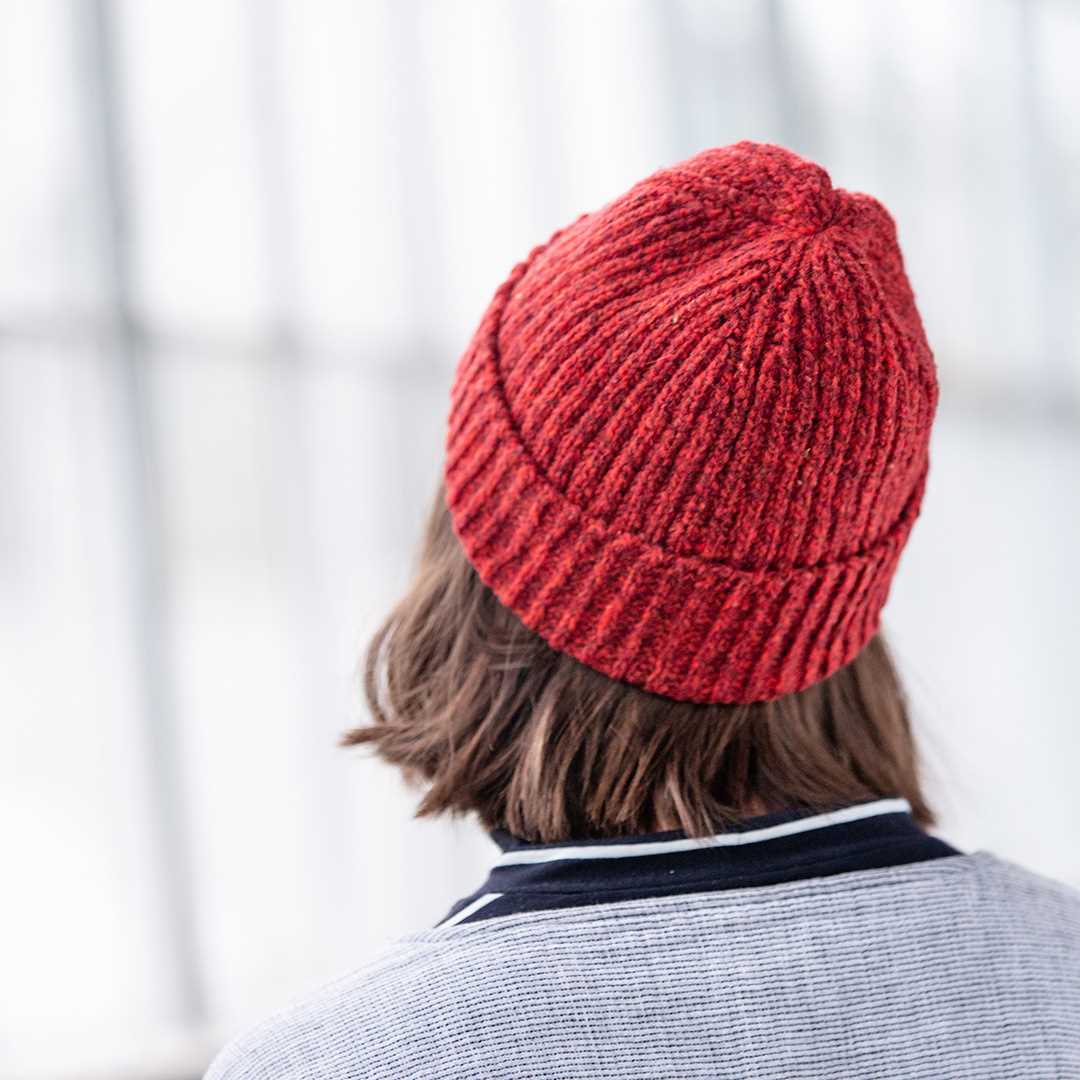
- Warm and Cozy: Knitted hats are perfect for keeping warm during the cold winter months, and the candy cane hat is no exception. The thick yarn and close-knit stitches provide insulation against the chill, ensuring that you stay cozy and comfortable while looking stylish.
- DIY Appeal: Knitting your own candy cane hat allows you to personalize the design and make it truly unique. You can experiment with different yarn colors, add embellishments like pom-poms or ribbons, and adjust the sizing to fit your head perfectly.
- Great Gift Idea: A candy cane hat can make a thoughtful and festive gift for friends, family, or coworkers. Handmade gifts are always appreciated, and the recipient will love the time and effort you put into creating a special accessory just for them.
So, if you’re looking for a fun and festive accessory to add to your winter wardrobe or want to create a unique gift for someone special, consider knitting your own candy cane hat. With its festive design, cozy warmth, and endless customization options, it’s a perfect choice for any holiday enthusiast.
Supplies Needed for Candy Cane Hat
When it comes to knitting a candy cane hat, there are a few supplies that are essential to have on hand. These supplies will ensure that you have everything you need to create a beautiful and festive hat.
Yarn:
One of the most important supplies you will need is the yarn. For a candy cane hat, it is best to use two contrasting colors of yarn, such as red and white, to create the classic candy cane stripe pattern. Choose a soft and warm yarn that is suitable for knitting hats.
Knitting Needles:
To knit the candy cane hat, you will need a pair of knitting needles. The size of the knitting needles will depend on the weight of the yarn you are using and your personal knitting style. It is recommended to use circular knitting needles for the hat, as they allow you to easily work in the round.
Tapestry Needle:
A tapestry needle is essential for weaving in the loose ends and finishing your candy cane hat. This needle has a large eye and a blunt tip, making it easy to thread and ideal for sewing up any seams or adding decorative details.
Pom-pom Maker:
If you want to add a fluffy pom-pom to the top of your candy cane hat, a pom-pom maker will come in handy. This simple tool allows you to create perfectly round and even pom-poms in various sizes. Choose a pom-pom maker that corresponds to the size you want for your hat.
Stitch Markers:
Stitch markers are helpful for keeping track of your stitches and marking important points in the pattern. They come in various forms, such as plastic rings or locking stitch markers. Having a few stitch markers on hand will make it easier to follow the candy cane hat pattern.
Scissors:
A good pair of scissors is essential for any knitting project. It is important to have a sharp pair of scissors that can easily cut through yarn without fraying or damaging it. Keep your scissors handy while working on your candy cane hat for easy access.
With these essential supplies, you will have everything you need to knit a beautiful candy cane hat. Gather your materials and get ready to create a festive and cozy accessory for the holiday season.
Choosing the Right Yarn for Your Candy Cane Hat
When knitting a candy cane hat, choosing the right yarn is essential to achieve the desired look and feel. The yarn you select will determine the hat’s texture, warmth, and overall appearance. With so many yarn options available, it can be overwhelming to make a decision. This guide will help you select the perfect yarn for your candy cane hat.
Consider the Fiber: The type of fiber used in the yarn greatly influences the hat’s characteristics. For a soft and cozy hat, consider using yarn made from natural fibers such as merino wool or alpaca. These fibers are known for their warmth and comfort. If you prefer a more lightweight and breathable hat, consider using yarn made from cotton or bamboo.
Think about the Gauge: The gauge is the number of stitches and rows per inch that the yarn produces. It is essential to match the gauge specified in the candy cane hat knitting pattern to ensure the correct fit. If the yarn you choose has a different gauge, you may need to adjust the pattern or needle size accordingly. Always swatch to check if the yarn’s gauge matches the pattern’s requirements.
Look for Variegated Yarn: To achieve the candy cane effect, consider using variegated yarn that has alternating stripes of red and white. This will create the classic candy cane look without the need for color changes in your knitting. Variegated yarn adds visual interest and makes your hat unique.
Consider the Care Instructions: When selecting yarn for your candy cane hat, consider how easy it is to care for. Some yarns may require special washing instructions, such as hand washing or dry cleaning. If you prefer a low-maintenance hat, look for yarn that can be machine washed and dried.
- Check Yarn Yardage: Make sure to check the yardage of the yarn you are considering. The candy cane hat pattern will typically specify the amount of yarn needed. Ensure you have enough yarn to complete the hat, including any color changes or variations.
- Consider the Cost: Lastly, consider your budget. Yarn prices can vary greatly, so it’s essential to choose a yarn that fits within your budget while still providing the desired quality and appearance. Remember that a candy cane hat is a festive accessory that you may not wear year-round, so you might want to consider opting for a more affordable option.
Getting Started: Casting On
Before diving into knitting the candy cane hat, it’s important to start with the basics, and that includes casting on. Casting on is the process of creating the first row of stitches on your knitting needles, forming the foundation for your project. In this case, we’ll be casting on the necessary number of stitches to begin knitting the candy cane hat.
To cast on for the candy cane hat, you will need a set of double-pointed knitting needles in the appropriate size for your chosen yarn. It is also helpful to have a tapestry needle or stitch marker to mark the beginning of each round. The specific number of stitches you need to cast on will depend on the size of the hat you wish to create, so be sure to consult the pattern for the correct measurements.
Once you have your materials ready, you can begin casting on by making a slipknot. To do this, leave a tail of yarn about 6 inches long, then grasp the working yarn (the end attached to the skein) and twist it to create a loop. Insert your knitting needle through the loop and pull the yarn tight to secure the slipknot onto the needle.
Next, hold the needle with the slipknot in your right hand and the second knitting needle in your left hand. Using your left hand, wrap the working yarn around your left thumb and hold it between your left index and middle fingers. Insert the right needle into the slipknot from left to right, going over the left needle.
To create your first stitch, use your right hand to bring the yarn over the right needle and through the loop on the left needle. This will form a new loop on the right needle. Gently pull the yarn to tighten the stitch, but be careful not to pull it too tight. Repeat this process, creating additional stitches until you have cast on the required number for your pattern.
Knitting the Candy Cane Pattern
Knitting the Candy Cane pattern is a fun and festive way to celebrate the holiday season. This pattern is perfect for creating a cute and cozy hat that resembles a classic candy cane. Whether you’re knitting for yourself or making a gift for someone special, this pattern is sure to bring joy and warmth.
To get started, you will need a set of knitting needles and yarn in red and white colors. The candy cane pattern is typically knit in a basic rib stitch, which creates a stretchy and comfortable fit. Begin by casting on the desired number of stitches, making sure to alternate between red and white yarn every few rows to create the candy cane stripes.
Once you have completed the rib stitch section, it’s time to shape the top of the hat. This can be done by decreasing stitches in a systematic way to create a tapered effect. There are many different decreasing methods you can use, such as knit two together or slip, slip, knit. Choose the method that works best for you and continue knitting until you have reached the desired length for your hat.
To add a finishing touch to your candy cane hat, you can create a pom-pom or tassel to attach to the top. This will give your hat some extra flair and make it even more festive. Simply wrap yarn around a piece of cardboard or your fingers to create the pom-pom or tassel, then attach it securely to the top of the hat.
Once you have completed the knitting and finishing steps, your candy cane hat is ready to be worn and admired. This pattern is versatile and can be customized to fit any size or style preference. Whether you choose to make a traditional red and white candy cane hat or experiment with different colors, the result is bound to be a charming and delightful accessory for the holiday season.
Creating the Hat Ribbing
The ribbing is an essential part of the Candy Cane Hat knitting pattern. It not only adds texture to the hat but also helps it fit snugly on the head. To create the ribbing, you will need to cast on a multiple of stitches, typically around 88 stitches, using a circular knitting needle.
Once you have cast on the required number of stitches, you will begin working in a 2×2 ribbing pattern. This means that you will alternate between knitting 2 stitches and purling 2 stitches throughout each row. The ribbing pattern creates a stretchy and elastic fabric, allowing the hat to comfortably fit a range of head sizes.
To start the ribbing, place a stitch marker on the first stitch so you can easily keep track of your progress. Then, work the first row by knitting 2 stitches, purling 2 stitches, and repeating this pattern until the end of the row. Repeat this pattern for every row until the ribbing reaches your desired length.
It’s important to make sure your tension is consistent throughout the ribbing section to ensure an even and neat result. Pay attention to your knitting technique and adjust your tension if necessary. Taking the time to create an even ribbing will make a significant difference in the final appearance of your Candy Cane Hat.
Once you have completed the ribbing, you will be ready to move on to the main body of the hat, which involves working with the candy cane color pattern. The ribbing sets the foundation for the rest of the pattern and adds a professional touch to your finished hat.
Shaping the Crown of the Hat

Once you’ve finished knitting the body of the candy cane hat, it’s time to shape the crown. This is where you will create the tapered top of the hat to give it that classic candy cane shape.
In order to shape the crown, you will need to begin decreasing stitches. This can be done in a variety of ways, but a common method is to use a technique called “k2tog,” which stands for “knit two together.” To k2tog, insert your right needle into the next two stitches on the left needle as if to knit, and then knit them together as one stitch. Repeat this decrease stitch every few rows, gradually reducing the number of stitches on your needle.
Decrease Rounds
- Round 1: *Knit 4, k2tog; repeat from * to end of round.
- Round 2: Knit all stitches.
- Repeat these two rounds until you have only a few stitches left on your needle.
Once you have completed the decrease rounds and only have a handful of stitches remaining, cut your yarn, leaving a long tail. Thread the tail onto a yarn needle and carefully slide the needle through the remaining stitches, removing them from the knitting needle.
To finish the crown of the hat, pull the yarn tail tight to cinch the top closed. Secure the yarn with a knot and weave in any loose ends. Your candy cane hat is now complete and ready to be enjoyed during the holiday season!
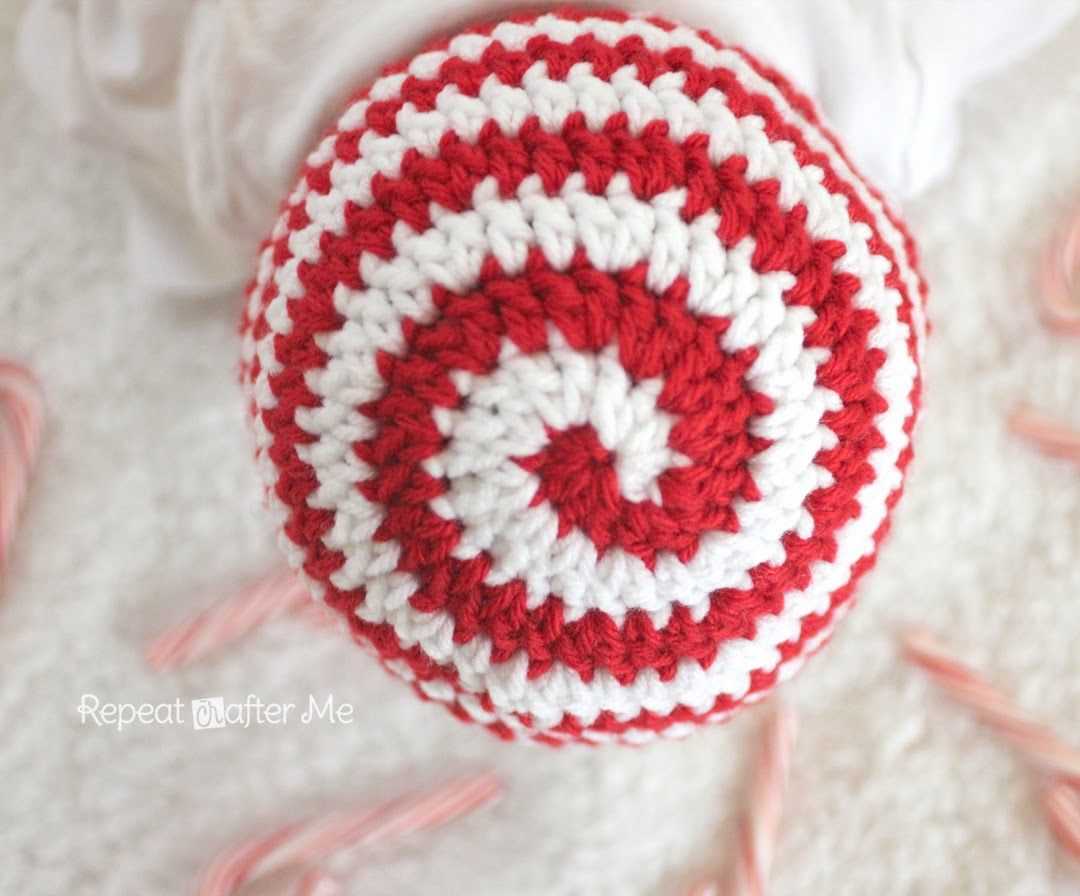
Adding the Candy Cane Stripe
Once you have completed the rib stitch for the brim of the candy cane hat, it’s time to add the candy cane stripe. This stripe will give your hat that festive, candy-inspired look.
To add the candy cane stripe, you will need two contrasting colors of yarn. Start by choosing one color to be the main color and the other to be the stripe color. For example, you can use red as the main color and white as the stripe color.
Begin by knitting a few rounds using the main color. Then, when you are ready to start the stripe, switch to the stripe color. To create the candy cane stripe effect, you will be knitting the stripe color in a specific pattern.
Here is the pattern for the candy cane stripe: Knit 2 rounds with the stripe color, then switch back to the main color and knit 1 round. Repeat this pattern until you have reached your desired length for the candy cane stripe.
Remember to always carry the yarn not in use up the side of your work, twisting the two yarns together on the last stitch of each color change to prevent gaps or holes in your knitting. This will ensure that the stripe is neat and even.
Once you have finished adding the candy cane stripe, you can continue with your desired knitting pattern for the rest of the hat. Whether you choose to knit in the round or knit flat and sew the hat together, the candy cane stripe will add a touch of holiday cheer to your finished project.
Finishing Touches: Binding Off
Once you have completed knitting your candy cane hat, it’s time to finish it off with the binding off technique. Binding off, also known as casting off, is the process of removing the stitches from your knitting needles to create a finished edge.
To bind off your candy cane hat, begin by knitting two stitches. Then, using your left needle, lift the first stitch over the second stitch and off the right needle.This creates one bound off stitch. Continue this process across the row until you have only one stitch left on your right needle. Cut the yarn, leaving a tail of about 6 inches, and thread it through the remaining stitch. Pull tight to secure.
Once you have bound off all the stitches, you can weave in any loose ends using a yarn needle. Simply thread the needle with the tail of the yarn and weave it through the stitches on the back of the hat, making sure to go in different directions to secure the yarn. Trim any excess yarn.
To add an extra decorative touch to your candy cane hat, consider adding a pom-pom or a braided tassel to the top. You can use a pom-pom maker to easily create a fluffy pom-pom, or braid together several strands of yarn to make a tassel. Attach your chosen embellishment securely to the top of the hat, and your candy cane hat is ready to wear or gift!
Adding a Pom Pom

Once you have finished knitting your candy cane hat, you may want to add a fun and playful touch by attaching a pom pom to the top. A pom pom adds an extra element of cuteness and can be a great way to personalize your hat.
To make a pom pom, you will need some yarn in a coordinating color. Take a piece of cardboard or a pom pom maker and wrap the yarn around it multiple times. The more times you wrap the yarn, the fuller your pom pom will be. Once you have wrapped the yarn to your desired thickness, carefully slide it off the cardboard or pom pom maker without unraveling it.
Next, cut a piece of yarn and thread it through the center of the wrapped yarn. Tie a tight knot, making sure to leave long tails. These tails will be used to attach the pom pom to the hat. With a pair of sharp scissors, cut through the loops on both ends of the wrapped yarn. Fluff and trim the pom pom until it is even and round.
With the long tails of yarn, sew the pom pom securely onto the top of the hat. Make sure to attach it tightly so that it doesn’t come loose. You can also add a few extra stitches to secure it even further. Once the pom pom is attached, give it a playful shake to see it bounce and move.
How to Customize Your Candy Cane Hat
When it comes to knitting a candy cane hat, there are endless possibilities for customization. From choosing different colors to adding personal touches, here are a few ways to make your candy cane hat unique.
1. Color Selection:
One of the simplest ways to customize your candy cane hat is by choosing your own colors. While the traditional candy cane colors of red and white are popular, you can get creative and experiment with different combinations. Consider using pastel shades for a softer effect or bold, contrasting colors for a more vibrant look. The choice is yours!
2. Embellishments:
Add some flair to your candy cane hat by incorporating embellishments. You can use embroidery techniques to add initials, names, or fun designs to the hat. Another idea is to attach pom-poms or tassels to the top or sides of the hat for a playful touch. Get creative and let your imagination run wild!
3. Textures and Patterns:
If you’re an experienced knitter, you can take your candy cane hat to the next level by incorporating different textures and patterns. Experiment with cables, lace, or ribbed stitches to give your hat a unique look and feel. You can also combine different stitch patterns to create a more intricate design. The possibilities are endless!
4. Size and Fit:
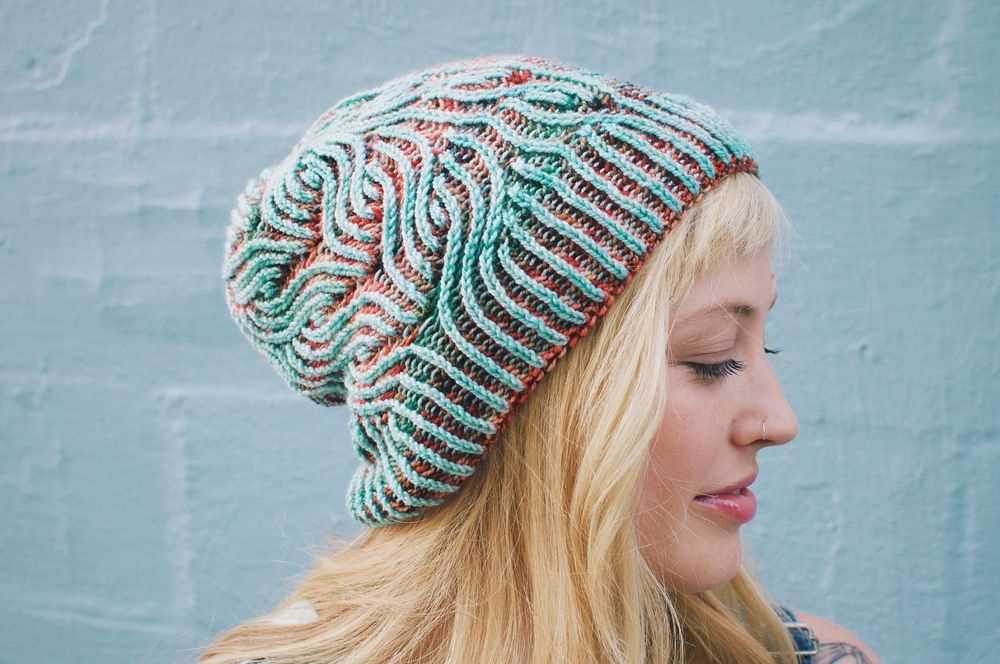
Customizing your candy cane hat also involves making sure it fits you perfectly. Consider adjusting the size to fit your head circumference and length preferences. You can find hat size charts online to guide you in determining the right measurements. Additionally, you can modify the pattern to make the hat slouchy or snug, depending on your personal style.
5. Adding a Lining:
If you want to make your candy cane hat extra cozy, consider adding a lining. A fleece or knit lining on the inside of the hat can provide extra warmth and comfort during cold winter days. It’s a great way to add an extra layer of customization while ensuring your hat is as practical as it is stylish.
Remember, the key to customizing your candy cane hat is to have fun and let your creativity shine. Whether it’s with colors, embellishments, or different stitch patterns, make it truly your own. Happy knitting!
Final Thoughts and Tips for Knitting Your Candy Cane Hat
Knitting your own candy cane hat can be a fun and rewarding project, whether it’s for yourself or as a gift for a loved one. Here are some final thoughts and tips to keep in mind as you embark on your knitting adventure.
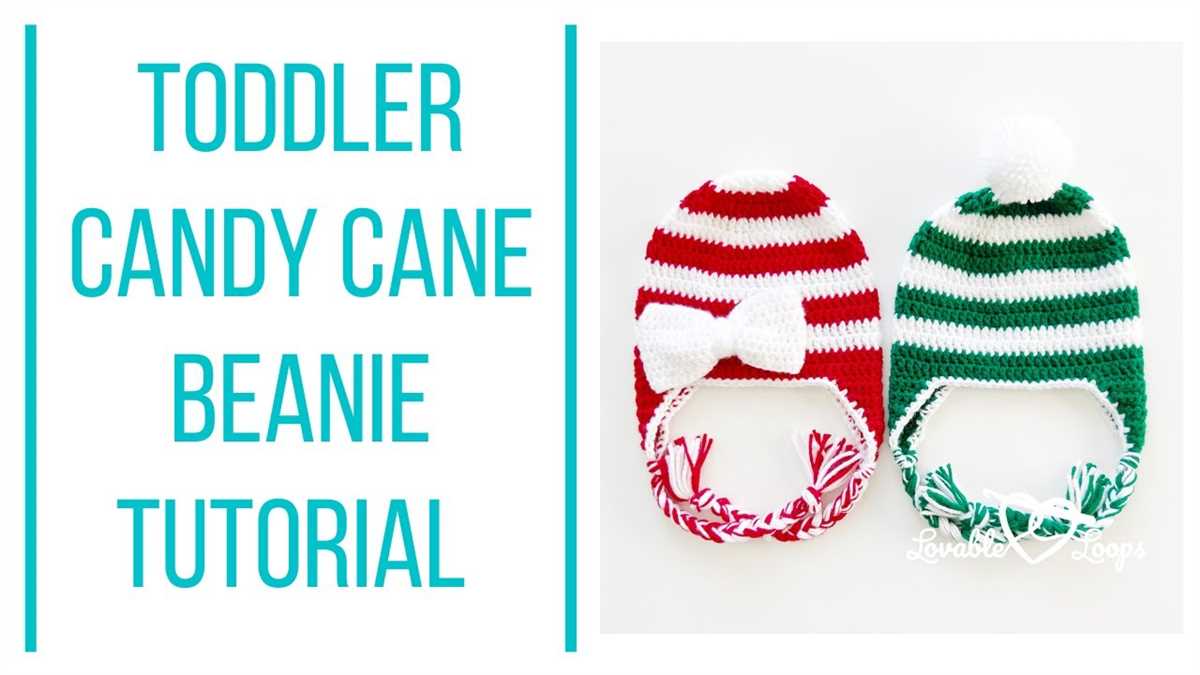
1. Choose the right yarn: When selecting yarn for your candy cane hat, opt for a medium-weight yarn that is soft and comfortable to wear. Consider using yarn in red and white or red and green to achieve the classic candy cane stripe pattern.
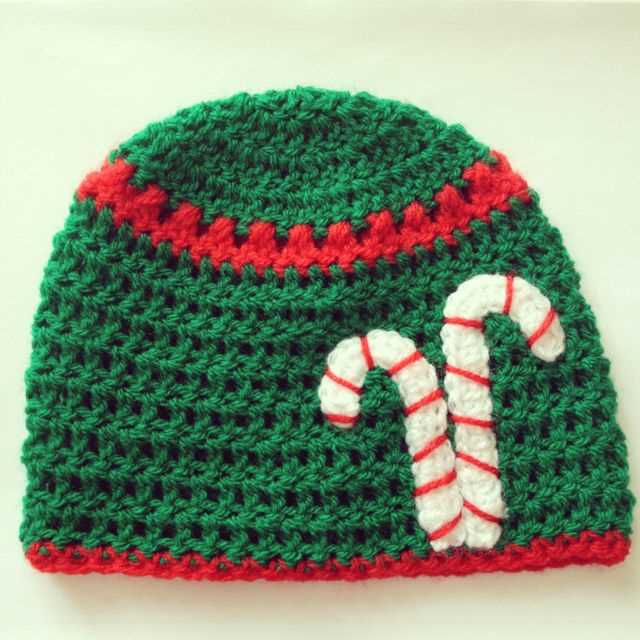
2. Get creative with patterns: While the classic candy cane stripe pattern is always a good choice, don’t be afraid to experiment with different patterns and designs. You can incorporate other holiday symbols like snowflakes or reindeer to make your hat unique.
3. Use stitch markers: Stitch markers are invaluable tools for keeping track of your progress and ensuring even and consistent stripes. Place a stitch marker at the beginning of each color change to help you stay on track.
4. Try different techniques: Knitting a candy cane hat presents an opportunity to try different knitting techniques. You can experiment with Fair Isle or stranded knitting to create intricate patterns, or try your hand at colorwork to add visual interest to your project.
5. Take your time: Knitting can be a relaxing and enjoyable activity, so take your time and savor the process. Remember, there’s no rush to finish your hat. Enjoy the feel of the yarn in your hands and the rhythm of the needles as you create something beautiful.
6. Share your creation: Once you’ve finished knitting your candy cane hat, don’t forget to share your creation with others! Whether you wear it proudly or gift it to a friend, your handmade hat is sure to bring joy and warmth during the holiday season.
- Try using different yarn weights to achieve different looks and textures.
- Experiment with different color combinations to make your candy cane hat truly unique.
- Don’t be afraid to ask for help or seek out knitting communities online for advice and inspiration.
- Remember to take breaks and stretch your hands to prevent any discomfort or strain.
Knitting your own candy cane hat is not only a way to keep warm during the winter months, but also an opportunity to explore your creativity and showcase your knitting skills. So grab your needles, choose your yarn, and get ready to embark on a festive knitting adventure!