
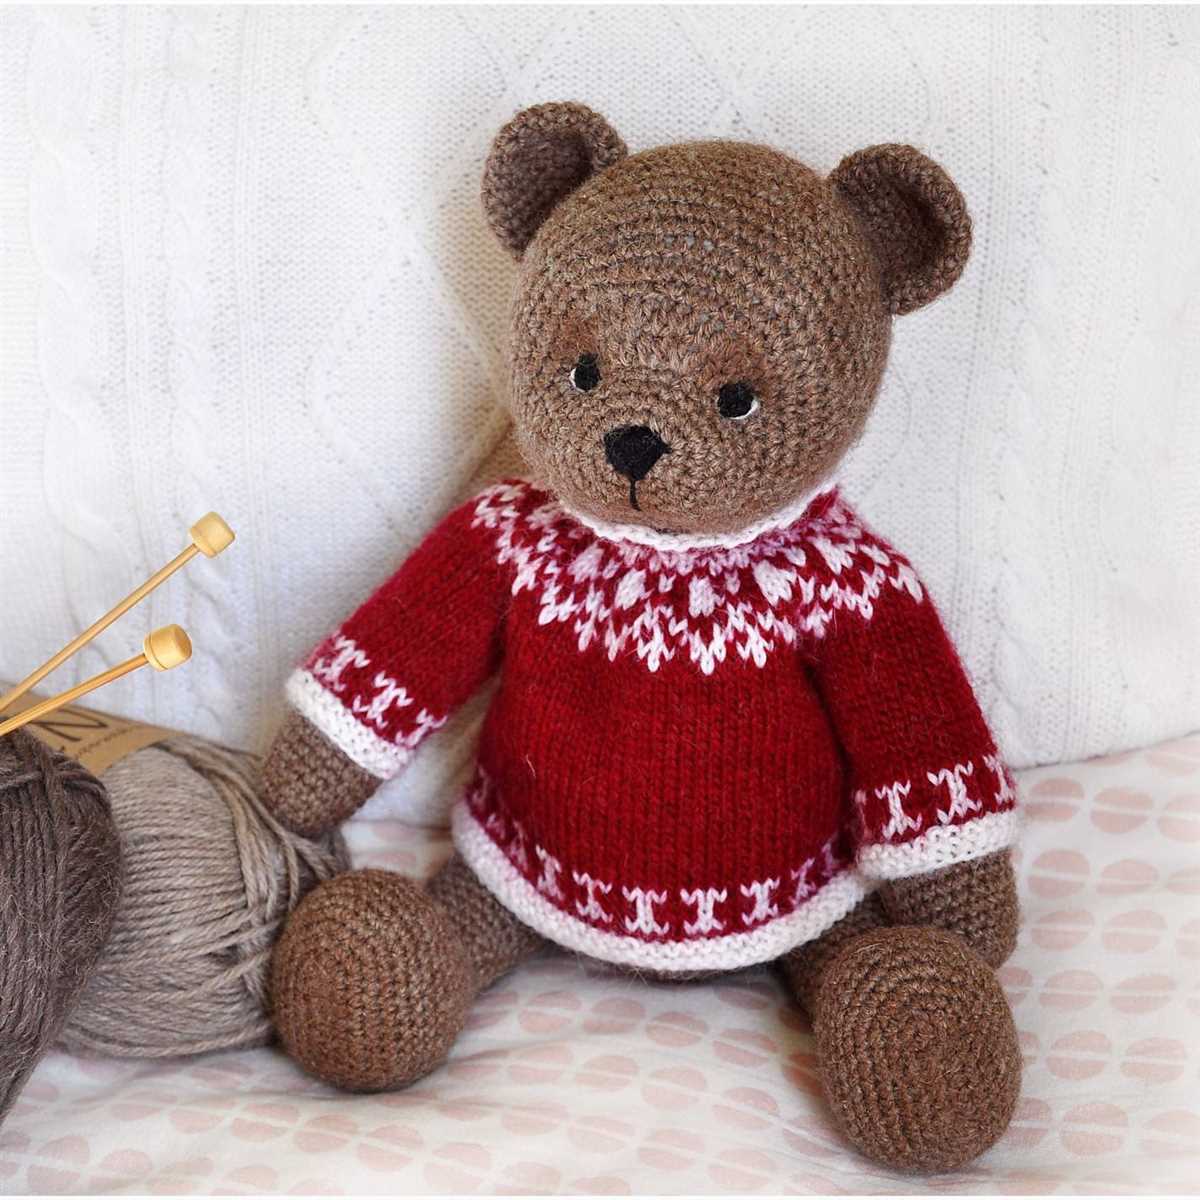
Knitting a cozy sweater for your little one’s favorite teddy bear is not only a fun and creative project but also a great way to personalize their toy. Whether you’re a beginner knitter or a seasoned pro, this teddy bear sweater knitting pattern is sure to bring joy and warmth to your child’s playtime.
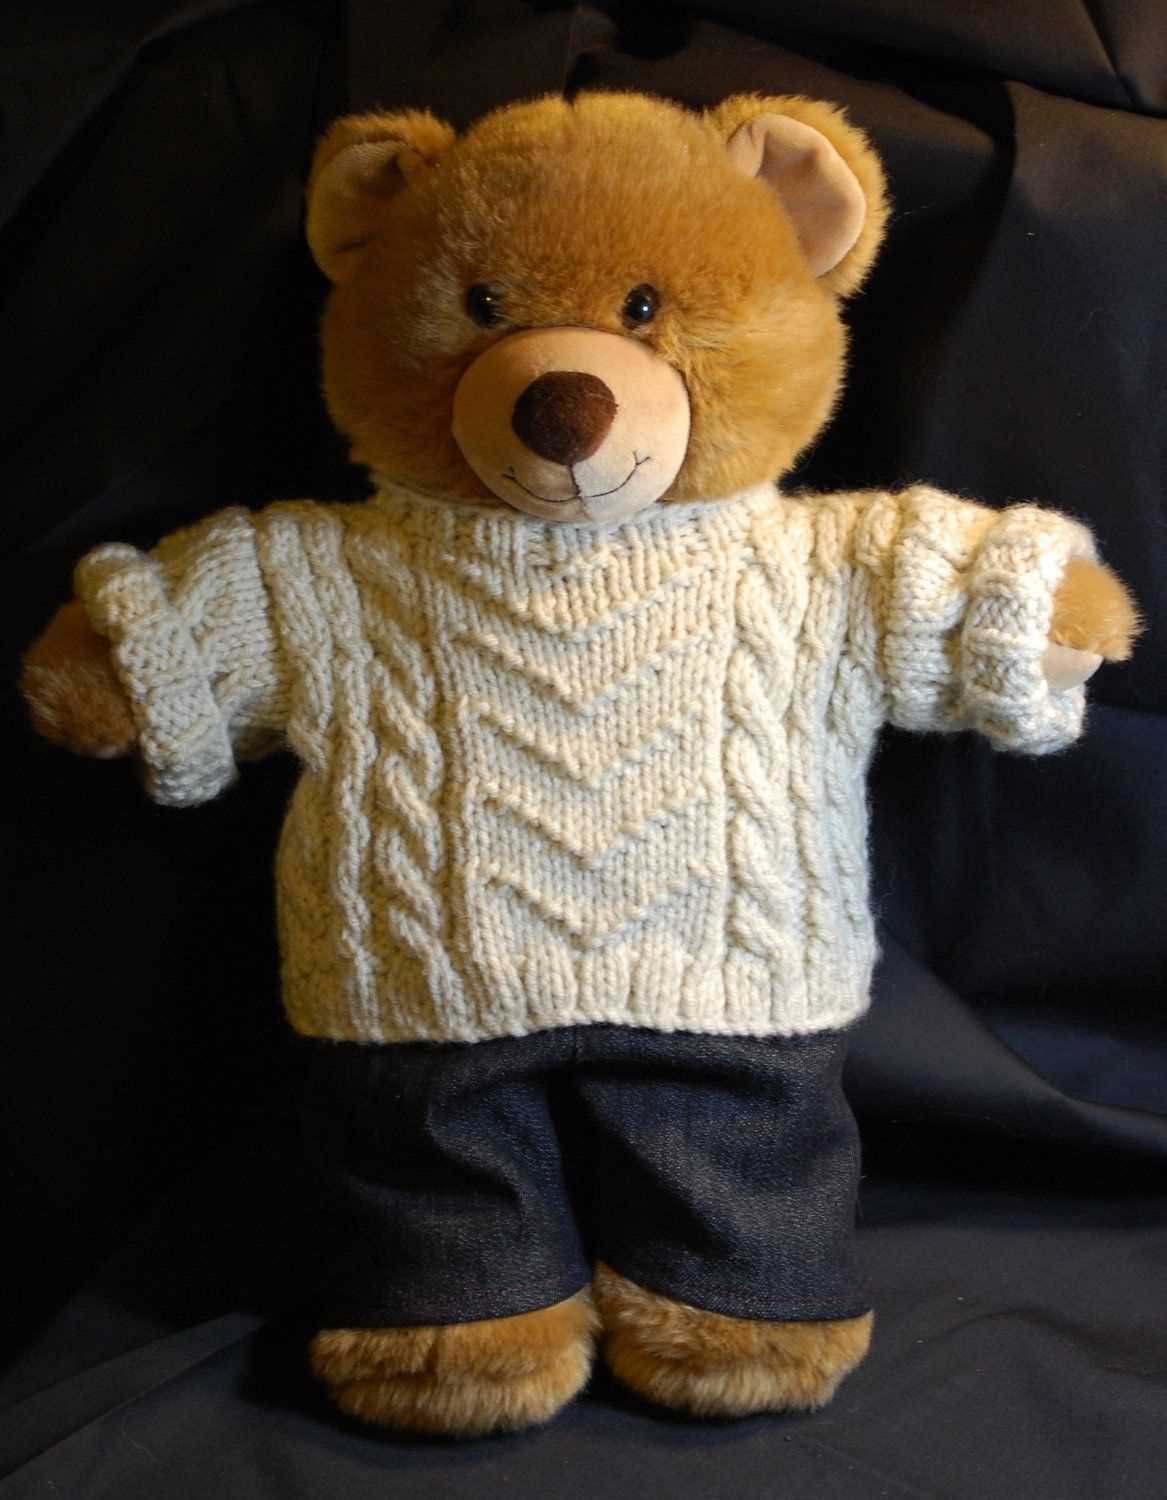
This pattern is designed for a standard 12-inch teddy bear and requires basic knitting skills such as casting on, knitting, purling, and decreasing. With just a few skeins of yarn and a pair of knitting needles, you can create a mini wardrobe for your child’s beloved teddy bear.
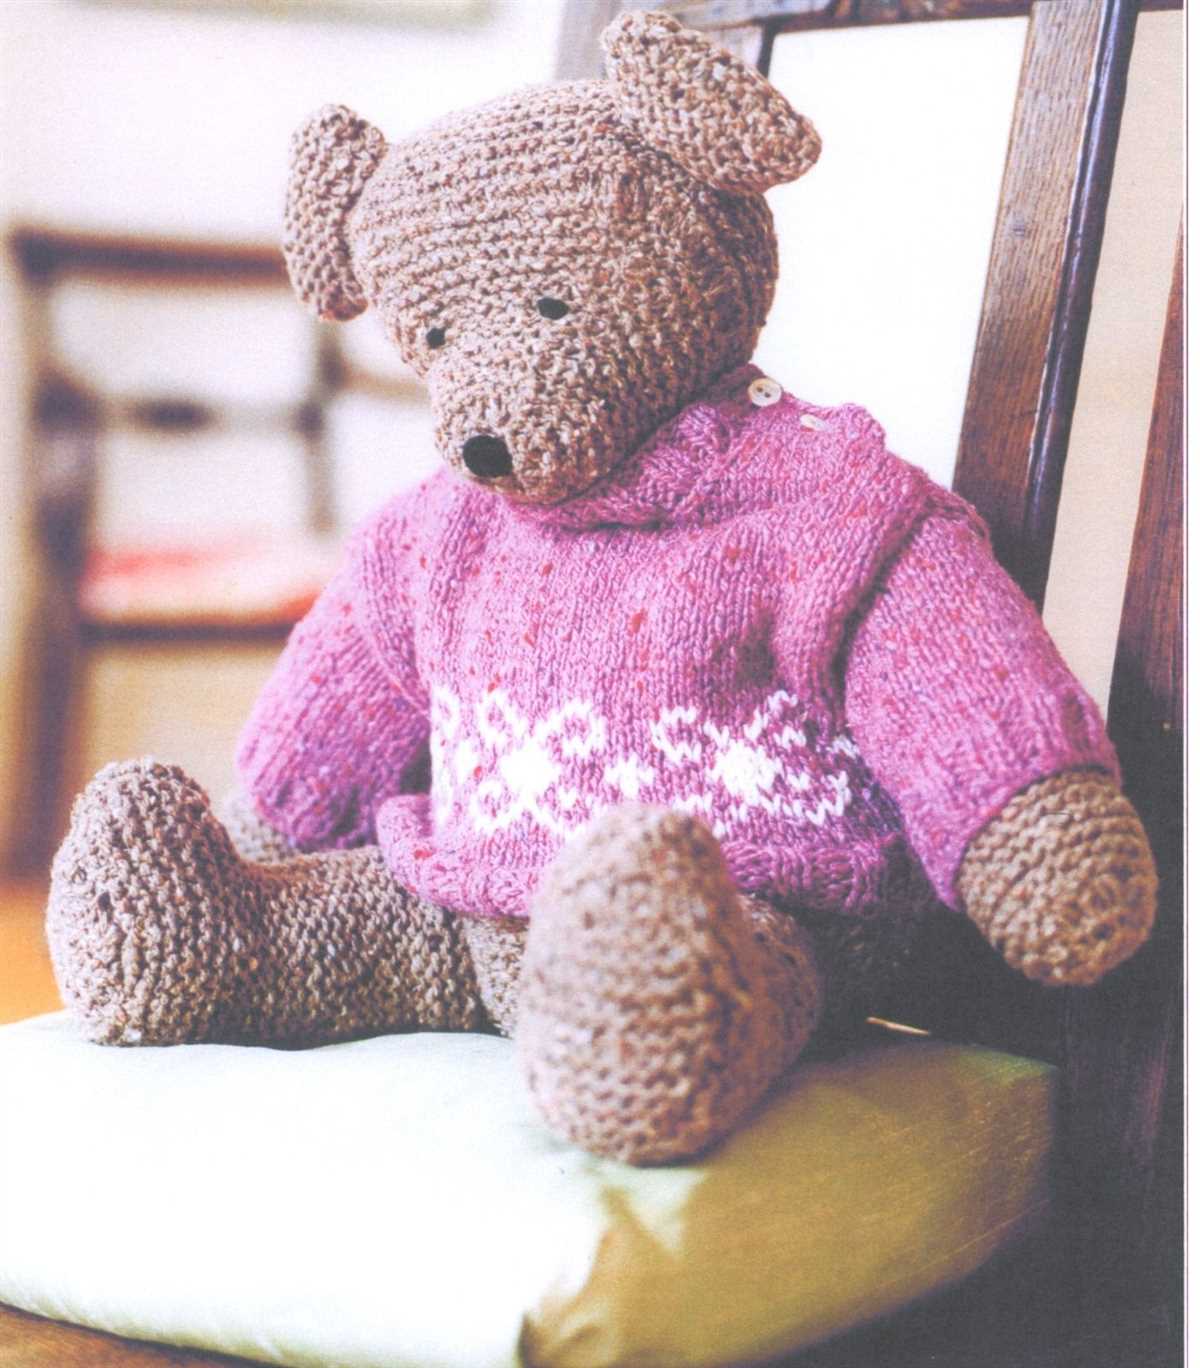
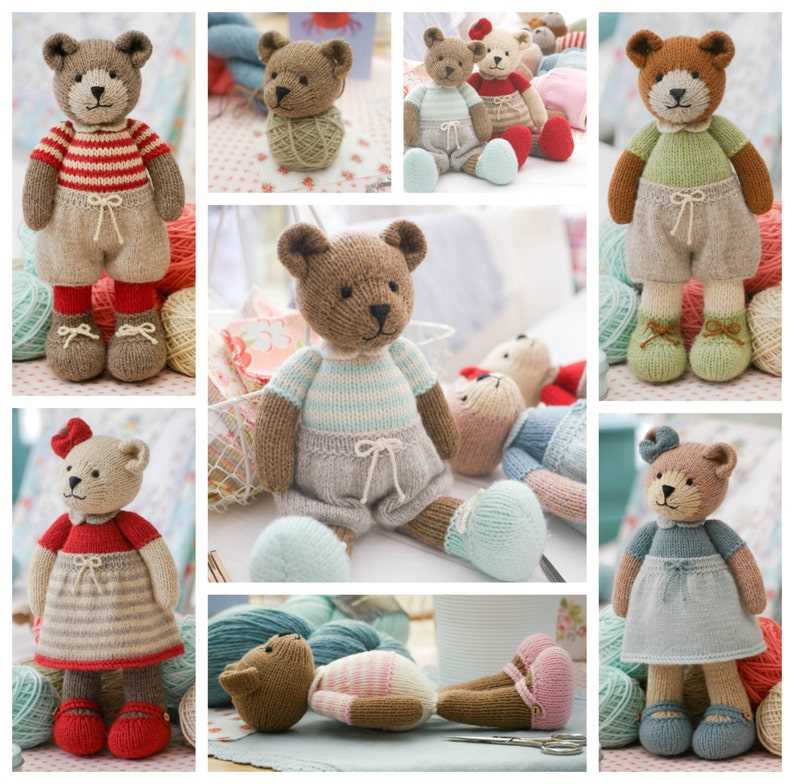
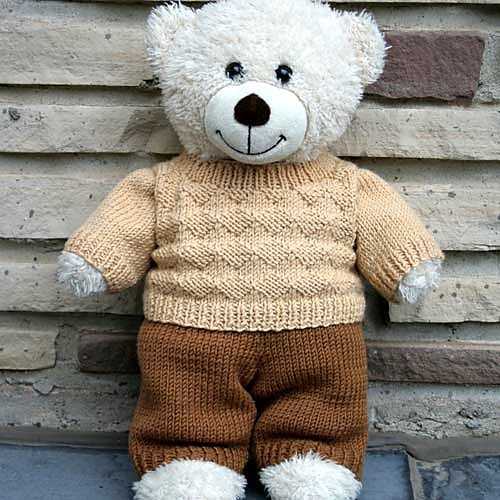
The pattern features a classic pullover style with a ribbed neckline, cuffs, and hem. It also includes step-by-step instructions and helpful tips to guide you through the knitting process. You can choose from a variety of colors and yarn types to create a unique and stylish sweater for your teddy bear.
Imagine the delight on your child’s face when they see their teddy bear dressed in a handmade sweater that you knitted with love. This teddy bear sweater knitting pattern is not only a practical project, but it also allows you to showcase your creativity and skill. So grab your knitting needles and get ready to embark on a knitting adventure!
Teddy Bear Sweater Knitting Pattern
If you are looking to create a cute and cozy outfit for your little one’s favorite teddy bear, then you’ll love this teddy bear sweater knitting pattern. With just a few basic stitches and some soft yarn, you can create a miniature sweater that will keep your teddy bear warm and stylish.
To start, gather your materials. You’ll need a set of knitting needles, a yarn needle, and some yarn in the color of your choice. You may also want to have some buttons or other embellishments on hand to add some extra flair to the sweater.
Begin by casting on the desired number of stitches for the back of the sweater. Knit in a basic stockinette stitch until the piece measures the desired length for your teddy bear’s back. Then, switch to a rib stitch for the collar and knit a few rows. Bind off the stitches and weave in any loose ends.
Next, move on to the front of the sweater. Knit the same number of stitches as the back, and continue in the stockinette stitch until the piece measures the same length as the back. However, instead of binding off, you’ll want to shape the neckline. Follow the pattern to create a V-neck shape, decreasing the number of stitches gradually as you go.
To finish the sweater, sew the front and back pieces together at the shoulders. Then, sew up the sides, leaving openings for the teddy bear’s arms to fit through. If desired, you can add buttons down the front for decoration as well.
This teddy bear sweater knitting pattern is a quick and enjoyable project that will result in an adorable addition to your little one’s toy collection. Whether you are an experienced knitter or just starting out, this pattern is perfect for creating a cozy and stylish sweater for your child’s beloved teddy bear.
Overview
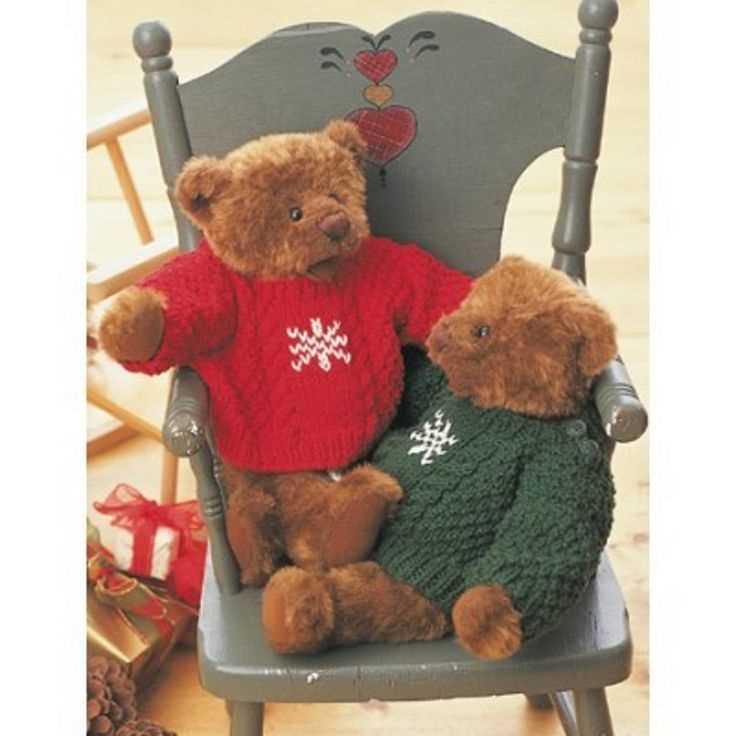
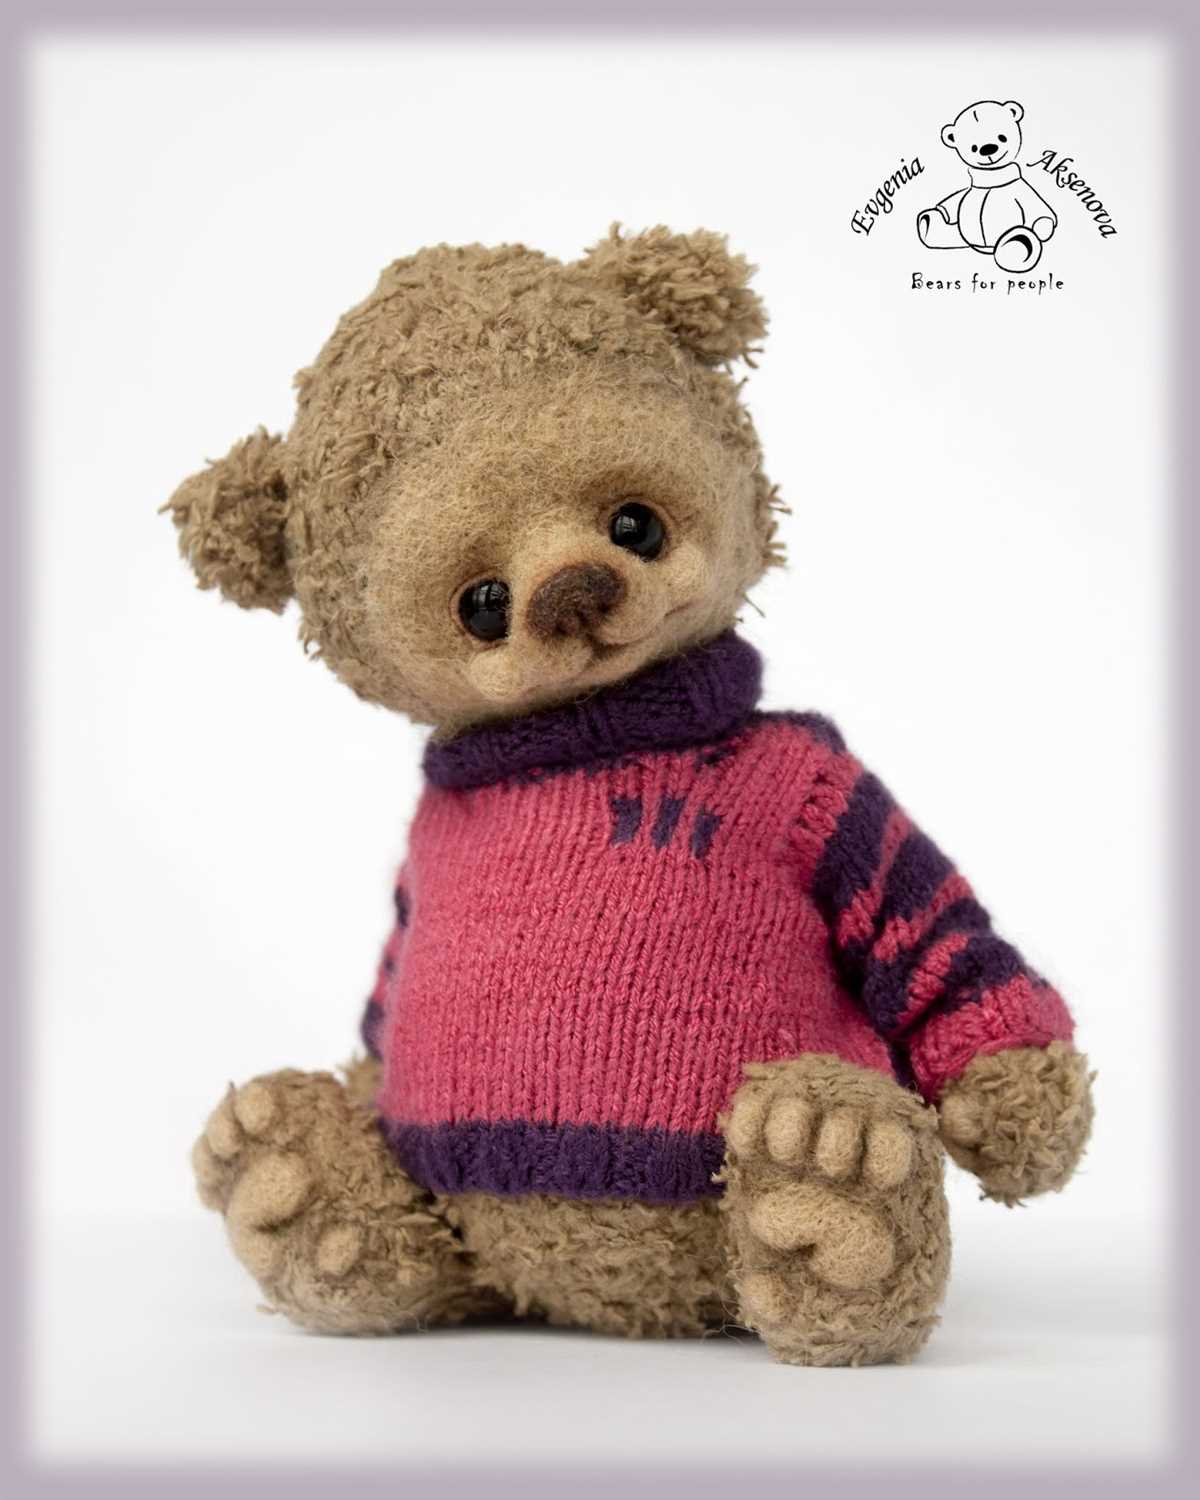
The teddy bear sweater knitting pattern is a popular choice for those looking to create a cozy and adorable garment for themselves or a loved one. Knitting a sweater with a teddy bear motif adds a playful and whimsical touch to the finished product.
Many different knitting patterns are available for creating teddy bear sweaters, ranging from simple designs suitable for beginners to more complex patterns for advanced knitters. These patterns typically provide detailed instructions, including the type and weight of yarn to use, needle size, and stitch pattern.
Materials
- Yarn in desired colors
- Knitting needles
- Darning needle or crochet hook for finishing
- Stitch markers
- Buttons or other embellishments (optional)
Techniques

To create a teddy bear sweater, knitters will need to be familiar with a variety of techniques, including:
- Casting on
- Knit and purl stitches
- Increasing and decreasing stitches
- Following a stitch pattern
- Seaming or joining pieces together
- Adding buttons or other closures
Customization
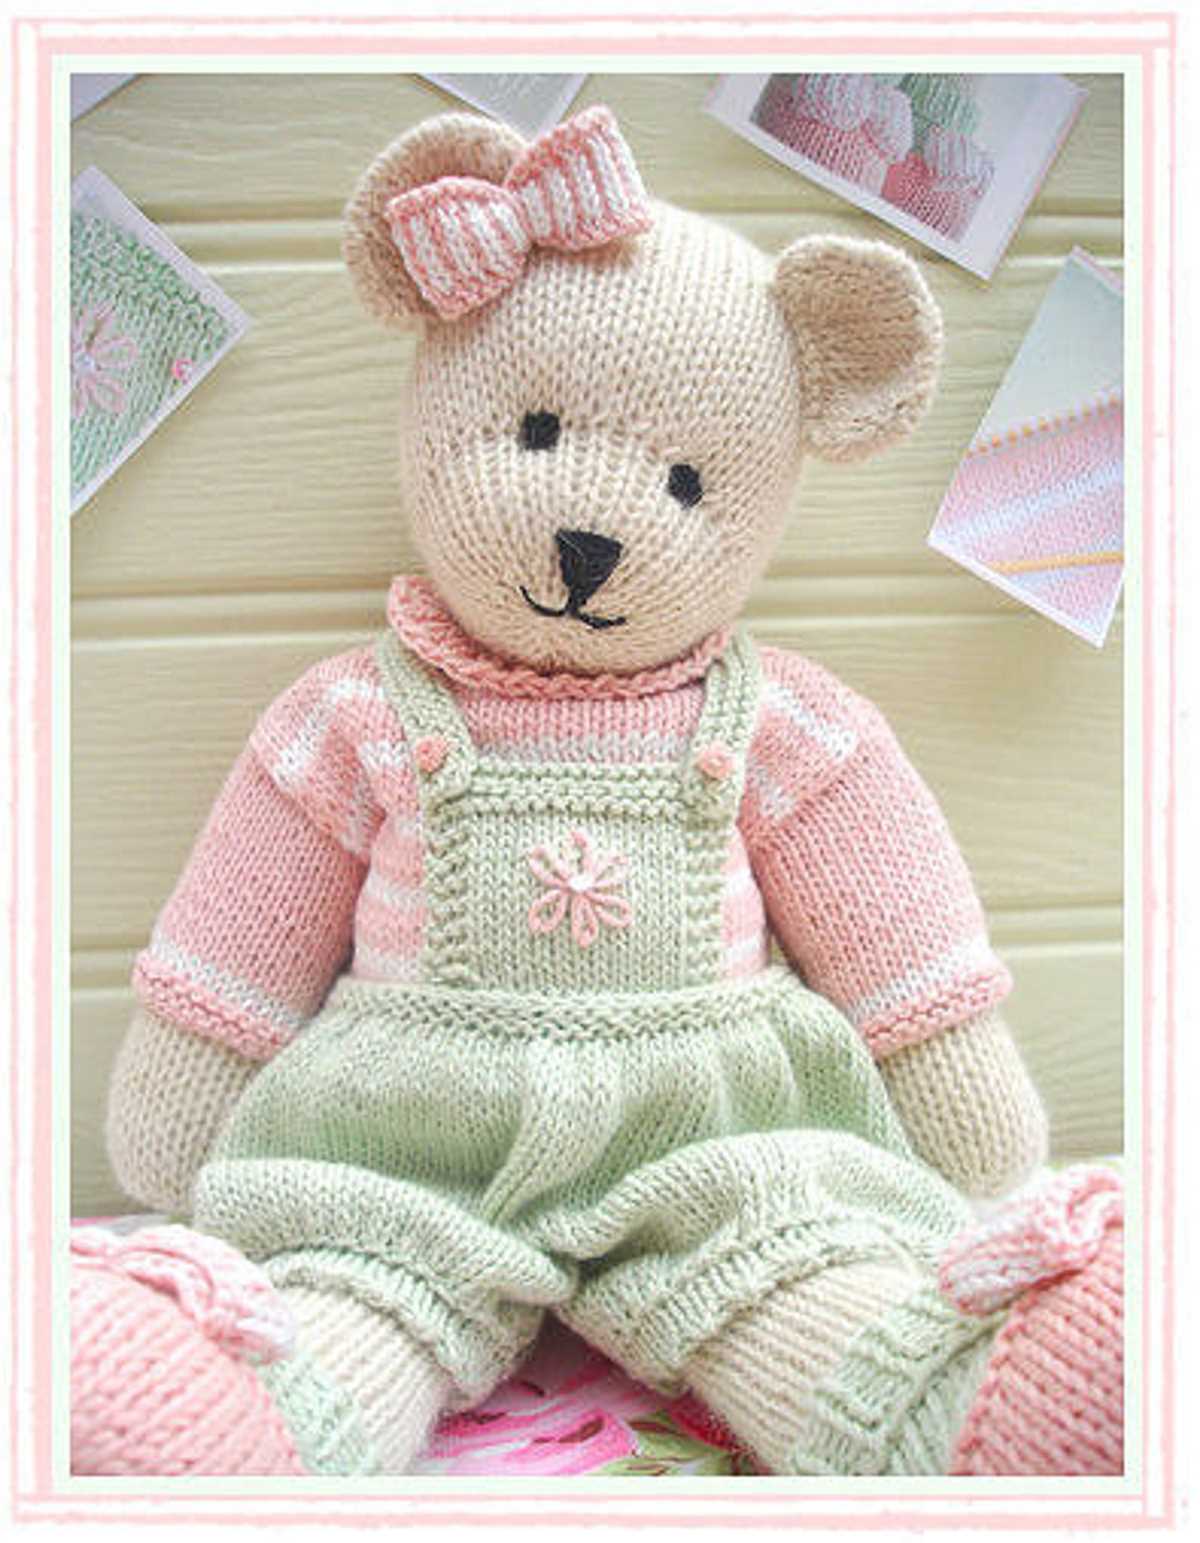
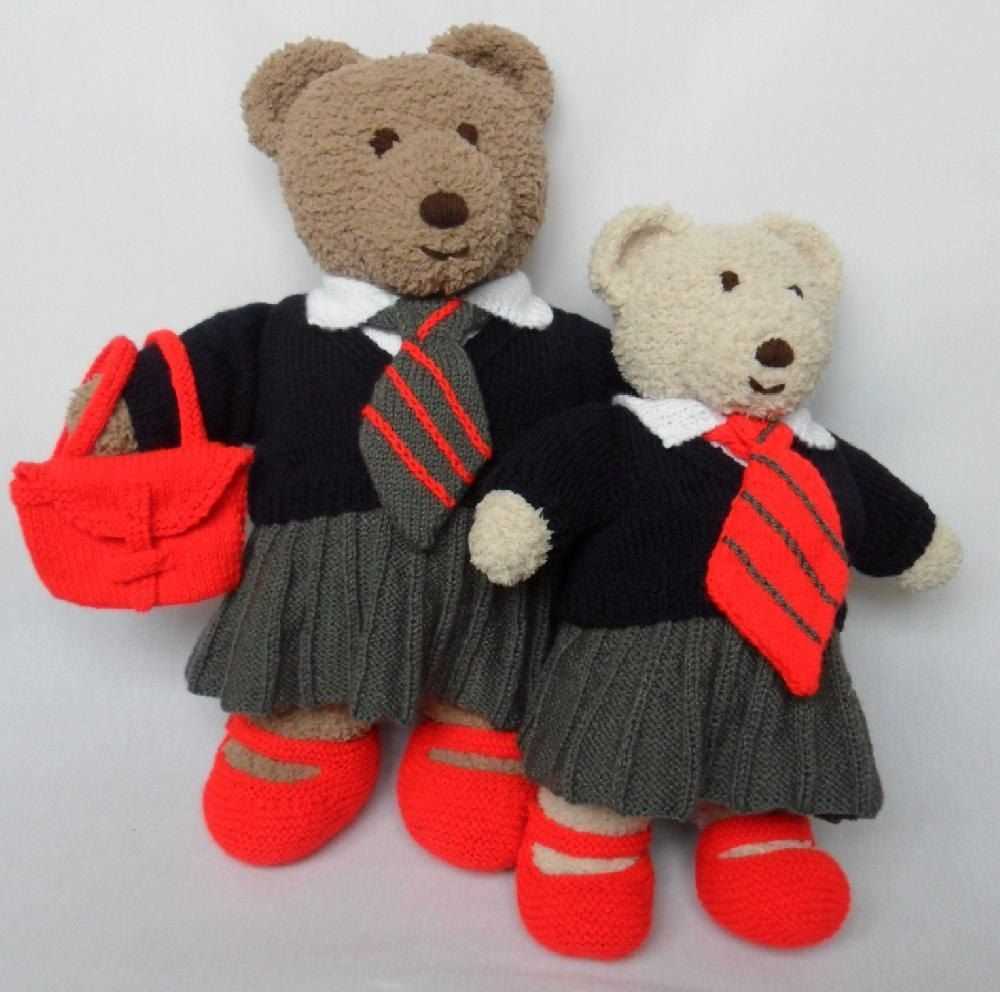
One of the great things about knitting is the ability to customize the final product. With a teddy bear sweater pattern, knitters can choose their own color palette, modify the dimensions, and even add personal touches such as embroidery or appliques. This allows for a truly unique and special garment that reflects the knitter’s personal style and creativity.
Whether you’re a seasoned knitter or just starting out, knitting a teddy bear sweater can be a fun and rewarding project. With a variety of patterns and techniques to choose from, the options for creating a one-of-a-kind teddy bear sweater are endless.
Materials Needed
In order to knit the teddy bear sweater, you will need the following materials:
Yarn:
- Soft Worsted Weight Yarn: You will need approximately 200-250 yards of soft worsted weight yarn in the color of your choice.
Knitting Needles:
- Size 7 (4.5mm) straight knitting needles: These will be used to knit the main body of the sweater.
- Size 6 (4mm) straight knitting needles: These will be used to knit the cuffs and collar of the sweater.
Notions:
- Stitch markers: These will be used to mark the beginning of the round and any other important points in the pattern.
- Tapestry needle: This will be used to weave in loose ends and sew seams.
- Buttons: You will need 4-5 small buttons for the front of the sweater.
Gauge:
The gauge for this pattern is 20 stitches and 26 rows = 4 inches in stockinette stitch using size 7 (4.5mm) needles. It is important to check your gauge before starting the project to ensure the correct fit.
Size:

This pattern is written for a toddler size sweater, approximately 2T. However, by adjusting the number of stitches and rows, you can easily customize the size to fit a different age or size.
With these materials and some basic knitting skills, you will be able to create a cozy and adorable teddy bear sweater for your little one.
Choosing Yarn
When it comes to knitting a Teddy bear sweater, choosing the right yarn is essential. The type of yarn you select will determine the overall look and feel of the finished product. Additionally, it will also affect the warmth, durability, and ease of care of the knitted sweater.
Material: You can choose from a variety of materials for knitting your Teddy bear sweater. Common options include wool, acrylic, cotton, and blends of different fibers. Each material has its own unique properties, so consider factors such as softness, breathability, and hypoallergenic nature when making your decision.
Fiber Content
Wool: Wool is a popular choice for knitting as it is warm, soft, and has excellent moisture-wicking properties. It provides good insulation and can regulate body temperature, making it a suitable option for cooler climates.
Acrylic: Acrylic yarn is known for its affordability, versatility, and wide range of colors. It is easy to care for and can be machine washed and dried. However, it may not be as warm or breathable as natural fibers.
Cotton: Cotton is a breathable material that is perfect for lightweight and summer garments. It has a cool, soft feel and is hypoallergenic, making it suitable for those with sensitive skin. However, it can lack elasticity and may stretch over time.
Blends: Yarn blends combine different fibers to create a unique combination of qualities. For example, a wool/acrylic blend may offer the warmth of wool with the affordability and easy care of acrylic. Consider the desired features and characteristics you want in your Teddy bear sweater and choose a blend that meets your needs.
When selecting your yarn, also pay attention to its thickness or weight. The pattern you are using will likely recommend a specific weight, such as fingering, sport, worsted, or bulky. Using the recommended weight will help ensure that your finished sweater turns out as intended.
Gauge and Measurements
Before you begin knitting the teddy bear sweater, it’s important to take accurate measurements and check your gauge. This will ensure that the sweater fits properly and looks good on your teddy bear.
To measure your teddy bear, you’ll need a flexible measuring tape. Measure the length from the base of the neck to the base of the tail, the girth around the widest part of the body, and the circumference of the neck. These measurements will help you determine the size of the sweater and how many stitches to cast on.
Once you have taken the measurements, it’s time to check your gauge. Gauge refers to the number of stitches and rows per inch in your knitting. To check your gauge, use the recommended yarn and needle size for your project. Knit a 4×4 inch swatch using the specified stitch pattern, and measure how many stitches and rows are in that swatch. If your gauge matches the pattern’s gauge, your sweater should fit correctly. If your gauge is too loose, try using a smaller needle size. If your gauge is too tight, try using a larger needle size.
Knitting Techniques
When it comes to knitting, there are several techniques that every knitter should be familiar with. These techniques are the building blocks of knitting and understanding them is essential for creating beautiful and well-fitting garments. Whether you are a beginner or an experienced knitter, it’s important to have a solid grasp of these techniques in order to take your knitting skills to the next level.
Casting On: The first technique every knitter learns is casting on, which is the process of creating the first row of stitches on the needle. There are several methods for casting on, including the long tail cast on, the knitted cast on, and the cable cast on. Each method has its own advantages and is suited for different types of projects.
Increase and Decrease Techniques
- Increases: Knitting increases are necessary when you want to add stitches to your work, creating a wider or more rounded shape. Common increase techniques include the knit front and back (KFB) method, the make one (M1) method, and the yarn over (YO) method.
- Decreases: Knitting decreases are used to remove stitches and create shaping in your work. There are several decrease techniques, such as the knit two together (K2tog) method, the slip slip knit (SSK) method, and the purl two together (P2tog) method. These techniques come in handy when working on projects like shaping sleeves or creating decorative stitch patterns.
Seaming: Seaming is the process of joining two pieces of knitted fabric together. There are different seaming techniques, including the mattress stitch, the backstitch, and the whip stitch, each with its own characteristics and uses. Seaming is essential for creating finished garments, such as sweaters, cardigans, and hats.
Colorwork: Colorwork is a technique that involves using multiple colors of yarn to create patterns or images in the knitted fabric. There are different methods of colorwork, including stranded knitting (also known as Fair Isle), intarsia, and slip stitch colorwork. Colorwork adds visual interest to your knitting and allows you to create intricate designs.
These are just a few examples of the essential knitting techniques every knitter should know. Mastering these techniques will open up a world of possibilities for your knitting projects, from simple scarves and hats to complex sweaters and blankets. As you continue to practice and experiment with different techniques, you’ll become more confident in your knitting skills and be able to tackle more challenging projects.
Starting the Pattern
Before you begin knitting the teddy bear sweater, make sure you have all the necessary materials at hand. You will need a pair of knitting needles, preferably in size US 8 (5mm) or the size needed to obtain gauge. Additionally, you will need yarn in the appropriate weight and color for your desired sweater.
Once you have gathered your materials, it’s time to start the pattern. Begin by casting on the required number of stitches. The pattern will specify how many stitches you need to cast on based on the size of the sweater you want to knit. If you are unsure about sizing, it’s always helpful to measure the recipient’s chest circumference and consult the pattern’s size chart.
After casting on, you can start working on the ribbing for the sweater. This is usually done by knitting the first few rows in a ribbing stitch pattern, such as k1, p1 or k2, p2. The ribbing helps create a snug fit and prevents the sweater from stretching out too much.
Once the ribbing is complete, it’s time to move on to the main body of the sweater. The pattern will guide you through the specific stitch pattern and shaping instructions. Make sure to read the pattern carefully and follow the instructions step by step.
- Row 1: Knit across
- Row 2: Purl across
- Row 3: Knit across
- Row 4: Purl across
Continue working the specified stitch pattern and shaping as indicated in the pattern until you reach the desired length for the body of the sweater. Remember to check your gauge periodically to ensure that your measurements are accurate.
Once the body is complete, you can move on to the sleeves. The pattern will provide instructions for knitting the sleeves separately and then attaching them to the body. Follow the instructions carefully to ensure a proper fit.
After finishing the sleeves, it’s time to work on the neckline and any other finishing touches. This may involve knitting a collar, adding buttons or other embellishments, or sewing in any loose ends. Consult the pattern for specific instructions on how to complete these final steps.
Once you have completed all the necessary steps, your teddy bear sweater will be ready to wear! Don’t forget to try it on your teddy bear or any other stuffed animal to see how it fits. If you’re happy with the result, you can confidently gift or showcase your handmade creation. Enjoy the process of knitting and the satisfaction of completing a lovely teddy bear sweater!
Front and Back Panels
The front and back panels of the teddy bear sweater are knitted separately and then sewn together at the shoulders and sides. The pattern starts with casting on the required number of stitches and knitting in stockinette stitch for a certain length. The stockinette stitch creates a smooth fabric with the right side showing the knit stitches and the wrong side showing the purl stitches. The length of the panels can be adjusted to achieve the desired size of the sweater.
After knitting the required length, the pattern usually includes instructions for shaping the neckline and armholes. This is done by binding off a certain number of stitches at the beginning of the row and then at regular intervals. The remaining stitches are then worked until the armholes reach the desired depth.
For the front panel, additional instructions might be given for creating an opening for the teddy bear’s head. This is typically achieved by binding off a center stitch or a few stitches at the center, and then continuing to work the two sides separately. The neckline might also be shaped by decreasing a certain number of stitches on each side.
Once the front and back panels are complete, they are sewn together at the shoulders using a mattress stitch or any other suitable seaming method. The sides are then sewn, leaving openings for the armholes. The teddy bear sweater is now ready to be tried on the teddy bear and any necessary adjustments can be made before finishing off the edges and adding any desired embellishments.
Creating the Sleeves
Once you have completed the body of the teddy bear sweater, it’s time to move on to the sleeves. The sleeves will give the sweater its finished look and provide warmth to the little one wearing it.
Start by picking up the stitches along the armhole of the sweater. Use a set of double-pointed or circular needles, whichever you prefer. Make sure to evenly distribute the stitches onto the needles to ensure a smooth knitting process.
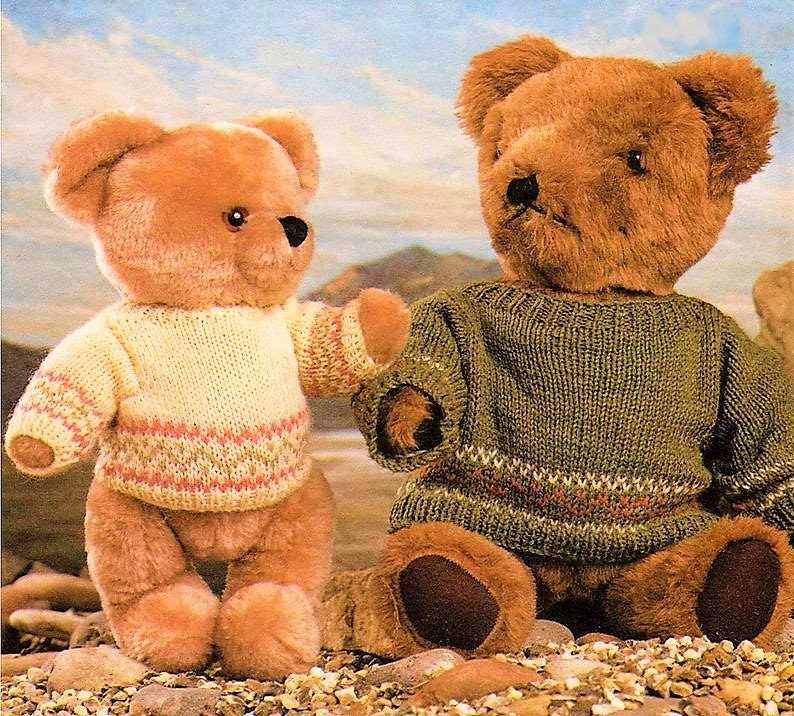
Next, follow the pattern for the sleeve length and stitch pattern. You may choose to knit the sleeves in a solid color or incorporate a different stitch pattern for added visual interest. Remember to knit in the round and maintain the desired tension throughout.
Once you’ve reached the desired sleeve length, it’s time to shape the sleeve cap. Follow the pattern instructions for decreasing stitches evenly across the row. This will create the curved shape of the sleeve cap and allow for a comfortable fit.
After completing the decreases, you can either bind off the stitches or create a ribbed cuff for a neater finish. The ribbed cuff can be done using a smaller needle size to create a tighter fabric. Alternatively, you can also use a contrasting color yarn for the cuff to add a pop of color to the sweater.
Repeat the above steps for the second sleeve, making sure to match the length and shaping of the first sleeve. Once both sleeves are completed, you can sew them onto the body of the sweater using a yarn needle and matching yarn.
In summary, creating the sleeves of the teddy bear sweater involves picking up stitches, knitting in the round, shaping the sleeve cap, and finishing off with a bind off or ribbed cuff. Follow the pattern instructions carefully and enjoy the process of bringing the teddy bear sweater to life!
Assembling the Sweater
Once you have knitted all the pieces according to the teddy bear sweater knitting pattern, it’s time to assemble them to create the final product. Follow these steps to ensure a neat and professional-looking finish.
1. Blocking the Pieces

Before you start assembling the sweater, it’s important to block the knitted pieces. This process involves wetting the pieces and reshaping them to the correct dimensions, which helps in straightening any curves or unevenness in the knitting. Lay each piece flat on a blocking board or towel, ensuring that it matches the dimensions specified in the pattern. Pin the pieces down with T-pins or blocking wires, and leave them to dry completely.
2. Sewing the Seams
Once the pieces are dry, you can start sewing the seams together using a tapestry needle and matching yarn. Begin by aligning the back and front pieces, placing the wrong sides together. Use a mattress stitch to sew the side seams, starting from the bottom edge and working your way up. Repeat the process for the sleeves, sewing them to the armholes of the sweater. Finally, sew the shoulder seams, ensuring that the edges line up neatly.
3. Adding the Neckband
To complete the neckline of the sweater, you will need to add a neckband. This can be done by picking up stitches along the neckline and knitting a ribbed or garter stitch band. Alternatively, you can create a separate neckband and sew it onto the sweater using a whip stitch or slip stitch. Make sure the neckband is snug but not too tight, as it should comfortably fit around the teddy bear’s neck.
4. Finishing Touches
After assembling the sweater, you may want to add any additional embellishments or details. This could include embroidering a design or adding buttons, bows, or other decorative elements. Be creative and personalize the sweater to fit your desired style. Once any additional touches have been added, weave in any loose ends of yarn and give the sweater a final press with a warm iron.
By following these steps, you will be able to assemble your knitted teddy bear sweater with ease. With some patience and attention to detail, you will have a cozy and adorable garment for your teddy bear to wear.
Finishing Touches
Once you have completed knitting your teddy bear sweater, it’s time to add the finishing touches to make it truly special. Here are some steps you can follow to give your sweater the perfect final look:
1. Blocking
Before proceeding with any additional steps, it is important to block your sweater to ensure that it maintains its shape and the stitches even out. To do this, you will need to soak your sweater in lukewarm water and gently squeeze out the excess water. Lay it flat on a clean towel, shaping it to the desired dimensions, and let it dry completely.
2. Sewing the seams
Next, sew the side seams of the sweater using a yarn needle and the same yarn you used to knit the sweater. Use the mattress stitch to create an invisible seam along the edges. This will give your sweater a polished finish and ensure that it holds its shape well.
3. Adding buttons or closures
If you want to add buttons or closures to your teddy bear sweater, now is the time to do it. Use a needle and thread to securely attach buttons or sew on snaps or hooks. Be sure to position them evenly and at the correct locations to ensure a proper fit.
4. Embellishments
If desired, you can add embellishments to your teddy bear sweater to make it more unique and personalized. This could include embroidery, applique, or even small pom poms. Get creative and add your own personal touch!
Congratulations! You have now completed your teddy bear sweater knitting project. With the finishing touches, your sweater is ready to keep your favorite teddy bear warm and stylish. Enjoy the process and the satisfaction of creating something beautiful with your own hands.
Q&A:
What materials do I need to knit a teddy bear sweater?
To knit a teddy bear sweater, you will need knitting needles, yarn in the color of your choice, scissors, a tapestry needle, and buttons or other embellishments if desired.
Can I use any type of yarn for the teddy bear sweater?
Yes, you can use any type of yarn as long as it is suitable for the needle size you are using and provides the desired gauge for the pattern.
What size needles should I use for the teddy bear sweater?
The size of the needles you should use will depend on the yarn you are using and the desired gauge for the pattern. It is best to refer to the pattern for specific needle size recommendations.
Is the teddy bear sweater pattern suitable for beginners?
The teddy bear sweater pattern can be suitable for beginners, especially if they have some basic knitting skills. However, it may still require some knowledge of knitting techniques such as casting on, knitting, purling, and decreasing.
Are there any special techniques used in the teddy bear sweater pattern?
The teddy bear sweater pattern may include some special techniques such as knitting in the round, using stitch markers, and making buttonholes. It is best to familiarize yourself with these techniques before starting the pattern.
What materials do I need to knit a teddy bear sweater?
To knit a teddy bear sweater, you will need yarn in the desired color, knitting needles suitable for the yarn, a tapestry needle for sewing seams, and any additional embellishments you wish to add, such as buttons or ribbon.
Are there different sizes available for the teddy bear sweater knitting pattern?
Yes, there are usually multiple sizes available for teddy bear sweater knitting patterns. The pattern will typically include instructions for different sizes, so you can choose the one that best fits your teddy bear or desired size.