
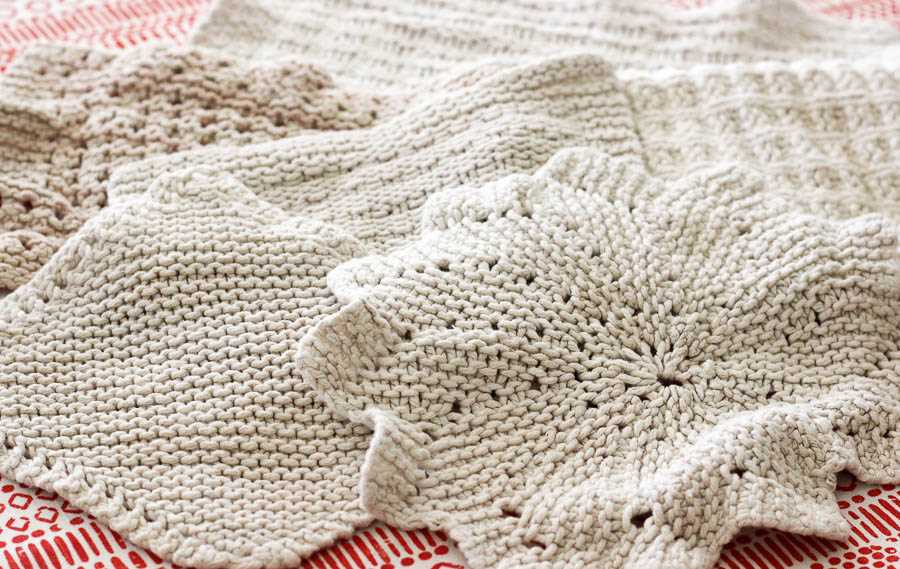
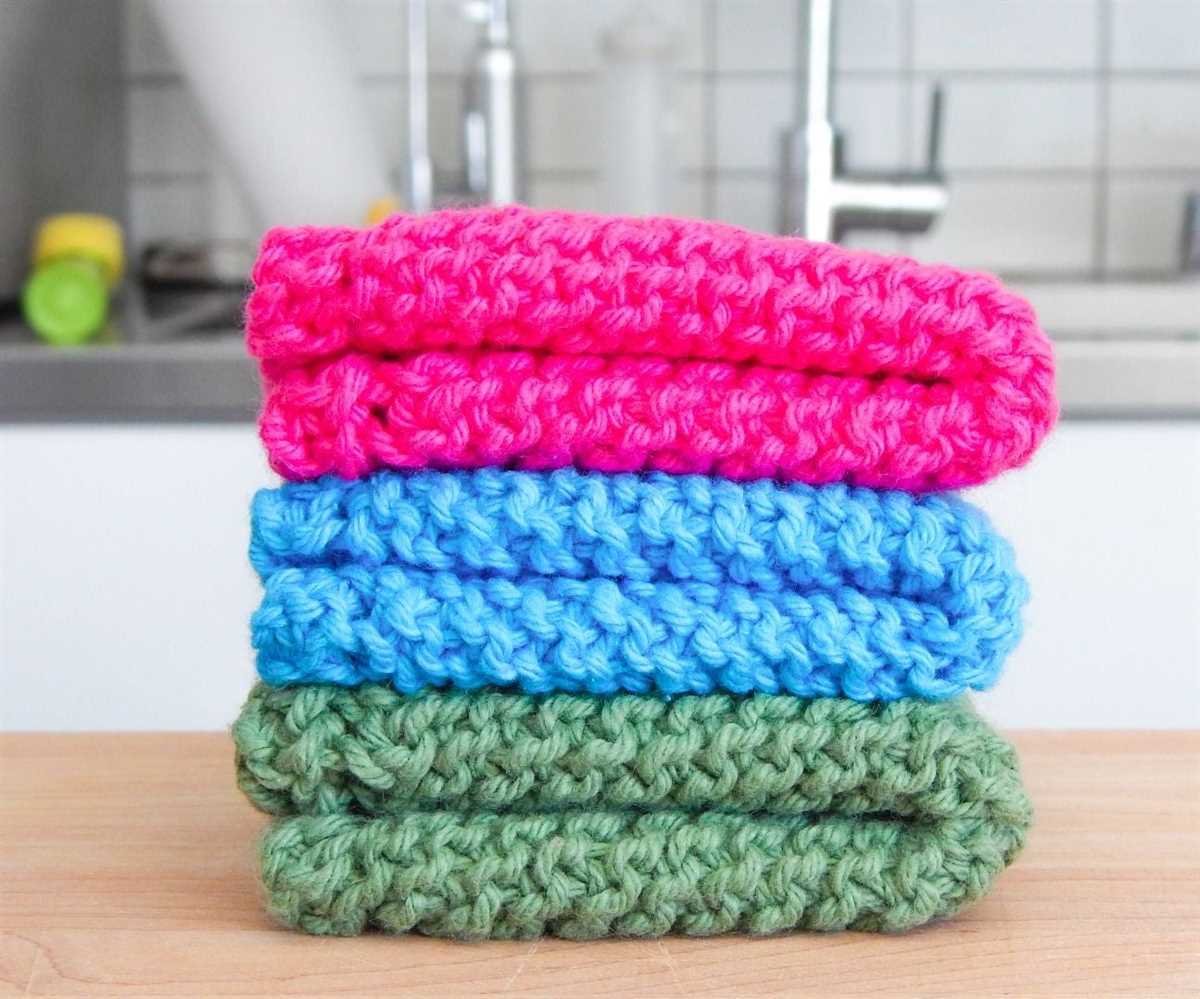
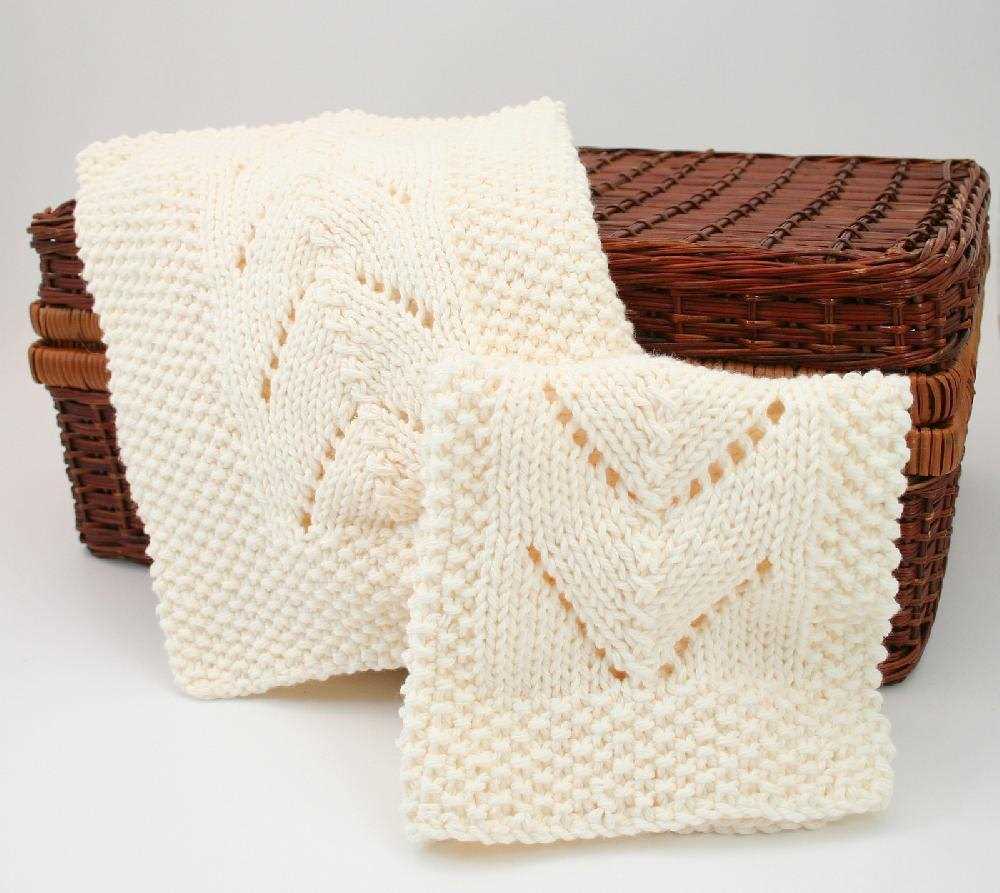
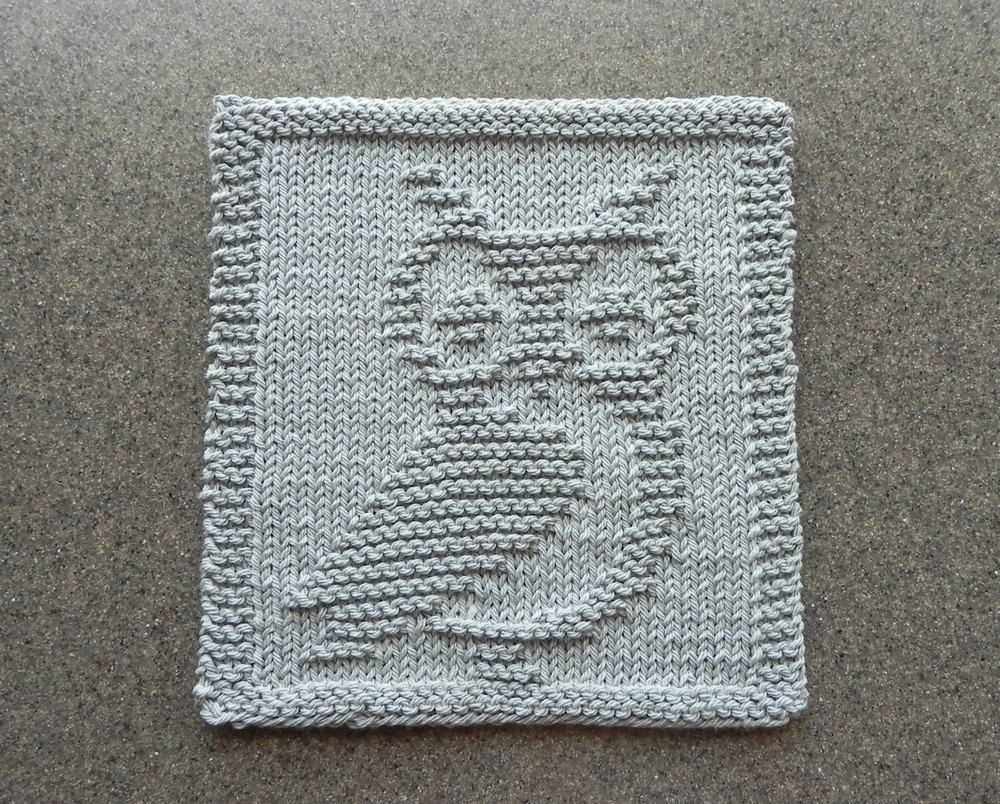
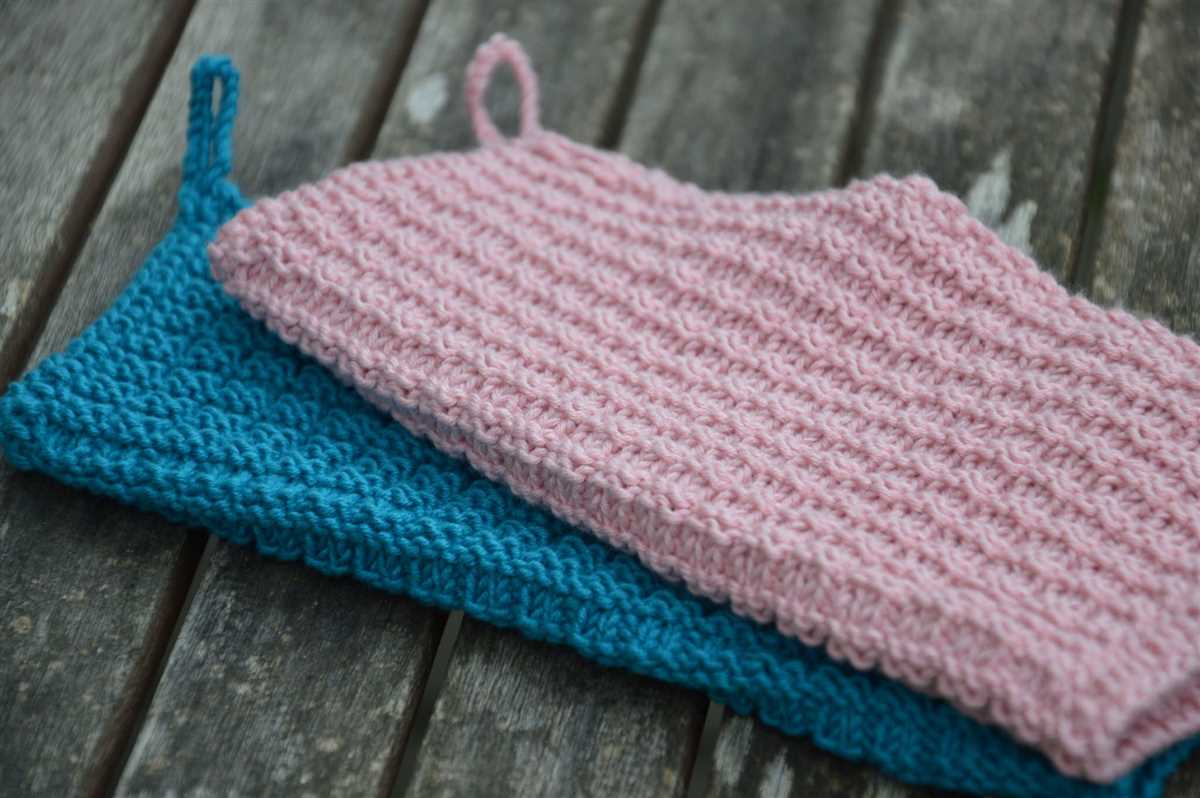
Knitting dishcloths is a popular and practical project for knitters of all levels. Not only are dishcloths quick and easy to knit, but they also make great gifts and are great for using up leftover yarn. Knitting dishcloths from cotton yarn is particularly popular because cotton is durable, absorbent, and easy to care for.
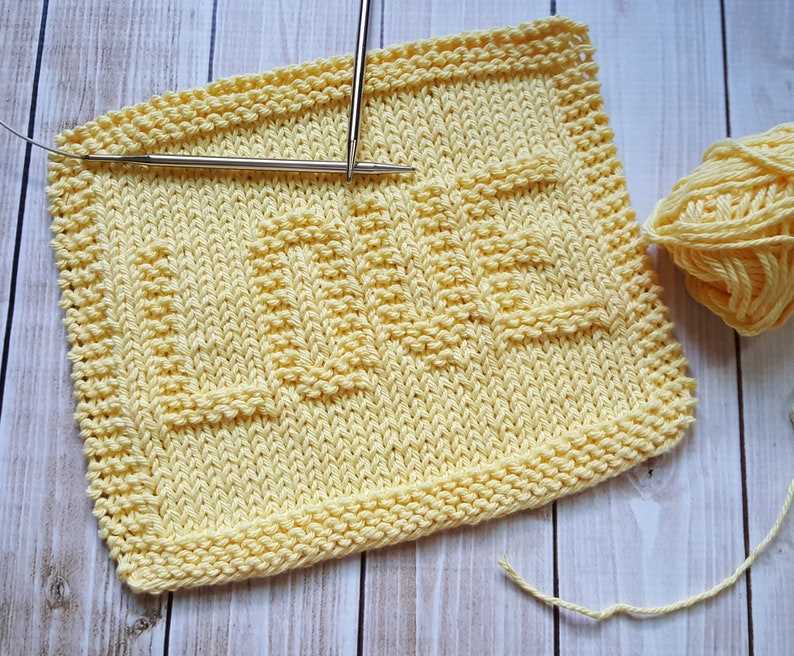
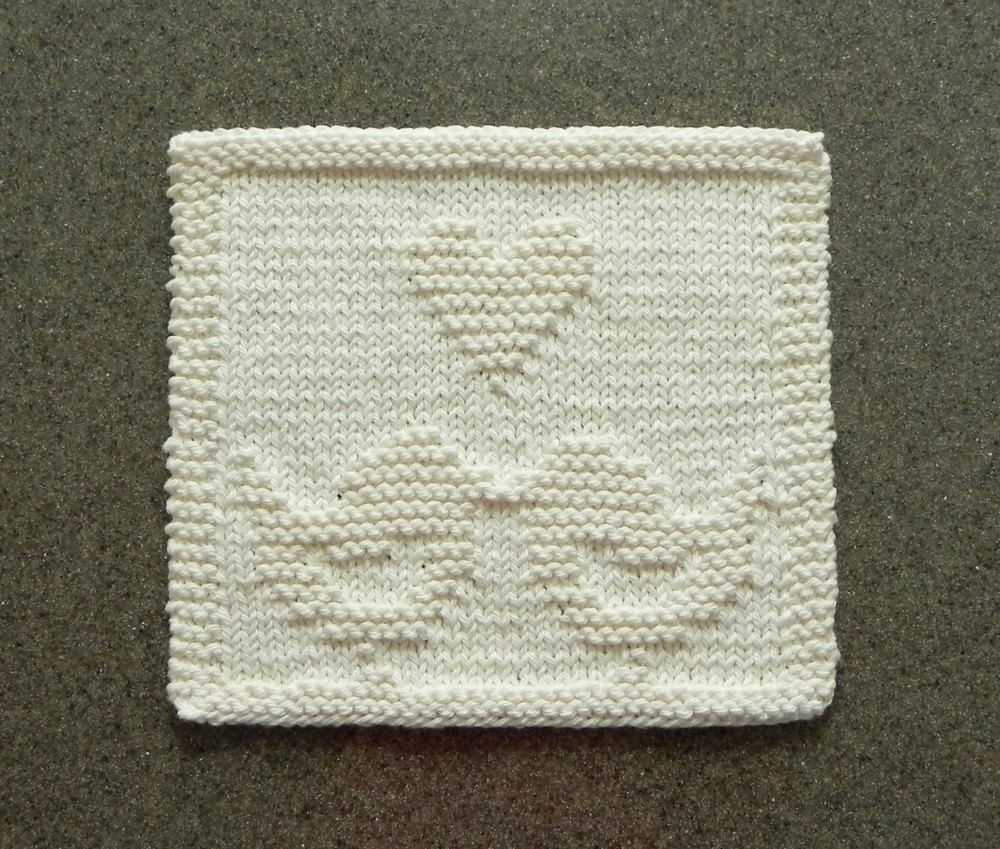
This knitting pattern for a cotton dishcloth is simple and versatile, making it a perfect project for beginners or more experienced knitters looking for a quick and satisfying project. The pattern uses basic knit and purl stitches to create a textured design, resulting in a dishcloth that is both functional and aesthetically pleasing.
Whether you’re looking to add a homemade touch to your kitchen or want to create a thoughtful gift for a loved one, this knitting pattern for a cotton dishcloth is sure to fit the bill. So grab your knitting needles and your favorite cotton yarn and get ready to create a practical and beautiful addition to your kitchen essentials!
Supplies Needed
Before you can start knitting your cotton dishcloth, you will need to gather the necessary supplies. Here is a list of items that you will need:
- Cotton Yarn: Choose a cotton yarn in the color of your choice. Make sure to select a yarn that is suitable for dishcloths and is easy to care for.
- Knitting Needles: You will need a pair of knitting needles in the appropriate size for your yarn. Check the label on your yarn to determine the recommended needle size.
- Tape Measure or Ruler: A tape measure or ruler will come in handy for measuring your stitches and rows as you knit your dishcloth.
- Scissors: You will need a pair of scissors for cutting your yarn at the end of each row or when changing colors.
- Yarn Needle: A yarn needle will be needed for weaving in your loose ends and completing any finishing touches on your dishcloth.
Make sure to gather all of these supplies before you begin your knitting project. Having everything on hand will make the process much smoother and more enjoyable.
Choosing the right yarn
When it comes to knitting a dishcloth, choosing the right yarn is essential to ensure a durable and functional end-product. The type of yarn you select will greatly impact the texture, absorbency, and longevity of the dishcloth.
Cotton yarn is often the preferred choice for dishcloths due to its absorbent nature and ability to withstand repeated use and washing. Cotton is also known for its softness, making it gentle on the hands and perfect for cleaning delicate dishes and utensils.
Another factor to consider when choosing yarn for your dishcloth is the weight or thickness of the yarn. A thicker yarn, such as worsted weight or chunky weight, will result in a more durable and substantial dishcloth. On the other hand, a thinner yarn, such as sport weight or fingering weight, may create a softer and more lightweight dishcloth.
Some knitters also like to experiment with different textures and patterns, such as using variegated or self-striping yarn, to add visual interest to their dishcloths.
- Pros of cotton yarn for dishcloths:
- High absorbency
- Durable and long-lasting
- Soft and gentle on hands
- Easy to clean
- Cons of cotton yarn for dishcloths:
- Can be more expensive than other yarn types
- May shrink or lose shape if not care for properly
Ultimately, the choice of yarn for your dishcloth will depend on your personal preferences and the intended use of the finished product. It’s always a good idea to test a small swatch before committing to a full project to see how the yarn performs and if it meets your expectations.
Needles and gauge
In order to create the perfect dishcloth, it is important to choose the right needles and achieve the correct gauge. The needles you use for knitting can greatly affect the finished product. For a cotton dishcloth, it is recommended to use size 7 or 8 (4.5 or 5 mm) knitting needles. These needle sizes are ideal for working with cotton yarn and will help you achieve the desired texture and density in your dishcloth.
Gauge refers to the number of stitches and rows per inch in your knitting. It is important to achieve the specified gauge in the knitting pattern, as it ensures that your dishcloth will turn out the right size. To determine your gauge, it is recommended to knit a small swatch using the specified needles and yarn. Measure the number of stitches and rows in a 4-inch square and compare it to the gauge specified in the pattern. If your gauge is too loose, try using smaller needles, and if it is too tight, use larger needles.
Remember, achieving the correct gauge is crucial for the success of your knitting project. It ensures that your dishcloth will have the intended size and texture. Take the time to swatch and adjust your needle size if needed, and you will be on your way to creating a beautiful cotton dishcloth.
Casting on
Before you start knitting your dishcloth, you need to cast on. Casting on is the process of creating the first row of stitches on your knitting needle. In this pattern, we will be using the long-tail cast on method, which is a versatile and commonly used method.
To begin, you will need to estimate the amount of yarn you will need for your cast on. Generally, you will need about 1 inch of yarn for each stitch you plan to cast on. Measure out a length of yarn that is about three times the width of your dishcloth, plus an additional 12 inches for your working yarn.
Once you have your yarn measured out, make a slipknot by creating a loop with your yarn, and pulling the working end of the yarn through the loop. Place the slipknot onto your knitting needle, and tighten it by pulling on the working end of the yarn.
Now you are ready to begin casting on your stitches. Hold the knitting needle with the slipknot in your right hand, and the working yarn in your left hand. With your left hand, create two loops with the yarn over your thumb and index finger. Insert the knitting needle between these two loops from front to back, and then twist the needle clockwise to capture the yarn.
- Bring the needle under the first loop and over the second loop.
- Dip the needle into the second loop, and then bring it back under the first loop.
- Bring the needle back up and over the first loop, creating a new loop on the needle.
Repeat these steps until you have cast on the desired number of stitches. Make sure to keep the tension of your stitches consistent, neither too tight nor too loose. Once you have cast on all your stitches, you are ready to start knitting your dishcloth!
Basic knitting stitches
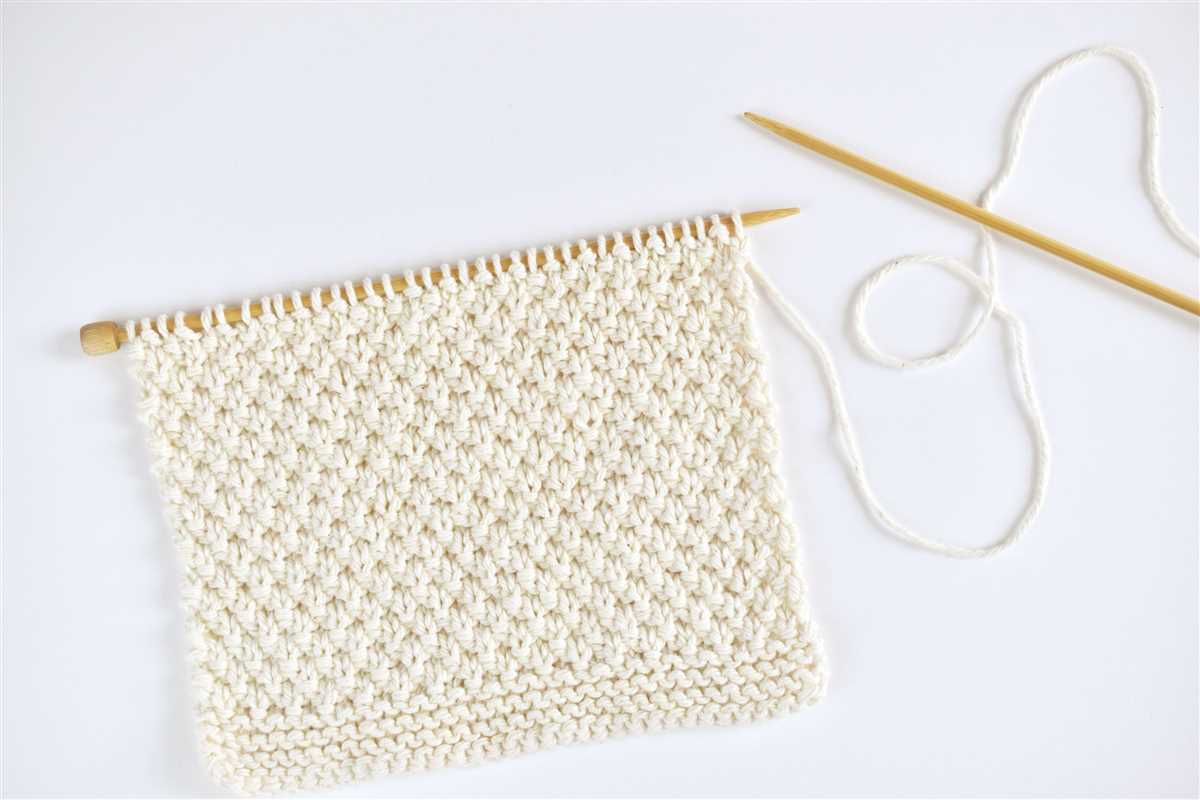
When it comes to knitting, there are a few basic stitches that every beginner should learn. These stitches form the foundation for many knitting patterns and can be easily mastered with a little practice.
The first stitch every knitter should know is the knit stitch. This versatile stitch is used to create basic fabric and is often the first stitch taught to beginners. To do the knit stitch, insert the right-hand needle into the first stitch on the left-hand needle. Wrap the yarn around the right-hand needle and pull it through the stitch, creating a new stitch on the right-hand needle. Repeat this process until all the stitches have been worked.
Knit Stitch
- Insert right-hand needle into first stitch on left-hand needle
- Wrap yarn around right-hand needle
- Pull yarn through stitch to create a new stitch
- Repeat until all stitches have been worked
Another basic stitch is the purl stitch, which is essentially the reverse of the knit stitch. To purl, insert the right-hand needle into the first stitch on the left-hand needle, but instead of wrapping the yarn around the needle, bring the yarn to the front of the work. Insert the right-hand needle into the stitch from right to left and pull the yarn through, creating a new stitch. Repeat this process until all the stitches have been worked.
Purl Stitch
- Insert right-hand needle into first stitch on left-hand needle
- Bring yarn to the front of the work
- Insert right-hand needle into stitch from right to left
- Pull yarn through stitch to create a new stitch
- Repeat until all stitches have been worked
Once you have mastered the knit and purl stitches, you can start experimenting with different stitch patterns and combinations to create a wide variety of designs. Some common stitch patterns include the seed stitch, rib stitch, and cable stitch. With practice and creativity, the possibilities for knitting projects are endless!
Working the pattern
To begin working the pattern for the cotton dishcloth, you will need to gather your materials. You will need a pair of knitting needles, size 8, and approximately 100 yards of 100% cotton yarn. Make sure to choose a yarn color that you love, as this dishcloth will add a pop of color and style to your kitchen.
Once you have your materials ready, you can start casting on stitches. Follow the instructions in the pattern to cast on the required number of stitches. Make sure to keep your tension loose but even, as this will ensure that the dishcloth has a nice drape and texture.
Note: When working the pattern, it’s important to pay attention to any special stitches or techniques that may be required. The pattern may include instructions for various stitch patterns, such as knit stitches, purl stitches, yarn overs, or slip stitches. Make sure to read the pattern carefully and understand the instructions before proceeding.
- Row 1: Begin by knitting the first stitch. Continue knitting across the row until you reach the last stitch, then knit the last stitch.
- Row 2: Purl the first stitch. Continue purling across the row until you reach the last stitch, then purl the last stitch.
- Rows 3-6: Repeat rows 1 and 2 two more times.
You will continue working the pattern, following the specific instructions given in the pattern, until you have reached the desired length of the dishcloth. Make sure to keep track of your rows and stitches, as this will help you stay organized and ensure that your dishcloth turns out as planned.
Tip: If you make a mistake or need to fix a stitch, you can easily undo the stitches by unraveling them back to the mistake. Then, simply re-knit or re-purl the stitches correctly.
Increasing and Decreasing
When knitting a cotton dishcloth, it is important to understand how to increase and decrease stitches to create different shapes and patterns. These techniques can be used to add texture or create decorative designs in your dishcloth.
Increasing: To increase stitches, you can use various methods. One common method is the yarn-over (YO) technique. To do this, simply bring the yarn to the front of your work, then wrap it over the right-hand needle and to the back again. This creates an extra stitch and a small hole in your fabric. Another method is the knit-front-and-back (KFB) technique. To do this, knit into the front of a stitch like normal, but before taking it off the left-hand needle, knit into the back of the same stitch. This creates an extra stitch without creating a hole.
Decreasing: To decrease stitches, you can use methods such as knit two stitches together (K2Tog) or slip, knit, pass (SKP). With K2Tog, simply insert your right-hand needle through the next two stitches on your left-hand needle as if to knit, and then knit them together. This decreases one stitch. With SKP, slip one stitch knitwise, knit the next stitch, and then pass the slipped stitch over the knit stitch. This also decreases one stitch.
By using these increasing and decreasing techniques, you can create various patterns and shapes in your cotton dishcloth. Whether you want to add some lace-like holes or create a specific design, understanding these techniques will give you more possibilities in your knitting projects.
Examples of Increasing and Decreasing Techniques
- Yarn-over (YO) method for increasing.
- Knit-front-and-back (KFB) method for increasing.
- Knit two stitches together (K2Tog) method for decreasing.
- Slip, knit, pass (SKP) method for decreasing.
Creating a Border
Adding a border is a great way to finish off your cotton dishcloth and give it a polished look. There are many different border options you can choose from, depending on your personal preference and the overall design of your dishcloth.
One popular border option is the garter stitch border. To create a garter stitch border, simply work a few rows of garter stitch along the edges of your dishcloth. This involves knitting every stitch on every row. The garter stitch border adds a nice texture and helps prevent the edges of your dishcloth from curling.
If you prefer a more decorative border, you can try a ribbed border. To create a ribbed border, you will alternate between knit and purl stitches. For example, you could knit two stitches, purl two stitches, and repeat this pattern until you reach the end of the row. This creates a ribbed effect that adds visual interest to your dishcloth.
Another option is to add a seed stitch border. The seed stitch is created by alternating between knit and purl stitches within the same row, and then switching the pattern on the next row. This creates a textured pattern that looks similar to seeds scattered on the fabric. The seed stitch border adds a nice touch to your dishcloth and can be a great way to incorporate different colors.
Whatever type of border you choose, make sure to cast off your stitches neatly to ensure a clean and professional finish. And don’t forget to weave in any loose ends to give your dishcloth a polished look. With a beautiful border added, your cotton dishcloth is ready to be put to use in the kitchen or given as a thoughtful gift.
Blocking and finishing
Once you have finished knitting your cotton dishcloth, it’s important to block and finish it properly to achieve the desired look and feel. Blocking is the process of shaping and stretching the knitted fabric to even out the stitches and make the final product look its best.
To block your cotton dishcloth, start by soaking it in lukewarm water with a gentle detergent. Carefully squeeze out the excess water and lay the dishcloth flat on a clean towel. Gently shape the edges and smooth out any wrinkles or curling using your hands. You can also use pins to secure the edges in place.
For a crisp and flat finish, consider using blocking wires or blocking mats to help shape the dishcloth. These tools can be helpful especially if you want to achieve a specific size or shape.
Once the dishcloth is blocked, allow it to air dry completely before removing the pins or wires. This can take several hours or even overnight, depending on the humidity and airflow in the room.
To add a final touch to your cotton dishcloth, consider adding a decorative border or trim. You can use a contrasting color of yarn to crochet a simple edging around the edges or add tassels for a playful look.
- Remember to wash your cotton dishcloth gently by hand or in a delicate cycle to preserve its shape and texture.
- Store your finished dishcloth in a dry place to prevent mildew or odors.
- With proper care and maintenance, your knitted cotton dishcloth will last for a long time and continue to be a useful and beautiful addition to your kitchen.
Troubleshooting
If you’re experiencing any issues with your knitted cotton dishcloth, here are some common troubleshooting tips to help you resolve them:
1. Uneven stitches
If your dishcloth has uneven stitches, it could be due to inconsistent tension or gauge. Make sure you’re maintaining consistent tension throughout your knitting. You can also try using a smaller needle size to achieve tighter stitches.
2. Holes or dropped stitches
If you have holes or dropped stitches in your dishcloth, it could be due to accidentally skipping a stitch or not properly transferring a stitch from one needle to the other. Carefully check each row to ensure you haven’t missed any stitches and that they are properly knitted or purled.
3. Twisted stitches
Twisted stitches can occur if you accidentally twist your stitches while knitting or purling. To fix this, carefully remove the twisted stitch from the needle and then reinsert it onto the needle in the correct orientation. Take care not to twist it again when knitting subsequent rows.
4. Curling edges
If your dishcloth edges are curling, it could be due to the tension of your yarn or the stitch pattern you’ve chosen. To prevent or minimize curling, you can try using a different stitch pattern or blocking your dishcloth after finishing it.
5. Yarn overs or extra stitches
If you have unintentional yarn overs or extra stitches in your dishcloth, it could be due to accidental increases. Double-check your knitting to ensure you’re not inadvertently adding extra stitches. If you find any, carefully remove them by unraveling the stitches or using a crochet hook to drop and re-knit them correctly.
By following these troubleshooting tips, you should be able to address common issues that may arise while knitting your cotton dishcloth and ensure a successful outcome.
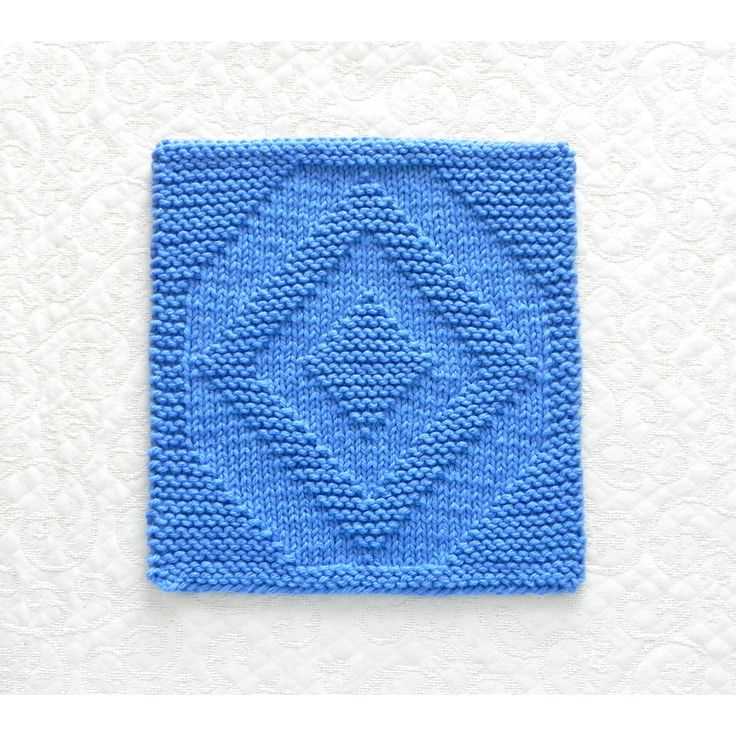
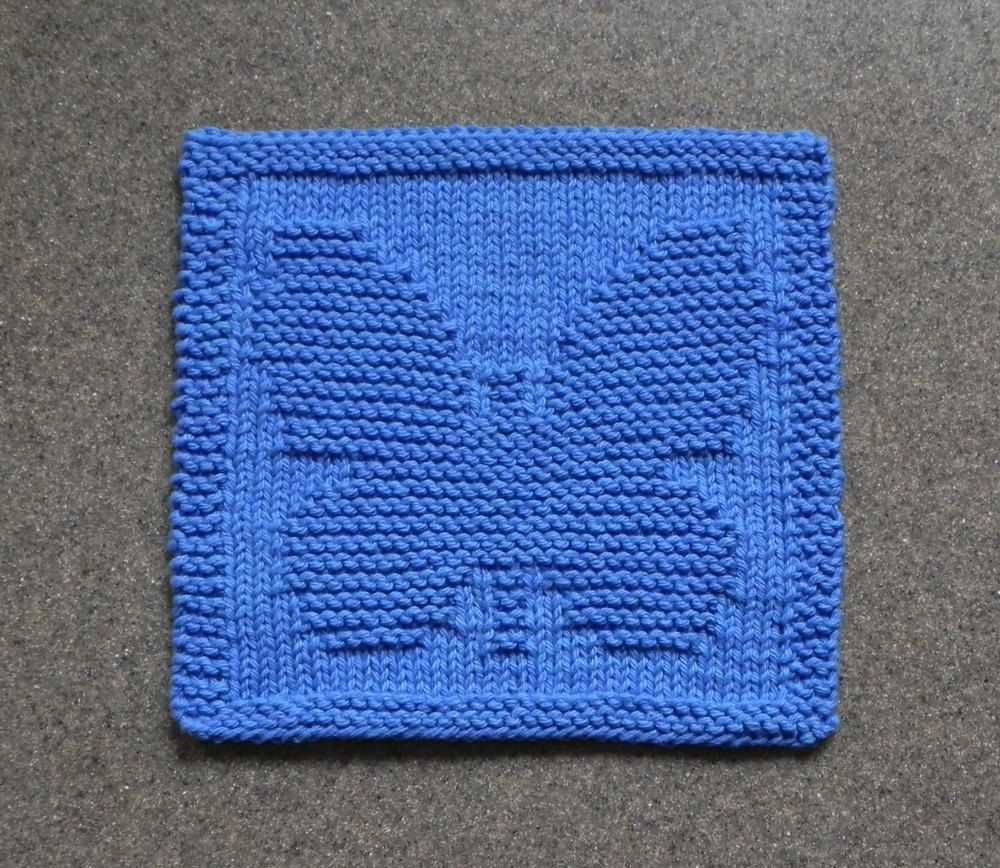
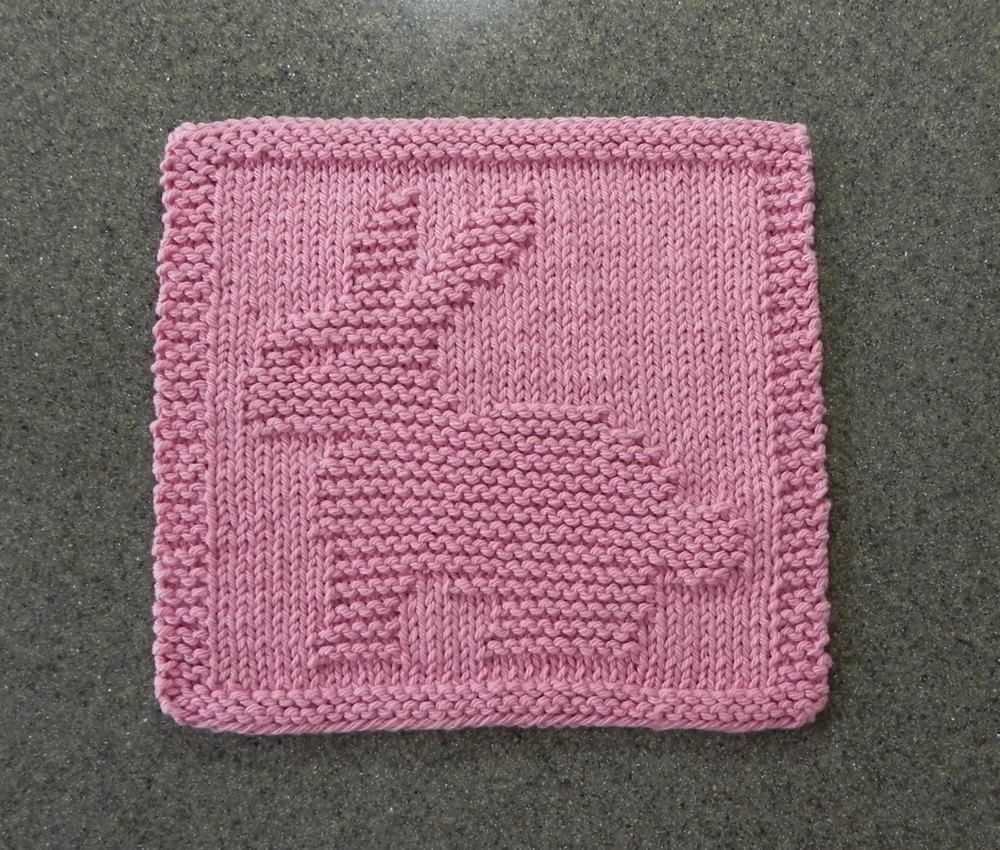
Variations and Customization
While the basic knitting pattern for a cotton dishcloth is simple and straightforward, there are many ways to add your own personal touch and make the dishcloth unique. Here are some ideas for variations and customization:
1. Stitch Patterns:
Instead of using the garter stitch for the entire dishcloth, you can experiment with different stitch patterns. Try using the seed stitch, rib stitch, or even lace patterns for a more intricate design.
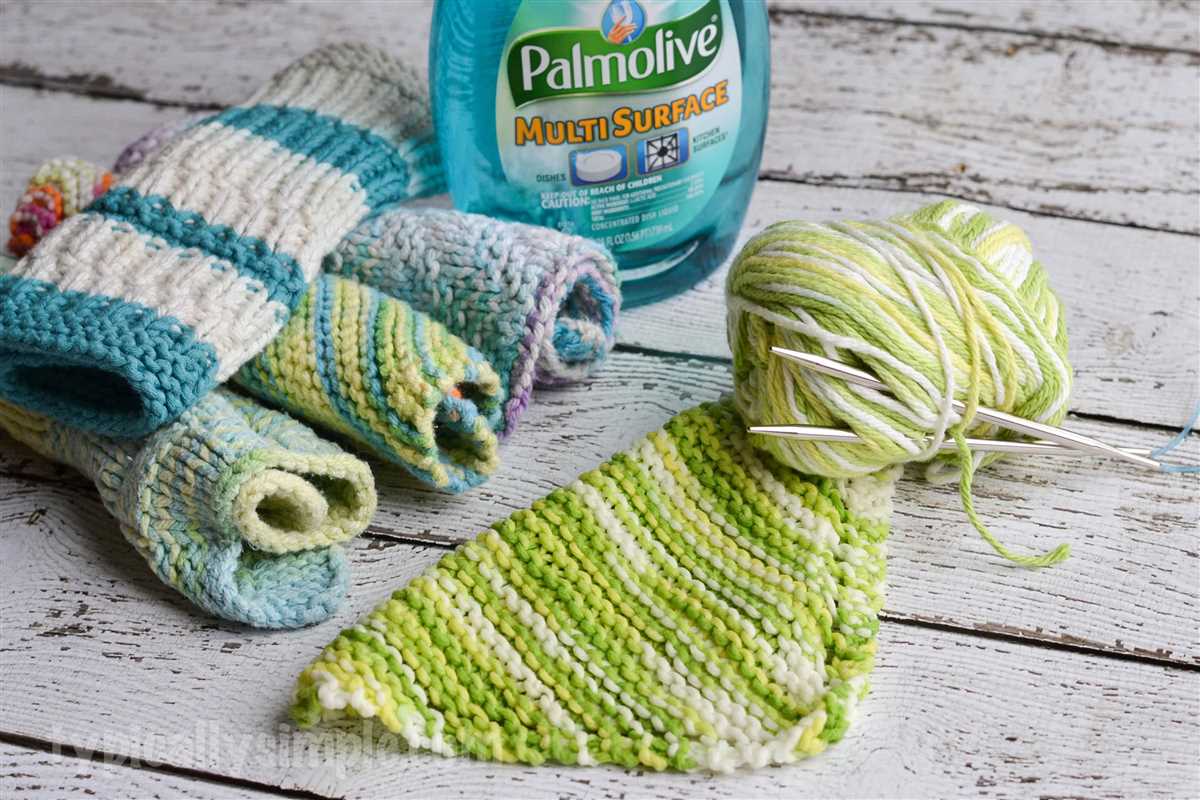
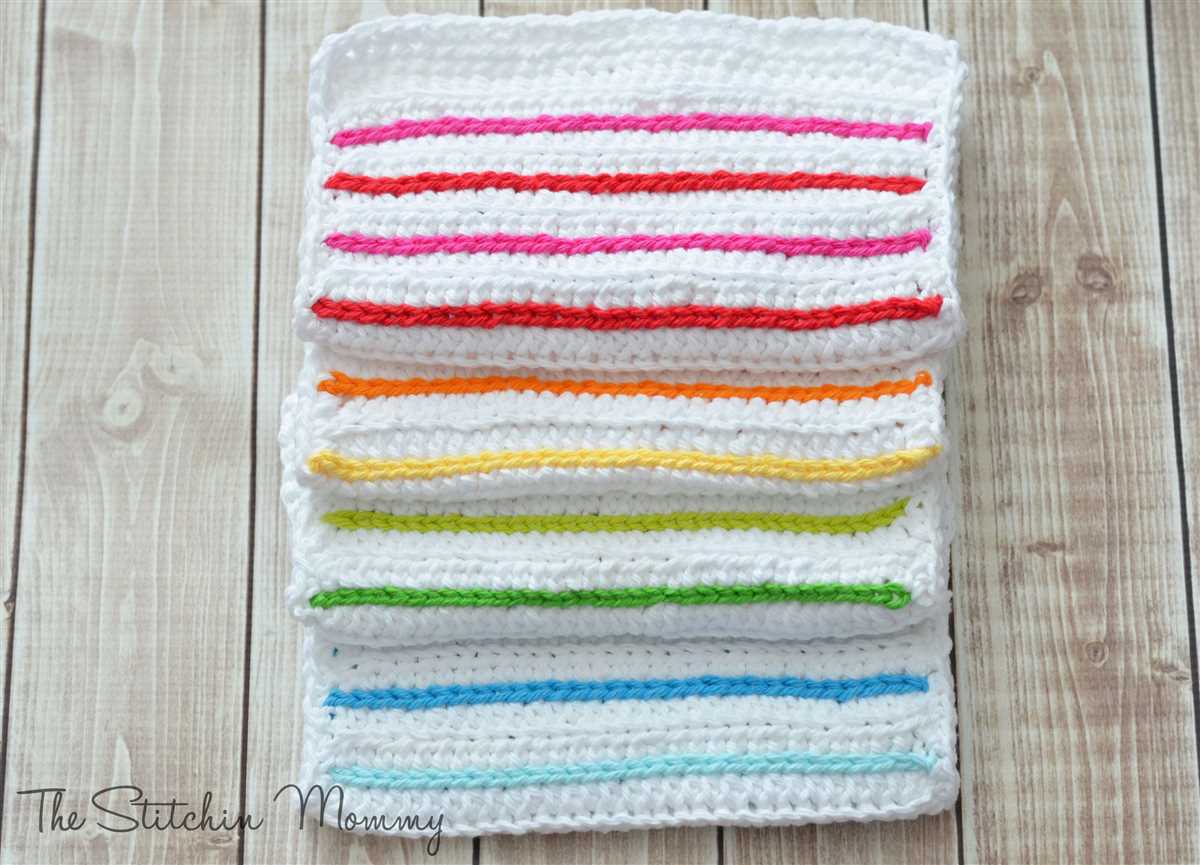
2. Color Combinations:
Play around with different color combinations to create visually appealing dishcloths. You can use one color for the main body of the dishcloth and another color for the border, or alternate colors for the stripes.
| Example Color Combinations: |
|---|
| 1. Blue and white |
| 2. Pink and gray |
| 3. Green and yellow |
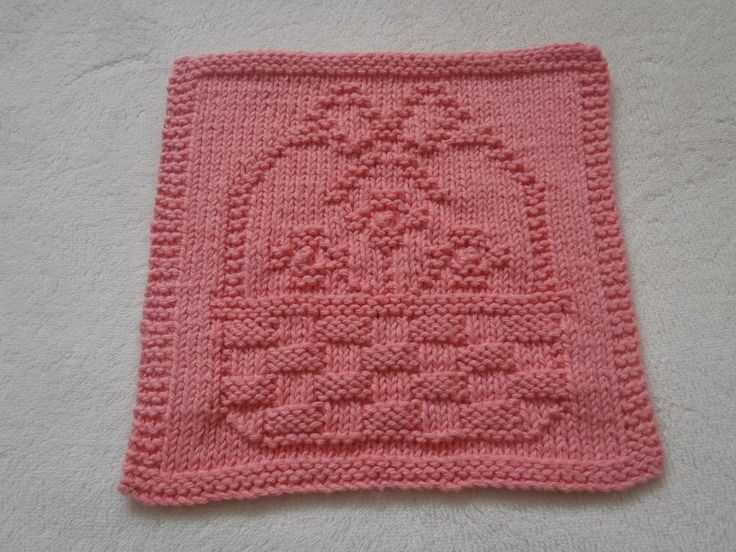
3. Embellishments:

Add some extra flair to your dishcloth by incorporating embellishments. You can sew on buttons, crochet a border, or attach small fabric appliques for a decorative touch.
4. Custom Dimensions:
If you prefer smaller or larger dishcloths, you can easily customize the dimensions by adjusting the number of cast-on stitches and rows. Just make sure to calculate the gauge properly to ensure a well-fitting dishcloth.
Overall, the beauty of knitting is its versatility and the ability to customize patterns according to your preferences. Don’t be afraid to experiment and get creative with your cotton dishcloth knitting projects. Happy knitting!
Q&A:
Where can I find a knitting pattern for a cotton dishcloth?
You can find knitting patterns for cotton dishcloths on various websites and online platforms. Some popular options include Ravelry, Etsy, and LoveKnitting. You can also try searching for free patterns on knitting blogs and forums.
What size should a cotton dishcloth be?
The size of a cotton dishcloth can vary depending on your personal preference. However, a common size is around 8 inches by 8 inches (20 cm by 20 cm). This size is large enough to be useful for cleaning, but still manageable to work with while knitting.
What type of cotton yarn is best for dishcloths?
When choosing yarn for dishcloths, it is best to use 100% cotton yarn. This type of yarn is highly absorbent and durable, making it ideal for kitchen use. Avoid using yarns with synthetic fibers, as they may not absorb water as well as cotton.
Are there any specific knitting techniques or stitches used in dishcloth patterns?
There are many different knitting techniques and stitches that can be used in dishcloth patterns. Some common stitches include garter stitch, seed stitch, and moss stitch. Additionally, you may come across patterns that incorporate lace stitches or cables. Choose a pattern that matches your skill level and desired design.