
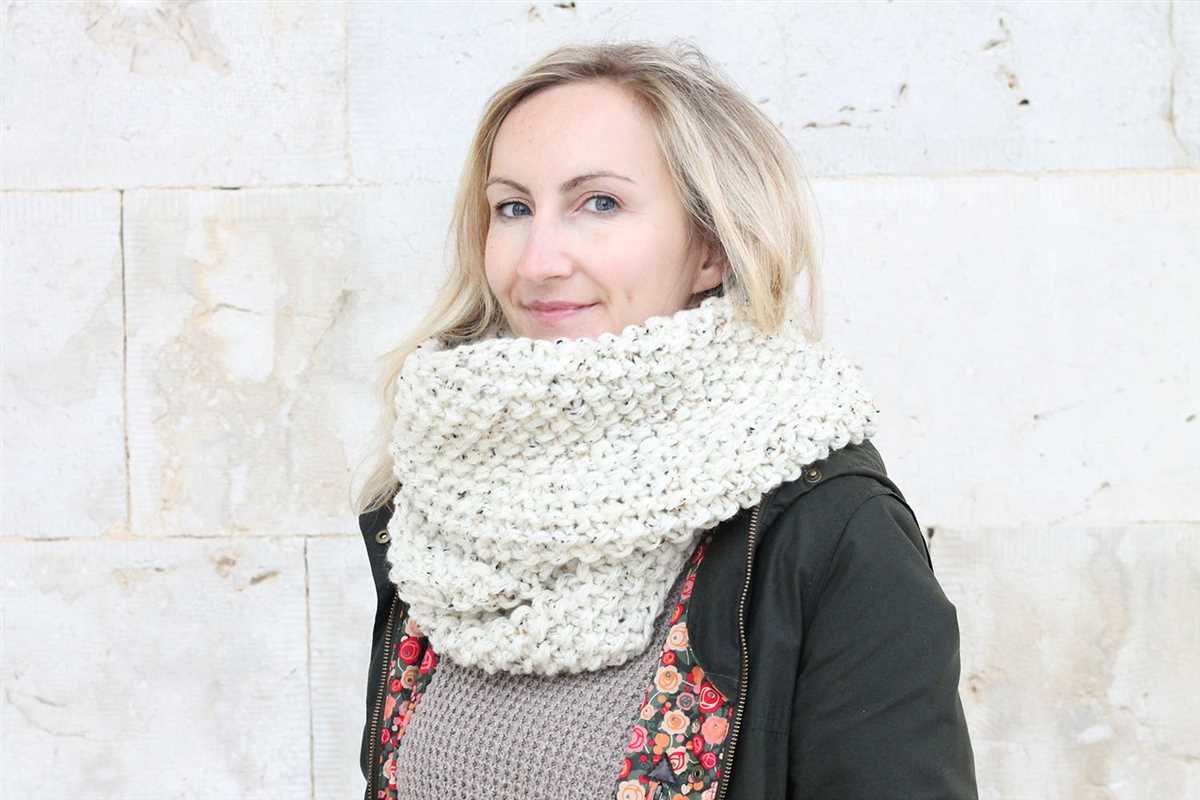
Knitting is a popular hobby that allows individuals to create beautiful and practical items with just a few needles and some yarn. One of the most versatile and stylish items to knit is an infinity scarf, which can be worn in a variety of ways to add warmth and flair to any outfit.
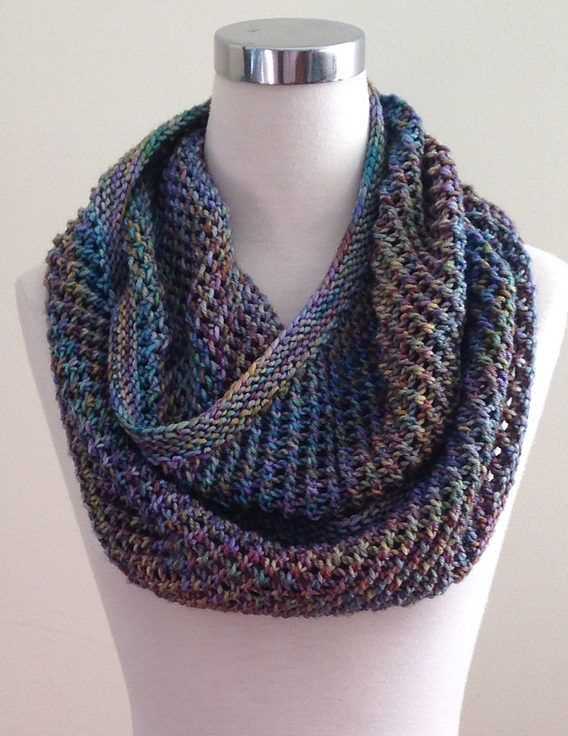
A seed stitch is a popular knitting pattern that creates a textured fabric with alternating knit and purl stitches. This pattern is perfect for an infinity scarf as it creates a thick and cozy fabric that is both warm and stylish. With just a few simple stitches, you can create a beautiful infinity scarf that is perfect for the colder months.
In this article, we will provide a step-by-step guide to knitting an infinity scarf using the seed stitch pattern. Whether you are a beginner or an experienced knitter, this pattern is easy to follow and produces stunning results. So grab your knitting needles and yarn, and let’s get started on creating your very own seed stitch infinity scarf!
Infinity Scarf Knitting Pattern Seed Stitch
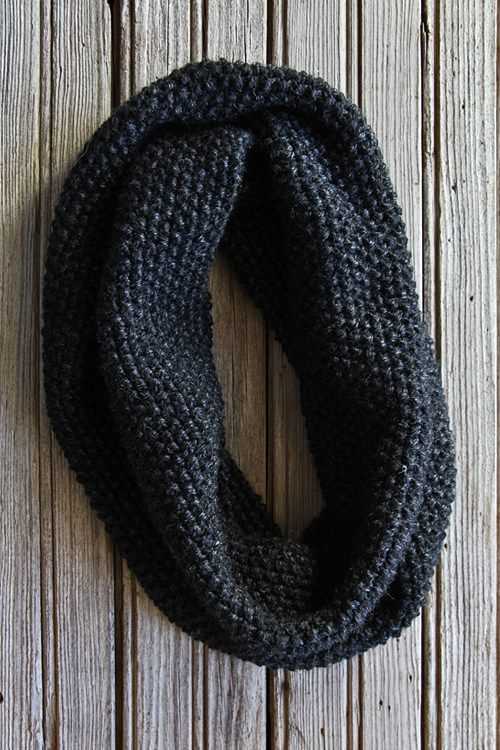
The seed stitch is a popular knitting pattern that creates a textured fabric with small, purl-like bumps. It is commonly used in various knitting projects, including scarfs, blankets, and sweaters. In this article, we will explore an infinity scarf knitting pattern using the seed stitch.
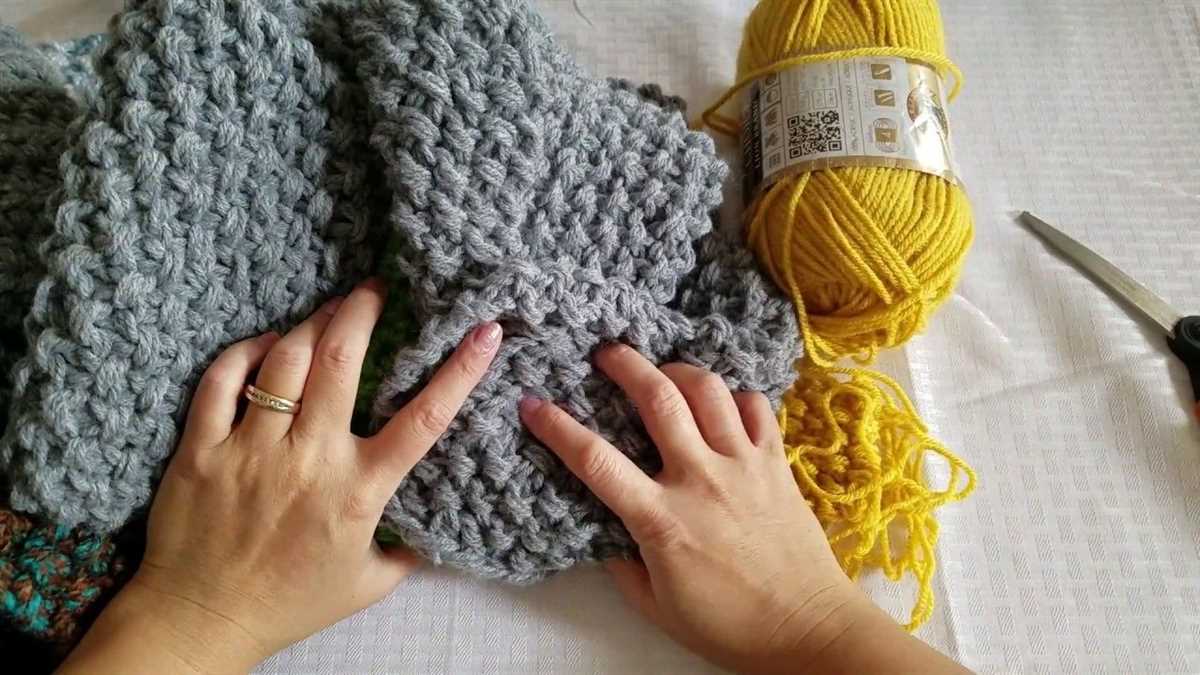
To start, you will need a set of knitting needles and a ball of your preferred yarn. It is recommended to choose a bulky or chunky yarn to create a cozy and warm scarf. You can also select a different yarn weight depending on your desired outcome.
Materials:
- Knitting needles (size should match your yarn weight)
- Bulky or chunky yarn
- Scissors
- Tapestry needle (for weaving in ends)
Instructions:
- Start by casting on an even number of stitches. For an infinity scarf, you can cast on around 20-30 stitches, but feel free to adjust the number based on your preferred width.
- Row 1: *Knit 1, purl 1* – repeat this pattern across the row.
- Row 2: *Purl 1, knit 1* – repeat this pattern across the row.
- Continue alternating between rows 1 and 2 until your scarf reaches the desired length. Remember to always start with a knit stitch on odd rows and a purl stitch on even rows to maintain the seed stitch pattern.
- Once you have reached the desired length, bind off all stitches.
- Join the ends of the scarf together to form a loop. You can use a tapestry needle and yarn to sew the ends together, or simply overlap the ends and secure them with a few stitches.
- Weave in any loose ends and trim excess yarn.
And there you have it – a cozy infinity scarf knitted with the seed stitch pattern! This simple yet versatile pattern is perfect for beginners and experienced knitters alike. It creates a beautiful, textured fabric that will keep you warm and stylish during the colder months. Experiment with different yarn colors and textures to personalize your scarf and make it truly unique.
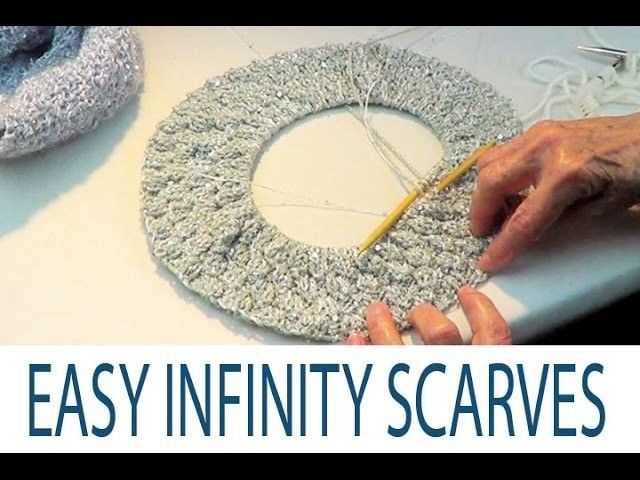
What Is an Infinity Scarf?
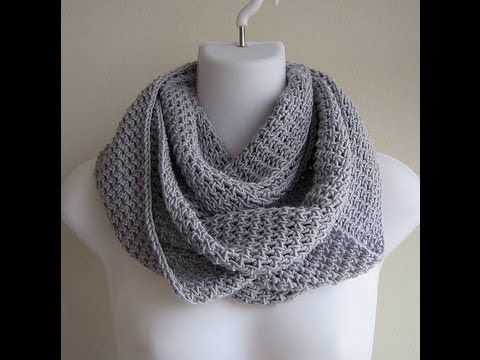
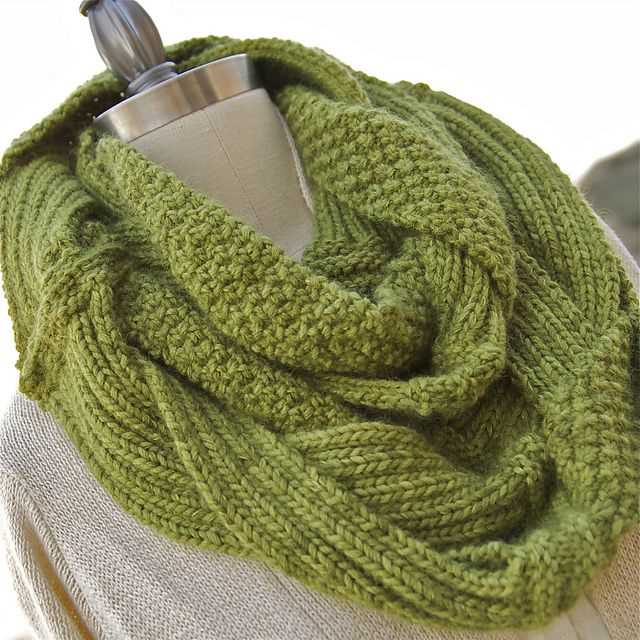
An infinity scarf, also known as a circle scarf or loop scarf, is a versatile and fashionable accessory that can be worn in a variety of ways. It is essentially a scarf that is knitted or crocheted in a loop, creating a continuous circle with no ends.
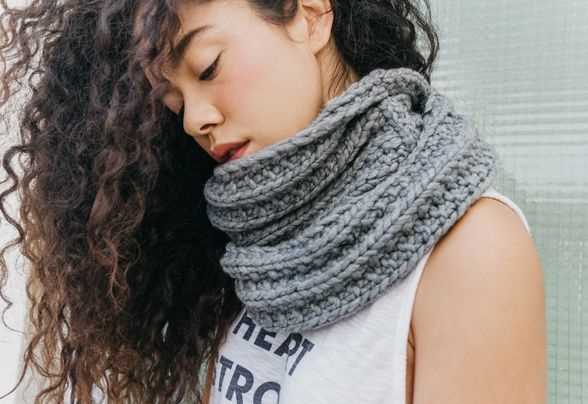
Unlike traditional scarves that have to be wrapped around the neck and tied, an infinity scarf can be looped around the neck once or multiple times, giving it a stylish and effortless look. It provides warmth and coziness while adding a touch of sophistication to any outfit.
Features of an Infinity Scarf:
- Seamless Design: An infinity scarf is made without any seams or ends, giving it a seamless appearance. This allows it to drape naturally and look elegant.
- Versatility: The infinite loop design of the scarf allows for a variety of styling options. It can be worn long and loose, doubled up for extra warmth, or even pulled over the head as a hood.
- Wide Range of Materials: Infinity scarves can be made from various materials such as wool, cashmere, cotton, acrylic, or a blend of fabrics. This versatility in materials ensures that there is an infinity scarf for every season and occasion.
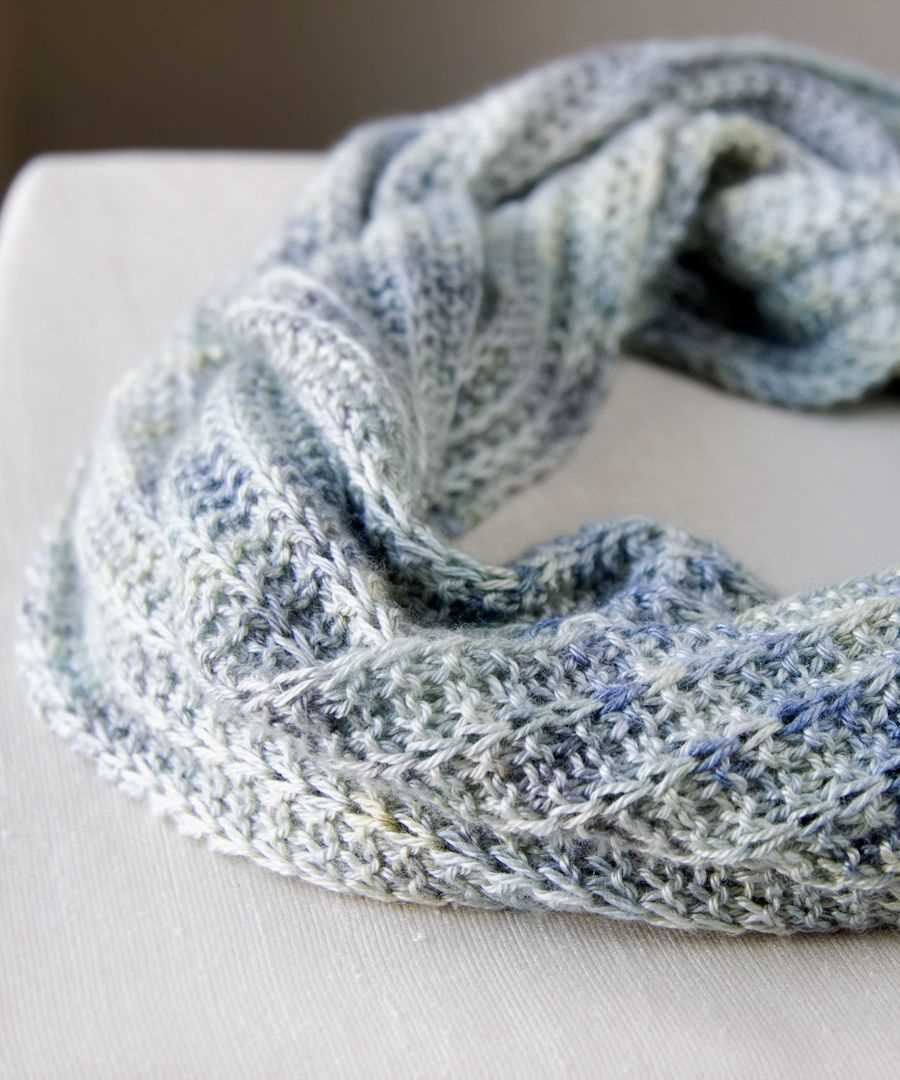
- Seed Stitch Pattern: One popular knitting pattern for an infinity scarf is the seed stitch pattern. This pattern creates a textured fabric with alternating knit and purl stitches, resulting in a beautiful and intricate design.
Whether you’re looking for an accessory to keep you warm during the colder months or want to add a touch of style to your outfit, an infinity scarf is a must-have wardrobe staple. Its seamless design, versatility, and wide range of materials make it a popular choice among fashion enthusiasts. Knitting your own infinity scarf using the seed stitch pattern can be a rewarding and creative project. Get started with your own infinity scarf knitting pattern seed stitch and enjoy the comfort and style it brings.
Benefits of Knitting Your Own Infinity Scarf
Knitting your own infinity scarf can be a rewarding and fulfilling experience. Not only does it allow you to create a unique and personalized accessory, but it also offers several other benefits. Whether you’re an experienced knitter or just starting out, knitting an infinity scarf can be a fun and engaging project that provides many advantages.
1. Creative Expression: Designing and knitting your own infinity scarf allows you to express your creativity and individual style. You can choose the color, pattern, and texture of the yarn to create a scarf that truly reflects your personality and aesthetic preferences. It’s a great way to stand out and make a fashion statement.
2. Customization: When you knit your own infinity scarf, you have complete control over its size, length, and shape. You can make it as wide or narrow as you want, and adjust the length based on your specific needs or preferences. This level of customization ensures that the scarf fits perfectly and provides maximum warmth and comfort.
3. Handmade with Love: Knitting a scarf for yourself or someone else is a special way to show your love and care. Handmade items are often treasured and appreciated, as they demonstrate the time, effort, and thought put into creating something unique and meaningful. It’s a thoughtful gift that can be cherished for years to come.
4. Stress Relief: Knitting has been proven to have stress-relieving effects. It’s a calming and therapeutic activity that promotes mindfulness and relaxation. The repetitive movements and focus required in knitting can help reduce anxiety, improve concentration, and provide a sense of accomplishment and satisfaction.
5. Skill Development: Knitting your own infinity scarf is an excellent opportunity to enhance your knitting skills and learn new techniques. You can experiment with different stitches, patterns, and knitting styles, broadening your knowledge and expertise. It’s a great way to challenge yourself and expand your repertoire as a knitter.
In summary, knitting your own infinity scarf offers a range of benefits, from creative expression and customization to the satisfaction of creating something with your own hands. It’s a rewarding and enjoyable activity that can provide relaxation, stress relief, and skill development. So why not pick up your knitting needles and start crafting your own unique infinity scarf today?
Choosing the Right Yarn and Needles
When it comes to knitting an infinity scarf in seed stitch, choosing the right yarn and needles is essential for achieving the desired result.
Yarn: The choice of yarn will greatly affect the look and feel of the finished scarf. For a chunky and cozy scarf, opt for a bulky or super bulky weight yarn. This type of yarn will knit up quickly and create a warm and plush texture. On the other hand, if you prefer a more lightweight and delicate scarf, choose a fingering or sport weight yarn. These yarns will create a drapey and airy scarf perfect for transitional seasons.
Needles: The size of the needles will also impact the overall appearance of the seed stitch. For a tighter and denser stitch, use smaller needles. On the contrary, if you want a looser and more relaxed seed stitch, go for larger needles. Additionally, the type of needles can make a difference as well. Wooden or bamboo needles are great for slippery yarns as they provide more grip, while metal needles are suitable for fast knitters as they allow for quick and smooth movements.
In conclusion, selecting the right yarn and needles is crucial for creating an infinity scarf in seed stitch that meets your preferences. Consider the weight and type of yarn to achieve the desired texture, and choose the appropriate needle size and material for the stitch tightness and your knitting style. With the right tools, you’ll be able to create a beautiful and cozy infinity scarf that you’ll love to wear or give as a gift.
Getting Started: Casting On
Before you can begin knitting your infinity scarf, you need to cast on your stitches. Casting on is the process of creating the first row of loops on your knitting needle, which will become the foundation for your project.
There are several methods for casting on, but for this seed stitch pattern, we will use the long-tail cast on. This method is great for beginners and creates a neat and sturdy edge.
Materials:
- Knitting needle (size and material specified in the pattern)
- Yarn (weight and color specified in the pattern)
- Tape measure or ruler
- Scissors
Steps:

- Measure out a length of yarn for your long-tail. As a general rule of thumb, a good estimate is to use roughly three times the width of your finished scarf. This will give you enough yarn to cast on and knit your first row.
- Make a slipknot at one end of the yarn, leaving a long tail of about 6-8 inches. The slipknot will be the first stitch on your needle.
- Hold the needle with the slipknot in your right hand. Insert the point of the needle into the slipknot, going from right to left, towards you.
- Loop the yarn over the needle, working from left to right, away from you. This creates a new loop on your needle. This loop is called a stitch.
- Repeat steps 3 and 4, creating a new stitch for each loop, until you have the desired number of stitches for your pattern.
- Once all the stitches are on your needle, you are ready to begin the next row of your pattern!
Remember, casting on is an essential step in knitting, so take your time and practice until you feel comfortable with the technique. With a little practice, you’ll be casting on like a pro in no time!
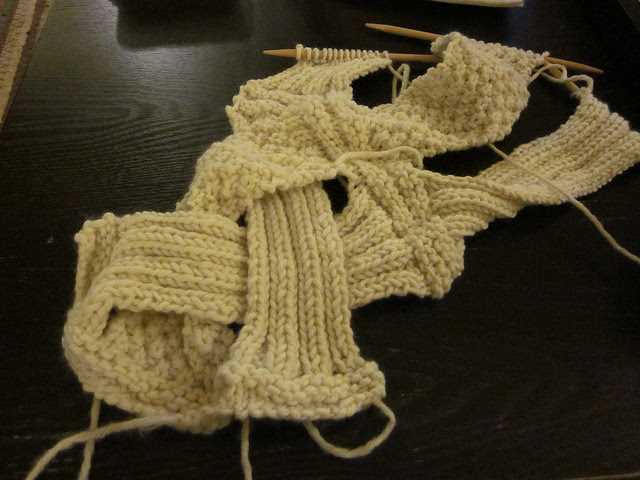
Mastering the Seed Stitch
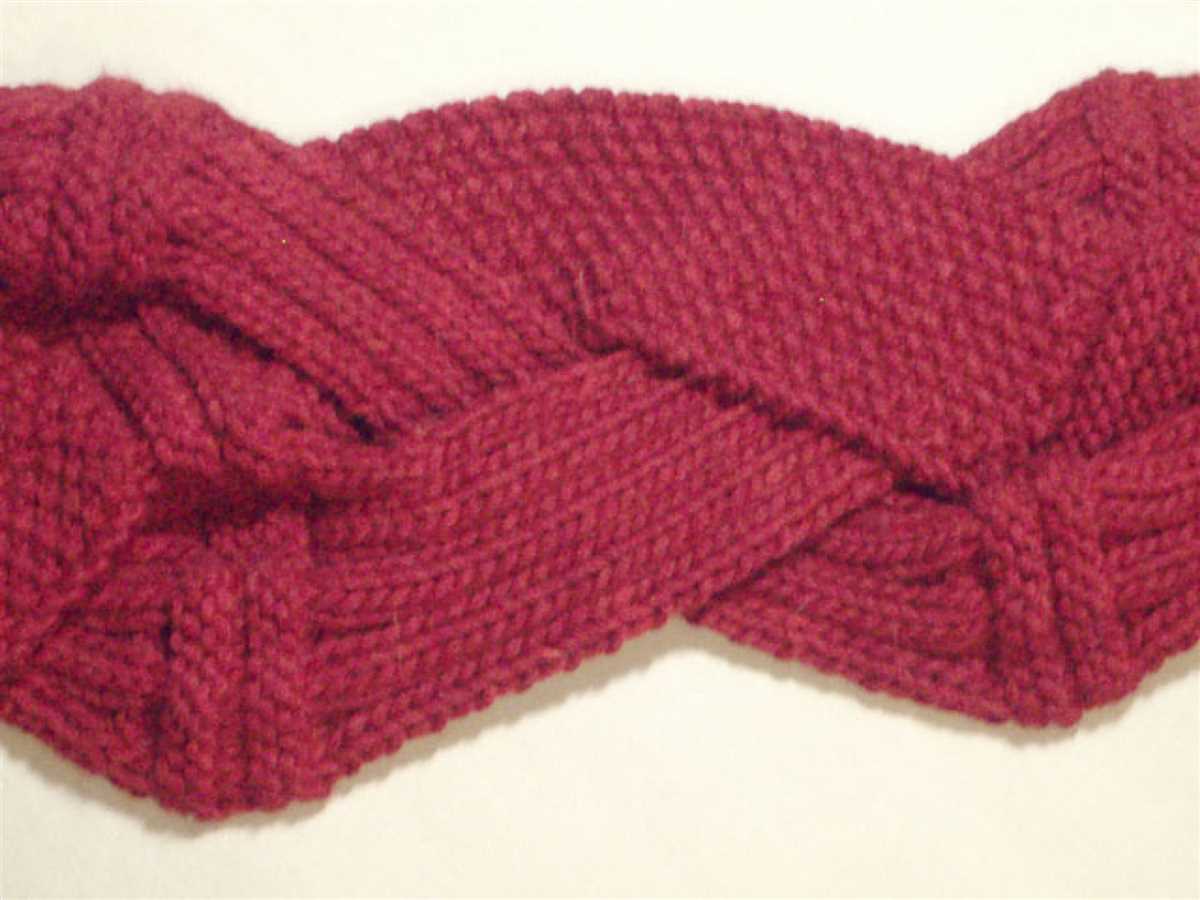
In the world of knitting, there are countless stitch patterns to choose from. One popular and versatile pattern is the seed stitch. This simple yet sophisticated stitch creates a texture of alternating knits and purls, resulting in a fabric that is both dense and stretchy. Mastering the seed stitch can open up a world of possibilities for knitters, allowing them to create beautiful and unique projects.
One of the key benefits of the seed stitch is its ability to lay flat and not curl. Unlike some other stitch patterns, the seed stitch creates a balanced fabric that stays flat without any additional blocking or shaping. This makes it an excellent choice for items like scarves, blankets, and even garments where you want a clean and polished finish.
To create the seed stitch, simply alternate between knitting and purling stitches across each row. This creates a pattern where the knits and purls are staggered, giving the fabric its distinctive texture. For example, you could start a row with a knit stitch, followed by a purl stitch, and continue this pattern across the row. On the next row, you would purl the knit stitches and knit the purl stitches to maintain the pattern.
Another advantage of the seed stitch is its versatility. It can be used with any weight of yarn and any size of needles, allowing knitters to create projects of varying thickness and drape. The seed stitch also lends itself well to colorwork, as the texture of the stitches adds depth and interest to the design. Whether you’re knitting a cozy infinity scarf or a stylish hat, the seed stitch can add a touch of elegance to your projects.
Overall, mastering the seed stitch is a valuable skill for any knitter. With its ability to create a flat fabric, its versatility with different yarns and needle sizes, and its ability to add texture to colorwork, the seed stitch opens up a world of possibilities. Whether you’re a beginner or an experienced knitter, the seed stitch is a pattern that is worth mastering.
Creating the Perfect Length
When knitting an infinity scarf, it’s important to achieve the perfect length to ensure a comfortable and stylish finished product. The length of the scarf will depend on personal preference and the desired look, but there are a few factors to consider.
1. Yarn weight: The weight of the yarn you choose will play a role in determining the length of your infinity scarf. Thicker yarns will create a bulkier scarf and may require fewer rows or stitches to achieve the desired length. On the other hand, thinner yarns will result in a lighter and more delicate scarf, which may require more rows or stitches.
2. Stitch pattern: Another factor to consider is the stitch pattern you plan to use for your infinity scarf. Some stitch patterns, such as seed stitch, tend to create a shorter and denser fabric, while others, like garter stitch, produce a looser and stretchier fabric. Depending on the stitch pattern, you may need to adjust the length accordingly.
3. Personal preference: Ultimately, the length of your infinity scarf should be based on your personal preference. Consider how you plan to wear the scarf – wrapped around your neck once or multiple times – and whether you prefer a longer or shorter look. Keep in mind that longer scarves can provide more versatility in styling options.
4. Sample and measure: Before committing to the final length, it’s a good idea to knit a small sample of your chosen stitch pattern and measure it. This will give you an idea of how much length each row or stitch adds. You can then calculate the number of rows or stitches needed to achieve your desired length and make adjustments accordingly.
5. Blocking: Remember that blocking your finished scarf can also affect the length. Blocking can stretch or relax the fabric, so it’s important to factor this in when determining the initial length. Test your blocking method on a small sample before blocking the entire scarf to ensure it achieves the desired length.
In conclusion, creating the perfect length for your infinity scarf requires considering factors such as yarn weight, stitch pattern, personal preference, and the effects of blocking. By taking these factors into account and making small samples and measurements, you can ensure that your infinity scarf turns out just right.
Adding Extra Style with Color Changes
One way to add extra style to your infinity scarf is by incorporating color changes into your knitting pattern. By using different colors of yarn, you can create beautiful stripes, patterns, or even gradient effects in your scarf.
To start adding color changes, you will need to choose the colors of yarn that you want to use. Consider selecting colors that complement each other or create an interesting contrast. You can use just two colors for a simple striped pattern, or you can incorporate multiple colors for a more intricate design.
When knitting with multiple colors, it is important to plan out your color changes in advance. One method is to create a color chart or diagram that outlines the order and placement of each color. This will help you keep track of where and when to switch colors throughout your knitting project.
Step 1: Start knitting your infinity scarf using the seed stitch pattern as mentioned in the instructions. For the best results, it is recommended to use a main color and alternate color(s) for the color changes.
Step 2: When you reach the desired point to introduce a new color, simply drop the current yarn and pick up the new color. Leave a couple of inches of yarn tails, which can be woven in later during finishing. Continue knitting with the new color according to the pattern.
Finishing touches: Binding Off
Once you have completed all the necessary rows of your infinity scarf knitting pattern in seed stitch, it’s time to bind off. Binding off is the final step in the knitting process and involves securing the stitches in place so that they don’t unravel. There are different methods for binding off, but for the seed stitch pattern, a standard bind off method works well.
To bind off, start by knitting the first two stitches in the pattern. Then, insert the left-hand needle into the front of the first stitch on the right-hand needle and lift it up and over the second stitch, letting it slip off the needle. Repeat this process for the next stitch, lifting it up and over the previously bound off stitch. Continue binding off in this manner until you have one stitch remaining on the right-hand needle.
Once you have bound off all the stitches, cut the yarn, leaving a long tail. Thread the tail through the remaining stitch and pull tight to secure. This will create a neat and tidy edge to your infinity scarf. You can also weave in any loose ends at this point using a tapestry needle to ensure a clean finish.
Remember to take your time when binding off to ensure that the tension remains consistent throughout the scarf. This will help to prevent any unevenness or puckering in the finished piece. With the binding off complete, your infinity scarf is now ready to be worn or given as a thoughtful handmade gift!
Blocking Your Infinity Scarf

Blocking is an essential step in finishing your infinity scarf. It helps to even out the stitches, open up lace patterns, and allow the scarf to drape nicely when worn. Follow these steps to block your infinity scarf and achieve a professional and polished look.
1. Soak the Scarf
Fill a sink or basin with lukewarm water and add a small amount of gentle wool wash or baby shampoo. Gently place the scarf in the water, making sure it is fully submerged. Let it soak for about 15 minutes to allow the fibers to relax.
2. Squeeze Out Excess Water
After soaking, carefully lift the scarf out of the water and gently squeeze out the excess water. Avoid twisting or wringing the scarf, as this can damage the delicate fibers. Instead, lightly press the scarf between your hands to remove the excess water.
3. Lay the Scarf Flat
Next, lay a clean towel on a flat surface and place the scarf on top of it. Gently roll up the towel, starting from one end, to absorb even more water from the scarf. Once rolled up, lightly press down on the towel to remove any remaining moisture.
4. Pin the Scarf
Unroll the towel and carefully lay the scarf flat on a blocking board or other padded surface. Using rust-proof T-pins or blocking wires, pin the edges of the scarf to the desired dimensions. Pay attention to any lace patterns or design elements and make sure to keep them evenly stretched.
5. Allow to Dry
Leave the scarf laid flat and pinned until it is completely dry. This can take anywhere from a few hours to overnight, depending on the humidity level and thickness of the yarn. Avoid moving or disturbing the scarf while it is drying to prevent any misshaping.
Once your infinity scarf is dry, carefully remove the pins or wires and admire your beautifully blocked creation. It will now have a smooth and polished finish, ready to be worn or gifted with pride.
Styling Tips for Wearing Your Infinity Scarf
Now that you’ve made your beautiful seed stitch infinity scarf, it’s time to style it and show off your knitting skills. Here are some tips on how to wear your infinity scarf:
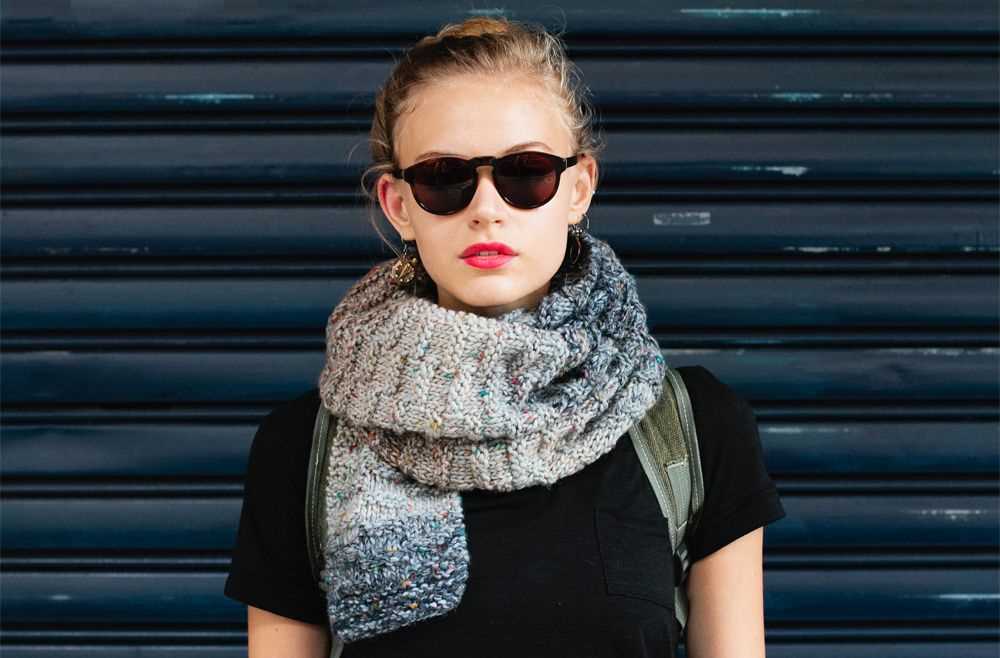
- Classic Loop: Wrap the scarf around your neck twice in a simple loop. Adjust the length to your desired look and let the ends hang loosely.
- Double Loop: Wrap the scarf around your neck twice, but this time twist it once in the middle before bringing the ends around. This adds some texture and visual interest to your outfit.
- Draped: Open up the scarf so that it forms a large loop. Place it around your neck, with one end longer than the other. Take the longer end and drape it over your shoulder for an effortlessly chic look.
- Belted: Instead of wrapping the scarf around your neck, drape it over your shoulders like a shawl. Secure it with a belt around your waist to create a cozy and stylish layered look.
- Hooded: Pull one end of the scarf over your head and let it drape down like a hood. This is a great option for colder days when you need some extra warmth.
Remember, the seed stitch pattern adds texture and dimension to your scarf, so have fun experimenting with different ways to wear it. Whether you’re dressing up for a night out or bundling up for a cozy day indoors, your seed stitch infinity scarf will be the perfect accessory.
Q&A:
What is an infinity scarf?
An infinity scarf is a type of scarf that is made in a loop so that it has no ends. It can be looped around the neck multiple times for a stylish and cozy look.
What is a seed stitch in knitting?
A seed stitch is a textured knitting stitch pattern that creates a checkerboard-like pattern of knit and purl stitches. It is created by alternating between knitting and purling stitches in a specific pattern.
How do I knit an infinity scarf in seed stitch?
To knit an infinity scarf in seed stitch, you will need to cast on an even number of stitches. Then, follow this pattern: Row 1: *K1, P1*, repeat from * to end of row. Row 2: *P1, K1*, repeat from * to end of row. Repeat these two rows until the scarf reaches your desired length. Finally, bind off all stitches and sew the ends together to create the loop for the infinity scarf.
Can I use a different stitch pattern for an infinity scarf?
Yes, you can definitely use a different stitch pattern for an infinity scarf. There are many different stitch patterns available, such as rib stitch, cable stitch, and lace stitch, that can create unique looks. The seed stitch is just one option among many.
What type of yarn is best for knitting an infinity scarf?
The type of yarn you choose for knitting an infinity scarf will depend on your personal preference and the desired look and feel of the scarf. However, many knitters find that using a soft and warm yarn, such as merino wool or alpaca yarn, works well for creating a cozy and comfortable scarf.
What is a seed stitch pattern?
A seed stitch pattern is a knitting technique where alternating knit and purl stitches are used to create a textured fabric. It creates a bumpy surface that resembles scattered seeds.