
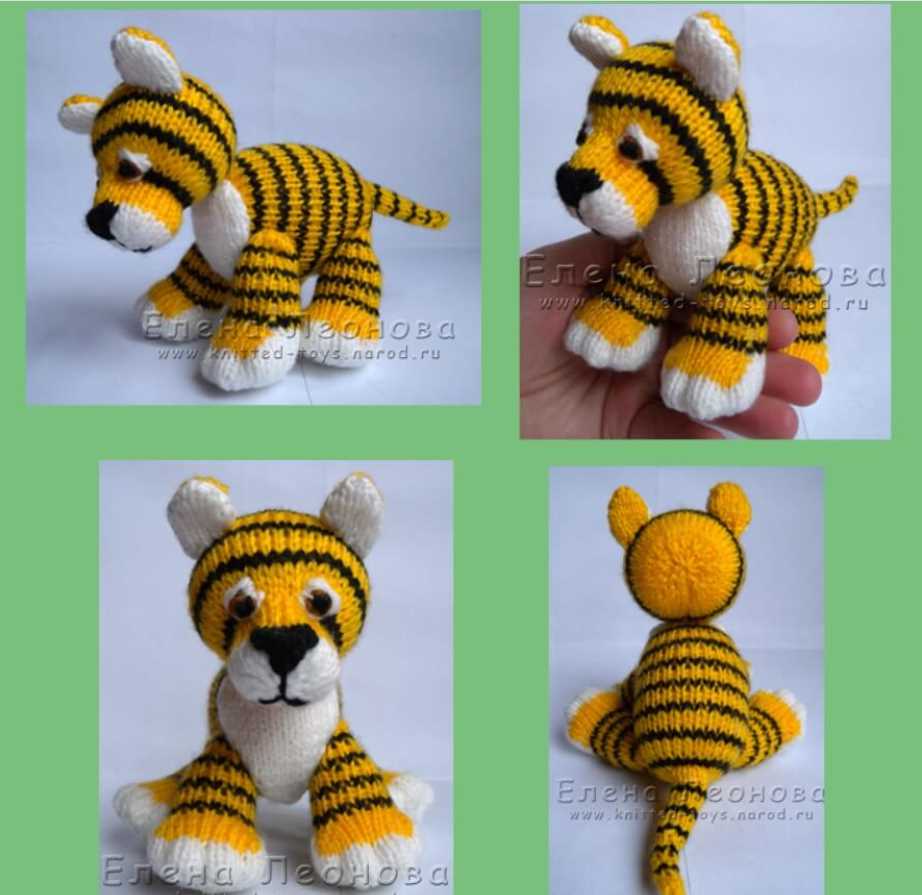
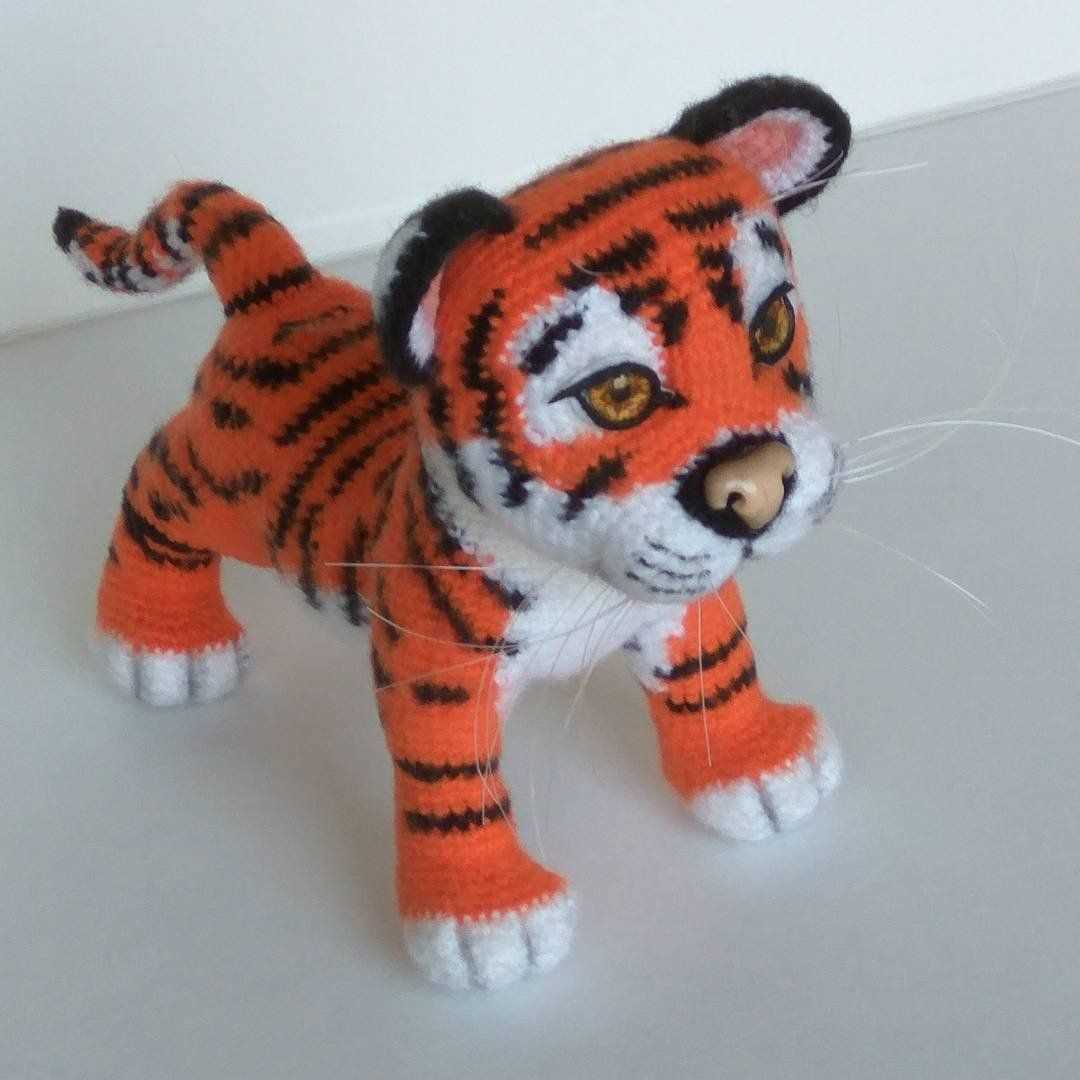
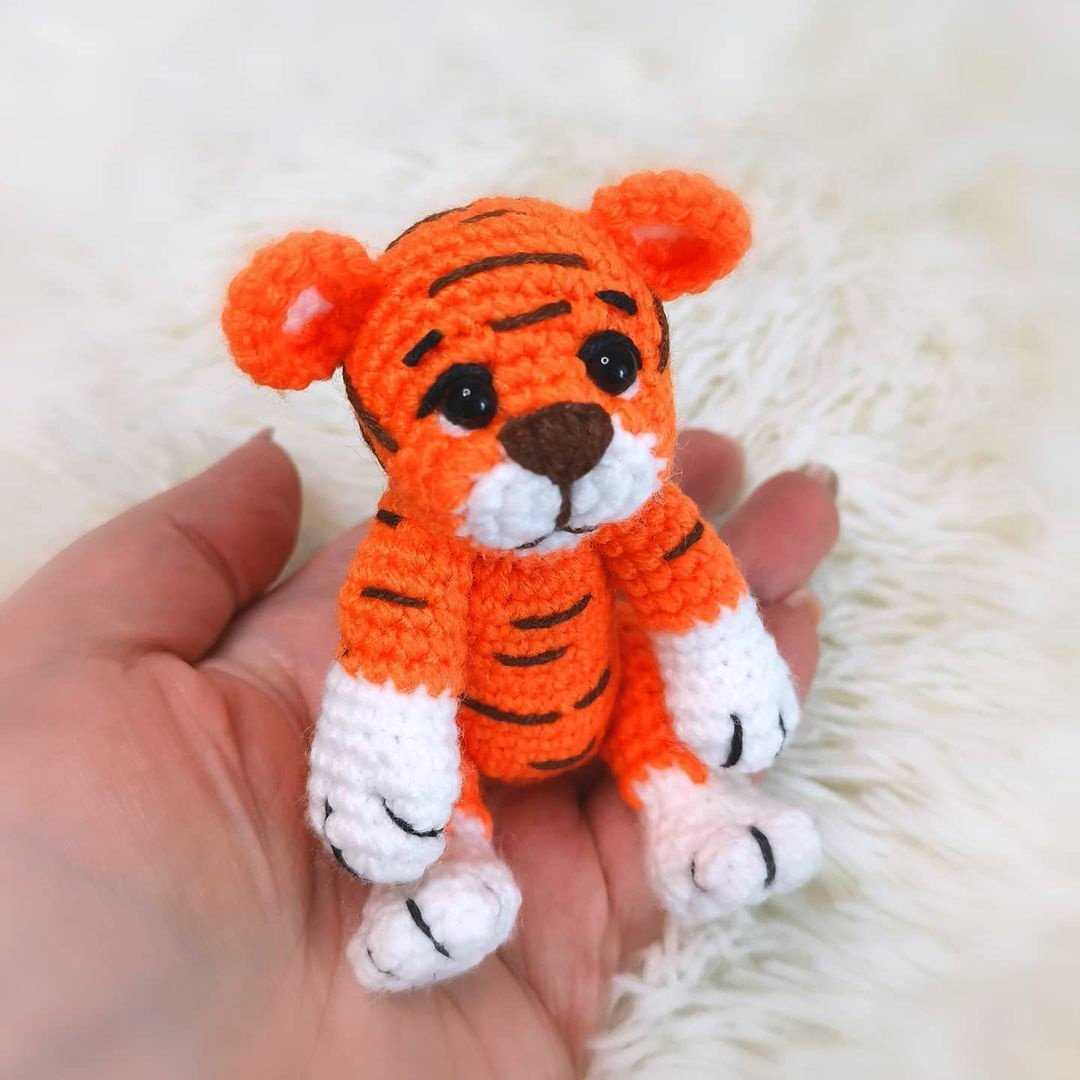
Looking for a fun and unique knitting project? Why not try your hand at making a knitted tiger toy! Knitting toys is a great way to explore your creativity and improve your knitting skills. Whether you’re a beginner or an experienced knitter, this pattern is sure to provide you with a fun and rewarding project.
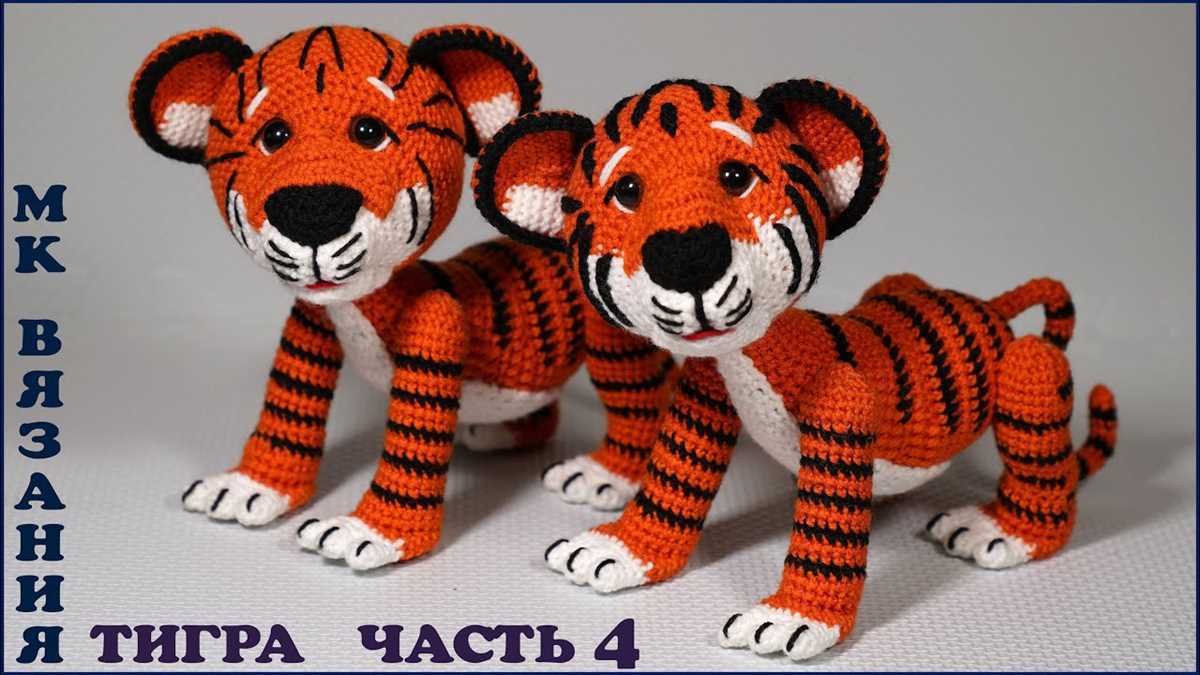
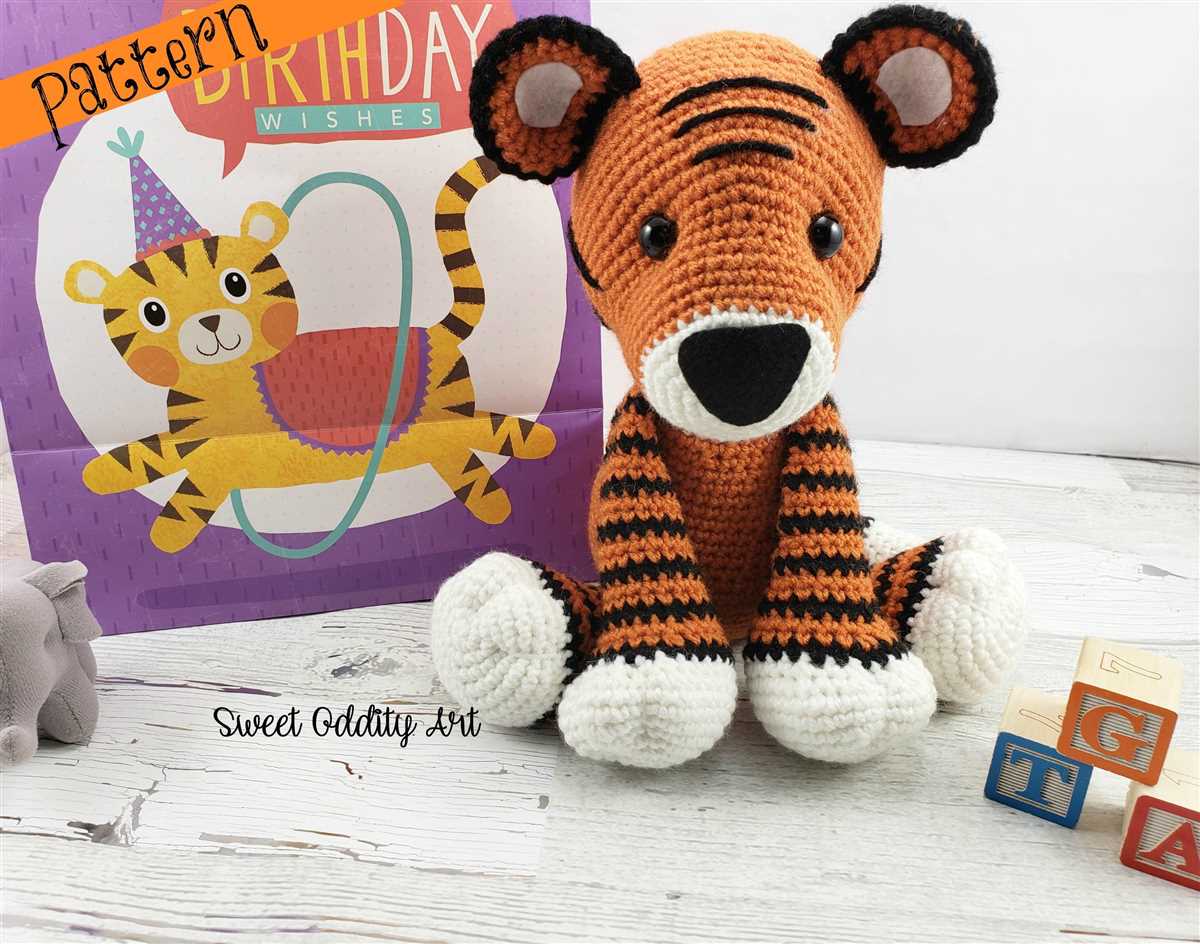
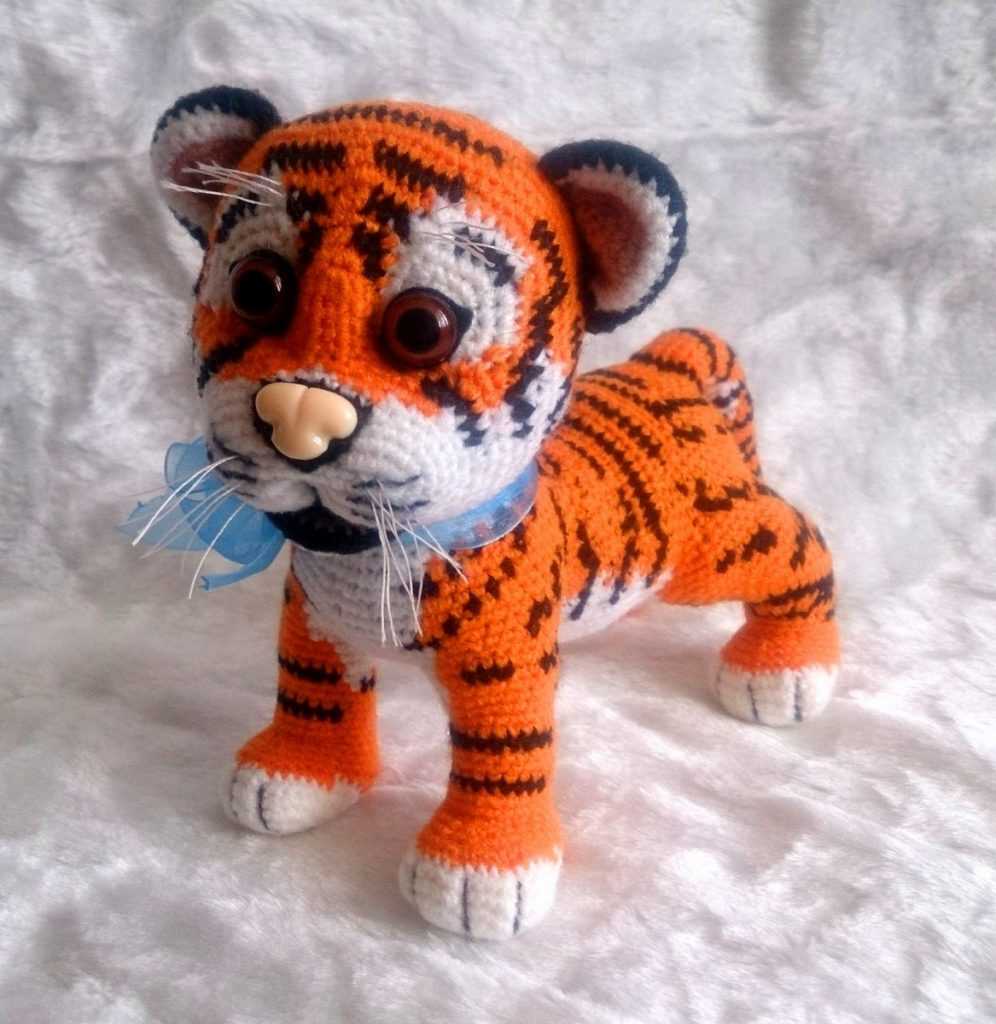
This knitted tiger toy pattern is perfect for both children and adults. Not only will it make a cute and cuddly addition to any toy collection, but it can also be a great gift for loved ones. The finished tiger toy is approximately 12 inches tall, making it the perfect size for little hands to play with.
Don’t worry if you’ve never knitted a toy before. This pattern is designed with clear and detailed instructions, making it easy for knitters of all levels to follow along. You’ll need some basic knitting skills, such as casting on, knitting, purling, increasing, and decreasing. Additionally, you’ll need some basic sewing skills to assemble the toy and add the finishing touches.
Grab your knitting needles and get ready to bring this adorable knitted tiger toy to life!
Knitted Tiger Toy Pattern
The knitted tiger toy pattern is a fun and creative project for knitters of all skill levels. Whether you are an experienced knitter or just starting out, this pattern is perfect for creating an adorable and cuddly tiger toy. The pattern includes step-by-step instructions and helpful tips to guide you through the knitting process.
To get started, you will need some basic knitting supplies, such as yarn, knitting needles, and stuffing. The pattern recommends using medium-weight yarn in orange and black, but you can get creative and choose different colors if you prefer. You will also need a pair of knitting needles in the appropriate size for your chosen yarn.
The first step in creating your knitted tiger toy is to cast on the required number of stitches. The pattern will specify the exact number of stitches you need to cast on. Once you have cast on, you will begin working the body of the toy in the round. The pattern will provide instructions for creating the body, including shaping the head, body, and legs.
As you continue knitting, you will incorporate different techniques, such as increasing and decreasing stitches, to give your tiger toy its shape. The pattern will provide detailed instructions for each technique, making it easy for knitters of all skill levels to follow along.
Once you have finished knitting the body, you will stuff it with polyester fiberfill to give it a soft and plushy feel. The pattern will provide instructions for sewing up any seams and attaching the limbs and features, such as the eyes and nose. You can get creative with the features, using embroidery floss or buttons to make the tiger toy come to life.
The knitted tiger toy pattern is a delightful project that allows you to create your own unique and personalized toy. Whether you want to make it for yourself or as a gift for a loved one, this pattern is sure to bring joy and laughter. So grab your knitting needles and get ready to embark on a fun and rewarding knitting adventure!
What You’ll Need
To create your own knitted tiger toy, you’ll need a few materials. Here’s a list of what you’ll need:
- Yarn: Choose a soft, durable yarn in orange, black, and white. You’ll need approximately 100 grams of each color.
- Knitting Needles: Use a pair of size 4.5 mm knitting needles.
- Tapestry Needle: This needle will be used for sewing and weaving in ends.
- Stuffing: You’ll need polyester fiberfill or another type of stuffing to fill the toy.
- Safety Eyes: If you want to add eyes to your tiger toy, you can use plastic safety eyes or sew on some buttons for eyes.
- Scissors: Use a pair of sharp scissors to cut your yarn.
- Stitch Marker: It’s helpful to have a stitch marker to mark the beginning of each round.
- Pattern: Lastly, you’ll need a copy of the knitted tiger toy pattern. You can find patterns online or in knitting books.
Once you have all of these materials, you’ll be ready to start knitting your adorable knitted tiger toy!
Gauge and Tension
In knitting, gauge refers to the number of stitches and rows you get in one inch of knitting. It is important to achieve the correct gauge in order to create a toy that is the proper size. Measuring gauge is done by knitting a swatch using the recommended yarn and needle size, and then counting the stitches and rows in a 4-inch square.
When making the knitted tiger toy, the pattern specifies a gauge of 20 stitches and 26 rows = 4 inches. To check your gauge, begin by casting on a few more stitches than the specified number. Knit a few rows and then measure the width. If your swatch is too wide, switch to a smaller needle size. If it is too narrow, switch to a larger needle size. Repeat this process until you achieve the correct gauge.
Another important aspect of gauge is tension, which refers to how tightly or loosely you knit. It is important to maintain consistent tension throughout your project in order to achieve an even and professional finish. If your tension is too tight, the stitches will be smaller and denser, resulting in a smaller toy. If your tension is too loose, the stitches will be larger and looser, resulting in a larger toy. To improve your tension, practice knitting with a relaxed grip and find a comfortable knitting position.
- Work on maintaining a consistent pressure on the yarn as you knit.
- Pay attention to your hand and finger movements to ensure you’re not pulling the yarn too tightly or letting it slip too much.
- Regularly check your tension throughout your project, especially after changing needles or yarns.
Abbreviations
In the world of knitting patterns, abbreviations are shorthand codes that are used to represent specific knitting techniques or stitches. These codes help to make patterns more concise and easier to read, especially for experienced knitters who are familiar with the abbreviations. However, for beginners or those new to knitting, deciphering these abbreviations can be quite challenging.
When reading a knitting pattern, it is important to understand the abbreviations used and what they mean. Common abbreviations include:
- K: Knit
- P: Purl
- St(s): Stitch(es)
- yo: Yarn over
- dec: Decrease
- inc: Increase
- rep: Repeat
These abbreviations are often used in combination with numbers or symbols to indicate specific knitting instructions. For example, “K2tog” means to knit two stitches together, and “P2” means to purl two stitches.
It is important to keep a list of common knitting abbreviations handy when working on a knitting project. This allows you to easily reference and understand the instructions provided in the pattern. Most knitting patterns include a legend or key that explains the abbreviations used, so be sure to familiarize yourself with this information before starting your project.
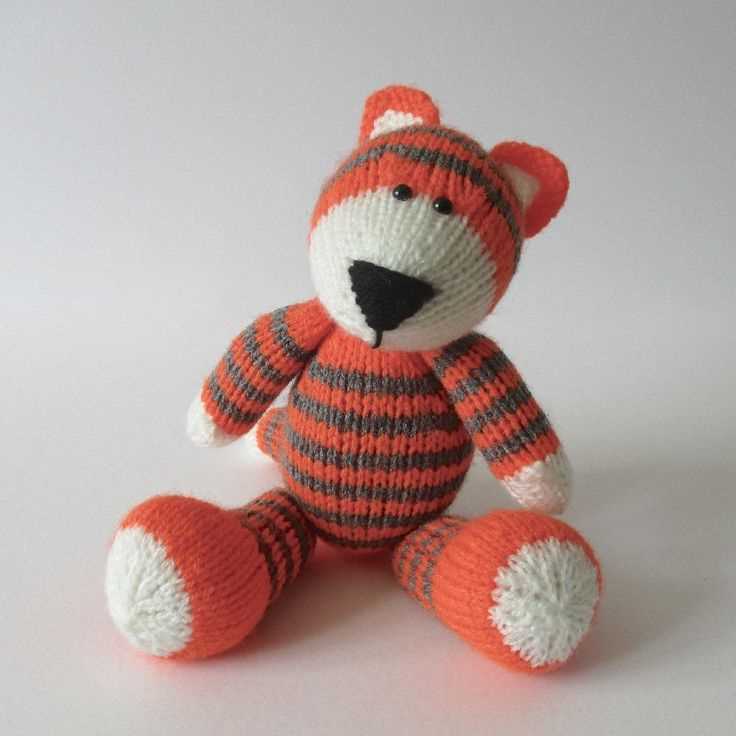
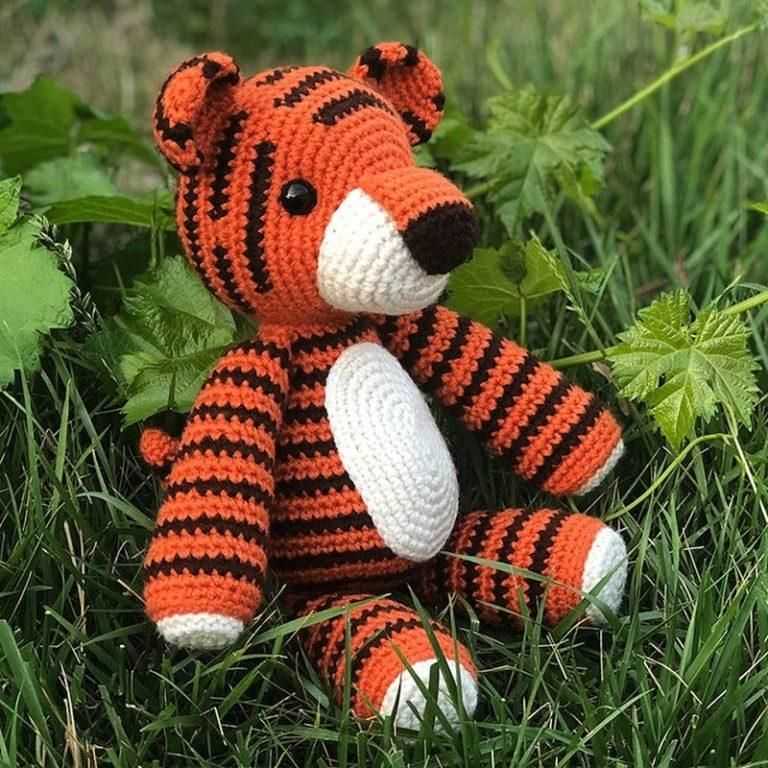
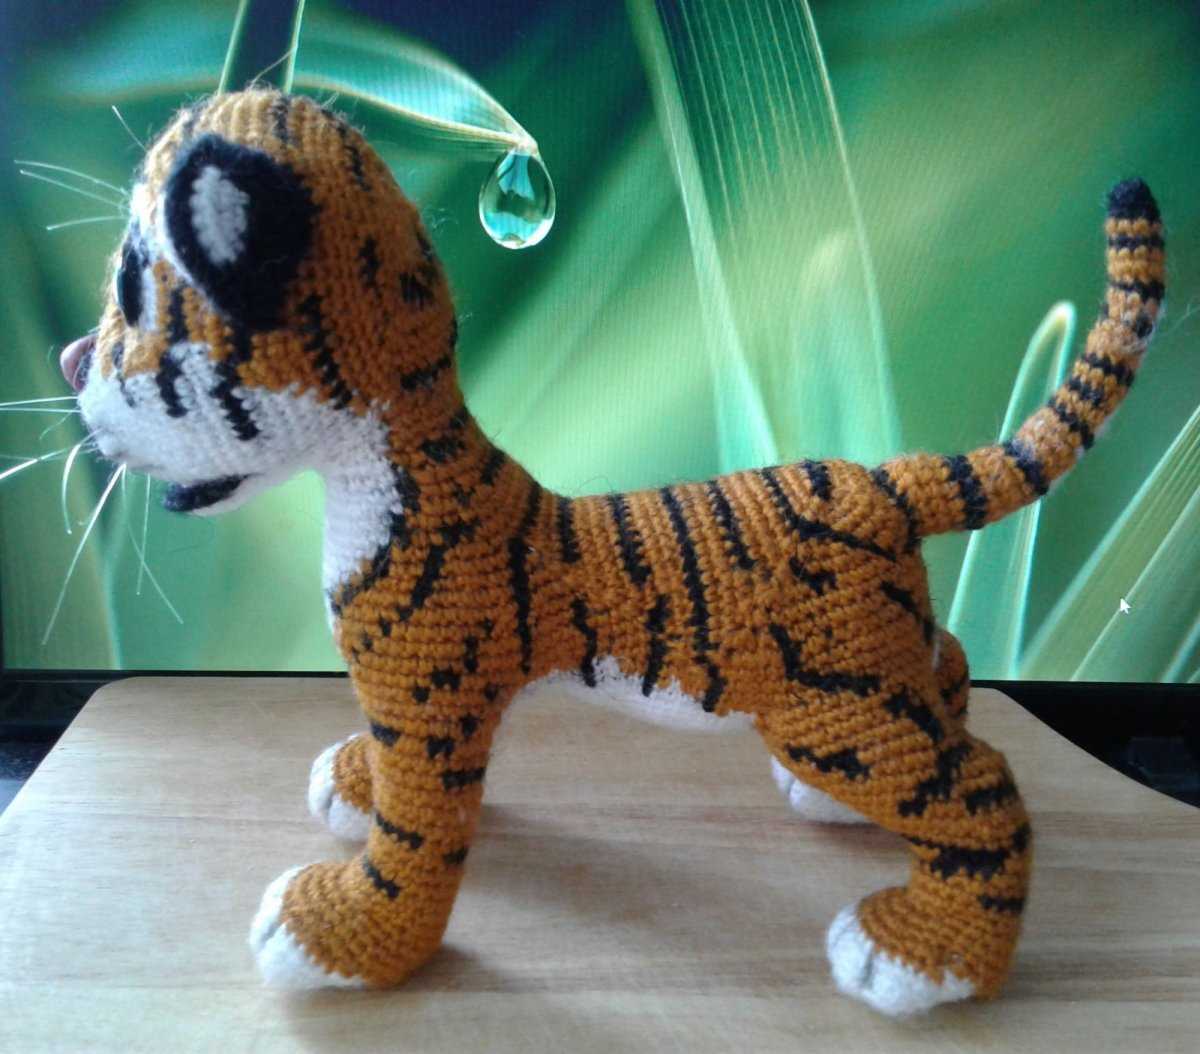
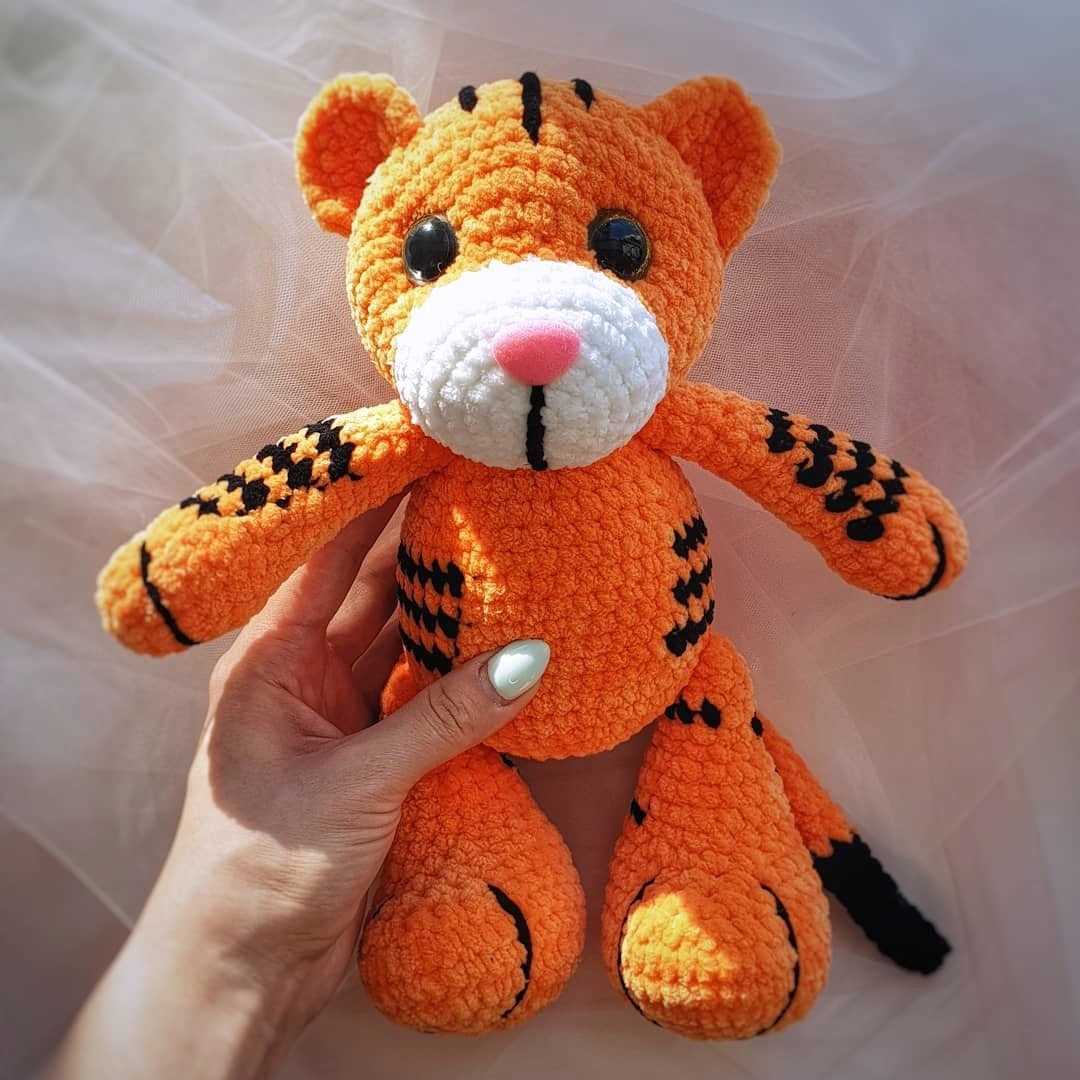
Body
The body of the knitted tiger toy is the main portion that gives it shape and structure. It is made up of multiple sections that are knitted separately and then sewn together. The body is typically knitted using the garter stitch, which creates a textured fabric and makes the toy more huggable and cuddly.
To knit the body, you will start by casting on the required number of stitches and knitting in rows. The pattern may specify increasing or decreasing stitches at certain points to shape the body, such as for the neck or tail. You will continue knitting until you reach the desired length for the body, following any shaping instructions provided by the pattern.
Once the body is complete, you will need to sew any seams and attach any additional features, such as the tail or mane. This is done using a tapestry needle and yarn that matches the color of the body. Care should be taken to sew the seams neatly and securely to ensure the longevity of the toy.
If desired, you can also add embroidery details to the body, such as facial features or stripes, using a contrasting yarn or embroidery floss. This will give the knitted tiger toy a more realistic and playful appearance.
Legs
When it comes to creating a knitted tiger toy, the legs play an important role in bringing the toy to life. The legs are what give the toy stability and allow it to stand or sit on its own. They also contribute to the overall appearance and personality of the toy.
To create the legs for the knitted tiger toy, you will need to follow the pattern instructions carefully. The pattern will specify the number of stitches to cast on and the type of stitches to use. You may need to use double-pointed needles or a circular needle, depending on the pattern.
The legs can be created using a combination of basic knitting techniques, such as knitting and purling. You may also need to use increases and decreases to shape the legs and create a tapered effect. The pattern may also include instructions for creating features, such as stripes or claws, on the legs.
Once the legs are knitted, they will need to be stuffed with fiberfill or another type of stuffing material. This will give the legs a firm, solid shape. The pattern may also specify the length of the legs and how they should be attached to the body of the toy.
Overall, creating the legs for a knitted tiger toy requires attention to detail and precision. It is an important step in the knitting process and will contribute to the overall success of the finished toy. With patience and practice, you can create adorable and charming tiger legs that will bring your toy to life.
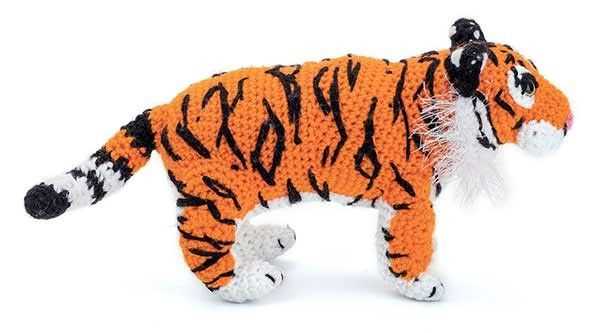
Tail
The tail is an important part of the knitted tiger toy. It adds character and realism to the toy, making it more lifelike. The pattern for the tail is relatively simple, consisting of a series of knit and purl stitches to create a textured effect. Using a combination of different yarns can also add dimension and detail to the tail.
To begin knitting the tail, cast on the required number of stitches, usually around 20-30 stitches depending on the desired length. Start by knitting a few rows in a basic knit stitch to form the foundation of the tail. Then, follow the pattern instructions for the specific stitch pattern to create the desired texture. This could be a simple ribbing pattern, a basketweave pattern, or any other pattern that suits the overall design of the toy.
For added detail, consider using a different yarn color or texture for the tip of the tail. This can create a realistic look, mimicking the natural coloration of a tiger’s tail. You can also experiment with different stitch patterns or techniques, such as cabling or lacework, to add further visual interest to the tail.
Once the tail is complete, it can be attached to the body of the tiger toy using a yarn needle or by sewing it directly onto the toy. Make sure to securely stitch the tail in place to prevent it from coming loose during play or handling. Finally, give the tail a gentle tug to ensure it is firmly attached and will withstand the rigors of playtime.
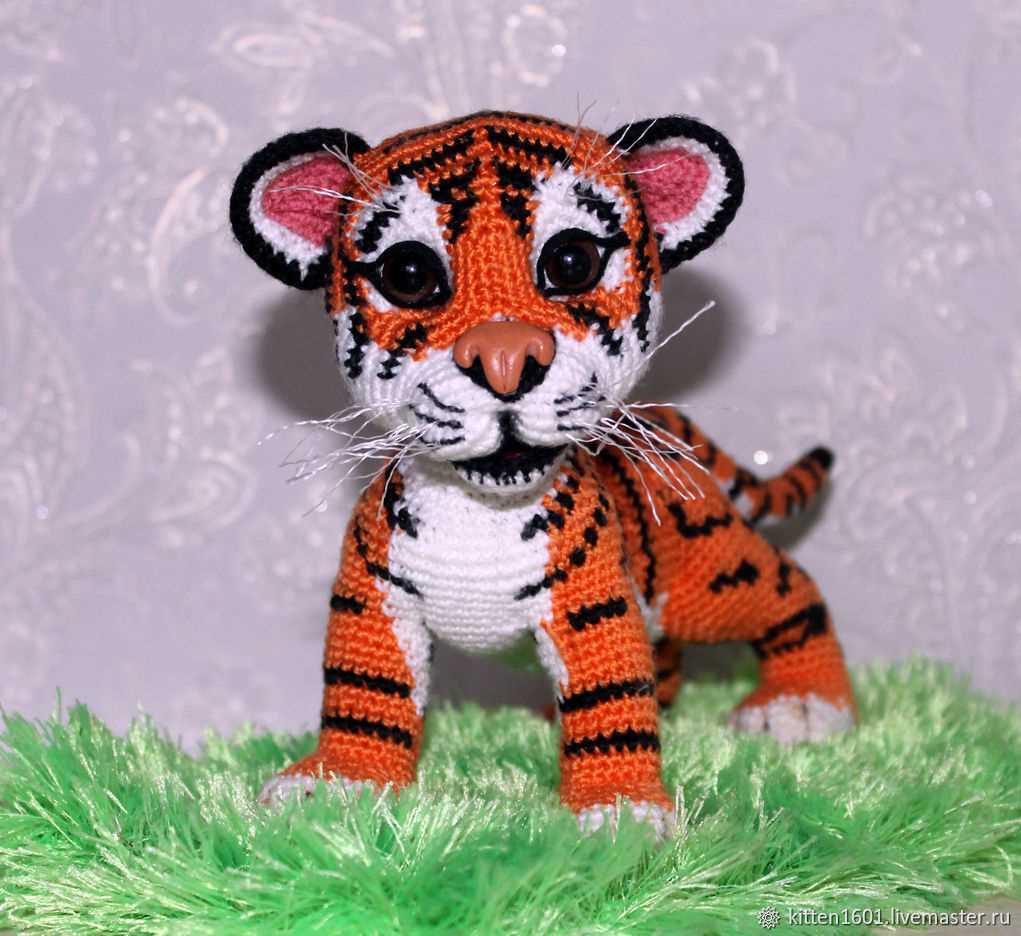
Head
The head is an important part of the knitted tiger toy pattern. It is where the face of the tiger comes to life and gives the toy its character. The head is usually the first part of the toy that is knitted, as it sets the tone for the rest of the project.
To create the head, start by casting on the required number of stitches and knit in the desired pattern. Depending on the pattern, you may need to increase or decrease stitches to shape the head. This is usually done by knitting two stitches together or making a yarn over. It is important to follow the pattern closely to ensure the correct shaping of the head.
Once the head is knitted, it is time to add the facial features. This can be done using embroidery techniques or by attaching safety eyes and a nose. The eyes are usually placed symmetrically on the front of the head, while the nose is positioned below the eyes. Embroidery techniques can be used to create other details such as the mouth or whiskers.
- Start by embroidering the eyes using black thread and a simple running stitch. Position them evenly on the face and make sure they are secure.
- Add the nose by attaching a safety nose or embroidering it using a satin stitch. The nose should be positioned below the eyes and centered on the face.
- If desired, use embroidery thread to create a mouth or whiskers. This can be done with a straight stitch or a backstitch, depending on the desired effect.
Once all the facial features are in place, the head is complete. It is now ready to be attached to the body of the knitted tiger toy. This can be done by sewing the head to the body using a yarn needle and matching yarn. Make sure to securely attach the head to the body to prevent it from becoming loose during play.
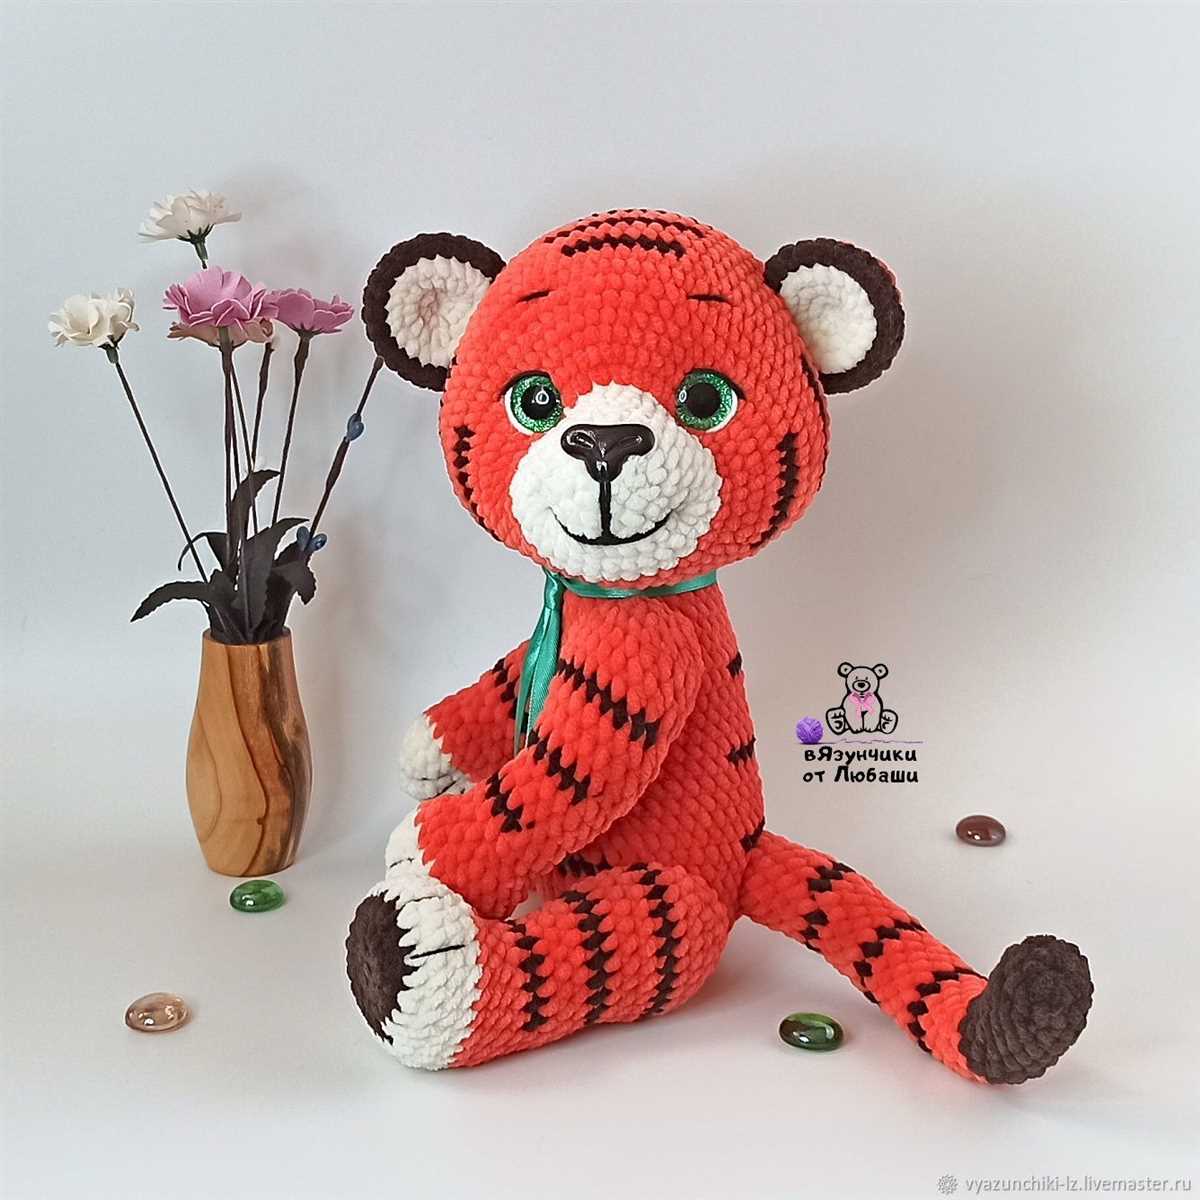
Ears
The ears are an important part of the knitted tiger toy. They give the toy a playful and realistic look. To knit the ears, start by casting on the required number of stitches using the specified yarn and needle size. Work the stitches in a stockinette stitch pattern, knitting on the right side and purling on the wrong side. This will create a smooth and even surface for the ears.
Once the desired length for the ears is reached, it’s time to shape them. Decrease stitches gradually to create a pointed tip at the top of the ear. This can be done by working two stitches together at regular intervals. Remember to maintain the stockinette stitch pattern while decreasing.
After shaping the ears, bind off the remaining stitches and weave in any loose ends. To attach the ears to the body of the tiger toy, use a yarn needle and the specified yarn color. Position the ears on either side of the tiger’s head, making sure they are symmetrical. Securely sew the base of the ears to the head, taking care to hide the stitches as much as possible.
Face
The face of the knitted tiger toy is an important part of its overall appearance. It is the first thing that catches your attention and gives the toy its character. When making the face of the tiger, you can use buttons or safety eyes to create the eyes. This will give the toy a more realistic look. However, if you are making the toy for a young child, it is best to use embroidered eyes instead to ensure safety.
To create the nose, you can use a small piece of black felt or embroider it using black yarn. This adds dimension to the face and brings the animal to life. The mouth can be created using embroidery threads or yarn to stitch a simple smile or expression. This adds personality to the toy and makes it more adorable.
When placing the face on the knitted tiger toy, make sure to position it correctly to achieve the desired look. The eyes should be spaced evenly and placed at the appropriate height. The nose should be centered and the mouth aligned with the overall shape of the face. Taking the time to carefully position and stitch the face will result in a beautifully crafted toy that will be cherished for years to come.
Overall, the face of the knitted tiger toy is a crucial element in its design. It is where the toy’s personality and character shine through. Whether you choose to use buttons, safety eyes, or embroidery, making the face with attention to detail will ensure that the knitted tiger toy becomes a beloved companion.
Assembly
Assembling the knitted tiger toy is the final step in completing the project. It involves attaching all the different pieces together to create the finished toy.
1. Sewing the Body: Start by sewing the front and back body pieces together, leaving a small opening for stuffing. Use a whip stitch or a mattress stitch to secure the pieces together. Once the body is sewn, stuff it with polyester fiberfill until it is firm but not overly stuffed. Lastly, sew the opening closed.
2. Attaching the Legs: Take the four leg pieces and sew them to the bottom of the body. Position them evenly and sew them securely using a whip stitch or a mattress stitch.
3. Adding the Head: Sew the head piece to the top of the body, aligning it with the neck area. Use a whip stitch or a mattress stitch to secure it in place. Make sure the head is facing forward and centered on the body.
4. Attaching the Arms: Sew the arms to the sides of the body, making sure they are evenly positioned. Use a whip stitch or a mattress stitch to attach them securely, ensuring they are facing forward.
5. Embroidering the Face: Use embroidery floss or yarn to embroider the tiger’s face onto the head. Use a satin stitch for the eyes, nose, and mouth, and add any additional details, such as whiskers or eyebrows, using a backstitch or a running stitch.
Once all the pieces are attached and the face is embroidered, your knitted tiger toy is complete! You can now enjoy your new cuddly companion or gift it to someone special.
Finishing Touches
Once you have completed knitting your tiger toy, it’s time to add the finishing touches to bring it to life. These final details will transform your knitted creation into a charming and lovable toy.
Embroidered Features
To give your tiger toy a cute and expressive face, use embroidery thread to create the eyes, nose, and mouth. You can choose to make the eyes round or almond-shaped, and use different colors to create a playful expression. Stitch a small triangle for the nose and use straight stitches to define the mouth. Take your time with the embroidery, as these details will really make the tiger come to life.
Stuffing
Before you close up the seams of your knitted toy, make sure to stuff it with polyester filling to give it a soft and cuddly feel. Start by filling the body and limbs, making sure to distribute the stuffing evenly. Add more filling as needed to achieve the desired level of firmness. Avoid overstuffing, as it may distort the shape of the toy. Once you are satisfied with the stuffing, carefully sew up the remaining seams.
Final Touches

After adding the embroidered features and stuffing the toy, you can add any additional touches to personalize your tiger. You could attach a ribbon bow around its neck, sew on felt patches to simulate tiger stripes, or even give it a miniature toy accessory, like a knitted ball or a tiny knapsack. Let your creativity guide you in adding those final details that will make your tiger toy unique and special.
Incorporating these finishing touches will help bring your knitted tiger toy to life and make it truly enchanting. Enjoy the process of adding these final details, and watch as your creation comes alive with personality and charm!
Tips and Tricks
Before you start knitting your tiger toy, here are some tips and tricks to help you along the way:
- Choose the right yarn: Make sure to choose a yarn that is soft, durable, and suitable for toys. Acrylic yarn is a popular choice for toy knitting because it is easy to clean and maintain.
- Gauge swatch: It’s important to knit a gauge swatch before starting your project to ensure that your finished toy will have the correct dimensions. This will also help you to determine the right needle size to use.
- Use stitch markers: Stitch markers are helpful for keeping track of your stitches and counting rows. They can also help you identify the beginning of each round if you are knitting in the round.
- Seaming: When assembling your toy, use a yarn needle to sew the pieces together. Take your time and make sure that your seams are neat and secure.
- Embroidery and embellishments: Use embroidery threads to add details to your tiger toy, such as eyes, nose, and mouth. You can also use buttons, ribbons, or felt to personalize your toy and make it unique.
- Work in a distraction-free environment: Knitting toys requires concentration, so find a quiet and comfortable space where you can focus on your project. Minimize distractions to avoid making mistakes.
In conclusion, knitting a tiger toy can be a fun and rewarding project. By following the pattern instructions and incorporating these tips and tricks, you will be able to create a beautiful and cuddly toy that will be cherished for years to come. Happy knitting!