
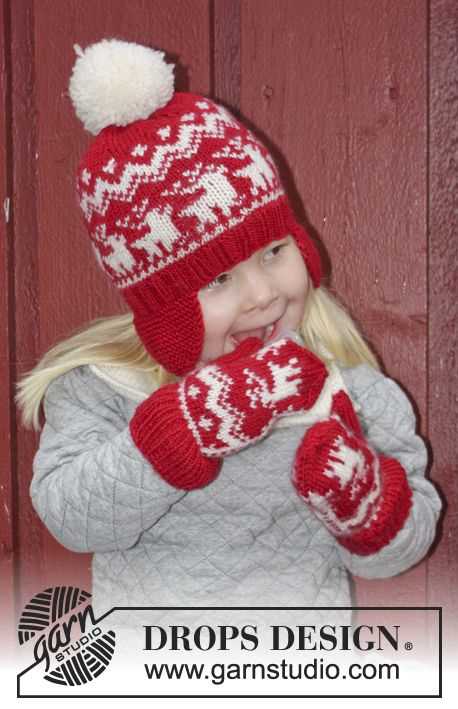
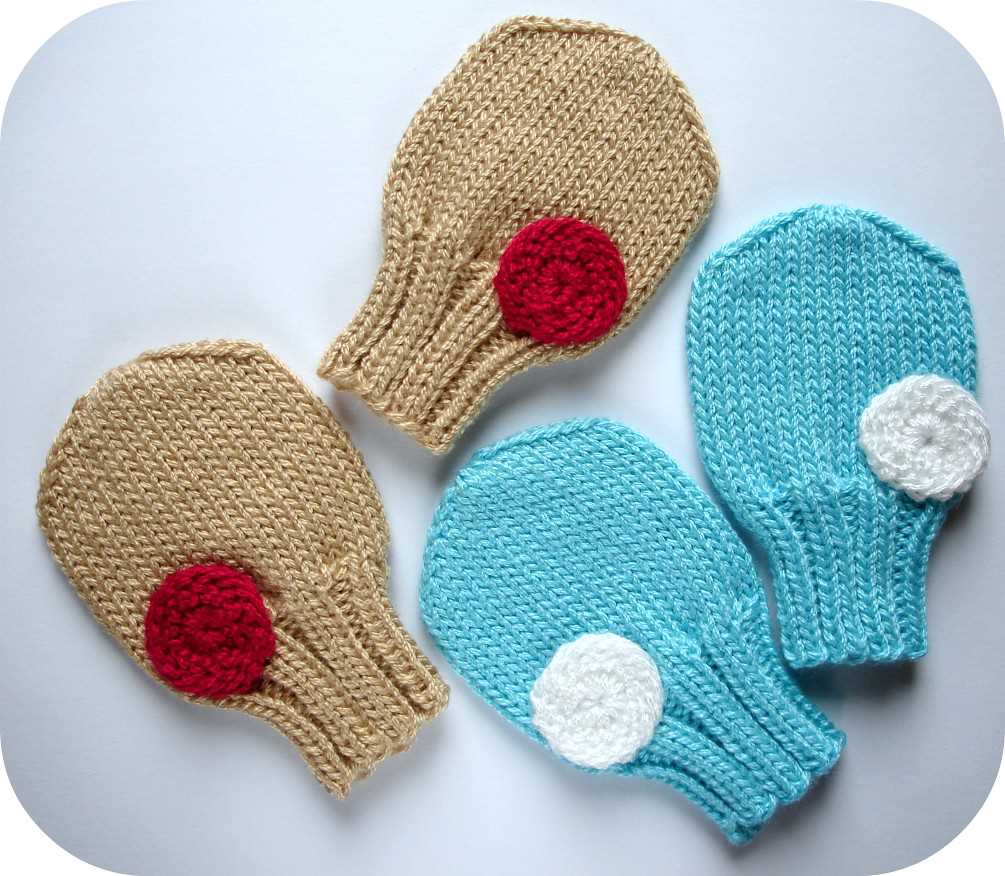
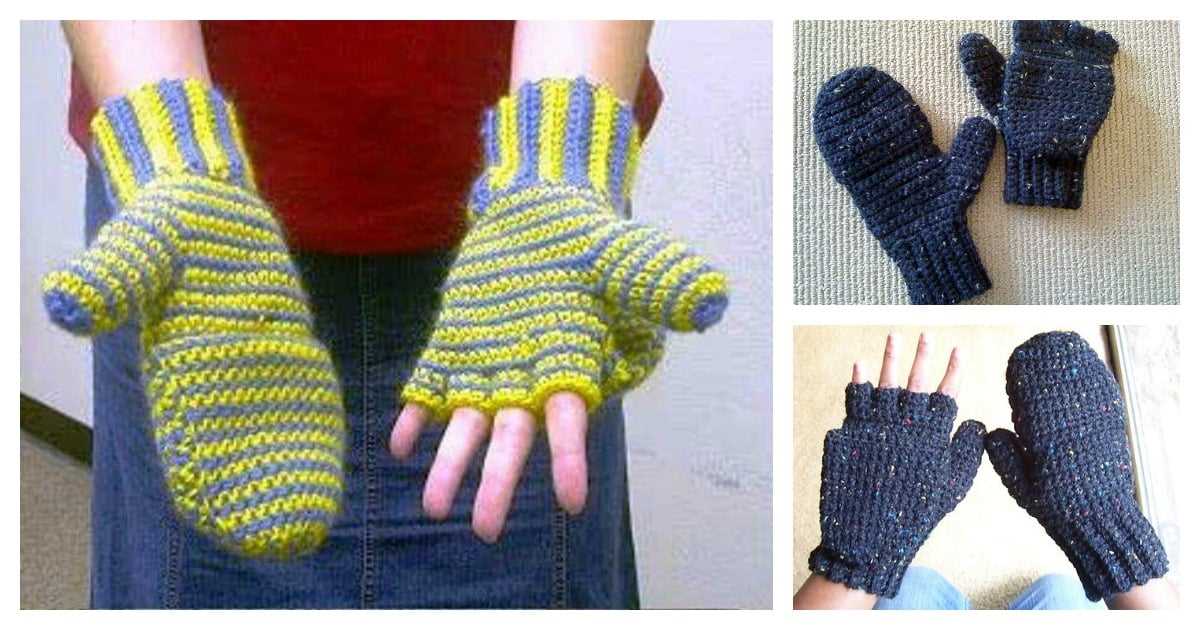
Flap mittens are a classic and practical accessory for cold weather. They combine the warmth of mittens with the dexterity of gloves, making them a popular choice for outdoor activities such as skiing, snowboarding, or winter hiking. With their unique design that includes a flap that can be folded back to expose the fingers, flap mittens are versatile and functional.
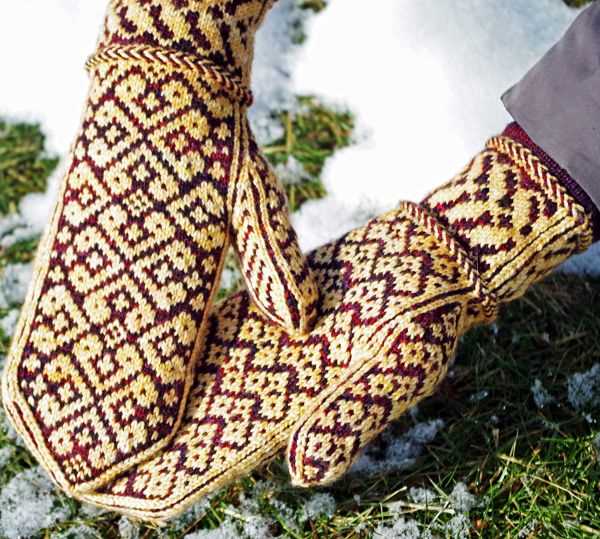
Knitting your own flap mittens allows you to customize the size, color, and pattern to match your personal style. Whether you’re a beginner or an experienced knitter, there’s a flap mittens knitting pattern for you. Knitting patterns can be found in books, magazines, and online resources, and they come in different levels of difficulty.
To get started with your flap mittens knitting project, you’ll need a few basic supplies. These include knitting needles in the appropriate size, yarn in your chosen color, a stitch marker, and a yarn needle for finishing. Once you have your supplies, you can begin following the pattern instructions.
The flap mittens knitting pattern typically starts with the cuff, which is usually knitted in ribbing for a snug fit. Then, the hand section is worked in a stitch pattern, often using a combination of knit and purl stitches for texture. The mitten top is shaped by decreasing stitches, and the thumb gusset is created by increasing stitches. Finally, the flap is knitted separately and sewn onto the back of the hand section.
Knitting your own flap mittens can be a rewarding and enjoyable project, and the finished mittens will keep your hands warm and cozy during the winter months. So, grab your knitting needles and get started on your own pair of flap mittens!
Flap Mittens Knitting Pattern
Are you looking for a cozy and practical accessory to knit? Look no further! Flap mittens are the perfect project for keeping your hands warm and allowing easy access to your fingers when needed. Whether you’re going for a winter walk or need to use your phone or keys, these mittens have got you covered.
With our flap mittens knitting pattern, you’ll be able to create a pair of mittens that are not only functional but also stylish. The pattern includes detailed instructions and step-by-step photos to guide you through the process, making it suitable for knitters of all skill levels. You can choose your favorite yarn and colors to create a personalized pair of mittens that complements your winter wardrobe.
Materials:
- Size 8 (5 mm) knitting needles
- Worsted weight yarn (approx. 200 yards)
- Stitch markers
- Tapestry needle
- Scissors
Instructions:
- Cast on 36 stitches.
- Knit 2, purl 2 ribbing for 2 inches.
- Switch to stockinette stitch and knit every row until the piece measures 5 inches.
- Next row: Knit 16 stitches, place marker, knit 4 stitches, place marker, knit remaining 16 stitches.
- Continue knitting in stockinette stitch, decreasing 1 stitch on each side of the markers every other row until you have 6 stitches between the markers.
- Knit in stockinette stitch without decreasing until the piece measures 7 inches.
- Next row: Knit 16 stitches, slip the 6 stitches between the markers onto a stitch holder, knit remaining 16 stitches.
- Continue knitting the flap section back and forth in stockinette stitch for 3 inches.
- Next row: Knit 16 stitches, place the 6 stitches from the stitch holder onto the knitting needle, knit remaining 16 stitches.
- Continue knitting in stockinette stitch, decreasing 1 stitch on each side of the markers every other row until you have 36 stitches again.
- Switch to knit 2, purl 2 ribbing and continue for 2 inches.
- Bind off in ribbing pattern.
With this flap mittens knitting pattern, you’ll be able to create a cozy and functional accessory that will keep your hands warm throughout the winter months. Don’t be afraid to experiment with different yarns and colors to make each pair of mittens unique. Happy knitting!
Materials Needed
To create a pair of flap mittens using this knitting pattern, you will need the following materials:
- Yarn: Choose a soft and warm yarn in a thickness suitable for the desired warmth of the mittens. The pattern will specify the recommended yarn weight and yardage.
- Knitting Needles: Depending on your gauge and personal preference, you will need a set of double-pointed knitting needles or circular knitting needles in the recommended size.
- Stitch Markers: These can be small plastic rings or safety pins that will help you keep track of specific sections or stitch counts in the pattern.
- Tapestry Needle: You will need a large-eyed needle to weave in loose ends and sew any necessary seams.
- Scissors: A sharp pair of scissors will be necessary for cutting the yarn at various points.
Additionally, you may find the following tools helpful during the knitting process:
- Row Counter: This can be a physical row counter or a digital app that helps you keep track of your rows and repeats.
- Stitch Holder: If the pattern requires you to set aside certain stitches, a stitch holder will keep them secure until you need them again.
- Blocking Tools: Depending on the yarn and pattern, you may need blocking mats, pins, and steam or water for blocking and shaping the finished mittens.
Gauge and Sizing

When starting any knitting project, it is important to ensure that you achieve the correct gauge. Gauge refers to the number of stitches and rows per inch that you knit. This measurement is crucial in ensuring that your finished item will be the correct size and fit as intended. To achieve the correct gauge, it is recommended to use the suggested needle size and yarn weight specified in the pattern.
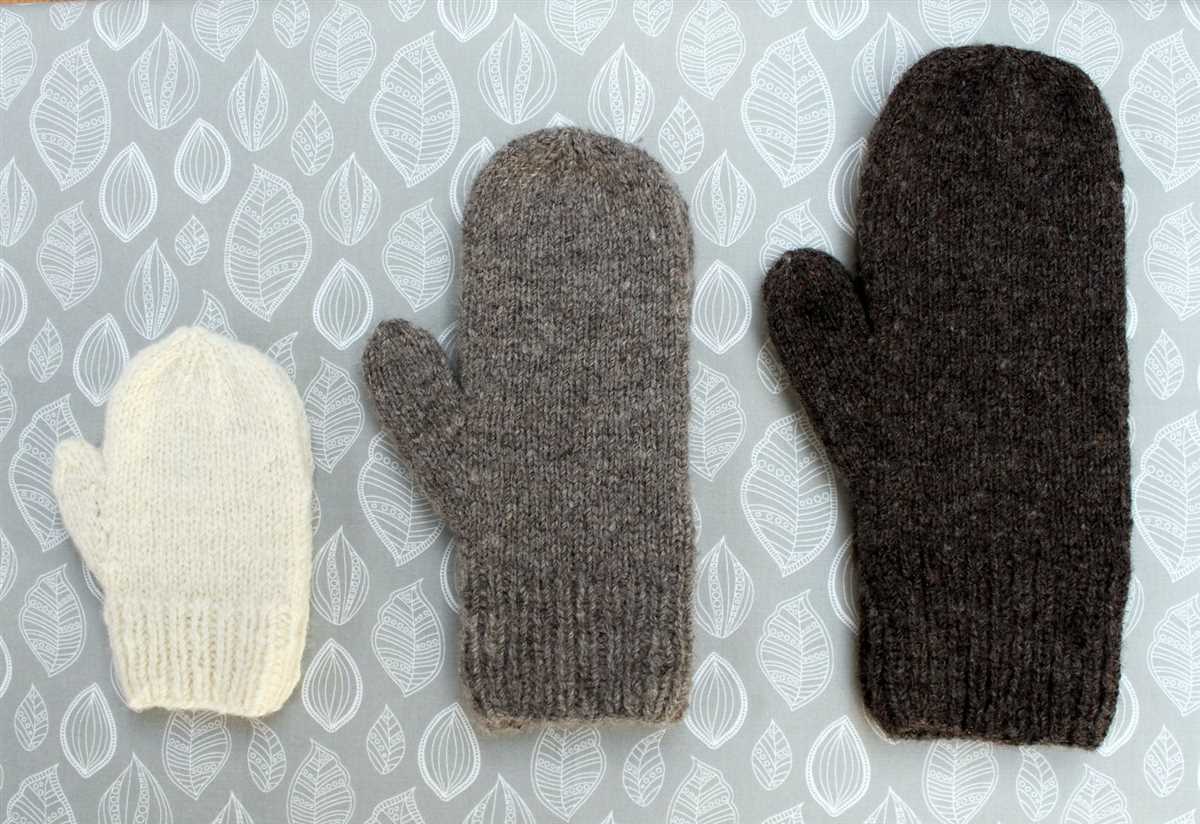
The sizing for flap mittens can vary depending on the pattern and the size of the individual’s hands. Most patterns will provide measurements for small, medium, and large sizes. It is important to note that these measurements are typically given as a guide, and it is recommended to measure the recipient’s hand to ensure the best fit. Taking accurate measurements of the hand’s circumference and length will help in choosing the appropriate size to knit.
Some patterns may also provide guidance on how to adjust the sizing to fit larger or smaller hands. This can be done by adding or subtracting stitches or rows in certain sections of the pattern. It is important to carefully read and understand the instructions provided in the pattern before making any modifications.
In addition to gauge and sizing, it is also important to consider the desired fit of the mittens. Some individuals may prefer a snug fit, while others may prefer a looser fit. This can be achieved by adjusting the needle size and yarn weight. Knitting a swatch and measuring it against the specified gauge will help determine if any adjustments are needed.
Abbreviations
When knitting flap mittens, it is important to understand the various abbreviations that are often used in knitting patterns. Abbreviations are shortened versions of knitting instructions, which make patterns easier to read and follow. Here are some common knitting abbreviations you may come across:
- K: Knit. This means to insert the knitting needle into the next stitch from left to right, wrap the yarn around the needle, and pull it through the stitch to create a new stitch.
- P: Purl. This means to insert the knitting needle into the next stitch from right to left, wrap the yarn around the needle, and pull it through the stitch to create a new stitch.
- YO: Yarn over. This means to wrap the yarn around the needle, creating an extra stitch.
- K2tog: Knit two stitches together. This means to insert the needle into the next two stitches as if to knit, and knit them together as one stitch.
- P2tog: Purl two stitches together. This means to insert the needle into the next two stitches as if to purl, and purl them together as one stitch.
- St(s): Stitch(es). This refers to the individual loops on the knitting needle.
- Rep: Repeat. This means to repeat the previous instructions a certain number of times.
- Inc: Increase. This means to add extra stitches to the knitting.
- Dec: Decrease. This means to remove stitches from the knitting.
Understanding these abbreviations will help you follow the flap mittens knitting pattern more easily. Refer to the pattern’s instructions for any additional abbreviations specific to that pattern.
Cuff
The cuff is the part of the mittens that is worn around the wrist. It is typically knitted in a ribbing pattern to provide stretch and a snug fit. The ribbing pattern is created by alternating knit and purl stitches, which allows the cuff to stretch and contract as needed.
The cuff of the flap mittens is usually longer than the cuffs of regular mittens to provide extra warmth and protection. It can be customized in terms of length and width, depending on personal preference and the desired fit of the mittens. Some people prefer a longer cuff that can be folded over for added warmth, while others prefer a shorter cuff that sits lower on the wrist.
When knitting the cuff, it is important to cast on the correct number of stitches to ensure a snug fit. Too few stitches will result in a loose cuff that may not stay in place, while too many stitches will create a tight cuff that is difficult to put on and take off. It is also important to take into account the elasticity of the yarn being used, as different yarns have different levels of stretch.
The cuff can be knitted in a variety of ribbing patterns, such as 1×1, 2×2, or 3×2. The choice of ribbing pattern can affect both the stretchiness and the appearance of the cuff. A 1×1 ribbing pattern creates a more subtle and uniform texture, while a 2×2 or 3×2 ribbing pattern creates a more pronounced and textured effect.
- Start by casting on the desired number of stitches.
- Work the ribbing pattern of your choice for the desired length.
- Bind off the stitches to finish the cuff.
Once the cuff is completed, you can proceed to knit the rest of the mitten, including the hand and the flap. The cuff provides a secure and comfortable fit for the mittens, making them perfect for keeping hands warm during cold winter days.
Hand
The hand is made up of various bones, muscles, tendons, ligaments, and nerves, all working together to provide strength, flexibility, and dexterity. The bones in the hand include the metacarpals, which form the palm, and the phalanges that make up the fingers. These bones are connected by joints that allow for movement and provide stability.
The thumb is a unique part of the hand, as it is opposable, meaning it can be moved across the palm to touch each of the other fingers. This opposable thumb is what sets humans apart from many other animals and gives us the ability to grasp and manipulate objects with precision.
The hand is often referred to as the “ultimate tool” due to its incredible versatility. It allows us to perform a wide range of activities, from simple everyday tasks like brushing our teeth and tying shoelaces to more complex activities such as painting, playing sports, and creating intricate crafts.
- The hand is also closely connected to our sense of touch. The fingertips are incredibly sensitive and are packed with nerve endings, allowing us to feel textures, temperatures, and vibrations.
- In addition to its functional aspects, the hand also holds significant cultural and symbolic meanings. It is often used to express emotions through gestures and hand signals, and it plays an important role in communication and non-verbal cues.
- Keeping our hands healthy and well-cared for is crucial. Regular exercise, proper hygiene, and protecting our hands from injury are all important in maintaining their strength and functionality.
Overall, the hand is an incredible part of the human body. Its intricate structure and capabilities make it an indispensable tool for daily life, allowing us to interact with the world and express ourselves in countless ways.
Thumb Gusset
The thumb gusset is an essential part of knitting flap mittens. It is designed to create extra space for the thumb, allowing for a comfortable fit and ease of movement. The gusset is usually located on the side of the mitten, between the palm and the back of the hand.
To create the thumb gusset, you will typically increase stitches on either side of a designated thumb stitch. This can be done by knitting or purling into the front and back of a stitch, or by using other increase techniques such as make one (M1) or lift increase.
As you continue knitting the thumb gusset, the additional stitches will form a triangular shape, gradually expanding the width of the mitten. The number of stitches you increase will depend on the size of the mittens and the desired width of the thumb. It’s important to follow the instructions provided in the knitting pattern to ensure a proper fit.
The thumb gusset should be long enough to comfortably accommodate the thumb, but not too long as to cause excess bulk. Once the desired number of gusset stitches have been added, they are usually placed on hold using a stitch holder or waste yarn. This allows you to continue knitting the rest of the mitten while keeping the thumb stitches separate.
After completing the body of the mitten, the thumb stitches are then picked up from the holder or waste yarn and worked in the round to create the thumb. This is typically done using double-pointed needles or magic loop method, depending on your preferred knitting technique.
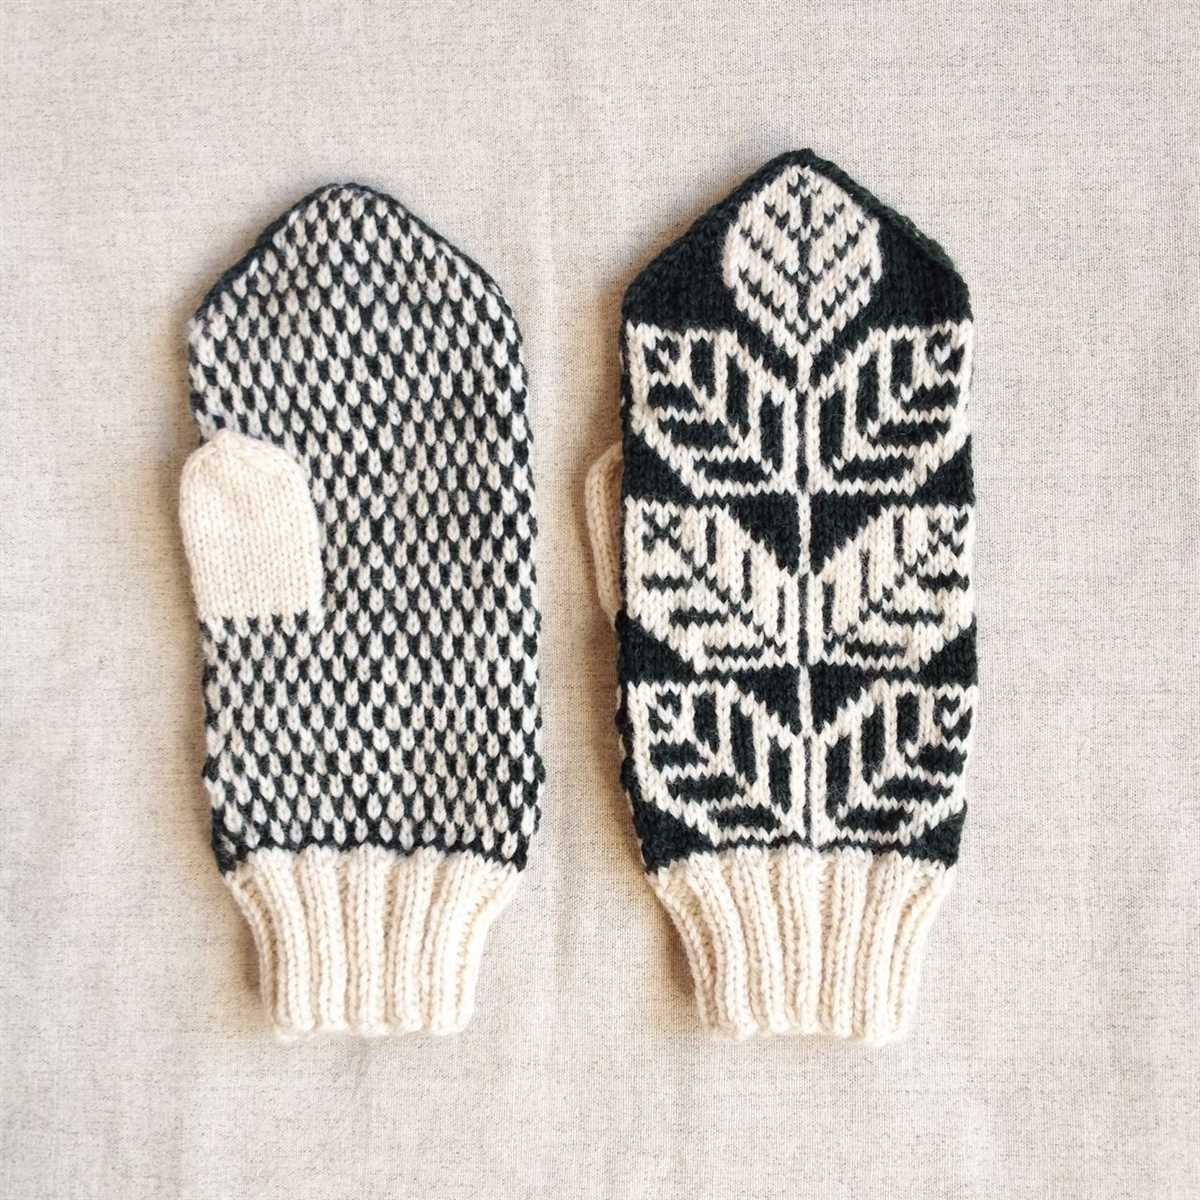
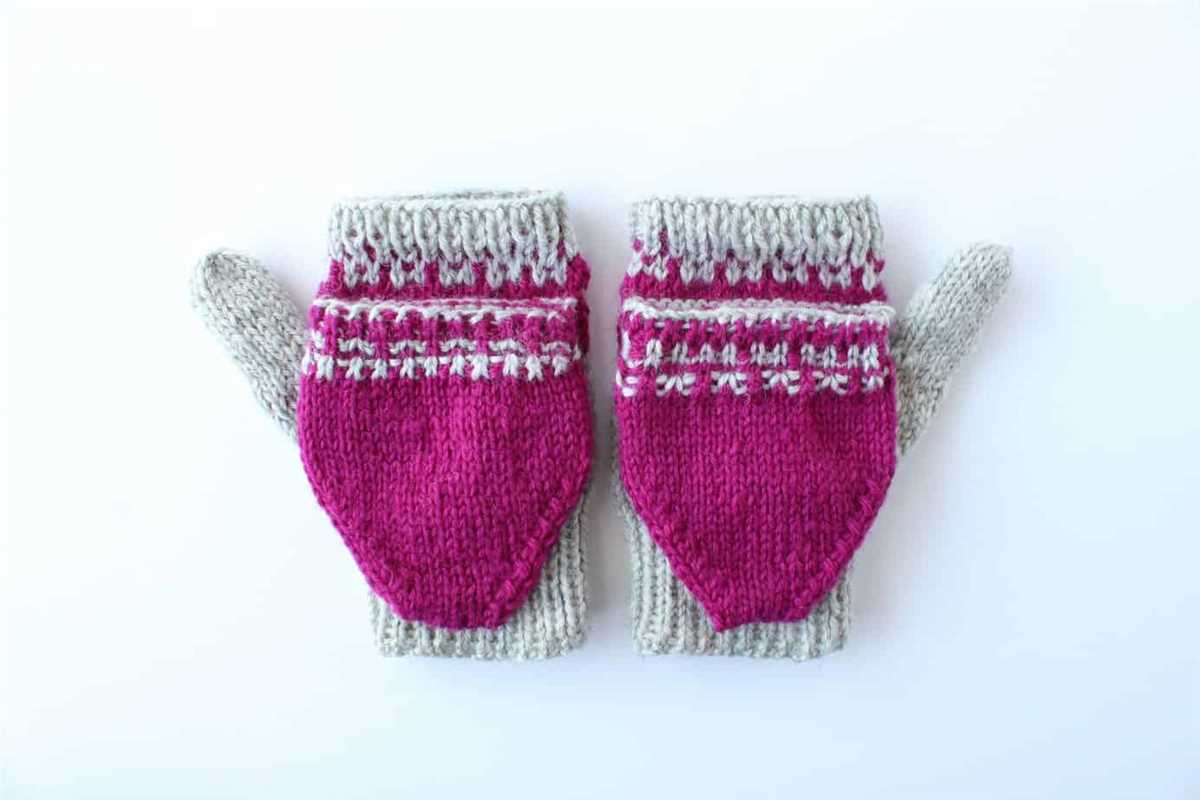
Flap Mittens Knitting Pattern – Flap
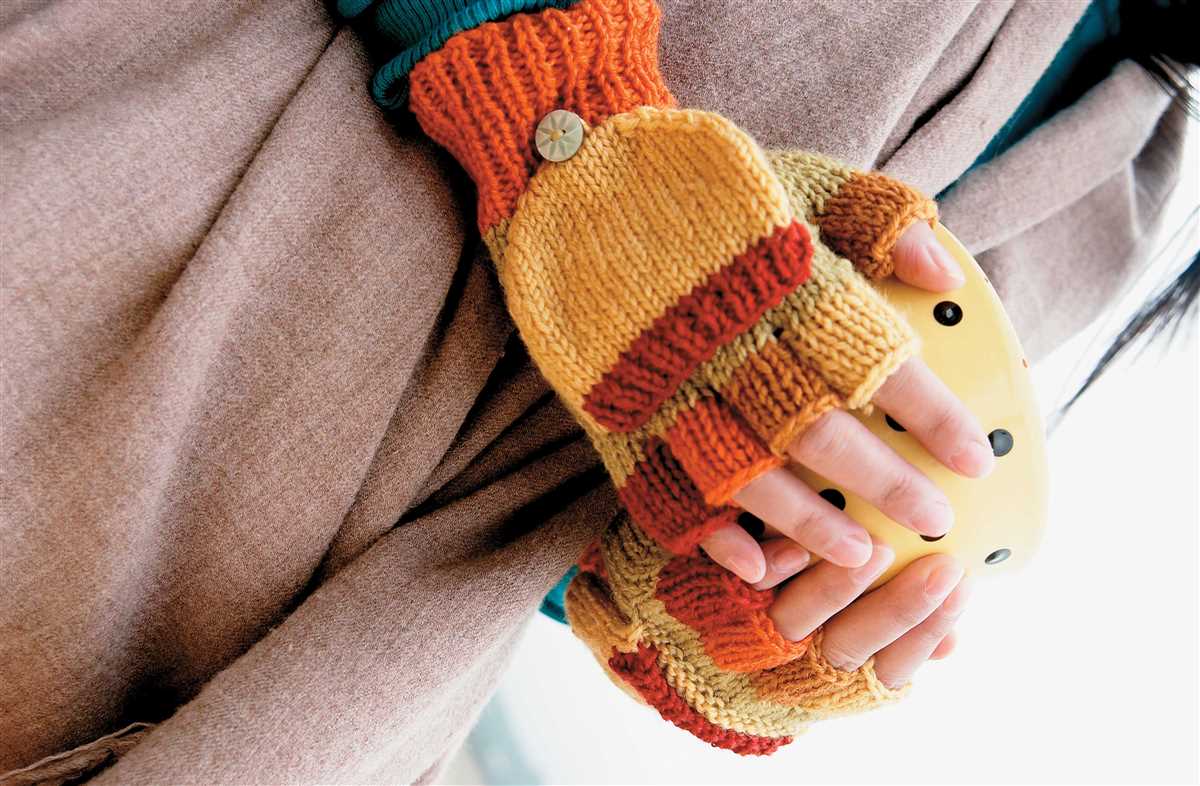
A flap is an important component of flap mittens knitting pattern. It is a separate piece of fabric that covers the fingers and can be folded back to expose the fingertips. The flap is usually attached to the back of the hand portion of the mitten and secured with buttons or other fasteners.
The flap serves multiple purposes in flap mittens knitting pattern. First and foremost, it provides additional warmth and protection to the fingers. When the flap is folded over the fingers, it covers them completely and helps to retain heat. This is particularly useful in colder climates or during outdoor activities in winter.
Additionally, the flap can be easily opened and closed to provide finger dexterity when needed. For example, if you need to use your fingers to perform tasks that require more precision or grip, you can simply fold back the flap and expose your fingertips. This is especially handy for activities like texting, typing, or handling small objects.
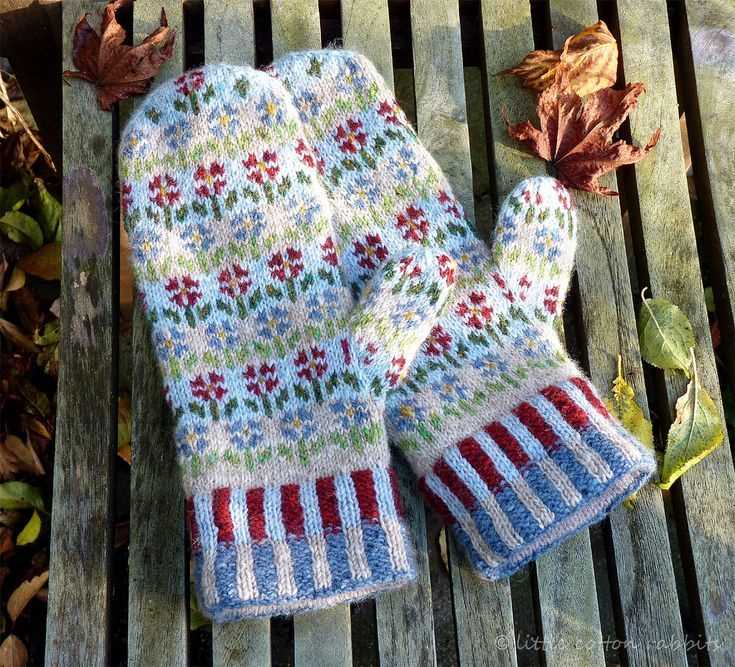
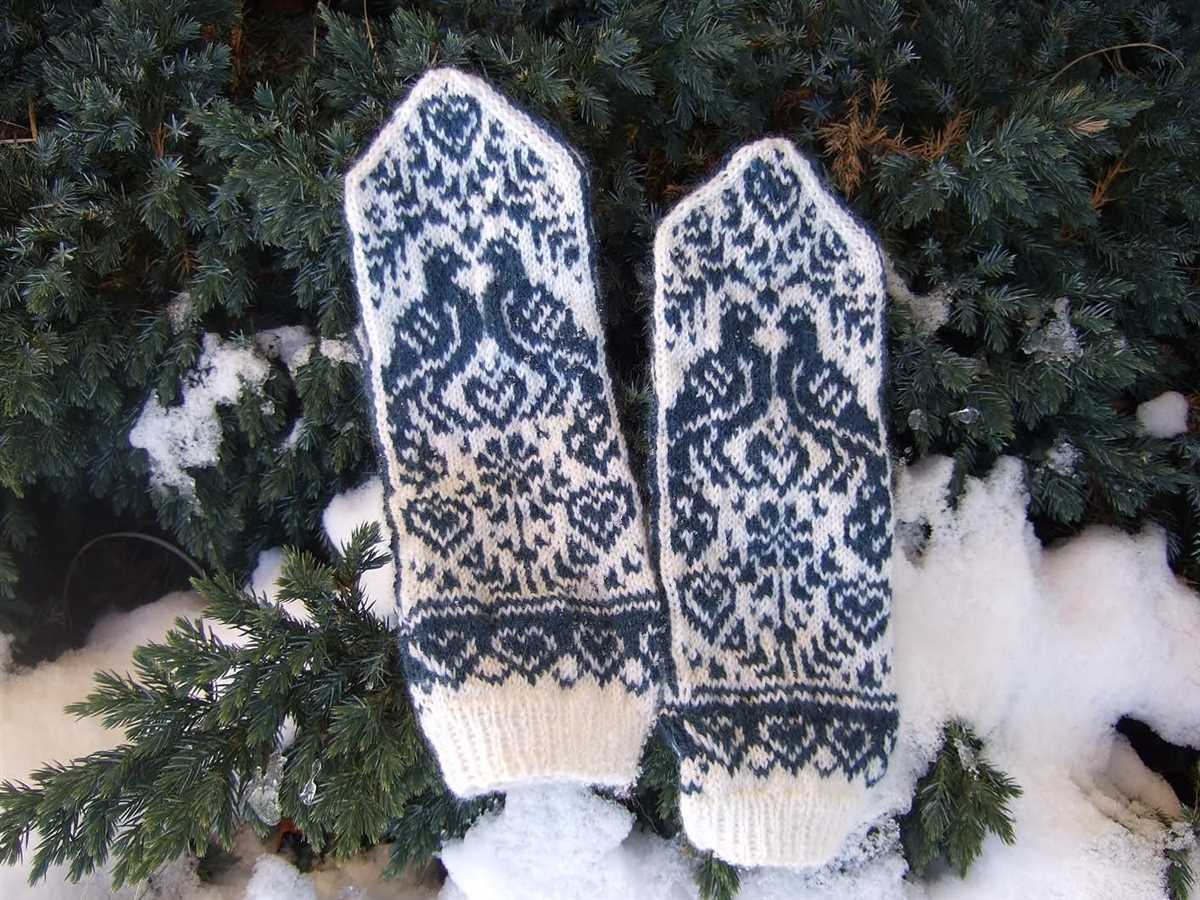
Furthermore, the flap can also be used as a stylish design element. Knitters can choose different colors, patterns, or textures for the flap to add visual interest to the mittens. This allows for endless customization options, making each pair of flap mittens unique and personalized.
Mittens Assembly
After you have finished knitting all the pieces of the flap mittens, it’s time to assemble them! Follow these step-by-step instructions to put everything together and create a cozy pair of mittens.
1. Sewing the thumb
Start by placing the thumb gusset on the palm side of the mitten, aligning the top edge of the thumb gusset with the opening for the thumb. Use a tapestry needle and a yarn of the same color to stitch the thumb gusset to the mitten. Be sure to sew the edges securely and neatly.
2. Attaching the flap

Next, align the edges of the flap with the corresponding stitch markers on the back of the mitten. Use a tapestry needle and a yarn of the same color to sew the flap onto the mitten. Take care to sew the edges evenly and securely, making sure the flap can easily fold up and down.
3. Sewing the sides
With the thumb and flap attached, fold the mitten in half with the right sides facing each other. Begin at the bottom of the mitten and use a tapestry needle and a yarn of the same color to sew the sides together. Start at the cuff and work your way up towards the fingertips, making sure to sew through both layers of the mitten. Repeat the process on the other side to complete the mitten.
Once you have completed all the steps, you should have a completed pair of flap mittens ready to keep your hands warm and cozy during the cold winter months. Don’t forget to weave in any loose yarn ends and block the mittens to ensure a polished finished look.
Finishing Touches
Now that your flap mittens are knitted, it’s time to add some finishing touches to make them extra special.
1. Sewing the thumb: Take a tapestry needle and matching yarn color, sew the thumb opening closed. Start at the base of the thumb and work your way up, using small whip stitches to secure the sides together. Make sure to weave in the loose ends to create a neat finish.
2. Adding buttons: If desired, you can add buttons to the flaps of your mittens. Measure and mark the desired location for the buttons on the outside of the flap. Using a needle and thread, sew the buttons securely in place. This will not only add a decorative touch but also provide practicality by keeping the flaps in place when folded back.
3. Blocking: To give your mittens a professional finish, block them. Wet the mittens and gently squeeze out the excess water. Lay them flat on a towel, shaping them to the desired size and dimensions. Allow them to dry completely before wearing or storing.
4. Care instructions: Include care instructions when gifting or wearing your flap mittens. This will help maintain their quality and prolong their lifespan. Typically, flap mittens made of natural fibers should be hand-washed in cold water and laid flat to dry.
Summary
- Sew the thumb opening closed using whip stitches.
- Add buttons for both decoration and functionality.
- Block the mittens for a professional finish.
- Include care instructions to maintain the quality and longevity of your mittens.
By following these finishing touches, your flap mittens will be ready to keep your hands warm and stylish all winter long. Enjoy knitting and wearing your cozy creations!