
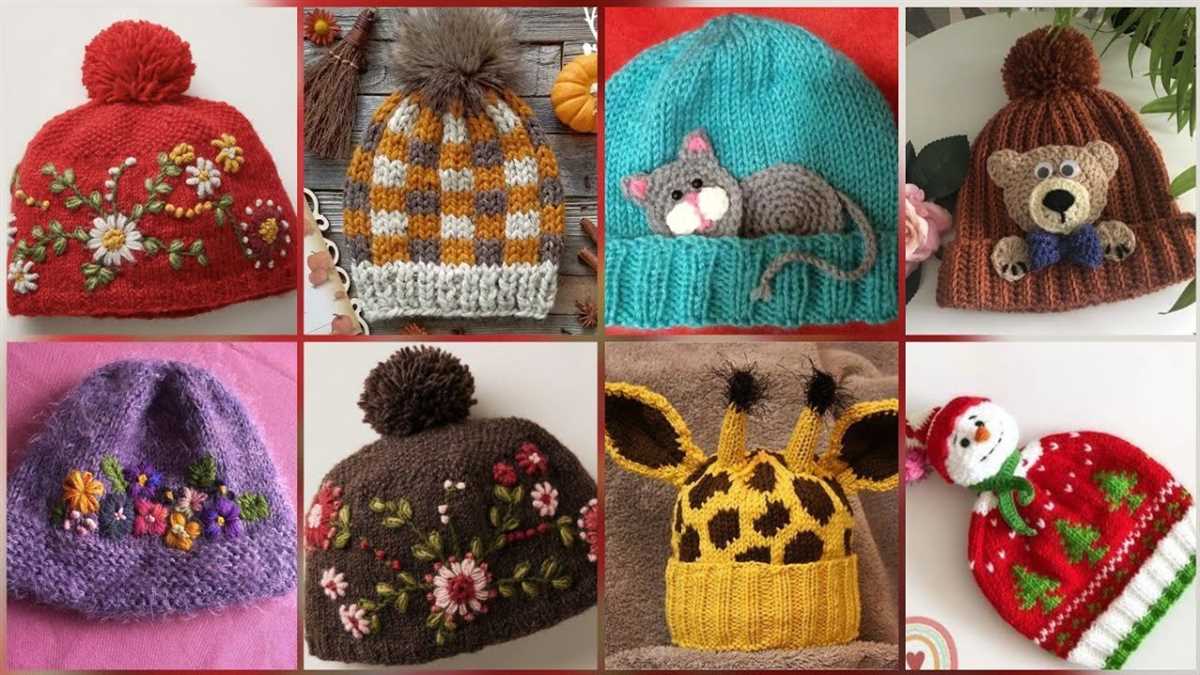
Knitting is a popular craft that allows people to create their own unique and personalized items. One of the most versatile and commonly made items is the knit hat. Knit hats are not only functional and practical, but they also make a fashion statement and can be the perfect accessory to complete any outfit. In this article, we will be sharing a simple and easy-to-follow everyday knit hat pattern that is suitable for knitters of all skill levels.
Whether you are a beginner or an experienced knitter, this pattern can be easily adjusted to fit your preferences. You can choose different colors of yarn to match your style or experiment with different knitting stitches to add texture and design to your hat. With our step-by-step instructions and clear illustrations, you will be able to create a cozy and stylish knit hat that you can wear all year round.
The everyday knit hat pattern we will be sharing is a basic beanie style hat that can be made with any type of medium-weight yarn. The pattern uses a combination of knit and purl stitches, making it a great project for knitters who want to practice their skills or learn new techniques. The finished hat will be warm, soft, and stretchy, making it comfortable to wear during any season.
Everyday Knit Hat Pattern
Knit hats are a versatile and practical accessory that can keep you warm and stylish throughout the colder months. The everyday knit hat pattern is a simple and easy-to-follow pattern that is perfect for beginners and experienced knitters alike. This pattern allows you to create a basic hat that can be customized with different yarns and colors to suit your personal style.
To start knitting the everyday hat, you will need a set of circular knitting needles and a ball of yarn. Begin by casting on the desired number of stitches, typically around 80 to 100 stitches for an adult-sized hat. Join the ends of the stitches to form a circle and place a stitch marker to mark the beginning of the round.
The pattern consists of knitting in the round, using the basic knit stitch for the entire hat. This knit stitch creates a smooth and stretchy fabric that will keep your head warm. Continue knitting in the round until the hat reaches the desired length, usually around 8 to 10 inches for an adult-sized hat. You can try on the hat as you go to ensure a proper fit.
Once the hat has reached the desired length, it’s time to finish off the hat. Cut the yarn, leaving a long tail, and thread it through a tapestry needle. Slide the needle through the remaining stitches and remove them from the knitting needles. Cinch the top of the hat closed by pulling the yarn tight and weaving it through the stitches to secure.
The everyday knit hat pattern is a versatile pattern that allows you to experiment with different yarns, colors, and stitch patterns. You can add ribbing at the brim for a snugger fit or incorporate stripes or cables for added interest. Whether you’re a beginner or an experienced knitter, this pattern is a great project to have in your repertoire.
Materials
Before you begin knitting your everyday hat, make sure you have all the necessary materials. Here is a list of what you will need:
- Yarn: Choose a soft, medium weight yarn in your desired color. You will need approximately one skein, depending on the size of the hat.
- Knitting needles: Use circular needles in the appropriate size for your yarn, usually around size US 7 or 8. This will be used for the main part of the hat.
- Double pointed needles: You will need a set of double pointed needles in the same size as your circular needles. These will be used for knitting the crown of the hat.
- Tapestry needle: This needle will be used for weaving in ends and sewing up any seams or gaps.
- Stitch markers: These are helpful for marking the beginning of a round or any other important points in your knitting.
Once you have gathered all these materials, you will be ready to start knitting your everyday hat!
Gauge
In knitting, gauge refers to the number of stitches and rows per inch in a knitted fabric. It is an essential aspect of knitting that helps ensure the proper fit of a project. The pattern for an everyday knit hat will often provide a suggested gauge, which is determined by the needle size, yarn weight, and the knitter’s tension.
To achieve the correct gauge, it is important to swatch before starting the project. Swatching involves knitting a small sample of the pattern using the recommended needle size and yarn weight. The knitter should measure the sample, counting the number of stitches and rows within a 4-inch square. If the number of stitches and rows matches the pattern’s gauge, then the knitter can proceed with the project confidently.
Why is gauge important?
Gauge is crucial because it affects the overall size and fit of the finished knitted item. If the gauge is too loose, the item will be larger than intended, while a tighter gauge will result in a smaller item. This can be particularly problematic for projects that require precise sizing, such as hats or garments.
In addition to sizing, gauge also impacts the drape and texture of the fabric. A looser gauge may create a more open and breathable fabric, while a tighter gauge can result in a denser and warmer fabric.
Troubleshooting gauge issues
If the swatch does not match the suggested gauge, it may be necessary to adjust the needle size to achieve the desired result. If the gauge is too tight, using larger needles will create a looser fabric, while smaller needles will create a tighter fabric. Similarly, if the gauge is too loose, opting for smaller needles will help create a denser fabric. It may be necessary to experiment with different needle sizes and swatch again until the correct gauge is achieved.
Remember:
- Always swatch before starting a project to ensure the correct gauge.
- Use the recommended needle size and yarn weight specified in the pattern.
- If the gauge is off, adjust the needle size accordingly and swatch again until the desired gauge is achieved.
- Pay attention to your tension while knitting to maintain a consistent gauge throughout the project.
Size
When knitting a hat, it’s important to choose the right size to ensure a comfortable fit. Not only will this make the hat more enjoyable to wear, but it will also help to achieve the desired look and style.
One way to determine the appropriate size for a knit hat is to consider the recipient’s head circumference. This can be measured by wrapping a flexible tape measure around the widest part of the head, typically just above the ears. Using this measurement, you can refer to a standard sizing chart to determine the corresponding hat size.
It’s also worth noting that different knit hat patterns may have different sizing options. Some patterns may provide a range of sizes to choose from, while others may have adjustments built in to accommodate different head sizes.
When selecting a size, it’s important to consider the intended fit of the hat. A snug fit may be preferred for warmth and security, while a looser fit may be desired for a more relaxed or slouchy look. Additionally, some hat patterns may have specific instructions for adjusting the length or width to achieve a custom fit.
To ensure the best fit, it’s always a good idea to gauge your knitting and make any necessary adjustments as you go. This can involve adding or decreasing stitches to achieve the desired circumference, or adjusting the length of the hat to fit the intended wearer.
Abbreviations
In knitting patterns, abbreviations are often used to make the instructions more concise. These abbreviations represent the various stitches and techniques used in the pattern. Familiarizing yourself with these abbreviations will make it easier to follow knitting patterns.
Here is a list of commonly used abbreviations in knitting patterns for making a everyday knit hat:
- K – knit stitch
- P – purl stitch
- CO – cast on
- BO – bind off
- RS – right side
- WS – wrong side
- K2tog – knit two stitches together
- P2tog – purl two stitches together
- YO – yarn over
- St(s) – stitch(es)
These are just a few of the abbreviations that you may come across in the pattern. It’s important to refer to the pattern’s abbreviation key or glossary for any other abbreviations that may be used. By understanding these abbreviations, you’ll be able to follow the pattern and create a beautiful everyday knit hat.
Instructions
Before you start knitting the everyday knit hat, make sure you have all the necessary materials. You will need a set of knitting needles, a tapestry needle, and a Worsted weight yarn. It is also helpful to have a stitch marker to keep track of your rounds.
To begin, cast on a total of 80 stitches using the long-tail cast-on method. Place a stitch marker to mark the beginning of the round, and join in the round, being careful not to twist the stitches.
Next, you will start knitting in the round. Using the knit stitch, knit every round until the hat measures approximately 6 inches in length. You can adjust the length based on your personal preference.
Once the hat reaches the desired length, it is time to shape the crown. Begin by knitting 7 stitches, then knit 2 together. Repeat this sequence until the end of the round.
Next, knit one round without decreasing. On the following round, knit 6 stitches, then knit 2 together. Repeat this sequence until the end of the round.
Continue this pattern of knitting one round without decreasing, followed by a round of decreases, until you have 8 stitches remaining. Cut the yarn, leaving a long tail. Thread the tail through a tapestry needle, and slide the needle through the remaining stitches. Pull tight to close the top of the hat.
Weave in any loose ends using the tapestry needle. Your everyday knit hat is now complete and ready to be worn or gifted to someone special!
Cast On

When starting to knit a hat, the first step is to cast on. Casting on is the process of creating the first row of stitches on the knitting needle. There are several different methods for casting on, but the most common method for hats is the long tail cast on.
The long tail cast on begins with a slipknot, which is made by creating a loop with the yarn and placing it on the needle. The tail end of the yarn is then held in the left hand, while the working end of the yarn is held in the right hand. The needle is inserted into the slipknot, and the working yarn is wrapped around the needle. The needle is then pulled through the loop, creating a new stitch. This process is repeated until the desired number of stitches is cast on.
The long tail cast on method is popular for hats because it creates a neat and elastic edge. It also allows for easy adjustment of the tension of the cast on stitches. For a standard adult-sized hat, typically 80-100 stitches are cast on. However, this can vary depending on the size of the hat and the desired fit. It’s important to follow the pattern or size guidelines to ensure the correct number of stitches are cast on.
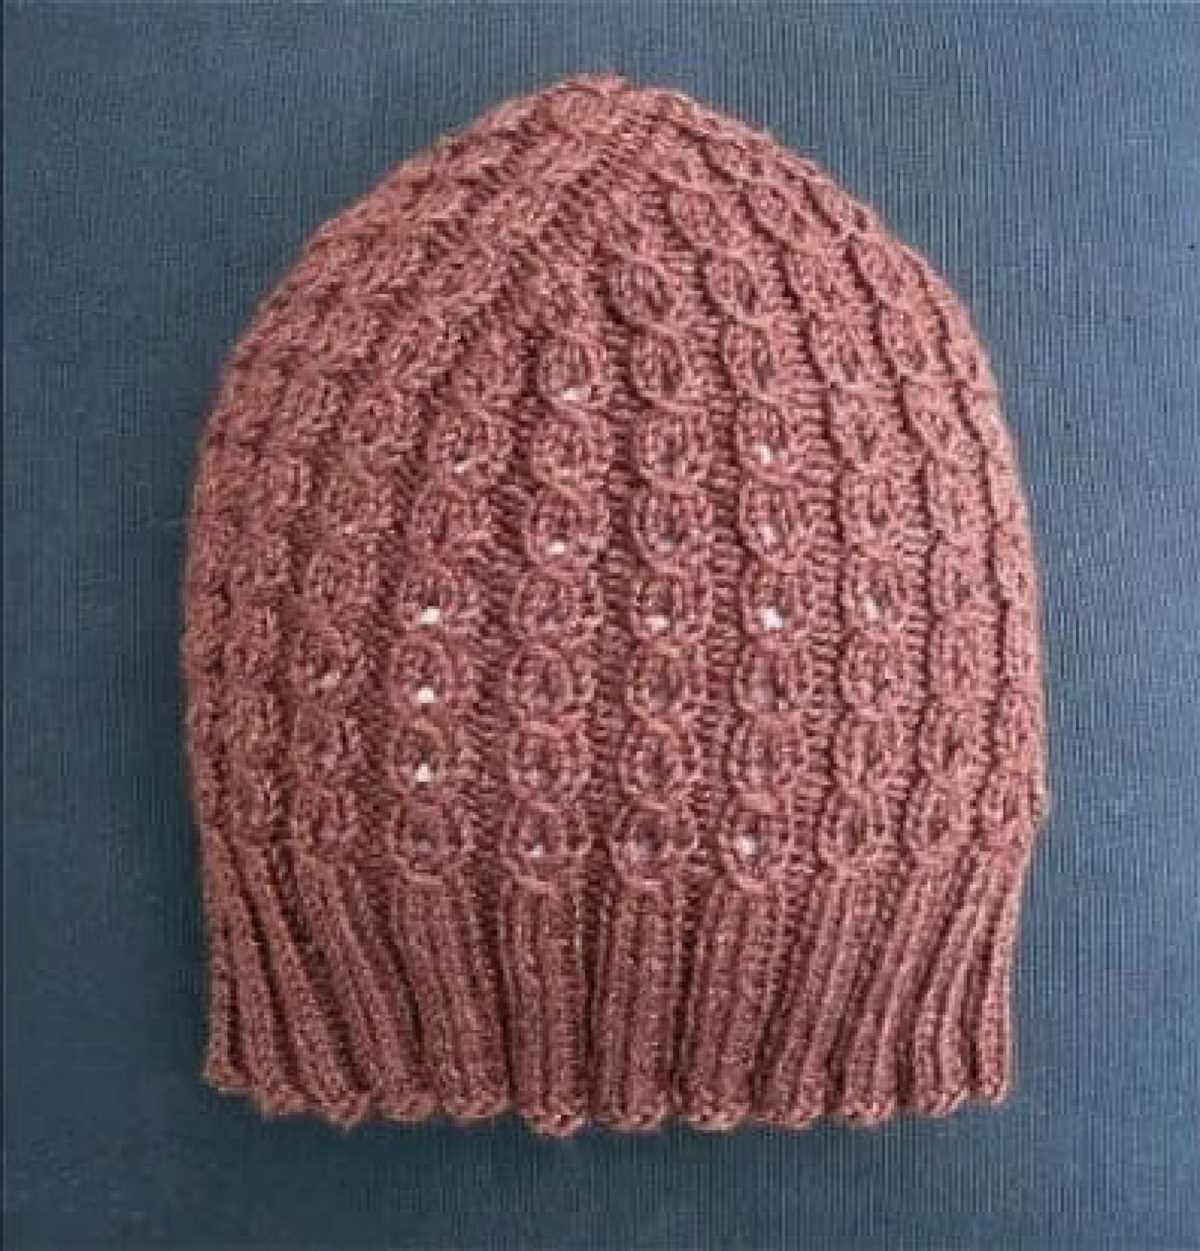
Ribbing
Ribbing is a knitting technique used to create a stretchy and snug-fitting fabric. It is commonly used in the cuffs, collars, and hems of garments, as well as in accessories like hats and mittens. The ribbing pattern is created by alternating knit and purl stitches in a specific pattern, creating a vertical ribbed effect.
There are many variations of ribbing patterns, including 1×1 ribbing, 2×2 ribbing, and 3×1 ribbing. The numbers indicate the number of knit stitches and purl stitches in each repeat of the pattern. For example, in 1×1 ribbing, one knit stitch is followed by one purl stitch, while in 2×2 ribbing, two knit stitches are followed by two purl stitches.
Ribbing serves several purposes in knitting projects. Firstly, it adds elasticity to the fabric, allowing it to stretch and fit comfortably around the body. This makes ribbing ideal for garments like sweaters and socks, as it helps them hug the body and stay in place. Secondly, ribbing adds texture and visual interest to the fabric, breaking up solid blocks of stitches and creating a decorative pattern. Finally, ribbing helps prevent the edges of knitted projects from rolling or curling, providing a clean and finished look.
When knitting ribbing, it’s important to maintain even tension and avoid stretching the stitches too tight or leaving them too loose. This will ensure that the ribbing retains its elasticity and fits properly. Additionally, using smaller needles for the ribbing section compared to the main body of the project can help create a tighter and more defined ribbing pattern.
Overall, ribbing is a versatile knitting technique that adds both functionality and style to a wide range of projects. Whether you’re knitting a cozy sweater or a simple hat, incorporating ribbing can elevate your knitting and create a professional-looking finish.
Main Body
In this section, we will discuss the main body of the everyday knit hat pattern. The main body is the part of the hat that covers the head and provides warmth. It is typically knit in a simple stitch pattern, such as stockinette stitch or ribbing, to create a stretchy and comfortable fabric.
Materials: To knit the main body of the hat, you will need a set of knitting needles in the appropriate size for your desired gauge, as well as a suitable yarn. You can choose any type of yarn that you prefer, but it is recommended to use a soft and warm yarn, such as merino wool or acrylic blend.
Instructions: To begin knitting the main body of the hat, cast on the desired number of stitches using the long tail cast-on method. Make sure to cast on enough stitches to fit comfortably around your head. You can use a gauge swatch to determine the number of stitches per inch and calculate the total number of stitches required.
Once you have cast on the stitches, begin knitting in the chosen stitch pattern for the main body. If you are using stockinette stitch, knit every row for a smooth and even fabric. If you prefer ribbing, alternate between knitting and purling rows to create the ribbed texture.
Knitting in the round: If you are comfortable knitting in the round, you can use circular needles or double-pointed needles to knit the main body of the hat. Simply join the round and continue knitting in the chosen stitch pattern, working all rows as knit stitches.
Length: Continue knitting the main body in the chosen stitch pattern until the hat reaches your desired length. This will vary depending on your personal preference and the intended size of the hat. You can use a tape measure to measure the length as you go, or try the hat on periodically to check for fit.
Finishing: Once the main body has reached the desired length, it is time to finish off the hat. If you are knitting in the round, you can use the bind-off method of your choice to close the stitches. If you are knitting flat, simply cut the yarn, leaving a long tail for seaming, and use a darning needle to sew the edges together.
Congratulations, you have now completed the main body of your everyday knit hat. You can customize the hat further by adding embellishments or choosing different stitch patterns for the brim or crown. Enjoy wearing your cozy and stylish hat!
Crown Shaping
To shape the crown of the hat, you will need to decrease stitches evenly across the rows. This will create the tapered shape that fits snugly on the head. There are several common methods for crown shaping, including decreasing every other row, every fourth row, or using a specific decrease pattern. Whichever method you choose, make sure to follow the pattern instructions carefully to achieve the desired shape.
One popular method for crown shaping is to decrease stitches every other row. This creates a smooth, gradual taper that is easy to customize based on your desired fit and style. To do this, simply follow the pattern instructions for decreasing stitches, usually by knitting two stitches together or purling two stitches together. Repeat this decrease pattern every other row until the desired number of stitches remain.
An alternative method for crown shaping is to decrease stitches every fourth row. This gives a more pronounced, steep taper to the crown. Similar to the previous method, follow the pattern instructions for decreasing stitches, but this time decrease every fourth row instead of every other row. This method is commonly used for slouchy or oversized hats, as it adds extra volume at the base while still providing a fitted crown.
Regardless of the method you choose, crown shaping is an essential step in creating a well-fitting knit hat. By decreasing stitches evenly across the rows, you can achieve the desired shape and ensure that the hat sits comfortably on the head. Experiment with different shaping techniques to find the style that suits you best.
Decrease Rounds
The decrease rounds in the everyday knit hat pattern are necessary to shape the crown of the hat. These rounds gradually reduce the number of stitches and create a tapered effect towards the top. To begin the decrease rounds, you will need to have a certain number of stitches on your needles, usually indicated in the pattern.
One common way to decrease stitches is to use the knit 2 together (k2tog) method. To do this, insert your right needle into the next two stitches on the left needle as if to knit, and then knit them together. This decreases two stitches into one. Repeat this decrease throughout the round until you reach the desired number of stitches.
Another method for decreasing stitches is the slip slip knit (ssk) decrease. To do this, slip the next two stitches knitwise one at a time onto the right needle. Then insert the left needle into the front loops of these two slipped stitches and knit them together. This also decreases two stitches into one. Alternate between k2tog and ssk decreases in a specific pattern according to the instructions in the pattern.
Continue working the decrease rounds as directed in the pattern until you have reached the final number of stitches. At this point, you may need to switch to double-pointed needles or a shorter circular needle to accommodate the smaller circumference of the crown. Once the decrease rounds are complete, you can bind off the remaining stitches and finish off your everyday knit hat.
Finishing
Once you have completed knitting the hat, it’s time to finish it off and make it wearable. The finishing touches are important to ensure that the hat looks neat and professional. Here are a few steps to follow for finishing your everyday knit hat:
1. Weave in the ends
Start by weaving in all the loose ends of yarn from your cast-on and bind-off edges. Use a tapestry needle to thread the ends through the stitches on the wrong side of the hat. Make sure to weave the ends in securely to prevent them from coming undone.
2. Block the hat (optional)
If you want to give your hat a smoother and more even shape, you can block it. To block the hat, you can either steam it or wet it and then shape it on a blocking board or a foam head. Gently stretch and pin the hat into shape, allowing it to dry completely before removing the pins.
3. Add any desired embellishments
If you want to personalize your hat or make it more stylish, you can add embellishments such as pom-poms, buttons, or patches. Secure the embellishments in place using a needle and thread or a hot glue gun, depending on the materials.
4. Give the hat a final inspection
Before wearing or gifting the hat, take a few moments to inspect it for any loose stitches or uneven edges. Use a crochet hook or knitting needle to fix any mistakes or discrepancies. This final step ensures that the hat is in perfect condition and ready to be worn or gifted.
Following these finishing steps will help you create a beautiful and well-finished everyday knit hat. Take your time and pay attention to the details to achieve the desired result. Happy knitting!
Additional Tips and Variations
Here are some additional tips and variations to consider when knitting your everyday hat:
Tips:
- Always check your gauge before starting the hat to ensure the correct sizing.
- Use markers to keep track of rounds or pattern repeats.
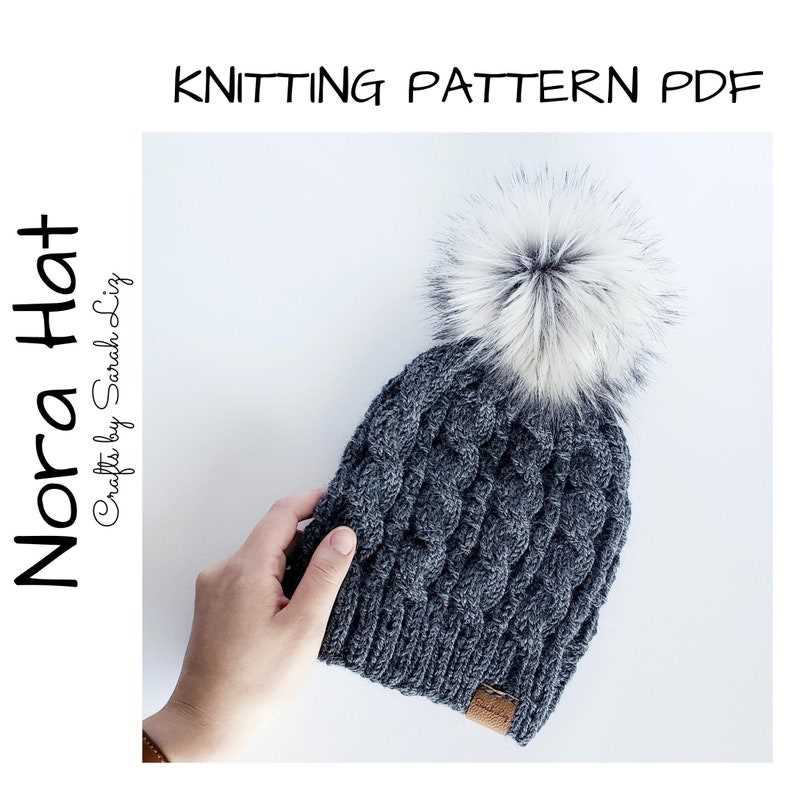
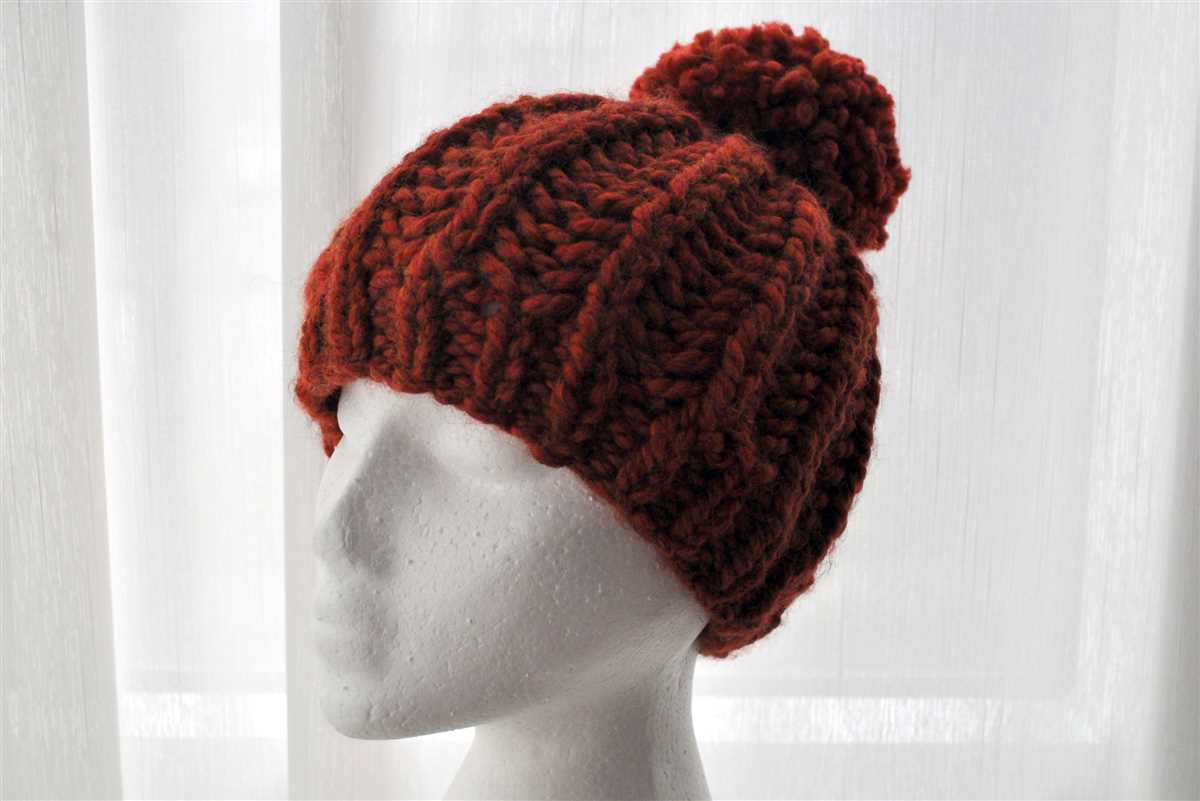
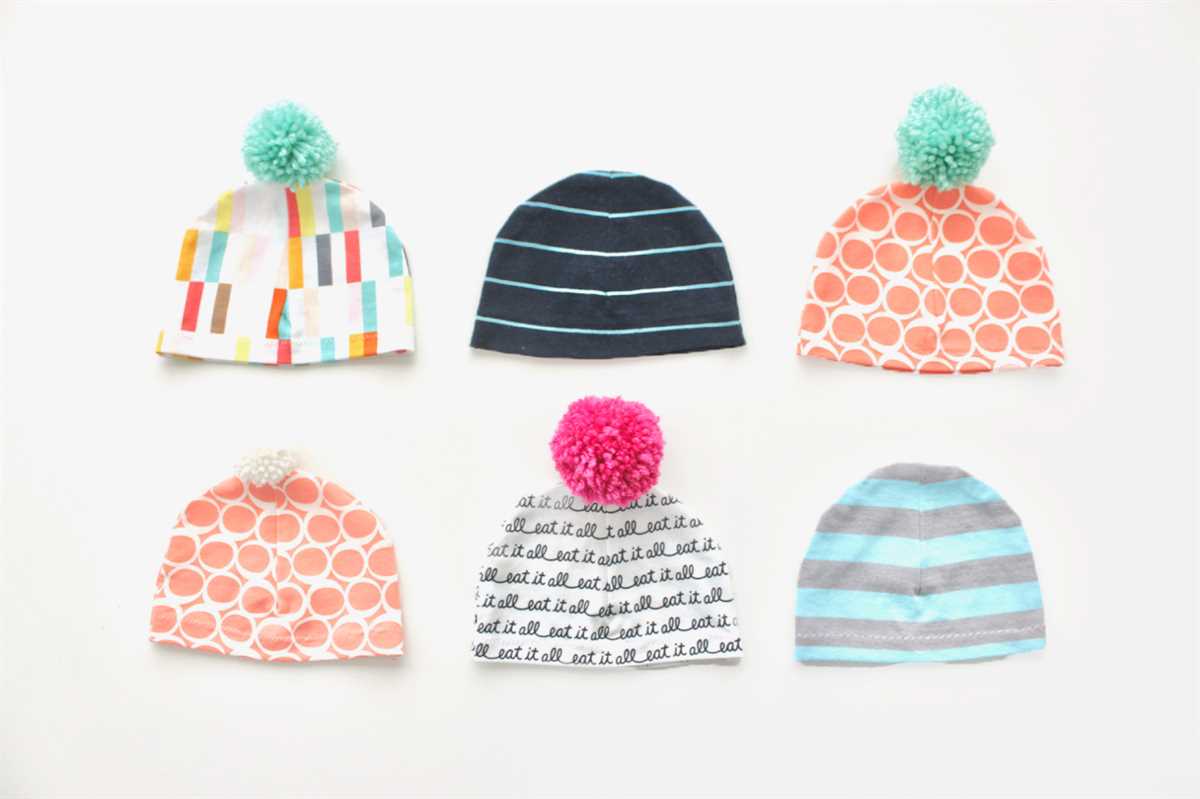
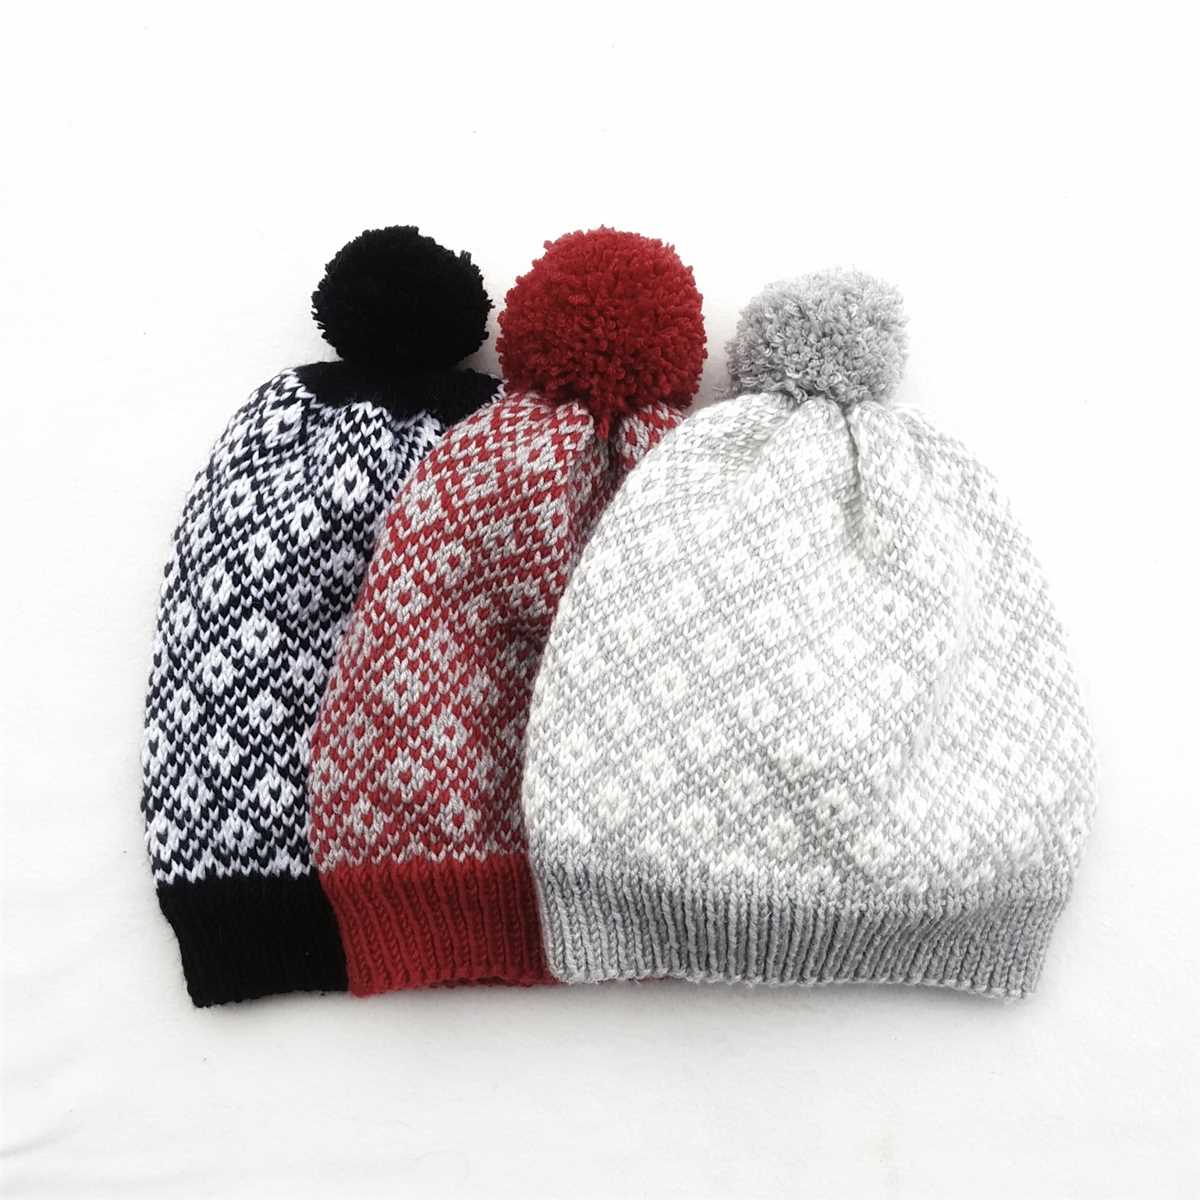
- Consider adding a pom-pom or a decorative button to the top of the hat for extra style.
- If you’re new to knitting in the round, try using circular needles instead of double-pointed needles for a seamless finish.
- Experiment with different types of yarn to achieve varying textures and warmth levels.
Variations:
- Add a ribbed brim for a snug fit and added stretch.
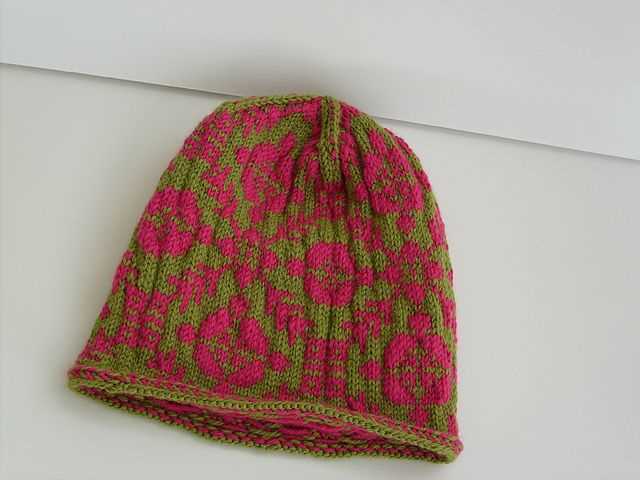
- Incorporate colorwork by knitting stripes or using a variegated yarn.
- Add a fold-over cuff for extra warmth and style.
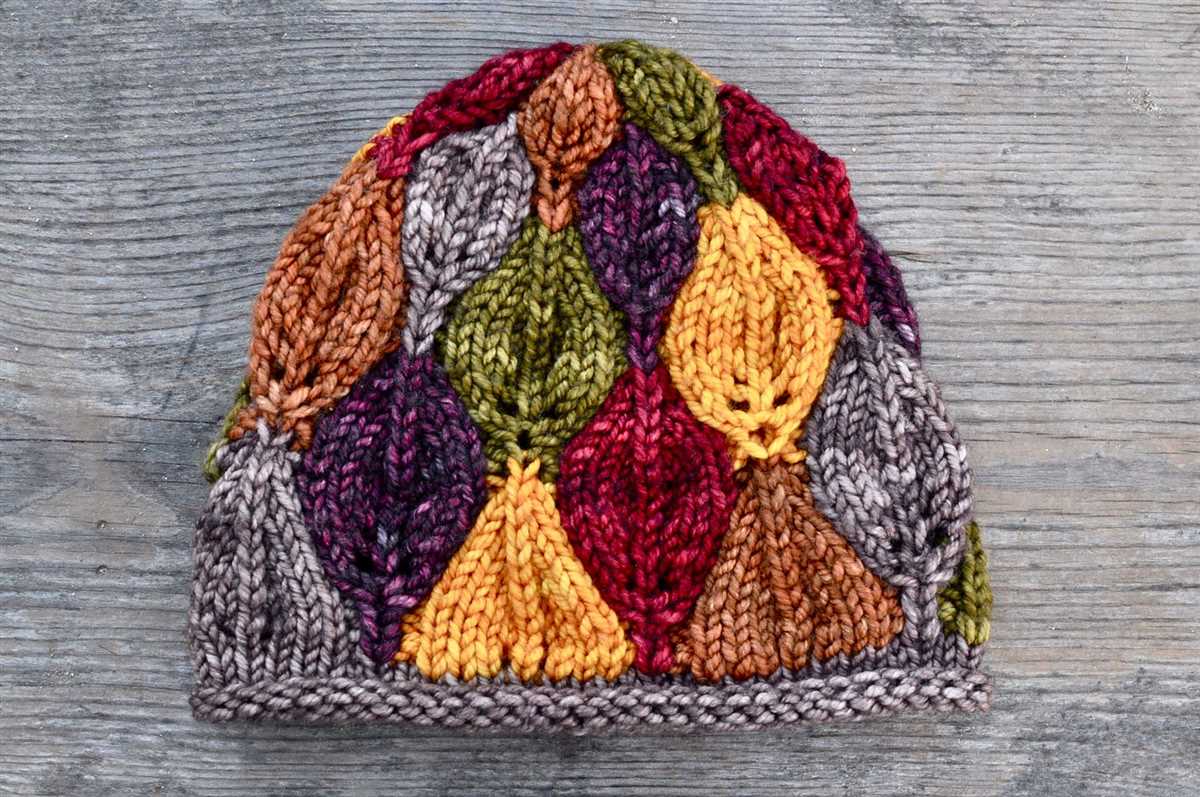
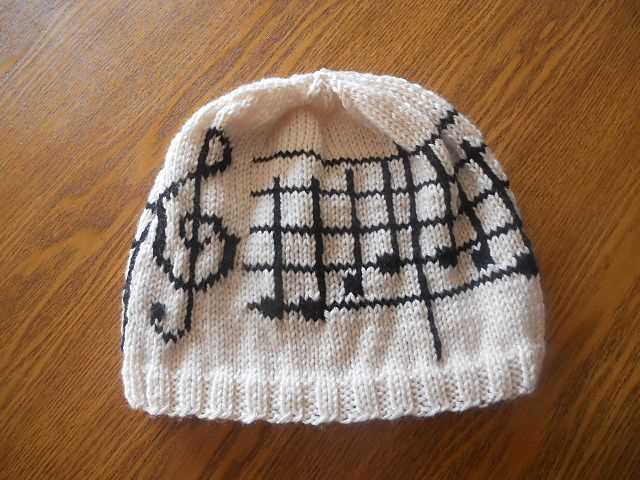
- Experiment with different stitch patterns, such as cables or lace, to create a unique design.
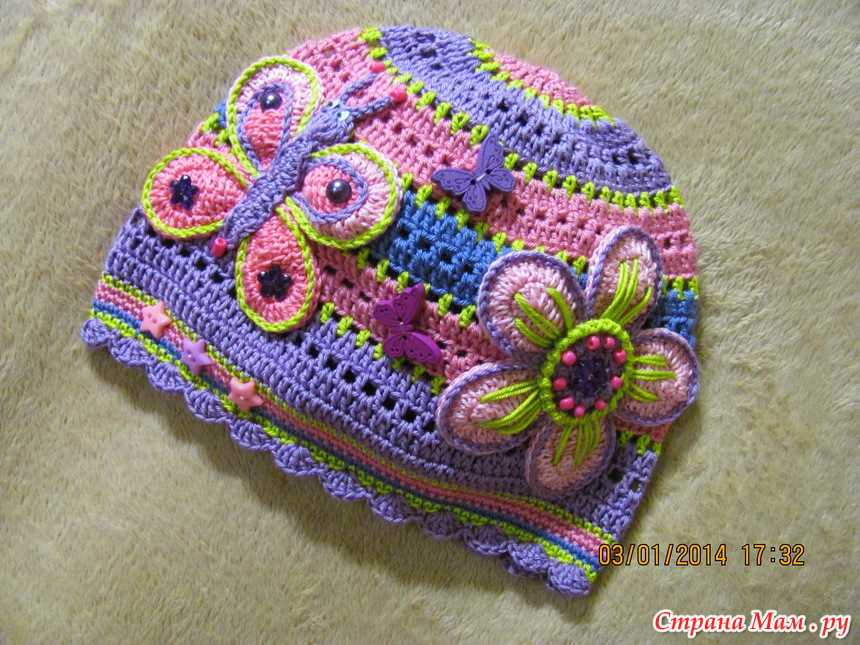
- Personalize the hat with embellishments like buttons, bows, or embroidery.
With these tips and variations in mind, you can customize your everyday knit hat to fit your style and preferences. Whether you’re a beginner or an experienced knitter, the possibilities are endless when it comes to creating a cozy and stylish hat for everyday wear.