
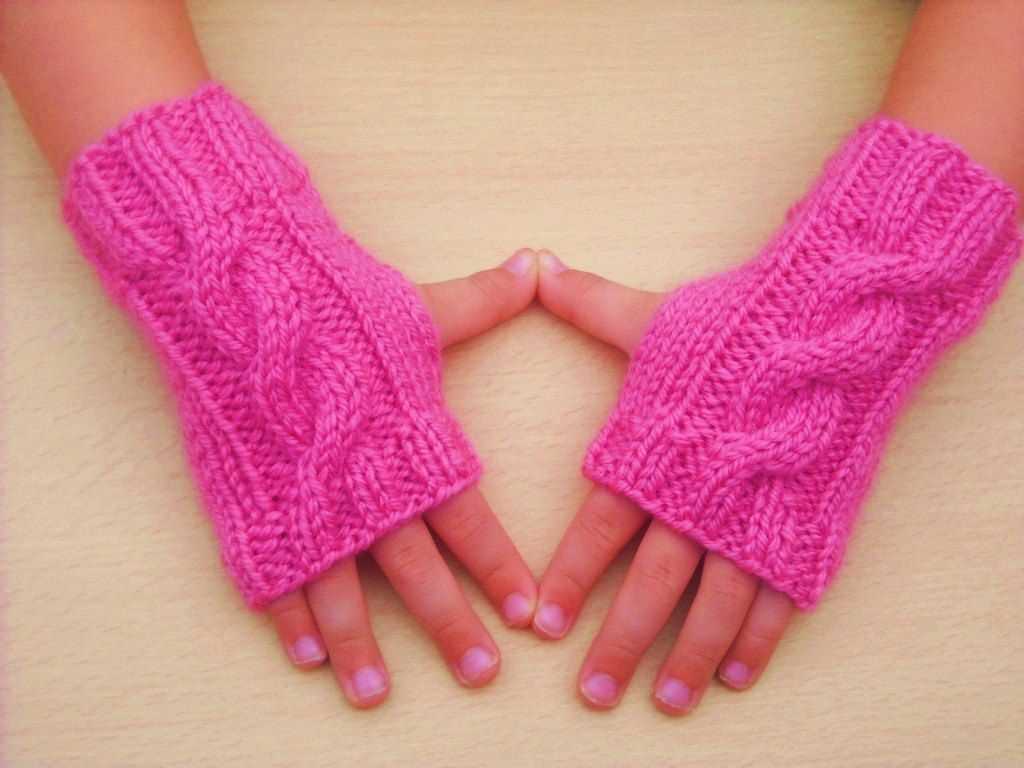
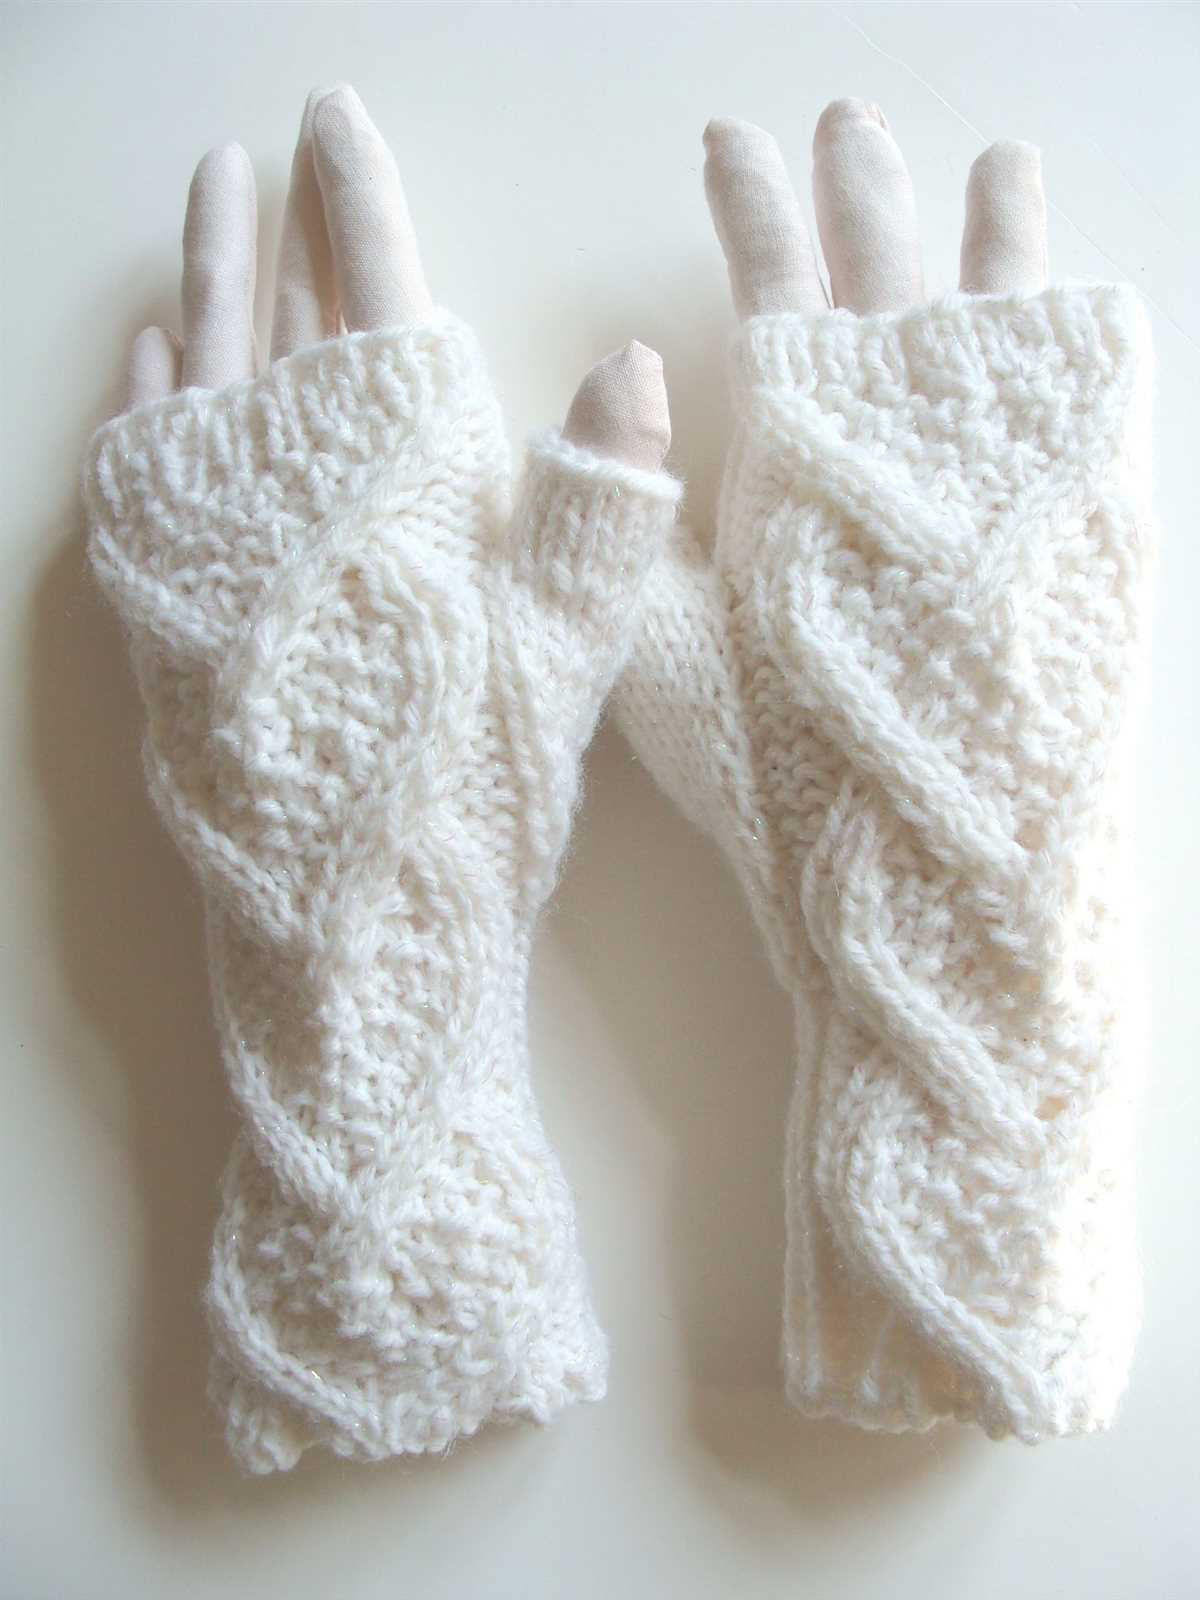
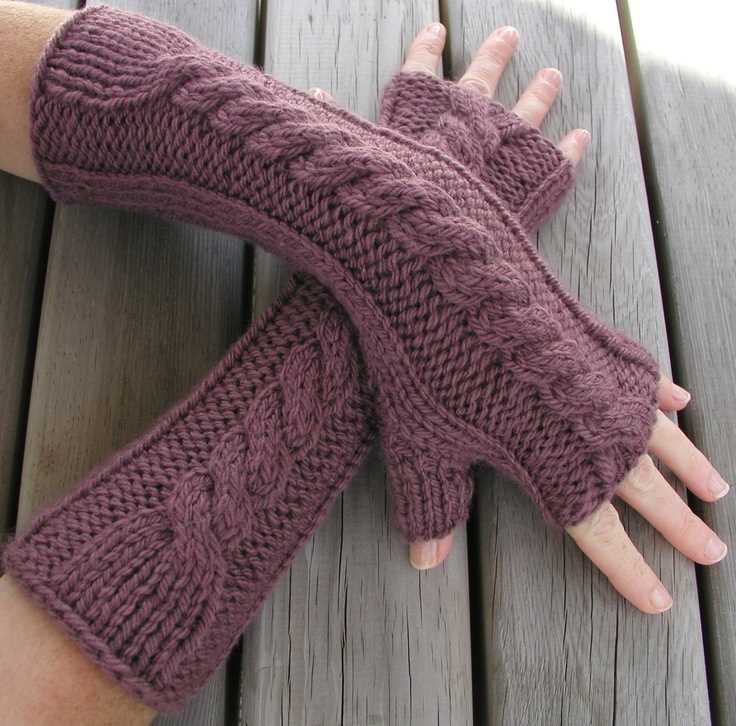
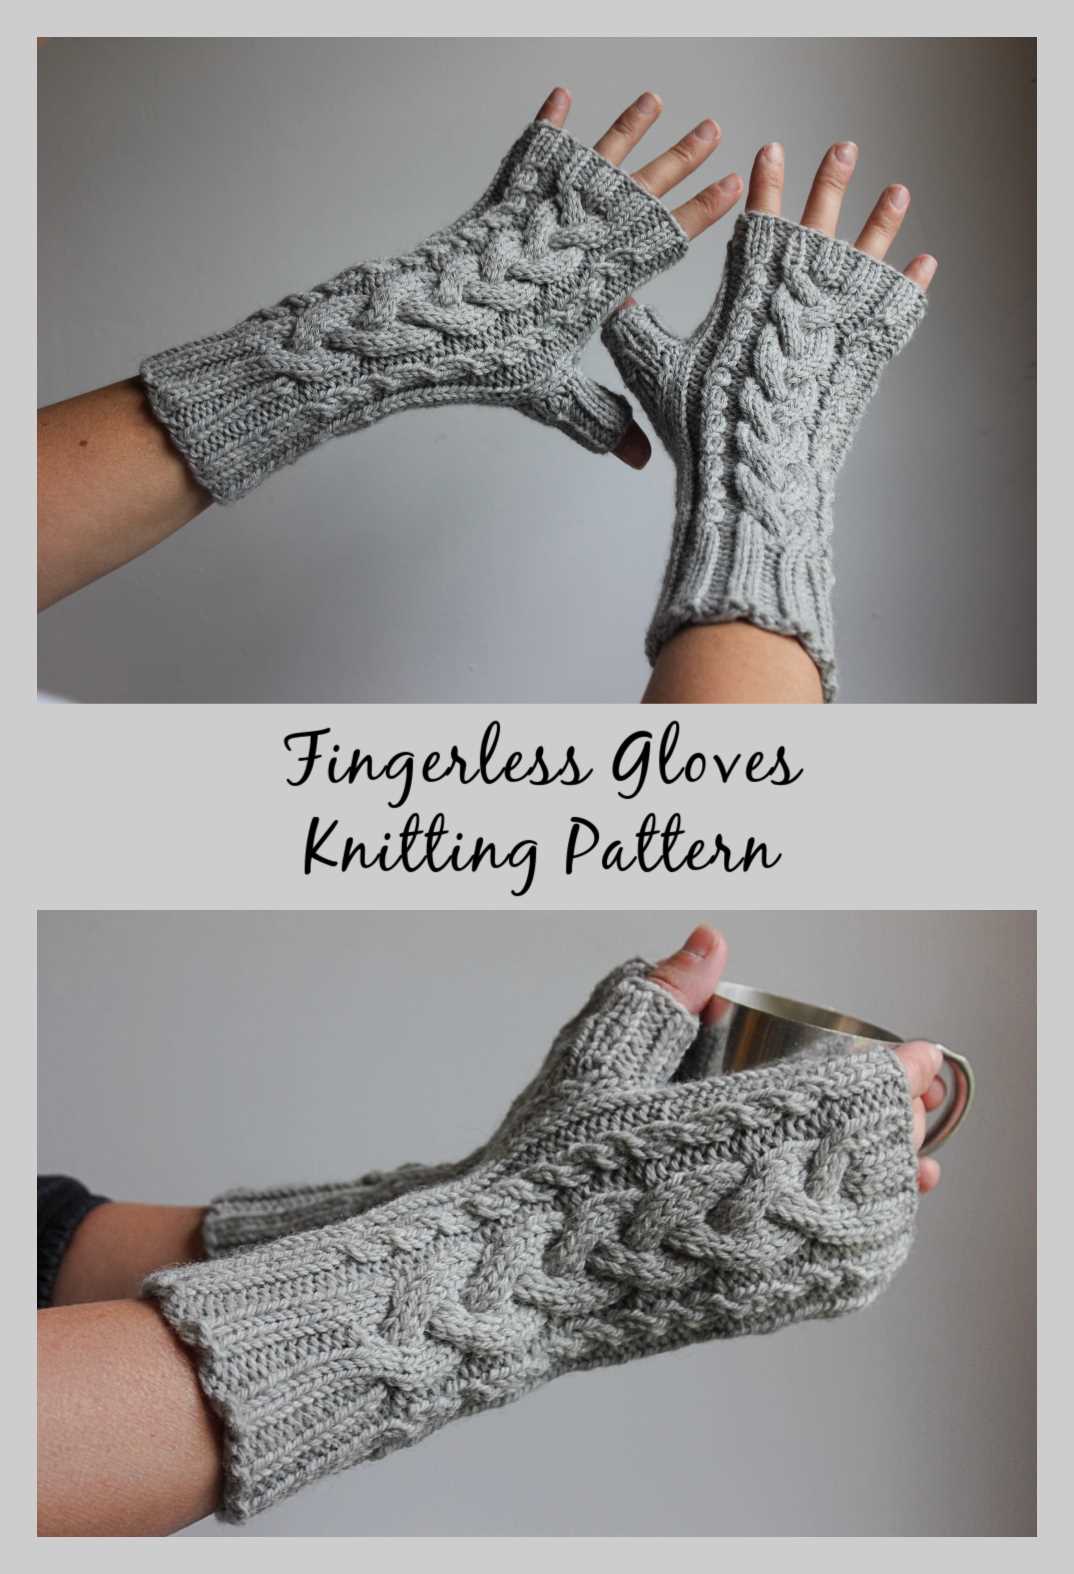
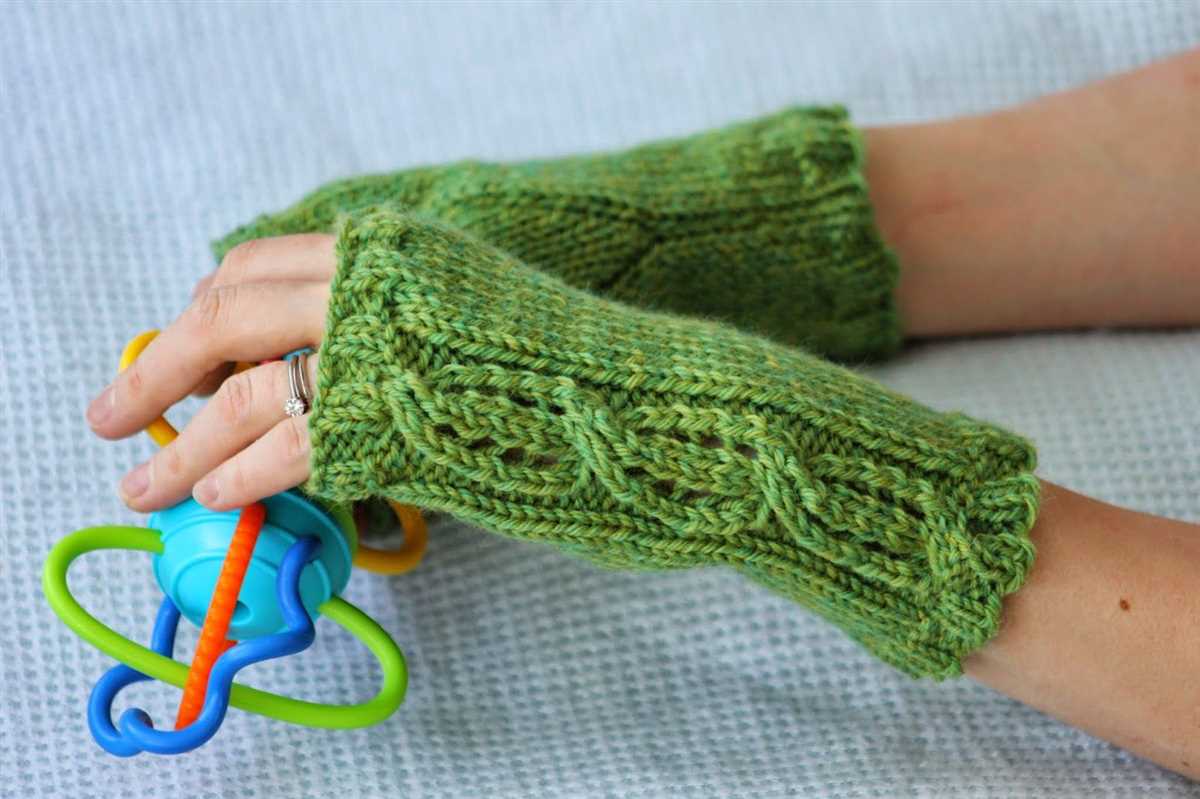
Knitting can be a wonderful way to relax and create beautiful, functional items. One popular knitting project is cable knit fingerless gloves. Fingerless gloves are perfect for those chilly days when you still need to use your fingers, whether it’s for texting, typing, or simply to keep warm.
This article will provide you with a cable knit fingerless gloves pattern that is suitable for beginner and intermediate knitters. Cable knitting involves using a cable needle to cross stitches, creating a twisted pattern that adds texture and interest to your project. It may seem intimidating at first, but with practice and patience, you’ll soon be able to create stunning cable knit fingerless gloves.
In this pattern, we’ll be using worsted weight yarn and size 6 knitting needles. The gloves will be worked in the round, starting from the wrist and ending at the fingers. The pattern includes instructions for both the left and right hand gloves, so you can make a matching set. You can also customize the length and width of the gloves to fit your hands perfectly.
Materials needed for cable knit fingerless gloves
To make your own cable knit fingerless gloves, you will need a few essential materials. With these items in hand, you’ll be well-equipped to create a cozy and stylish accessory for the colder months.
Here is a list of the materials you will need:
- Yarn: Choose a soft, warm yarn in a color of your choice. Worsted weight yarn is commonly used for this project.
- Knitting needles: You will need a set of double-pointed knitting needles in the appropriate size for your chosen yarn.
- Cable needle: A cable needle is a short knitting needle used to hold stitches while you create cables.
- Tapestry needle: This needle is used for weaving in loose ends and sewing any seams.
- Stitch markers: These small plastic rings or clips are used to mark specific stitches or sections of your knitting.
- Scissors: A pair of sharp scissors is essential for cutting yarn and trimming any excess.
In addition to these materials, you may also want to have a pattern guide or tutorial to follow along with. This will ensure that you understand the steps and techniques involved in creating the cable knit pattern for your gloves. Once you have gathered all the necessary materials, you will be ready to cast on and begin knitting your own pair of cable knit fingerless gloves.
Choosing the Right Yarn for Cable Knit Fingerless Gloves
When it comes to knitting cable knit fingerless gloves, choosing the right yarn is an important decision that can greatly affect the outcome of your project. The right yarn can enhance the stitch definition of the cables and ensure that your gloves are not only functional but also visually appealing.
Consider the weight of the yarn: Cable knit fingerless gloves typically require a medium-weight yarn or worsted weight yarn. This weight provides enough substance to create a warm and cozy accessory while still allowing for flexibility and dexterity. Look for yarns that are labeled as a suitable weight for gloves or explore worsted weight options.
Look for yarn with a good twist: Cables are created by crossing stitches over each other, and a well-twisted yarn can help accentuate the texture and definition of the cables. Look for yarns that have a tight twist, which will allow the cables to stand out and create a visually appealing pattern.
Consider the fiber content: The fiber content of the yarn can also affect the overall feel and performance of your glove. Natural fibers like wool or alpaca are great options for warmth and durability. A blend of natural and synthetic fibers can offer the best of both worlds, combining the softness and warmth of natural fibers with the added strength and stretch of synthetic materials.
Don’t forget about color: While not directly related to the yarn’s quality, the color can play a significant role in the final aesthetic of your gloves. Choose a color that complements your personal style and wardrobe or opt for a classic neutral shade that will go with everything.
In conclusion, when choosing the right yarn for your cable knit fingerless gloves, consider the weight, twist, fiber content, and color. Taking these factors into account will ensure that you create a pair of gloves that not only look beautiful but also provide the desired warmth and functionality.
Selecting the Appropriate Needle Size
When it comes to knitting cable knit fingerless gloves, selecting the appropriate needle size is crucial. The needle size will determine the final gauge and size of the gloves. It is important to choose the right size needle to ensure that the stitches are not too tight or too loose.
The needle size required for the cable knit fingerless gloves pattern will depend on the yarn weight and the desired tension. Generally, a thicker yarn will require larger needles, while a thinner yarn will require smaller needles. It is always a good idea to check the recommended needle size on the yarn label and compare it with the pattern’s gauge.
Using the correct needle size will not only help achieve the correct gauge, but it will also ensure that the knitting process is comfortable and enjoyable. Too small of a needle can make the knitting process difficult and slow, while too large of a needle may result in a loose and floppy fabric.
If you are unsure of the appropriate needle size, it is always a good idea to make a gauge swatch before starting the project. This will help determine if the needle size needs to be adjusted and ensure that the final gloves fit properly. Remember, the right needle size is essential for achieving the desired results in the cable knit fingerless gloves pattern.
Understanding the cable stitch pattern
The cable stitch pattern is a classic knitting technique that is often used to create beautiful and intricate designs in knitwear. It involves crossing stitches over each other to create a twisted or braided effect. While it may look complex, with a basic understanding of the technique, you can easily master this pattern and create stunning cable knit fingerless gloves.
The cable stitch pattern is created by using a cable needle or a double-pointed needle to hold a small group of stitches to the front or back of the work. This creates the twisted effect when the stitches are crossed over each other. The stitches that are held on the cable needle are then worked in a specific order to create the desired cable pattern. By knitting and purling these stitches in different combinations, you can create a wide variety of cable designs, from simple braids to more intricate twists and turns.
To read a cable stitch pattern, it is important to understand the symbols and terminology commonly used. A typical cable stitch pattern chart will include symbols for knit stitches (usually represented by a filled-in square or a diagonal line), purl stitches (usually represented by an empty square or a dot), and cable stitches (usually represented by a line with arrows indicating the direction of the cross). It is also important to note the number of stitches involved in each cable and to follow the pattern instructions carefully to ensure that the cables are worked correctly.
With practice and patience, you can become comfortable with the cable stitch pattern and use it to create stunning cable knit fingerless gloves. Whether you choose a simple cable pattern or a more intricate design, the end result will be a pair of gloves that are not only functional but also beautifully textured and visually appealing.
Casting on for cable knit fingerless gloves
One of the first steps in knitting cable knit fingerless gloves is casting on. Casting on is the process of creating the first row of stitches on your knitting needle. For this project, it is important to choose a method of casting on that creates a stretchy edge, as fingerless gloves need to fit snugly but comfortably. One popular method is the long-tail cast on, which provides both elasticity and stability.
To start the long-tail cast on, you will need to estimate the length of yarn you will need based on the number of stitches you plan to cast on and the size of your needles. Leave a long tail, usually around three times the width of your finished work, and make a slipknot. Place the slipknot on your needle, holding the tail end and yarn end in your right hand, and hold the needle with the slipknot in your left hand.
With your right hand, bring the tail and yarn end between your thumb and index finger, creating a “V” shape. Insert the needle into the back of the “V” from left to right and wrap the yarn from the ball over the needle counterclockwise. With your thumb and index finger, catch the newly formed loop and bring it through the “V” towards yourself. Carefully remove the loop from your right hand and tighten it onto the needle. Repeat this process for the desired number of stitches, making sure to keep an even tension.
Casting on is the first step towards creating beautiful cable knit fingerless gloves. Once you have completed the cast on, you can start working on the intricate cable patterns that give these gloves their unique look. Whether you choose to use a long-tail cast on or another method, taking the time to create a solid foundation will ensure that your gloves turn out well-fitting and comfortable to wear.
Knitting the Ribbed Cuff
The ribbed cuff is an essential part of the cable knit fingerless gloves pattern. It provides a snug fit and adds a stylish touch to the gloves. To start knitting the ribbed cuff, you will need to cast on the required number of stitches, which will depend on your hand size and the desired width of the cuff. The most common stitch pattern for the ribbed cuff is the knit 1, purl 1 (k1, p1) rib.
Once you have cast on the stitches, continue working in the k1, p1 rib pattern for the desired length of the cuff. The rib pattern creates a stretchy fabric that will conform to the shape of your wrist and hand. You can adjust the length of the cuff according to your preference, but a typical length for fingerless gloves is around 2-3 inches.
Ensure that you maintain the k1, p1 rib pattern while knitting the cuff. The knit stitches should always be knitted and the purl stitches should always be purled. This will create the neat and even ribbed texture of the cuff. It’s a good idea to use stitch markers to help you keep track of where the pattern changes.
As you knit the ribbed cuff, periodically check the fit by slipping the cuff onto your wrist. The cuff should be snug but not too tight, allowing you to easily slide your hand through. If the cuff feels too loose, you may need to adjust your needle size or decrease the number of stitches. If it feels too tight, you may need to increase the number of stitches or use a larger needle size.
Once you have completed the desired length of the ribbed cuff, you are ready to move on to the next section of the pattern, which will typically involve switching to a different stitch pattern or starting the cable pattern. The ribbed cuff provides a solid foundation for the rest of the fingerless gloves and sets the tone for the overall design.
Creating the thumb opening
Once you have completed knitting the body of the fingerless gloves, it’s time to create the thumb opening. This is an essential step in ensuring that the gloves fit comfortably and allow for easy movement of the fingers.
Step 1: Marking the thumb placement
To start, fold the fingerless gloves in half lengthwise so that the two edges meet. This will help you determine the placement of the thumb opening. Use a stitch marker or a piece of contrasting yarn to mark the desired location for the thumb.
Step 2: Picking up stitches
Next, you will need to pick up stitches along the marked thumb placement. Insert your knitting needle into the first stitch of the marked section, from right to left, and pull a loop of yarn through. Repeat this process for the remaining stitches in the section, being careful to maintain an even spacing between each stitch.
Step 3: Knitting the thumb
Once you have picked up the required number of stitches, you can now start knitting the thumb. This can be done in the round or flat, depending on your preference. Follow the instructions of your chosen pattern to knit the thumb in the desired stitch pattern. Be sure to work the thumb section until it reaches the desired length, typically around 2-3 inches.
Knitting the hand section
After finishing the cuff, it’s time to move on to knitting the hand section of the cable knit fingerless gloves. This is where you’ll create the main body of the gloves, which will cover your fingers and the back of your hand.
1. Divide stitches for fingers: Start by dividing the stitches on your knitting needles to create separate sections for each finger. Use stitch markers to mark the division points.
2. Knit the first finger: Choose the finger you want to start with and begin knitting in the round. Follow the cable knitting pattern for this section, working the appropriate stitches to create the desired cable design.
- Repeat the pattern: Continue knitting the finger section according to the cable pattern until you reach the desired length for the finger. This will typically be a few inches below the first knuckle.
- Transition to the next finger: Once you reach the desired length, place the stitches for the completed finger on a stitch holder or scrap yarn, and move on to the next finger. Repeat the knitting process for each finger until all fingers are completed.
3. Knit the back of the hand: After completing the fingers, you’ll knit the section that covers the back of your hand. This section will typically be wider than the finger sections, to ensure a comfortable fit.
- Start knitting: Join the yarn at the beginning of the hand section and continue knitting in the round, following the cable pattern as before.
- Continue the pattern: Knit the hand section until it reaches the desired length, typically to the base of your fingers or slightly beyond.
Once you’ve completed the hand section, you can move on to the thumb section of the gloves. This will be a separate process and will involve creating a thumb gusset to accommodate the thumb. But for now, you’ve finished knitting the hand section and are one step closer to completing your cable knit fingerless gloves!
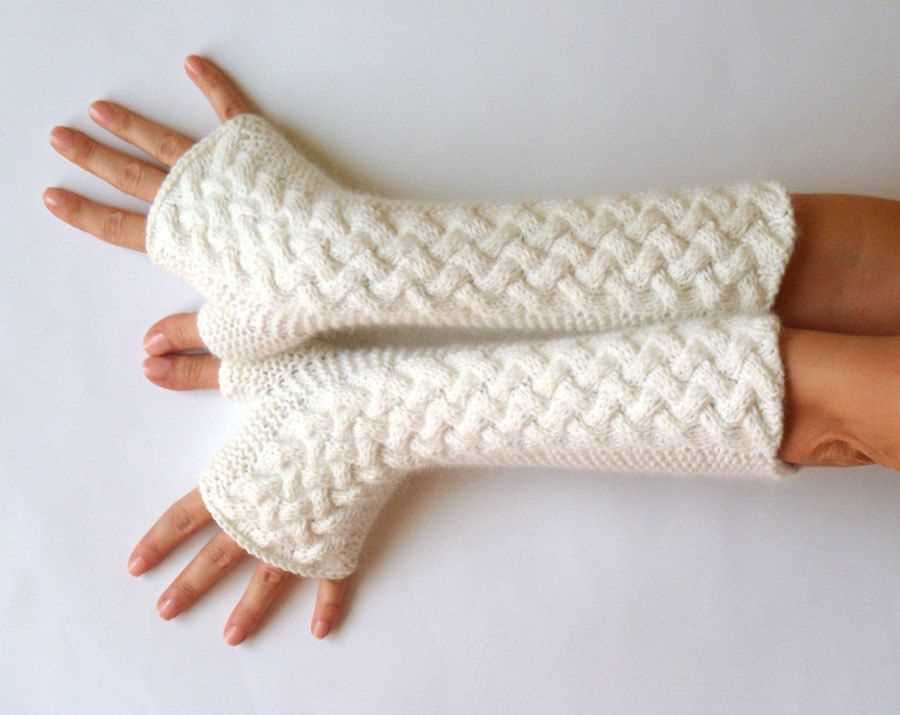
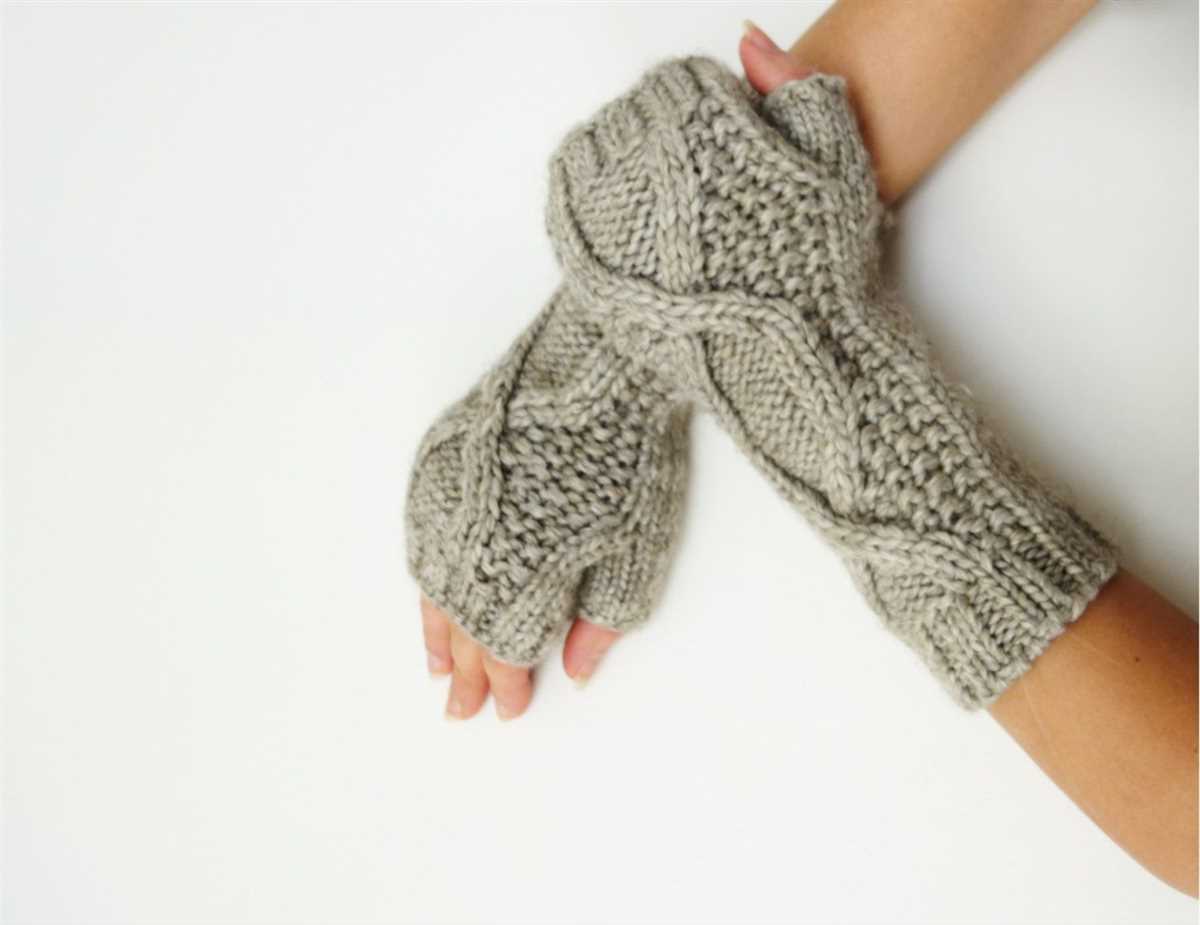
Working the cable stitch pattern
One of the most distinctive features of cable knit fingerless gloves is the cable stitch pattern that is used to create intricate designs and textures. The cable stitch pattern is created by crossing stitches over each other, either to the left or to the right. This creates the illusion of cables running through the fabric, adding depth and visual interest to the gloves.
To work the cable stitch pattern, you will need to have a basic understanding of knitting and be familiar with common knitting techniques such as knitting, purling, and decreasing. The cable stitch pattern typically involves working the cable stitches on a smaller number of stitches and alternating them with rows of plain knitting or purling to create the cable design.
To begin, you will need to cast on the desired number of stitches for your gloves. Once you have cast on, you can begin working the cable stitch pattern. The pattern will typically specify the number of stitches to use for the cable and the number of stitches to work in between each cable. Follow the pattern instructions carefully, as different cable designs may have different stitch counts and variations.
To create the cable stitches, you will need to use a cable needle or a double-pointed needle. Hold the cable needle in your left hand and slip the required number of stitches onto the cable needle. Hold the cable needle at the front or back of the work, depending on the direction of the cable. Knit or purl the stitches that are left on the left-hand needle, and then knit or purl the stitches from the cable needle. This will cross the stitches over each other and create the cable effect.
Continue following the pattern instructions to work the cable stitch pattern for the desired length. Once you have completed the cable section, you can then continue working the remaining stitches in the pattern, whether that be in plain knitting or a different stitch pattern. Remember to always keep track of your stitch count and follow the pattern carefully to ensure the cable stitch pattern is worked correctly.
Shaping the top of the fingerless glove

The shaping of the top of the fingerless glove is an important step that adds both functionality and style to the finished product. By making careful adjustments to the pattern, you can ensure a comfortable fit and a visually pleasing design.
To begin shaping the top of the glove, you will need to decrease the number of stitches gradually. This can be achieved by working a series of decrease rounds, where you knit or purl two stitches together at regular intervals. These decreases should be evenly spaced around the circumference of the glove, ensuring a smooth and symmetrical shape.
There are several different methods you can use to shape the top of the fingerless glove:
- Basic Knit or Purl Decrease: This is the simplest method, where you knit or purl two stitches together. This method is suitable for most patterns and creates a subtle decrease.
- S2KP Decrease: This method involves slipping two stitches together, knitting the next stitch, and then passing the two slipped stitches over the knit stitch. This creates a more pronounced decrease, giving a more defined shape to the top of the glove.
- Slip, Slip, Knit (SSK) Decrease: This method involves slipping two stitches one at a time onto the right-hand needle, then inserting the left needle into the front of the slipped stitches and knitting them together. This creates a left-leaning decrease, which can be used to create decorative patterns or a more fitted shape.
By experimenting with these different decrease methods and adjusting their placement in the pattern, you can create a fingerless glove that fits snugly and looks stylish. Remember to work the decreases gradually and evenly to maintain a comfortable fit and a balanced shape.
Binding off and finishing the fingerless gloves
After you have finished knitting all the rows for both gloves, it’s time to bind off to secure the stitches and give the gloves a finished edge. To bind off, knit the first two stitches as usual, and then using your left-hand needle, lift the first stitch over the second stitch and off the right-hand needle. Continue this process of knitting a stitch and then lifting the previous stitch over until you have bound off all the stitches.
Once the gloves are bound off, you can weave in any loose ends of yarn using a tapestry needle. Start by threading the yarn through the needle, and then insert the needle under several stitches on the wrong side of the fabric. Pull the yarn through, and then cut off any excess. This will hide the loose ends and prevent them from unraveling.
Finally, you can add any desired finishing touches to your fingerless gloves. This could include adding a decorative button or embellishment to the cuff, or sewing on a small tag or label with your name or initials. These finishing touches can add a personal and unique touch to your gloves and make them even more special.
In conclusion, binding off and finishing the fingerless gloves is the final step in completing your knitting project. It’s important to carefully bind off the stitches to ensure a neat and secure edge, and then weave in any loose ends to prevent unraveling. Adding finishing touches can make the gloves truly personalized and showcase your creativity. Now you can enjoy your cozy and stylish fingerless gloves!
Tips for Customizing Your Cable Knit Fingerless Gloves
Now that you have the basic cable knit fingerless gloves pattern, you can further customize your gloves to make them unique and tailored to your preferences. Here are some tips to help you get started:
1. Choose Your Yarn
Selecting the right yarn can make a big difference in the look and feel of your gloves. Consider the weight and texture of the yarn. You may want a soft and cozy yarn for colder climates or a lightweight yarn for a more breathable feel.
TIP: Experiment with different yarns to achieve the desired level of warmth, softness, and durability for your gloves.
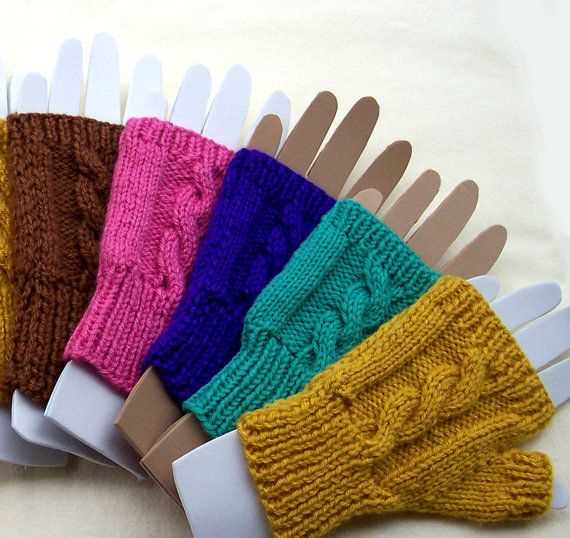
2. Play with Colors
Don’t be afraid to get creative with colors! Use different shades or variegated yarns to add visual interest to your gloves. You can match them to your favorite outfit or create a vibrant accessory to brighten up a dreary day.
TIP: Knit a small swatch with your chosen colors to see how they look together before starting on the gloves to ensure you’re happy with the combination.
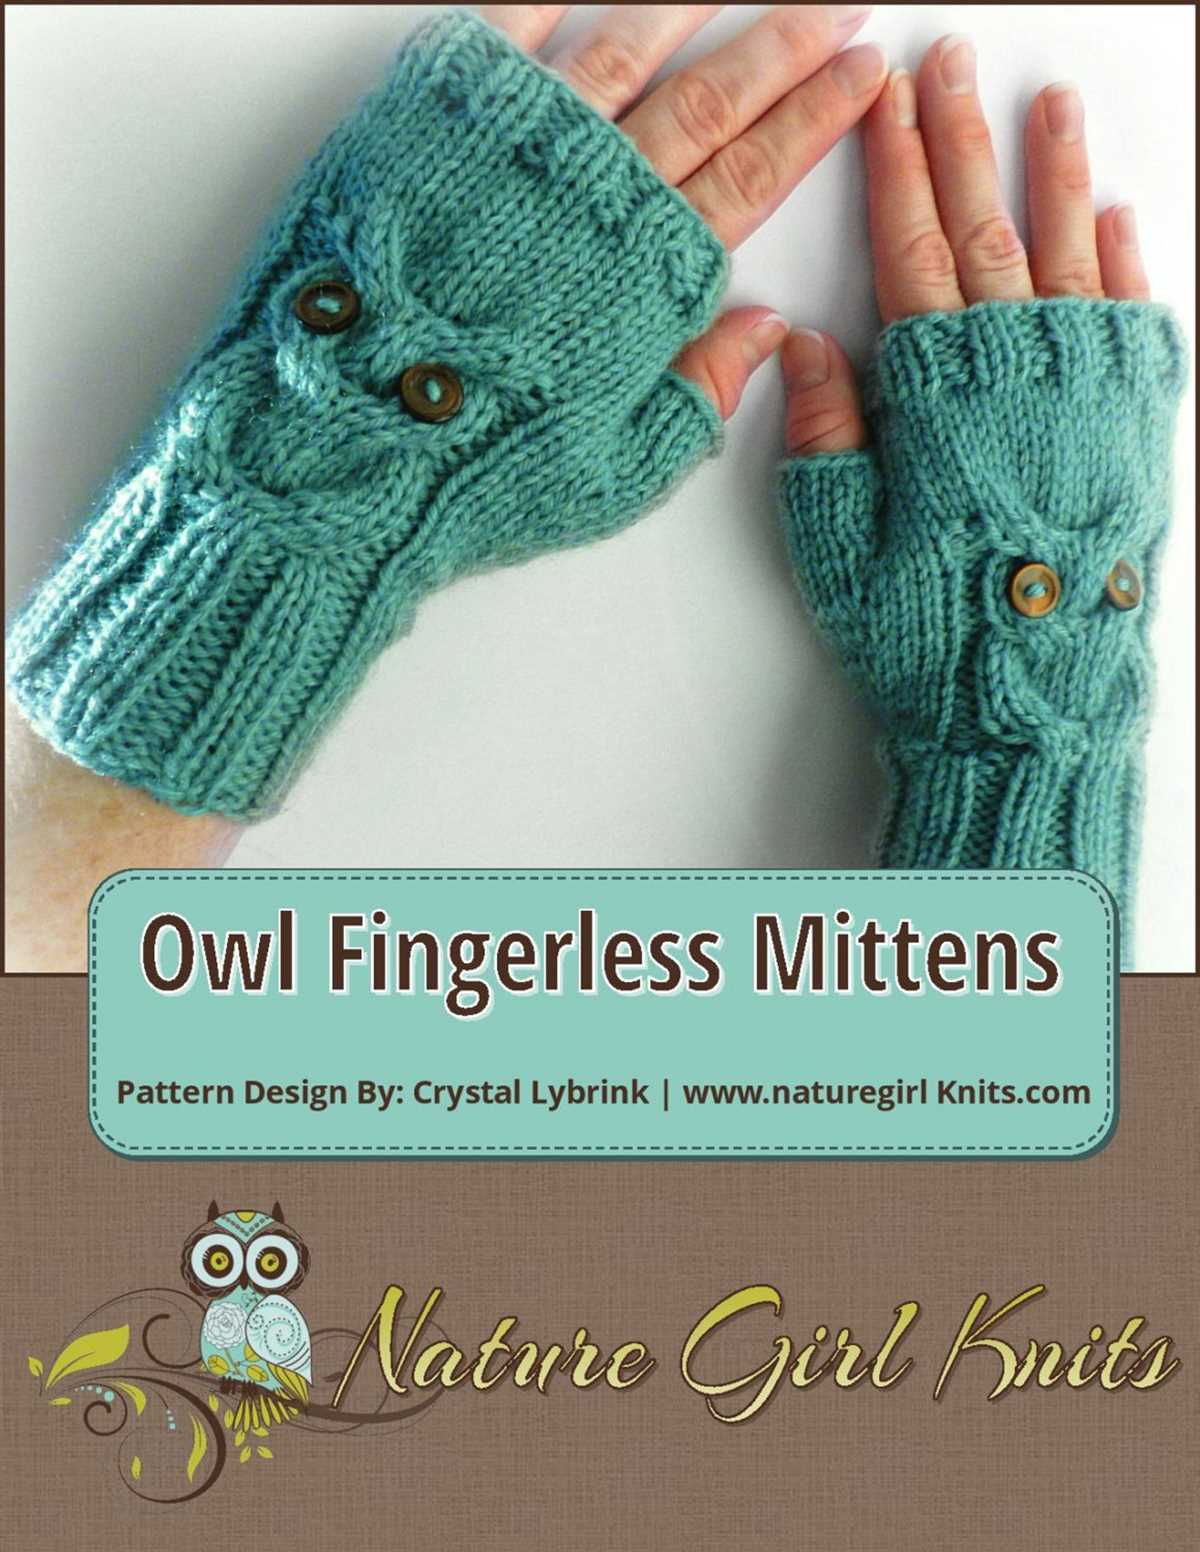
3. Add Embellishments
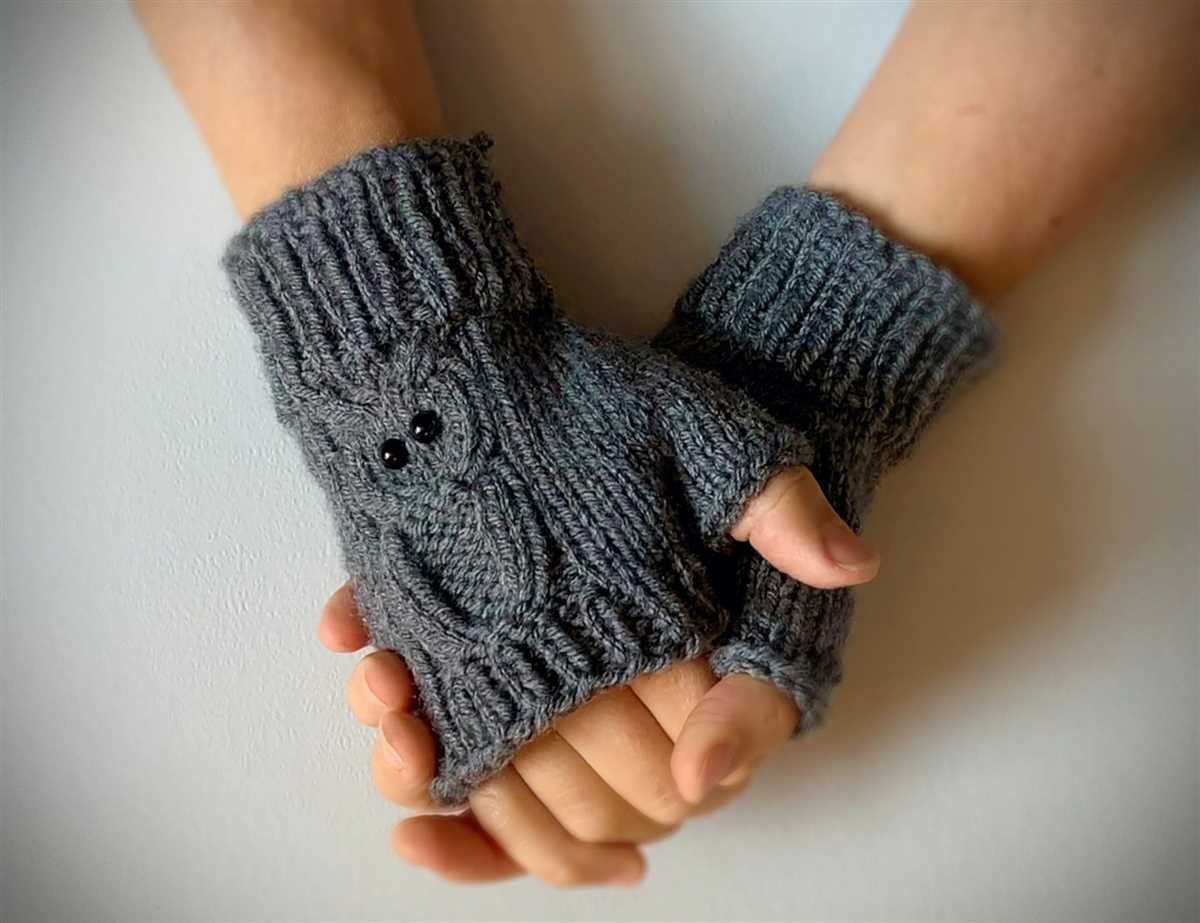
Take your fingerless gloves to the next level by embellishing them with buttons, beads, or embroidery. This is a great way to personalize your gloves and make them truly one-of-a-kind. Get creative and let your imagination run wild!
TIP: Consider the functionality of any embellishments you add. Be sure they won’t interfere with the gloves’ ability to perform their intended purpose.
4. Adjust the Length

If you prefer longer gloves that go further up your wrists or shorter gloves that only cover your palms, feel free to adjust the length of the pattern accordingly. Remember to make any necessary modifications to the cable pattern to ensure a seamless look.
TIP: Take accurate measurements of your hand and forearm to determine the ideal length for your customized gloves.
5. Experiment with Cable Patterns
Cable knit patterns offer a wide range of possibilities. Once you’re comfortable with the basic cable pattern, try incorporating different cable designs into your gloves. You can mix and match patterns or create your own unique crossover of cables.
TIP: Keep track of your modifications and cable designs used in case you want to recreate the gloves or share the pattern with others.
By following these tips, you can make your cable knit fingerless gloves truly your own. Enjoy the process of customizing your gloves and showing off your creativity!