
Autumn is here, and what better way to celebrate than by knitting your own pumpkin decorations? Knitted pumpkins are a fun and festive way to add a touch of coziness to your home during the fall season. Whether you’re an experienced knitter or just starting out, there are plenty of free knitting patterns available that will guide you through the process of creating your very own knitted pumpkins.
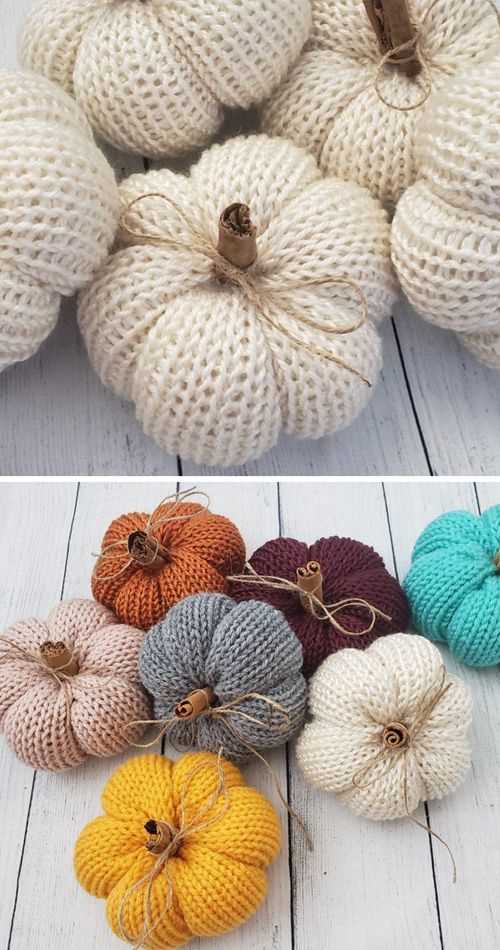
One of the great things about knitting pumpkins is that they can be customized to match your personal style and taste. You can choose from a variety of yarns in different colors and textures to create pumpkins that are as unique as you are. Whether you prefer traditional orange pumpkins or want to get creative with color combinations, the possibilities are endless.
Not only are knitted pumpkins a great way to decorate your home, but they also make wonderful gifts for friends and family. Imagine the delight on their faces when they receive a handmade knitted pumpkin that can be displayed year after year. Plus, knitting is a relaxing and mindful activity that can help reduce stress and improve mental well-being. So grab your needles and yarn, and let’s get knitting some adorable pumpkins!
Why knit a pumpkin?
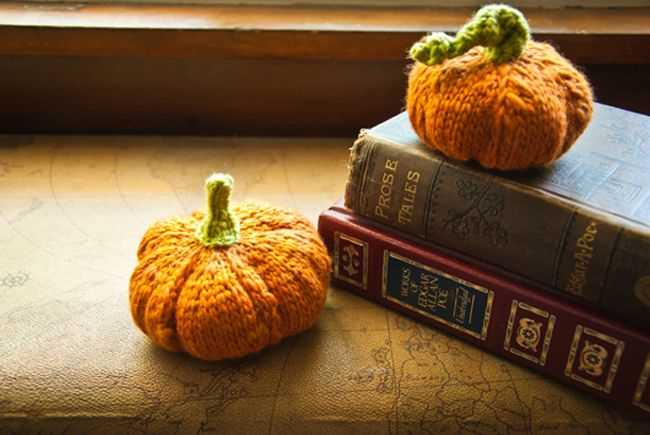
Knitting a pumpkin can be a fun and creative way to add a touch of autumn to your home decor. With its unique shape and vibrant orange color, a knitted pumpkin can bring a warm and cozy atmosphere to any space. Whether you display it on your mantel, use it as a centerpiece, or even give it as a gift, a knitted pumpkin is sure to be a conversation starter.
One of the great things about knitting a pumpkin is that it allows you to unleash your creativity. You can choose from a variety of knitting patterns that range from simple and basic to more intricate designs. You can experiment with different yarns and textures to achieve the perfect look for your pumpkin. You can also customize your pumpkin by adding embellishments such as ribbons, buttons, or even a knitted stem.
Bringing the spirit of fall to your home
Knitting a pumpkin is not just about creating a cute decorative item. It’s about embracing the spirit of fall and celebrating the change of seasons. As you work on your pumpkin, you can take a moment to appreciate the beauty of nature and the colors that adorn the trees. The act of knitting itself can also be a meditative and relaxing experience, allowing you to unwind and de-stress.
Moreover, knitting a pumpkin is a sustainable and eco-friendly alternative to purchasing plastic or artificial decorations. By using yarn and knitting needles, you are reducing your carbon footprint and contributing to a more sustainable lifestyle. Plus, a knitted pumpkin can be reused year after year, making it a long-lasting and environmentally friendly choice.
A creative project for all skill levels
Whether you are a beginner knitter or an experienced one, knitting a pumpkin is a project that can be enjoyed by all skill levels. Simple patterns can be easily memorized and knitted relatively quickly, while more intricate designs can challenge your knitting skills and provide a rewarding sense of accomplishment. It’s a versatile project that allows you to choose a pattern that matches your skill level and time constraints.
In conclusion, knitting a pumpkin is a creative and enjoyable way to embrace the spirit of fall, add a cozy touch to your home decor, and practice sustainable crafting. So grab your needles, choose a pattern, and start knitting your own pumpkin masterpiece!
Knitting supplies you’ll need
If you’re planning to make some adorable knitted pumpkins, you’ll need a few essential knitting supplies. Here’s a list of items you should have on hand before you start:
- Yarn: Choose a yarn that is suitable for your project. For pumpkins, you’ll want a medium-weight yarn in orange or other fall colors.
- Knitting Needles: Your choice of knitting needles will depend on the yarn you’re using and your personal knitting style. Generally, a pair of size 8 or 9 knitting needles should work well for medium-weight yarn.
- Tapestry Needle: A tapestry needle is used for weaving in loose ends and seaming your knitted pieces together. It’s an essential tool for any knitting project.
- Scissors: You’ll need a pair of sharp scissors for cutting yarn and trimming any excess ends.
- Stuffing: To give your knitted pumpkins a plump and realistic shape, you’ll need some stuffing material. Polyester fiberfill or cotton stuffing works well.
- Stitch Markers: Stitch markers can be helpful for keeping track of your stitches, especially if you’re working in the round.
With these knitting supplies on hand, you’ll be well-prepared to start creating your own cozy pumpkins. Just pick a knitting pattern you like and get ready to enjoy the process of making something beautiful and festive for the fall season.
Basic knitting stitches for pumpkins
When it comes to knitting pumpkins, there are a few basic stitches that every knitter should know. These stitches will help you create the texture and shape needed to bring your pumpkin to life.
1. Knit stitch: The knit stitch is the most basic stitch in knitting. It creates a smooth and flat surface that is perfect for creating the body of the pumpkin. To knit, insert your needle into the stitch from left to right and pull the yarn through, creating a new loop. Repeat this process for each stitch in the row.
2. Purl stitch: The purl stitch is the opposite of the knit stitch and creates a bumpy texture that is great for adding detail to the pumpkin. To purl, insert your needle from right to left, bring the yarn to the front of the work, and pull it through the stitch. Repeat this process for each stitch in the row.
Once you have mastered these two stitches, you can create various patterns and textures by combining them in different ways. For example, you can alternate rows of knit and purl stitches to create a ribbed pattern, or you can use the purl stitch to create a raised ridge that mimics the lines on a pumpkin.
Remember to practice these stitches before starting your pumpkin project to ensure that you are comfortable with the techniques. Once you have mastered these basic stitches, you will be ready to start knitting your very own pumpkins!
Easy knitting patterns for beginners

If you are new to knitting, it can be overwhelming to start with complicated patterns. However, there are plenty of easy knitting patterns that are perfect for beginners. These patterns often use basic stitches and simple techniques, making them ideal for learning and practicing your knitting skills.
One of the easiest knitting patterns for beginners is a simple scarf. You can start by casting on a certain number of stitches, depending on the width you want for your scarf. Then, all you need to do is knit every row until you reach the desired length. This pattern allows you to practice the knit stitch and get comfortable with the motions of knitting.
Basic Knitted Dishcloth Pattern:
Another easy knitting pattern for beginners is a basic knitted dishcloth. This pattern is great for practicing both the knit and purl stitches. To make a dishcloth, you can cast on a certain number of stitches, such as 30-40, and then knit a few rows. After that, you can vary between knitting and purling rows to create a textured pattern. This project is quick to finish and gives you the opportunity to practice different stitches.
Garter Stitch Hat Pattern:
A garter stitch hat is another simple knitting pattern for beginners. The garter stitch is created by knitting every row, resulting in a textured and stretchy fabric. To make a garter stitch hat, you can cast on the desired number of stitches, and then knit every row until the hat reaches the desired length. You can finish off the hat by binding off the stitches and sewing the edges together. This pattern is great for practicing the knit stitch and learning how to shape a basic accessory.
Overall, there are many easy knitting patterns available for beginners. Whether you choose to make a scarf, a dishcloth, or a hat, these patterns will help you learn and improve your knitting skills. Start with simple projects and gradually move on to more complex patterns as you gain confidence and experience in knitting.
Intermediate knitting patterns for pumpkins
In the world of knitting, pumpkins are a popular seasonal project, and there are plenty of intermediate knitting patterns available to create your own knitted pumpkins. These patterns offer a bit more challenge and complexity compared to beginner patterns, making them perfect for knitters looking to expand their skills.
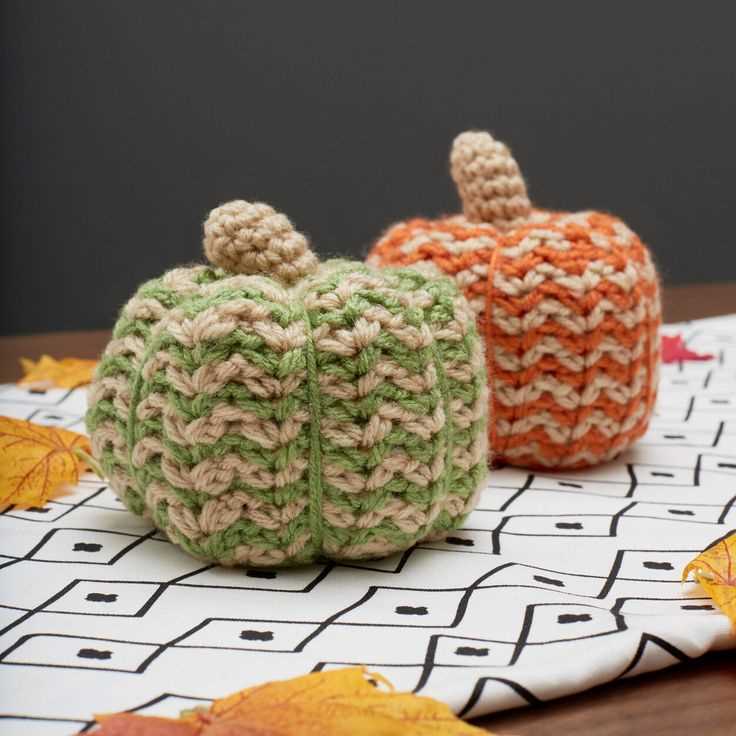
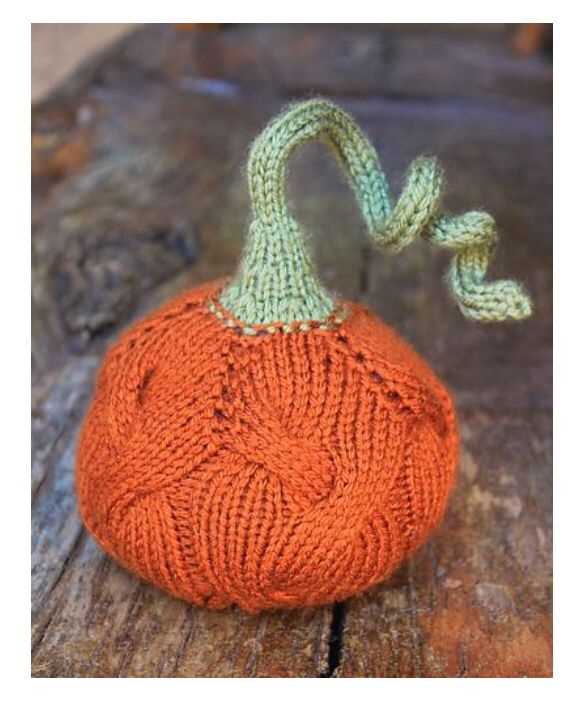
One intermediate knitting pattern for pumpkins is the “Cable Knit Pumpkin.” This pattern incorporates intricate cable stitches to create a textured and dimensional pumpkin. With a mix of knits and purls, you can create a stunning pumpkin that will impress both yourself and others. This pattern also provides an opportunity to practice your cable knitting skills and learn new techniques.
Materials:
- Worsted weight yarn in orange
- Size 8 (5.0 mm) knitting needles
- Cable needle
- Polyester fiberfill or stuffing
- Tapestry needle
Instructions:
- Cast on 40 stitches.
- Row 1: *K3, P3; repeat from * to end of row.
- Row 2: *P3, K3; repeat from * to end of row.
- Rows 3-10: Repeat Rows 1 and 2.
- Row 11: *C6F, P3; repeat from * to end of row.
- Row 12: *P3, K6B; repeat from * to end of row.
- Rows 13-20: Repeat Rows 1 and 2.
- Repeat Rows 11-20 three more times.
- Next row: *K2, K2tog, P1, P2tog, K2; repeat from * to end of row (32 stitches).
- Next row: *K1, K2tog, P1, P2tog, K1; repeat from * to end of row (24 stitches).
- Stuff the pumpkin with polyester fiberfill or stuffing.
- Next row: *K2tog, P2tog, K1; repeat from * to end of row (16 stitches).
- Next row: *K2tog, K1; repeat from * to end of row (8 stitches).
- Cut the yarn leaving a long tail. Thread the tail through the tapestry needle and draw it through the remaining stitches. Pull tight to close the top of the pumpkin.
- Weave in any loose ends.
These are just a few examples of intermediate knitting patterns for pumpkins. By using different stitch patterns, color combinations, and embellishments, you can create unique and beautiful pumpkins to decorate your home for fall. So grab your knitting needles and get ready to take your knitting skills to the next level with these intermediate pumpkin patterns!
Advanced knitting patterns for experts
If you are an experienced knitter looking to challenge yourself and take your skills to the next level, advanced knitting patterns offer the perfect opportunity to do so. These patterns require knowledge of more complex techniques and stitches, allowing you to create intricate and stunning pieces.
One popular advanced knitting pattern is the cable sweater. This pattern involves working with cable stitches, which create a beautiful twisted design on the garment. Cable sweaters can be made in various styles, from classic and simple to more intricate and detailed. With the right skills and attention to detail, you can create a unique and stylish cable sweater that will impress everyone.
Another advanced knitting pattern is the lace shawl. Lace knitting is known for its delicate and intricate patterns, and creating a lace shawl requires patience and precision. Lace shawls can be made in different shapes and sizes, and with a wide range of lace stitch patterns to choose from, you can create a truly stunning piece of art. The finished shawl can be worn as a statement accessory or given as a special gift to a loved one.
- For knitters who love a challenge, Fair Isle knitting offers an exciting and intricate pattern to explore.
- This technique involves working with multiple colors of yarn to create stunning colorwork designs.
- From traditional Nordic patterns to modern and geometric designs, the possibilities with Fair Isle knitting are endless.
- By mastering this technique, you can create beautiful and eye-catching sweaters, hats, and accessories.
If you are an expert knitter looking to push your skills further, advanced knitting patterns provide the perfect opportunity to showcase your talent. Whether you choose to tackle cable stitches, lace knitting, or Fair Isle colorwork, these patterns will challenge and inspire you to create truly remarkable pieces. So grab your needles, choose your yarn, and let your creativity soar with these advanced knitting patterns.
Decorating your knitted pumpkins
Once you have finished knitting your pumpkins using the free patterns, it is time to get creative with their decorations. Whether you want to keep it simple or go all out, there are endless possibilities to personalize your knitted pumpkins. Here are some ideas to inspire you:
Add a stem
Give your pumpkins an authentic look by attaching a knitted or crocheted stem. You can use a contrasting color of yarn to make it stand out or keep it subtle by using the same color as the pumpkin. You can also experiment with different textures, such as using a chunky yarn for the stem.
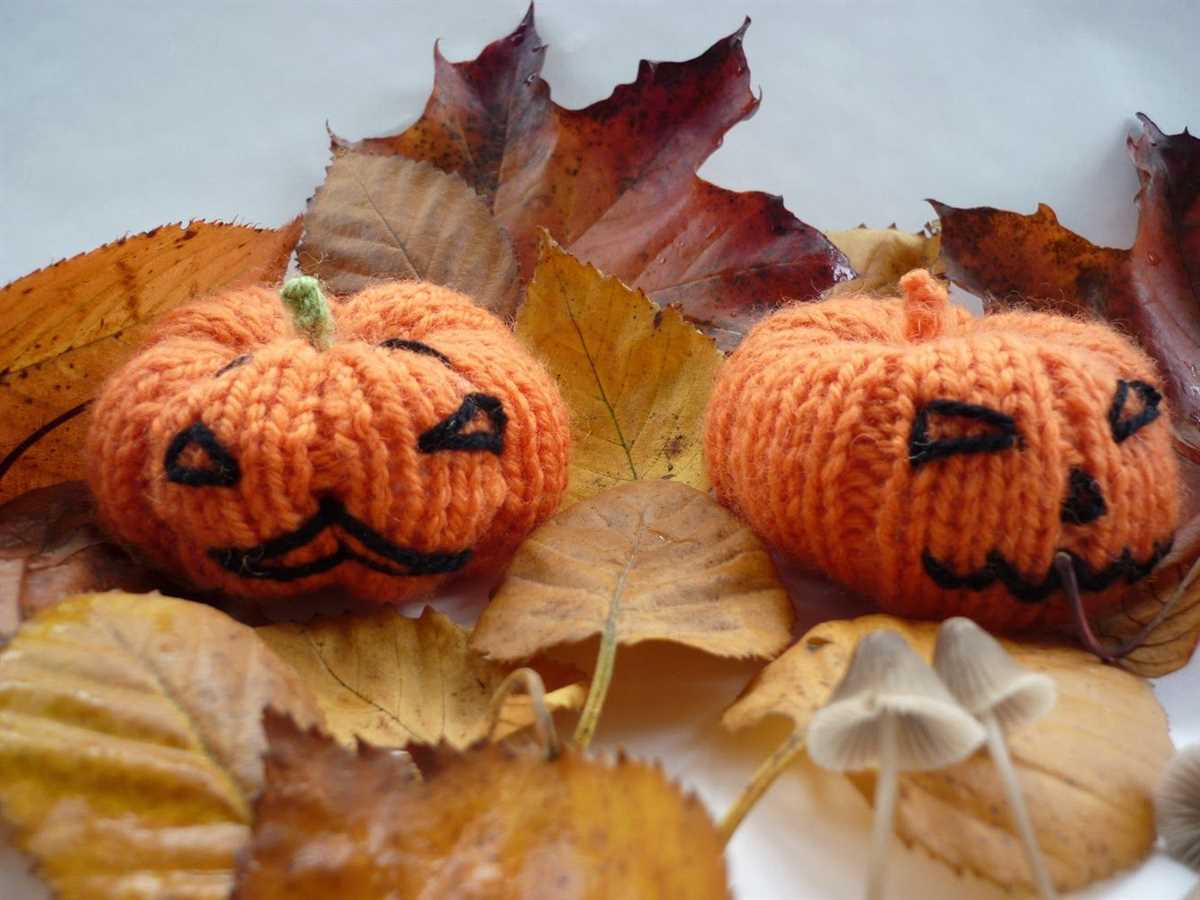
Embroidered details
Enhance the features of your knitted pumpkins by adding embroidered details, such as facial expressions or patterns. Use different colors of yarn to create eyes, nose, and mouth for a classic Jack-o’-lantern look. If you want to go for a more whimsical style, you can add polka dots, stripes, or other motifs.
Ribbons and bows
Add a touch of elegance to your pumpkins by tying ribbons or bows around them. You can use satin ribbons in seasonal colors like orange, black, or purple, or go for a rustic look with twine or burlap. You can also attach small charms or trinkets to the ribbons for an extra special touch.
Festive accessories
Get into the holiday spirit by dressing up your knitted pumpkins with festive accessories. You can knit or crochet tiny scarves or hats for them, or even create miniature costumes. You can also use small props like miniature brooms or cauldrons to create a Halloween-themed scene.
Remember, decorating your knitted pumpkins is a fun and creative process. Don’t be afraid to experiment and try out different ideas. The most important thing is to let your imagination run wild and create unique and personalized decorations that reflect your style and personality.
Knitting Patterns for Different Sizes of Pumpkins
When it comes to knitting pumpkins, there are a variety of patterns available that cater to different sizes. Whether you’re looking to create a small decorative pumpkin or a larger one that can be used as a cozy pillow, there’s a knitting pattern out there for you. These patterns are great for both beginners and experienced knitters looking for a fun and festive project.
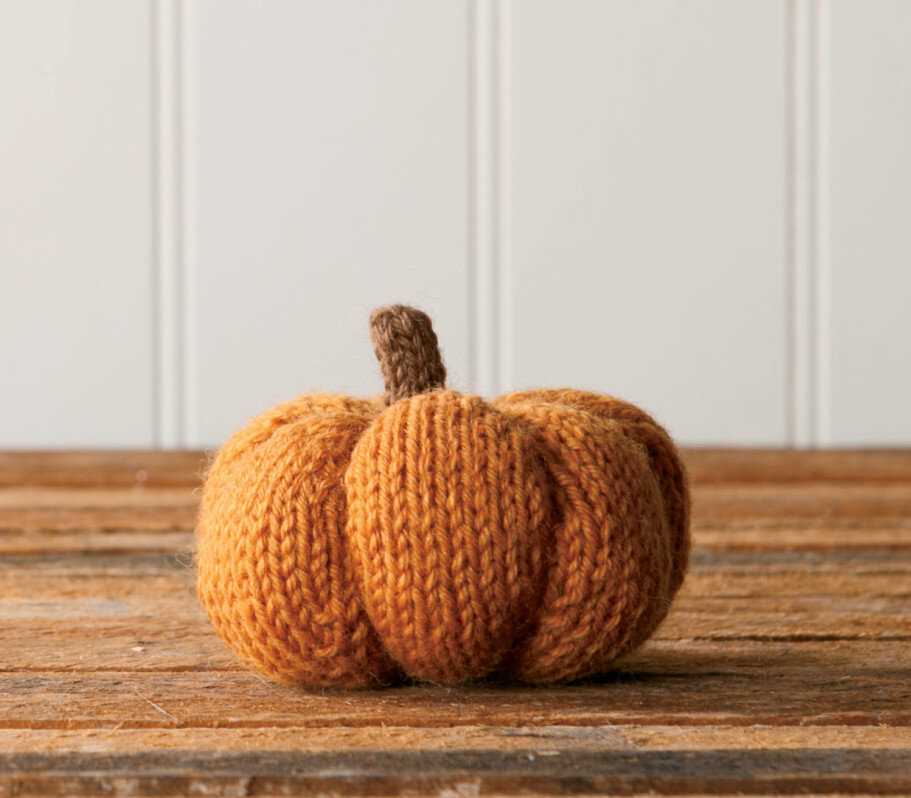
If you’re interested in knitting a small pumpkin, there are several patterns that are perfect for this size. One popular pattern is a basic pumpkin shape that can be made using simple knit and purl stitches. This pattern typically calls for worsted weight yarn and size 7 or 8 knitting needles. The finished pumpkin is usually about 3-4 inches tall, making it a great size for tabletop decorations or adding to a fall-themed wreath.
Here are a few other knitting patterns for different sizes of pumpkins:
- Medium-sized pumpkin: This pattern typically calls for a slightly heavier weight yarn and larger knitting needles. The finished pumpkin can be around 6-8 inches tall, making it a versatile size for various uses.
- Large pumpkin: For those looking to make a statement, a large pumpkin pattern is a great option. These patterns usually require a bulky or super bulky weight yarn and larger knitting needles. The finished pumpkin can be up to 12 inches or more in height, making it a standout centerpiece or floor decoration.
- Pumpkin pillow: If you’re looking to add a touch of coziness to your home, a pumpkin pillow pattern is a fantastic choice. These patterns usually involve knitting a front and back panel that are then sewn together and stuffed with fiberfill or a pillow form. The size of the pumpkin pillow can vary depending on the desired level of comfort.
No matter the size you choose, knitting pumpkins can be a fun and rewarding project. Whether you’re making them for yourself or as gifts, these charming knitted pumpkins are sure to add a festive touch to your home during the fall season.
Knitting patterns for different types of pumpkins
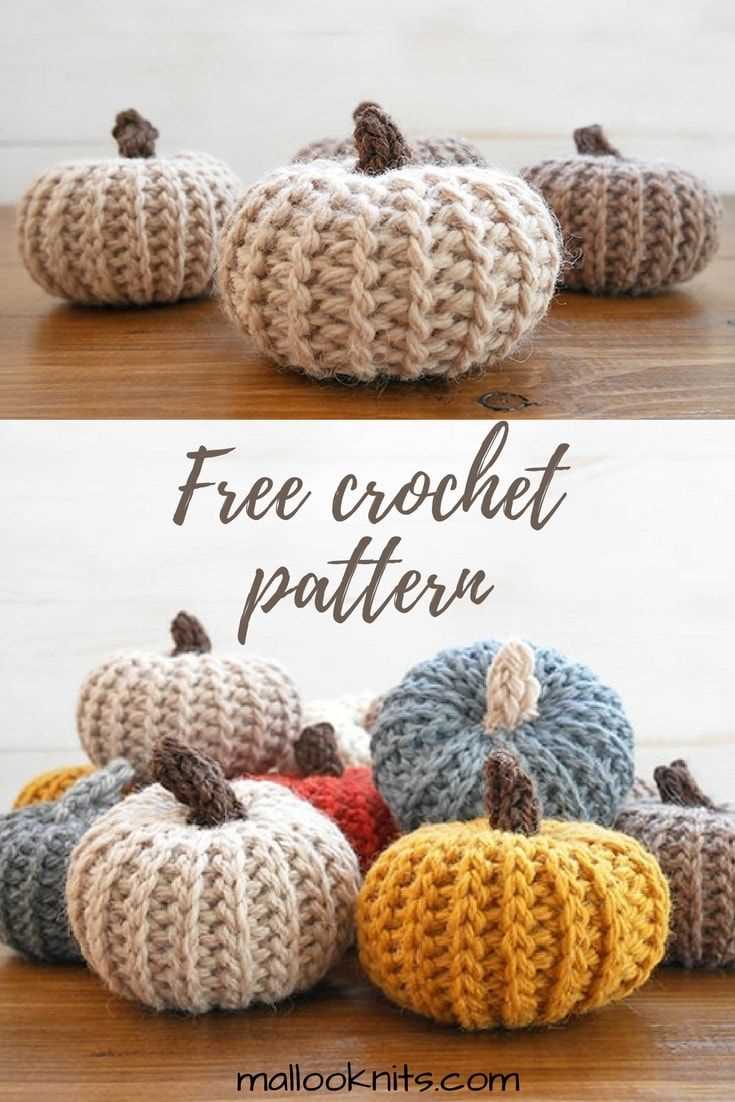
If you love knitting and want to add some crafty autumn decor to your home, knitting pumpkins is a fun and festive project to try. There are many different knitting patterns available that allow you to create pumpkins of various sizes, colors, and textures. Whether you’re a beginner or an experienced knitter, there’s a pumpkin pattern out there for you.
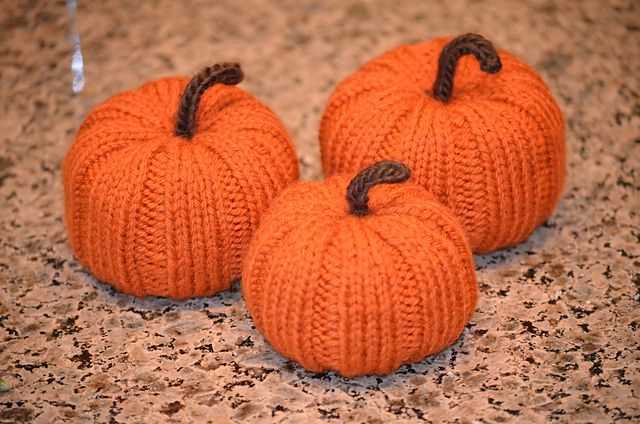
1. Basic Knitted Pumpkin
A basic knitted pumpkin pattern is a great place to start if you’re new to knitting or want something simple and quick to make. It typically involves knitting in the round and shaping the pumpkin with increases and decreases. You can choose any color of yarn you like and add a stem and leaves for a realistic touch.
2. Cable Knit Pumpkin
If you’re looking for a more challenging project, try a cable knit pumpkin pattern. This pattern involves creating intricate cable stitches to give your pumpkin a textured appearance. The result is a pumpkin with beautifully raised cables that add visual interest to your knitting.
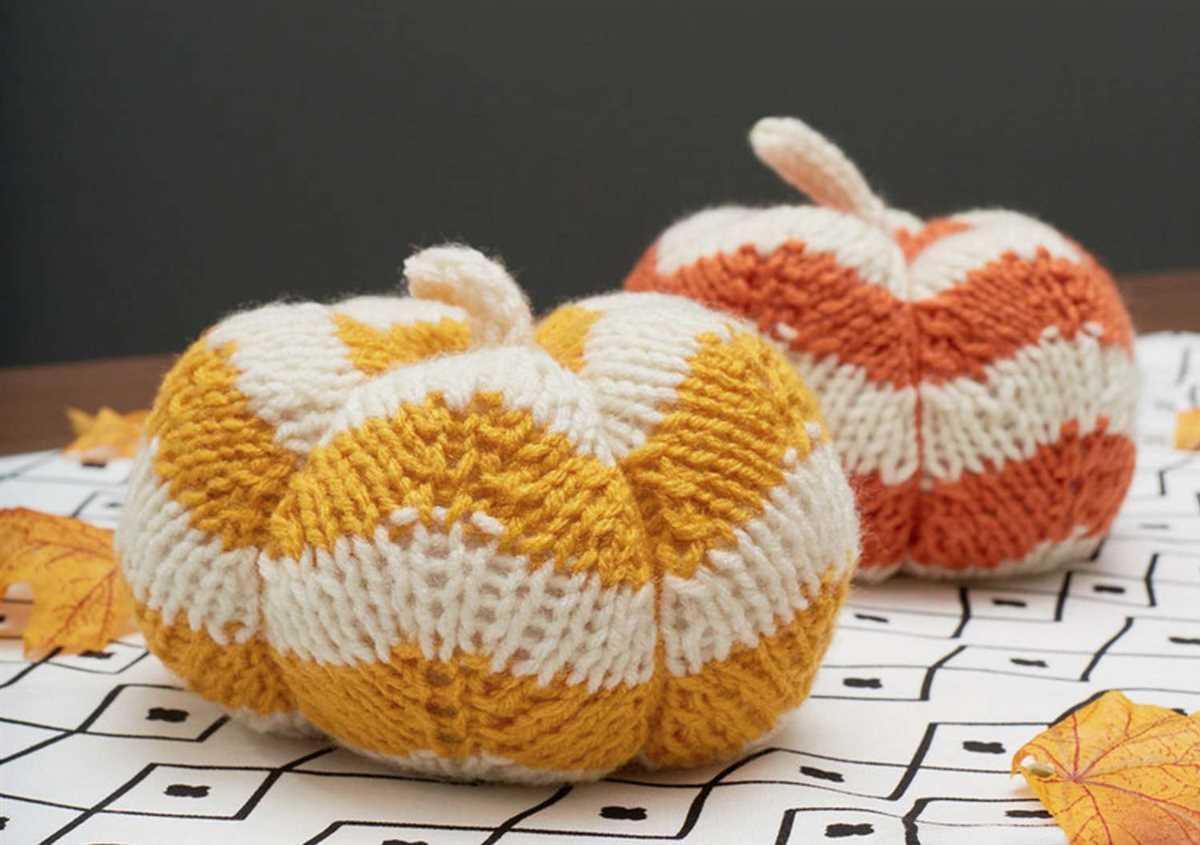
3. Fair Isle Knit Pumpkin
A Fair Isle knit pumpkin pattern allows you to incorporate colorwork into your knitting. With this technique, you can create unique patterns and designs on your pumpkin, using multiple colors of yarn. It’s a great way to showcase your knitting skills and add a pop of color to your autumn decorations.
4. Chunky Knit Pumpkin
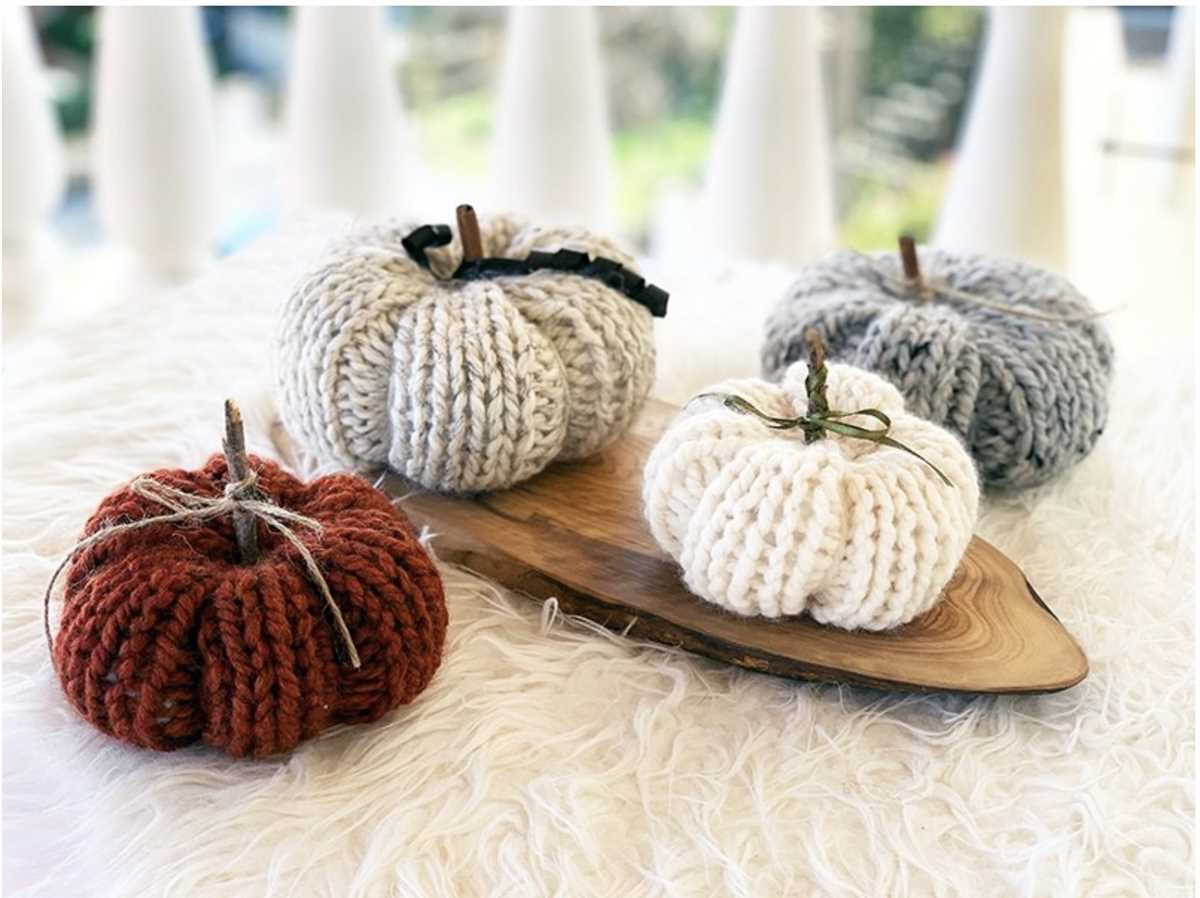
If you prefer a more bulky and cozy look, a chunky knit pumpkin pattern is perfect for you. This pattern typically uses thick yarn and large needles to create a plush pumpkin that is soft to the touch. The larger stitches also make it a quicker project to complete, so you can have a cozy pumpkin in no time.
No matter which type of pumpkin pattern you choose, knitting pumpkins is a fun and creative way to bring the spirit of autumn into your home. You can display them on your mantle, use them as table centerpieces, or even give them as gifts to friends and family. Get started on your knitting adventure and enjoy the satisfaction of creating your very own pumpkins!
Tips and Tricks for Knitting Pumpkins
Knitting pumpkins can be a fun and festive way to decorate your home for the fall season. Whether you’re a beginner or an experienced knitter, here are some tips and tricks to help you create beautiful and realistic pumpkin designs.
1. Choose the right yarn: When knitting pumpkins, it’s important to choose a yarn that is thick and textured to give your pumpkins a more realistic look. A bulky or chunky weight yarn is ideal for this project. Consider using yarns with varying shades of orange or even a speckled yarn to create depth and dimension.
2. Use the right needles: To achieve the desired tightness and texture of your pumpkin, it’s recommended to use a slightly smaller needle size than what is typically recommended for your chosen yarn. This will help create a denser fabric that holds its shape better. Double-pointed needles or circular needles are ideal for knitting in the round.
- 3. Add shaping with increases and decreases: To create the characteristic ridges of a pumpkin, incorporate shaping techniques such as increases and decreases. Knit a few rounds, then start decreasing stitches evenly spaced around the pumpkin to create a more tapered top.
- 4. Embellish with embroidery: To add more realistic details to your pumpkin, consider using embroidery techniques. Use green yarn to stitch a small stem at the top of the pumpkin. You can also use brown or black yarn to create the appearance of pumpkin lines by embroidering vertical stitches.
- 5. Stuff and shape: Once you’ve finished knitting your pumpkin, stuff it firmly with fiberfill or stuffing material to give it the right shape and fullness. Use your fingers to shape and mold the pumpkin into a round and plump form.
- 6. Experiment with different sizes and styles: Don’t be afraid to get creative and make pumpkins of different sizes and styles. Play with different yarn weights, needle sizes, and stitch patterns to create a variety of pumpkins that can be grouped together for a stunning display.
With these tips and tricks in mind, you’ll be well-equipped to knit beautiful and unique pumpkins that will add a cozy touch to your home decor. Enjoy the process and have fun experimenting with different techniques to create your perfect pumpkin creations!
Inspiration for using knitted pumpkins
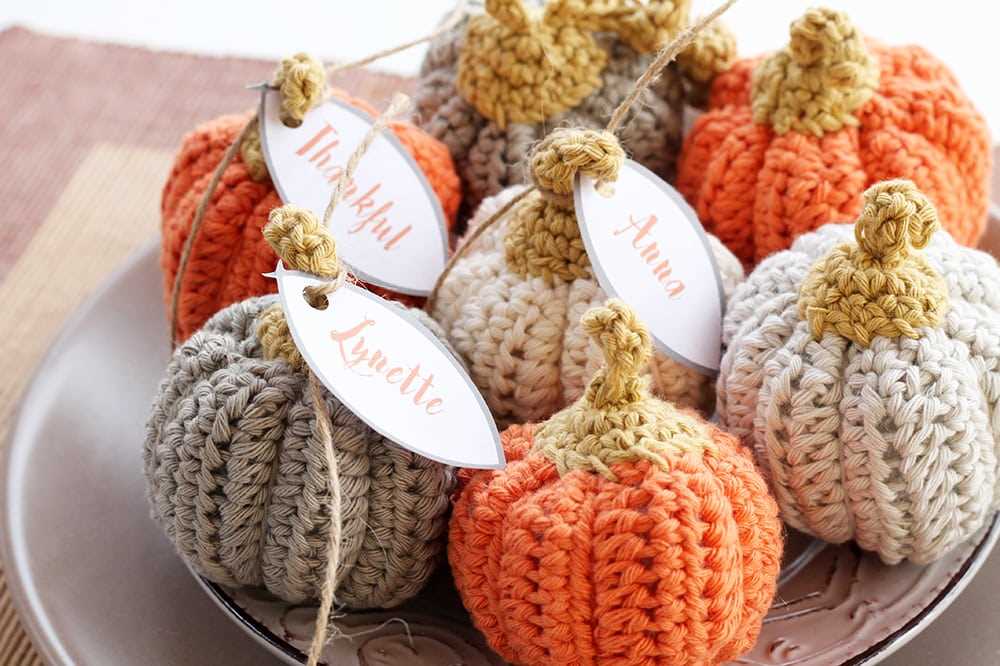
Knitted pumpkins can be used in a variety of creative ways to bring a festive touch to your home decor or to add some charm to your Thanksgiving table. Here are a few ideas to help inspire your creativity:
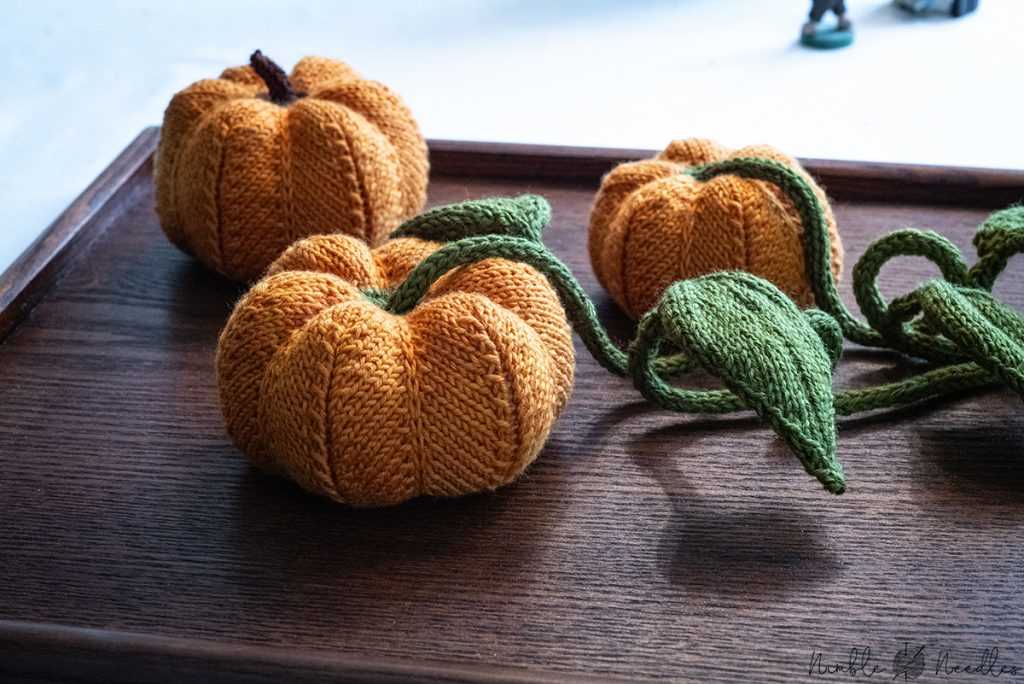
1. Table Centerpiece
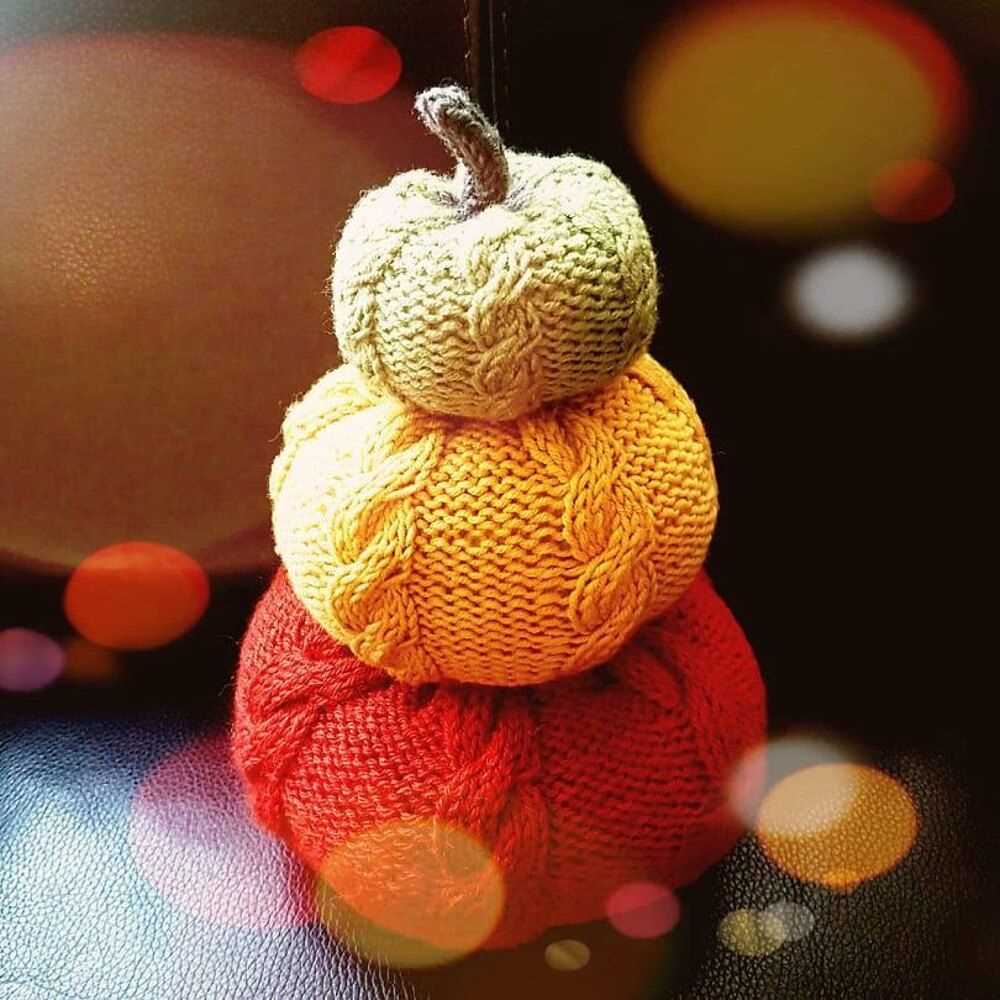
Arrange a group of knitted pumpkins of different sizes and colors on a tray or a wooden board and place it in the center of your dining table. This will add an autumnal touch and create a warm and inviting atmosphere for your family and guests.
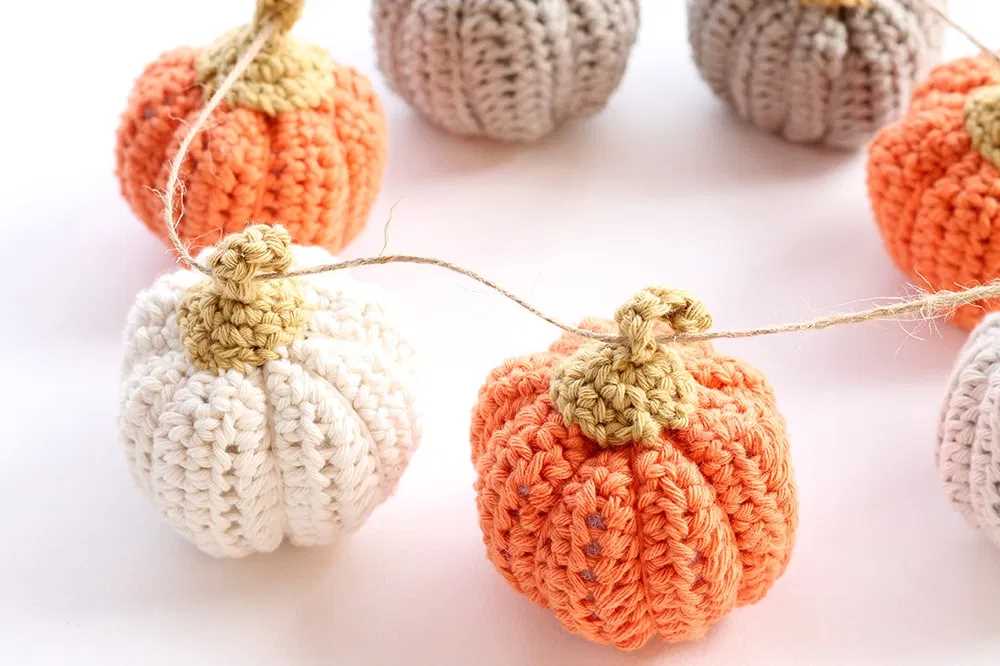
2. Garland
Create a festive garland by stringing knitted pumpkins together with a colorful ribbon or a piece of twine. Hang it across your fireplace mantel, along a staircase railing, or on a wall to instantly bring a cozy fall vibe to any room.
3. Decorative Accents
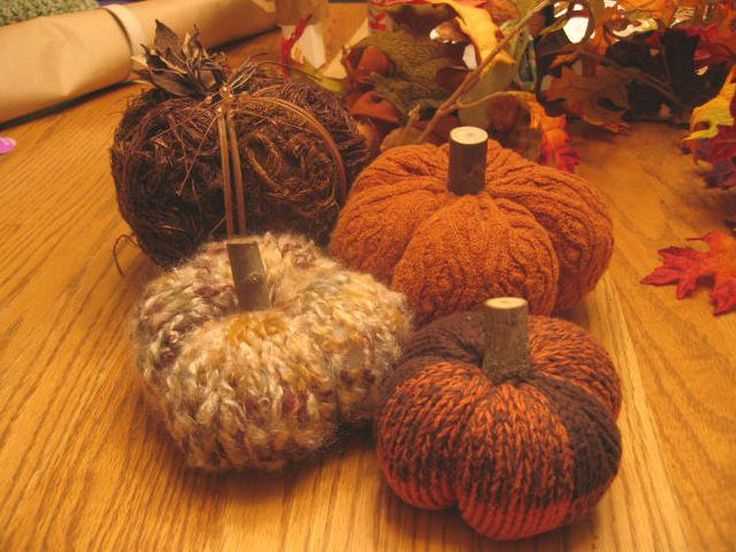
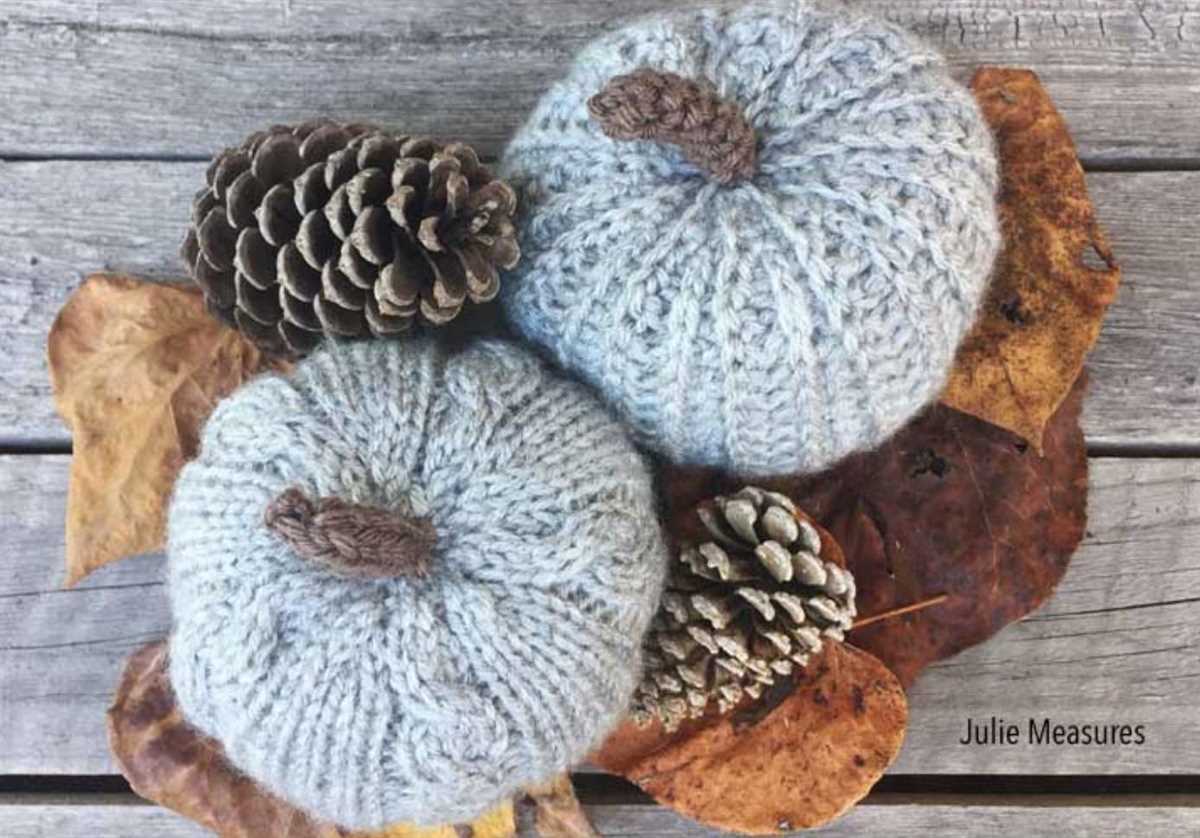
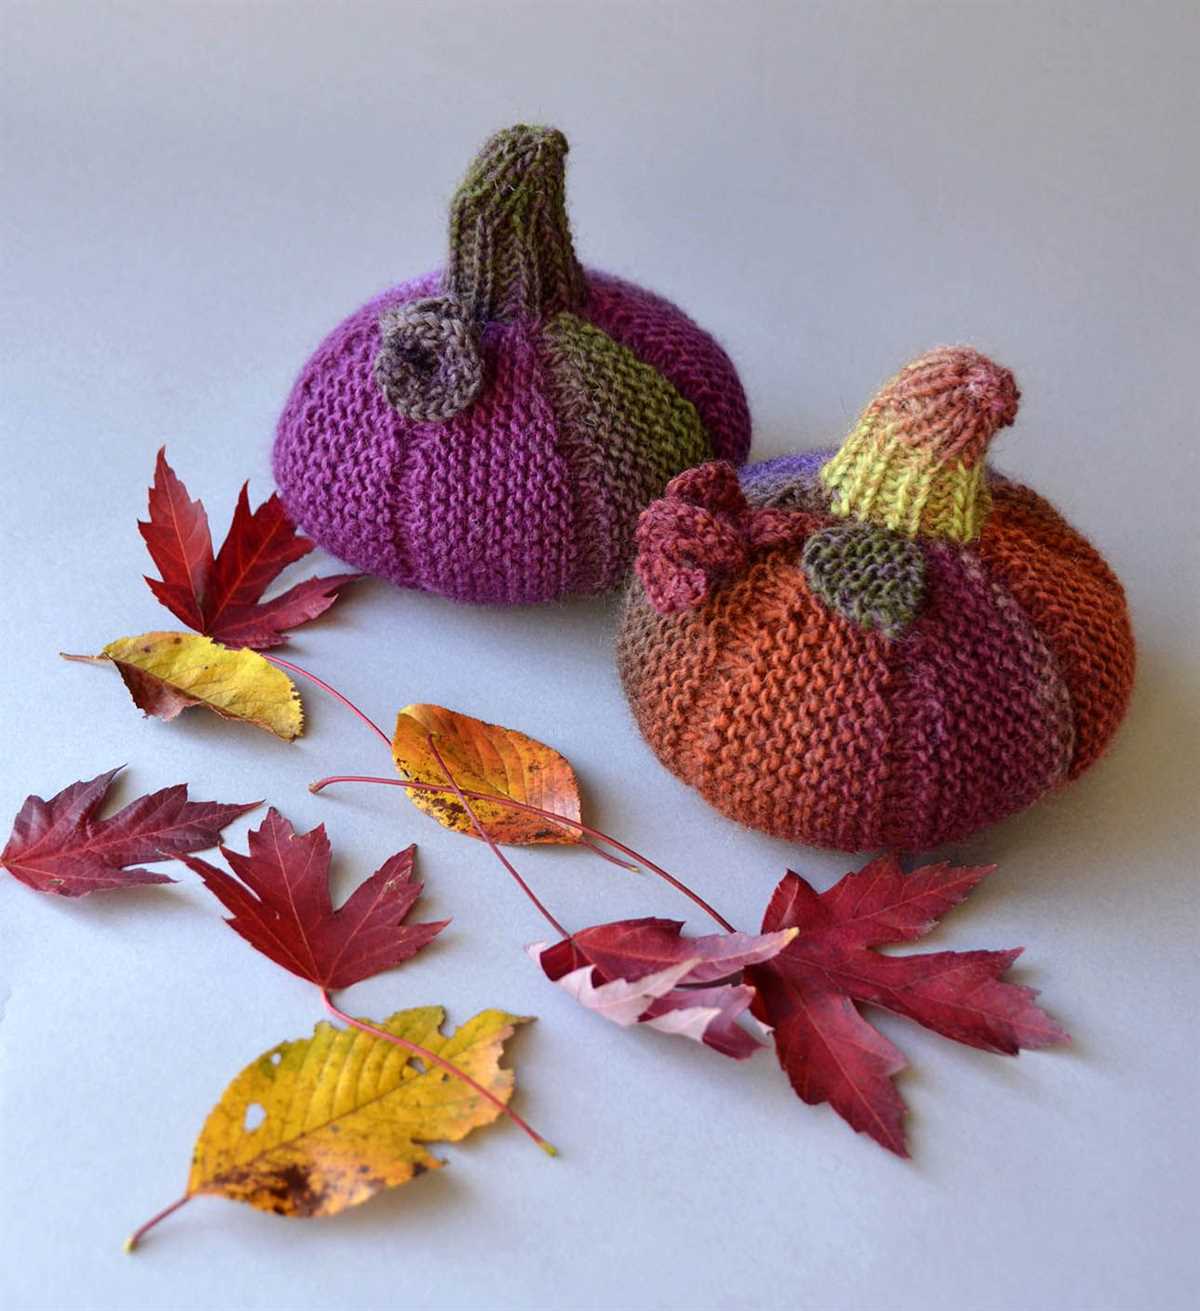
Display knitted pumpkins on shelves, coffee tables, or bookcases as decorative accents. Mix them with natural elements like pinecones, acorns, or colorful leaves for a rustic and organic look.
4. Gift Toppers
Instead of using traditional bows or ribbons, use knitted pumpkins as unique and personalized gift toppers. They will add a special touch to your presents and make them stand out.
In conclusion, knitted pumpkins offer a versatile and charming way to embrace the fall season and add a cozy touch to your home. Whether you choose to use them as table centerpieces, garlands, decorative accents, or gift toppers, they are sure to bring warmth and joy to any space.