
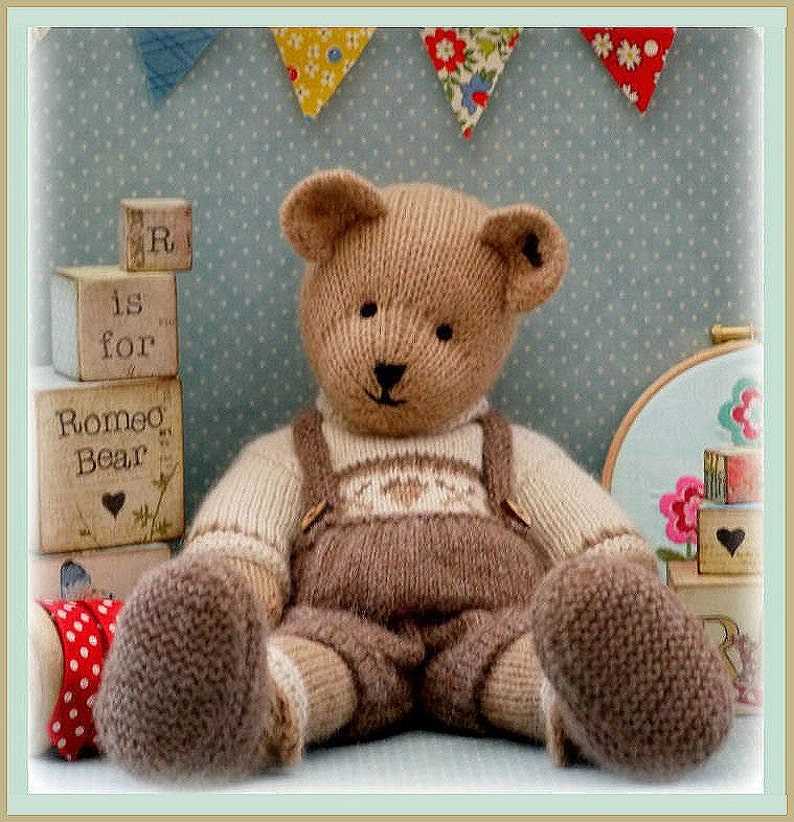
Knitting is a wonderful hobby that allows you to create beautiful and unique items. One popular project for knitters is making a teddy bear. These adorable stuffed animals are perfect for children, and they also make great gifts for adults too. If you’re looking for a cute and cuddly project to work on, we have the perfect solution for you – a knitted teddy bear free pattern.
With this free pattern, you can create your very own teddy bear from scratch. Whether you’re an experienced knitter or just starting out, this pattern is suitable for all skill levels. The pattern includes detailed instructions and helpful tips to guide you through each step of the knitting process.
Knitting a teddy bear is a great way to practice different knitting techniques and stitches. From knitting the body and limbs to sewing on the eyes and nose, this project will challenge and inspire you. The end result is a beautiful and huggable teddy bear that you can keep for yourself or give as a special gift to someone you love.
So, why wait? Start knitting your very own teddy bear today with this free pattern. Get your needles and yarn ready, and let your creativity flow as you bring your knitted teddy bear to life. Happy knitting!
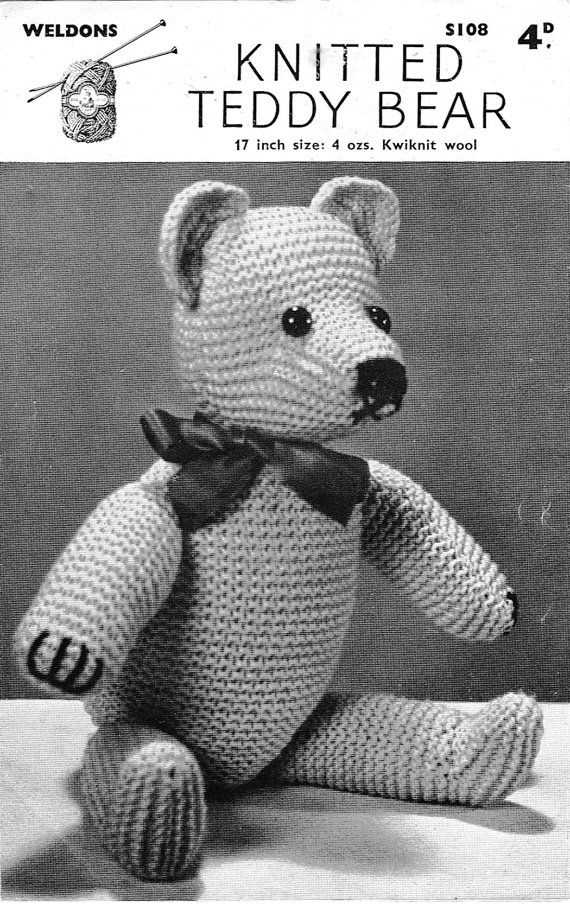
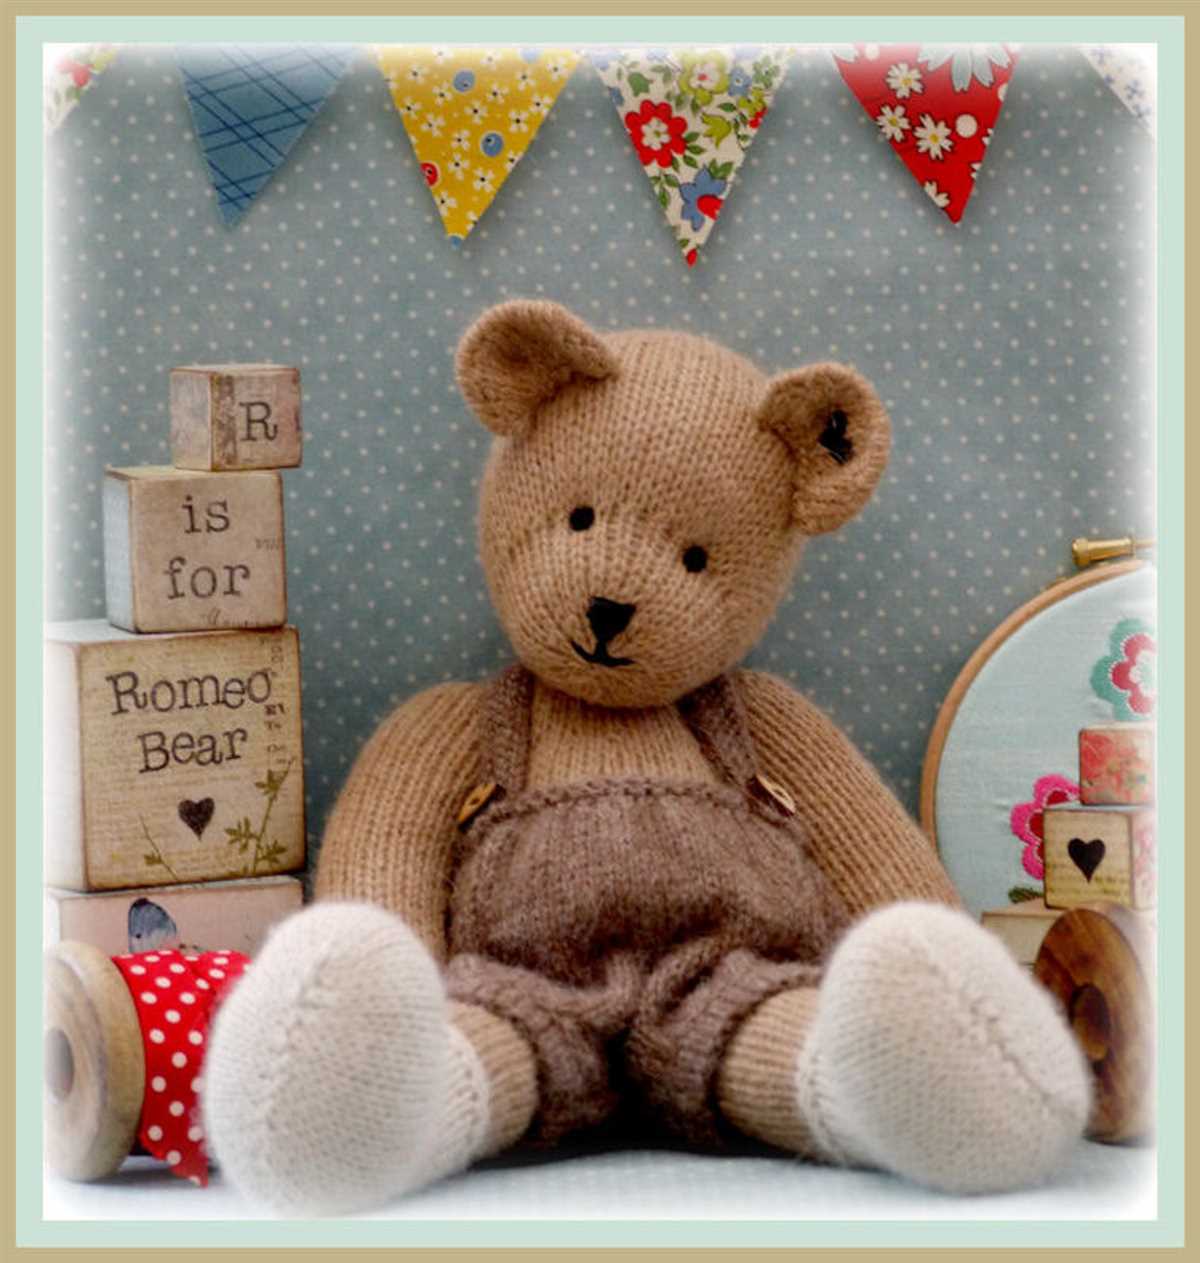
Knitted Teddy Bear Free Pattern
If you are looking for a fun knitting project, why not try making a knitted teddy bear? With this free pattern, you can create your very own cuddly toy in no time. Whether you are a beginner or an experienced knitter, this pattern is perfect for all skill levels.
Materials:
- Yarn: Choose a soft and chunky yarn in your favorite color.
- Needles: Use a pair of size 8 knitting needles.
- Stuffing: You will need polyester stuffing to fill your teddy bear.
- Buttons: Find two small buttons for the eyes.
- Embroidery floss: Use embroidery floss to stitch on the nose and mouth.
Instructions:
- Start by casting on 30 stitches.
- Knit 1 row, purl 1 row for a total of 10 rows.
- Continue knitting in stockinette stitch until the piece measures 10 inches.
- Bind off all stitches.
- Repeat steps 1-4 to create a second piece.
- Using a tapestry needle, sew the two pieces together leaving a small opening for stuffing.
- Stuff the teddy bear with polyester stuffing until it is firm but not overfilled.
- Close the opening by sewing it shut.
- Sew on the buttons for the eyes using embroidery floss.
- Use embroidery floss to stitch on the nose and mouth.
Once you have finished making your knitted teddy bear, you can give it as a gift, donate it to a charity, or keep it as a cherished keepsake. This pattern allows you to customize your bear by choosing different colors of yarn and adding your own personal touches. Happy knitting!
Materials Needed
Before you start knitting your teddy bear, make sure you have all the necessary materials and tools. Here is a list of what you will need:
- Yarn: Choose a soft and durable yarn in the color of your choice. Worsted weight yarn works well for this project.
- Knitting Needles: Use a pair of size 4mm (US 6) knitting needles or the size recommended on the yarn label. These needles will help you achieve the correct gauge.
- Stitch Markers: These will be used to mark the beginning and end of the rounds.
- Tapestry Needle: You’ll need a tapestry needle with a large eye to weave in the loose ends of yarn.
- Stuffing: To give your teddy bear its shape, you will need polyester fiberfill or any other stuffing material of your choice.
- Scissors: A pair of sharp scissors will come in handy for cutting yarn and trimming excess threads.
- Safety Eyes: If you want to give your teddy bear realistic-looking eyes, you can use safety eyes. Alternatively, you can embroider the eyes using black yarn.
- Other Accessories: Depending on your desired design, you may also need buttons, ribbons, or any other embellishments to adorn your teddy bear.
Once you have gathered all these materials, you are ready to start knitting your adorable teddy bear!
Getting Started
Welcome to the world of knitted teddy bears! Whether you’re a beginner or an experienced knitter, this free pattern will guide you through creating your very own adorable knitted teddy bear. Before you begin, make sure you have all the necessary materials and tools on hand.
Materials:
- Yarn: Choose a soft and cuddly yarn in the color of your choice. It’s best to use a yarn with a medium weight (worsted) for this project.
- Knitting Needles: You’ll need a pair of knitting needles in the appropriate size for your chosen yarn. Check the yarn label for recommendations.
- Stuffing: To give your teddy bear a soft and plush feel, you’ll need stuffing material. Polyester fiberfill is a popular choice.
- Tapestry Needle: A tapestry needle with a large eye will be needed for sewing and finishing your teddy bear.
- Scissors: Make sure you have a pair of sharp scissors for cutting yarn and trimming loose ends.
- Stitch Markers: These will come in handy for marking specific stitches or sections in the pattern.
Once you have gathered all the necessary materials, it’s time to familiarize yourself with the pattern. Read through the entire pattern and make sure you understand each step. Pay attention to any abbreviations or special stitches that may be used.
Note: It may be helpful to make a gauge swatch before starting your project. A gauge swatch will help ensure that your finished teddy bear is the correct size. Follow the gauge instructions in the pattern to create a swatch and compare it to the recommended measurements.
Body
The body of the knitted teddy bear is the main part of the toy and is made up of several sections. To start, you will need to cast on the required number of stitches for the body. This will vary depending on the size of the teddy bear you are making, so be sure to refer to the pattern for the specific measurements.
Once you have cast on the stitches, you will begin working in the round to create the body. This can be done using double-pointed needles or circular needles, depending on your preference. Regardless of the method you choose, be sure to use a stitch marker to indicate the beginning of each round.
As you knit the body, you may need to make increases or decreases to shape the bear. These will typically be done at certain intervals to create a tapered effect. For example, you may need to increase stitches evenly spaced around the body to create a fuller shape for the chest area. Alternatively, you may need to decrease stitches to create a narrower waist area.
Some patterns may also include additional detailing on the body, such as stripes or textured stitches. These can add extra visual interest to the finished bear. Be sure to follow the pattern instructions carefully to incorporate any additional design elements.
Once you have completed knitting the body, you can continue on to the next section of the pattern, such as the head or limbs. The body will serve as the foundation for the rest of the teddy bear and will determine the overall size and shape of the finished toy.
Head
The head of the knitted teddy bear is an essential part of the toy, as it gives it its unique character and personality. When making the head, it is important to pay attention to the shape and proportions to achieve a well-balanced and cute teddy bear.
To start making the head, you will need to cast on a certain number of stitches, depending on the size of the teddy bear you are making. The stitches are then worked in rounds, using a combination of knit and purl stitches to create the desired texture and shape. It is also important to stuff the head as you go, using small amounts of fiberfill to achieve a firm, yet soft result.
Shaping the Head
To shape the head, you can start by gradually decreasing the number of stitches in each round. This will create a rounded top and a tapered shape towards the neck. Additionally, you can use simple embroidery techniques to add facial features, such as eyes, nose, and mouth, giving your teddy bear a unique and adorable expression.
Finishing Touches
Once the head is complete, you can attach it to the body of the teddy bear using a whip stitch or mattress stitch. This will ensure that the head is securely attached and will not come off during play. You can also add any additional details, such as ears or a little hat, to further customize your knitted teddy bear.
Overall, the head of the knitted teddy bear is a crucial element in creating a charming and lovable toy. With attention to detail and careful shaping, you can create a head that will make your teddy bear truly special and cherished by its owner.
Arms
In order to complete your knitted teddy bear, you will need to create the arms. The arms are knitted separately and then sewn onto the body of the bear. Here is a step-by-step guide on how to knit the arms:
Materials:
- Knitting needles (size may vary depending on the yarn you use)
- Yarn (choose a color that matches your bear)
- Scissors
- Tapestry needle
Instructions:
- Cast on 12 stitches onto your knitting needles. This will be the base of your arm.
- Knit in stockinette stitch for a desired length. You can make the arms as short or as long as you want.
- Once you have reached the desired length, bind off the stitches and cut the yarn, leaving a long tail.
- Thread the long tail onto a tapestry needle and fold the knitted piece in half, aligning the cast-on and bind-off edges.
- Using the tapestry needle and the long tail, sew the edges together to create a tube. Leave a small opening at the bottom of the tube.
- Stuff the arm with polyester fiberfill, making sure to evenly distribute the stuffing.
- Close the opening by sewing it shut with the tapestry needle and the remaining yarn.
- Repeat these steps to create the second arm.
Legs

The legs of the knitted teddy bear are an important part of the overall design. They provide stability and enable the bear to sit or stand on its own. The pattern for the legs is simple, consisting of basic knit and purl stitches.
To start knitting the legs, cast on a certain number of stitches according to the pattern. Divide the stitches evenly onto four double-pointed needles. This will allow you to knit in the round and create a seamless leg. Begin by knitting the first round before switching to a simple rib stitch pattern, alternating between knit and purl stitches.
As you continue knitting, you will shape the legs by decreasing and increasing stitches at specific intervals. This will create a tapered effect, giving the legs a more natural look. Follow the pattern instructions closely to ensure the correct shaping.
Tips:
- Use a stitch marker to keep track of the beginning of each round.
- Take your time and double-check your stitch count after each decrease or increase.
- Make sure your tension remains consistent throughout the leg knitting process.
- Once the legs are complete, stuff them firmly with polyester fiberfill to give them shape and structure.
- When sewing the legs onto the body of the bear, position them evenly and securely for stability.
Ears
When it comes to knitting a teddy bear, the ears are an important feature that can really bring the bear to life. The shape and placement of the ears can give the bear a unique personality and expression. There are many different styles of bear ears, from small and round to large and floppy. It’s important to choose a style that matches the overall look and feel of your teddy bear.
One popular style of teddy bear ear is the classic rounded shape. This style is simple and timeless, and it works well for both traditional and modern teddy bear designs. To create this style, you can start with a basic oval shape and add small shaping details like decreases and increases to create the rounded shape. It’s important to position the ears correctly on the head to ensure that they are symmetrical and well-balanced.
Another popular style of teddy bear ear is the floppy ear. This style is characterized by long, floppy ears that hang down to the sides of the head. Floppy ears can give a teddy bear a playful and mischievous look. To create this style, you can start with a basic rectangular shape and add shaping details like decreases and increases to create the floppy shape. The position and angle of the ears can also be adjusted to create different expressions.
Whichever style of teddy bear ear you choose to knit, it’s important to pay attention to the details. Adding small touches like stitching or embroidery can give the ears extra texture and dimension. You can also experiment with different yarn colors and textures to create unique effects. Don’t be afraid to get creative and make the ears your own!
Eyes and Nose
When making a knitted teddy bear, one of the most important features to consider is the eyes and nose. They bring the bear to life and give it personality.
For the eyes, you can use either plastic safety eyes or embroider them. If you choose plastic safety eyes, make sure they are securely attached to avoid any choking hazards. Alternatively, you can embroider the eyes using yarn or embroidery thread. This gives you more flexibility in creating the desired expression for your teddy bear.
To embroider the eyes, start by placing a stitch marker where you want the eyes to go. Then, using a contrasting color yarn or thread, create a small stitch for each eye. You can experiment with different stitches, such as French knots or satin stitches, to achieve different eye shapes and expressions.
As for the nose, you can again use a plastic safety nose or embroider it. Plastic safety noses are available in various shapes and sizes and can be easily attached to the bear’s face. If you prefer to embroider the nose, you can use a black or brown yarn or thread and create a small triangle or oval shape at the center of the face. This can be done using a simple satin stitch or a combination of straight stitches.
Assembly
After you have finished all the parts of your knitted teddy bear, it’s time to assemble them together. Follow these simple steps to complete your adorable teddy bear:
Step 1: Start by sewing the arms and legs onto the body. Use a yarn needle and matching yarn to securely attach the pieces. Make sure to position them evenly and symmetrical on both sides.
Step 2: Next, sew the ears onto the head. Position them towards the top of the head and sew them on securely. You can use a small straight stitch or a whip stitch to attach the ears.
Step 3: Now, it’s time to attach the head to the body. Place the head on top of the body and sew them together using the same technique as before. Make sure to align the neck area properly for a seamless look.
Step 4: Finally, sew on the eyes, nose, and mouth. You can use buttons, felt, or embroidered stitches to create the facial features. Be creative and give your teddy bear a unique expression.
Once all the pieces are securely attached, give your teddy bear a gentle shake to ensure everything is properly assembled. Your knitted teddy bear is now complete and ready to be hugged and loved!
Finishing Touches
After completing the knitted teddy bear, there are a few finishing touches you can add to make it extra special.
1. Eyes and nose: Use black yarn or safety eyes to stitch on the eyes and nose of the teddy bear. You can sew them on using a tapestry needle and secure them with a knot on the inside of the head.
2. Embroidered mouth: Use a contrasting color of yarn to embroider a simple mouth onto the teddy bear’s face. You can use a backstitch or a simple running stitch to create a smiling mouth.
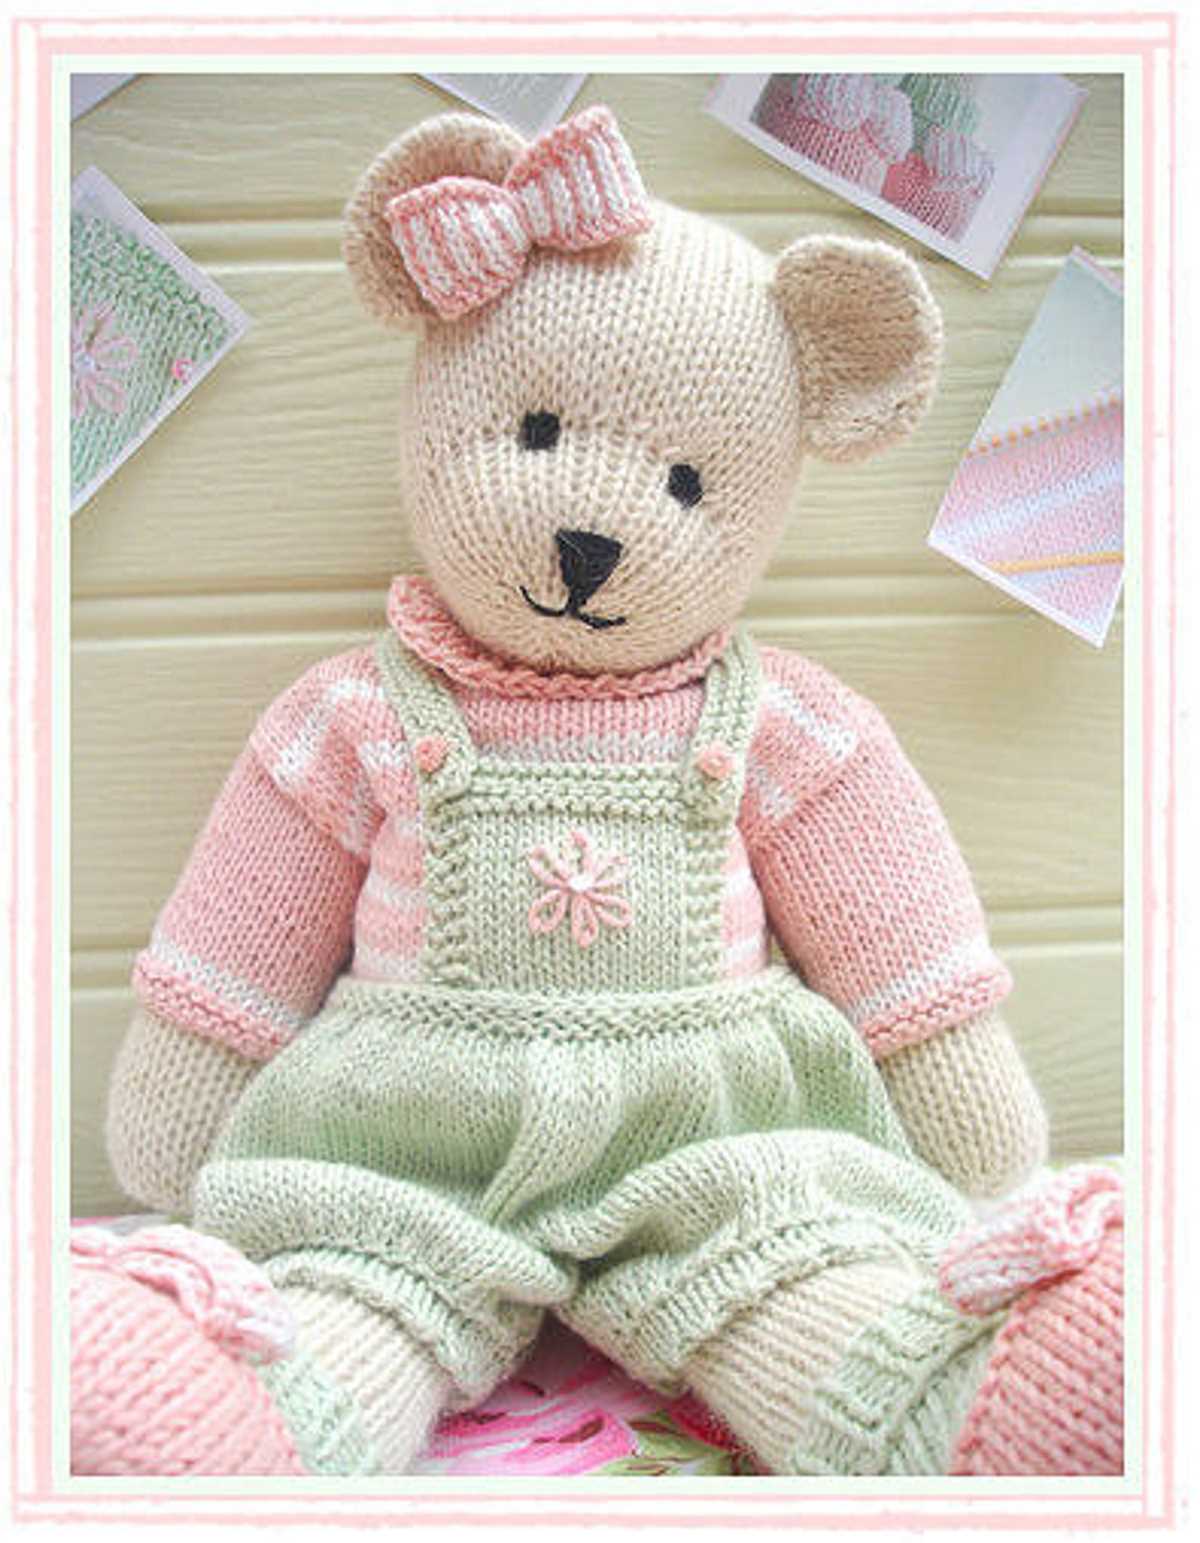
3. Bow or ribbon: To add a cute touch, tie a small bow or ribbon around the teddy bear’s neck. You can use a coordinating color or choose a patterned ribbon to match the bear’s personality.
4. Personalized tag: Sew or attach a small tag with the teddy bear’s name or a personal message. This can make the bear even more special if it’s intended as a gift.
5. Brushing: Give the finished teddy bear a gentle brushing with a soft brush to fluff up the yarn and bring out its texture.
Remember to give the finished bear a good inspection and make any necessary adjustments or repairs before gifting or displaying it. These finishing touches will help make your knitted teddy bear truly one-of-a-kind!