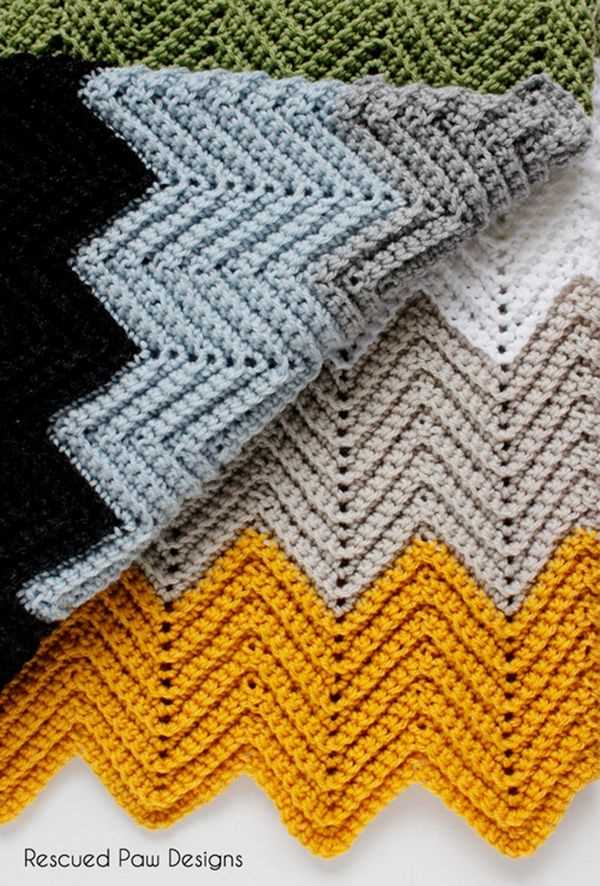
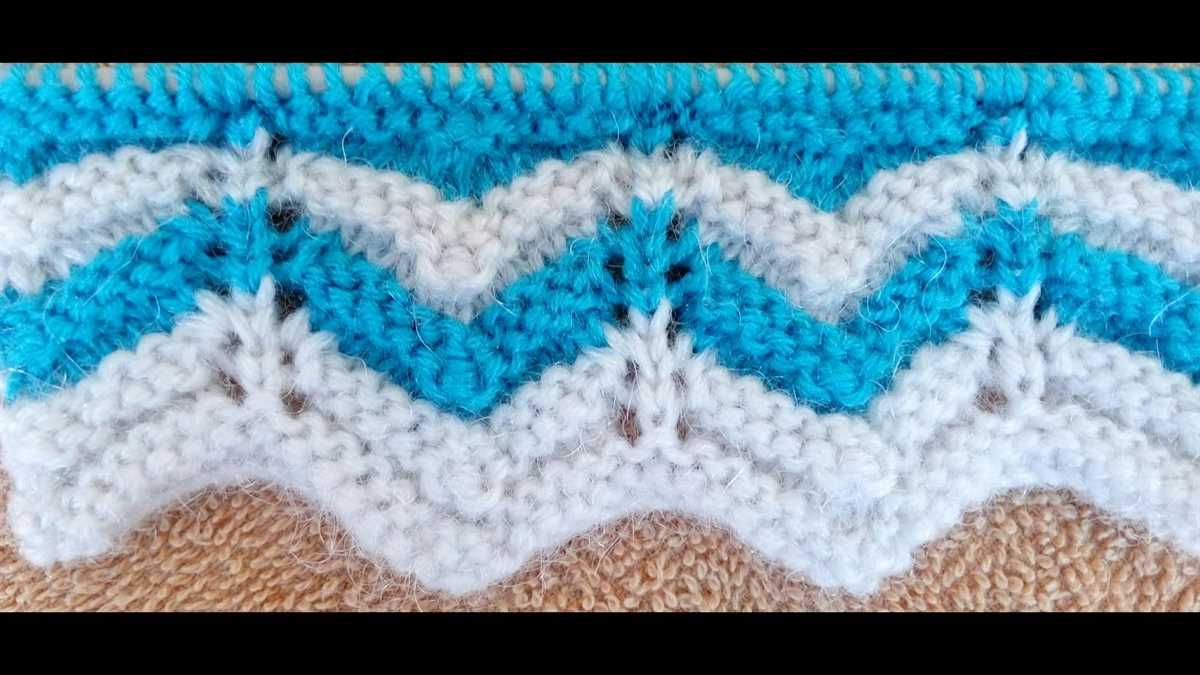
If you’re a knitter looking to learn a new and exciting stitch pattern, then the two color chevron knitting pattern is a must-try! This eye-catching pattern features a stunning chevron design created with two different colors of yarn. The result is a bold and graphic pattern that will add incredible texture and interest to any knitting project.
What makes the two color chevron knitting pattern so unique is the way in which the colors interact with each other. By alternating the colors in each row, you create a captivating zigzag pattern that is both visually striking and surprisingly simple to achieve.
This pattern is perfect for a wide range of knitting projects, whether you’re looking to knit a cozy blanket, a stylish scarf, or even a trendy sweater. The versatility of the two color chevron knitting pattern means that you can customize it to suit your own personal style and preferences.
What is a Two Color Chevron Knitting Pattern?
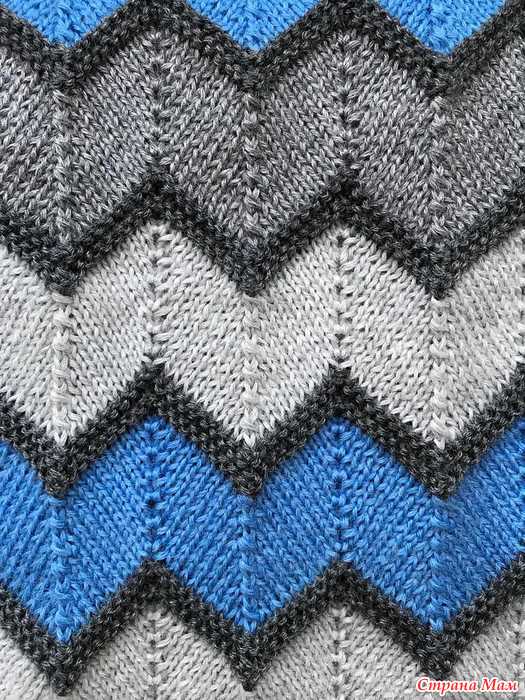
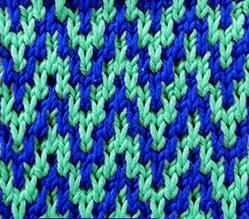
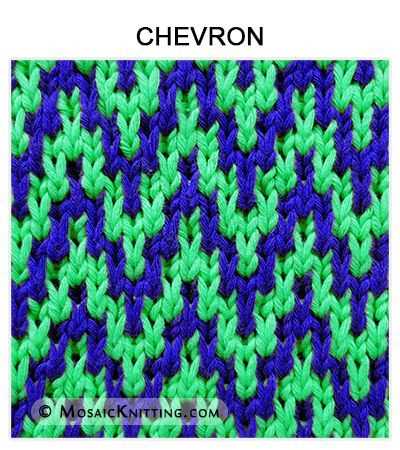
A two color chevron knitting pattern is a technique used in knitting to create a zigzag or chevron design using two different colors of yarn. This pattern creates an alternating pattern of colored stripes, with each color forming the “V” shape of the chevron. It is a popular choice for adding visual interest and texture to various knitting projects, such as scarves, blankets, and sweaters.
To create a two color chevron knitting pattern, knitters usually start with one color, knit a certain number of rows or rounds, and then switch to the other color. This creates a distinct separation between the different colors, making the chevron pattern more prominent. Knitters can choose any combination of colors they prefer, ranging from contrasting colors for a bold look to more subtle shades for a softer effect.
To achieve the chevron design, knitters use a combination of knitting techniques, such as increases and decreases, to shape the stitches. Typically, the pattern will include instructions on how many stitches to increase or decrease at specific points to create the desired chevron shape. This may involve knitting multiple stitches together to decrease or making yarn overs to increase the stitch count.
The two color chevron knitting pattern can be adapted to different skill levels, from beginner to advanced. Beginners may start with a simple pattern that uses basic knit and purl stitches to create the chevron effect, while more experienced knitters can try more complex patterns that incorporate different stitch patterns and techniques.
Key Features of a Two Color Chevron Knitting Pattern:
- Uses two different colors of yarn
- Creates a zigzag or chevron design
- Alternating pattern of colored stripes
- Requires knitting techniques such as increases and decreases
- Can be adapted to different skill levels
Choosing the Right Yarn for Your Chevron Pattern
When it comes to knitting a chevron pattern, choosing the right yarn is essential to achieving the desired results. The type of yarn you select can greatly impact the overall look and feel of your project. Here are a few factors to consider when choosing yarn for your chevron pattern:
Yarn Weight: Yarns come in different weights, which determine how thick or thin the yarn is. For a chevron pattern, it is best to choose a yarn that is in the medium to heavy weight range. This will ensure that your chevron pattern stands out and has a defined shape. Avoid using lightweight yarns, as they may not provide enough structure for the chevron design to hold its shape.
Fiber Content: The fiber content of the yarn can also make a difference in how your chevron pattern turns out. Wool and acrylic yarns are popular choices for chevron patterns because they have good stitch definition and can hold their shape well. However, you can also experiment with other fiber blends, such as cotton or bamboo, depending on the drape and texture you want to achieve.
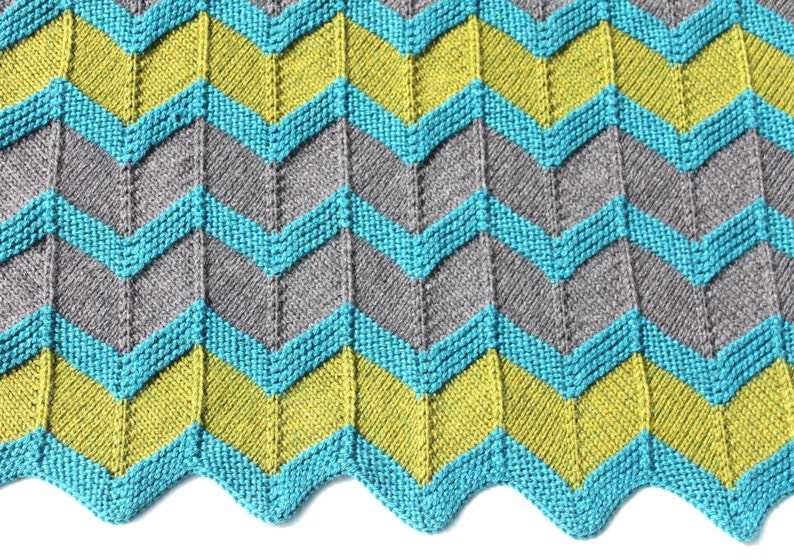
Color Selection: Chevron patterns often look the best when you use contrasting colors. The key is to choose colors that are different enough to create a clear distinction between the chevron peaks and valleys. You can go for a bold, high-contrast look with bright colors, or opt for a subtle, sophisticated look with more muted tones. It’s all about finding a color combination that speaks to your personal style and complements the intended use of your knitted item.
Texture: The texture of the yarn can also add interest and depth to your chevron pattern. You can choose yarns with a smooth, even texture for a clean and modern look, or opt for yarns with a bit of texture, such as tweed or boucle, to add a touch of uniqueness to your project.
Yardage: Depending on the size of your chevron pattern, make sure to choose a yarn that has enough yardage to complete your project. Consulting a pattern or calculating the estimated yardage based on your desired finished dimensions can help you determine how much yarn you will need.
By considering these factors and taking the time to choose the right yarn, you can ensure that your chevron pattern knitting project turns out beautifully. So go ahead, explore the vast array of yarn options available and let your creativity shine through!
Tools and Materials Needed for Two Color Chevron Knitting
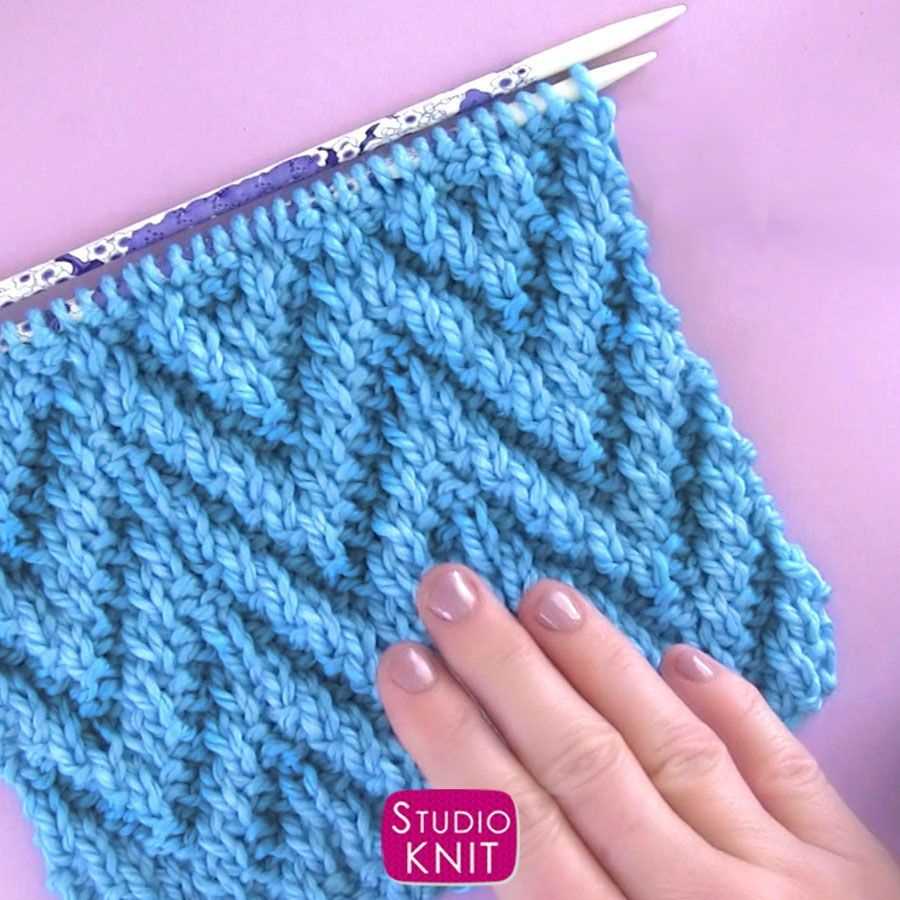
In order to create a beautiful and unique two color chevron knitting pattern, you will need a few tools and materials. Here is a list of what you will need:
Knitting Needles:
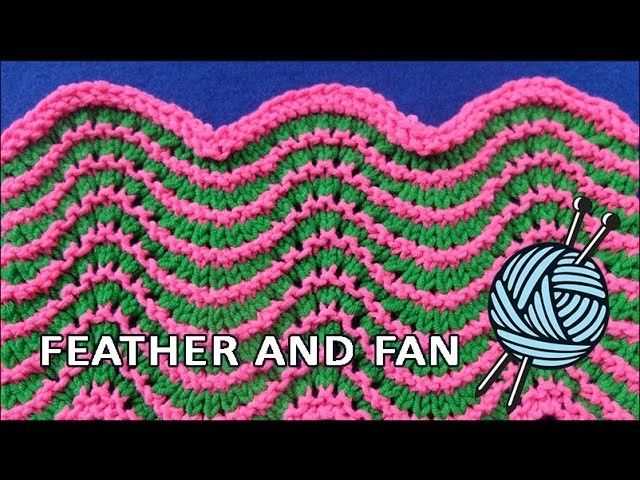
- A pair of straight knitting needles in a size suitable for your yarn. Typically, a size 8 or 9 needle works well for medium-weight yarn.
Yarn:
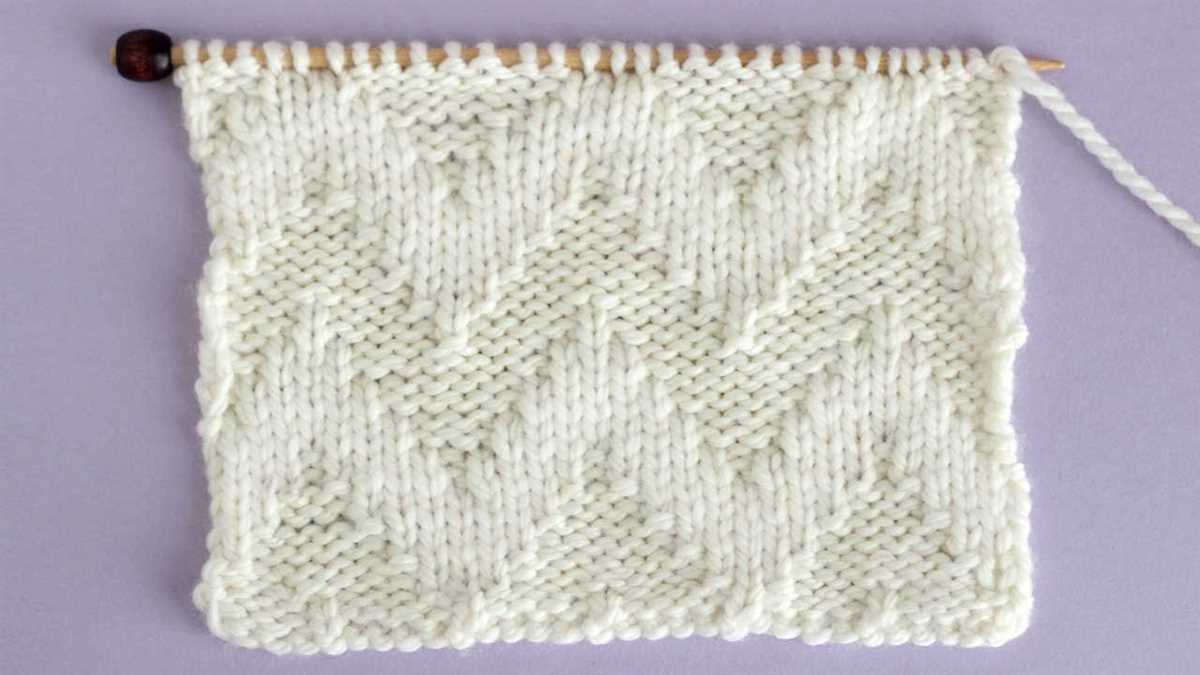
- Two colors of yarn in contrasting colors. Choose colors that complement each other and create the desired effect for your chevron pattern.
- Make sure to choose a yarn that is suitable for your knitting needle size.
Tapestry Needle:
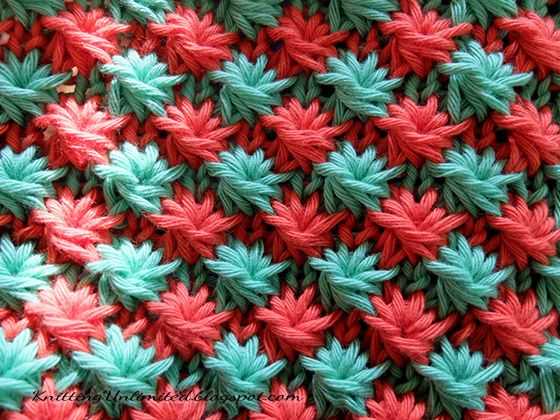
- A tapestry needle with a large eye is necessary for weaving in the ends of your yarn and finishing your project.
Scissors:
- A pair of sharp scissors is essential for cutting your yarn and trimming any excess.
These are the basic tools and materials you will need to get started with two color chevron knitting. Of course, you may also want to have other knitting essentials on hand, such as stitch markers and a row counter, to help you keep track of your progress. Once you have gathered all of your supplies, you will be ready to begin creating your two color chevron masterpiece!
Understanding Chevron Increases and Decreases
When knitting a two-color chevron pattern, understanding how to increase and decrease is crucial to achieving the desired shape and design. Chevron patterns typically feature a series of V-shaped or zigzag rows, and the increases and decreases help create these shapes and transitions.
There are various methods for increasing and decreasing in knitting, such as knit front and back (kfb), make 1 (m1), knit 2 together (k2tog), and slip-slip-knit (ssk), among others. The specific method used for chevron patterns depends on the desired look and the pattern instructions.
To create the increase in chevron patterns, you will need to add stitches to the row. This is often done by working the kfb stitch, which involves knitting into the front and back of the same stitch. This creates an additional stitch and adds width to the row. The exact placement of the increases depends on the design and can vary from row to row.
When it comes to decreasing in chevron patterns, the goal is to remove stitches and narrow the width of the row. This is typically achieved by working the k2tog or ssk stitches. K2tog involves knitting two stitches together as one, while ssk involves slipping two stitches one by one knitwise, then inserting the left needle into the front loops of both slipped stitches and knitting them together. Again, the specific method used will depend on the pattern instructions and desired outcome.
Understanding the techniques for increasing and decreasing in chevron patterns is essential for knitters looking to create beautiful colorwork designs. With practice and attention to detail, you can master these techniques and create stunning chevron patterns with ease.
How to Read a Two Color Chevron Knitting Pattern Chart
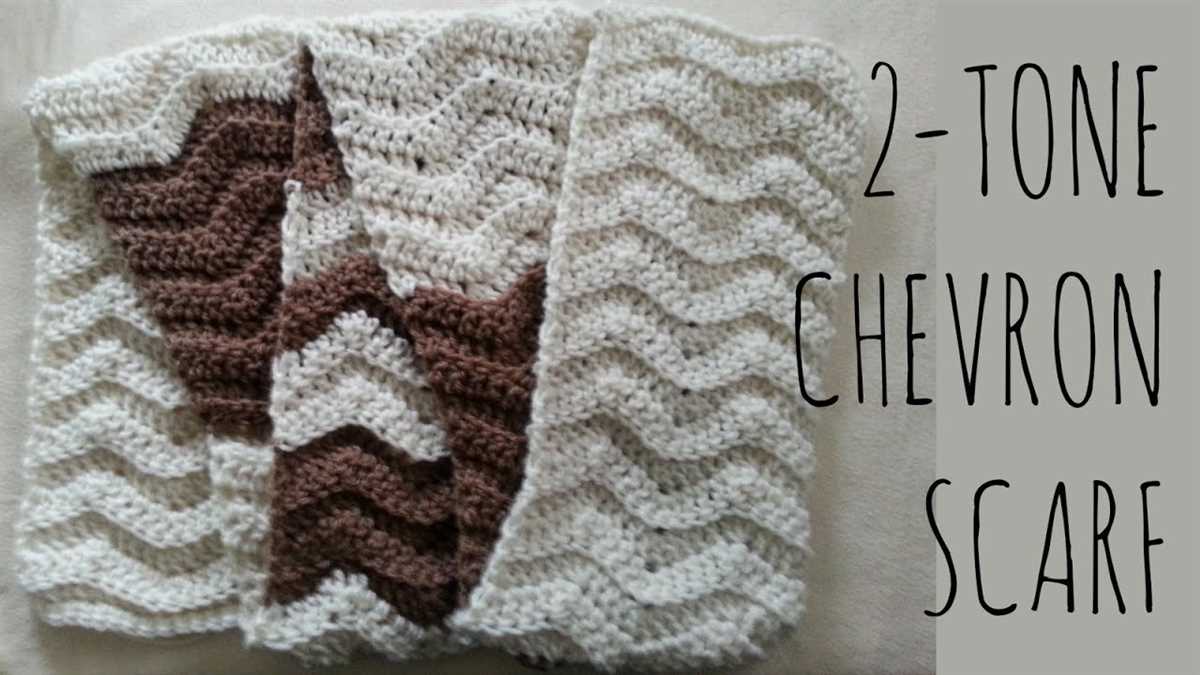
Reading a two-color chevron knitting pattern chart can seem intimidating at first, but with a little practice, it becomes an essential skill for creating beautiful and intricate designs. A knitting pattern chart is a visual representation of the stitches and colors used in a knitting pattern. It is like a map that guides you through each row of your project.
1. Understand the symbols: Each symbol on the chart represents a different stitch or color. Before you start working on the pattern, familiarize yourself with the key that explains what each symbol means. Common symbols include squares to represent knit stitches, circles for purl stitches, and triangles for decreases or increases.
2. Read from right to left: In most knitting pattern charts, the right edge of the chart represents the right side of your work, and the left edge represents the wrong side. This means that you will read the chart from right to left on the right side rows and from left to right on the wrong side rows. Pay attention to any instructions or notes provided in the pattern to ensure you are reading the chart correctly.
3. Follow the color chart: If your chevron design includes multiple colors, you will need to follow a separate color chart alongside the stitch chart. The color chart will indicate which color to use for each stitch or section of the pattern. Some color charts use different symbols or shading to represent the colors, while others may use abbreviations or letters. Make sure you understand the color chart before you begin.
4. Keep track of your progress: As you work through the chart, it can be helpful to use a row counter or highlighter tape to keep track of which row you are on. This will help you avoid mistakes and ensure your chevron pattern stays on track. Additionally, it is essential to check your work regularly to catch any errors early on.
With practice, reading a two-color chevron knitting pattern chart will become second nature. Don’t be discouraged if you make mistakes at first. Remember to take your time, refer back to the key and any additional instructions, and enjoy the process of creating a beautiful chevron design.
Tips for Perfecting Your Chevron Knitting Technique
Creating a beautiful chevron knitting pattern requires attention to detail and careful execution. Here are some tips to help you perfect your technique and achieve stunning results:
1. Choose the Right Yarn:
Selecting the appropriate yarn is crucial for a successful chevron knitting project. Opt for a yarn that is lightweight, yet still provides enough structure to showcase the chevron design. A smooth, plied yarn will help define the stitches and create crisp, clean lines.
2. Use Stitch Markers:
Stitch markers are an essential tool when working on a chevron pattern. By placing markers at the beginning and end of each repeat, you can easily keep track of your progress and ensure that you are staying on track with the pattern. This will help prevent any mistakes or inconsistencies in your knitting.
3. Gauge Swatch:
Before starting your chevron knitting project, always knit a gauge swatch to ensure you are obtaining the correct tension. This will help you determine the appropriate needle size and ensure that your finished piece will have the desired dimensions. Adjust your needle size accordingly until you achieve the correct gauge.
4. Carry Yarn Consistently:
When working with multiple colors in a chevron pattern, it’s important to carry the yarn consistently to maintain an even tension and prevent floats from becoming too long. Make sure to catch the unused yarn at the back of the work every few stitches to keep your color changes neat and tidy.
5. Block Your Finished Piece:
To achieve a professional-looking finish, it’s important to block your finished chevron knitting project. Blocking helps even out the stitches, relax the fabric, and give your piece a polished look. Follow the instructions on your yarn label or use your preferred blocking method to shape and set your project.
By following these tips and practicing your chevron knitting technique, you’ll be able to create stunning, eye-catching designs. Don’t be afraid to experiment with different color combinations and variations to make your chevron patterns truly unique!
Creating Colorful Chevron Designs with Variegated Yarn
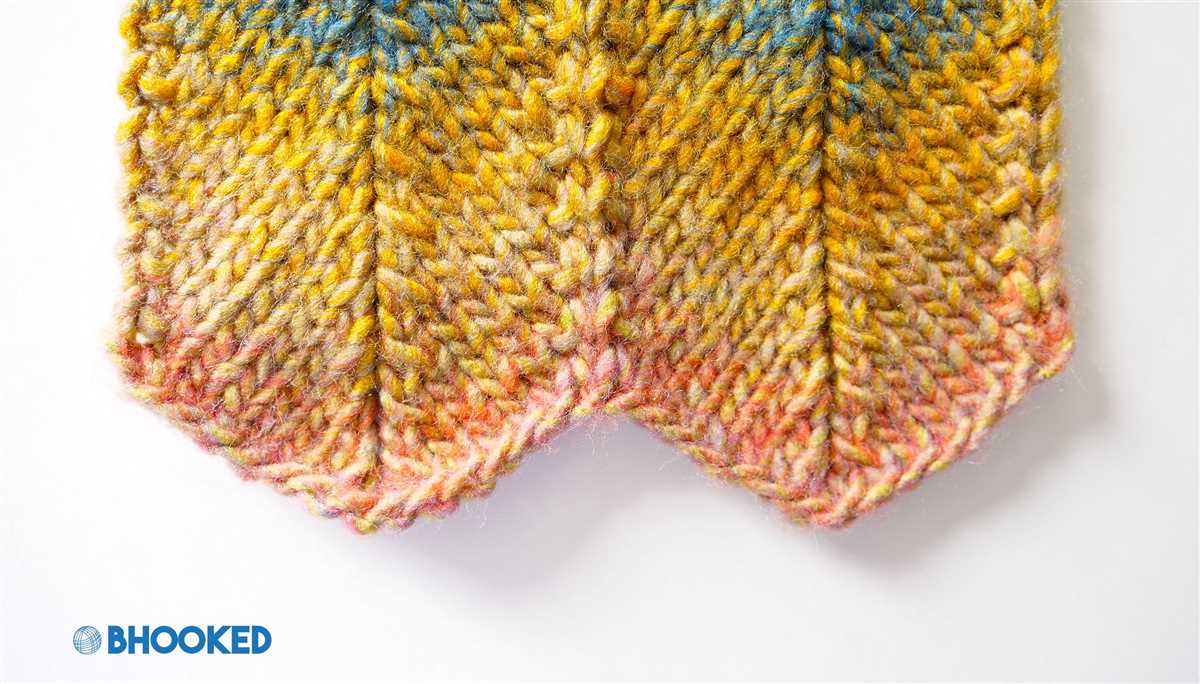
Variegated yarn is a beautiful and versatile option for creating colorful chevron designs in knitting. The unique color variations in variegated yarn can add visual interest and dimension to your chevron patterns, making them stand out and look exceptionally vibrant.
When working with variegated yarn, it’s important to consider the color repeat and pattern of the yarn so that the chevron design aligns nicely. You can choose variegated yarn with long color repeats for a more blended look, or opt for yarn with shorter color repeats to create distinct sections of color in your chevron pattern.
Here are some tips to help you create colorful chevron designs with variegated yarn:
- Choose the right stitch pattern: Consider using a simple stitch pattern, such as garter stitch or stockinette, that allows the variegated yarn to take center stage. This will allow the colors in the yarn to shine and create a beautiful chevron effect.
- Play with color placement: Experiment with different color placements within your chevron pattern. You can choose to have the variegated yarn as the main color and use a solid color for the contrasting chevron sections, or vice versa. This will create different looks and allow you to showcase different aspects of the variegated yarn.
- Use stitch markers: To ensure that your chevron design is symmetrical and accurate, use stitch markers to mark the points where the chevron peaks and valleys occur. This will help you keep track of your progress and maintain the correct stitch count.
- Consider the yarn weight: Variegated yarn is available in different weights, so consider the weight of the yarn when choosing your chevron pattern. Thicker yarns may work well for larger chevron patterns, while lighter weight yarns can create more delicate and intricate designs.
Remember to have fun and experiment with different color combinations and stitch patterns when creating chevron designs with variegated yarn. The possibilities are endless, and you can create unique and eye-catching pieces that showcase your creativity and knitting skills.
Adding Texture to Your Chevron Knitting Pattern
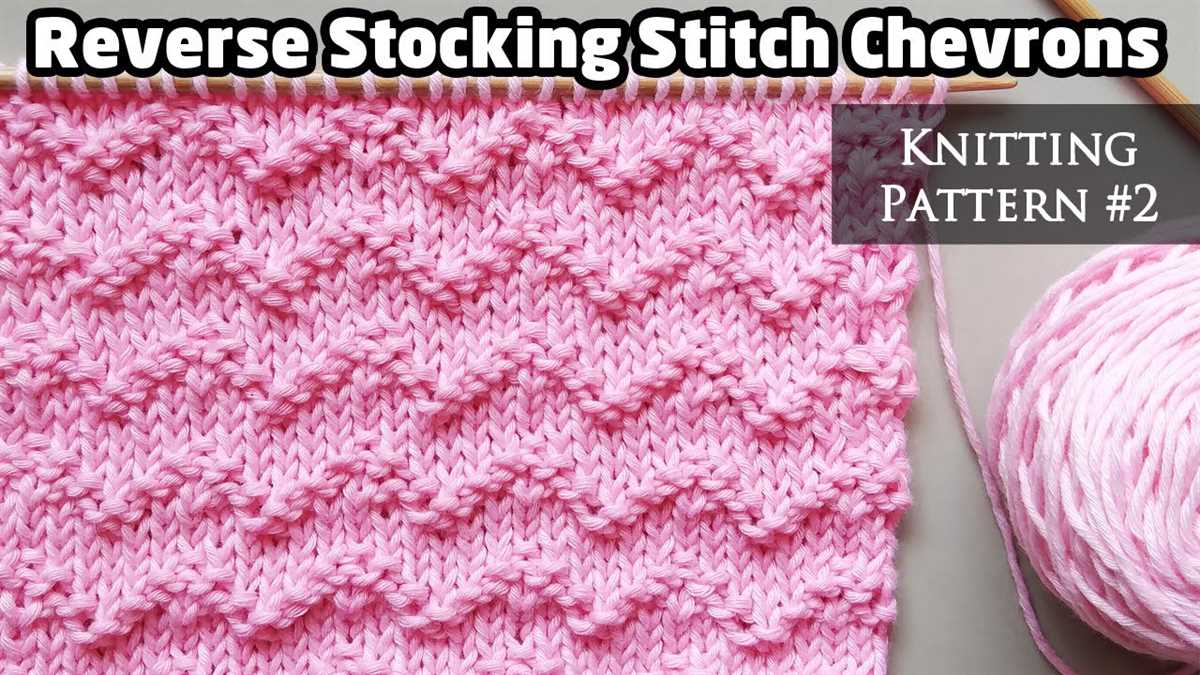
Incorporating texture into your chevron knitting pattern can add depth and interest to your project. By combining different stitches and techniques, you can create a unique and eye-catching design that stands out from traditional chevron patterns.
One way to add texture to your chevron knitting pattern is by using a variety of stitch patterns. For example, you could alternate between knitting and purling rows to create a ribbed effect. This can give your chevron pattern a more defined and three-dimensional look. Another option is to introduce cables or twisted stitches into your chevron pattern. This adds a dynamic and intricate texture that can make your project truly stand out.
Additionally, you can experiment with different yarn weights and fibers to add texture to your chevron knitting pattern. Choosing a chunky or textured yarn can create a more pronounced and textured chevron design. Alternatively, using a combination of different yarns in contrasting colors can also create an interesting visual texture. Consider using a variegated yarn or a yarn with subtle color changes to add depth and dimension to your chevron pattern.
Here are some tips to consider when adding texture to your chevron knitting pattern:
- Experiment with different stitch patterns, such as ribbing, cables, or twisted stitches.
- Choose yarns with different weights or textures to create a more pronounced texture.
- Combine contrasting colors or variegated yarns to add visual interest to your chevron pattern.
- Consider adding embellishments, such as beads or embroidery, to further enhance the texture of your chevron pattern.
By incorporating texture into your chevron knitting pattern, you can create a one-of-a-kind project that showcases your creativity and adds visual interest to your knitting. Have fun experimenting with different stitches, yarns, and techniques to create a unique and textured chevron design!
Customizing Your Chevron Knitting Pattern with Different Stitch Patterns
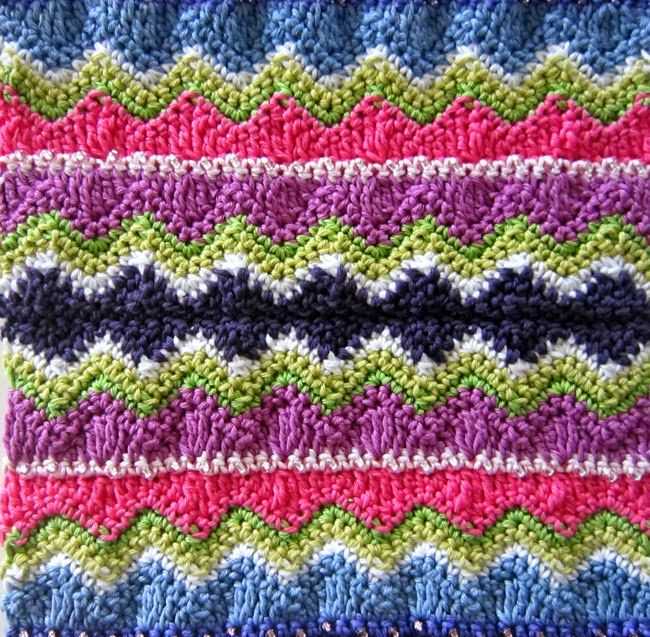
If you’ve mastered the basic chevron knitting pattern and are looking to add some variation to your creations, why not try customizing your pattern with different stitch patterns? By incorporating different stitches into the chevron design, you can create unique textures and visual interest in your knitting projects.
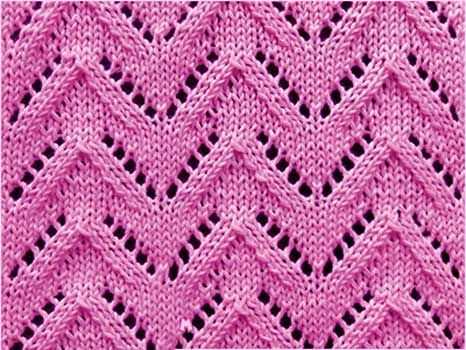
One way to customize your chevron pattern is to add a lace stitch. Lace stitches are beautiful and delicate, and they can create an airy and open texture in your chevron design. Try incorporating a lace motif into the peaks or valleys of your chevron pattern for an elegant touch.
If you prefer a more textured look, consider adding a cable stitch to your chevron pattern. Cable stitches create a raised, three-dimensional effect that can add depth and complexity to your knitting. You could incorporate a small cable twist into each peak of your chevron for a subtle but interesting detail.
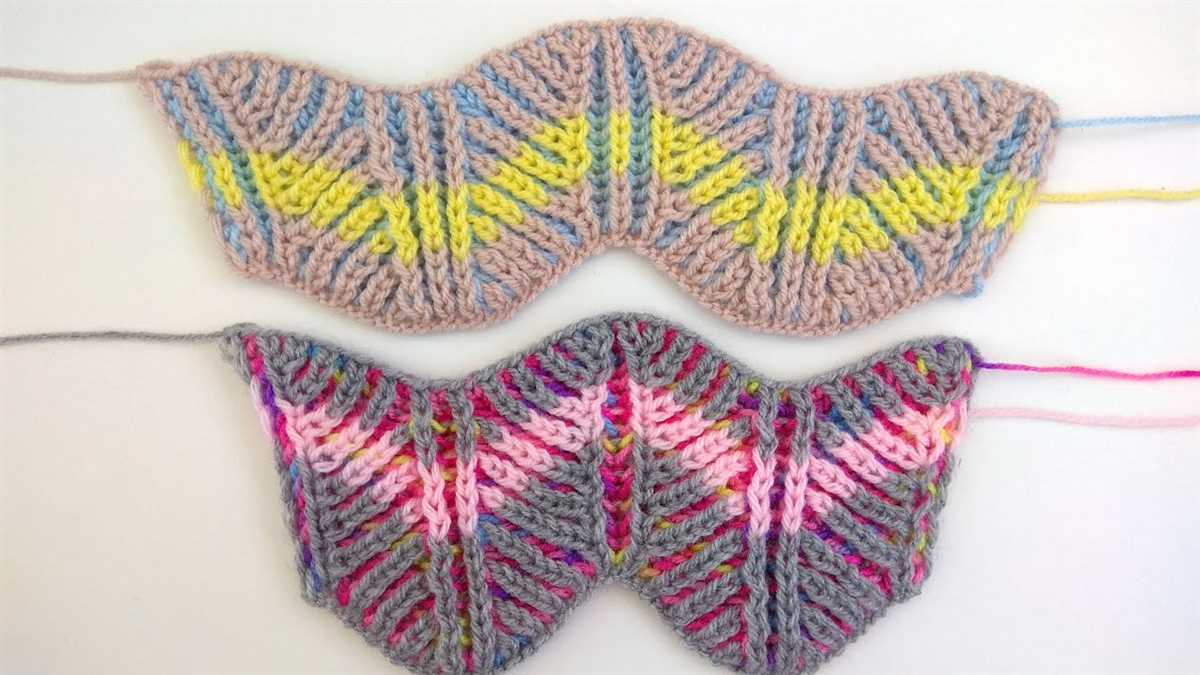
Another option for customizing your chevron pattern is to use a different color yarn for each section of the pattern. This can create a bold and graphic look, with each section of the chevron design standing out in its own color. You could use a two-color palette, alternating between two contrasting colors, or you could use multiple colors for a more vibrant and playful effect.
In addition to these ideas, there are countless stitch patterns and techniques you can explore to customize your chevron knitting pattern. Don’t be afraid to experiment and try something new – you may discover a stitch pattern that becomes your signature touch in all your chevron designs!
Finishing Touches: Blocking and Binding Off Your Chevron Project
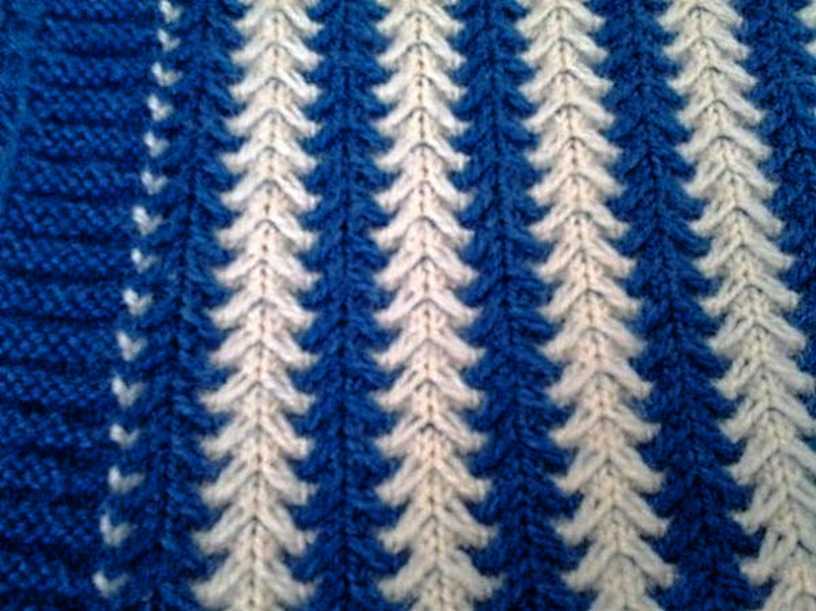
Once you have completed knitting the chevron pattern for your project, there are a few final steps to take to give it a polished finish. Blocking and binding off are essential techniques that help to shape and set your work, ensuring that the chevron design is crisp and the edges are neatly finished.
Blocking
Blocking is the process of gently stretching and shaping your knitted fabric to the desired dimensions. To block your chevron project, you will need a blocking board or mat, rustproof pins, and a spray bottle filled with water.
Start by laying your finished knitting flat on the blocking board. Pin the edges of the fabric, following the zigzag pattern of the chevrons to maintain the shape. If you have any curling edges, gently tug them to straighten and pin them in place. Mist the fabric with water using the spray bottle, making sure it is evenly damp but not soaking wet.
Allow your project to dry completely before unpinning. This will help set the shape and ensure that the chevron pattern is visible and crisp. Once dry, remove the pins and your chevron project is ready for the final step.
Binding Off
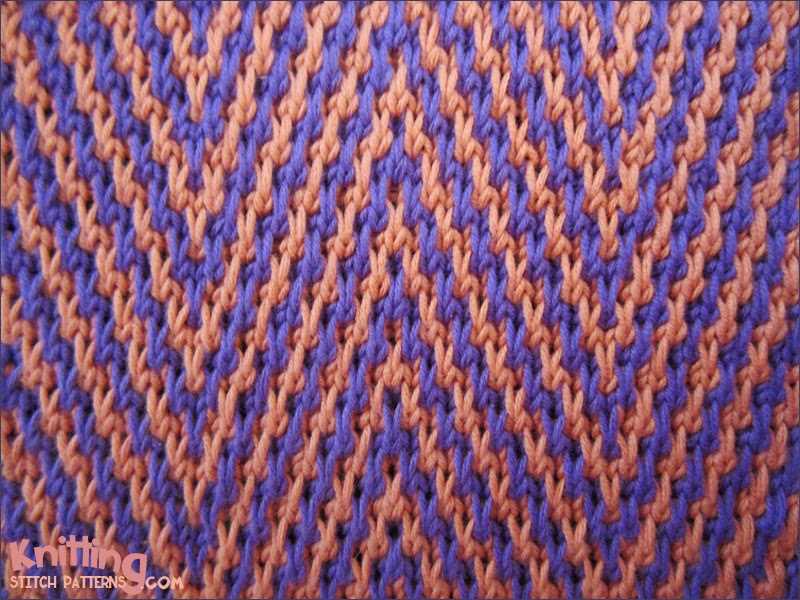
Binding off, also known as casting off, is the process of ending your knitting project and securing the live stitches. To bind off your chevron project, you will need a knitting needle sized appropriately for your yarn and a pair of scissors.
Starting with the first stitch on your left needle, knit 2 stitches together. Insert the left needle into the stitch created by knitting 2 together, and lift it up and over the second stitch on the right needle. This will bind off one stitch. Continue this process across all stitches until only one stitch remains on the right needle.
After binding off the final stitch, cut the working yarn, leaving a tail of about 6 inches. Pull the tail through the last stitch to secure it. Weave in any remaining ends to tidy up the project and trim any excess yarn.
With blocking and binding off complete, your chevron project is now finished and ready to be enjoyed or gifted. The crisp chevron pattern and neatly bound edges will showcase your knitting skills and give your project a professional touch.
Inspiring Chevron Knitting Projects and Patterns
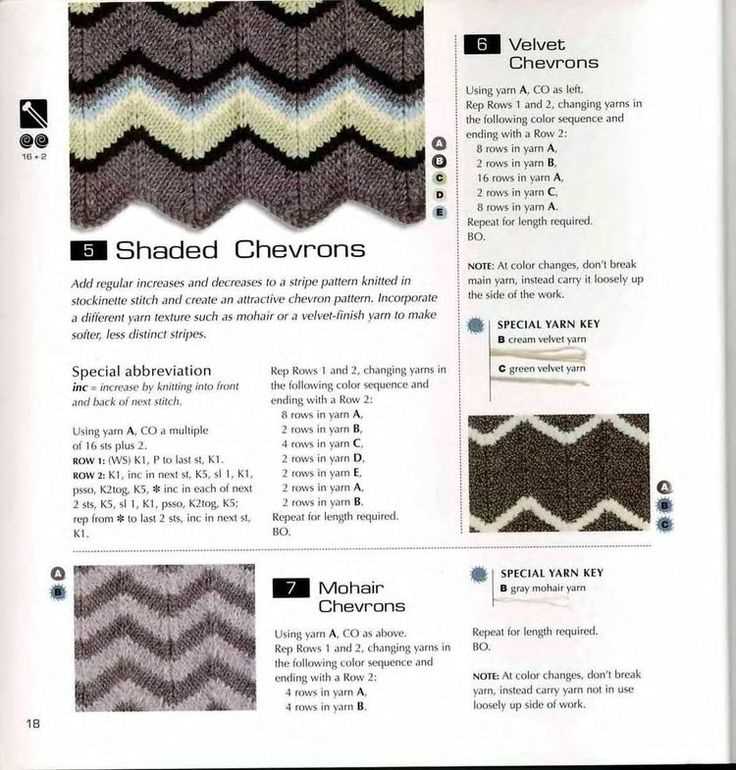
If you’re looking to add some fun and vibrant patterns to your knitting projects, chevron patterns are a great option. The two color chevron knitting pattern offers endless possibilities for creating bold and eye-catching designs. Whether you’re a beginner or an experienced knitter, there are plenty of chevron knitting projects and patterns to inspire you. Here are a few ideas to get you started.
Chevron Scarf: A chevron scarf is a classic knitting project that allows you to experiment with different color combinations. Choose two contrasting colors and create a beautiful chevron pattern that will keep you warm and stylish during the colder months.
Chevron Baby Blanket: If you’re looking to create a thoughtful and unique gift for a baby shower, a chevron baby blanket is the perfect project. Use soft and cozy yarn in a variety of pastel shades to create a beautiful chevron pattern that will keep the little one warm and comfortable.
-
Chevron Sweater: For the more advanced knitter, a chevron sweater is a challenging but rewarding project. Use multiple colors to create a bold and modern chevron pattern that will make a statement. This is a great opportunity to showcase your knitting skills and create a one-of-a-kind piece of clothing.
-
Chevron Hat: A chevron hat is a quick and easy project that is perfect for beginners. Choose two contrasting colors and create a chevron pattern that will add a touch of style to your winter accessories.
-
Chevron Socks: If you’re a sock enthusiast, why not try knitting a pair of chevron socks? Use two or more colors to create a fun and playful chevron pattern that will make your socks stand out. This is a great project for using up leftover yarn and experimenting with different color combinations.
No matter what project you choose, the two color chevron knitting pattern is a versatile and enjoyable technique that can be used in a variety of knitting projects. Get creative with colors and patterns, and let your imagination run wild. Happy knitting!