
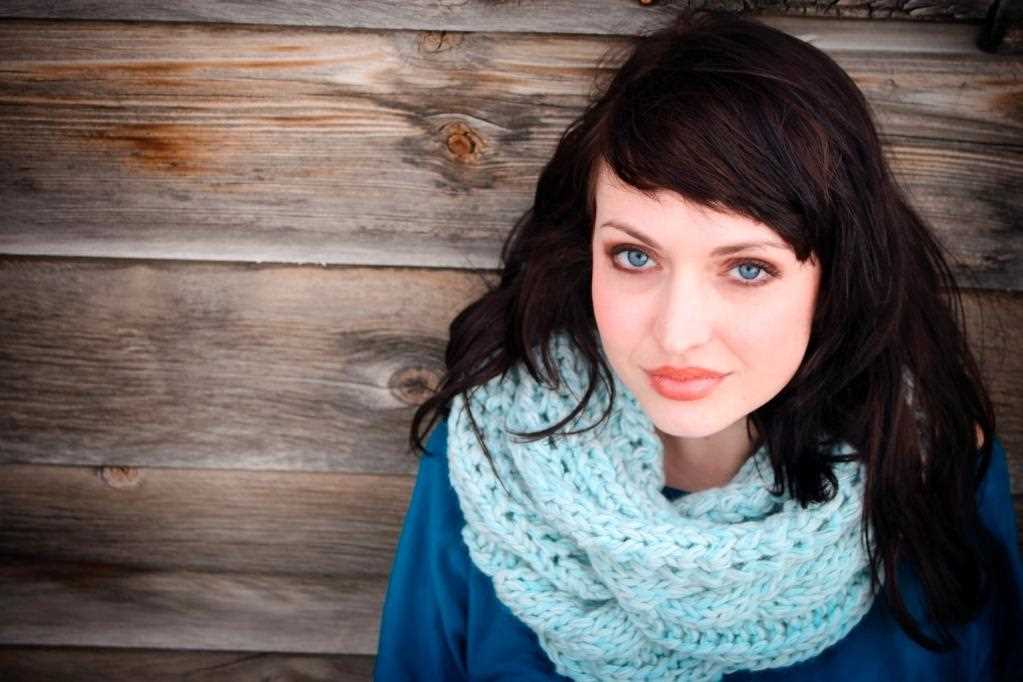
Knitting is a popular hobby that allows people to create beautiful and functional items with just a few basic tools and materials. One of the most versatile and classic knitting projects is the scarf. Scarves are not only practical for keeping warm in chilly weather, but they can also be a fashion statement and a way to showcase your personal style.
If you’re looking for a new scarf project to tackle, why not try a yarn over scarf? Yarn over stitches create an eye-catching lace pattern that adds a touch of elegance and sophistication to any scarf. Plus, the yarn over technique is relatively simple to learn, making this pattern perfect for knitters of all skill levels.
In this article, we’ll walk you through the steps of knitting a yarn over scarf. We’ll cover the materials you’ll need, the basic knitting techniques involved, and offer some tips and tricks to help you achieve the perfect finished product. So grab your needles and your favorite yarn, and let’s get started on this fun and rewarding project!
Yarn Over Scarf Knitting Pattern
Knitting is a popular hobby for many people, and one of the most common projects is a scarf. There are countless patterns and techniques to choose from, but one that is particularly fun and stylish is the yarn over scarf knitting pattern.
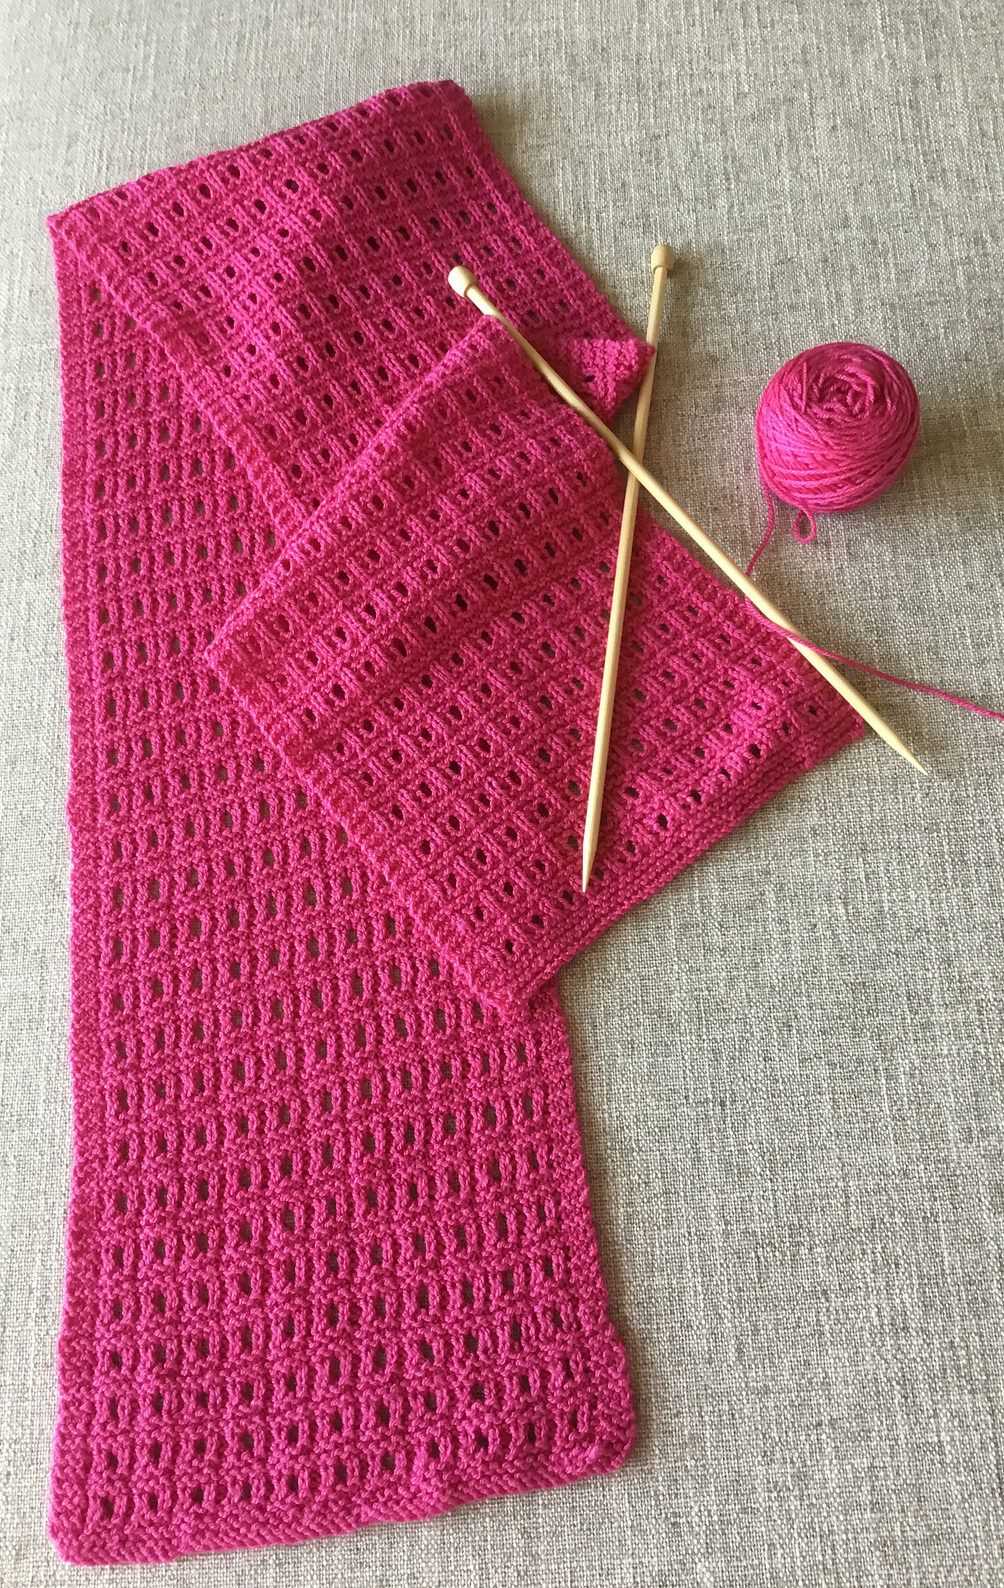
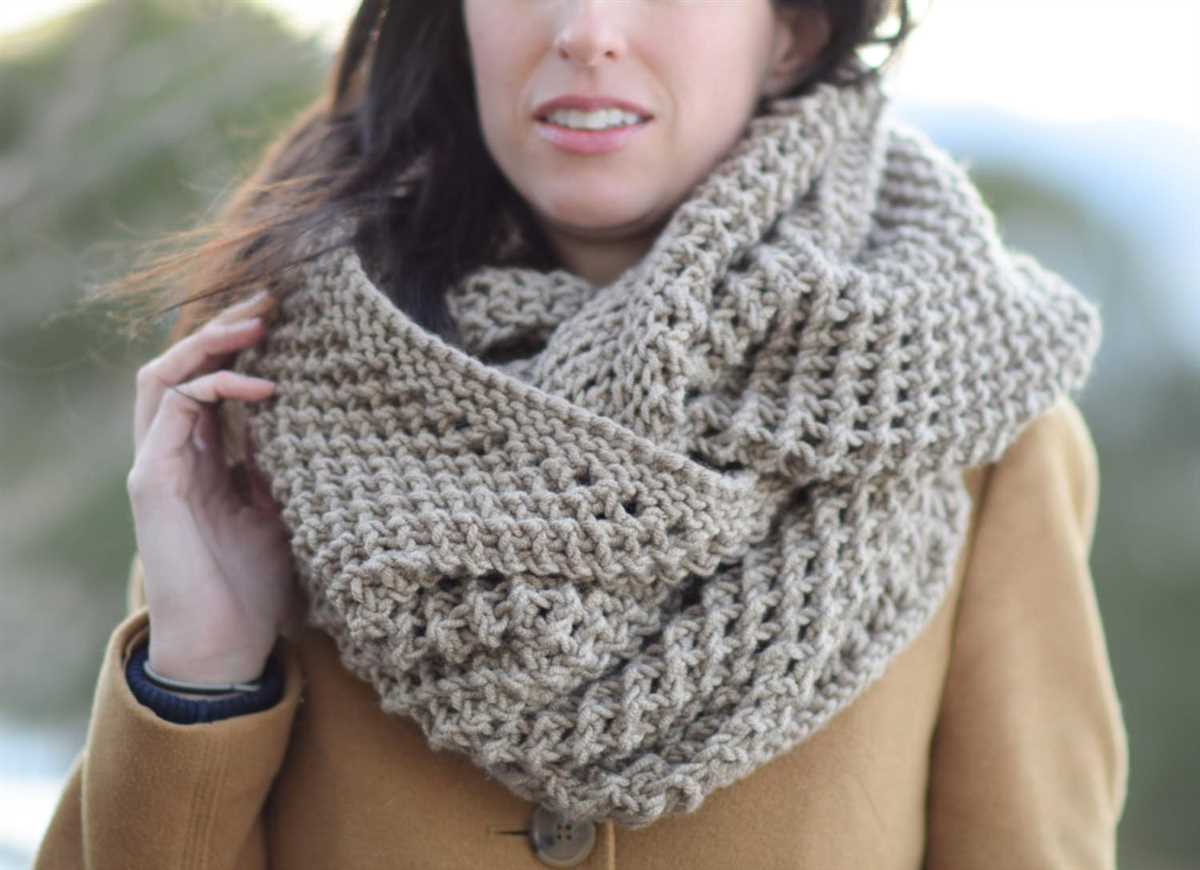
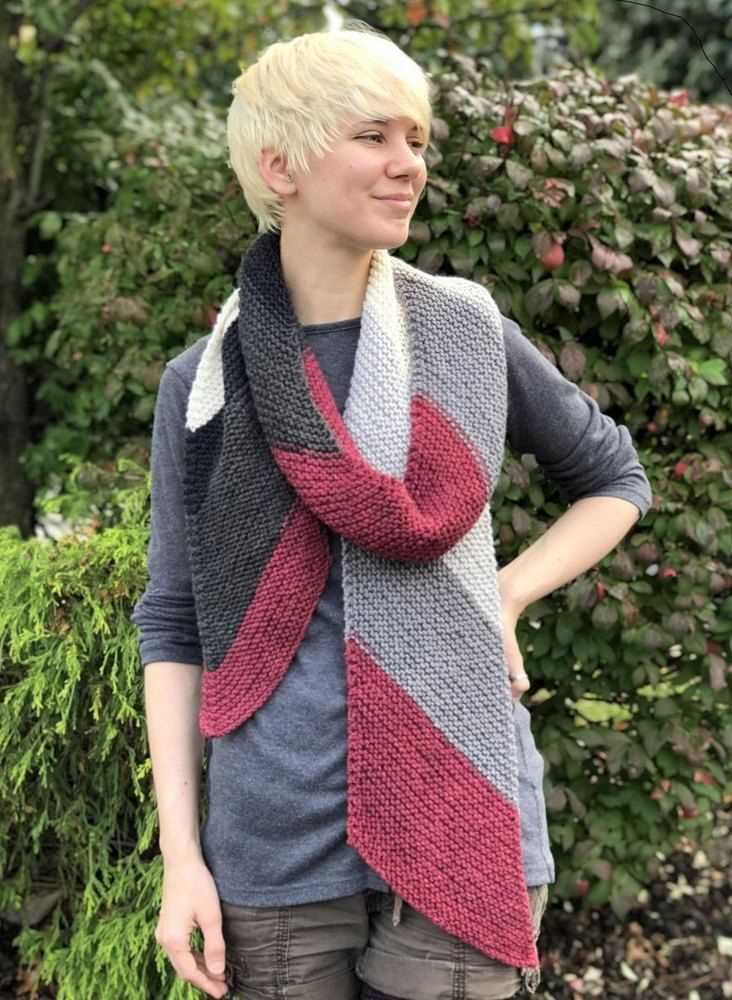
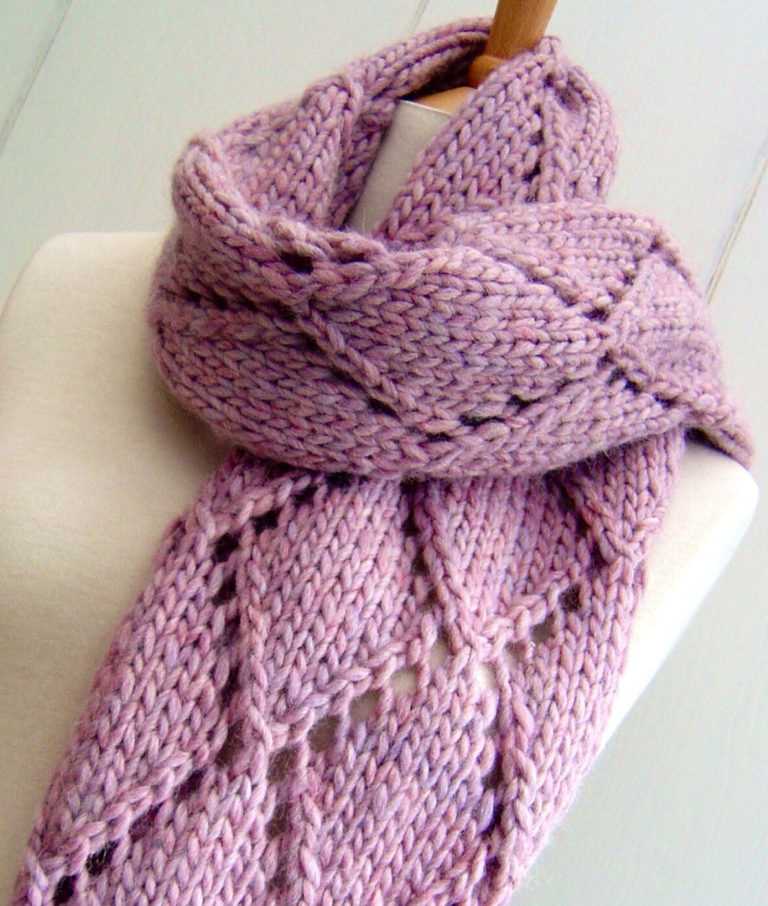
The yarn over scarf pattern is a great option for knitters of all skill levels. The pattern creates an open and airy design that is perfect for spring and fall weather. The scarf is worked in a simple garter stitch, with yarn overs strategically placed to create decorative holes throughout.
To start the yarn over scarf pattern, you will need a pair of knitting needles and a skein of yarn in the color of your choice. Begin by casting on an even number of stitches. Then, simply knit every row in garter stitch until your scarf reaches the desired length.
Here is a step-by-step guide to knitting the yarn over scarf pattern:
- Choose your yarn and needles.
- Cast on an even number of stitches.
- Knit every row in garter stitch until the scarf reaches the desired length.
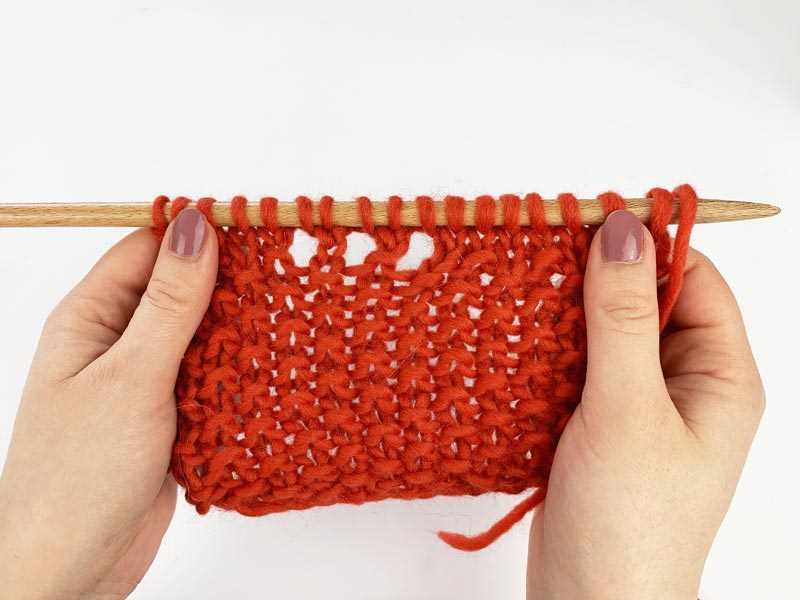
- When you are ready to create a yarn over, simply bring the yarn to the front of the work, as if to purl, and then knit the next stitch. This will create a hole in the fabric.
- Continue knitting in garter stitch, placing yarn overs where desired, until the scarf is complete.
- Bind off and weave in any loose ends.
The yarn over scarf pattern is a great way to add some interest and texture to your knitting projects. Whether you are a beginner or an experienced knitter, this pattern is sure to produce a beautiful and unique scarf. So grab your needles and yarn, and give the yarn over scarf pattern a try!
Materials
In order to make the yarn over scarf, you will need a few materials to get started. Here is a list of everything you will need:
Yarn:
- Main yarn: You will need a main yarn of your choice to create the base of the scarf. Choose a yarn that is warm and soft for maximum comfort.
- Contrasting yarn: It is recommended to have a contrasting yarn to create the yarn overs in the scarf. This yarn should be a different color or texture to create visual interest.
Knitting Needles:
- Size: Choose knitting needles that are appropriate for the weight of your yarn. The recommended size will usually be listed on the yarn label.
- Type: You can use straight or circular knitting needles depending on your preference.
Notions:
- Tapestry needle: This needle will be used for weaving in loose ends and finishing touches.
- Stitch markers: It is helpful to have stitch markers to keep track of pattern repeats or special stitches.
- Scissors: A good pair of scissors will be needed to cut yarn and trim any excess.
With these materials on hand, you will be ready to start knitting your yarn over scarf and create a beautiful and cozy accessory for yourself or to give as a gift.
Gauge
Gauge is an important aspect of any knitting project. It refers to the number of stitches and rows per inch that you achieve when knitting with a specific yarn and needle size. It determines the overall size and fit of the finished project.
To determine the gauge for your yarn over scarf, you will need to knit a swatch. A swatch is a small sample of knitting that helps you gauge your tension and determine the number of stitches and rows needed for your desired measurements. It is essential to knit your swatch using the same yarn, needle size, and stitch pattern as your final project.
When knitting your swatch, it is important to follow the pattern instructions for stitch pattern and needle size. Cast on a sufficient number of stitches (typically around 4 inches) and knit in your chosen stitch pattern for a few rows. Then, measure the number of stitches and rows in a 1-inch section of your swatch. Compare these measurements to the gauge provided in the pattern.
If your gauge does not match the pattern gauge, you may need to adjust your needle size. A smaller needle will result in more stitches per inch, while a larger needle will result in fewer stitches per inch. Keep in mind that adjusting the gauge will also affect the overall size and drape of your finished scarf.
Once you have achieved the correct gauge for your yarn over scarf, you can confidently begin knitting your project. Take the time to measure your gauge accurately, as it will ensure that your finished scarf turns out as intended and fits properly.
Measurements
The Yarn Over Scarf is designed to be a versatile and cozy accessory for the colder months. When completed, the scarf measures approximately 60 inches in length and 8 inches in width. This size allows for the scarf to be wrapped around the neck multiple times to provide maximum warmth and comfort.
To ensure the desired measurements are achieved, it is important to use the recommended yarn weight and gauge. The pattern is written for worsted weight yarn and a needle size of US 8 (5mm). However, adjustments can be made by using a different yarn weight and adjusting the needle size accordingly.
The Yarn Over Scarf is worked in a basic garter stitch pattern, which gives the scarf a textured and cozy appearance. The pattern also includes instructions for creating the yarn over eyelets, which add a decorative element to the scarf and allow for variations in styling and wearing.
The scarf can be customized to fit individual preferences by adjusting the length and width. For a shorter scarf, simply work fewer rows, and for a wider scarf, increase the number of stitches cast on. It is recommended to measure the scarf as you go to ensure the desired size is achieved.
Overall, the Yarn Over Scarf is a versatile and customizable accessory that can be worn in various ways to suit individual style and preferences. With the right measurements and adjustments, this scarf will become a favorite winter accessory for anyone who loves knitting and staying warm.
Yarn Choice
Choosing the right yarn for your yarn over scarf is essential for achieving the desired outcome. The type of yarn you choose will greatly affect the drape, texture, and overall look of your finished scarf.
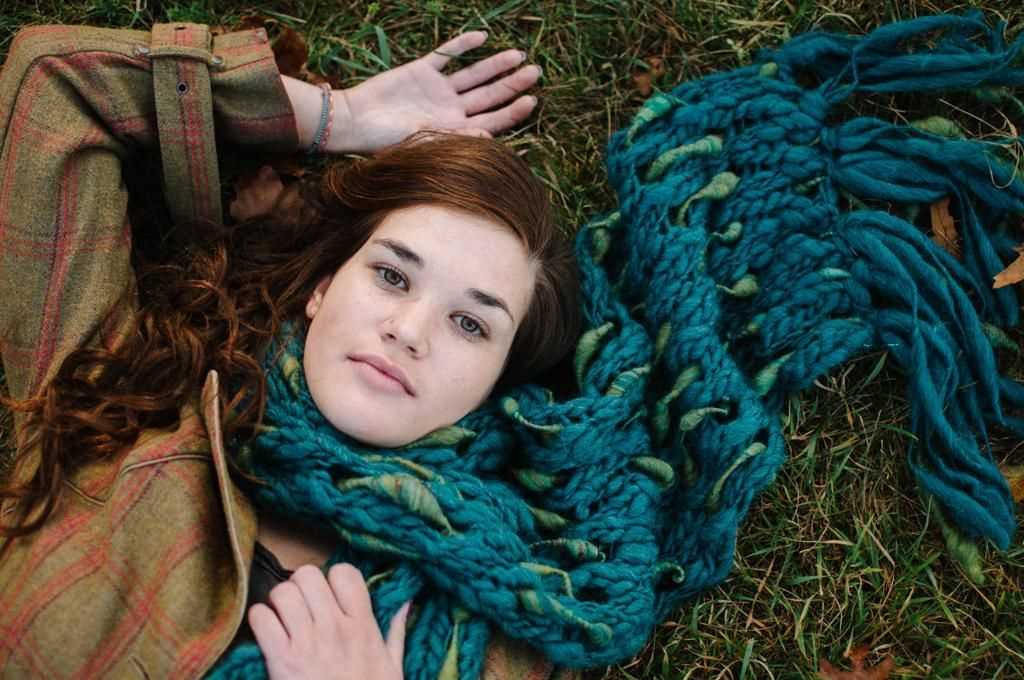
Weight: When selecting yarn for your project, consider the weight or thickness of the yarn. Yarns come in a variety of weights, ranging from lace weight to super bulky. Lace weight yarns will create a delicate and lightweight scarf, while bulky yarns will result in a chunkier and warmer scarf. Consider the desired drape and warmth level of your scarf when choosing the weight of the yarn.
Fiber content: The fiber content of the yarn will also impact the look and feel of your scarf. Common yarn fiber options include wool, acrylic, cotton, silk, and blends. Each fiber has its own unique characteristics, such as warmth, durability, and softness. Consider the intended use of your scarf and the care instructions when selecting the fiber content of your yarn.
- Wool: Wool yarns are known for their warmth and moisture-wicking properties, making them ideal for cold weather accessories. They can be soft and cozy, or have more texture and structure.
- Acrylic: Acrylic yarns are often more affordable and easy to care for. They are available in a wide range of colors and can be soft and warm, or have a more synthetic feel.
- Cotton: Cotton yarns are great for lightweight and breathable scarves, perfect for warmer weather. They can be smooth and cool to the touch.
- Silk: Silk yarns create luxurious and shiny scarves with a beautiful drape. They are often used for special occasions and can add an elegant touch to your scarf.
- Blends: Yarn blends combine different fibers to achieve the desired characteristics. For example, a wool and silk blend can provide both warmth and a silky sheen.
Consider the color, texture, and pattern of your yarn when choosing the yarn for your yarn over scarf. Experiment with different yarns to create unique and personalized scarves that you will enjoy wearing or gifting to others.
When starting a knitting project, one of the first steps is to cast on. The cast on is the foundation of the knitting, and there are several methods and techniques to choose from. It is important to choose the right cast on method for your project, as it can affect the appearance and stretchiness of the finished item.
Long tail cast on
One popular method of casting on is the long tail cast on. To do this, you will need to estimate the amount of yarn you will need for the cast on plus the first row of stitches. Make a slipknot at one end of the yarn, leaving a long tail. Hold the slipknot in your left hand, with the tail end over your thumb and the working yarn over your index finger.
Insert the right-hand needle under the working yarn, then over the tail end of the yarn, and back under the working yarn. Pull the loop through the stitch on the left-hand needle. Continue this process until you have cast on the desired number of stitches. This method creates a stretchy edge that is great for scarves and other items that need some give.
Main Stitch Pattern
The main stitch pattern for the yarn over scarf is a combination of several simple stitches that create a beautiful texture. The pattern is worked over an odd number of stitches and consists of repeating rows.
Row 1:
The first row begins with a knit stitch, followed by a yarn over, and then a purl stitch. This sequence is repeated across the row until the last stitch, which is a knit stitch.
Row 2:
The second row is worked in the reverse direction. It starts with a purl stitch, followed by a knit stitch, and then a yarn over. This sequence is repeated across the row until the last two stitches, which are a purl stitch followed by a knit stitch.
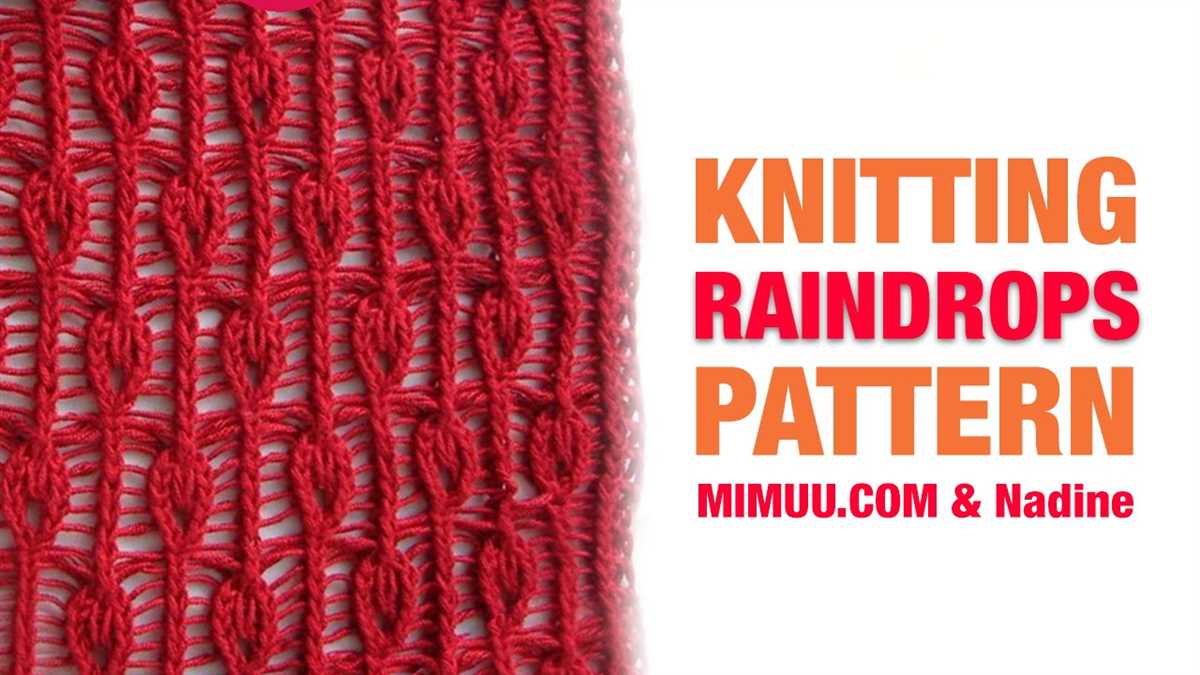
This alternating pattern of knit, yarn over, and purl stitches creates a delicate lace-like texture that is perfect for a lightweight scarf. The yarn overs create small eyelets throughout the fabric, giving it an airy and feminine look. The simplicity of the stitch pattern also makes it easy to memorize, making it an excellent project for beginners or for when you want a simple and relaxing knitting project.
Working the Scarf
Once you have gathered all your materials and chosen your yarn for the Yarn over scarf knitting pattern, it’s time to start working on the scarf. First, make sure you have a clear understanding of the knitting pattern and any special stitches or techniques that may be required. It’s important to familiarize yourself with the pattern before you begin, so you can avoid any mistakes or confusion along the way.
Begin by casting on the required number of stitches for your desired width. This will usually be indicated in the pattern. Once you have cast on, you will start working the pattern repeat, which typically consists of a certain number of rows or rounds. Follow the pattern instructions carefully, making sure to yarn over when indicated and knit or purl stitches as required.
To create the yarn over stitches, simply bring the yarn forward between the needles to the front of the work, and then continue knitting or purling the next stitch as normal. It’s important to keep these yarn overs loose enough so they don’t pull on the surrounding stitches, but not so loose that they create large holes in the fabric.
Continue working the pattern repeat until you have reached your desired length or have used up all your yarn. Remember to keep track of your progress, especially if the pattern includes any stitch or row counts. It can be helpful to use stitch markers or a row counter to help you keep track.
Once you have finished working the scarf, you will need to bind off your stitches to secure the edges. Follow the pattern instructions for the bind off method, which may vary depending on the desired finish. After binding off, weave in any loose ends and block the scarf if necessary to give it a polished look.
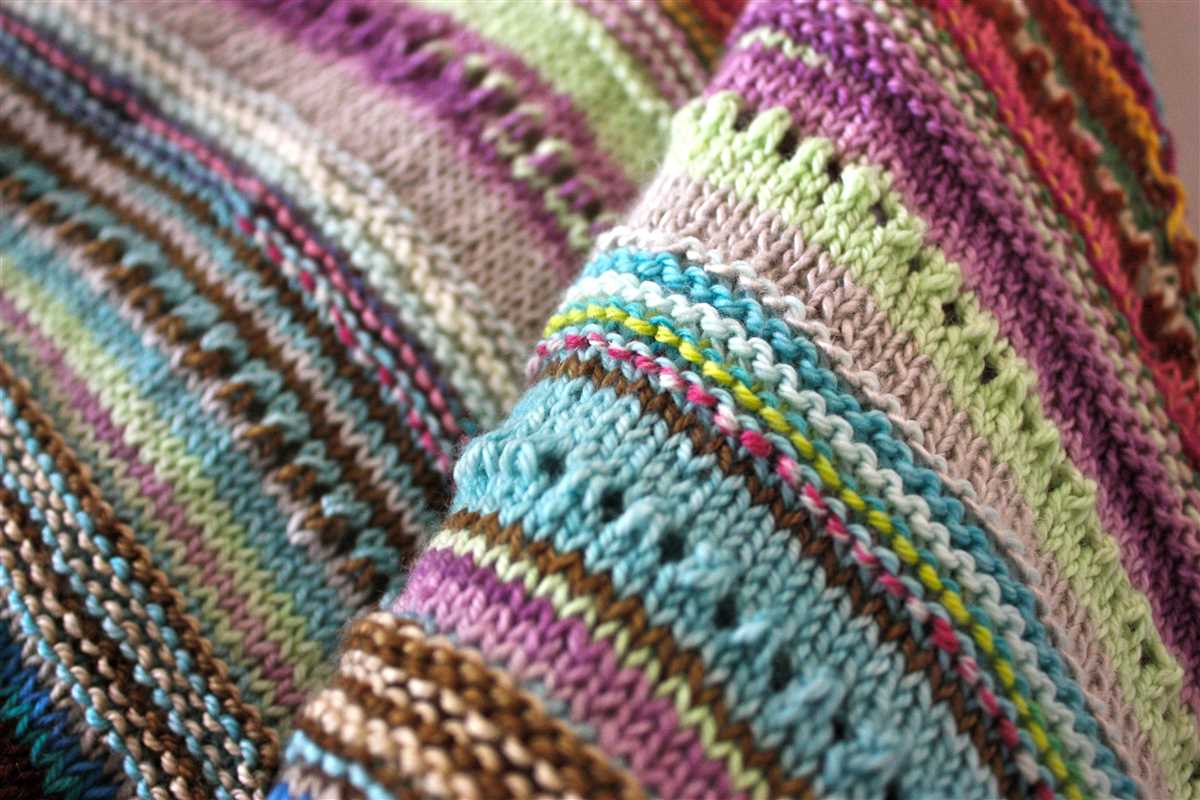
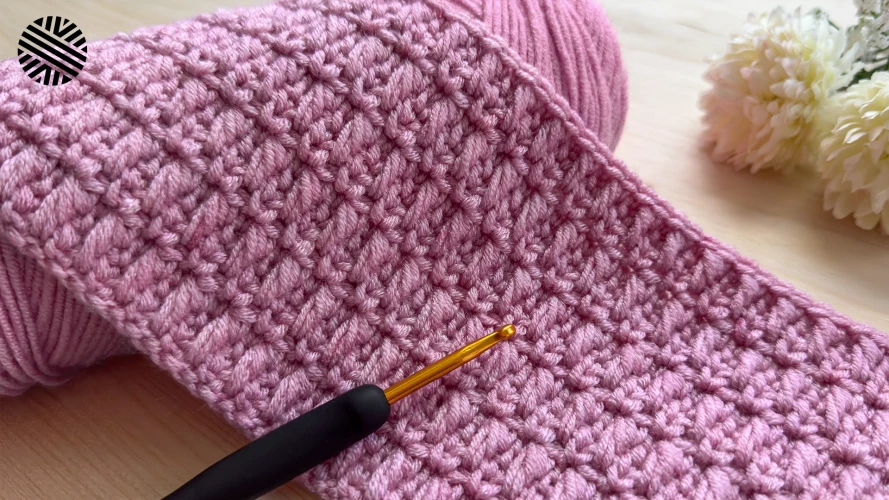
Adding Texture
One of the most effective ways to enhance a yarn over scarf is by adding texture. Texture can be achieved through a variety of knitting techniques, such as using different stitch patterns or incorporating different types of yarn.
Stitch patterns: By using different stitch patterns, you can create a wide range of textures in your yarn over scarf. For example, you can try knitting sections in garter stitch for a bumpy texture, or using cables to create a more intricate raised pattern. Experimenting with different stitch patterns can add depth and visual interest to your scarf.
Types of yarn: Another way to add texture to your scarf is by using different types of yarn. Yarns with a boucle or mohair texture can create a soft and fuzzy look, while yarns with a silk or bamboo blend can give your scarf a smooth and luxurious feel. Mixing different types of yarn within your scarf can create a unique and textured look.
When adding texture to your yarn over scarf, it’s important to consider the overall design and desired effect. You may choose to have certain sections of your scarf textured while keeping other sections simple. By combining different stitch patterns and yarns, you can create a truly one-of-a-kind yarn over scarf that is both stylish and eye-catching.
Shaping the Ends
If you want to add some visual interest to your yarn over scarf, you can consider shaping the ends. This can be done by changing the stitch pattern or adding decorative elements.
1. Changing the stitch pattern: To shape the ends of your scarf, you can switch to a different stitch pattern. For example, you can use a ribbing pattern or a lace pattern to create a tapered effect. This will add a unique touch to your scarf and make it stand out.
2. Adding decorative elements: Another way to shape the ends of your yarn over scarf is by adding decorative elements such as tassels or fringe. This can be done by attaching tassels or fringe to the ends of the scarf. You can use contrasting colors or different textures to create a playful or elegant look.
By shaping the ends of your yarn over scarf, you can create a unique and personalized accessory. Whether you choose to change the stitch pattern or add decorative elements, these design elements will add interest and make your scarf stand out. Get creative and have fun experimenting with different techniques to shape the ends of your scarf.
Blocking and Finishing
Once you have finished knitting your yarn over scarf, it is important to block and finish it properly to achieve the desired result. Blocking refers to the process of shaping and stretching the knitted fabric to even out stitches, improve drape, and enhance the overall appearance of the scarf.
Blocking: To block your scarf, you will need to dampen it first. Fill a sink or basin with lukewarm water and add a small amount of gentle soap or wool wash. Immerse the scarf into the water and gently squeeze it to allow the water to penetrate the fibers. Let it soak for about 10-15 minutes. After soaking, drain the water and gently press out the excess moisture by rolling the scarf in a towel.
Shaping: Lay the scarf on a clean and flat surface, such as a blocking board or an clean towel. Smooth out any wrinkles or folds, making sure the edges are straight and the overall shape of the scarf is even. Use T-pins or blocking wires if necessary to secure and shape the edges. Pay attention to the yarn over sections and make sure they are properly stretched to maintain their lacy appearance.
Drying: Allow the scarf to air dry completely in a well-ventilated area. Avoid placing it in direct sunlight or near a source of heat as it can cause the yarn to become brittle or fade in color. Depending on the fiber content and thickness of the yarn, drying may take several hours or even overnight.
Finishing: Once the scarf is dry, remove the pins or blocking wires and gently remove any residual creases by giving it a light shake or by using a fabric steamer. You can also lightly press the scarf with a warm iron, using a pressing cloth to protect the yarn from direct heat.
Final Touches: If desired, you can add fringe or additional embellishments to the ends of the scarf. Use a crochet hook or tapestry needle to attach the fringe, making sure it is evenly spaced and secured. Give the scarf a final inspection to ensure there are no loose ends or missed stitches, and it is ready to be worn or gifted.
Variations
If you want to add some personal touches to your yarn over scarf, there are several variations you can try. Here are a few ideas:
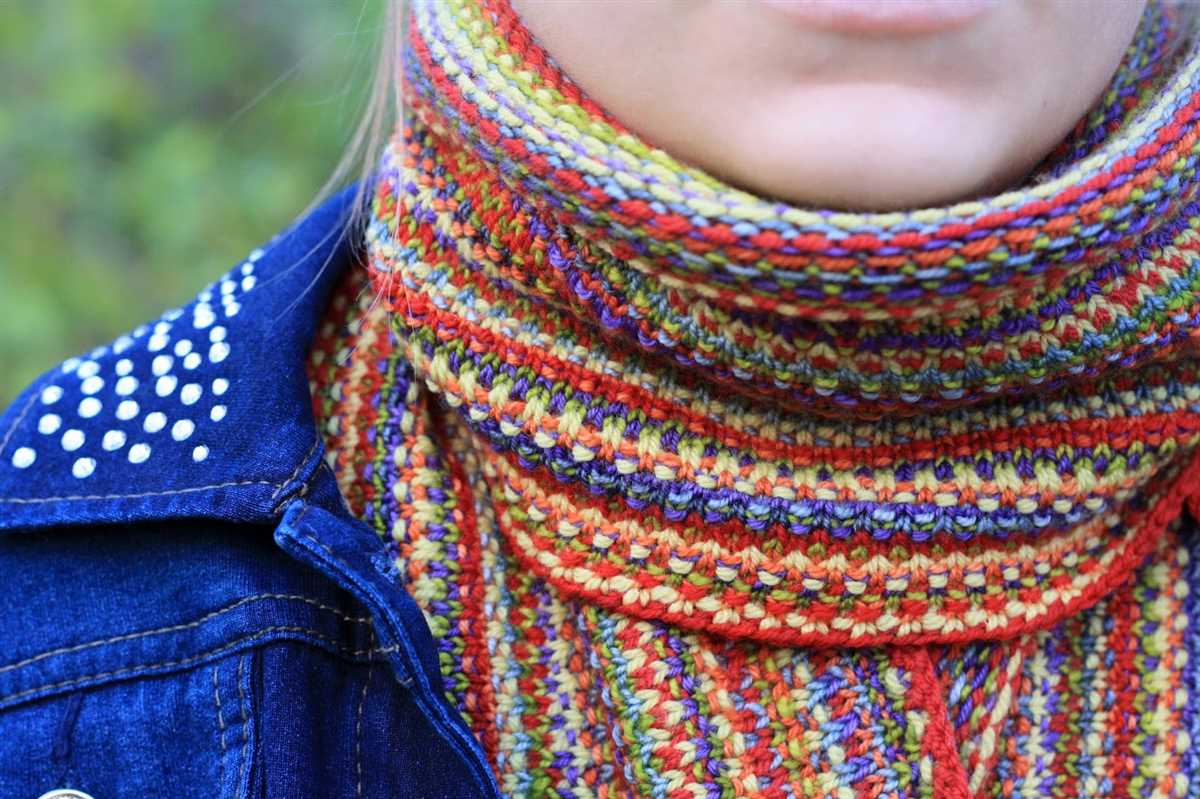
1. Color variations:
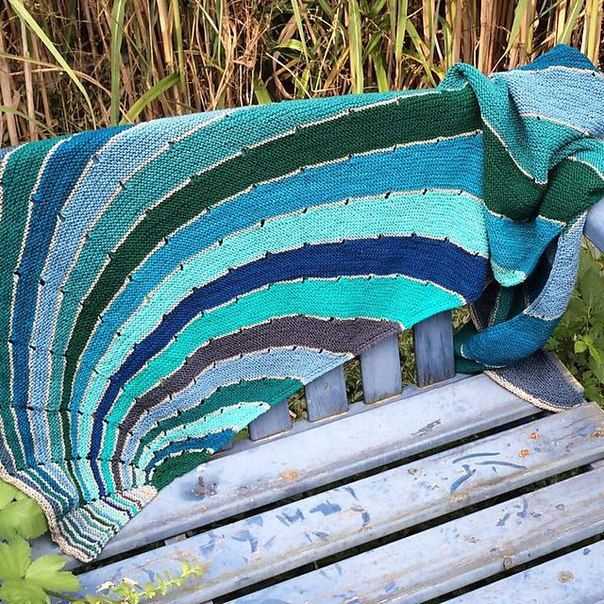
You can experiment with different colors of yarn to create a unique look for your scarf. Consider using variegated yarns or combining multiple colors in stripes or color blocks.
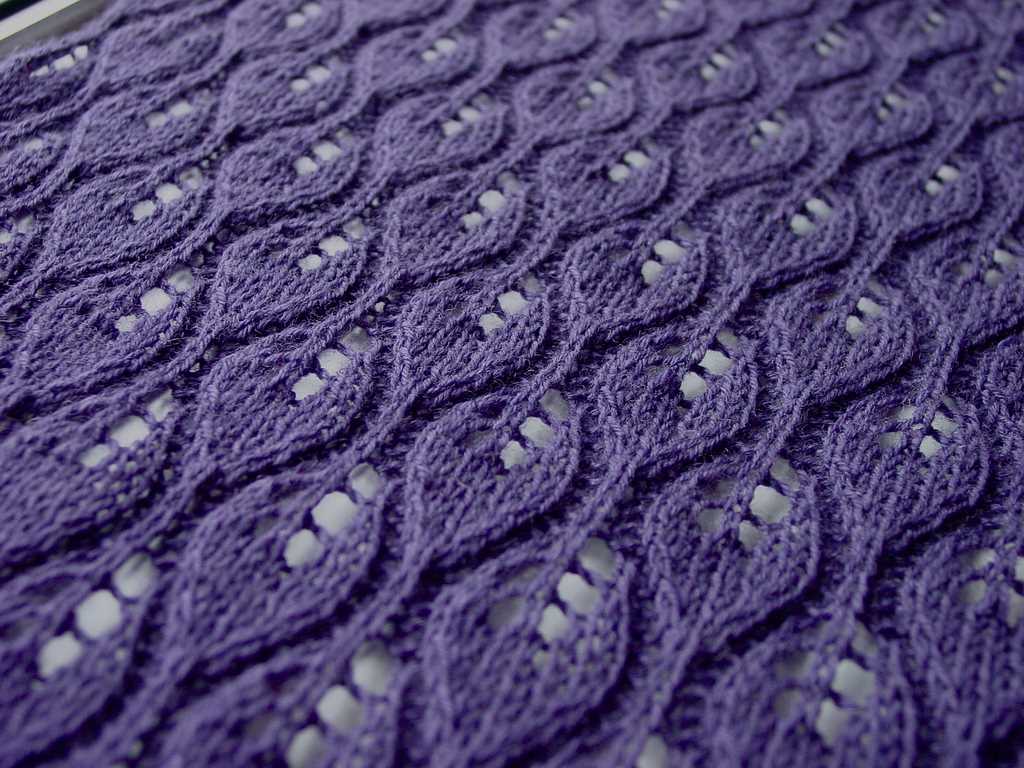
2. Lace patterns:
Instead of using a simple yarn over stitch, you can try different lace patterns to add more intricacy to your scarf. Look for lace stitch patterns such as leaf motifs, waves, or eyelets.
3. Fringe:
To add a decorative touch to your scarf, you can attach fringe at the ends. You can use the same yarn as your scarf or mix in some complementary colors for a playful look.
4. Embellishments:
If you want to make your scarf even more unique, consider adding embellishments like beads, buttons, or charms. Sew them onto the scarf or use a crochet hook to incorporate them into the knitting stitches.
5. Length and width:
Play around with the length and width of your scarf to create different styles. A narrower scarf can be worn as a decorative accessory, while a wider scarf can provide more warmth and versatility.
With these variations, you can make your yarn over scarf truly one-of-a-kind and showcase your creativity as a knitter.
So pick up your knitting needles, choose your favorite yarn, and get started on creating a beautiful and cozy yarn over scarf!
Q&A:
What is a yarn over in knitting?
A yarn over (abbreviated as yo) is a technique used in knitting to create an extra stitch. It involves bringing the yarn to the front of the work and then knitting the next stitch as usual. This creates a small hole or eyelet in the fabric.
How do you do a yarn over in knitting?
To do a yarn over in knitting, simply bring the yarn to the front of the work, between the needles, and then continue knitting the next stitch as normal. The yarn over will create a new stitch and leave a small hole or eyelet in the fabric.
What is a yarn over increase in knitting?
A yarn over increase is a knitting technique that uses yarn overs to create additional stitches. Instead of knitting into an existing stitch, you create a new stitch by doing a yarn over. This is often used to create decorative patterns or to increase the number of stitches in a row.
Can I knit a scarf using yarn over stitches?
Yes, you can definitely knit a scarf using yarn over stitches. The yarn overs can create beautiful lace-like patterns or add decorative elements to your scarf. You can use different combinations of yarn overs and knit or purl stitches to create unique designs. There are many yarn over scarf knitting patterns available that you can follow or you can get creative and come up with your own designs.
Are there any specific yarns recommended for knitting a yarn over scarf?
There are no specific yarns recommended for knitting a yarn over scarf. You can use any yarn that you like and that fits the desired look and feel of your scarf. However, lace weight or fingering weight yarns are often preferred for yarn over projects as they create delicate and airy fabric. Ultimately, the choice of yarn depends on your personal preference and the desired outcome of your project.
What is a yarn over in knitting?
A yarn over is a knitting technique where you create a new stitch by wrapping the yarn over the needle. This creates an intentional hole or eyelet in your knitting, and it is often used to create decorative patterns and lace designs.
Can you use a yarn over in a scarf knitting pattern?
Yes, you can definitely incorporate yarn overs into a scarf knitting pattern. By using yarn overs strategically, you can create interesting lace patterns and add visual interest to your scarf design.